

TI 2026 Fantasy Cards Guide: Best Stats for Every Role

The TI 2026 Fantasy League is live. The 2026 system introduces a proper card-and-emblem mechanic that rewards players who understand which stats actually accumulate at the pro level. This guide covers how the system works, which emblem stats score highest by role, how to spend your reroll tokens wisely, and which player pairs the community data rates highest — including a community-built calculator tool that lets you rank players by your exact emblem setup.
All stat rankings and player performance data in this guide are sourced from community research by Reddit user Maroomm (r/DotA2), covering 13 Tier 1 tournaments and 1,601 matches. The calculator tool is built and maintained by a separate community developer (bydoodle). Both are credited throughout.
In This Guide
How TI 2026 Fantasy League Works
Valve opened the TI 2026 Fantasy League as part of the Patch 7.41e and Summer Scrub 2026 update on July 31, 2026. The system runs across two stages of The International 15 — the Swiss Group Stage online from August 13-16, and the Main Event in Shanghai from August 20-23.
The core mechanic is this: you build a fantasy roster by selecting players for three role slots, then earn points based on how those players perform in their real TI 2026 matches. Your cumulative score is compared against other players’ rosters, and your percentile ranking determines what rewards you receive.
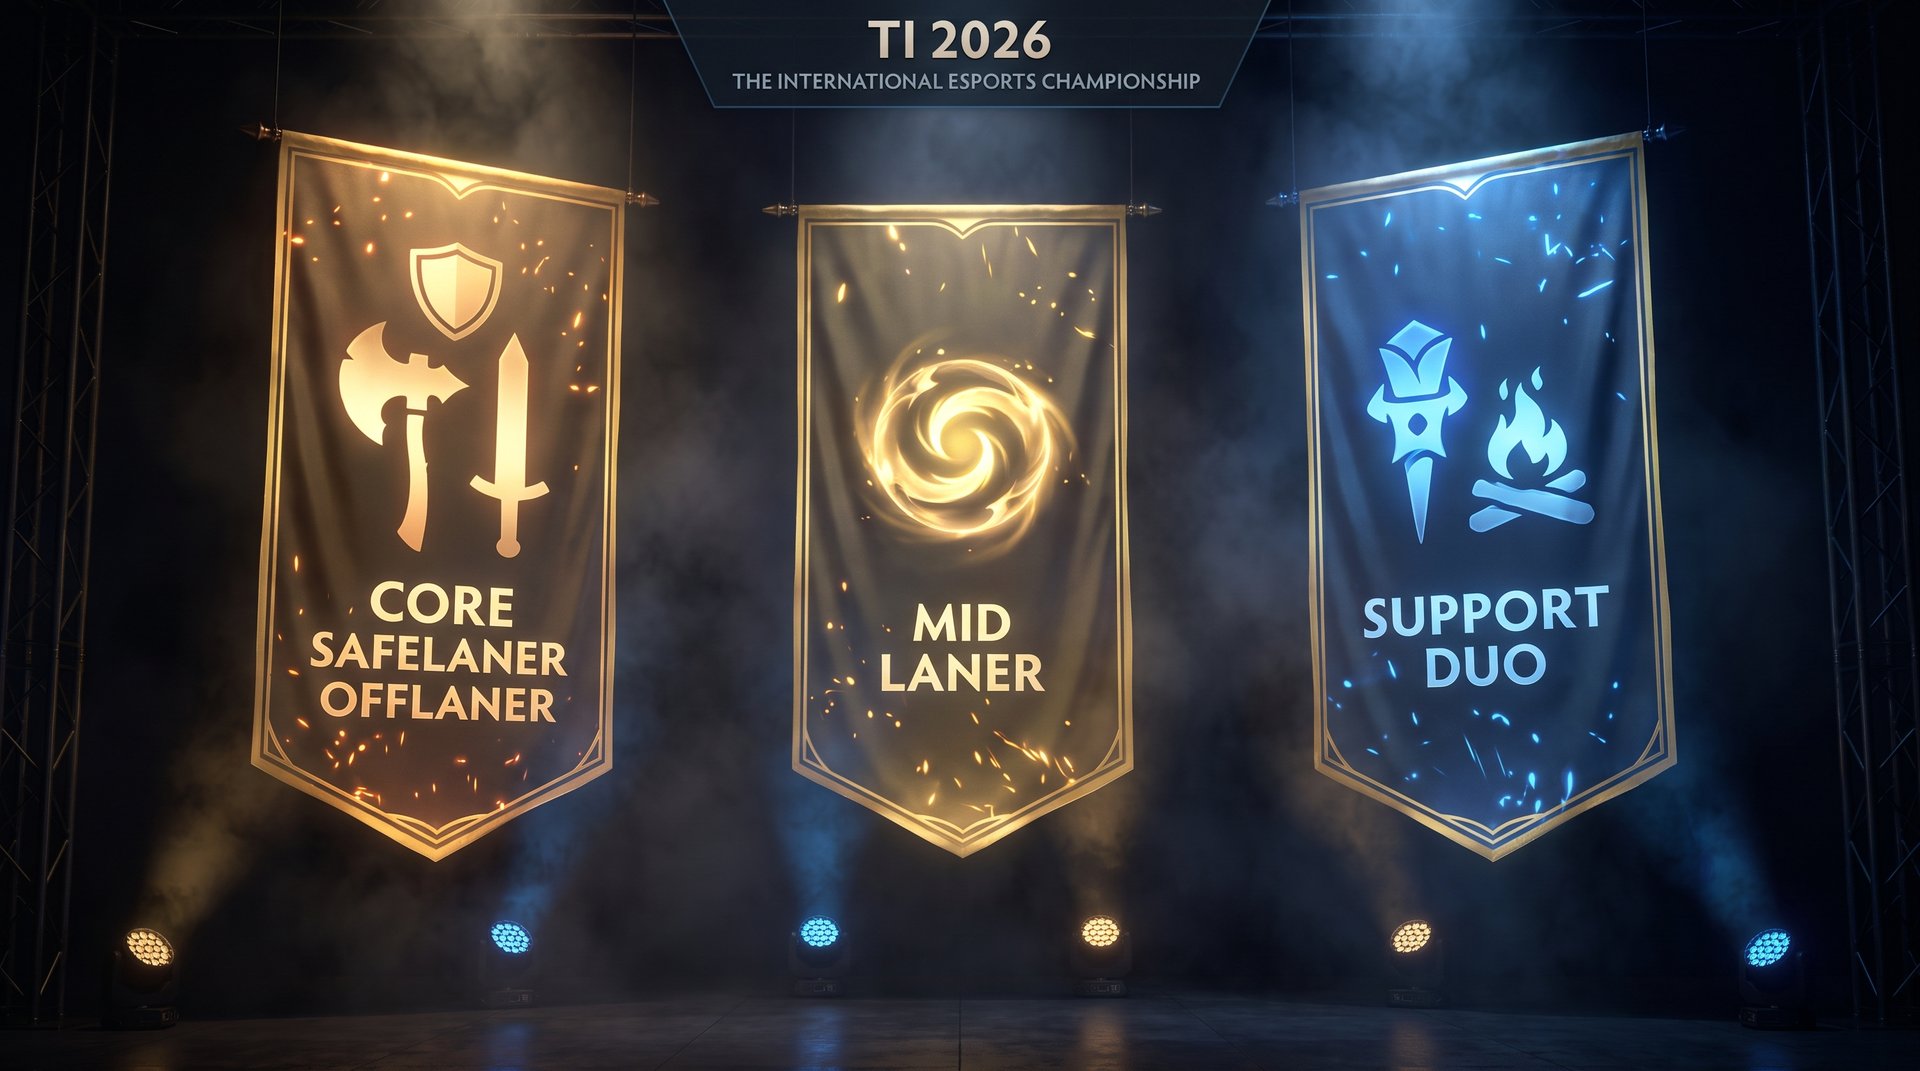
The Three Role Slots
Unlike a free-for-all player draft, TI 2026 Fantasy uses paired role slots that mirror how teams are actually structured:
- Core + Offlane (Safelaner + Offlaner): One banner covering both positions from a team’s frontline. You pick two players — one carry and one offlaner — and their combined stats score for this slot.
- Mid: A single midlaner slot. One player, three emblem slots in Stage 1.
- Support + Support: Both supports from one team, grouped together. Their combined performance earns you points from support-specific stats.
This is referred to as the “Coach” mechanic — you are effectively managing a staff of paired and solo players rather than just picking individual heroes.
Two Separate Stages
Stage 1 is the Swiss Group Stage (Aug 13-16, online). You get a set of emblems and 40 reroll tokens to use before roster lock. Stage 2 is the Main Event (Aug 20-23, Shanghai, top 8 teams). Your Stage 1 emblem setup is preserved, and two new emblem slots are added to each banner. You receive 30 fresh reroll tokens for Stage 2 — you cannot carry unused Stage 1 rolls over.
This means you have two separate optimization opportunities. Spend your Stage 1 tokens freely before lock — they do not transfer and will be wasted if unused.
Rewards
| Reward | Details |
|---|---|
| Tyrian Regalia Treasure | Contains 5 Immortal-tier cosmetic items |
| Terrain Token | Grants choice of 1 terrain from 6 options including Reef’s Edge and Immortal Gardens |
| Team Supporter Bundles | Available for all 16 TI teams plus 100+ broadcast talent |
The Team Supporter Bundles also feed into the prize pool: 50% goes to the team or talent, 30% boosts the TI 2026 prize pool, and 20% goes to Valve. If you want to understand more about which teams are favored to win this prize pool and tournament, see our TI 2026 Predictions Guide with full data breakdown.
Banner Setup by Stage (Your Card Slots Explained)
Each role has a banner — a card that holds your emblem slots. Emblems are color-coded and the color determines what kind of stats can go there. Getting the color system right before you start rerolling is essential, because you cannot change which color a slot is — you can only reroll the stat, quality, or trait within that color.
Stage 1 Banner Layouts (3 Emblems Each)
| Role | Emblem 1 | Emblem 2 | Emblem 3 |
|---|---|---|---|
| Core + Offlane | Red | Green | Red |
| Mid | Red | Blue | Green |
| Support | Blue | Green | Blue |
Stage 2 Banner Layouts (5 Emblems Each — Stage 1 Preserved)
| Role | E1 | E2 | E3 | E4 (new) | E5 (new) |
|---|---|---|---|---|---|
| Core + Offlane | Red | Green | Red | Green | Red |
| Mid | Red | Blue | Green | Red | Green |
| Support | Blue | Green | Blue | Green | Blue |
What the Colors Mean
| Color | Stat Category | Available Stats |
|---|---|---|
| Red | Kills and farm | GPM, Creep Score, Kills, Deaths, Madstone Collected, Tower Kills |
| Blue | Support utility | Obs Placed, Smokes Used, Lotuses Grabbed, Camps Stacked, Runes Grabbed, Watchers Taken |
| Green | Versatile — works for any role | Teamfight Participation, Roshan Kills, Tormentor Kills, Stuns, First Blood, Courier Kills |
Emblem Stats Ranked by Role
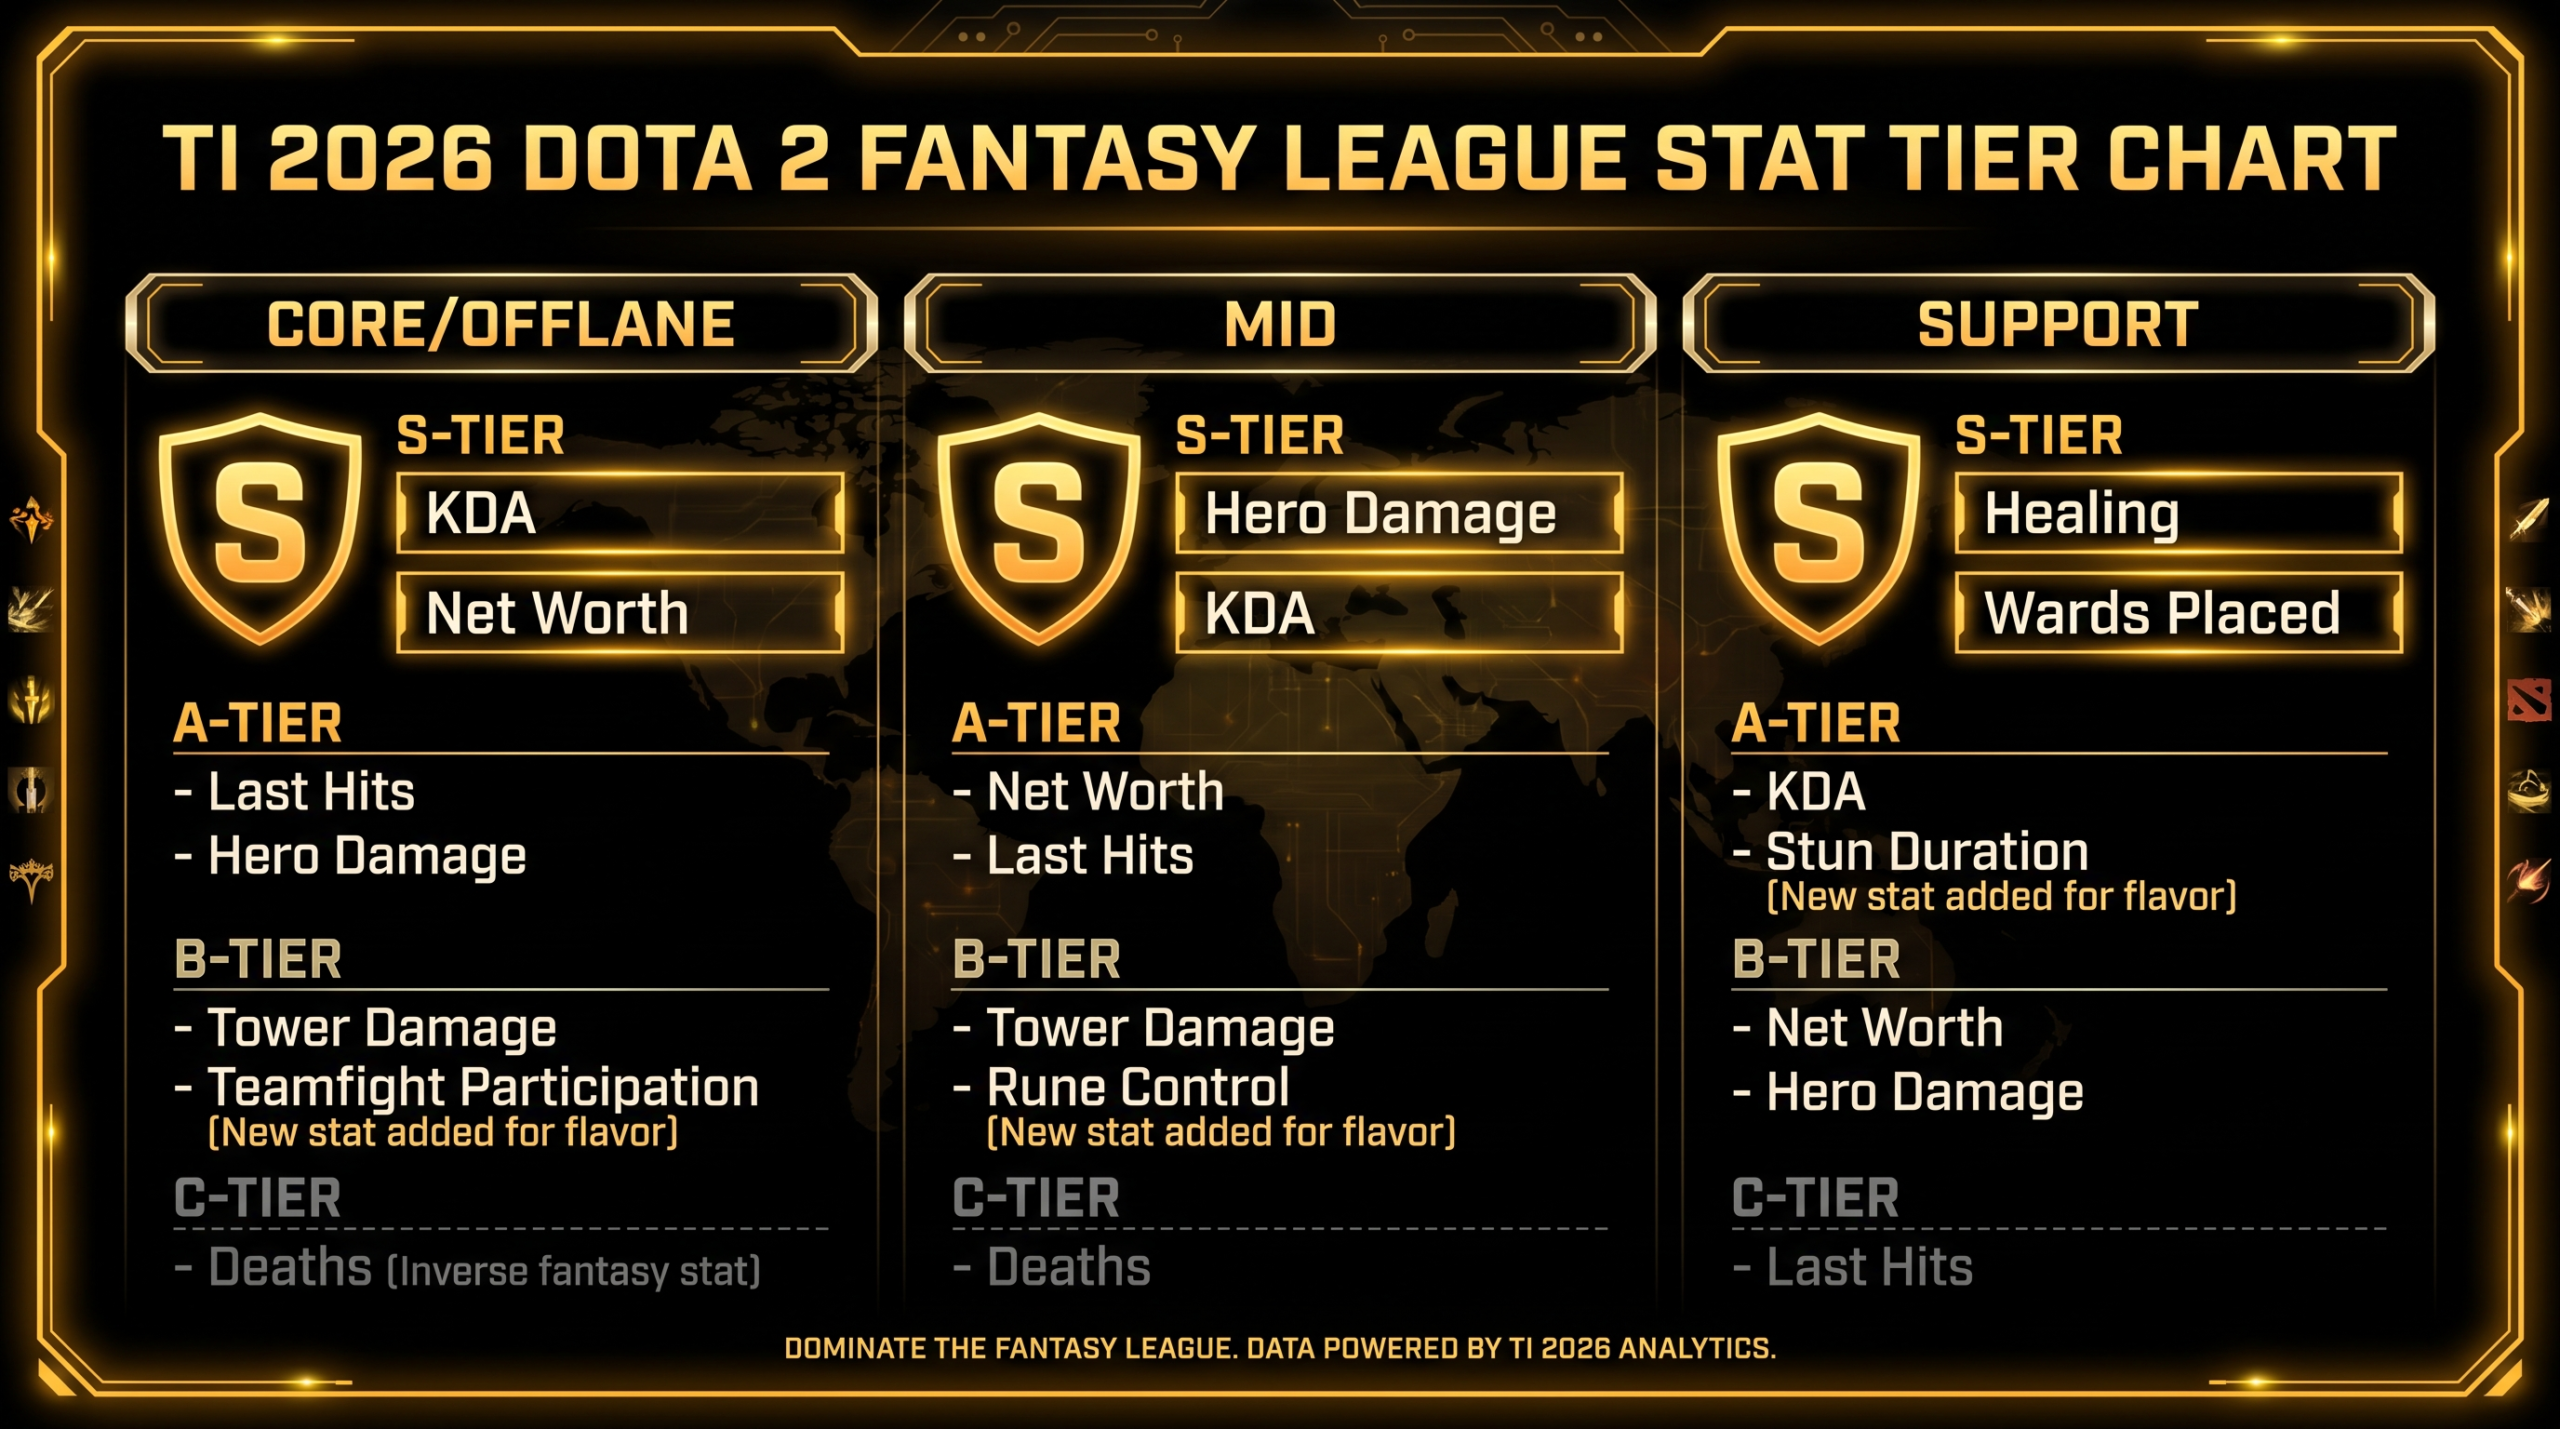
The following stat priority rankings are drawn from community research by Reddit user Maroomm (u/Maroomm, r/DotA2, “Fantasy League 2026 Guide”), which analyzed 13 Tier 1 tournaments with 1,601 total professional matches. These rankings reflect which stats generate the most fantasy points on average at the pro level, not which stats sound most impressive.

Core + Offlane Emblems
Core players are the farming backbone of their team. The stats that actually accumulate in pro games reflect this — creep score and gold per minute lead by a significant margin, not kills.
| Emblem Slot | Stat Priority (Best to Worst) |
|---|---|
| Red Emblem 1 | Creeps >> GPM > Deaths (stable) / Towers (risk) > Kills > Madstones |
| Red Emblem 2 | Creeps >> GPM > Deaths (stable) / Towers (risk) > Kills > Madstones |
| Green Emblem | Roshan > Teamfight > Tormentor >>> Stuns >>> Courier / First Blood |
Creep Score dominates Red emblems for Core because pro carries and offlaners maintain consistently high CS across all game lengths. Deaths is labeled “stable” because it scores whenever a player does NOT die — useful for consistent performers. Towers is “risk” because it spikes in stomps but falls off in close, long games where defenses hold.
For the Green emblem, Roshan participation is the standout. In the pro scene, Roshan is contested almost every game and the kills go to carries and offlaners frequently. Teamfight Participation is broad enough to score in virtually every meaningful engagement.
Mid Emblems
Mid is the most complex banner because it covers three colors. The priority hierarchy is well-established in community research, with Runes being in a category of its own for the Blue slot.
| Emblem Slot | Stat Priority (Best to Worst) |
|---|---|
| Red | Creeps > GPM > Deaths (stable) / Kills (risk) >> Madstones > Towers |
| Blue | Runes >>> Camps / Lotuses >>> Everything else |
| Green | Teamfight > Stuns (stable) / Tormentor (risk) >>> Roshan >>> Courier / First Blood |
The Blue slot gap is not close. In the pro scene, midlaners contest the rune spawns at 2:00, 4:00, 6:00 and every two minutes after. A mid who plays for runes accumulates them at a rate that no other stat in the Blue category approaches. Camps and Lotuses are distant second options if your Runes stat is stuck on something else and you cannot reroll it.
For the Green slot, Stuns is labeled “stable” for mids with reliable stun abilities. Tormentor is “risk” — when your mid is in position to take Tormentor it scores big, but it is a situational event unlike Teamfight Participation which fires in every major fight.
Support Emblems
Support banners are Blue-heavy, which reflects what supports actually do. The priority list rewards vision, utility, and map presence over raw kill stats.
| Emblem Slot | Stat Priority (Best to Worst) |
|---|---|
| Blue Emblem 1 | Wards / Smokes > Lotuses / Camps >> Watchers >>> Runes |
| Blue Emblem 2 | Wards / Smokes > Lotuses / Camps >> Watchers >>> Runes |
| Green Emblem | Teamfight > Tormentor > Courier Kills >>> First Blood / Roshan |
Wards Placed and Smokes lead the Blue category because support play at TI involves constant vision placement through every game phase. Both stats accumulate across the full game regardless of team composition or game length. Runes rank last on Support Blue because supports rarely contest runes — that is the midlaner’s domain.
Emblem Traits Ranked
Every emblem also has a Trait — an additional modifier that affects scoring based on the relative position of your emblems and their tier interactions. There are five possible traits. They matter but they rank below getting the right stat and tier — do not burn tokens chasing a specific trait until your stats and tiers are locked.
| Trait | How It Works | Verdict |
|---|---|---|
| Friendly | Bonus when specific conditions between emblems are met | Best ceiling — pursue on Support blue or Mid; very hard on Core red |
| Vampiric | Gains strength at top or bottom position, not middle | Second best — place at extremes; also fine in middle if the stat is Runes or Creeps |
| Benevolent | Works best in middle positions | Solid baseline — good filler if you cannot reach Friendly or Vampiric |
| Unique | +30% flat bonus but can leave adjacent emblems at +0% | Mediocre — Benevolent and Vampiric are more reliable |
| Fractal | Big bonus when triggered but usually needs 2 Tier V emblems | Fine if you are unlucky on tiers; do not chase this trait actively |
The overall community ranking: Friendly (when triggered) > Vampiric > Benevolent >> Unique > Fractal.
A specific warning on Friendly for Core: the Core banner uses Red emblems for both farm slots, and Red traits must be rerolled together — you cannot target them individually. Getting Friendly on Core requires both Red emblems to land Friendly simultaneously, which is a very difficult roll. Do not spend significant tokens chasing Friendly on Core. The trait is far more accessible on Support (Blue emblems allow per-emblem trait rerolls) and on Mid (three different colors, each rerolled independently).
Reroll Token Strategy
You get 40 tokens for Stage 1 and 30 tokens for Stage 2. These pools are completely separate. Unused Stage 1 tokens expire when the roster locks — do not save them hoping to carry over.
What You Can Reroll
Each color has its own reroll menu with targeted options:
- Reroll Stat for all, first, last, or one random emblem of a color
- Reroll Quality (tier) for all, first, last, or random emblem of a color (Red emblems only have grouped quality rerolls; Blue emblems support per-emblem trait targeting)
- “Randomly increase one Quality” — a wildcard that bumps any single emblem’s tier up
- “Randomly increase two Qualities and reduce one” — a higher-variance wildcard with a larger expected gain
Where to Spend
Priority order: Stats first, Tiers second, Traits third. A Tier V emblem on Madstones scores less than a Tier II emblem on Creep Score. Get your stats right before spending on quality or trait improvements.
The two wildcard Quality options — “Randomly increase one Quality” and “Randomly increase two Qualities and reduce one” — are the highest value rolls in the entire menu. Use them primarily on Support, where Blue emblems lack the per-emblem tier targeting that Red emblems have. These wildcards are your best path to improving Support banner tiers efficiently.
A Note on Changing Players
Changing players costs zero tokens. You can freely swap between any eligible player for each role slot until the roster lock deadline, with no impact on your emblems. This means you should always finalize your emblem setup first, then decide your player picks based on which pair best fits your stat configuration. The bydoodle calculator (covered in Section 8) is built exactly for this step.
Which Title Suffix to Pick
The Title system adds a Prefix + Suffix to your fantasy team name. The Suffix applies a score multiplier when specific in-game events happen during your drafted players’ matches. Changing titles costs zero tokens.
| Suffix | Community Verdict |
|---|---|
| the Clutch | Best stable pick — triggers frequently, meaningful bonus. Recommended for most players. |
| the Underdog | Good. Bonus when your player loses a very long game (+6%). Occurs often enough to be worth it. |
| the Lucky | Gambler’s pick — roughly 1-in-10 chance but high bonus when it fires. For top-bracket chasers. |
| the Cruel | No large dataset yet but can trigger. Viable alternative gamble to the Lucky. |
| the Tormented | Very rare event in modern pro play. Avoid. |
| the Flayed Twins Acolyte | Triggers roughly 5% of games per community data. Very risky, small bonus. Avoid. |
| the Patient | Extremely rare. Avoid. |
| the Decisive | Extremely rare at TI — teams fight to the last breath at this level. Avoid. |
Clear recommendation: pick the Clutch for stable extra scoring. Pick the Underdog if you want slightly more variance without fully gambling. The Lucky and Cruel are for players who specifically need high-ceiling outcomes to reach a top reward bracket where conservative picks will not get them there.
Top Player Pairs by Role
These rankings come from two sources: the community guide by Maroomm (r/DotA2, 13 Tier 1 tournaments, 1,601 matches) for the Core pair averages, and the bydoodle community calculator (4 Tier 1 tournaments, 538 matches) for the ranked support and mid lists. All data is based on recent 2025-2026 era tournament performance.
These rankings shift based on your emblem configuration. A pair that tops the default list may not top your list if your specific stats favor different player styles. Use the calculator in Section 8 to rank by your actual setup before locking.
Core + Offlane — Top Pairs by Average Fantasy Score
| Rank | Pair | Avg Score | Best Single Game |
|---|---|---|---|
| 1 | YSR-04E + niu | 1620 | 2751 |
| 2 | Satanic + Noticed | 1570 | 4130 |
| 3 | Yuma + Wisper | 1560 | 4534 |
| 4 | watson + DM | 1559 | 4206 |
| 5 | Kiritych + MieRo | 1540 | 4437 |
| 6 | skiter + ATF | 1519 | 4573 |
| 7 | Ame + Xxs | 1513 | 4299 |
| 8 | Nightfall + Ws | 1490 | 4298 |
| 9 | Pure + 33 | 1483 | 4586 |
| 10 | Yatoro + Collapse | 1475 | 4153 |
The Avg Score column is your primary metric for consistent Group Stage scoring. Best Single Game shows the ceiling — pairs like Yuma + Wisper (top: 4534) and skiter + ATF (top: 4573) have higher peaks but rank below average-leaders. If you need a monster game to win your fantasy bracket, go by ceiling. If you want reliable scoring across 5+ Swiss stage matches, go by average.
Understanding what separates a 1600+ average pair from a 1400-average pair works exactly the same way that coaching sessions break down carry performance — which resource generation habits and fight-participation patterns translate into consistently high games versus spiky ones. For a fuller look at the best Dota 2 services available for improving your own game, that guide covers our team’s specialist background in ranked performance.
Mid — Top Players (Calculator Default Ranking)
From the bydoodle calculator using default settings (no stat filtering, all four tournaments included). These players score broadly across all mid stat categories in the source data:
CHIRA_JUNIOR, TaiLung, gpk, Mikoto, Nisha, Larl, bzm, Yopaj, No[o]ne, Marl1ne, NothingToSay, Xm, RCY, lorenof
Community research notes that lorenof (Otherworldly card 55%) and Nisha (Otherworldly 53%) lead on top-bracket card rates — meaning they most frequently hit the highest-tier performance thresholds in their games. For Runes + Teamfight emblem setups, CHIRA_JUNIOR and gpk rank at the top. Enter your exact emblems into the calculator to get the correct ranking for your specific configuration rather than relying on the default order.
Support — Top Pairs (Calculator Default Ranking)
From the bydoodle calculator, default ranking across all support stats:
Maladych + Saksa, Thiolicor + KingJungles, Save- + Kataomi, Mira + kaori, Sneyking + Cr1t-, tOfu + Boxi, rue + not_me, Ari + Whitemon, TIMS + skem, 9Class + Dukalis, fy + xNova, XinQ + y, OmaR + GH, Speeed + Bignum
Individual standouts from community research: Cr1t- leads on Heroic card rate (59%), Saksa on Golden rate (44%), kaori on Crimson rate (76% — exceptionally high, making Mira + kaori the top pair for kill-adjacent blue stat setups). Your Blue emblem stat choices will determine which pair is optimal for you.
The Community Fantasy Calculator
A community developer known as bydoodle built a free web-based calculator specifically for TI 2026 Fantasy League. It is available at bydoodle.github.io/dota-fantasy-2026.
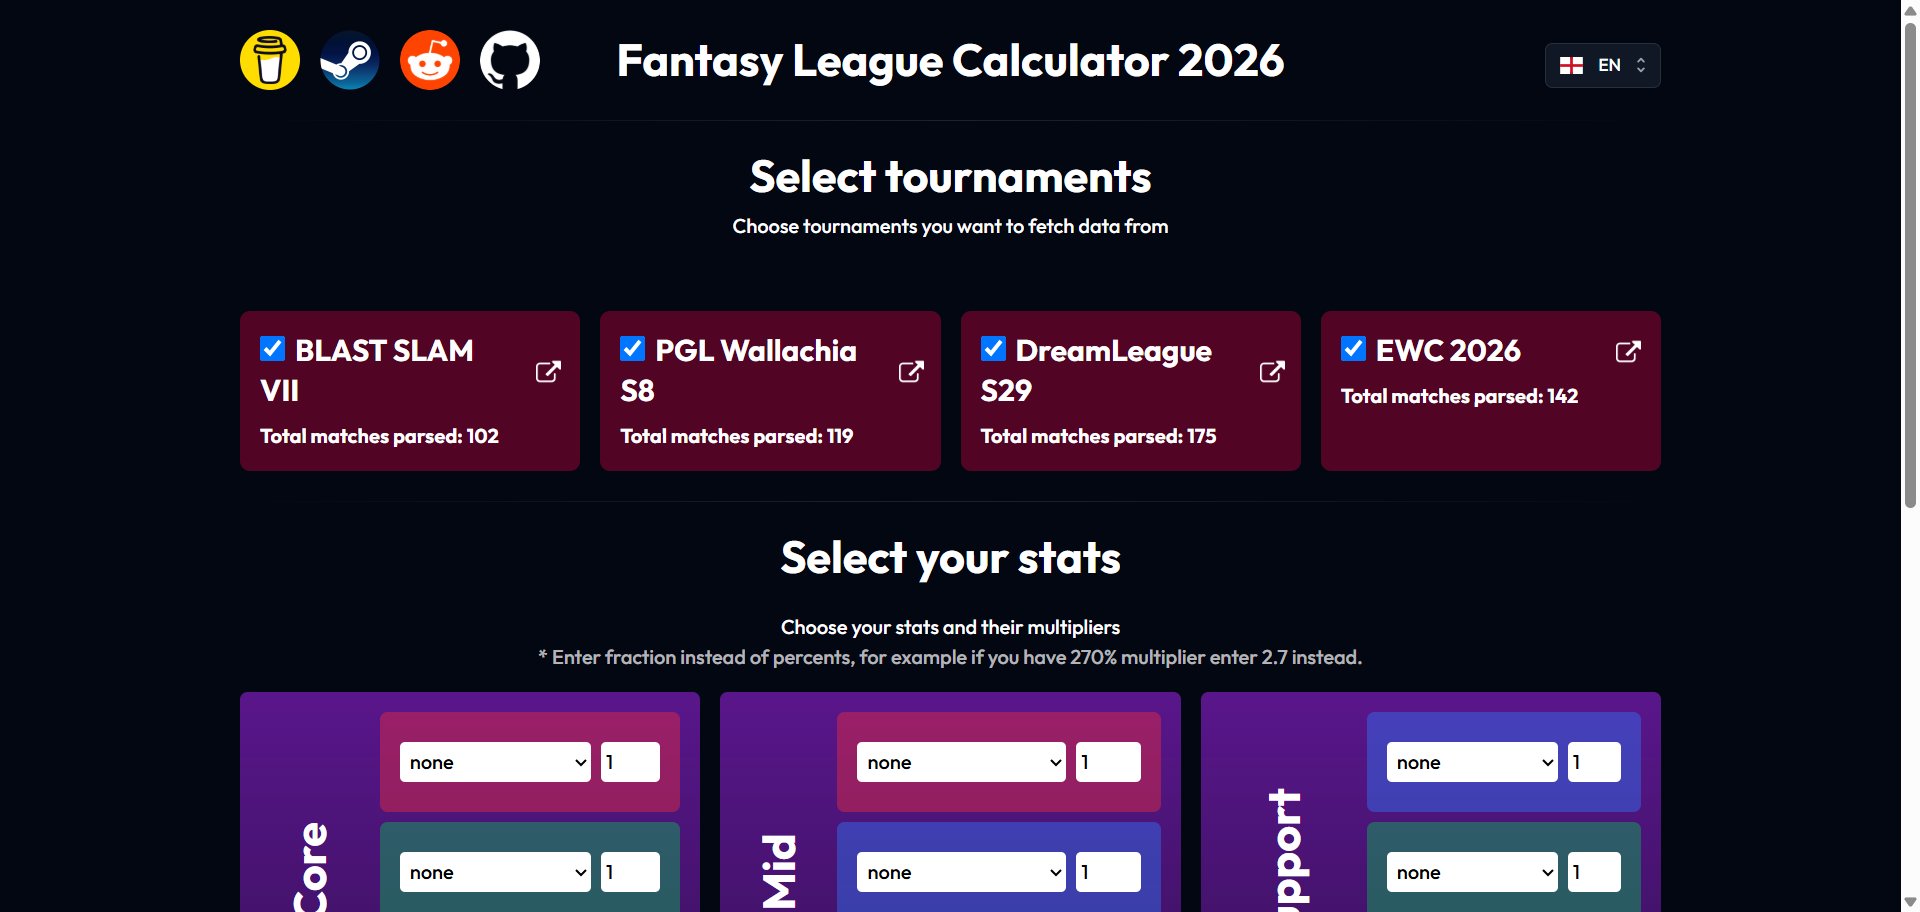
The premise is straightforward: instead of showing you a generic player ranking, the calculator lets you input your exact emblem stats and multipliers, then ranks every eligible player pair by how well they score on YOUR specific configuration. The result is a personalized ranking that reflects what your actual banners reward, not an average of all possible setups.
Tournament Data the Calculator Uses
| Tournament | Matches Parsed |
|---|---|
| BLAST SLAM VII | 102 |
| PGL Wallachia S8 | 119 |
| DreamLeague S29 | 175 |
| EWC 2026 | 142 |
Total: 538 matches of Tier 1 professional Dota 2 from the most recent circuit leading into TI 2026. All four tournaments are selected by default. You can deselect individual tournaments if you want to weight the data toward more recent results (e.g., excluding BLAST SLAM VII if you feel meta has shifted significantly).
The Developer’s Caveat
The bydoodle calculator discloses one known data limitation: “Watchers Taken data counts neutral and enemy wards, which slightly overstates that metric.” If your Support Blue emblem rolled Watchers Taken, the calculator will rank support players higher on that specific stat than their actual fantasy output would justify. Every other stat in the tool is accurate. The developer disclosing this themselves is exactly what an honest community tool looks like — and it is why we credit it here without hesitation.
How to Use the Calculator Step by Step
- Open the calculator. All four tournament datasets are pre-selected.
- Under “Select your stats,” open the Core section. Choose your actual emblem stats from the dropdowns (one per emblem slot) and enter your multiplier as a decimal — 2.7 for 270%, for example.
- Repeat the process for Mid (Red, Blue, Green slots) and Support (Blue, Green, Blue slots).
- Rankings update instantly as you change selections — no submit button needed.
- Compare the top-ranked pairs against the actual TI 2026 participant list, since some players in the tournament pool may not have qualified for Shanghai.
- Use the ranked output to finalize your player picks before roster lock.
The calculator and the community stat guide complement each other. The guide tells you which stats to prioritize in your rerolls. The calculator tells you which players best match those stats once you have them. Together they give you both a stat strategy and a player selection strategy grounded in actual tournament data.
Practical Strategy for TI 2026 Fantasy
The data is in front of you. Here is how it comes together into a complete approach for TI 2026.
Step 1: Stats Before Players
Your emblem stat choice matters more than your player choice. Two pairs with similar average scores can perform very differently on your specific emblem set if their individual stat distributions favor different things. Spend your reroll tokens to get the right stats first, then use the calculator to identify which players score best for your configuration. Never lock players before your stats are settled.
Step 2: Average Score vs Peak Score
Pairs with the highest ceiling (Best Single Game) are not always the highest-average pairs. If you need a standout game to win your fantasy group, go by ceiling — skiter + ATF (4573), Pure + 33 (4586), and Yuma + Wisper (4534) lead there. If you want reliable scoring across all Swiss stage matches, go by average — YSR-04E + niu (1620) and Satanic + Noticed (1570) lead there. Most players benefit from average optimization because the Group Stage is 5+ matches, not one.
Step 3: Consider Team Spread
Drafting Core and Support from the same team means your entire roster’s points depend on that team’s performance. If they go 1-4 in Swiss, you score on almost nothing for Stage 1. Splitting Core from Team A and Support from Team B reduces this variance. The trade-off is you lose “match volume bonus” synergy where all your players are in the same long games. For most players the risk reduction of spreading across two teams is worth it.
Step 4: Your Stage 1 Emblems Are the Foundation
Stage 2 adds two new slots to each banner but does not replace Stage 1 emblems. A strong Stage 1 setup — correct stats, solid tiers — is what Stage 2 builds on. Do not make a weak Stage 1 stat choice hoping to fix it later. There is no fix path for a bad stat in Stage 1. Use your 40 Stage 1 tokens to get the right foundation, and your 30 Stage 2 tokens to improve tiers and traits on top of that foundation.
Step 5: Trust the Data Over Reputation
Pro player name recognition does not translate cleanly to fantasy performance. Some of the highest-profile names at TI fall lower in fantasy rankings than their reputations suggest, while less-covered players lead their role categories. niu leads the Core pair average list paired with YSR-04E (1620 avg). CHIRA_JUNIOR tops the mid default calculator ranking. The data eliminates this reputation bias. Understanding which underlying stats drive performance is the same framework our MMR boosting guide uses to break down what actually separates skill brackets — it is about consistent stat generation, not highlight moments. The same data-based approach applies if you are looking into whether Dota 2 boosting is safe — both systems reward understanding underlying performance, not guessing.
Improve Your Own Stats — Not Just Fantasy Ones
The stats that matter most in TI 2026 Fantasy — CS, GPM, rune control, teamfight participation — are the same benchmarks our coaches use to evaluate real improvement. Want to know exactly what is holding your rank back?



