

Stacking and Pulling Masterclass: Exact Timings

Stacking jungle camps and pulling lane creeps are two of the most leverage-dense habits in Dota 2. A single four-stack on a hard camp can hand your carry 400 to 600 extra gold in about 20 seconds of farm. A clean pull at the right moment resets the lane, denies enemy XP, and buys your position 5 breathing room to roam. Neither action costs anything except 30 to 60 seconds of positioning — and both are built on exact, repeatable timings that almost never change between patches.
Patch 7.41d brought meaningful jungle geometry changes: the medium camp near the offlane was demoted to a small camp, Tormentor and Roshan swapped starting sides, and tier 1 safe lane towers moved slightly away from the pull camps, making pulling more permissive on many lane configurations. This guide covers every timing, every spawn box rule, and the exact decision framework you need to make stacking and pulling automatic in your game — verified against the current map.
What Is In This Guide?
Why Stacking and Pulling Win You Games
Let’s frame this with a number first. At 10 minutes, a single properly farmed double-stack on a medium camp gives a carry roughly 280 to 320 additional gold compared to ignoring the camp entirely. Over a 20-minute laning phase, a support who stacks the 1-minute and 2-minute mark every other minute can generate 800 to 1200 bonus gold for their carry. That is a meaningful fraction of a major item — without any kills required.
Pulling compounds that effect by also denying your opponent resources. When you drag your lane creep wave into a neutral camp, the neutrals kill your own creeps, which means the enemy support and offlaner do not receive that experience. At the same time, the next friendly wave walks forward unopposed, pushing the meeting point back toward your tower and giving your carry a safer farm window.
Together these two mechanics form a loop: stack to create future gold, pull to control the lane now. Mastering both is one of the fastest skill upgrades available to any player below Ancient rank. If you are already working on mechanics and want faster rank progress alongside that practice, the best Dota 2 boosting services place you in brackets where you see these fundamentals executed consistently every game.
The Spawn Box Rule — Everything Begins Here
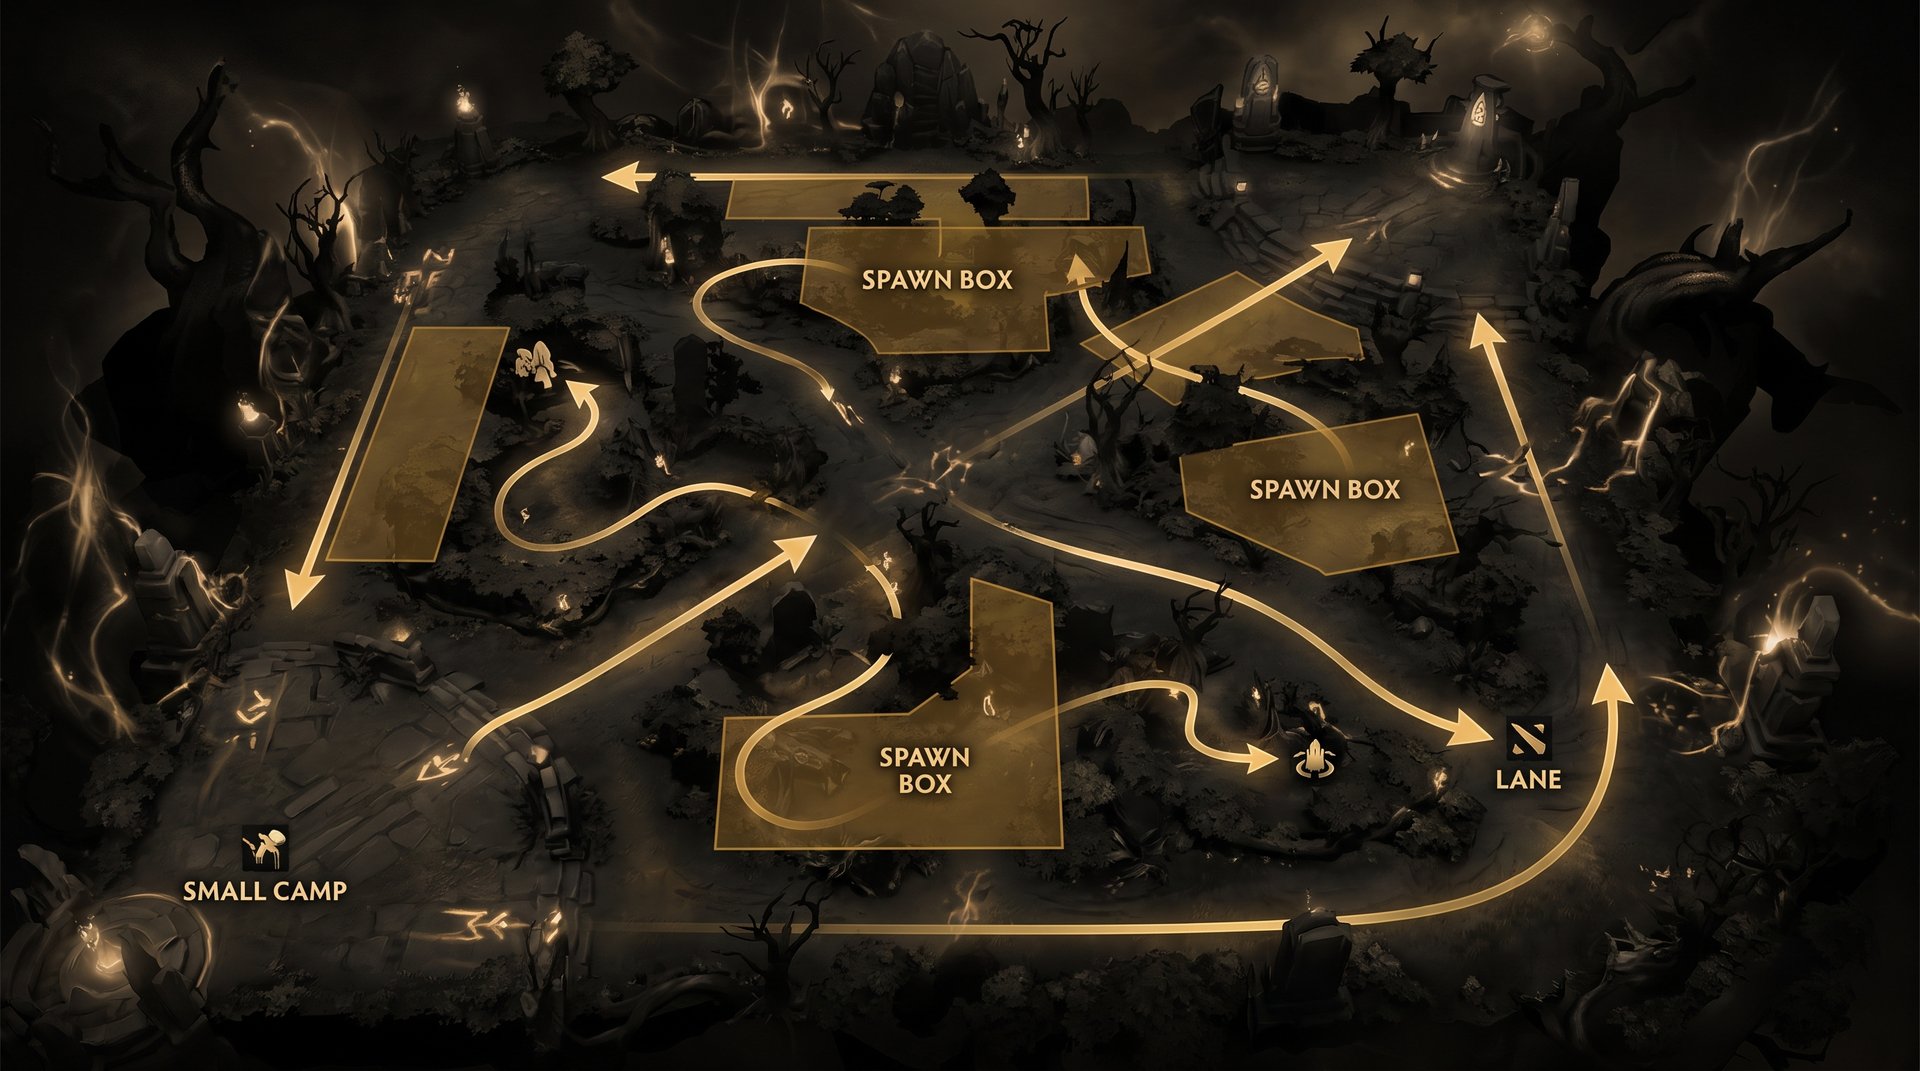
Every neutral camp in Dota 2 has an invisible spawn box — a rectangular area centered on the camp location. At the start of each whole minute, the game engine checks whether any unit is inside that spawn box. If the box is empty, a new group of neutrals spawns. If anything occupies it, no new creeps appear.
Stacking exploits this rule directly. You aggro the existing neutrals and lead them outside the spawn box before the minute mark. When the minute hits, the box is empty, so a fresh set of neutrals spawns on top of the camp position. Once you stop running and break aggro, both groups return to the camp together — a stack. The next time you stack successfully, a third group spawns. And so on.
Blocking uses the same rule in reverse. Enemy supports place an observer or sentry ward inside the spawn box, and the camp cannot respawn at the minute mark. This is called “camp blocking,” and it directly denies your ability to stack or pull from that location. You counter it with a sentry sweep of the spawn box area.
Exact Stacking Timings
The standard timing that works for virtually every neutral camp in the current patch is initiating aggro between XX:53 and XX:55 of any game minute. The goal is to have all creeps fully outside the spawn box by XX:00. Most camps require approximately 5 to 7 seconds of movement after aggro for all units to clear the box, which is why the :53 to :55 window is the standard target.
Starting aggro earlier than :53 risks the leash — neutral creeps snap back to their camp if you move too far away or break line of sight, and a snap-back at :55 means the creeps are back in the box before the minute flips. Starting later than :57 means the creeps may still be partially inside the spawn box when the clock rolls over, causing a failed stack. The :53 to :55 window gives you the margin on both sides.
| Camp Type | Ideal Aggro Window | Notes |
|---|---|---|
| Small camp (easy) | XX:53 — XX:55 | Most forgiving leash radius; good starting point for beginners |
| Medium camp | XX:53 — XX:54 | Tighter timing; creeps take a few extra seconds to fully clear box |
| Large camp (hard camp) | XX:52 — XX:54 | Bigger units move slower; initiate one second earlier for margin |
| Ancient camp | XX:51 — XX:53 | Satyr ancients and large units need the extra time; earliest window |
These windows are stable in patch 7.41d. The camp demotion (the medium camp near the offlane defender’s gate is now a small camp) does not alter the per-camp timing windows — it changes which camps exist, not how the spawn box mechanic operates. If a camp you used to stack as a medium is now a small camp, the :53 window still applies, but the camp yields less gold when farmed.
One important nuance on multi-creep camps: if one unit in the group is still inside the spawn box while another has cleared it, the spawn still fails. Your aggro path needs to draw all creeps in the group together in the same direction. Moving at a diagonal away from the box — rather than straight back along the path they came from — tends to produce cleaner results because it forces the entire group to take the same exit angle rather than splitting around obstacles.
First Stack Opportunity of the Game
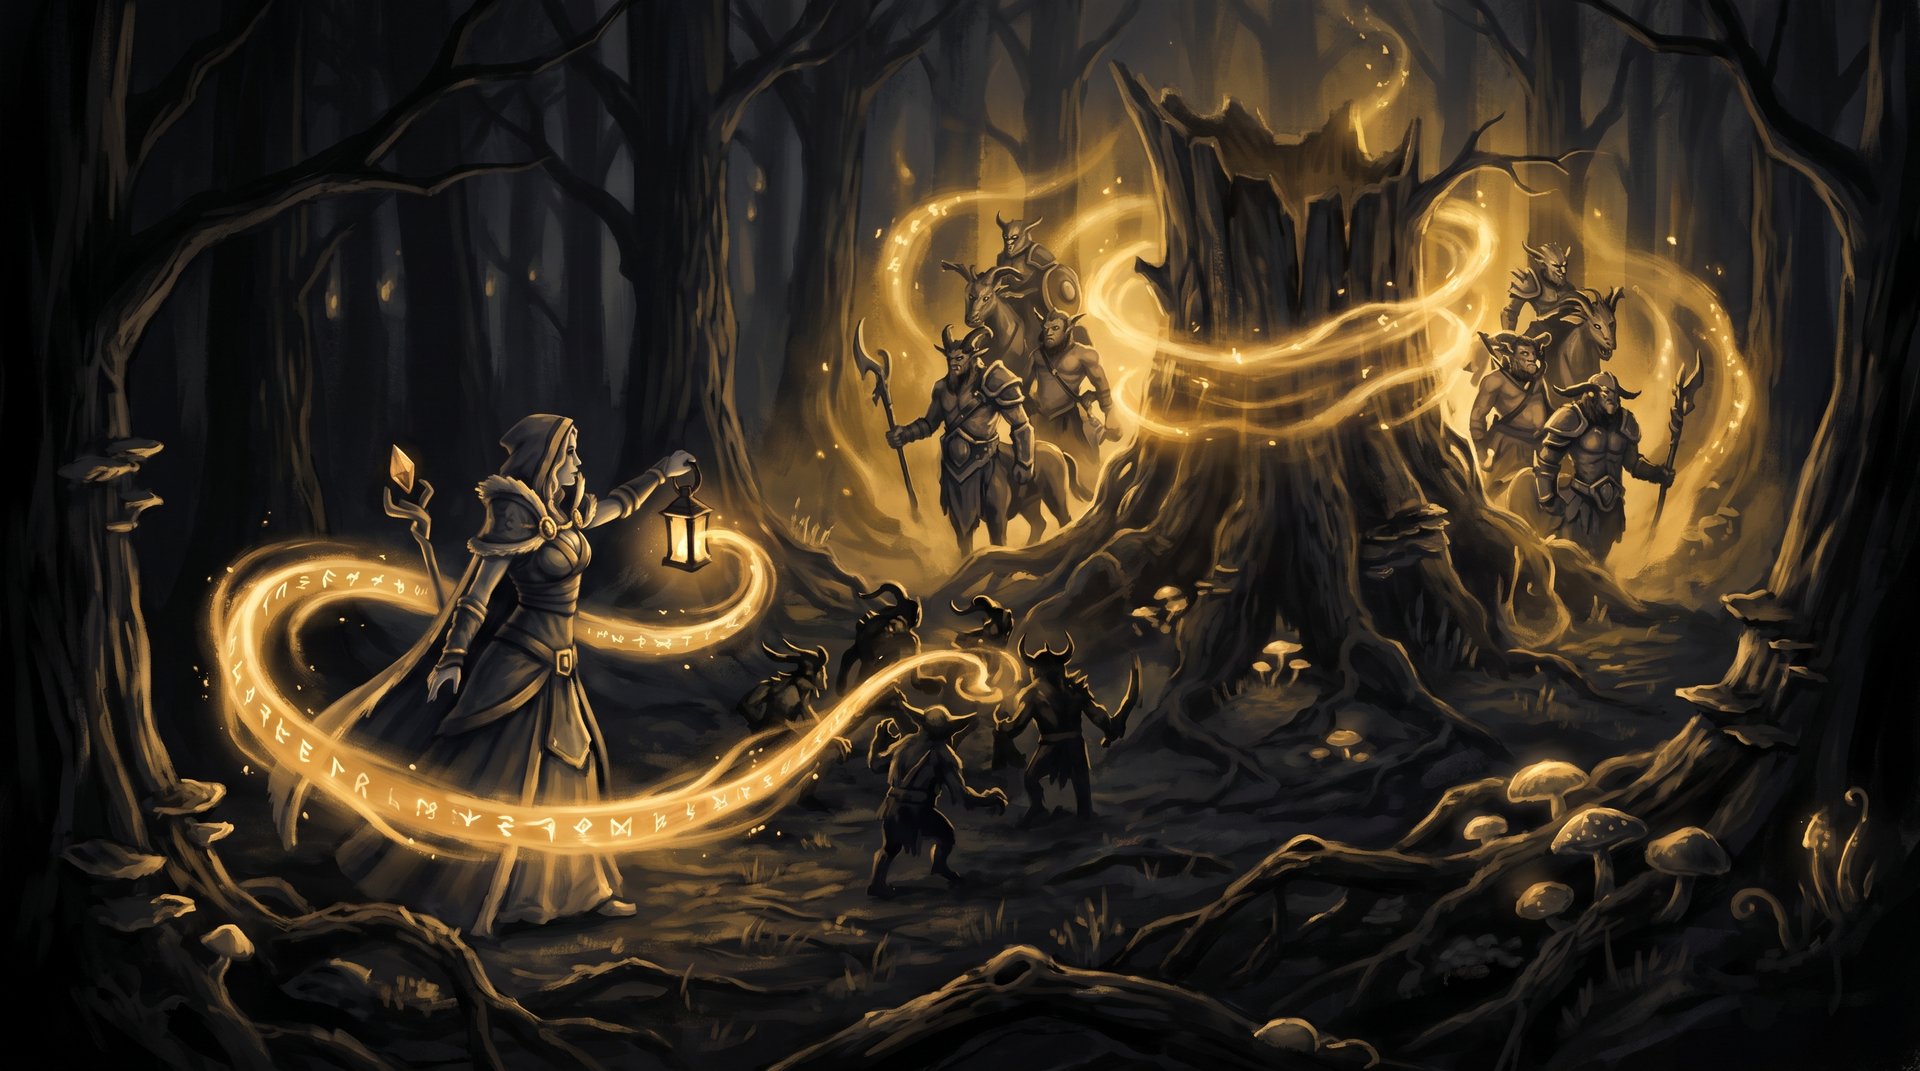
Neutral creeps first spawn at the 0:30 mark after game start. The first stacking window arrives at 0:53, targeting the 1:00 spawn. Many position 5 supports in high-level games walk directly from base to the small camp adjacent to their lane and get this first stack in before any lane interaction. The stack sits waiting in the jungle from minute 1:00, available for a pull one minute later if the lane wave cooperates.
Pull Timings: Small Camp vs Hard Camp
Pulling is separate from stacking. When you pull, you aggro a neutral camp and lead those creeps toward your lane wave so the neutrals intercept and kill your own lane creeps. This denies the enemy experience from your creep wave and shifts the lane equilibrium back toward your tower, creating a safer position for your carry.
Small Camp (Easy) Pull
The small camp pull uses the easy camp adjacent to the safe lane — on Radiant, the triangle camp near the top river; on Dire, the equivalent camp in the bottom jungle. This is the most reliable pull type because the camp is close to the lane, the neutrals are weak enough that your lane creeps take significant damage, and the aggro radius is easy to work with.
The pull window on a standard odd-minute wave is approximately XX:17 to XX:22. Your lane creep wave needs to be within range of the neutral camp’s aggro zone at the moment you draw the neutrals toward the lane. If the wave has already passed the pull zone when you arrive, the neutrals will not encounter it and the pull fails — the neutrals return to camp and your lane wave pushes forward uncontested.
| Pull Type | Window to Aggro Neutrals | Effect on Lane |
|---|---|---|
| Small camp (safe lane) | ~XX:17 — XX:22 (odd minutes) | Removes one wave; moves equilibrium back toward own tower |
| Hard camp (jungle) | ~XX:15 — XX:20 (odd minutes) | Removes wave and denies more XP; higher value but more exposed to wards |
| Double pull (small then hard) | Stack small at :53, pull at next odd minute | Removes wave, creates a stack; highest value, highest execution requirement |
Hard Camp Pull
The hard camp (large camp) sits deeper in the jungle and has stronger, larger creeps. Pulling with it denies more XP because the stronger neutrals kill your lane wave faster and more completely. The aggro window is slightly earlier — approximately XX:15 to XX:20 — because the neutrals have a longer path to reach your lane wave.
Hard camp pulls carry more risk than small camp pulls. The camp is further from the lane, which means you spend more time away from your carry. The spawn box is also a higher-value target for enemy wards, so hard camp pulls are more frequently blocked. Check the area with a sentry before committing to a hard camp pull routine, especially past the 5-minute mark when enemies have settled into ward patterns.
The Stack-Then-Pull Combo
The most efficient early-game pattern for a position 5 support combines both mechanics into a single two-minute sequence:
- At 0:53, aggro the small camp adjacent to your safe lane and stack it. The camp now has a double-stack waiting at 1:00.
- Return to lane. At approximately 1:17 to 1:22, aggro the now-doubled small camp and pull it toward your lane wave.
- The doubled camp is significantly stronger than a single camp, so your lane creep wave dies faster. The denial is more complete and the XP the enemy misses is higher.
- Return to lane. At 1:53, stack the camp again. At 2:17 to 2:22, pull it again.
This two-minute loop is the standard position 5 routine at Ancient and Immortal rank. After several cycles, if your carry has not yet farmed the jungle, you may have 3 to 4 stacks sitting in the camp ready to hand off when the carry’s lane wave clears. A four-stack medium camp is typically worth 500 to 700 gold for the carry, plus 35% of that as passive income for you as the stacker.
7.41 Map Changes That Affect Stacking and Pulling
Patch 7.41 launched on March 25, 2026, and the current 7.41d balance pass retains all structural changes from that major update. Several geometry and spawn changes directly affect how stacking and pulling work on the current map.
Offlane Medium Camp Demoted to Small Camp
The medium neutral camp near the offlane defender’s gate is now a small camp. For supports who stacked this camp to accelerate their offlane core’s income, this is a direct nerf to the value of those stacks. Small camps yield approximately 30 to 40 percent less gold and XP than medium camps when farmed. The timing window to stack it remains the same (:53 window), but the payoff is lower. Consider routing your early stacking to the hard camp or the safe lane small camp instead if carry farm efficiency is the priority.
Tier 1 Safe Lane Towers Moved
Safe lane tier 1 towers were moved slightly further from the pull camps in 7.41. In practical terms, this expands the pull window by a second or two — lane creeps can travel slightly further toward the pull zone before the tower becomes a factor. Pulls that used to fail because the wave was too close to the tower now succeed more consistently. This is a small change but it benefits supports who were previously borderline on timing.
Tormentor and Roshan Swap Starting Sides
Roshan now starts in the top area of the map (formerly Tormentor’s position), and Tormentor starts at the bottom. This changes mid-game rotation patterns and affects how you plan your jungle routing in the 10 to 20 minute window. Supports who previously walked to early Roshan through the upper jungle now have a longer walk from the safe lane side. This slightly reduces how many stacking cycles you can complete before committing to a significant mid-game objective. Our Tormentor positioning and timing guide covers the new spawn-side dynamics in full.
Lotus Pools Moved Closer to Offlane Tower
Lotus Pools relocated to a position nearer the offlane tower in 7.41. This concentrates objective value on the offlane side of the map and changes how supports plan movement between the Lotus Pool timer and the jungle stacking cycle. If you are running a stacking loop on the offlane side, the Lotus Pool pickup is now easier to include in the same rotation. See our Lotus Pool farming guide for the optimal timing patterns around this change.
Earlier First Siege Creep
The first extra siege creep now joins waves at the 30-minute mark — five minutes earlier than it did before 7.41. A second siege creep follows at 60 minutes. This compresses the timeline at which pushing pressure begins to matter. Stacks sitting uncollected in the jungle past the 28-minute mark should be treated as time-sensitive: communicate with your carry to clear them before the siege escalation shifts everyone’s priority to tower defense.
Camp Respawn Rules — What Counts as “Clear”
The respawn check triggers exactly when the game clock rolls to a whole minute (XX:00). Any of the following units inside the spawn box will block the respawn:
- A neutral creep from the same camp that did not clear the box
- A hero standing on or inside the spawn box area
- An observer or sentry ward placed inside the spawn box
- A summon (wolf, skeleton, familiar, or any controlled unit) inside the spawn box
- Any other unit including lane creeps that wandered into the area
A common misconception: the stacked creeps you just drew out and let return to the camp do not block the next respawn, provided they have returned to their resting position rather than sitting directly on the spawn box area. The spawn box is a specific zone, not the entire camp footprint. After a successful stack, both groups settle at roughly the same position, and the spawn box clears in time for the next minute’s check — which is how three, four, and five-stack camps are possible.
Another point players miss: stacked creeps are additive, not replaced. A four-stack medium camp contains four full groups of medium-camp neutrals occupying the same space. AoE damage and damage-over-time abilities are dramatically more efficient here, which is why carries like Sven, Luna, and Medusa are considered ideal stack farmers — their AoE damage hits all groups simultaneously rather than having to single-target through multiple groups.
Lane Creep Behavior and When to Pull
Lane creep waves spawn from the barracks every 30 seconds. The first wave arrives at 1:00 game time. After that, waves alternate: odd-minute waves are standard compositions, even-minute waves follow the same schedule, and catapults are added to waves from the 20-minute mark onward (with the 7.41 change moving the first siege creep to minute 30).
The right moment to pull is when a fresh wave has just left your barracks and is moving through the jungle toward the lane. If you pull during the moment a wave is already mid-lane past the pull camp zone, the neutrals will not encounter your lane creeps, the neutrals return to camp, and your wave continues pushing forward unimpeded. That is strictly worse than not pulling at all.
Pulling does not need to kill the lane wave entirely to be useful. A partial pull that reduces the wave’s HP can shift equilibrium slightly even if the neutrals do not finish off every creep. It also sometimes draws secondary aggro from enemy creeps that walk toward the sound of combat, disrupting their pathing. These partial effects are harder to plan for but they accumulate over many pull attempts and contribute to lane control.
For players studying role execution more deeply, understanding how pulling interacts with carry last-hit windows is covered in our MMR progression guide — specifically the laning phase section on support economics and when to prioritize lane control versus jungle income.
Advanced Stacking — Multiple Stacks and Efficiency
Once single stacks are reliable, the next skill target is building multiple stacks efficiently across a rotation without losing lane presence. The core constraint is time: from the :53 stack moment to the next wave’s pull window at roughly :17, you have about 24 seconds. That is enough to stack one camp and return to lane, or to stack two nearby camps if you know the path between them well.
Double-Stacking in One Pass
On many jungle configurations, two camps sit close enough that you can stack both in a single minute. The general approach: aggro the first camp at :53, walk briskly to the second camp, and aggro it at :55 or :56. Both spawn boxes are clear when the clock hits :00. This requires a practiced path — you cannot hesitate at the second camp or the first group will leash back before you land aggro on the second. Practice the route in a lobby before attempting it under pressure in a live game.
Stack Count and Practical Limits
There is no engine-level cap on stack count, but practical limits emerge around four to five stacks on most camps. At high stack counts, the creeps are so densely packed that individual groups block each other’s pathing when you try to draw them out at :53. Blockage causes some groups to leash back early without clearing the spawn box, breaking the chain. To stack beyond four, pull the creeps further from the box on each cycle to give them room to move as a group rather than bunching up in each other’s pathing.
Ancient camps have a bit more physical space and can sometimes sustain five to six stacks with extended pulling angles. A five-stack ancient camp is one of the highest single-location gold events available in a Dota 2 game — a carry with appropriate items clearing it can earn well over 1000 gold from one camp in under 30 seconds.
Gold Share for the Stacker
The player who last stacked a camp receives 35% of the gold and XP earned by whoever farms that stack. This bonus is in addition to the farmer’s full earnings — both players benefit from the same stack. Over a 30-minute game where you build and successfully hand off 8 to 10 stacks, the passive income to your support hero can approach the cost of a major item component. Stacking is not purely altruistic: it is simultaneously one of the best things you can do for your carry and one of the better things you can do for your own economy.
Common Mistakes and How to Fix Them
Starting Aggro Too Late
The most common beginner error is beginning the stack attempt at :57 or :58. At that point, the creeps cannot clear the spawn box in time, the minute flips with them partially inside, and no new creeps spawn. The fix is using the ALT indicator. If the indicator is already red when you arrive and the clock shows :57, skip this minute and wait for the next window rather than wasting a movement cycle on a failed attempt.
Pulling Without Checking the Wave Position
Many supports pull on autopilot without confirming where the lane wave is. If the wave is already past the midpoint of the lane, the neutral creeps you aggro will not encounter it, and your wave crashes into the enemy tower uncontested. Always confirm the wave position with a quick camera pan before committing to a pull path.
Stacking Camps the Carry Cannot Farm Efficiently
Ancient stacks have the highest gold value, but most carries cannot clear them safely or quickly until they have their core items completed. A three-stack ancient camp waiting in the jungle at minute 5 for a carry who still needs Phase Boots and a first core item is misdirected effort. Stack the camp type your carry can realistically farm in their current item state, and save ancient stacks for when your carry signals they are ready to take them.
Ignoring Camp-Blocking Wards
Enemy supports will ward your pull camp spawn boxes to deny the entire routine. If creeps stop spawning at a camp that should be active, sweep the spawn box area with a sentry. Leaving a blocked camp uncontested for several minutes hands the enemy support a free 5 to 8 stacking cycles worth of denial. Counterward the spawn box, then resume stacking. This ward-counter-ward dynamic is a microgame within the support matchup, and understanding it is part of what separates good supports from great ones. Our guide on wisdom rune control and free XP mechanics covers the broader vision economy that overlaps with this counterplay.
Forgetting to Communicate Stacks
A stack sitting uncollected in the jungle is gold that is not in your carry’s inventory. Ping the stacked camp when the carry’s lane wave clears. A single ping at the right moment redirects them to 300 to 600 bonus gold they would otherwise miss as they mindlessly continue laning. Stack communication costs you nothing and converts your setup work into actual items on your core.
Frequently Asked Questions
Stack Every Minute — and Let a Specialist Climb for You
Mastering stacking and pulling takes repetition. Breaking through a rank ceiling you have been stuck at for months takes something else entirely. TeamSmurf’s Dota 2 specialists maintain near-perfect jungle routines while winning your games, and our coaches rebuild your support fundamentals in one replay session.
Boost My MMR Book a Coaching Session



