

Neutral Items Tier List 2026: Best Picks by Tier and Role

Neutral items in Dota 2 are no longer the random loot drops they used to be. Since patch 7.38 introduced the Madstone crafting system, and patch 7.41 made enchantment options fixed per hero attribute, choosing the right neutral item at each stage of the game is now a deliberate decision that separates players who climb from players who stagnate.
This tier list covers every tier of neutral items in the current patch 7.41d, ranks the best artifact picks for each tier, explains which enchantments pair with which roles, and gives you a breakdown by position so you can walk into every game knowing exactly what to craft and why. Whether you play carry, mid, offlane, or support, the right neutral item at the right time is free power — and too many players waste it.
If you want to climb faster while you study the neutral item system, professional Dota 2 boosting can place you in a bracket where these decisions actually matter. At TeamSmurf, our boosters use every advantage available, including optimal neutral item selection, to maintain the highest win rates in the game.
What This Guide Covers
The Madstone Crafting System in Patch 7.41d
The neutral item system introduced in patch 7.38 replaced the old random drop mechanic with a two-part crafting system built around a resource called Madstone. Understanding how Madstone works is the foundation for everything else in this guide.
When you clear a neutral creep camp, you earn Madstones. Fully clearing a regular camp gives 2 Madstones to you and 1 to a random ally. Fully clearing an Ancient camp gives 3 to you and 2 distributed among allies. This means cores who are actively farming neutral camps accumulate Madstones faster, while supports receive them through passive ally distribution.
Each neutral item is built from two components you choose separately during crafting:
- Artifact — the main ability of the item, either active or passive. This is the effect that defines what the item does in a fight or during farming.
- Enchantment — passive stat bonuses or attribute gains. These complement the artifact and add secondary value to the item.
When you have enough Madstones to craft a neutral item for the current tier, your HUD counter flashes with an audio cue. You can then open the crafting panel and select one artifact from the available options and one enchantment to combine with it.
What Patch 7.41 Changed About Neutral Items
Patch 7.41 made two significant changes to how neutral items work that every player in 2026 needs to understand.
First, Tier 1 items became available from the very start of the game — minute 0:00. Previously you had to wait until 5:00 before Tier 1 could be crafted. This means early camp clears now generate immediate neutral item progress, which raises the value of clearing any camp before minute five instead of ignoring them.
Second, enchantment options are no longer purely random. In patch 7.41, the available enchantments presented to you during crafting are now influenced by your hero’s primary attribute. This means strength heroes consistently see different enchantment pools than agility or intelligence heroes, which makes it possible to plan your enchantment target before the crafting screen even opens. You are no longer hoping for the right bonus — you can predict what your options will look like.
Patch 7.41 also increased the number of artifact choices for Tiers 2 through 5 from 4 options to 5, giving you slightly more flexibility when reaching each new tier.
Neutral Item Tier Unlock Timings
Each tier of neutral items becomes craftable when enough Madstone has been collected, which is gated to the following game time windows:
| Tier | Unlock Time | Madstone Cost | Notes |
|---|---|---|---|
| Tier 1 | 0:00 (game start) | 6 | Available immediately; cost increased from 5 in patch 7.41 |
| Tier 2 | 15:00 | 15 | First major power upgrade for most heroes |
| Tier 3 | 25:00 | 25 | Roles become more defined; pick for your job |
| Tier 4 | 35:00 | 35 | Game-changing effects; choose based on state of game |
| Tier 5 | 60:00 | 45 | Extremely powerful; games reaching this point are close |
When you craft a higher tier item, you are offered your current artifact as one of the options, along with new tier options. You also get a fresh set of enchantment options that replace the old enchantment. If your previous enchantment was working well for your build, you may want to keep the artifact and accept whatever new enchantment appears — or vice versa. The choice is independent each tier.
In Turbo Mode, all timings are halved. At 70+ minutes in a normal match, neutral items can be re-crafted without restriction, though each re-craft of a Tier 5 item costs additional Madstones.
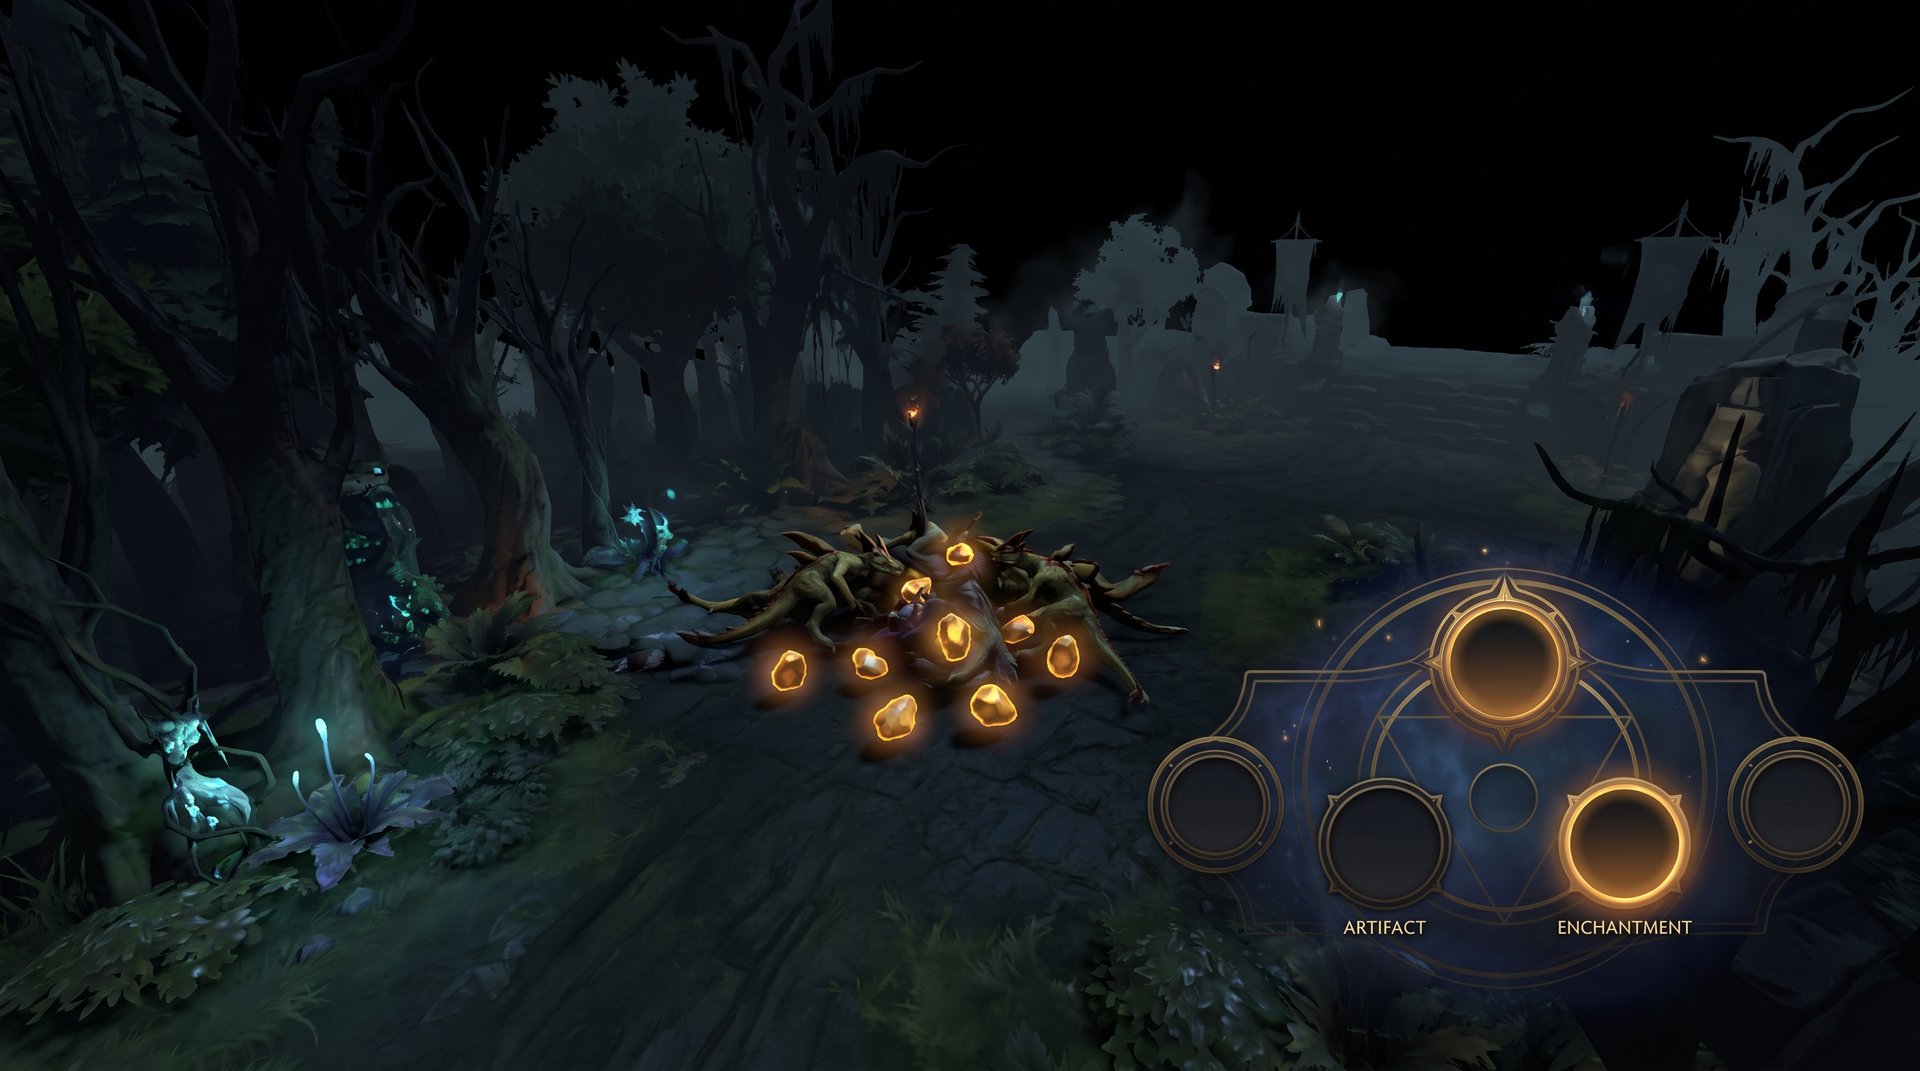
Tier 1 Neutral Items — The Early Game Setup
Tier 1 neutral items are available from the start of the game in patch 7.41d. They are low-power by design, but they still provide meaningful early advantages if you choose correctly. At this stage of the game, the marginal value of every bonus is high because base stats are low and small differences compound through the laning phase.
The artifact options you can craft at Tier 1 in the current patch include:
| Artifact | Type | Effect | Best For |
|---|---|---|---|
| Ash Legion Shield | Active | Grants a physical damage barrier at the cost of temporary movement speed | Frontline cores, supports in aggressive lanes |
| Chipped Vest | Passive | Returns 30 damage to attacking heroes (20 to creeps) — functions like a mini Blade Mail | Offlaners, supports who get right-clicked |
| Dormant Curio | Passive | Amplifies the next artifact by +30% to its core values; also adds an Unleashed enchantment bonus | Heroes planning a specific Tier 2+ artifact |
| Duelist Gloves | Passive | Grants additional attack speed | Physical damage carries, attack-speed-scaling heroes |
| Kobold Cup | Active | Grants +10% movement speed to all allies within 1000 AoE for 6 seconds (40 mana, 40s CD) | Supports, ganking mids, position-dependent cores |
| Occult Bracelet | Passive | Each attack received gives +0.4 mana regen for 5 seconds (stacks up to 5x) | Spellcasters, mana-hungry supports in lane |
| Pollywog Charm | Active | Grants +8 HP regen for 12 seconds to an ally, +10% MS in water (40 mana, 45s CD) | Supports healing allies, lane sustain heroes |
| Weighted Dice | Passive | Randomly computes base damage or creep bounty on attacks | Situational; less consistent than other options |
Strongest Tier 1 Picks
Duelist Gloves is one of the strongest Tier 1 artifacts for right-clickers. Attack speed is universally useful, it scales with item purchases, and it makes a meaningful difference during laning skirmishes and early tower trades.
Kobold Cup is the premier support pick at Tier 1. A team-wide movement speed boost with a 40-second cooldown can set up ganks, disengage from danger, chase down kills, or get to a teamfight faster. The mana cost is trivial at this stage. Any position 4 or 5 who can get this item early puts constant pressure on the map.
Occult Bracelet is underrated for mid heroes and spellcasting offlaners. Getting hit in lane is unavoidable, and turning that into mana regen means you sustain your spells longer during trades. This is particularly strong on intelligence heroes who want to cast frequently in lane.
Dormant Curio is a planning item, not a power item. If you already know which Tier 2 artifact you want, picking Dormant Curio can amplify that artifact significantly when you upgrade. This is a high-skill-ceiling pick that pays off for players who plan their neutral item path.
Tier 2 Neutral Items — The First Real Power Spike
Tier 2 comes online at the 15-minute mark, which typically coincides with the end of laning phase and the start of early rotations. This is when neutral items start contributing meaningfully to teamfight outcomes. The jump from Tier 1 to Tier 2 value is significant, and community discussion consistently identifies Tier 2 as the most impactful upgrade point in terms of relative power gain.
| Artifact | Type | Effect | Community Tier (7.41c data) |
|---|---|---|---|
| Essence Ring | Active | +240 to current and max HP for 15 seconds (150 mana, 25s CD) | S-Tier |
| Defiant Shell | Passive | Returns an attack every 5 seconds for 80% of your right-click damage; procs passives | A-Tier |
| Mana Draught | Active | Restores 70 + 3% of max mana; can target allies; no mana cost (65s CD) | A-Tier |
| Searing Signet | Passive | Spells dealing 40+ magic damage apply an 80 magic DPS burn for 6 seconds | B-Tier |
| Tumbler’s Toy | Active | Dash forward 300 units; no mana cost (15s CD) | B-Tier |
| Poor Man’s Shield | Passive | Blocks 30 damage (melee) or 20 damage (ranged) from attacks | C-Tier |
Note: tier ratings in this table are based on community analysis from the 7.41c patch window, sourced from Strafe Esports rankings. Individual hero matchups and game states can shift any item up or down in value.
Why Essence Ring Dominates Tier 2
Essence Ring is the S-Tier Tier 2 artifact by a wide margin in community rankings, and the reason is timing. At 15 minutes, 240 HP is an enormous swing in a skirmish. Every hero dies faster at this point in the game because nobody has major defensive items yet. Essence Ring turns a hero who was about to die into one who survives with HP to spare, potentially swinging a fight with a single use. The 25-second cooldown means it comes back quickly enough to use in back-to-back skirmishes during the transitional phase of the game.
Defiant Shell is the best Tier 2 for any core who expects to right-click in fights. The counter-attack also procs on-hit passives like mana break, bash, and corruption, which makes it disproportionately strong on heroes like Outworld Destroyer, Faceless Void, and Viper who already have strong passive attack effects.
Mana Draught is the most flexible support pick at Tier 2. The fact that it can target allies and has no mana cost makes it a utility item that enables your team rather than just helping you personally. On a position 5 who is constantly low on mana, this item effectively acts as a free cast extension every minute.
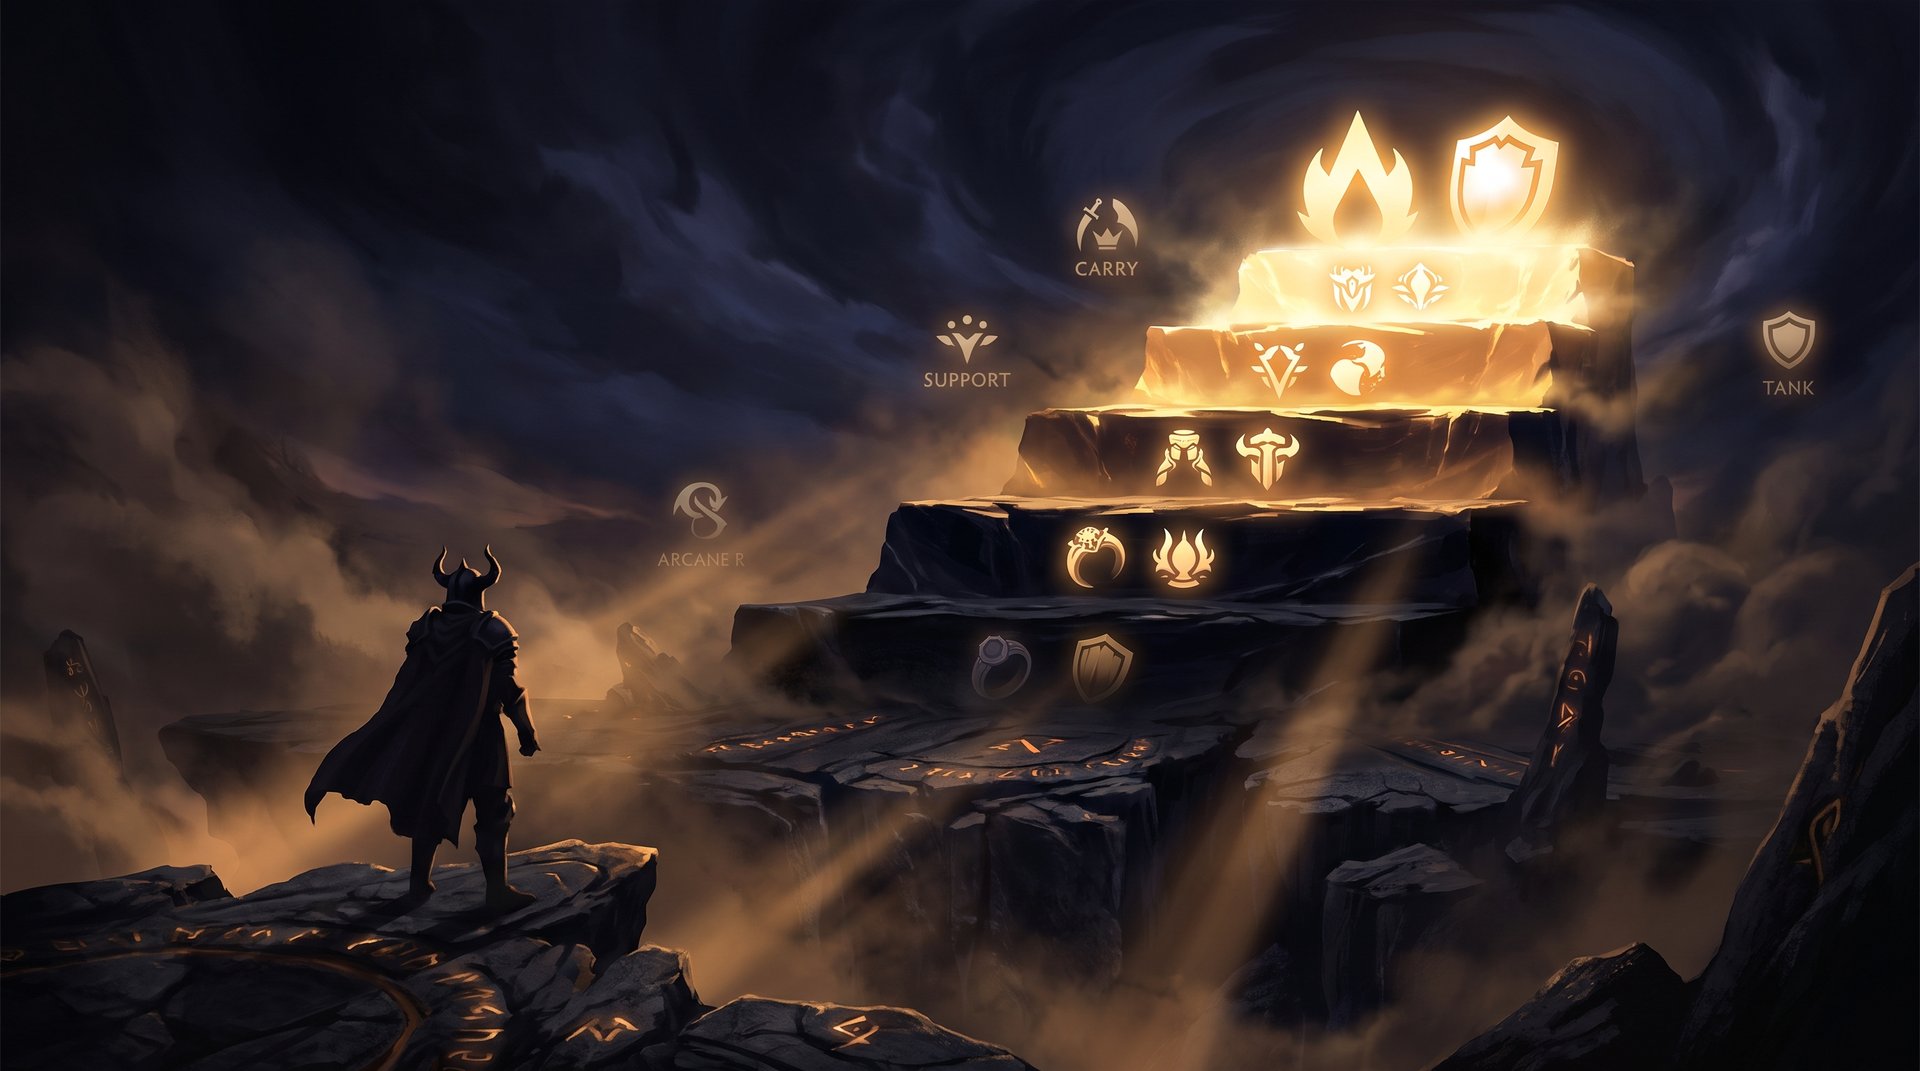
Tier 3 Neutral Items — Mid-Game Roles Define Choices
Tier 3 unlocks at the 25-minute mark, which in most games coincides with the first major objectives — Roshan attempts, high ground pressure, or power spike fights. By this point, hero roles are sharply defined and the right neutral item for a carry looks completely different from the right item for a position 4.
| Artifact | Type | Effect | Best Role |
|---|---|---|---|
| Gunpowder Gauntlet | Passive | Next attack deals +120 bonus magic damage and 50% cleave; 6-second cooldown | Physical carry, mid |
| Jidi Pollen Bag | Active | 700 AoE poison: -30% HP regen and 12% max HP damage over 12 seconds (45s CD) | Support, mid, offlaner vs. regen heroes |
| Psychic Headband | Active | Pushes enemy back 400 units; 600 cast range; 15-second cooldown | Initiators, supports who set up kills |
| Serrated Shiv | Passive | 20% chance to deal +10% of target’s current HP as bonus physical damage; always +200 vs Roshan | Physical carry, Roshan fighters |
| Unrelenting Eye | Passive | Increases slow resistance significantly | Carries who get kited, tempo mids |
| Whisper of the Dread | Passive | -15% daytime vision, +10% spell damage | Spellcasters who fight at night or indoors |
Top Tier 3 Picks in the Current Meta
Gunpowder Gauntlet is the strongest Tier 3 for right-clicking cores. The 120 magic damage proc on a 6-second cooldown adds roughly one significant bonus hit per fight, and the 50% cleave makes it excellent during teamfights near clustered enemies. Because the damage type is magic, it bypasses physical armor, which makes this item consistent even against armored targets.
Serrated Shiv is the standout pick for carries who need to kill Roshan or fight tanks. The +200 fixed damage bonus against Roshan is exceptionally strong and will noticeably reduce Roshan’s kill time at this stage of the game. In teamfights, the 20% chance to hit for 10% of current HP is more valuable against high-HP targets like axe, centaur, or any strength core who is stacking HP.
Jidi Pollen Bag punishes regeneration-based heroes who were dominant in earlier patches. Heroes like Timbersaw, Necrophos, and Huskar all rely heavily on HP regen to sustain through fights. A well-placed Pollen Bag at 25 minutes can deny them the sustain they need to trade favorably, and the 12% max HP damage over time is significant even without the regen reduction.
Psychic Headband is worth highlighting for supports who play around kill setups. A 400-unit push into allies, towers, or terrain features creates kill opportunities that otherwise do not exist. Combined with heroes like Lion, Tiny, or Pudge, this item creates force-to-position mechanics from the neutral item slot — a highly underrated choice at Tier 3.
Tier 4 Neutral Items — Game-Changers After 35 Minutes
Tier 4 unlocks at 35 minutes, which is the point in most Dota 2 games where one team is applying pressure and the other is trying to stabilize. These items are meaningfully powerful and can tilt a fight that would otherwise be even. Choosing the right Tier 4 item requires reading the game state rather than defaulting to a predetermined pick.
| Artifact | Type | Effect | Best For |
|---|---|---|---|
| Crippling Crossbow | Active | Deals 75 damage, slows 80% MS, reduces healing by 40% for 4 seconds (800 range, 75 mana, 12s CD) | Anti-sustain, chase support, ranged cores |
| Flayer’s Bota | Active | Temporarily grants significant base damage and attack speed bonus | Physical carries who need burst windows |
| Giant’s Maul | Passive | Empowers the next attack to deal a massive critical hit; timed cooldown | Right-click carries; Roshan |
| Idol of Scree’Auk | Active | Temporarily grants slow resistance and evasion | Cores who get controlled, kite-heavy matchups |
| Metamorphic Mandible | Active | Enter insect form granting magic resistance and movement speed temporarily | Cores facing heavy magic burst teams |
| Rattlecage | Passive | Fires projectiles at enemies after taking damage; good against melee threats | Frontliners, offlaners who absorb damage |
Reading the Game for Tier 4
Tier 4 is where item selection becomes genuinely situational. Crippling Crossbow is the strongest Tier 4 when the enemy team has one or more sustain-based heroes who have been unkillable in fights. The 40% healing reduction stacks with other heal reduction sources and comes on a 12-second cooldown, meaning you can apply it in every engagement. Supports who pick this item can effectively punish regeneration heroes who were previously a problem to kill.
Metamorphic Mandible is one of the highest-impact defensive Tier 4 items when facing a magic-heavy lineup. A temporary magic resistance + movement speed boost gives you a reactive escape tool and damage reduction window, which can completely change whether you survive a burst combo from heroes like Zeus, Skywrath, or Lion in the late game.
Giant’s Maul rewards right-clicking cores who already deal high physical damage. A critical hit from a carry at the 35+ minute mark — when attack damage is already high from items — can delete a support or stunted hero in a single attack. This is the most aggressive offensive pick among Tier 4 options and is best when you are ahead or in a position to force fights.
Tier 5 Neutral Items — The Late-Game Lottery
Tier 5 items unlock at the 60-minute mark and require 45 Madstones to craft. Games that reach this point are typically close, heavily contested affairs where small advantages can decide the outcome. Tier 5 neutral items are among the most powerful effects in the entire game and have the potential to single-handedly swing a fight.
| Artifact | Type | Effect | Notes |
|---|---|---|---|
| Book of the Dead | Active | Summons two demonic warriors and two demonic archers | Strong for pushes and Roshan fights; timing-dependent |
| Dezun Bloodrite | Passive | +15% spell radius, but all spells cost an extra 35% of mana as HP | High-HP spellcasters who can afford the HP cost |
| Divine Regalia | Passive | Increases all outgoing damage; disabled if the hero dies (similar risk to Divine Rapier) | When significantly ahead or in desperation situations |
| Fallen Sky | Active | Functions as a Blink Dagger and Meteor Hammer combined | Heroes without mobility; split-pushers; initiators |
| Minotaur Horn | Active | Provides basic dispel and temporary magic immunity on spell cast | Cores who need dispel; magic immunity gap fill |
| Riftshadow Prism | Active | Spend HP to create an illusion of yourself | Cores who benefit from illusions; scouting |
| Spider Legs | Active | Grants bonus movement speed and free pathing temporarily | Chase, escape, split push, crossing terrain |
| Stygian Desolator | Passive | Attacks reduce the target’s armor significantly | Physical damage carries; pairs with armor reduction stacks |
Fallen Sky is widely considered the most impactful Tier 5 artifact in community discussions because it provides mobility and area damage from a single item slot. A hero who lacked initiation suddenly has a Blink Dagger plus a meteorite slam combo. This dramatically changes the threat profile of a hero at the 60-minute mark and is especially valuable on strength heroes who already deal high physical damage but lacked the tools to gap-close reliably.
Stygian Desolator is the top pick for physical damage carries who are in a fighting lineup. Armor reduction in the late game is multiplicatively powerful because everyone has accumulated armor through items and talents. Reducing armor even by 7-10 points at the 60-minute mark significantly increases the physical damage your entire team deals to the target.
Minotaur Horn fills a specific gap for cores who do not already have Black King Bar or are in games where BKB has been countered. The dispel and magic immunity on cast is a niche but powerful reactive defensive option, particularly against persistent debuffs like hex, silences, or roots that would otherwise lock you out of fighting.
Enchantments — Choosing the Right Bonus
The enchantment is the second half of every neutral item you craft. Since patch 7.41, the enchantments offered during crafting are influenced by your hero’s primary attribute, which means you can predict your options in advance. Enchantments scale as you move up tiers — you will see the same enchantment categories at higher tiers providing stronger versions of the same bonuses.
Enchantments Available in Tiers 1 Through 4
| Enchantment | Bonuses Provided | Best For |
|---|---|---|
| Alert | Attack speed / Night vision | Cores who fight at night; any right-clicker |
| Brawny | Health / Health regen | Frontline heroes, supports who need to survive |
| Mystical | Mana regen / Magic resistance | Spellcasters, supports needing mana sustain |
| Quickened | Movement speed / Mana | Gankers, supports, positioning-dependent heroes |
| Tough | Damage / Armor | Versatile; good on most cores |
| Greedy (T2-T3) | GPM / Mana — costs reduced attack damage | Farming cores with strong base attack damage |
| Keen-Eyed (T2-T3) | Cast range / Mana regen — costs max mana | Supports and mids who want longer cast range |
| Vast (T2-T3) | Attack range (melee and ranged) | Melee carries who want to hit from safer distance |
| Vampiric (T2-T4) | Lifesteal / Spell lifesteal | Carries and mids who sustain through combat |
Enchantments at Tiers 4 and 5
At the higher tiers, enchantments become dramatically stronger and introduce new effects:
- Crude (T4-T5): Health restoration / Base attack time — at the cost of intelligence. Good for strength heroes who do not need intelligence.
- Timeless (T4-T5): Debuff duration / Spell amplification. Excellent for support heroes who apply disables.
- Titanic (T4-T5): Base attack damage / Status resistance. Valuable for right-clicking carries and heroes who get disabled frequently.
- Evolved (T5): Increases primary attribute significantly. Strongest for heroes who scale directly with their primary attribute.
- Boundless (T5): Attack range and cast range. Gives ranged advantage from the neutral item slot — a rare stat source.
Best Neutral Items by Role in Patch 7.41d
The following recommendations represent strong general choices for each position across all tiers. The best item for your specific hero may differ based on matchup and game state, but these provide reliable baseline targets to work toward.
Position 1 — Carry
Carries want neutral items that increase damage, attack speed, survivability, or attack efficiency. The priority shifts slightly depending on whether you are ahead (offense) or behind (defense).
- T1: Duelist Gloves for attack speed scaling; Ash Legion Shield as a defensive backup in bad lanes
- T2: Essence Ring for lane/skirmish survival; Defiant Shell if your passive attacks (bash, mana break) are relevant
- T3: Serrated Shiv for physical carry burst and Roshan utility; Gunpowder Gauntlet in fights with clustered enemies
- T4: Giant’s Maul when ahead; Idol of Scree’Auk when you need evasion or slow resistance
- T5: Stygian Desolator for armor shred; Divine Regalia when you are already dominant
Position 2 — Mid
Mid heroes vary significantly by archetype but generally want tempo, mana efficiency, or damage amplification from their neutral items.
- T1: Occult Bracelet for mana regen in trades; Kobold Cup for rotation and gank support
- T2: Mana Draught for mana sustain; Searing Signet for spell-based mids who hit multiple targets
- T3: Whisper of the Dread for spellcasters who fight in Roshan pit or indoor terrain; Gunpowder Gauntlet for physical mids
- T4: Metamorphic Mandible vs. magic teams; Crippling Crossbow when the enemy team has a high-regen hero
- T5: Fallen Sky if you lack initiation; Stygian Desolator for right-click mids
Position 3 — Offlane
Offlaners typically need a mix of initiation tools, survivability, and space-creation items. The neutral item slot can fill gaps that standard item builds leave open.
- T1: Chipped Vest if you expect to get right-clicked; Ash Legion Shield as an initiation window tool
- T2: Essence Ring is strong for any offlaner who dives; Tumbler’s Toy for escape and position adjustment
- T3: Psychic Headband for kill setups and force-to-position plays; Jidi Pollen Bag against high-regen enemies
- T4: Rattlecage for frontline offlaners who absorb damage; Metamorphic Mandible for magic resistance
- T5: Fallen Sky to add initiation on heroes who already have strong follow-up; Minotaur Horn for dispel utility
Position 4 — Soft Support
Soft supports need mobility, mana efficiency, and items that create plays or save allies.
- T1: Kobold Cup for the team-wide movement speed; Pollywog Charm for lane sustain
- T2: Mana Draught shared with allies; Tumbler’s Toy for repositioning in fights
- T3: Psychic Headband for kill setup; Jidi Pollen Bag against sustain heroes
- T4: Crippling Crossbow as a powerful disable and heal reduction tool; Idol of Scree’Auk if you die to crowd control
- T5: Spider Legs for aggressive roaming; Minotaur Horn as an emergency defensive cast option
Position 5 — Hard Support
Hard supports live in the neutral item slot as one of their few sources of power outside of cheap utility buys. Choosing well here matters more for position 5 than any other role.
- T1: Kobold Cup is the best position 5 Tier 1 item in almost every scenario; Pollywog Charm as a backup
- T2: Mana Draught for mana extension; Essence Ring for survival in fights you should not be entering
- T3: Psychic Headband or Jidi Pollen Bag depending on the enemy lineup
- T4: Crippling Crossbow for the disable and heal reduction combo; Timeless enchantment here significantly amplifies your disable duration
- T5: Spider Legs or Minotaur Horn depending on whether you need movement or magic protection
Common Mistakes Players Make With Neutral Items
Most of the value players leave on the table with neutral items comes from the same handful of mistakes repeated across every rank. Fixing these is straightforward if you know what to look for.
Delaying the craft. Once the audio cue fires and your Madstone counter flashes, you have earned the right to craft your next item. Waiting two, five, or ten minutes before opening the crafting panel means playing with less power than you paid for. Craft immediately when you reach the threshold.
Defaulting to the first option. Many players look at the first artifact in the list, recognize it, and pick it without reading the others. Patch 7.41d presents 5 artifact options at Tiers 2 through 5. Read all five and pick based on your current game state, not familiarity.
Ignoring the enchantment. The enchantment is half the item. A poor enchantment choice can reduce a good artifact to mediocre value. Since patch 7.41 made enchantments predictable by hero attribute, you should know before the crafting panel opens roughly what enchantment categories will appear and which one you want.
Choosing damage when you need to survive. Players who are dying frequently continue to pick offensive neutral items because they want to improve their ability to fight back. Picking a survivability enchantment or a defensive artifact extends how long you can stay in fights, which often leads to more damage than the offensive item would have provided.
Never considering Dormant Curio. Dormant Curio at Tier 1 is one of the highest-skill-ceiling choices in the game. If you know which Tier 2 artifact you want — especially Defiant Shell, Essence Ring, or Mana Draught — picking Curio and amplifying that item can provide more cumulative value than any direct Tier 1 artifact. It requires advance planning but rewards it heavily.
The neutral item system in patch 7.41d is designed to reward deliberate play. Every choice is visible, predictable, and consequential. If you want to skip the climbing curve and get placed in a rank where these decisions play out at the highest level, Dota 2 MMR boosting gives you that placement directly. Our boosting safety guide explains how we keep every account secure throughout the process.
Ready to Climb Without the Grind?
TeamSmurf is the only Dota 2-exclusive boosting and coaching service trusted by thousands of players. Our Immortal-level boosters play with optimal neutral item choices every game and have the win rates to prove it.



