

Glyph and Scan: Micro-Advantages That Win Close Games

Glyph of Fortification and Scan are two of the most misused abilities in all of Dota 2. Every team has them. Most teams waste them — burning Glyph in a panic, forgetting Scan exists until the game is already over. Meanwhile the teams that win close games consistently are the ones treating these two buttons as actual resources with timing rules attached.
This guide breaks down exactly how both abilities work in patch 7.41d (verified numbers, not estimates), where players leak value every game, and how to start turning Glyph and Scan into a genuine competitive edge when games go deep.
Table of Contents
How Glyph of Fortification Actually Works
Glyph of Fortification is a shared team ability — any player on the team can activate it from the top panel. Here are the verified numbers for patch 7.41d, sourced from the Dota 2 Wiki and official patch notes:
| Stat | Value | Notes |
|---|---|---|
| Cooldown | 300 seconds | 5 full minutes |
| Building immunity duration | 7 seconds | All allied structures |
| Creep immunity duration | 4 seconds | Allied lane creeps only |
| Tower multishot (T2+) | Active during Glyph | Tier 1 towers do not multishot |
| Initial cooldown at game start | 180 seconds | First usable at approximately 3:00 game time |
The key number most players underestimate is the 300-second cooldown. If you burn Glyph at minute 10 during a small skirmish near Tier 1, your Glyph is not available again until minute 15. A well-coordinated enemy team will immediately start pushing a high-ground tower or threatening your Tier 2 knowing you have no Glyph for the next 5 minutes. That information — what your Glyph cooldown is — matters as much to the enemy as the ability itself.
The Tower Multishot Detail
When Glyph is active, Tier 2 and higher towers gain multishot — they can hit multiple enemy units simultaneously instead of targeting one unit at a time. This is often overlooked because it happens automatically and there is no visual indicator beyond extra damage numbers appearing. During a 7-second Glyph window, a Tier 3 or Tier 4 tower fighting off a five-hero push is significantly deadlier than normal because it is simultaneously hitting support heroes and carries.
Tier 1 towers do not get the multishot bonus. This means Glyph is mechanically less powerful for defending outer towers than it is for defending high ground, which feeds directly into the strategic logic of when to use it.
Creep Immunity — the Hidden 4 Seconds
Glyph also makes your lane creeps temporarily immune to damage for 4 seconds (3 seconds shorter than building immunity). This comes up in specific situations — notably when your creep wave is pushing into an enemy base and you want to preserve it as a siege unit, or when enemy AoE could clear the wave before your tower can do work. Most players ignore this detail, but at higher skill levels it occasionally turns a close base defense into a survivable one by keeping a wave alive long enough to chip tower armor while enemies retreat.
The Tower-Fall Reset Mechanic
This is the single most important mechanical detail about Glyph and the one most players understand incorrectly.
When the first tower of each tier is destroyed by the enemy, your Glyph cooldown is reset. Specifically it is set to 1 second remaining (rather than instantly ready) — this 1-second delay was added by Valve to prevent accidental double-activations when a tower falls mid-fight and a player’s hand is already near the button.
The tiers that trigger a reset:
- First Tier 1 tower destroyed: Glyph cooldown resets
- First Tier 2 tower destroyed: Glyph cooldown resets
- First Tier 3 tower destroyed: Glyph cooldown resets
- Tier 4 towers destroyed: No reset (the Ancient is exposed by this point)
This mechanic has a major strategic implication: if you burn Glyph to save a Tier 1 tower and then lose it 30 seconds later anyway, you wasted the Glyph entirely. The better play in many cases is to let the Tier 1 fall (banking the Glyph reset), then immediately use Glyph on the next threat — typically a Tier 2 push arriving within 60 to 90 seconds of the first tower dying.
The “Let It Fall” Decision
Deciding whether to Glyph to save a tower or let it fall and bank the reset requires reading three things simultaneously:
- Is the enemy set up to immediately take Tier 2? If they have buybacks available, strong initiation, and creep waves already at your Tier 2, letting Tier 1 fall for the reset is risky — they will chain the push into Tier 2 before your team resets the map.
- How long is your Glyph cooldown? If Glyph comes back in 30 seconds anyway, burning it to save the tower costs very little. If it just came off cooldown and you have a fresh 5 minutes available, preserving it matters more.
- What is the enemy doing off the map? This is where Scan connects directly to Glyph decisions (covered in the interaction section below).
The Most Common Glyph Mistakes by Rank
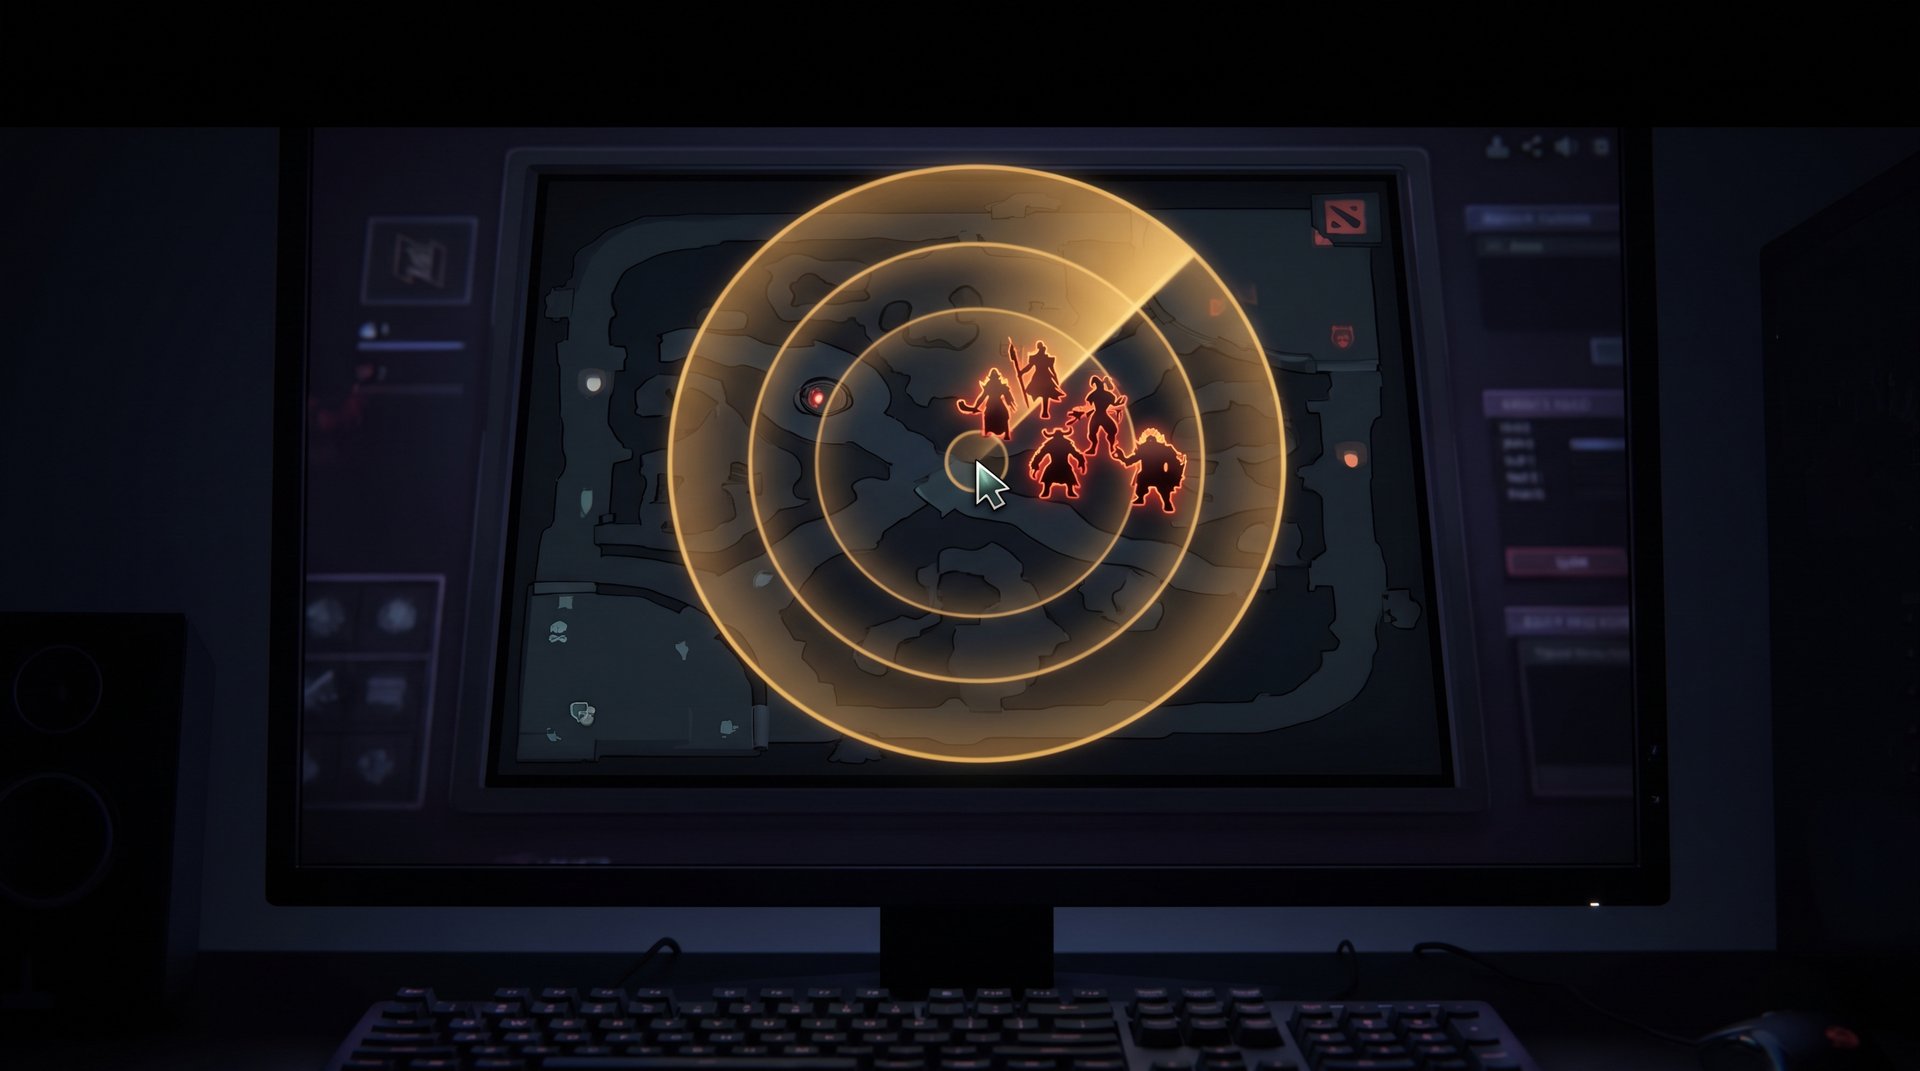
Glyph misuse follows predictable patterns depending on bracket. These are the failure modes to actively eliminate from your game.
| Mistake | What Actually Happens | Fix |
|---|---|---|
| Panic Glyph on Tier 1 | 5-minute cooldown wasted; enemy chains into Tier 2 anyway | Assess whether tower is actually going to fall before pressing |
| Glyph activated too early in fight | 7 seconds expires while enemies are still outside tower range | Wait until enemies are fully committing inside tower range |
| Nobody calls Glyph | Multiple players hover the button; nobody presses until tower is dead | Assign Glyph responsibility explicitly — one player, every game |
| Double Glyph attempt | Two players press within 1 second; cooldown fires once, second press wasted | Call “Glyph” in team chat when pressing so others know it is covered |
| Forgetting Glyph exists | Ancient takes 4,000 damage in 7 seconds for free during a winnable base defense | Build a trigger habit: any time 3+ enemies enter your base, check the Glyph icon |
| Holding Glyph too long | Ancient at 10% health before pressing — too late to matter | Glyph when enemies first commit to the push, not when the building is already critical |
The most dangerous mistake in close games is the third one — nobody calling Glyph. When a game is even and the enemy team is coordinated, the 5-minute Glyph availability becomes a soft timer they use to plan their next push window. If nobody on your team is tracking whose finger is on the button, you will lose a Tier 3 tower to a 2-second gap in reaction time.
When to Actually Use Glyph
The clearest framework: use Glyph when the alternative is losing a tower that would not otherwise have a reset, and your team can actually use the 7 seconds.
Tier 1 Towers
Glyphing a Tier 1 tower is almost never correct unless your team is running back and will arrive within the 7-second window to fight. A Tier 1 tower on 500 HP against a 5-hero push while your team is alive and 15 seconds away is worth Glyphing — the extra 7 seconds buys your team time to reset. A Tier 1 tower on 500 HP while your whole team is dead? Let it fall. The reset is more valuable than the tower.
Tier 2 and Tier 3 Towers
Glyph becomes significantly more valuable at Tier 2 and Tier 3 because losing these towers has structural map consequences. A Tier 2 lost in the mid lane opens a clear highway to your high ground. A Tier 3 lost means Barracks are exposed. The math shifts here — preserving these towers is worth burning your 5-minute cooldown in most situations where your team has buybacks and the subsequent fight is winnable.
The Throne Save
Using Glyph with the Ancient under pressure is the highest-stakes decision in the game. Seven seconds does not sound like much, but in a game decided by a single fight, 7 seconds of Ancient immunity can be the difference between surviving a Mega defense and losing. The key is not to wait until the Ancient is at 5% health — by then your team is likely dead and the 7 seconds buys nothing. Glyph the moment your Ancient takes its first hit from a committed 5-hero push while your team still has buybacks.
For more on converting defensive holds into winning pushes, see our guide on Dota 2 tower pushing strategy and closing out games faster.
How Scan Works
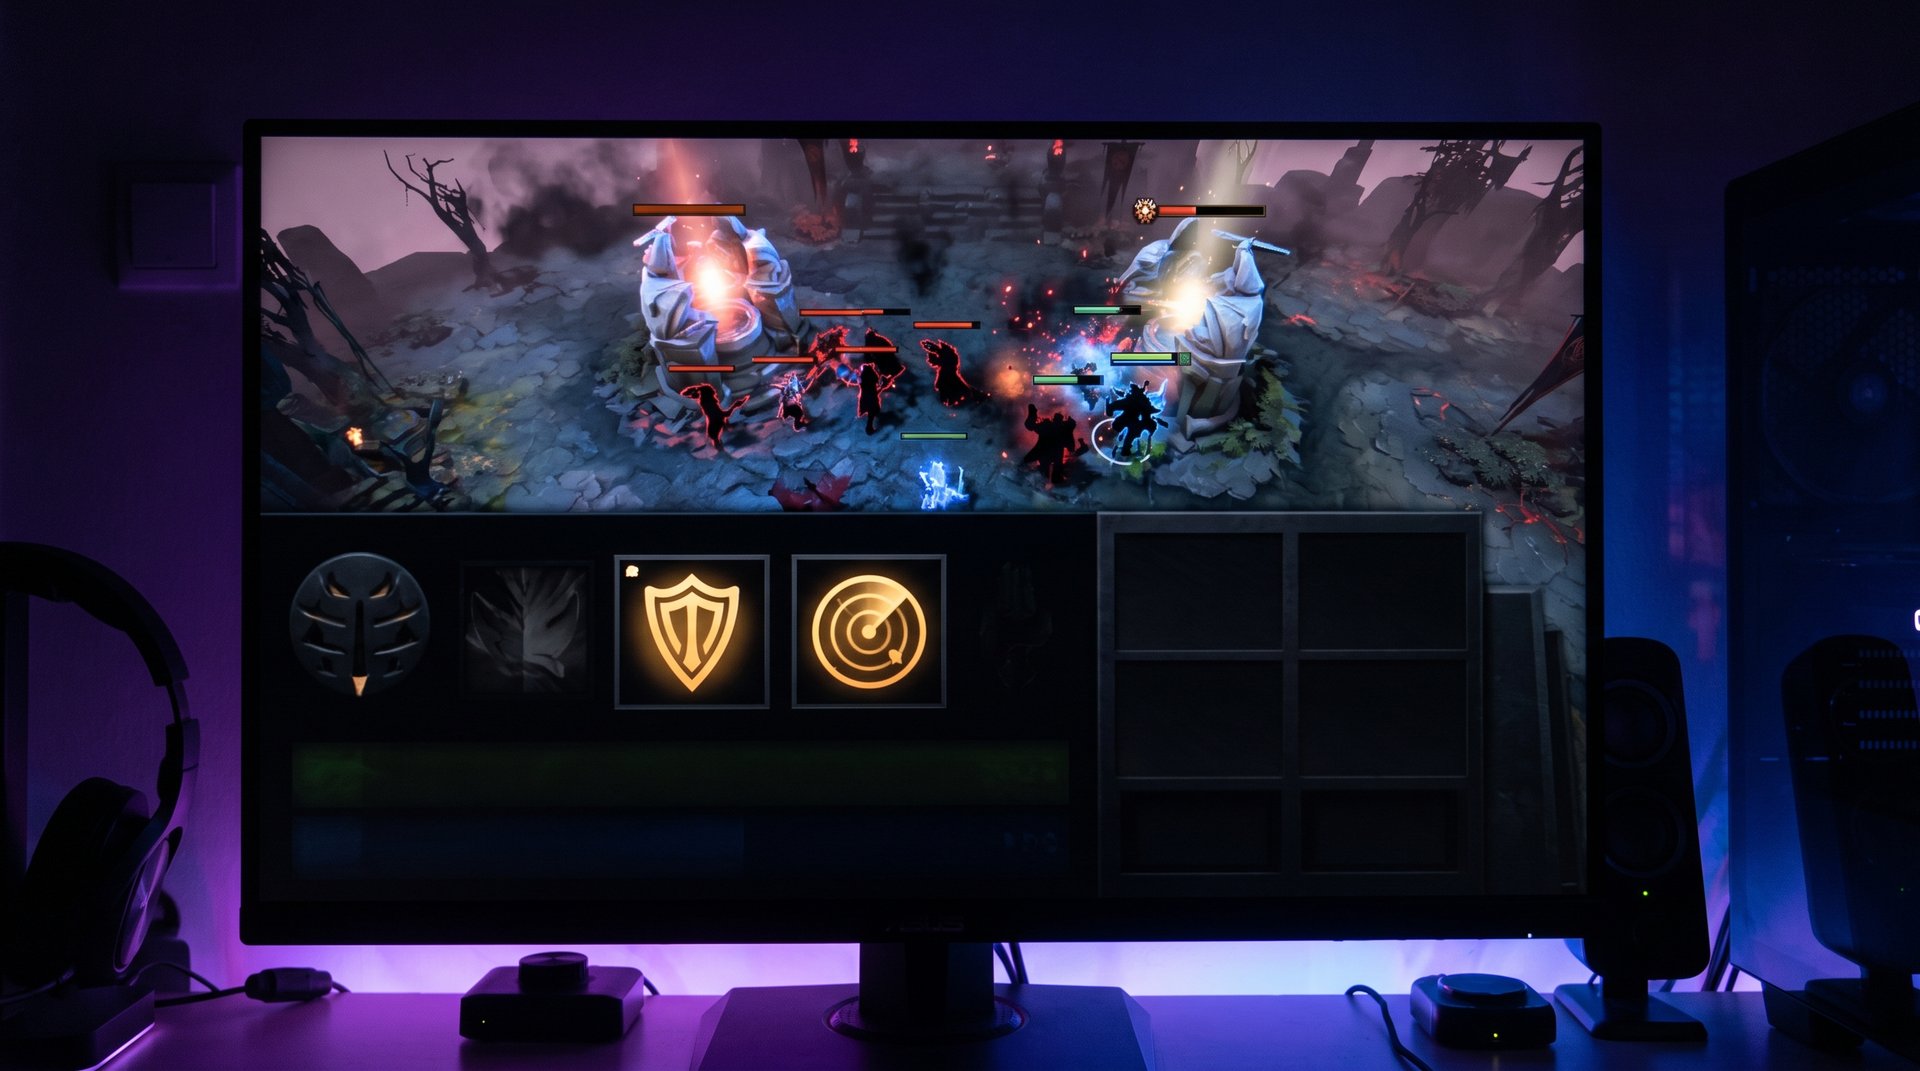
Scan is a team ability that reveals whether any enemy heroes are present in a targeted area of the map. All numbers below are sourced from the Dota 2 Wiki and Liquipedia and verified against patch 7.41d notes — no changes to Scan were found in 7.41a through 7.41d, so these figures are current:
| Stat | Value | Notes |
|---|---|---|
| Charges | 2 | Shared across the entire team |
| Charge replenish time | 210 seconds per charge | 3.5 minutes per charge |
| Detection radius | 900 AoE | Centered on the clicked location |
| Scan duration | 8 seconds | Checks every 1 second for a total of 9 checks |
| Detects through Smoke of Deceit | Yes | A direct hard counter to smoke ganks |
| Detects invisible units | Yes | Riki, Clinkz, BH with invis, etc. |
| Detects invulnerable units | No | Hidden or invulnerable units excluded |
| Charge consumption | Team-wide | One player using a charge depletes it for all 5 |
What Scan Does NOT Tell You
Scan tells you whether enemy heroes are in the area. It does not tell you how many. The result is binary — heroes present or not. This limitation matters strategically: a positive Scan at the Roshan pit tells you at least one enemy is there. It does not confirm a full 5-man commit. A single observer ward or enemy scout hero triggering a Scan before the main team arrives is a real scenario at all levels of play.
Scan checks every 1 second starting immediately on activation, for a total of 9 checks over the 8-second window. An enemy hero who walks into the Scan area after activation will still be detected on the next check interval. This means Scan can catch heroes moving toward a location in real time, not just heroes already stationed there.
Smoke and Scan — the Interaction Most Players Miss
Scan reveals heroes under Smoke of Deceit. This is one of the most underused pieces of counterplay available to every team at zero gold cost. A standard 5-man smoke gank requires the enemy team to bunch up and move through fog. If you suspect a smoke gank is forming — enemy supports have been off the minimap for 40+ seconds, your lanes are overextended, enemy core items are timing out — dropping a Scan on a likely choke point can reveal the gank before it arrives.
This turns Scan into a cheap early warning system. A single charge used proactively to catch a smoke gank saves more value than several reactive Scans placed after the gank has already landed.
Scan Usage by Rank and Situation
The highest-impact Scan uses follow consistent patterns across all brackets. Here is how to think about each one:
Pre-Roshan Check
Before your team commits to taking Roshan, drop a Scan on the Roshan pit or the common rotation paths around it. A positive Scan tells you the enemy team is nearby — either they know you are going or they are rotating to contest. A negative Scan does not guarantee safety (the enemy could be just outside the 900 radius), but it significantly lowers the risk of starting the objective.
Fog Pressure Check
When farming a dangerous side of the map with no vision, Scanning ahead of your hero lets you make a more informed risk assessment. Scan does not replace Observer Wards and should not substitute for proper support warding — but in a pinch, especially in close games past 30 minutes when wards are constantly being dewarded, it buys information that wards cannot provide.
Defending When Behind
In a game where your team is behind, Scan is disproportionately valuable. You cannot afford to lose a teamfight defending base without knowing where the enemy is setting up. A Scan on the enemy side jungle before a big fight tells you whether they are moving as 5 or splitting attention between two objectives. This is especially relevant for the Glyph-Scan decision interaction discussed in the next section.
Tormentor and Objective Timers
Tormentor spawns at minute 20 and respawns every 10 minutes after. If your team is fighting for Tormentor at 20:00, a Scan around the Tormentor location 30-40 seconds in advance tells you whether the enemy is already rotating. At each subsequent 10-minute interval the same logic applies. Scan charges replenish every 3.5 minutes, so your team will almost always have at least one charge available for the Tormentor timer if the resource is managed with any intentionality.
For a full breakdown of Tormentor decision-making, see our Tormentor guide on timing, setup, and who should take the Shard.
Glyph and Scan Timing Windows
The following table maps key game events to the relevant Glyph and Scan decision points. Treating these as a mental checklist improves resource management without requiring game-by-game reinvention.
| Game Event | Glyph Consideration | Scan Consideration |
|---|---|---|
| Minute 3 (Glyph first available) | Note Glyph is now active; assign one caller | First charge available from game start |
| Minute 7-10 (First bounty rune fight) | No base threat yet; leave on cooldown | Scan choke points if team is planning a gank |
| Tier 1 under threat (before 15 min) | Assess: will team arrive in time? If no, let fall for reset | Scan nearby for 5-man smoke before committing to defend |
| Minute 20 (Tormentor spawn) | Enemy may push while you fight Tormentor — track CD | Scan Tormentor location 30s in advance |
| Roshan timer | Enemy may smoke into base — keep Glyph fresh if possible | Scan Roshan pit 30-60s before your team goes in |
| First tower of any tier falls | Reset fires — Glyph available in 1 second; call it out | Scan Tier 2 approach to check for immediate follow-up push |
| Late game high-ground siege | Save Glyph for full 5-man entry; do not waste on ranged creeps alone | Scan enemy jungle to confirm all 5 are in position |
| Ancient under pressure | Glyph the moment Ancient takes first hit from committed 5-man | If charges available, Scan buyback lane before using Glyph |
How Glyph and Scan Work Together
Most players think about Glyph and Scan as separate abilities with separate use cases. The teams that win close games treat them as connected information and action tools that feed each other in a decision loop.
The core loop works like this:
- A threat to an objective develops — enemy push forming, Roshan timer approaching, smoke gank suspected
- Scan first: Confirm enemy positioning before committing Glyph. A Scan showing 0 enemy heroes near your Tier 2 means the push is not a 5-man commit. Your team might handle it in an open fight without burning Glyph at all.
- Glyph with information: If Scan confirms a full commit, activate Glyph knowing it is needed rather than guessing under pressure
This sequence matters most in late games where Glyph cooldown is precious. Burning Glyph on a 3-hero push that your team could have won in a 4v3 fight is a worse outcome than using one Scan charge to confirm the threat level first.
The Scan-Before-Glyph Rule
In any situation where you are uncertain whether to Glyph, take 2-3 seconds to drop a Scan first. The Scan costs nothing except one of two 3.5-minute charges. The Glyph costs your entire 5-minute defensive window. If the Scan shows no heroes near the approaching danger, hold Glyph. If it confirms a 5-man, activate Glyph immediately with certainty.
This one habit — Scan before Glyph when uncertain — is the single highest-leverage behavioral change most players in the Herald-to-Archon range can make with these two abilities. It costs virtually nothing to implement and directly prevents the most common Glyph waste pattern.
Smoke Check to Protect Glyph
Enemy teams frequently time a Smoke gank to arrive immediately after your Glyph has been used. The sequence: watch you burn Glyph defending an outer tower, smoke up, walk into your vulnerable base. Scanning potential smoke paths in the 30-60 seconds after you have used Glyph and are temporarily defenseless is a direct counter to this pattern.
Because Scan reveals heroes under Smoke of Deceit, a positive Scan in this window gives you 8 seconds of warning — enough to position defensively, buy time with stall abilities, or call buybacks before the gank lands.
High MMR vs Low MMR Usage Patterns
The difference in Glyph and Scan usage between low MMR and high MMR games is not mechanical — it is communicational and informational. The buttons work the same way at every rank. What changes is how deliberately players use them.
What High MMR Teams Do Differently
- Assign Glyph caller at the start: In coordinated play, one player — usually the offlaner or shotcalling support — is responsible for monitoring and calling Glyph. Everyone else defers. There is no confusion about whose job it is when a tower is falling.
- Verbalize cooldown state: High-level players call Glyph status during pushes. “Glyph is up,” “Glyph in 45 seconds,” “Glyph just used — no aggressive plays for 5 minutes” are information calls that shape team tempo. Enemies who know your Glyph is on cooldown will push. Communicating that state internally keeps your team from making plays that assume Glyph backup that does not exist.
- Trade Glyph deliberately: At high MMR, letting a tower fall for a Glyph reset when the game is even is a calculated trade made proactively, not a reactive mistake. The decision is discussed in chat before the tower is already at 10% health.
- Scan on a schedule: Instead of saving Scan for emergencies, high-MMR teams use it preventatively at predictable timers — Tormentor at 20:00, Roshan on a known clock, major objectives on spawn timers. The 3.5-minute charge replenish means charges are almost always available if you are not panic-burning them.
What Low MMR Teams Do Differently
- Nobody tracks Glyph cooldown; it either gets forgotten entirely or double-pressed by two panicking players simultaneously
- Glyph is used reactively — only after a tower is already visually near-dead on screen
- Scan is treated as an emergency panic button used after the team is already confused rather than a proactive information tool
- The Smoke-reveals-Scan interaction is unknown to most players, so smoke ganks that would have been counterable with a 2-second Scan land for free repeatedly across the game
The gap is entirely closeable at the individual level. You do not need your whole team to adopt these habits simultaneously. If you are the one tracking Glyph cooldown and calling it in team chat, and you are the one dropping preemptive Scans at objective timers, you are adding value that most players at your rank are not providing. The MMR gain from consistent Glyph and Scan management in close games is real and consistent.
For more on how each role contributes to objective control and decision-making across the map, see our Dota 2 roles guide. The wisdom rune control guide also covers similar resource-tracking habits that compound with Glyph and Scan awareness. And if you want targeted coaching to build these habits faster, check our best Dota 2 boosting services page and our full MMR boosting guide — or read is Dota 2 boosting safe if you have questions about the process.
Community Data on Glyph and Scan Effectiveness
Note: the following observations are based on community-aggregated data from sources like Dotabuff and OpenDota and should be interpreted as general patterns rather than controlled statistics.
Community data suggests that Glyph usage rates increase with player rank — not in raw activation count per game, but in the percentage of activations that result in a tower being successfully defended. In lower brackets, community tracking indicates Glyph is often activated but the tower falls anyway within 30-60 seconds, suggesting the ability was either used too early or the underlying fight was already lost before Glyph fired. Higher-ranked games show a stronger correlation between Glyph activation and successful tower defense outcomes per activation, according to community data.
For Scan, community data shows that preemptive Scan use (before an obvious danger has materialized on screen) is a strong differentiator between high-level and lower-level games. Reactive Scan use after a fight has already started is significantly less effective at changing outcomes than predictive Scan use tied to known objective timers — based on community-observed patterns.
FAQ
Turn Macro Decisions Into MMR
Understanding Glyph and Scan mechanics is one piece of the puzzle. Consistent execution under pressure — in the middle of a chaotic base defense or a surprise Roshan contest — is what separates players who know the theory from players who actually climb. TeamSmurf coaching sessions target exactly these high-pressure decision points with replay review and live game feedback.



