

Dota 2 7.41c Support Itemization Mistakes Costing Free MMR

Support itemization in Dota 2 patch 7.41c is a consistent source of free MMR — on both sides of the equation. Players who understand the current support item meta pick up kills, deny deaths, and enable teamfight wins that their lower-skilled opponents cannot. Players who make the classic support itemization mistakes lose fights they should win and bleed MMR without understanding why.
This guide covers the ten most common support itemization mistakes in 7.41c, the specific scenarios where each mistake occurs, the correct alternatives, and the reasoning behind each recommendation. We include both position 4 and position 5 considerations, and address how itemization priorities shift between early, mid, and late game for supports at different brackets.
Table of Contents
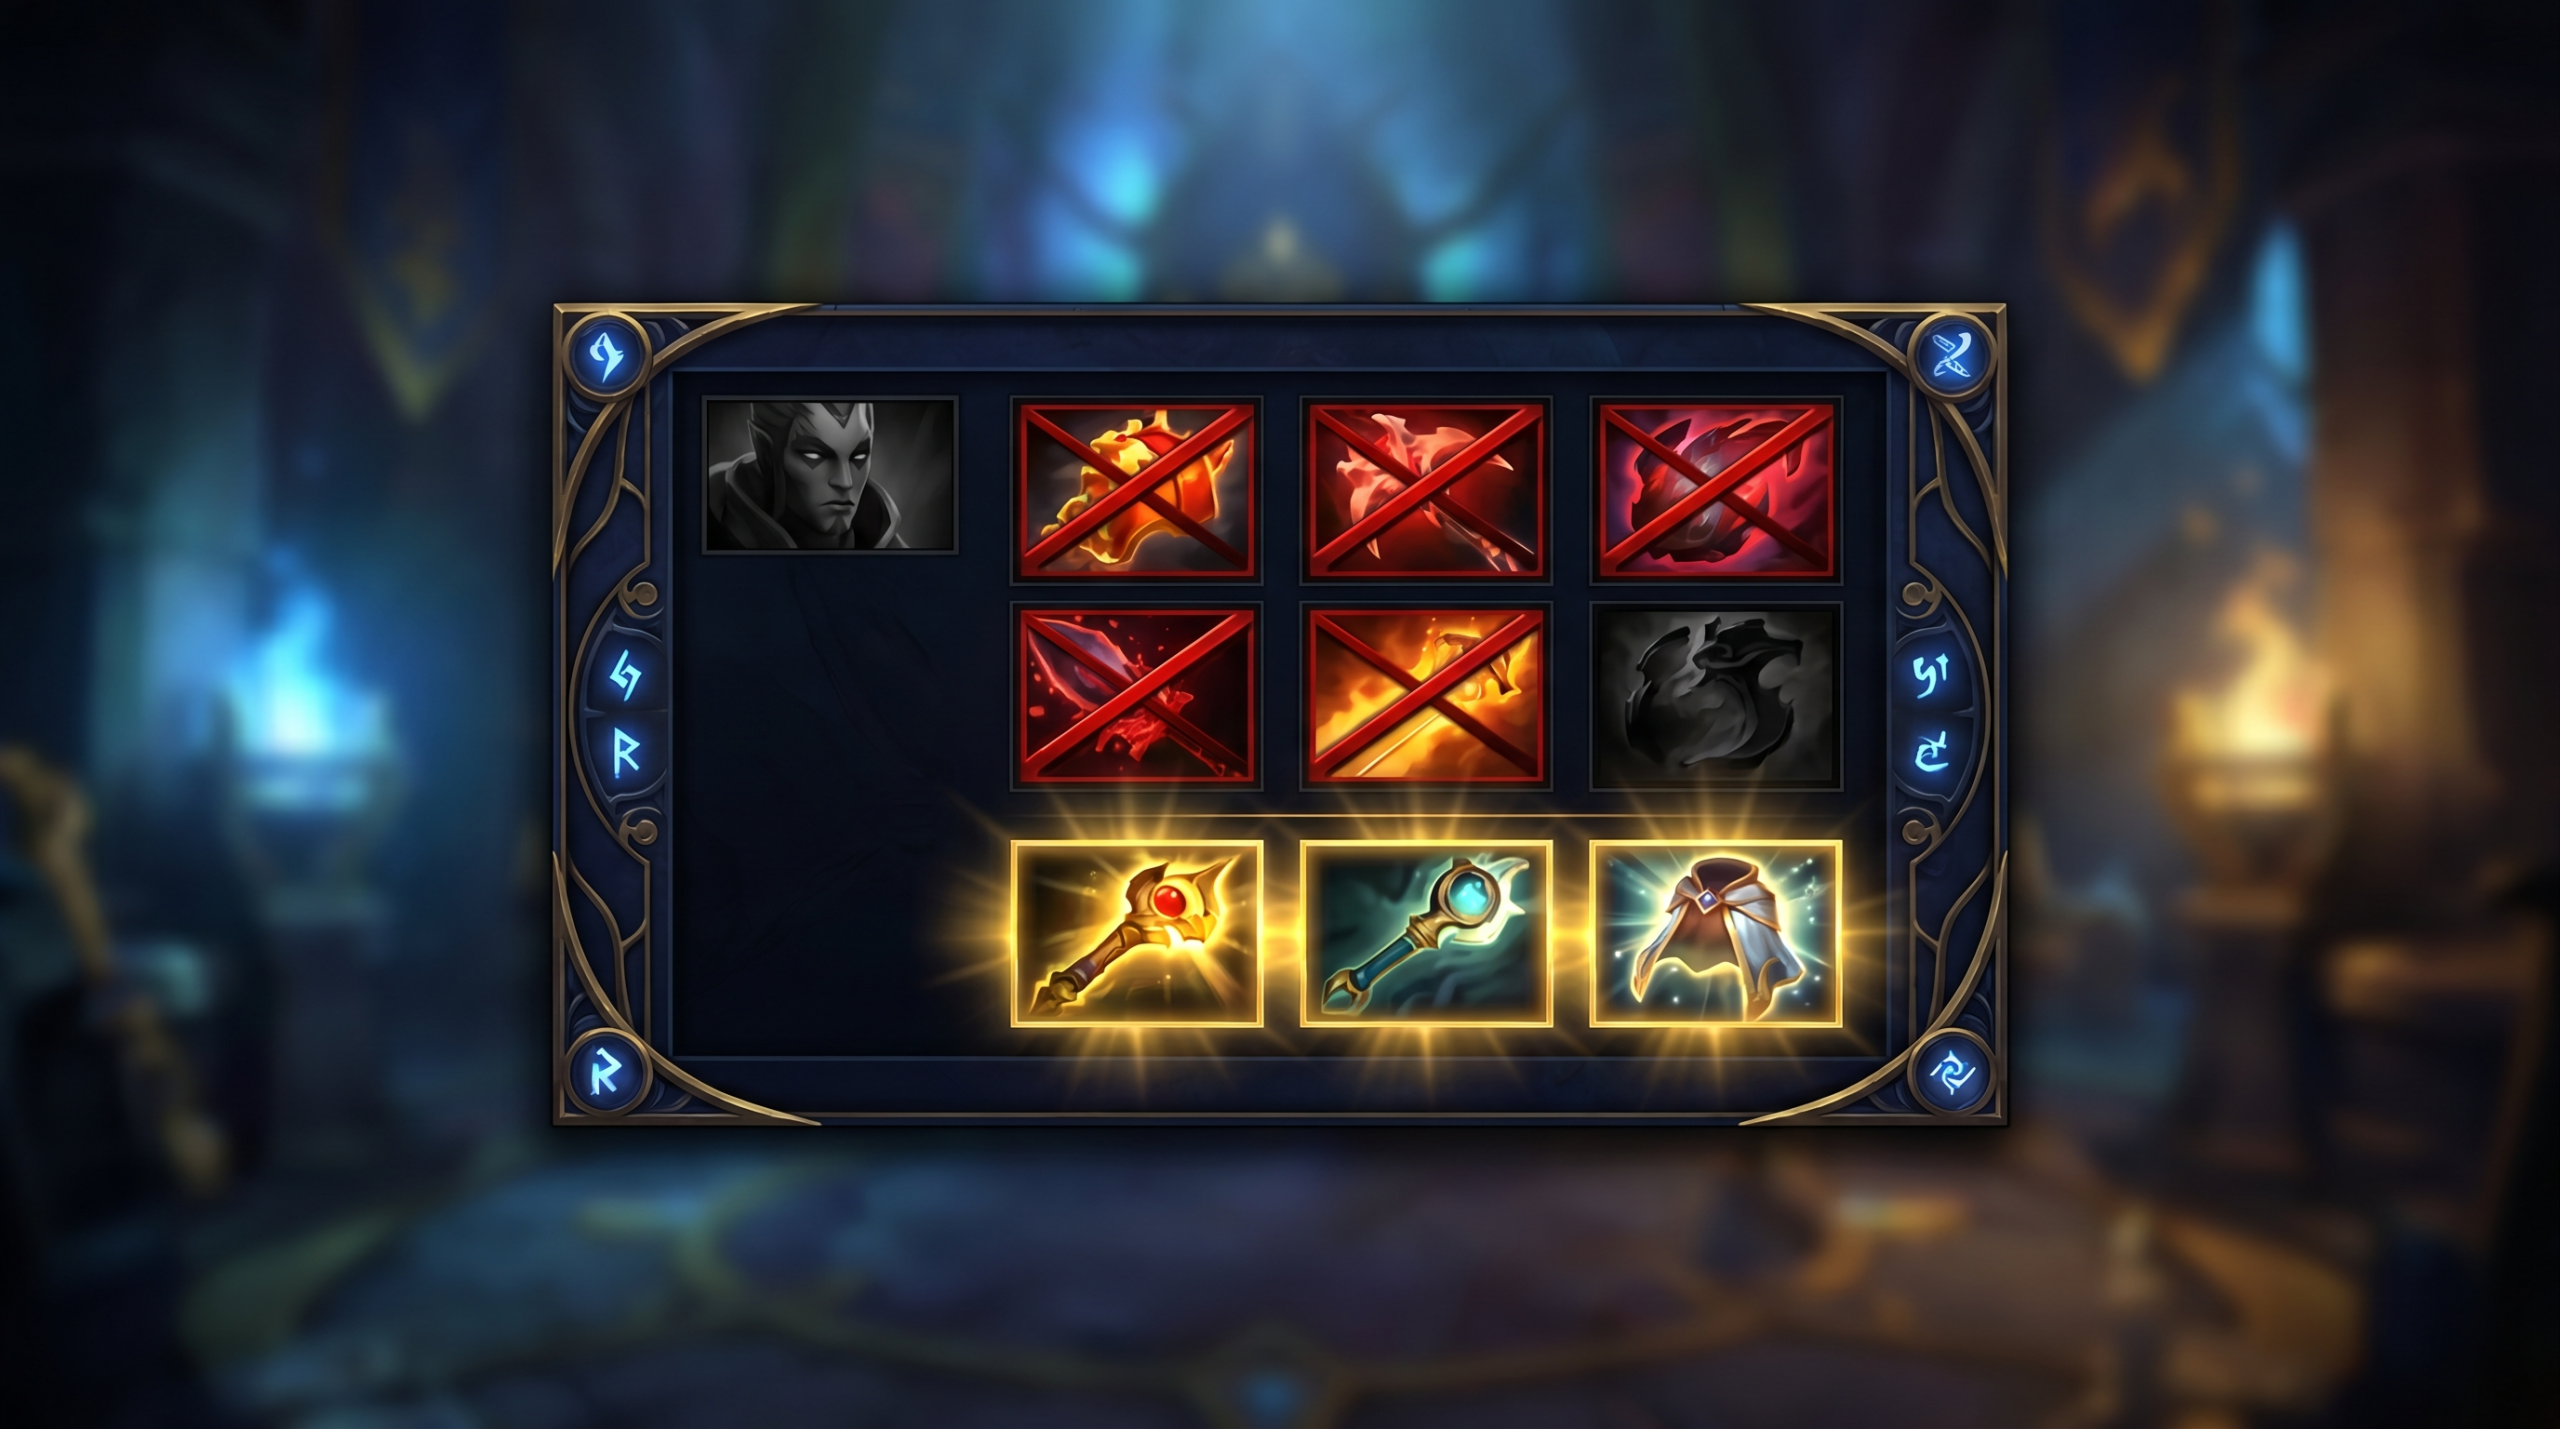
- Mistake 1: Delaying Force Staff
- Mistake 2: Building Glimmer Cape Into Physical Damage Teams
- Mistake 3: Skipping Boots on Position 5
- Mistake 4: Buying Urn Instead of Spirit Vessel
- Mistake 5: Not Transitioning Mekansm to Guardian Greaves
- Mistake 6: Over-Investing in Wards Instead of Fighting Items
- Mistake 7: Pipe of Insight Too Late
- Mistake 8: Buying Aghanim’s Scepter Without Win Condition Clarity
- Mistake 9: Ignoring Lotus Orb
- Mistake 10: Saving Gold Instead of Buying Smoke
- Frequently Asked Questions
Mistake 1: Delaying Force Staff
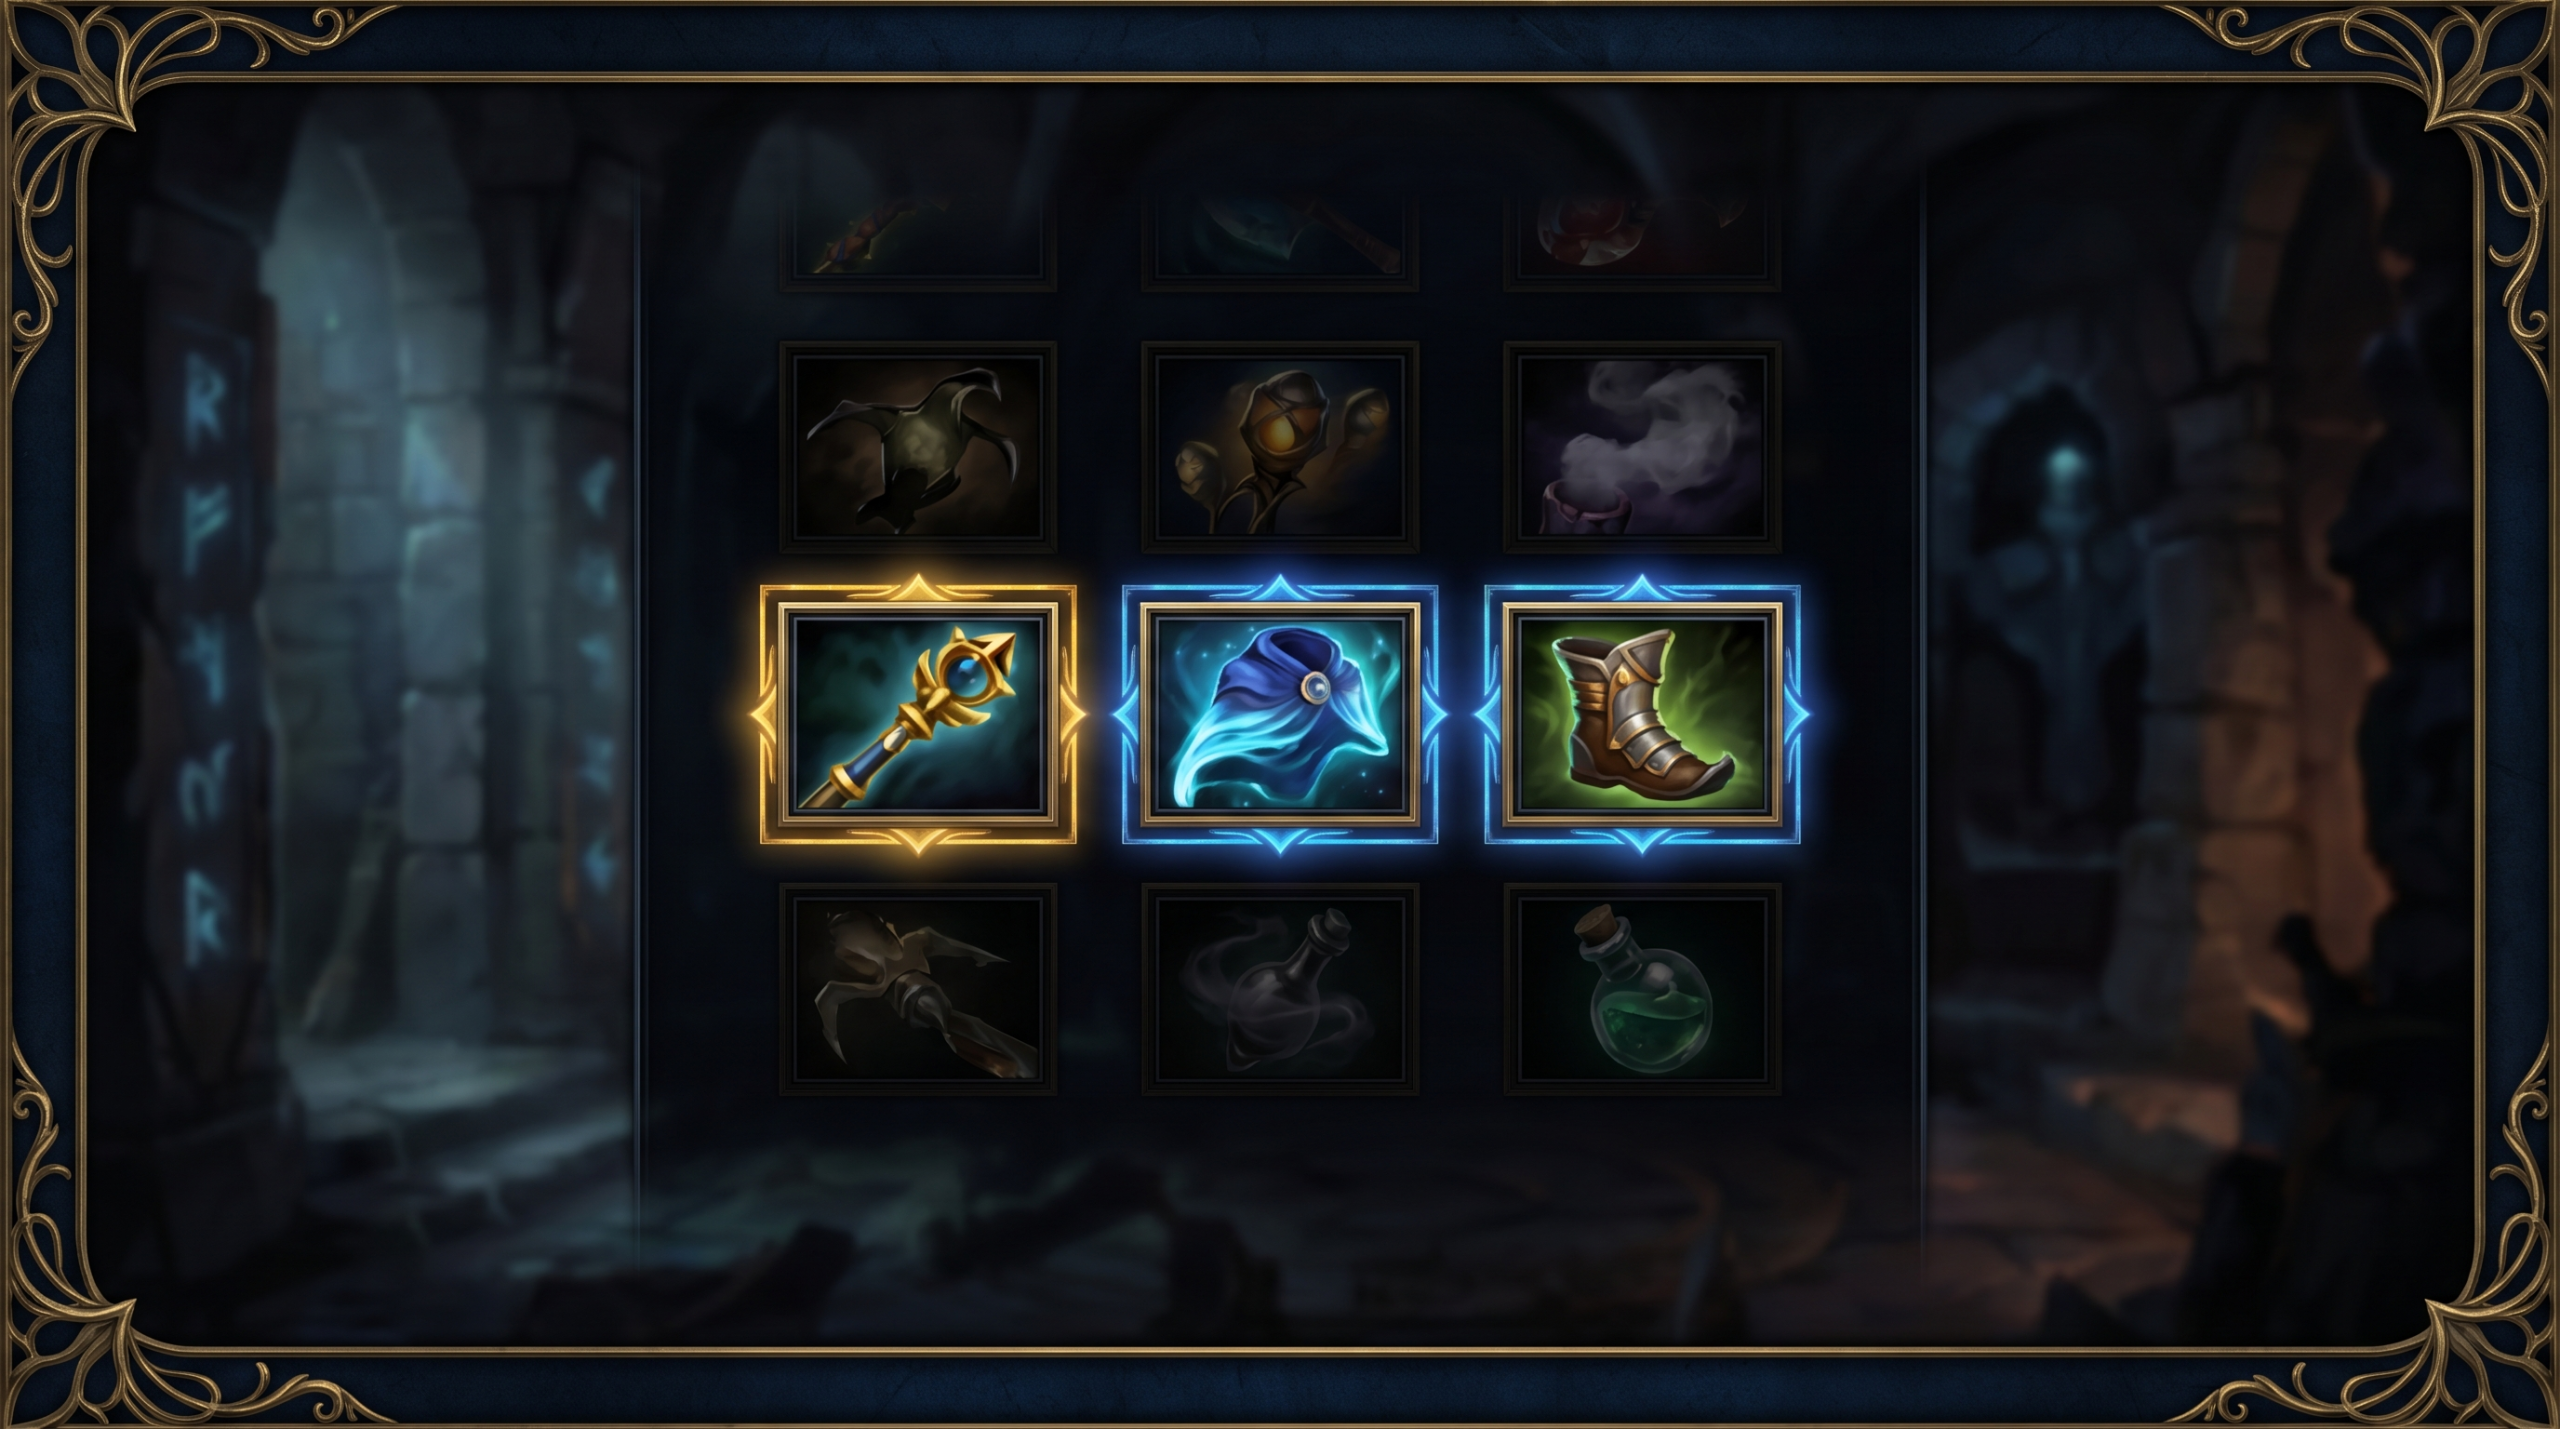
Force Staff is the most important support item in 7.41c. In the current patch, fight windows open at minutes 10-15 with standard Blink Dagger timings on initiators. If your supports do not have Force Staff by minute 13-14, you are playing the most dangerous window of the game without the most important defensive tool.
The free-MMR aspect: Force Staff costs 2,200 gold and has a 14-second cooldown. In a 20-minute game with fights occurring every 3-4 minutes, you will use it 4-6 times. Each use has the potential to save a carry who costs 10x the item’s gold value. A carry’s Desolator costs 3,500 gold. If Force Staff saves the carry from dying once, you have recouped its cost in prevented gold loss.
The mistake in practice: position 5 supports prioritize boots into Tranquil into Glimmer Cape, reaching Force Staff at minute 16-17 after the first major fight window has already passed. The correction: rush Force Staff as the second item (after Magic Stick/Wand and Boots of Speed). Skip Tranquil Boots if necessary — the 0.2 HP regen difference is irrelevant compared to having Force Staff during the minute-14 fight.
Mistake 2: Building Glimmer Cape Into Physical Damage Teams
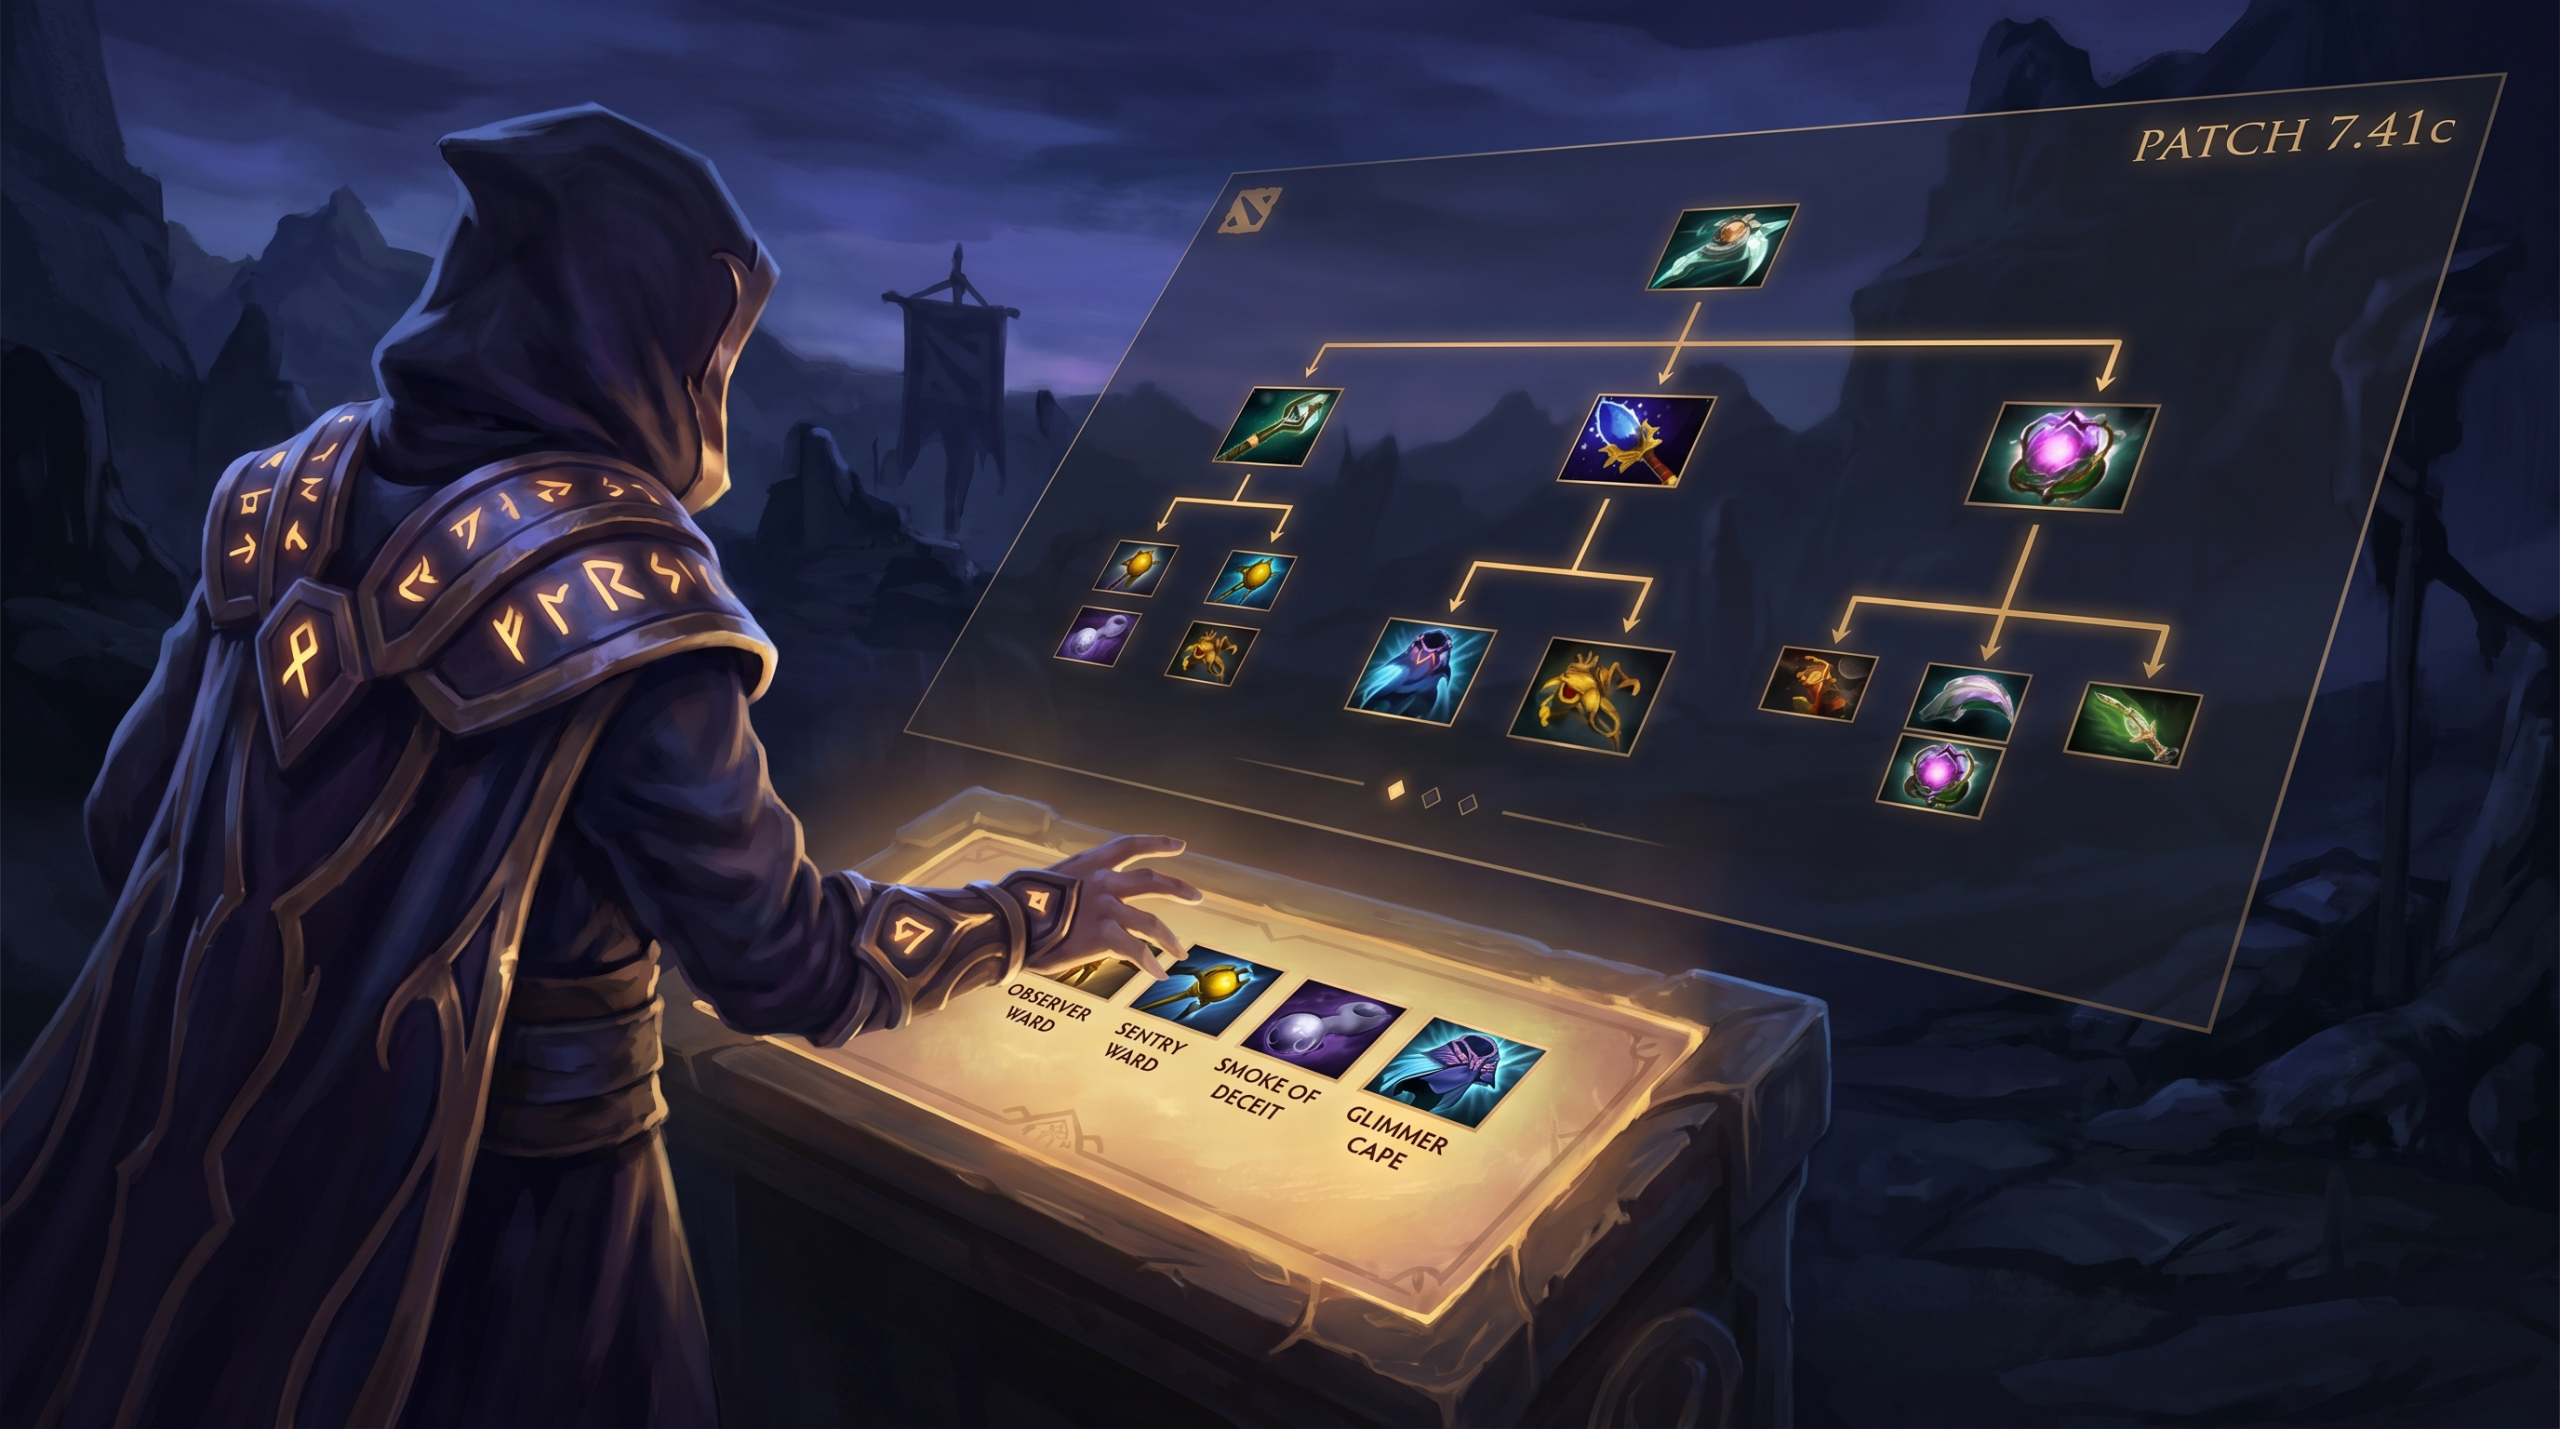
Glimmer Cape provides magic resistance and invisibility. Its value is almost exclusively against magical burst damage — Skywrath Mage, Lion, Leshrac. Against physical-damage-primary teams (Ursa, Phantom Assassin, Clinkz, Drow Ranger aura), Glimmer Cape provides very limited protection. The invisibility is the primary defensive value, but against teams with reliable detection (Ursa’s Earthshock reveals with Dust, Clinkz’s Burning Army provides vision), the invisibility is stripped quickly.
The correction: against physical damage primaries, build Ghost Scepter or Ethereal Blade on the support (if position 4 with enough farm), or Aeon Disk on a position 5 who expects to be targeted. Ghost Scepter specifically counters physical damage by making you untargetable to physical attacks — the exact threat model Glimmer Cape fails against.
The bracket pattern: in Archon-Legend bracket, Glimmer Cape is autopilot-built by most position 5 supports regardless of the enemy damage profile. At Ancient and Divine, supports start adapting based on the enemy damage type. This adaptive itemization is available to players at any bracket — it just requires checking the enemy lineup before buying.
Mistake 3: Skipping Boots on Position 5
In 7.41c, the trend of “bootless support” has created a specific bad pattern in non-Immortal brackets: position 5 players observing Immortal gameplay see that some supports go bootless in certain matchups and replicate the pattern without understanding the conditions. The result is a position 5 support with no mobility trying to execute rotations, escape ganks, and participate in early fights at full efficiency.
When bootless support is correct: when the game state justifies it (strong lane dominance means no need to rotate quickly, specific heroes like Oracle whose value is reactive rather than positional, games where you never need to outrun opponents). When it is incorrect: any game where the enemy has a roaming threat, any game where your carry needs ward support in the jungle, any standard pub game where you will be moving between two sides of the map multiple times in the first 15 minutes.
The correction: buy Phase Boots (aggression-oriented position 4) or Boots of Speed into Tranquil (passive-oriented position 5) as your first purchase. Arcane Boots are strong for mana-dependent supports (Witch Doctor, Crystal Maiden) but should be upgraded to Greaves rather than carried late.
Mistake 4: Buying Urn of Shadows Instead of Spirit Vessel
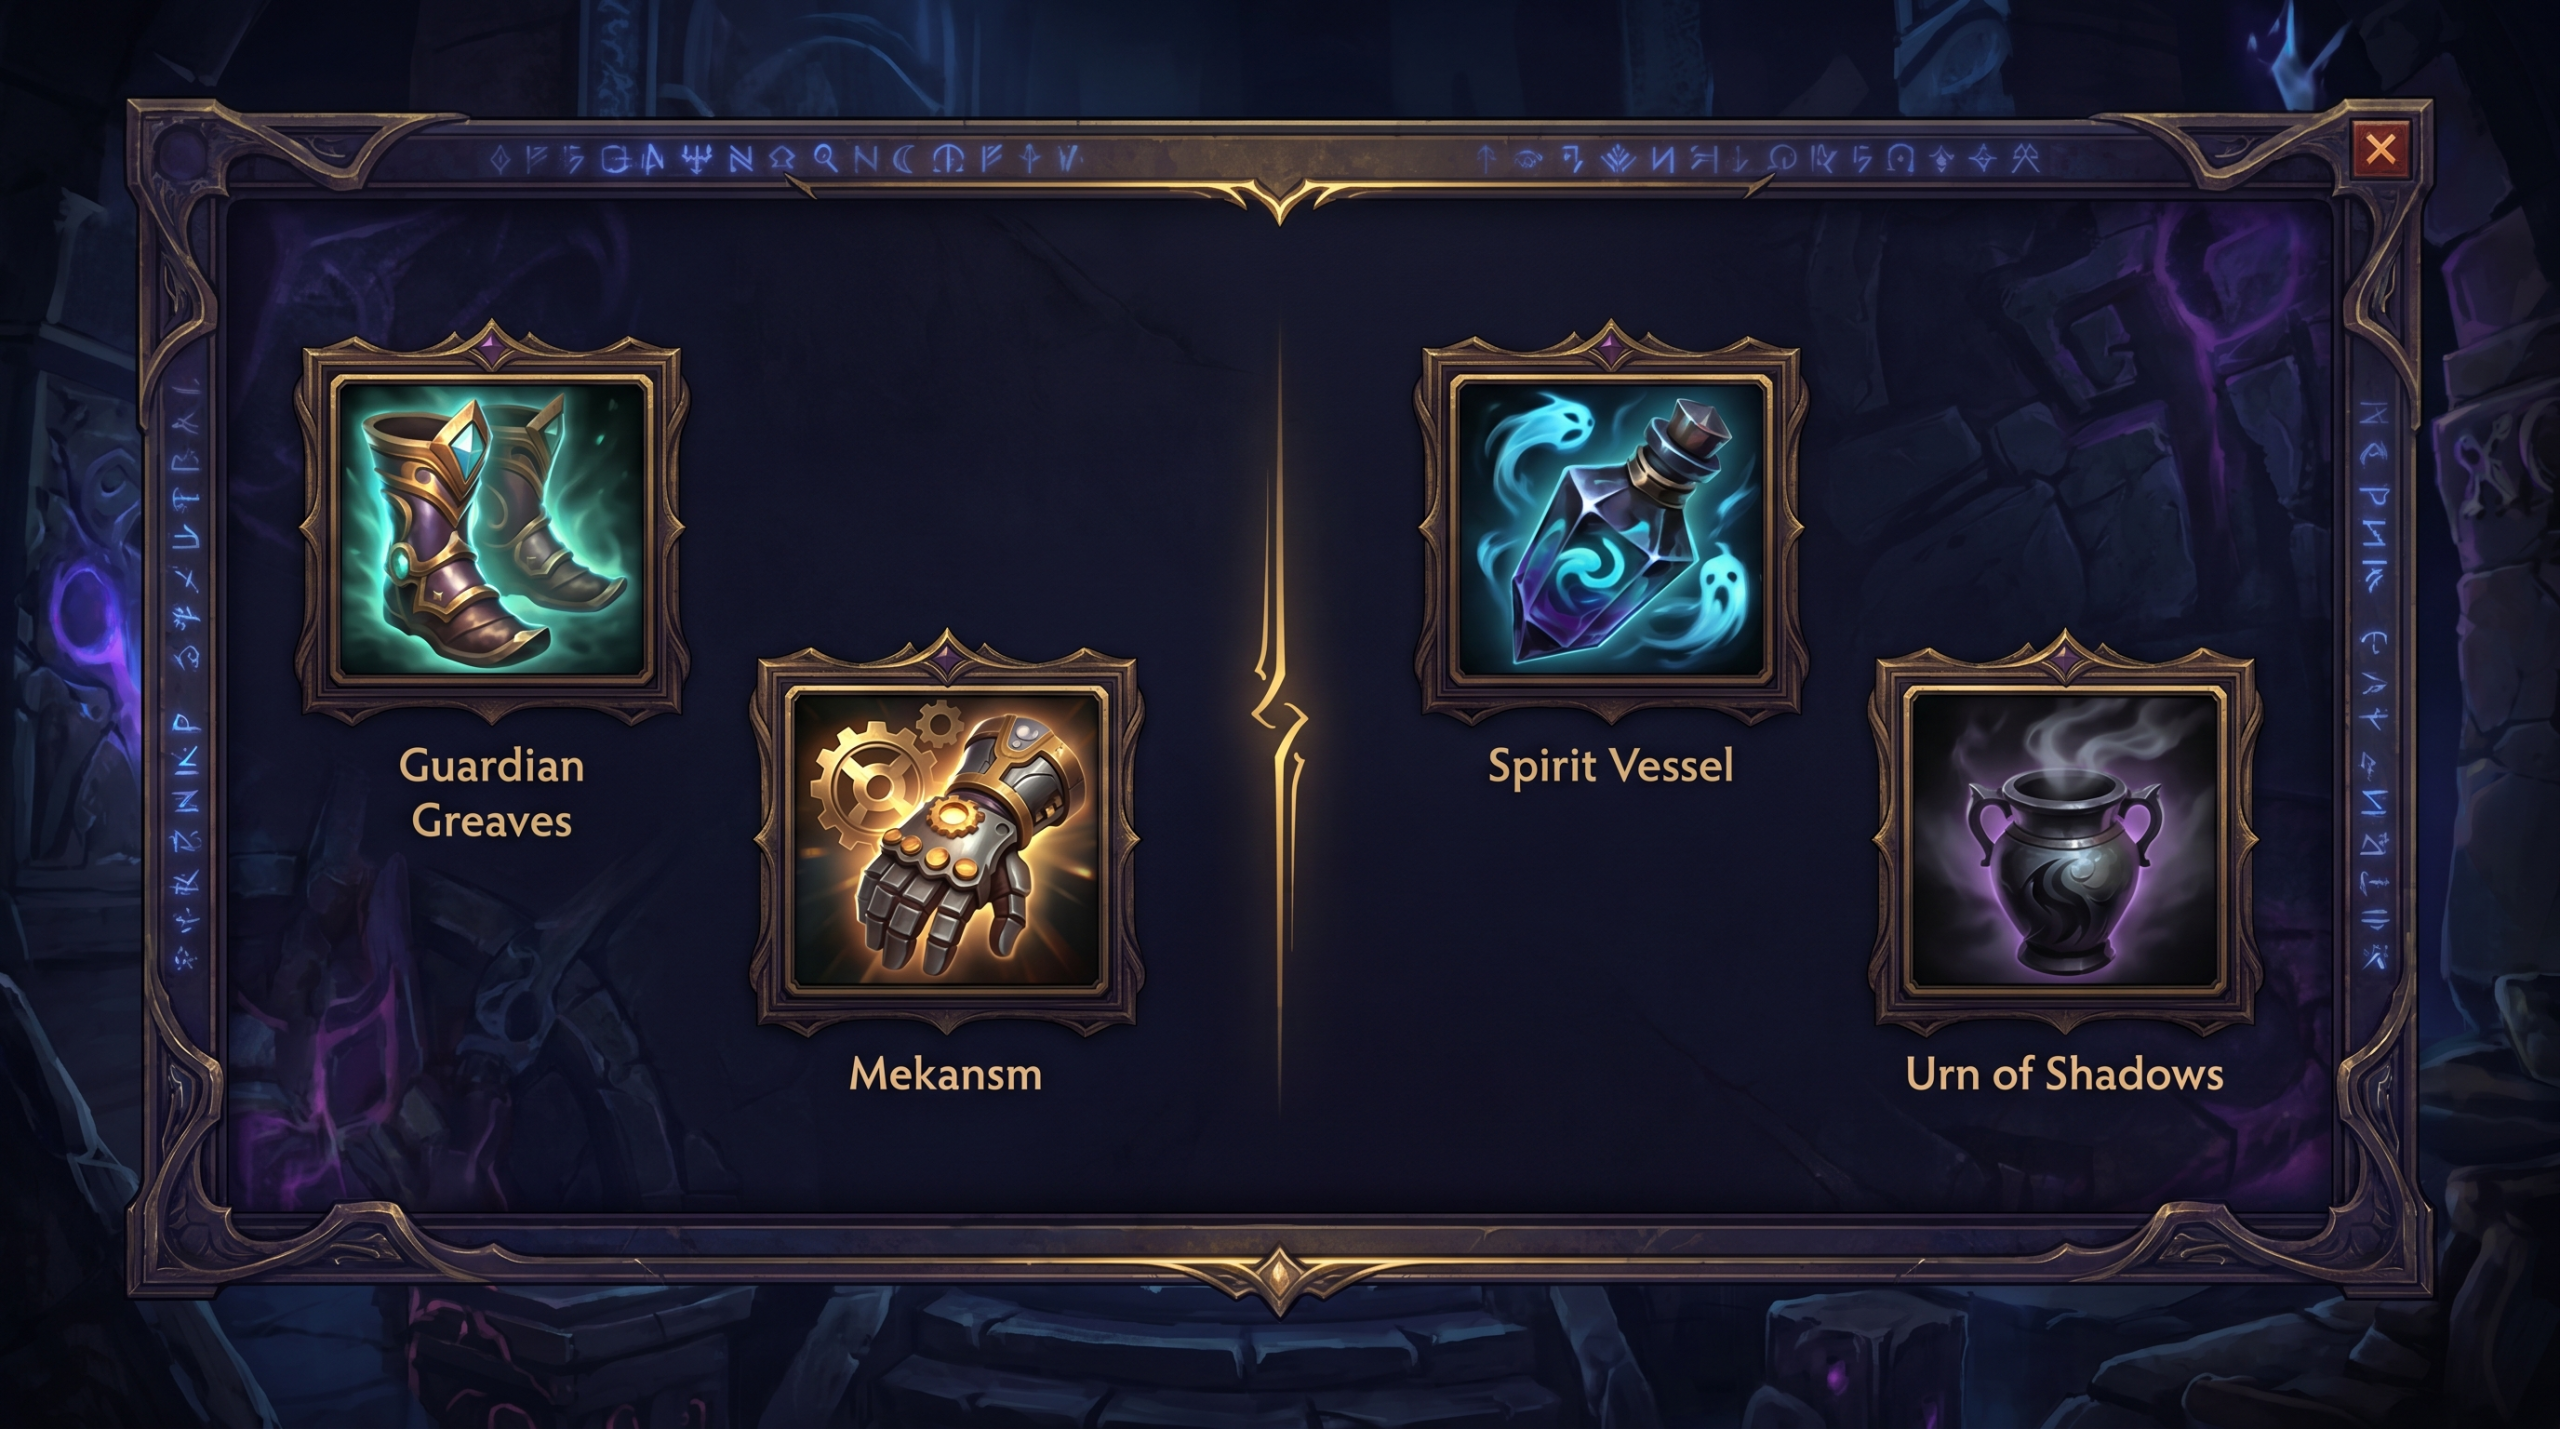
Urn of Shadows has been a staple support item since it was introduced, but in 7.41c the cases where Urn is the correct final state (not upgraded to Spirit Vessel) are very narrow. Spirit Vessel costs 2,350 gold (475 gold more than Urn) and provides: active HP drain that stacks with other damage, a 30% heal-reduction debuff that is devastating against healing-heavy teams (Omniknight, Dazzle, Huskar, Bristleback with regen stacking), and a self-heal/buff mode.
The heal reduction alone makes Spirit Vessel mandatory against any team with a sustain-heavy hero or item build. In 7.41c, Wraith Pact-Huskar, Crimson Guard-Centaur, and Pipe-Tide builds all rely on burst healing to stay alive. Spirit Vessel’s heal reduction reduces the effectiveness of Guardian Angel, Shallow Grave activated heals, and Crimson Guard’s HP restoration by 30%. That is free MMR against a large percentage of meta compositions.
The only cases for stopping at Urn: you have less than 2,000 gold and the game will end before you accumulate the 475 upgrade gold. Otherwise, upgrade immediately.
Mistake 5: Not Transitioning Mekansm to Guardian Greaves
Mekansm is correctly purchased by position 3 or position 4 supports against burst-damage teams. Guardian Greaves — the Arcane Boots + Mekansm upgrade — is the correct endgame state. The failure mode: players build Mekansm at minute 16 and then keep it as Mekansm for the rest of the game while buying other items, never completing the Guardian Greaves upgrade (which requires Arcane Boots).
Guardian Greaves restores mana to the caster on activation in addition to the standard Mekansm heal. In the late game when supports are often mana-starved in extended teamfights, the mana restore is as valuable as the HP restore. The upgrade also removes the Arcane Boots from your inventory, freeing a slot.
Correction: if you build Mekansm, plan for Arcane Boots as the boot choice from the start. Buy Boots of Speed, then Arcane Boots, then Mekansm. The Guardian Greaves timing should be minute 22-24 at your natural farm pace on a position 4.
Mistake 6: Over-Investing in Wards Instead of Fighting Items
Ward coverage is important in the first 20 minutes. In the late game (25+ minutes), constant sentry placement on every conceivable ward spot is a gold sink that leaves you with no fighting items. A support who spends all their gold on wards and Smokes but has no Force Staff, no Glimmer Cape, and no Spirit Vessel by minute 25 has the same fight-contribution as a support who died 10 minutes earlier.
The itemization principle for vision vs. items: until you have your core support items (Force Staff at minimum, one of Glimmer/Ghost/Lotus/Aeon depending on the game), prioritize items over wards. Buy a single set of Observer and Sentry Wards per ward trip, not three Sentries and two Observers. You are not the only support on the team — position 4 should contribute ward coverage too.
After your core items, resume full ward coverage investment. Late-game vision is extremely valuable. But pre-item-complete, over-warding at the expense of personal survivability and fight contribution is a mistake that costs more fights than it prevents.
Mistake 7: Buying Pipe of Insight Too Late
Pipe of Insight is a time-sensitive item. Its value peaks at 18-25 minutes when the enemy team is executing magical-damage-based teamfight compositions at their power spike. A Pipe bought at minute 30 against a Leshrac-Pugna-Storm Spirit lineup provides a fraction of the value it would have provided at minute 20.
The timing rule for Pipe: if the enemy lineup has two or more sources of magical AoE damage (Leshrac Pulse Nova, Pugna Nether Blast, Jakiro Liquid Fire, Zeus Thundergod’s Wrath), Pipe should be your second major item after Force Staff. No exceptions based on “I’ll wait to see if we need it.” You need it. The game will tell you at minute 22 when your team dies to a Leshrac combo — that is too late for the information to be useful.
Position assignment: Pipe is a position 4 item, not a position 5 item. Position 4 has more farm access and can reach the Pipe timing faster. If both supports are rushing Pipe simultaneously, coordinate so position 4 builds it and position 5 builds a different teamfight item (Crimson Guard, Spirit Vessel, Glimmer Cape).
Mistake 8: Buying Aghanim’s Scepter Without Win Condition Clarity
Aghanim’s Scepter upgrades are hero-specific and vary enormously in value. Aghanim’s Scepter on Witch Doctor (Death Ward + Voodoo Switcheroo) is a game-defining item. Aghanim’s Scepter on Crystal Maiden (Freezing Field now launches bolts) is a significant teamfight upgrade. Aghanim’s Scepter on Jakiro (Liquid Fire AoE expansion) is situationally strong.
The mistake: buying Aghanim’s Scepter because “it’s a late-game upgrade” without verifying whether the specific upgrade on your hero aligns with your team’s win condition. Some Aghanim’s upgrades are primarily useful in specific team compositions. Others are universally strong. Before buying Aghanim’s at minute 28, ask: does this upgrade enable a specific win scenario for us, or am I buying it because I have gold and it seems good?
The alternative decision tree: if your team’s win condition does not require your Aghanim’s, buy Refresher Orb (if your ultimate is already game-decisive), Octarine Core (reduces all cooldowns including your ultimate), or Shiva’s Guard (if the enemy carry is heavy right-click and your team needs the slow + armor aura).
Mistake 9: Ignoring Lotus Orb
Lotus Orb is under-purchased in non-Immortal brackets despite being one of the most efficient anti-disable items in the game. It reflects single-target spells back at their caster for 6 seconds on a 15-second cooldown. Against heroes who rely on targeted disables — Lion Hex, Bane Fiend’s Grip, Disruptor Kinetic Field, Doom’s Doom — Lotus Orb’s reflect can eliminate the disable entirely (the caster reflects the spell onto themselves, negating it).
Lotus Orb is primarily a position 4 item. At 4,000 gold, it requires some farm, but a position 4 who farms efficiently through the first 20 minutes can reach this timing. The value proposition: one Lotus Orb activation that reflects a Bane Fiend’s Grip or Lion Hex saves your carry from a 3-4 second disable that would cost them their life. That is 400-600 gold of net advantage per use.
Matchups where Lotus Orb is mandatory: any lineup with Doom, any lineup with Lion + a targeting nuker, any lineup where Disruptor or Bane is the primary kill tool. If the enemy has Doom, your position 4 should have Lotus Orb before minute 20. No exceptions.
Mistake 10: Saving Gold Instead of Buying Smoke
Smoke of Deceit costs 50 gold. It enables a 5-hero smoke rotation that can win the game with a single successful gank. The number of games lost because supports hoarded 200 gold that would have bought four Smokes for four rotations is incalculable in the aggregate.
The Smoke rule for supports: if you have 50 gold above your next item threshold and no Smoke in your inventory, buy a Smoke. Always. Smoke provides a map pressure option that is not available without it. Even if the Smoke rotation is rejected by the team, the Smoke was not wasted — it was a 50-gold option premium on a potential game-winning play.
Smoke is particularly undervalued in brackets below Ancient because the play style in those brackets is lane-to-team fight without the proactive mid-game rotations that Smoke enables. Learning to call Smoke rotations — and learning to execute them at the right moments (enemy hero isolated, friendly courier approaching stack camp, enemy ward coverage has a gap) — is a direct path to free MMR for any support player.
| Mistake | Cost in Fights | Correction | Gold Cost of Fix |
|---|---|---|---|
| Delaying Force Staff | 1-2 carry deaths per game | Rush after Boots | 2,200g at min 13 |
| Glimmer vs physical | Wasted 2,150g | Ghost Scepter / Aeon Disk | ~2,200g |
| Urn vs Spirit Vessel | No heal reduction vs sustain teams | Upgrade at 2,350g | 475g upgrade |
| No Lotus Orb vs Doom | Carry Doomed once per fight | Build by minute 20 | 4,000g |
| No Smoke | Missed rotation opportunities | Always have one in inventory | 50g |
Ready to Skip the Grind?
Team Smurf’s Immortal support players can show you exactly how itemization should look — or boost your rank while you practice.
Get Your Boost Now Talk to Our Team



