

Offlane Initiation Drills: Blink + Vision Sync

Offlane initiation in Dota 2 is a skill cluster that most players think they understand but few execute at a consistent level. The mechanical component — Blink Dagger timing, landing angle, follow-up ability sequencing — is the visible part. The invisible part is vision synchronization: knowing that you have the vision coverage to blink into a position before you commit, and knowing that your team has vision of the fight zone before you initiate. Initiating without vision is the single most common cause of failed Blink plays at every bracket below Immortal.
This guide covers the complete skill system behind offlane initiation: the Blink Dagger mechanics that separate good initiators from great ones, the vision protocols that make initiations land consistently, the drills used at the Immortal level to build these patterns into muscle memory, and the game-state reading that tells you when to initiate versus when to wait.
Table of Contents
- Blink Dagger Mechanics: What Most Players Get Wrong
- Vision Basics: Why Initiations Fail Without It
- The Blink + Vision Sync Protocol
- Hero-Specific Initiation Patterns
- Practice Drills for Consistent Initiation
- Reading Game State: When to Blink vs. When to Wait
- Recovery When Initiations Fail
- Frequently Asked Questions
Blink Dagger Mechanics: What Most Players Get Wrong
Blink Dagger has two properties that most players understand in isolation but fail to integrate: the 1,200-unit distance maximum and the 0.3-second blink cooldown reset after taking damage. Both properties have specific applications in initiation scenarios that separate Immortal execution from lower-bracket execution.
The maximum blink distance mistake
Blink Dagger blinks to the target location up to 1,200 units away. If the cursor is placed beyond 1,200 units, the hero blinks to the nearest point on the line between their current position and the cursor — specifically, 1,200 units in that direction. This means that intentionally over-clicking Blink Dagger in a direction blinks you to the maximum distance in that direction, which is useful for rapid repositioning.
The mistake: players who try to Blink precisely to a specific 800-unit location and miss their cursor angle will blink to an unintended position. In the middle of a teamfight initiation, an off-angle blink puts you in the wrong position, makes your follow-up ability miss, and often lands you inside the enemy team without the setup you needed. Practice landing Blink at specific distances — not just “toward the enemy” but “to this exact ground position.”
The damage-disable mistake
Taking damage within the last 3 seconds disables Blink Dagger. This is basic knowledge. The mistake is that players do not account for the timing of when they will take damage before initiating. Walking toward the enemy to get in blink range often results in taking harass damage from a support that disables Blink just as you reach the initiation position.
The solution: approach from unpredictable angles using trees and high ground. A blink initiator who walks up the river through visible terrain will be harassed. A blink initiator who cuts through the forest from an unexpected angle arrives in range without taking the disabling harass. Map geometry is the initiator’s best tool for arriving with Blink available.
The blink angle for AoE abilities
For heroes whose initiation involves an AoE ability (Earthshaker Fissure, Magnus Reverse Polarity, Tidehunter Ravage), the blink landing position determines the ability’s coverage. Earthshaker Fissure is a directional ability — it casts in the direction you are facing. If you blink to a position facing the wrong direction and cast Fissure, it blocks your own team’s movement. Practice the correct facing angle for your primary AoE before blinking into a fight.
The drill: in a lobby game, practice Blink + Fissure 20 times from different approach angles, deliberately targeting the facing angle so Fissure lands perpendicular to the enemy escape routes. This is a mechanical drill that produces permanent improvement after sufficient repetition.
Vision Basics: Why Initiations Fail Without It
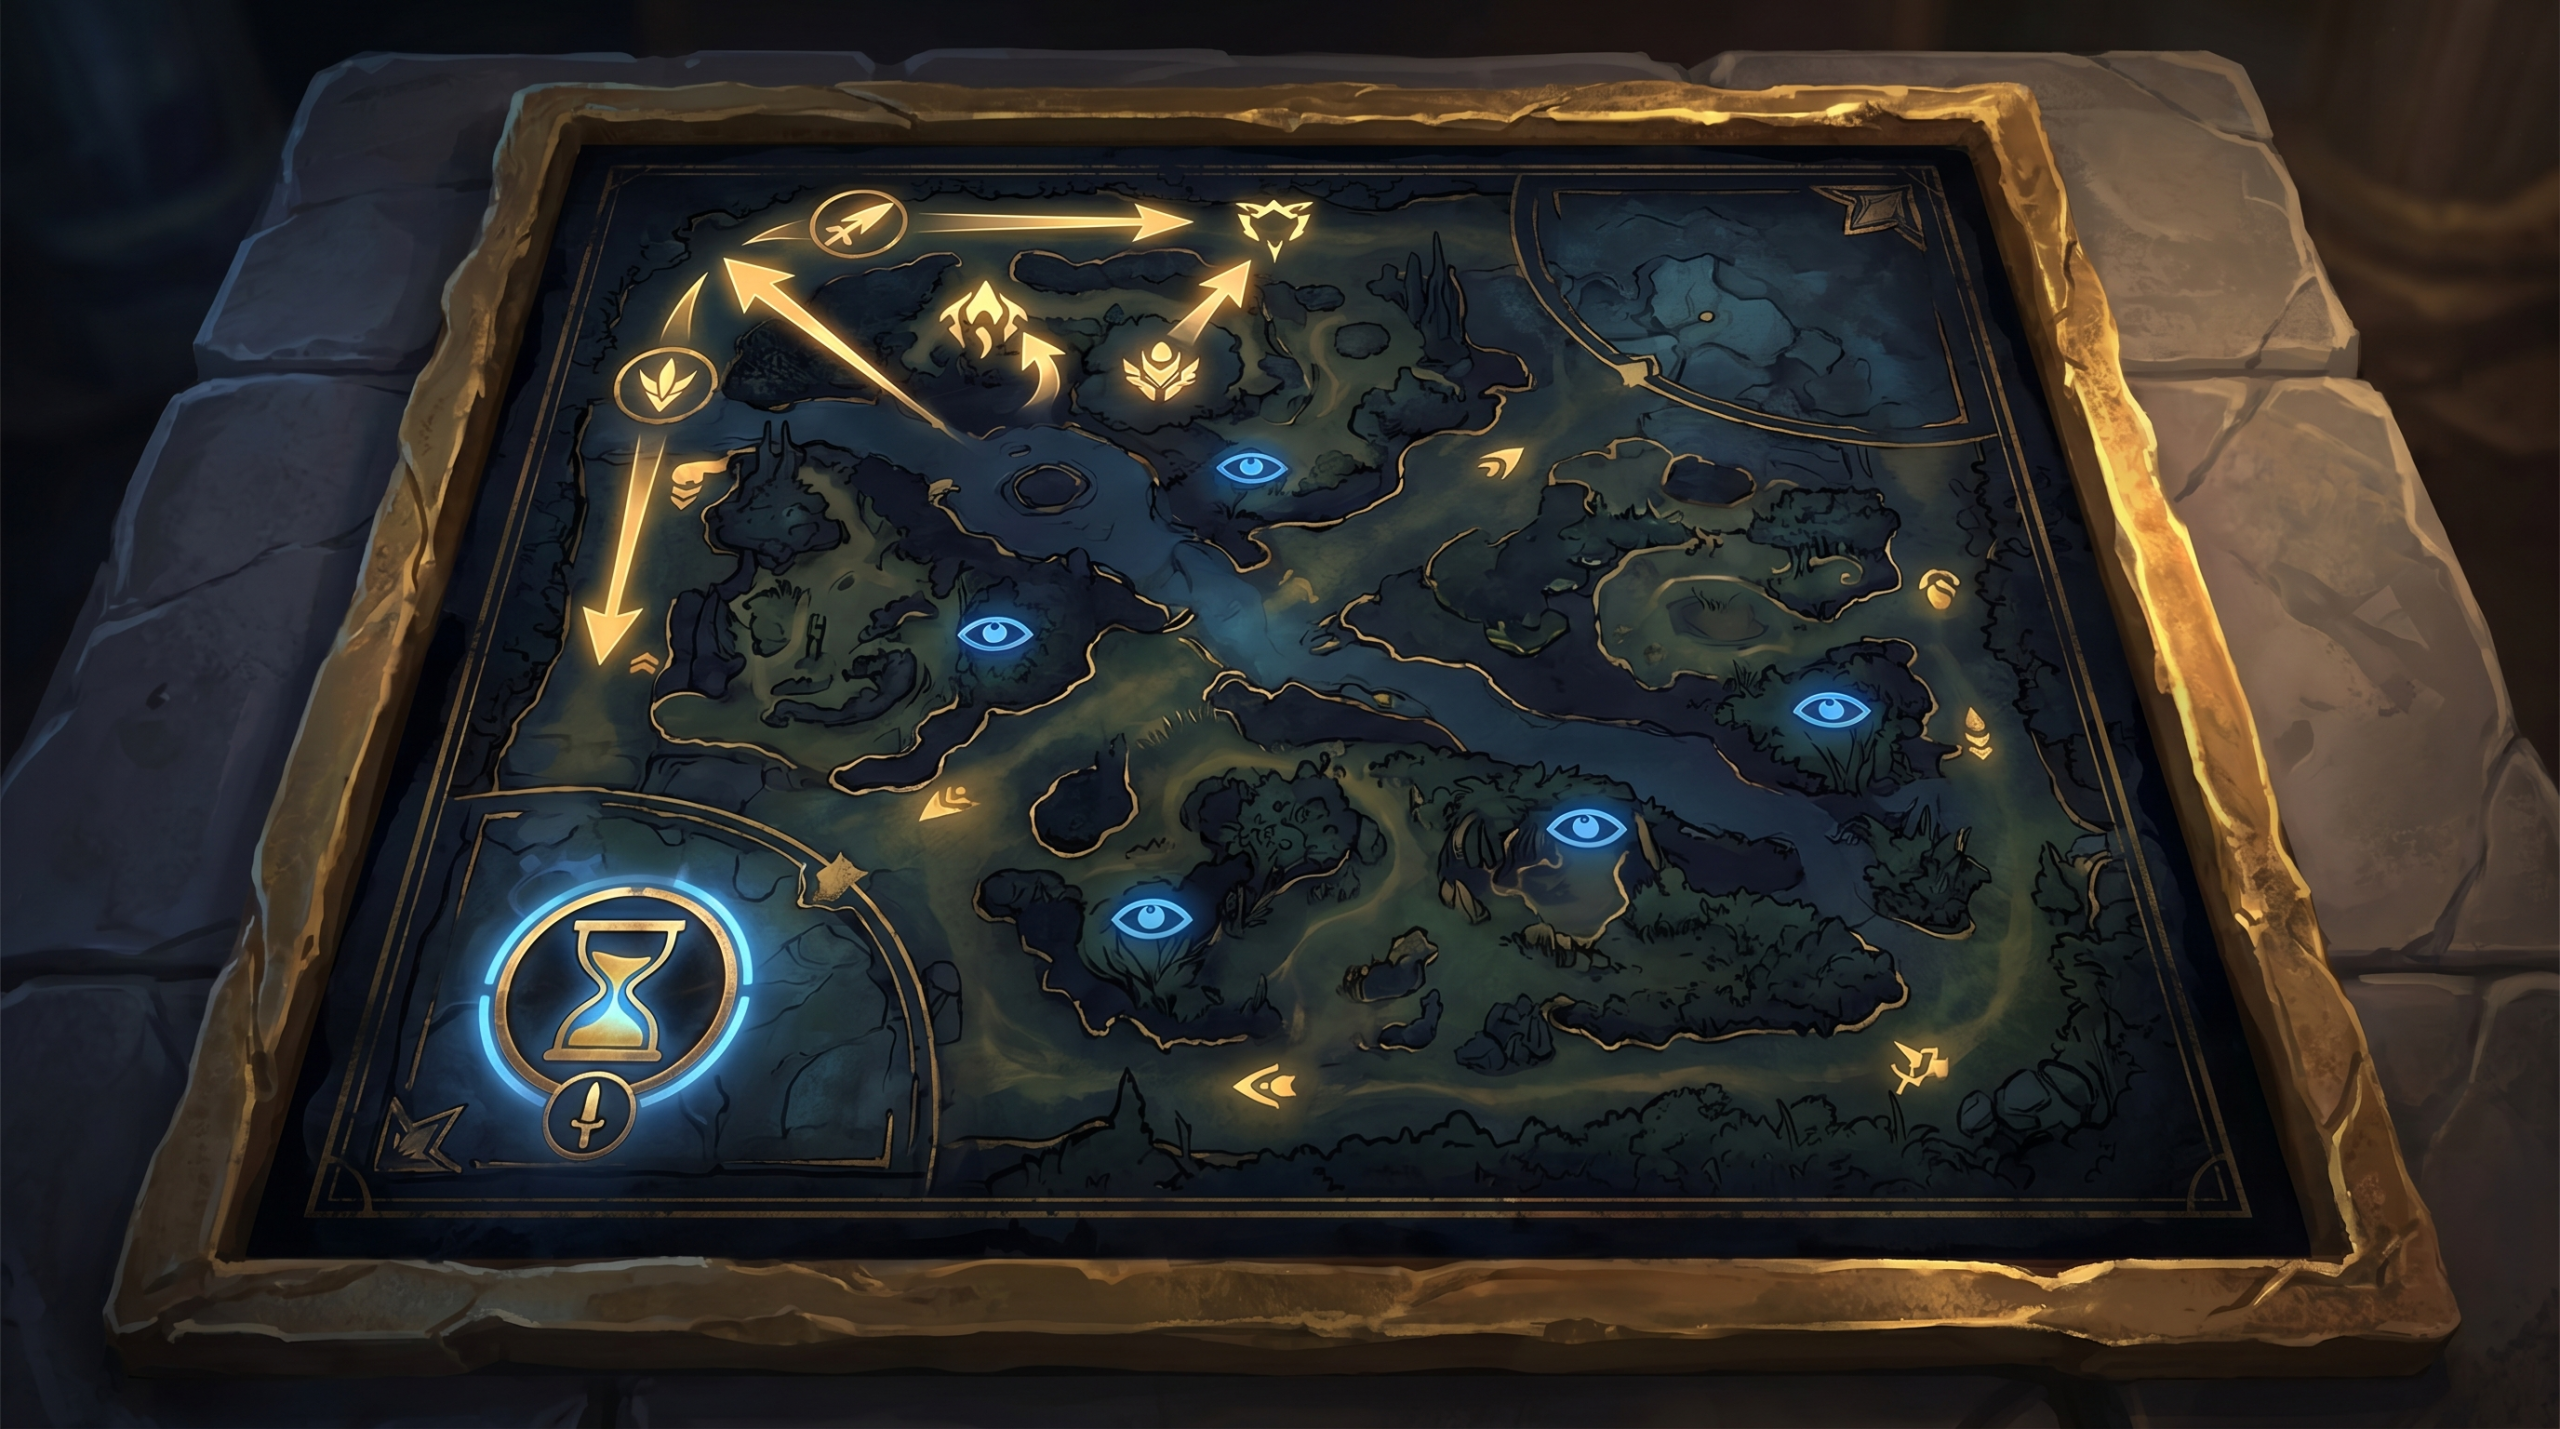
Vision failure is the leading cause of failed Blink initiations that are executed correctly mechanically. A perfectly timed Blink + Echo Slam into an enemy team that has already retreated 200 units while you were blinking wastes the initiation entirely. You had no vision of their movement, so you targeted a location they were no longer at.
The vision gap problem
There is a fundamental timing gap between when you decide to initiate and when your initiation lands. For Blink Dagger, this gap is approximately 0.3-0.5 seconds (Blink activation time + ability cast animation). In that window, enemy heroes can move 150-250 units. Without vision of where they are moving, you are targeting a position based on stale information.
This gap is why initiators who use Blink without vision support — a ward at the initiation location, a teammate with True Sight, or a Smoke-supported approach that reveals targets — fail at a higher rate than those who synchronize vision with their initiation.
Observer vs. Sentry for initiation support
Observer Wards provide vision of enemy positions. Sentry Wards reveal invisible heroes and Observer Wards in the area. For initiation support, Observer Wards placed in the fight zone give the initiator real-time vision of where enemies are standing, enabling precise Blink targeting. Sentries are less directly relevant to initiation unless the enemy has invisible heroes who would otherwise evade the initiation.
The ward placement principle for initiation support: wards should be placed 300-400 units inside the enemy’s expected position — close enough to reveal exactly where they are standing, but not so close that they are immediately dewarded when the enemy spots your approach.
The Blink + Vision Sync Protocol
The Blink + Vision Sync Protocol is the sequence of actions that makes initiations land consistently. It has four steps, executed in order every time before a major Blink initiation.
Step 1: Confirm ward coverage of the initiation zone
Before committing to a Blink approach, verify that you have either an Observer Ward in the fight zone or a teammate with vision of the enemy positions. If neither is available, call for a ward or Smoke before approaching. A 30-second delay to get a ward placed is worth more than the perceived urgency of the current fight window.
Step 2: Approach through covered terrain
Move to Blink range through trees, high ground, or terrain that blocks enemy vision of your approach. Avoid walking up open pathways where enemy supports can harass-disable your Blink. The creep line on the offlane side of the map provides natural cover for approach during the laning phase; in the mid-game, forest paths and river trees serve the same function.
Step 3: Verify live enemy positions with ward vision immediately before blinking
In the 1-2 seconds before activating Blink, look at the ward vision of the target zone. Are they still in the position you planned to blink to? Are they standing still or moving? If they are moving toward you, you may have been spotted and the initiation window is closing. If they are moving away, target their movement direction rather than their current position.
Step 4: Commit and execute without hesitation
The most common mechanical error after the vision check is hesitation. Players who correctly check vision and then pause to second-guess themselves miss the window. Once steps 1-3 are satisfied, execute the Blink without additional deliberation. The moment for deliberation was in step 1. After that, the decision is made.
Hero-Specific Initiation Patterns
Axe
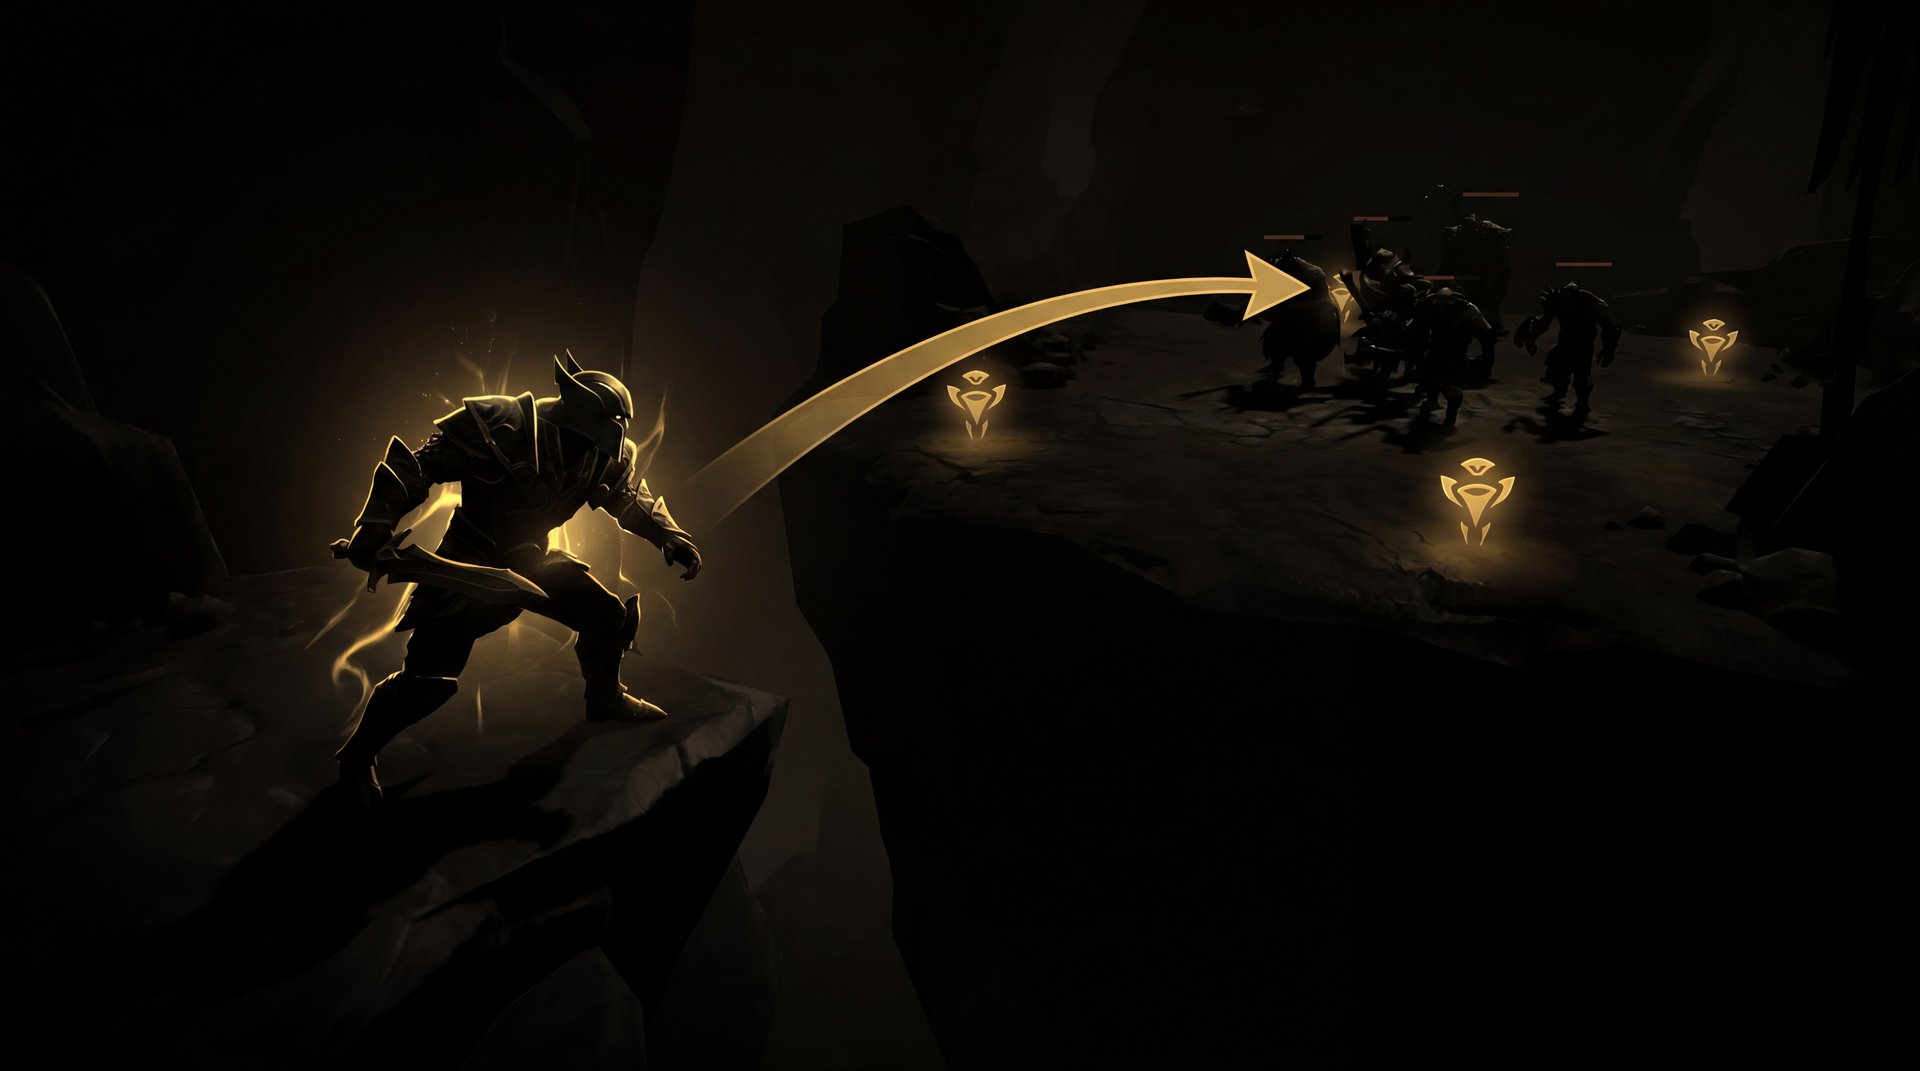
Axe initiations using Blink + Berserker’s Call are the most straightforward: blink into the center of the enemy cluster, activate Berserker’s Call, let the taunt pull everyone in for your carry to follow up. The direction you are facing when you cast Call matters less than placement — position yourself to Call as many enemies as possible.
The vision requirement for Axe is slightly more flexible than other initiators because Berserker’s Call affects all enemies in range regardless of facing angle. However, blinking onto a position where one high-value target has just moved behind a tree negates the most important Call target. Vision of the carry’s exact position is the critical variable.
Earthshaker
Earthshaker is the most vision-dependent initiator in the game. Blink + Fissure requires knowing where enemies are standing to angle the Fissure correctly. Blink + Echo Slam’s damage is multiplied by the number of units in range — more targets clustered together means more bounces. Both abilities require knowing the cluster density and direction before committing.
The specific drill for Earthshaker: practice landing Fissure such that it forms a wall between the enemy carry and their escape route, rather than between you and them. “Escape-blocking Fissure” is Earthshaker’s highest-value pattern and requires knowing the enemy carry’s retreat direction from ward vision.
Magnus
Reverse Polarity pulls all enemy heroes in range to Magnus’s position and stuns them. The range is generous (550 units) but the ability requires Magnus to be inside the enemy group before casting, not at the edge. Blink + RP with Magnus positioned at the periphery of the group pulls 2-3 heroes. Blink + RP with Magnus positioned in the center of the group pulls all 5.
The vision requirement: confirming cluster density before blinking. If the enemy team is spread across 600 units of map, RP pulls fewer heroes. If they are clustered at a Roshan attempt, RP pulls all five. Ward vision of the fight zone in the 2-3 seconds before the blink shows the cluster density and determines whether to blink now or wait for better clustering.
Tidehunter
Ravage is one of the strongest teamfight ultimates in Dota 2 but has an 18-second cast animation (approximately) before the tentacles complete their travel. This is shorter than most players realize — the “animation” is part of the cast but the area of effect is immediate on activation. The vision requirement for Tidehunter is knowing enemy positions before blinking, because Ravage is a centered AoE: blinking to the wrong side of an enemy group means half the tentacles miss.
Practice Drills for Consistent Initiation
The following drills are used to build initiation patterns into muscle memory. Each drill should be practiced for 15-20 repetitions per session until the action becomes automatic.
Drill 1: Blink distance calibration
In a lobby game: stand at a fixed position. Identify a target 400, 700, 1000, and 1200 units away using the distance indicator. Practice clicking Blink Dagger to land exactly on each distance marker. The goal is to develop accurate distance estimation so that in a real game, you do not over-blink into the enemy team or under-blink and fail to reach the target.
Drill 2: Approach path through trees
In a normal game, practice walking from the offlane jungle to three different common initiation positions (Roshan pit entry, T2 ramp approach, river initiation point) using tree corridors exclusively. Map the fastest all-tree approach to each location so the route is automatic under pressure.
Drill 3: Blink + ability facing angle
Using your specific initiation hero (Earthshaker, Magnus, Tidehunter), practice Blink-into-ability with focus on facing angle. On Earthshaker: Blink to a position and immediately Fissure in a direction perpendicular to the imaginary line between you and an “escape” direction. Repeat 20 times until the facing-angle adjustment after landing is instinctive.
Drill 4: Ward-read before committing
In a real game (not a lobby), practice forcing yourself to check the ward vision of the target area for 1 full second before pressing Blink. This seems trivially simple but is the habit most commonly skipped under the adrenaline of a fight window. 10 games of deliberate ward-check before every Blink ingrains the habit.
Reading Game State: When to Blink vs. When to Wait
The mechanical ability to Blink and execute an initiation is only half the skill. The decision of when the fight window is correct is equally important and is what separates Immortal initiators from Ancient ones.
Correct initiation windows: when the enemy team is clustered and distracted (Roshan attempt, tower siege, jungle camp clearing), when your own team is in position to follow up within 1-2 seconds (not when three of your teammates are farming on the other side of the map), and when the power balance favors you (your carry has a relevant item advantage, you have bought in on the initiation and the follow-up).
Incorrect initiation windows: when your carry is below 50% HP, when your supports have no mana, when enemy heroes have their defensive cooldowns available (BKB charged, Shallow Grave available, Black Hole ready). Forcing an initiation in these states is feeding your team’s confidence rather than executing a real win condition.
For players developing this game-state reading skill, coaching with replay review that specifically focuses on initiation timing decisions is the fastest development path. The patterns are learnable but require external analysis to identify which specific decisions were wrong versus correct — which is precisely what replay-based coaching provides.
Recovery When Initiations Fail
Failed initiations are inevitable even with perfect preparation. The skill is recovering the game state after a failed Blink play rather than allowing it to cascade into a wipe.
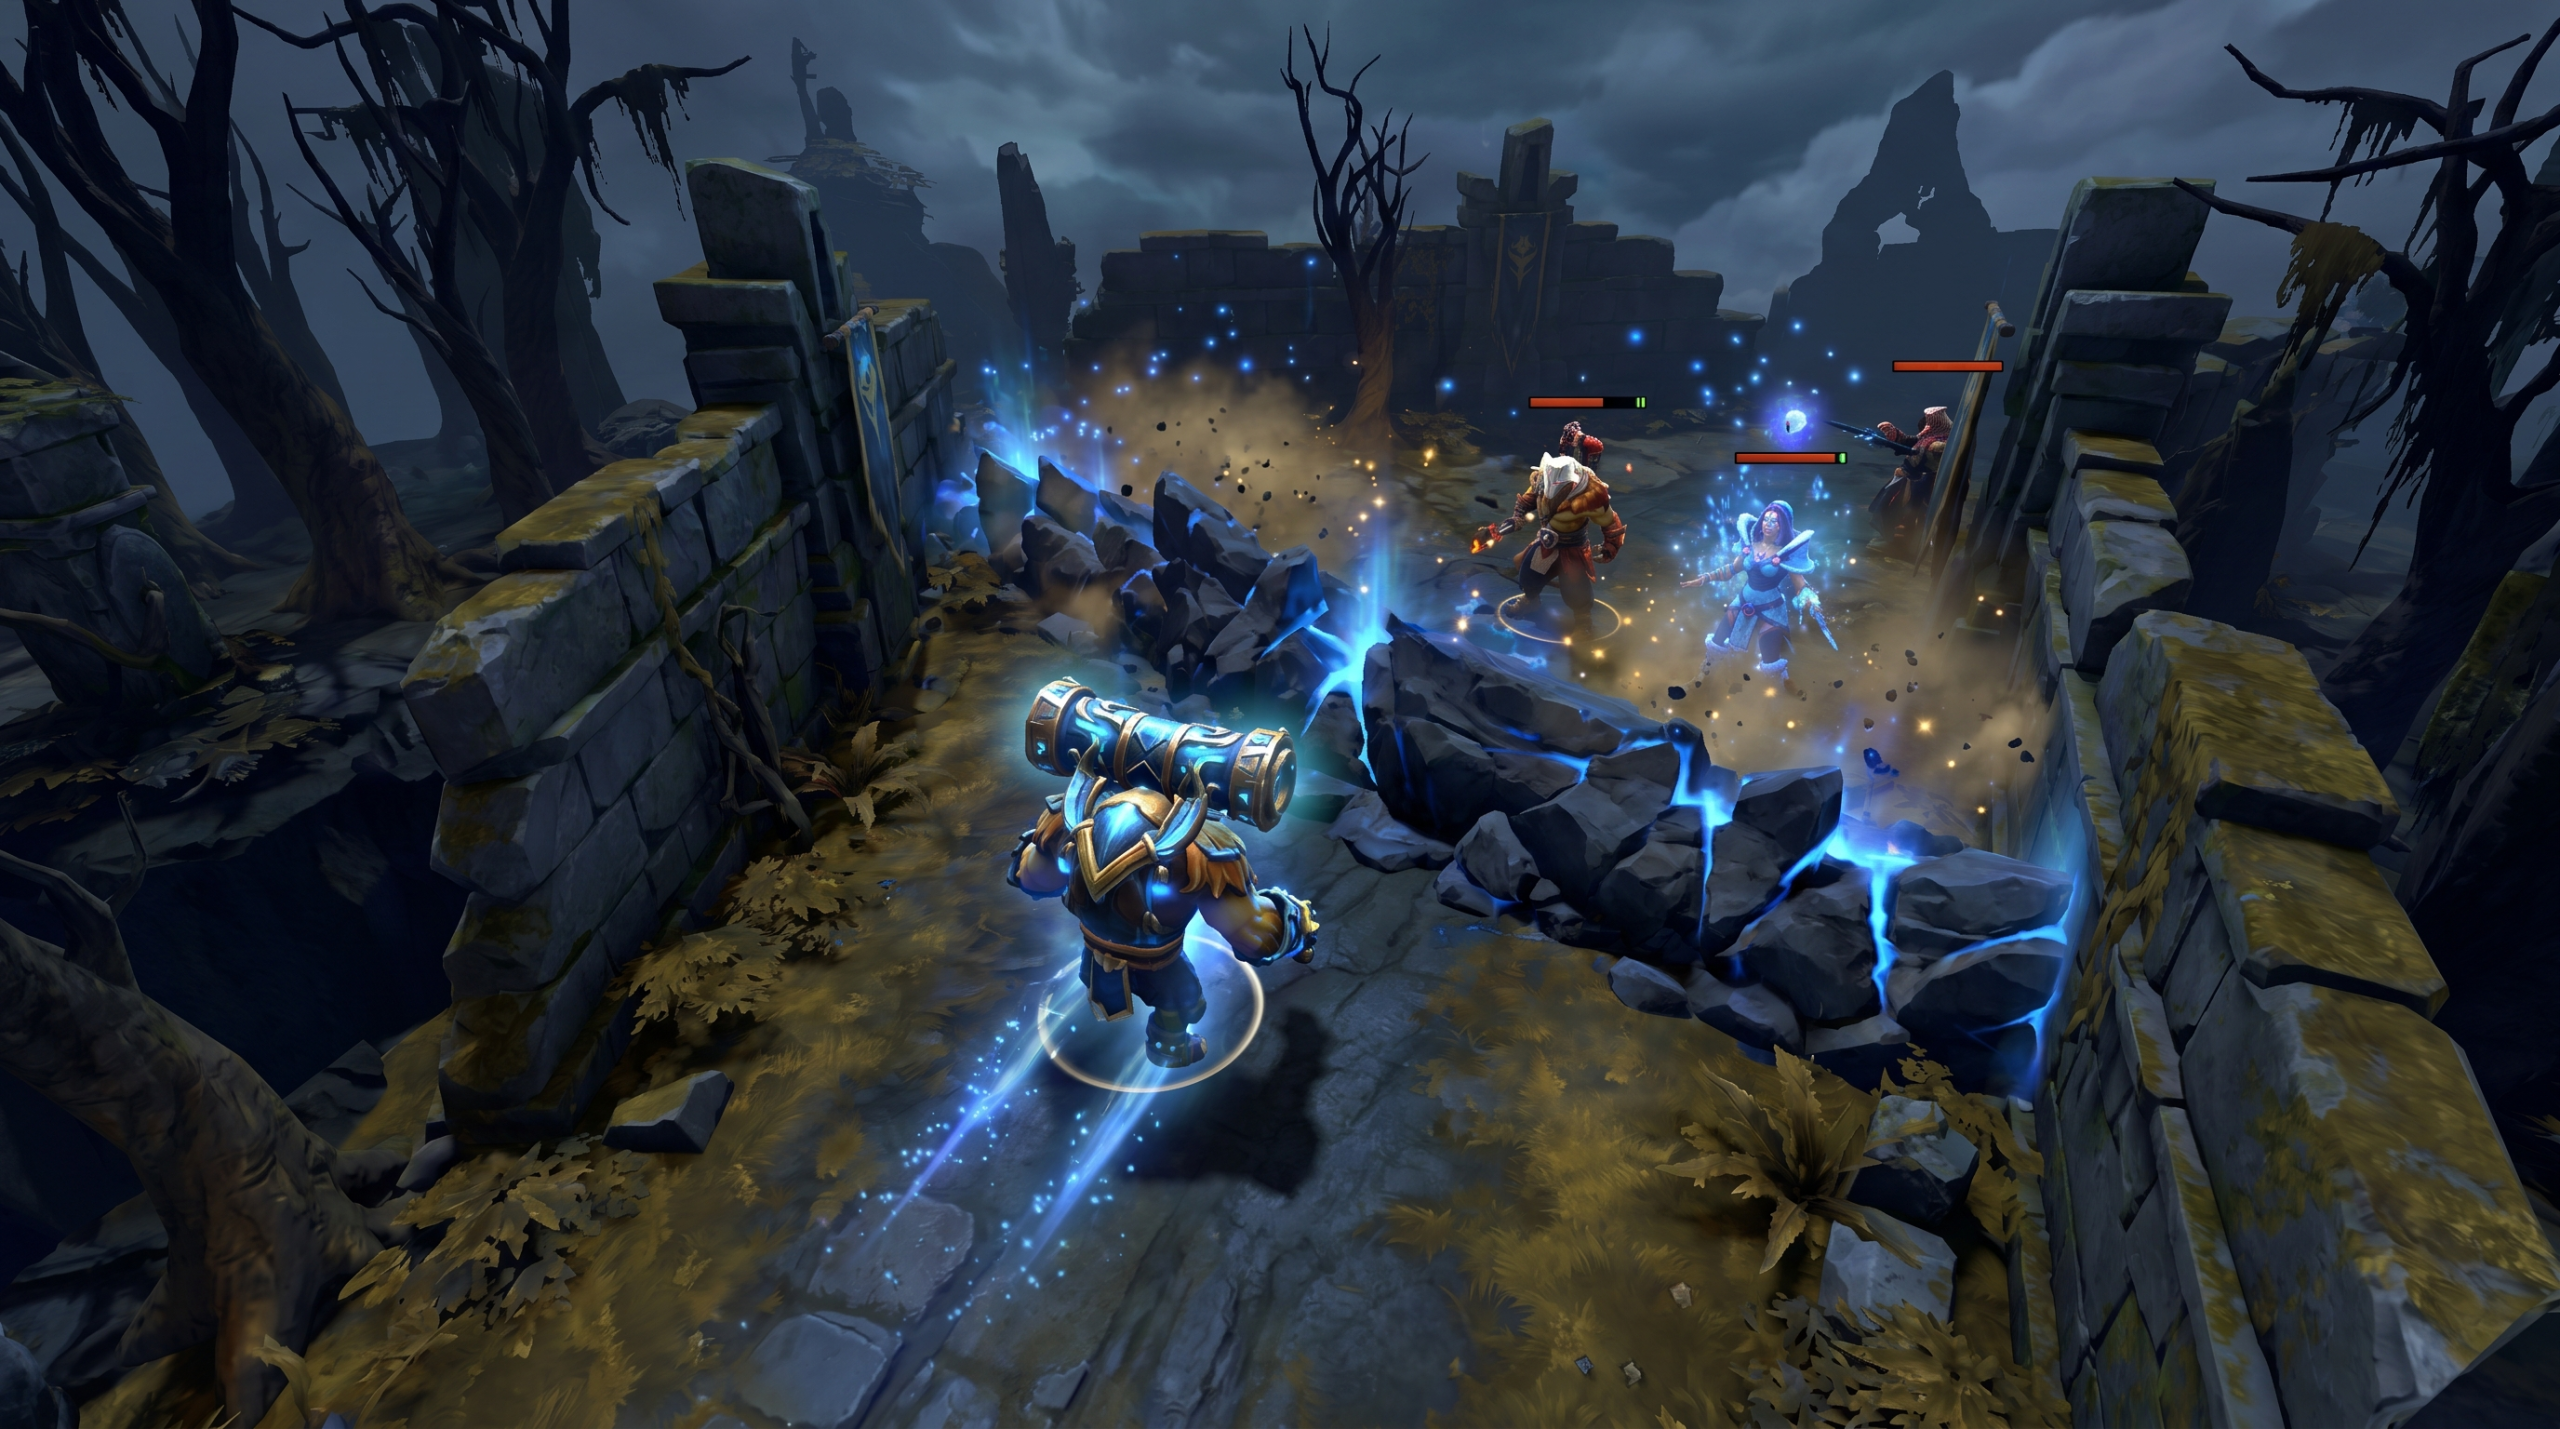
The fastest recovery from a failed initiation: disengage immediately if your abilities have been used and enemies are responding. Do not try to right-click fight after a failed Blink unless you have overwhelming HP advantage. The most common death-after-failed-initiation comes from the initiator staying in the enemy team after the combo fails, trying to find a kill that is not there.
Blink Dagger resets 3 seconds after taking damage (not after using it). This means a failed initiation where you survive has a 3-second window after which you can Blink out if enemies have not killed you. This escape window is the reason high-HP initiators (Axe, Centaur) recover from failed initiations better than low-HP ones (Earthshaker, Magnus) — the HP buys the 3 seconds needed to reset Blink.
Team communication after a failed initiation: call “failed” or the equivalent in your team’s communication system so your team knows not to follow up into a 5v1 or 5v2 disadvantage. One wasted initiation is recoverable. A wasted initiation followed by a chain-death from teammates who misread the fight is a 5-kill swing that often closes the game.
Ready to Skip the Grind?
Team Smurf’s Immortal offlaners execute the Blink + Vision Sync Protocol every game. Let them boost your rank while you drill the mechanics.
Get Your Boost Now Talk to Our TeamTiming blink initiations is one of the hardest skills to self-teach, and it is exactly the kind of habit a Dota 2 coaching session can fix in a single replay review.



