

Bounty Hunter Support Guide for 7.41e

Bounty Hunter is not just "annoying" on 7.41e. He is the cleanest pub MMR printer in the current support pool if you actually play him like a support and not like a failed carry. Across 7K+ MMR pub data on Dota2ProTracker, Bounty Hunter sits at 57.1% win rate as position 4 over 9,902 matches, with a 51.9% contest rate and the highest support lane-advantage mark on the board at +1.3%. That is not noise. That is the kind of profile you get when a hero wins lane, ruins smokes, forces sentry tax, and turns every stray pickoff into map money.
The reason this hero keeps farming wins after TI 2026 is simple: pubs are still too loose with lanes, still too greedy with vision, and still too slow at collapsing when Track exposes them. Bounty Hunter punishes all three. He does not need your team to draft a perfect wombo combo. He needs one lane partner with damage, one teammate willing to hit the target you tracked, and one enemy support who forgot that invis heroes change how the whole map must be warded.
This Bounty Hunter support guide is built for the actual 7.41e pub environment. We are using current Dota2ProTracker numbers, current build patterns, and the same high-MMR habits our boosters lean on when they need a support that can create tempo without begging four strangers to coordinate. If you want a hero that can turn early lane pressure into fast MMR, this is one of the best spots in the patch. If you want someone else to abuse it for you, TeamSmurf Dota 2 MMR boost service and coaching service are both built around exactly these meta edges.
Table of Contents
Why Bounty Hunter Is Winning on 7.41e
The short version: Bounty Hunter creates cheap information, cheap net worth swings, and expensive problems for bad supports. That combination is insane in solo queue. On the current Dota2ProTracker 7K+ MMR snapshot, Bounty Hunter is the #1 support hero out of 75 with a 57.1% position 4 win rate across 9,902 support matches. His all-role number is also absurd at 56.8% across 11,386 matches, which matters because it tells you this is not a tiny-sample cheese pocket. The hero is strong everywhere people are actually clicking him.
The support-specific profile is what makes the story clearer. Bounty Hunter has the #1 pick rate among the 10 most-picked support heroes over the last eight weeks and still keeps the #1 win rate in that same group. Usually, when a support gets that popular, players drag the average down by griefing the build or over-forcing roaming windows. That has not happened here. Even his spammer win rate is 62.7% over 2,152 games, which is exactly the kind of signal you want when deciding whether a hero is truly abusable or just temporarily hyped.
There are also two smaller numbers that tell the real story. First, his lane advantage is +1.3%, best among supports on the board. Second, his win rate from 12 to 35 minutes is 60.2% over roughly 4.9k matches. That means he is not winning because games go ultra-late and his invis gets silly. He is winning because he lets a team snowball the part of the game where pubs usually lose discipline.
| Metric | Current 7.41e Number | Why It Matters |
|---|---|---|
| Support win rate | 57.1% over 9,902 games | He is not just playable — he is the top pub support winner right now. |
| Contest rate | 51.9% | Half the drafts either pick or ban him, so the meta already respects him. |
| Lane advantage | +1.3% | He reliably leaves lane with a net-worth edge instead of just annoying people. |
| Spammer win rate | 62.7% over 2,152 games | Players who specialize are farming MMR, not just surviving. |
| Most-played build | 57.2% over 14,954 games | The standard build is already winning; you do not need to invent something cute. |
| 12-35 minute win rate | 60.2% | His strongest timing matches the phase where pubs throw map control. |
Why does that translate so hard from TI season into ordinary ranked? Because post-TI pubs always overreact to visible winners and underreact to structure winners. Players copy the flashy cores first. They copy the stable support punishers later. Bounty Hunter feeds on that delay. When mids are spamming greedier tempo heroes, when offlaners are showing in dead lanes too long, and when supports are cutting corners on sentries to hit their own item timings, Track makes every small mistake cost real gold.
This is also why the hero scales better with skill than lower-MMR players think. Bad Bounty Hunter players believe the hero is about permanent invis and coin-flip solo kills. Good ones know he is about forcing impossible map states. You are constantly asking the enemy carry, "Can you hit this wave if I might be here?" You are asking the enemy five, "Can you walk uphill alone when one Track means your whole smoke dies?" That pressure creates bad patterns long before the actual kill happens.
One more useful detail: the hero is dramatically better on Radiant than Dire in the current sample. The all-role split is 60.1% on Radiant versus 53.6% on Dire, and the support split is 60.6% versus 53.7%. That does not mean you skip the hero on Dire. It means your ward routes, pull control, and early rotations are more forgiving on Radiant because the common invasion paths and triangle pressure lines are cleaner for an invis support to abuse. On Dire you have to be more intentional about when you reveal, because the angle mistakes are punished faster.
Best Role, Draft Window, and Lane Partners
Bounty Hunter is best as a position 4 right now. The position 5 win rate is still strong at 56.3% over 1,340 games, but the position 4 sample is the real story. You get more freedom to drag the lane sideways, check runes, invade around minute six, and convert the first Track level into real side-lane violence. Position 5 Bounty can work, especially if your offlane already covers tower defense and wave clear, but most pubs draft in ways that make four the cleaner slot.
Draft-wise, this is not a hero you need to last-pick. In fact, current data says the hero is totally comfortable being shown early. In the support sample, 8,886 of the 9,902 position 4 games came from first-phase picks, and the win rate stayed at 57.0%. That is the real endorsement. A hero that strong while being shown early is basically telling you the counters exist on paper more than they exist in normal pub execution.
Your best lanes are the ones that can turn slow chip into real kill threat. Any offlaner who can trade consistently while you keep the enemy support poor is a good start. Think Mars, Centaur, Slardar, Primal Beast, or even greedier options that love extra vision and easier Javelin timing. You do not need a lane partner with perfect burst. You need someone who can stand on the wave, punish repositioning, and hit the tracked target when the enemy finally panics.
The lane partners you want most share one trait: they benefit when the enemy support cannot approach the wave cleanly. Bounty Hunter is brutal at creating that condition. Shadow Walk lets you threaten side angles. Jinada lets you tax regen and last-hit contests. Shuriken Toss gives you the missing ranged punish that many melee offlaners need. When the enemy five has already lost two sentries and a Blood Grenade trade, your partner suddenly looks way stronger than the matchup chart said.
| Role | Current Win Rate | Sample | Verdict |
|---|---|---|---|
| Position 4 | 57.1% | 9,902 games | Best role by a mile. Spam this first. |
| Position 5 | 56.3% | 1,340 games | Playable if your four or offlaner covers wave clear and hard-save needs. |
| Offlane | 46.8% | 77 games | Do not grief yourself. This is niche territory. |
| Mid | 35.6% | 45 games | Ignore the meme builds. |
| Carry | 42.9% | 7 games | Absolutely not for climbing. |
When should you avoid the pick? Mainly when your draft already lacks stun, lane anchor, or building damage and is also asking your four to hard-save multiple cores. Bounty Hunter can buy Force Staff, Lotus Orb, and even Wind Waker later, but he is still a momentum support. If your team needs a Warlock, Disruptor, or Oracle game and nobody else can fill that job, forcing Bounty just because the stats are green is how people turn a good meta hero into a grief pick.
The other dodge spot is psychological, not mechanical: if you know you are the kind of player who goes invisible and forgets to play the lane, skip the hero. Bounty Hunter is not forgiving if your first ten minutes are lazy. The whole point is to make enemy laners uncomfortable from wave one. If you pick him and then AFK behind your offlaner waiting for a miracle, you are deleting half the hero value.
Skill Build That Actually Wins Pubs
The current most-played support build starts Boots, Observer, Sentry, and Blood Grenade, then maxes Shuriken Toss first with an early-value split in Shadow Walk and Jinada. The top Dota2ProTracker build shows a 57.2% win rate over 14,954 games and the ability order effectively reads like this through level ten: Shadow Walk, Jinada, Shuriken Toss, Shuriken Toss, Shuriken Toss, Track, Shuriken Toss, Shadow Walk, Shadow Walk, Shadow Walk.
That skill order tells you everything you need to know about how high-MMR Bounty is being played. Players are not greedily maxing Jinada to cosplay a core. They are prioritizing Shuriken because the spell turns skirmishes, secures ranged creeps when lanes get weird, and gives you a real ranged punish tool for every Track fight. Once Track is online, every bounce and follow-up becomes cleaner.
The one-point Jinada at level two matters more than people think, though. It is not there for fantasy damage clips. It is there so every trade has a tax attached to it. You are taking HP, gold, and lane comfort at once. In pubs, supports tilt fast when their consumables disappear and their carry misses a CS because they had to step back from a Jinada threat. That is how a small melee poke hero becomes a lane-shaping support.
Maxing Shadow Walk after Shuriken is also the right current read. More points mean better uptime, cleaner scouting, and more freedom to connect lanes without showing. The mistake lower brackets make is treating invis as a license to wander. Better players treat it as a way to arrive earlier than the enemy expects. That difference is why the same hero looks useless in one game and disgusting in the next.
| Level | Recommended Skill | Reason |
|---|---|---|
| 1 | Shadow Walk | Lets you start trades from angle, break sentry assumptions, and threaten courier paths. |
| 2 | Jinada | Early lane tax on gold and regen. Makes every right-click matter. |
| 3 | Shuriken Toss | You need ranged damage to finish trades and punish retreat lines. |
| 4-5 | Shuriken Toss | Max it first for reliable skirmish impact and Track combo value. |
| 6 | Track | Hero comes online. Every smoke and rune fight changes after this. |
| 7 | Shuriken Toss | Finish the max before padding invis utility. |
| 8-10 | Shadow Walk | Map freedom, better scouting, cleaner setup windows. |
If you are wondering when Jinada gets more love, the answer is later, when the map is wider and you are getting more repeated hit windows on exposed cores. Early on, the spell is amazing as value. Mid-game, it becomes one of the reasons dewarding alone is miserable. But if you skip Shuriken levels for greed, your minute 8-16 impact drops too hard.
Talent choices are always a bit more game-specific than raw ability order, but the rule is simple: take the talent that reinforces how you are already winning. If your game is about repeated skirmishes and vision denial, choose utility and uptime. If you somehow got rich and the enemy has no good answer to long fights, then you can lean greedier. Bounty Hunter is strongest when he helps the team snowball. Once you start talenting like you are the main character, the hero loses some of his most broken qualities.
Starting Items and Core Timings
The current most-played support opener is Boots of Speed, Observer Ward, Sentry Ward, and Blood Grenade. This matters because it tells you the hero first real job on 7.41e: get to angles first, get to pulls first, and get to that first Jinada tag before the enemy support sets the lane on their terms. You are buying speed to steal initiative, not to look cool.
From there, the standard early item line on Dota2ProTracker is Tranquil Boots, Magic Wand, and Eul's Scepter of Divinity. That is the current winning shell. Tranquils keep you healthy enough to play ugly map routes without draining base resources. Wand smooths constant skirmish games. Eul's is the bridge item that turns Bounty from nuisance into setup, save, dispel, and catch all at once.
This is the part lower-MMR players still get wrong. They look at Bounty Hunter and instantly want Orb of Corrosion nonsense, Desolator greed, or some half-carry path that makes them feel active. But the current high-MMR build is screaming the opposite. If the standard 57.2% build goes utility first, it is because utility gives you more guaranteed winning fights than fake core damage on a support net-worth curve.
Eul's is especially filthy on this hero because it solves multiple pub problems at once. You can catch overextended mids, purge annoying silences, set up your own Shuriken timing, interrupt teleports, and buy those two extra seconds for your team to connect to a Track target. It also smooths out the awkward moments where your hero is rich enough to matter but not tanky enough to face-check. That is why it shows up as the default timing item instead of some greedier damage route.
| Stage | Default Item | What It Solves |
|---|---|---|
| Starting | Boots, Obs, Sentry, Blood Grenade | Lane access, pull control, and level-one pressure. |
| First small | Magic Wand | Lets you keep skirmishing without walking home. |
| Boot timing | Tranquil Boots | Cheap sustain for nonstop scouting and rotations. |
| First core | Eul's Scepter | Catch, self-save, purge value, and easier Track fight execution. |
| Second utility | Blink, Lotus, Force, or Gem | Depends on whether the game is about initiation, dispel, reposition, or vision control. |
| Luxury | Wind Waker or Scythe | Only after your team already owns the map. |
What comes after Eul's depends on what kind of pub chaos you are handling. Blink Dagger is for games where you need first contact or instant follow-up on a teammate jump. Lotus Orb is strong when the enemy has point-target nonsense or your cores need dispel support. Force Staff remains the classic anti-feed purchase against slows, bad positioning, and cliff fights. Gem of True Sight becomes brutally efficient once you are already ahead and the enemy lineup depends on holding one defensive ward line.
The luxury traps are easy to identify. Hand of Midas, Radiance, and meme right-click branches do exist in the data as off-meta lines, but they are not the core support plan and should not be your default climb route. If you are three screens ahead and farming kills for free, sure, you can get weird. But if you are reading this because you want consistent MMR, stay inside the winning shell unless the game gives you a clear reason to leave it.
Also remember the money logic of Track. The hero naturally generates gold when your team is already executing. That is exactly why you should spend early gold on items that increase team execution rate. Buying utility first means more successful catches, which means more Track gold, which means your next utility item arrives faster. Greedier damage items break that loop unless you are massively outclassing the lobby.
Lane Plan: First 10 Minutes
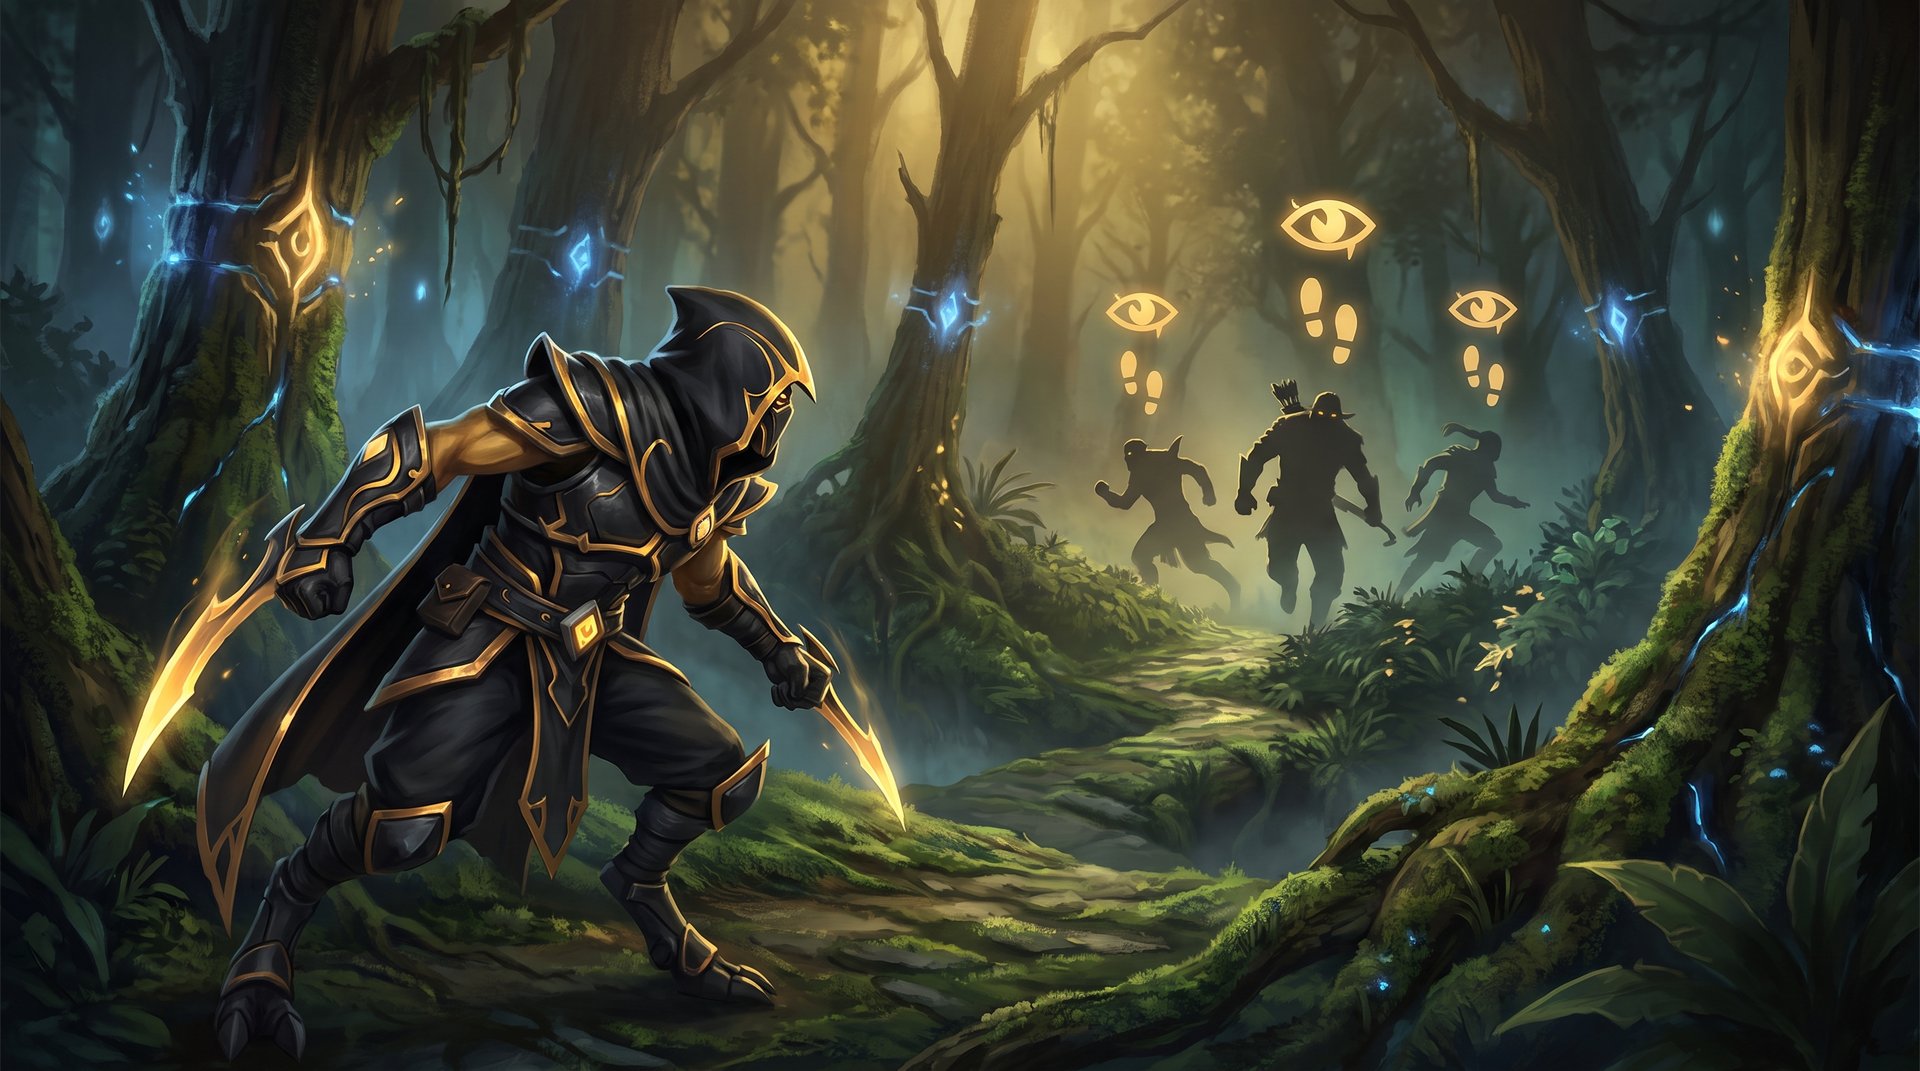
If you want to win on Bounty Hunter, your lane should feel irritating from the first creep wave. Not reckless. Irritating. The goal is to make the enemy five spend too much attention protecting equilibrium and too much gold maintaining vision. When that happens, your offlaner gets cleaner CS, your own pulls become easier to protect, and the lane stops feeling like a symmetrical trade of cooldowns.
At level one, you are mainly using Boots plus Shadow Walk to choose the first hit, not just to hide. If the enemy support shows early, tag them and force them to think about the second angle. If they play back, you threaten the carry path to the wave. If they over-commit to blocking the camp, you can either trade into them or protect your offlaner contest. Every good Bounty lane begins with the same principle: you decide who feels unsafe standing near the wave.
Jinada at level two gives you the first clean tax pattern. Walk in when the enemy thinks the trade is over, steal gold, then either drag aggro out or force support regen. That gold swing seems tiny in isolation. It is not tiny when repeated. Over three or four cycles, you have often turned the enemy support first courier trip into a defensive trip instead of an aggressive one. That changes warding and grenade behavior immediately.
When your lane is stable, do not roam just because you unlocked invis. This is the biggest fake-play mistake on the hero. Stay if the enemy carry is still vulnerable, if your offlaner needs you to hold wave shape, or if the enemy support is one death away from full lane collapse. Roam only when the value is obvious: rune timing, catapult pressure, mid with no escape, or a twin-gate style support collapse where your Shuriken is guaranteed to matter.
The first six-minute window is huge. You are one of the best heroes in the game at checking if someone is greedily taking a side resource alone. But you cannot miss your own job to do that. Secure wisdom routes intelligently, communicate if your Track timing is close, and never forget that a support Bounty who keeps lane equilibrium healthy is usually more valuable than a support Bounty who disappears for ninety seconds and comes back with nothing.
- Open with a lane angle, not a passive block-and-watch mindset.
- Use Jinada to tax regen and courier trips, not to randomly hit creeps.
- Protect or threaten pull camps depending on who benefits more from wave drift.
- Only leave lane when the rotation wins more than another two creep waves would.
- Hit level six with purpose. Your first Track should lead to a kill, tower, or map claim.
A clean Bounty lane often looks boring on the scoreboard until minute eight. That is fine. If the enemy support is poor, if your offlaner is stable, and if the enemy carry feels watched every time they hit a dangerous creep, you are already building the win. People who try to force hero-clip moments too early often lose the structure that makes the later Track phase easy.
Mid-Game Track Playbook
Bounty Hunter real game starts at level six, but only if you stop thinking of Track as a kill-steal spell. Track is an economic amplifier and a fear tool. The gold is obvious. The information is the deeper part. Once a core is tracked, they cannot fake confidence anymore. Everyone knows where the vulnerable hero is moving, whether they are setting bait, and whether they are trying to greed one more wave.
Your first Track rotations should usually target the easiest chain, not the highest-value hero. If the enemy mid is slippery and the enemy support is alone placing a ward, kill the support. If the carry is farming triangle under three heroes and the side-lane offlaner is showing greedily, kill the offlaner. Bounty Hunter snowballs off repeated clean executions, not heroic coin flips. One Track kill that becomes an objective is worth more than two failed attempts on the enemy win condition.
The reason his mid-game numbers stay so strong is that the hero thrives in broken shape fights. Normal supports hate split engagements. Bounty Hunter loves them. One tracked hero backing out turns into another hero revealing to help, which turns into another angle opening for your team. Good BH players are always asking, "If I mark this target, who has to show?" That second answer is often more important than the first.
Use your invis to scout smokes without feeding. This is the other huge MMR edge. A lot of support heroes can guess smokes. Bounty Hunter can often confirm them. If the enemy is missing off a dead lane, if your ward line just got cut, and if their support suddenly disappears from obvious deward routes, you are one of the best heroes to stand between where they are and where they want to be. Even when you do not break the smoke, your positioning changes how your cores can farm.
Vision wars are where Bounty starts to feel unfair. Once you are ahead enough for Gem, the hero becomes one of the meanest map-control supports in the game. Shadow Walk plus Track makes defensive wards expensive, awkward, and often temporary. If your team is even slightly disciplined about moving behind you on deward paths, the enemy map can shrink fast. This is why good Bounty games feel like the enemy carry is always farming one camp less than they want to.
Do not confuse "play fast" with "show first," though. One of the easiest ways to throw a Bounty game is to reveal for a mediocre track or to start a fight from a place where your team cannot actually join. The hero is strongest when he lets others finish the problem. Your job is to create the visible crack, not always to be the one diving through it.
| Situation | Best Bounty Hunter Play | Common Throw |
|---|---|---|
| Enemy support warding alone | Track, wait half-second, then commit with backup path ready | Instant reveal before your closest core can move |
| Smoke read on your side of map | Scout route from invis and protect the farm area behind you | Breaking smoke solo with no save and no vision behind |
| Winning fight after one kill | Track the next reachable target and chase the rescue path | Stopping to hit creeps because you got bonus gold |
| Map already ahead | Turn that lead into ward denial and objective pressure | Roaming for highlight kills while lanes shove into you |
| Defending a core farmer | Play near the dangerous edge of their farm triangle | Shadow Walking on the opposite side with no purpose |
If you are boosting or coaching on this hero, this phase is where MMR gaps show hardest. Lower players use Track reactively after a fight begins. Better players use it proactively to make the fight happen in the first place. That is a big reason TeamSmurf clients who buy boosting or coaching often see fast improvement when they study map-read heroes like this one. The hero teaches tempo, not just mechanics.
The 7 Biggest Bounty Hunter Mistakes
Most Bounty Hunter losses are self-inflicted. The hero is strong enough that you usually do not need brilliance. You need discipline. Here are the mistakes that delete MMR fastest:
- Leaving lane too early. Invisibility is not a roam command. If the lane is still playable and the enemy carry is uncomfortable, stay and keep twisting the knife.
- Building fake-core items first. Utility wins more games than cosplay damage. The public data already points you toward Tranquils, Wand, and Eul's.
- Tracking the wrong target. The best Track is the one your team can actually punish. Marking an impossible hero for ego value does nothing.
- Showing before your team can connect. If you reveal first and your nearest ally is two screens away, you are just donating info.
- Forgetting objective conversion. Bonus Track gold matters because it should turn into tower damage, ward control, or Roshan access. If it only turns into more wandering, you are wasting the hero.
- Dewarding without backup once ahead. Bounty makes people overconfident because invis feels safe. Carrying Gem is only broken if your team is close enough to punish the fight it creates.
- Playing for clips instead of pressure. The hero wins with repeated small punishments. You do not need solo-kill montages to climb.
The pattern behind all seven is the same: players stop respecting Bounty Hunter as a support. They start treating him like a sneaky damage core because invis plus Track gold makes the fantasy tempting. Resist that. The current patch data is rewarding the boring, disciplined, economic version of the hero.
Who Should Spam This Hero Right Now
Spam Bounty Hunter if you are a position 4 player who likes controlling game flow more than babysitting perfect fights. The hero is ideal for players who enjoy lane harassment, vision warfare, and punishing greedy routes. He is especially strong if your bracket is full of carries who farm one more wave than they should and supports who still think one sentry covers every problem.
He is also excellent for solo queue players who are tired of relying on teammates to start every play correctly. Bounty Hunter can create information without overcommitting. He can protect a core without literally standing in front of them. He can turn one random teammate aggression into a profitable collapse if he is already positioned well. That flexibility is why the hero keeps printing wins when pubs are chaotic.
If you love the hero but cannot convert the edge consistently, that is exactly the kind of leak a focused session can fix. TeamSmurf Dota 2 coaching is best when it turns a strong meta pick into a repeatable climb pattern. And if you would rather skip the experimentation and just bank the rank gain, our safety guide and MMR boosting guide explain how serious players handle that route.
The final verdict is easy: Bounty Hunter is one of the best support heroes to gain MMR with on 7.41e, but only if you play him as an economic control support first and a damage hero second. The numbers support it. The pub environment supports it. The build support it. If you can stay disciplined through the first ten minutes and ruthless after level six, this hero is absolutely worth spamming right now.
Bounty Hunter Support FAQ
Want the Patch Edge Without Trial and Error?
Bounty Hunter is one of the easiest ways to punish sloppy pubs on 7.41e, but only if your map movement and item decisions stay sharp. If you want Immortal-level execution instead of guessing your way through the patch, TeamSmurf can help.
Get MMR Boost Book Coaching Fix Low Priority



