How to Master Meepo in Dota 2: The Ultimate Guide for Every Rank (2026)

Meepo is the most feared last-pick in Dota 2 — and the most punishing hero in the game if you cannot execute him properly. No other hero in the roster demands the same level of mechanical skill, map awareness, and split-second decision-making. When a skilled Meepo player enters your lobby, the entire draft warps around him. When an unskilled one picks him, the game is essentially 4v5.
This guide is not a surface-level overview. We are going deep into everything that separates a 2K Meepo from an 8K Meepo — from control group setups and poof combos to farming patterns that let you hit a 14-minute Roshan, item builds that adapt to every bracket, and the exact matchups where Meepo is an unstoppable force versus an unplayable liability. Whether you have never touched this hero or you already have 500 games on him, you will find something here that makes you a better Meepo player.
Table of Contents
Why Meepo Is the Ultimate Skill Check
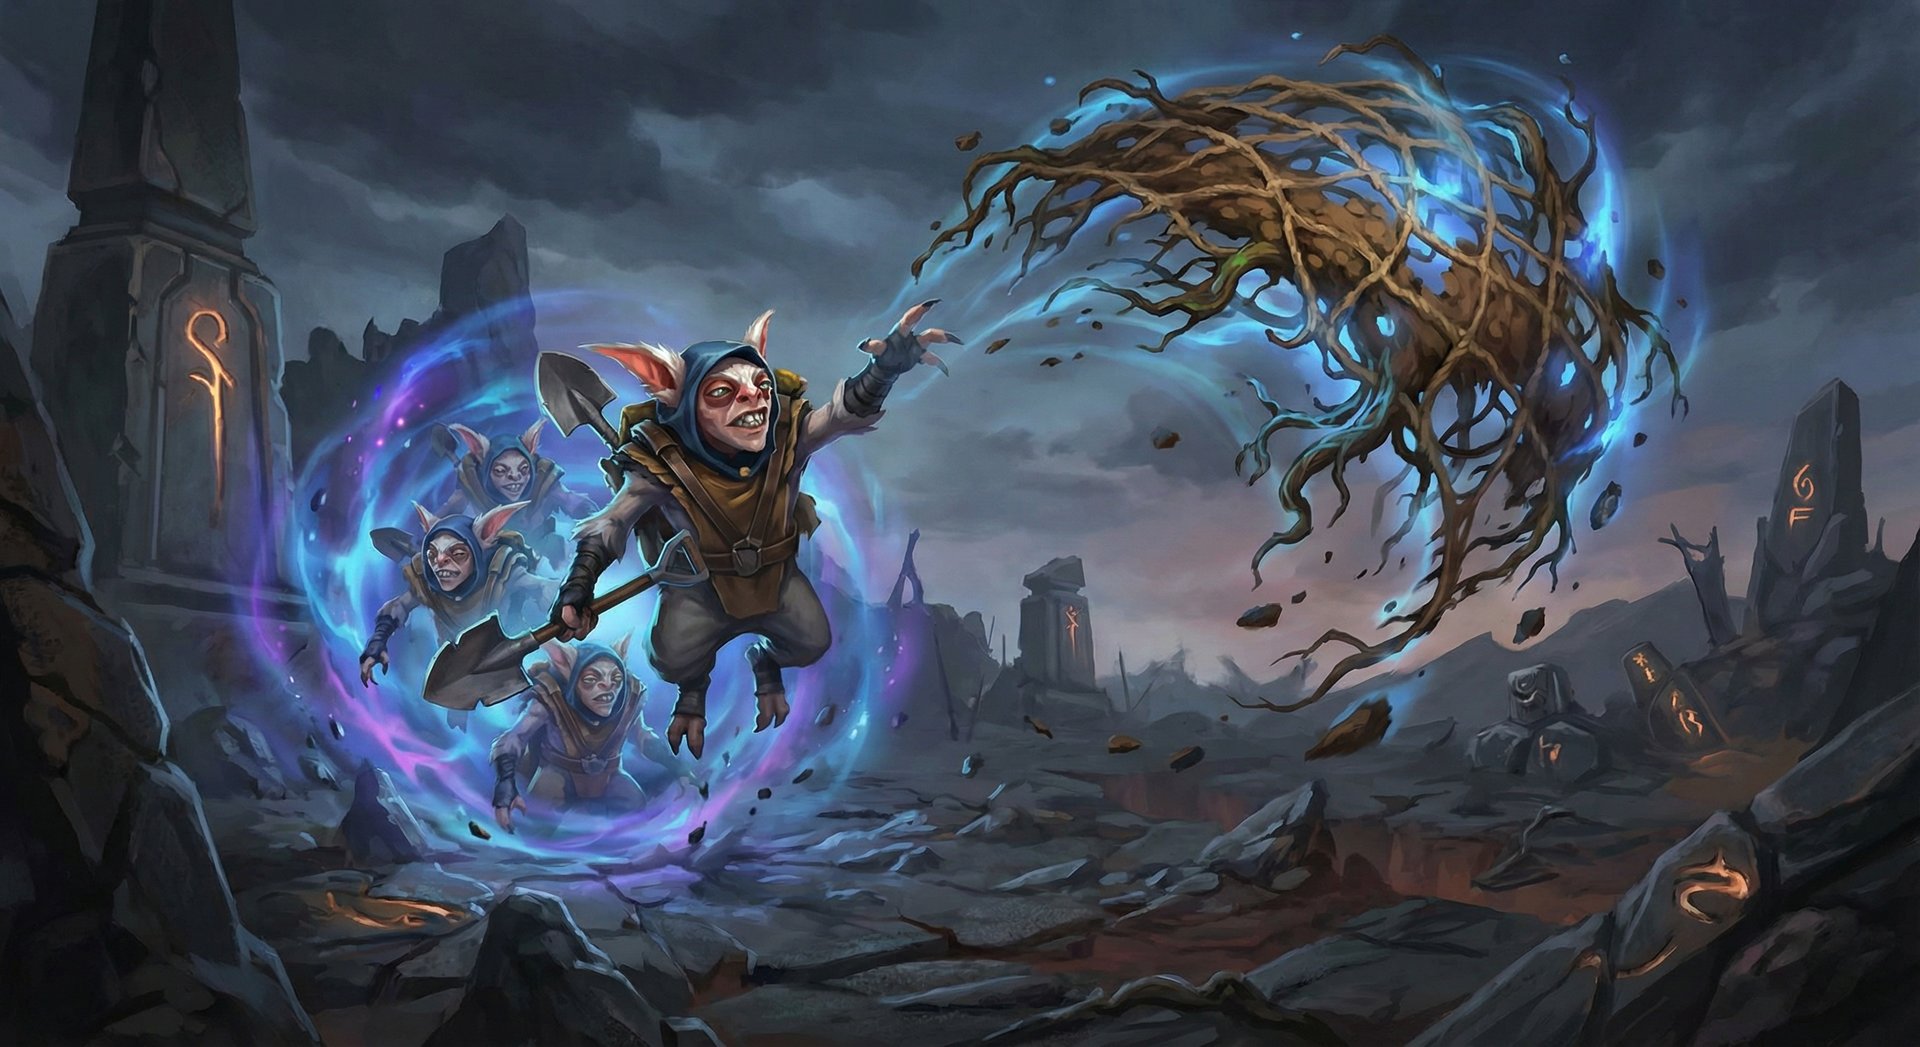
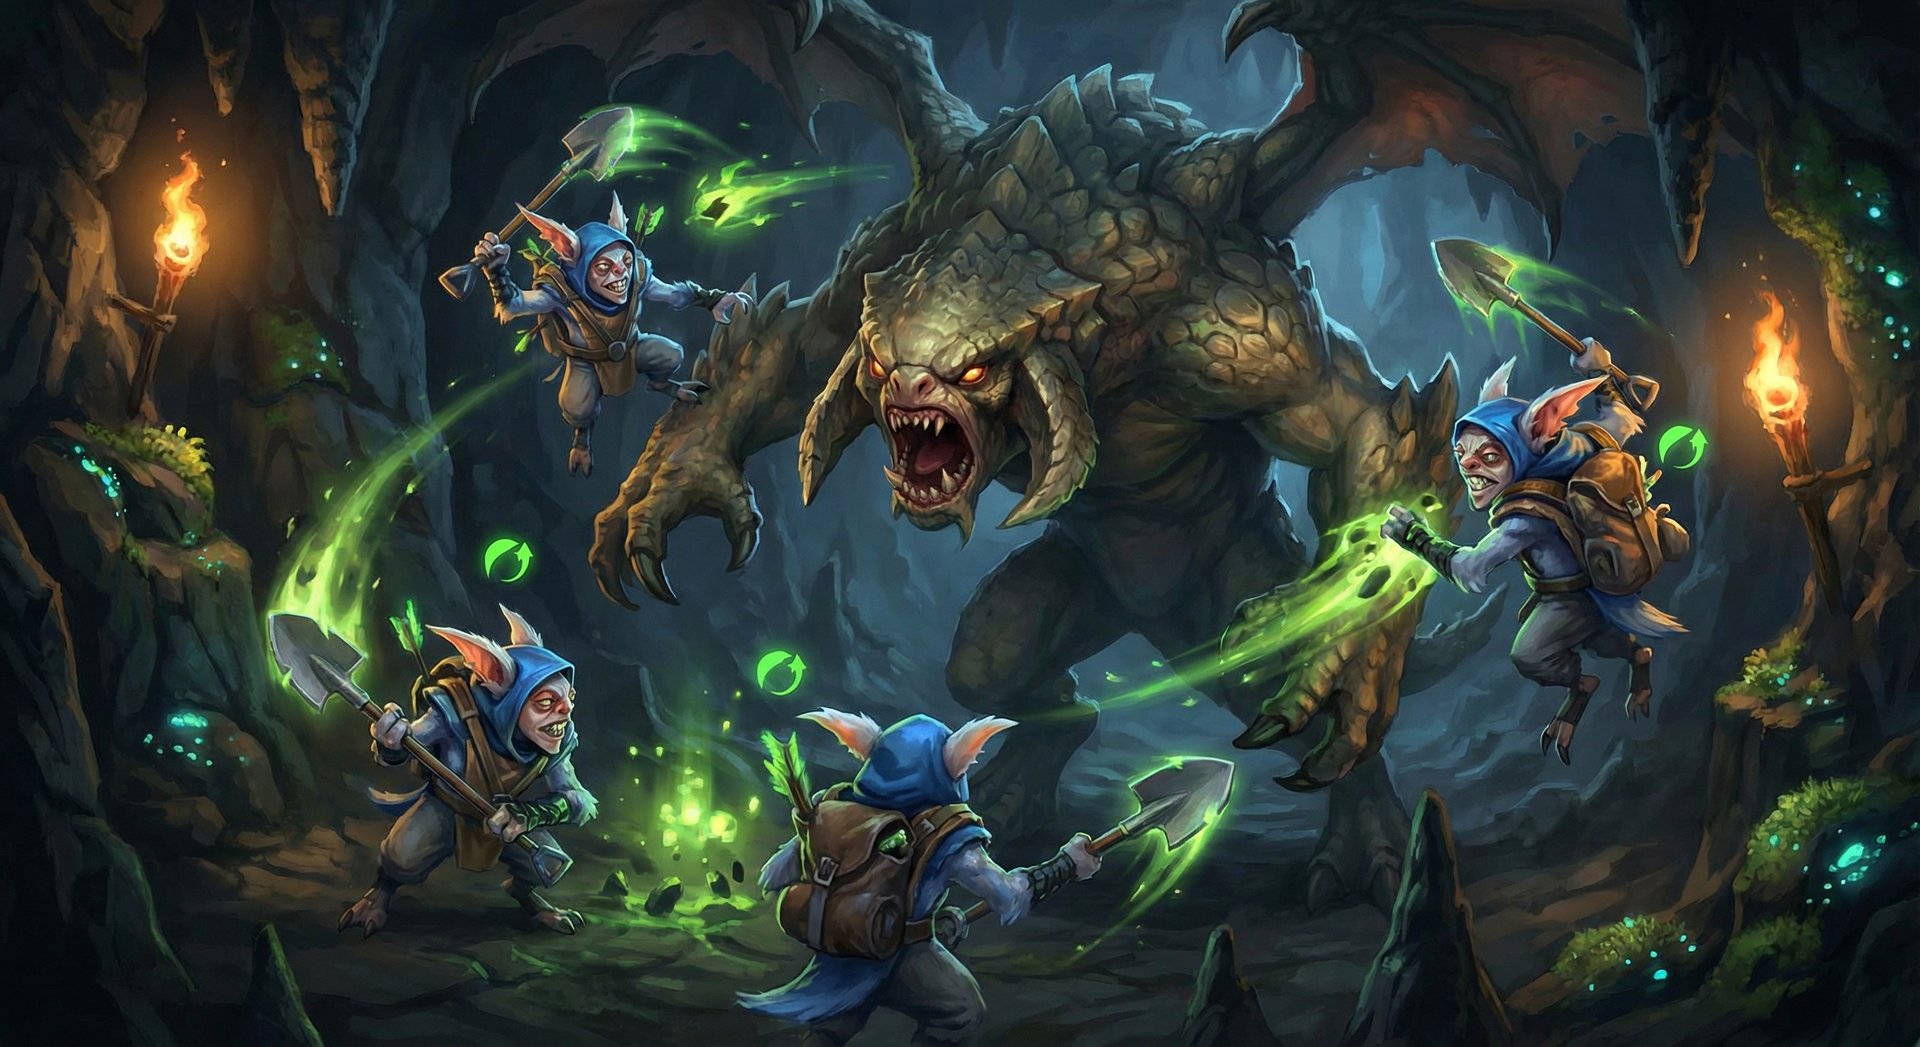
Meepo, the Geomancer, is a melee agility carry who is played almost exclusively in the mid lane. His entire kit revolves around one mechanic that no other hero replicates: he creates permanent clones of himself, and if any single clone dies, every Meepo dies. This all-or-nothing design makes him the highest-risk, highest-reward hero in Dota 2.
Currently sitting at roughly a 50-52% winrate across all brackets with a pick rate under 3%, Meepo is a niche specialist hero. But those numbers are deceptive. In the hands of dedicated Meepo players — the ones with 500 or more games on him — his winrate skyrockets above 58%. At the Immortal bracket, Meepo specialists regularly maintain 60%+ winrates because the hero rewards mastery more than almost any other pick in the game.
What makes Meepo unique is the sheer economic advantage he generates. With multiple bodies farming simultaneously across different parts of the map, a competent Meepo hits item timings that are 5-8 minutes ahead of any other carry. He can solo Roshan by 14-16 minutes. He can take towers with the pushing speed of a Lycan while also ganking with the burst of a Tiny. The tradeoff is that playing him demands you manage 3-5 units simultaneously, each with their own health pool, positioning, and ability usage.
Meepo is classified as a Carry, Disabler, Initiator, Nuker, Pusher, and Escape — and he genuinely fills every one of those roles depending on the game state. He roots enemies with Earthbind, bursts them with Poof, heals through Ransack, and uses his ultimate Divided We Stand to overwhelm the map with sheer numbers.
Abilities Deep Dive
Earthbind (Q)
Earthbind throws a net that roots all enemies in the target area for 2 seconds. This ability does not deal damage, does not go through magic immunity, and does not interrupt channeling spells. However, it is one of the most powerful catch tools in the game because every Meepo clone can cast it independently.
The hidden power of Earthbind is the overlap potential. With 3-4 Meepos, you can chain roots back to back, keeping a target locked down for 6-8 seconds straight. At max level, Earthbind has a 12-second cooldown with a 2-second root, meaning with proper timing across multiple clones, you create near-permanent lockdown.
Critical mechanics:
- Earthbind has a 0.3-second travel time at max range — always lead your target
- The net provides vision of the area for 2 seconds, making it excellent for scouting
- Root prevents blinks, Force Staff, and all movement abilities — this catches Ember Spirit mid-Remnant, Anti-Mage mid-Blink, and Storm Spirit mid-Ball Lightning
- You do NOT need to max this early. Most high-MMR players take 1-2 points and prioritize Poof and Ransack
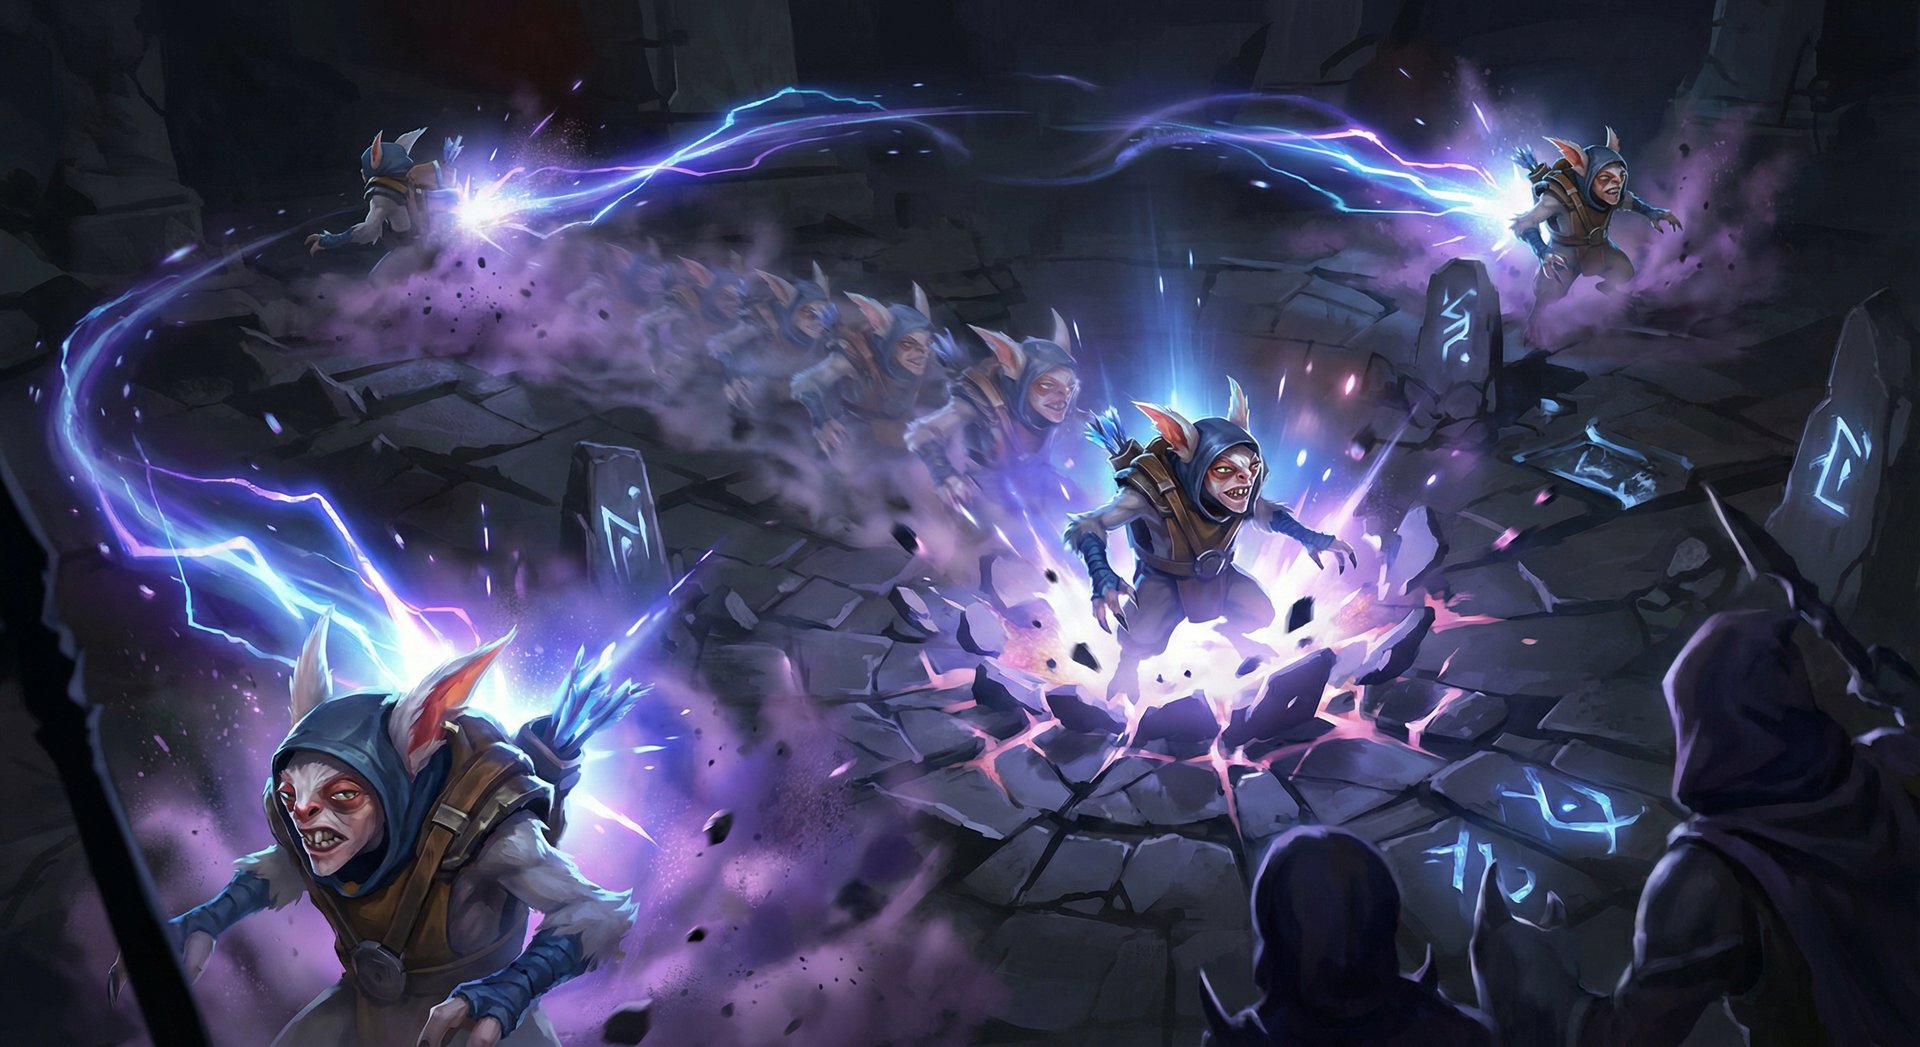
Poof (W)
Poof is Meepo’s signature ability. Each Meepo teleports to any other Meepo after a 1.5-second channel, dealing damage both at the departure point and the arrival point. At max level, each Poof deals 140 damage at each location — 280 total per Meepo.
The math gets terrifying fast. With 4 Meepos poofing onto a target, that is 4 x 280 = 1,120 magical damage before reductions. Factor in the typical 25% magic resistance and you are still looking at 840 damage — enough to delete most supports and chunk carries down to half health. This burst happens in 1.5 seconds and comes attached to a repositioning tool.
Poof mechanics that matter:
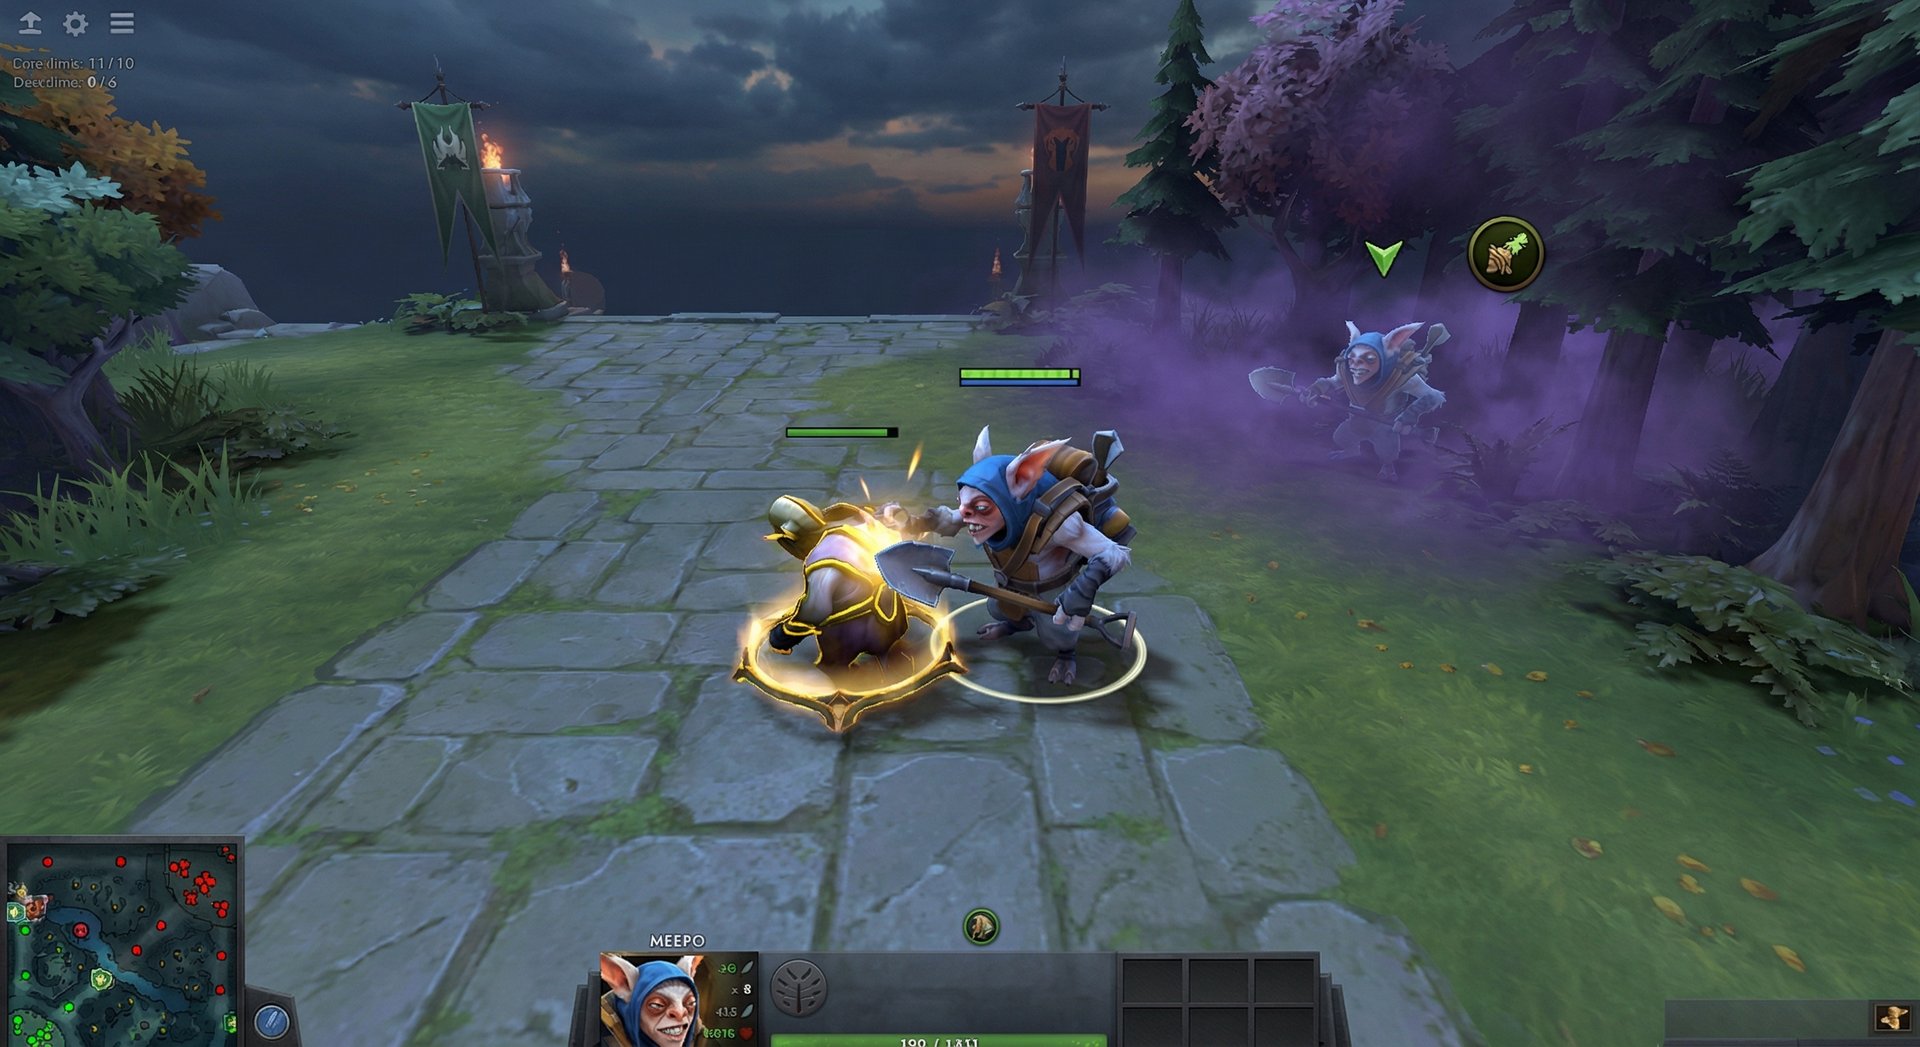
- Auto-Poof mode: Right-click the Poof icon to toggle Auto-Poof. When enabled, all non-selected Meepos automatically Poof to the selected Meepo. This is the single biggest quality-of-life feature for new Meepo players
- Tab-Poof combo: Select all Meepos, press W then Tab rapidly to queue Poof on each clone. With practice, you can Poof all clones in under 0.5 seconds
- Poof deals damage at both origin AND destination — use this to farm two camps simultaneously
- Blink Dagger + Poof is the core initiation combo: Blink the main Meepo onto a target, Auto-Poof all clones to the main, Earthbind during the 1.5-second channel
- Poof can be used to dodge projectiles and abilities if timed during the teleport window
Ransack (Passive)
Ransack causes each Meepo’s attacks to steal health from enemies. At max level, each attack steals 20 health from heroes and 8 from creeps. This might sound minor, but remember — every Meepo clone benefits from this. With 4 Meepos attacking a target, that is 80 HP stolen per attack cycle, and with high attack speed from items, the sustain becomes massive.
Ransack is what allows Meepo to solo Roshan early. The combined lifesteal from all clones attacking Roshan simultaneously keeps your health pools topped up while the Poof damage accelerates the kill. It also makes Meepo deceptively tanky in extended fights — enemies think they are winning the damage trade until they realize you are healing faster than they can burst.
Key interactions:
- Ransack works on every unit type including Roshan
- The heal applies to the specific Meepo that attacks, not distributed — manage which clone is low by moving it to attack
- Ransack stacks with lifesteal items, making Vladmir’s Offering or Satanic situationally powerful
- Each point of Ransack is more valuable than it appears because it multiplies across all clones
Divided We Stand (Ultimate – R)
Meepo’s ultimate is what defines the hero. Divided We Stand creates a clone of Meepo at levels 4, 11, and 18. Each clone shares the main Meepo’s base stats, boots, and stat-granting items (clones do NOT benefit from active item effects or non-stat components). The clones gain experience independently, and if any Meepo dies, all of them die.
This ultimate fundamentally changes how you play Dota. You farm 3-4x faster than any other hero because each clone can farm a separate camp or lane. You gain experience from every clone’s location, meaning your level progression outpaces everyone on the map. By the time most carries are level 12, Meepo is level 18 with three items completed.
Mega Meepo (Aghanim’s Scepter)
Aghanim’s Scepter grants Meepo the Mega Meepo ability — a transformation that merges all Meepo clones into one gigantic Meepo with combined health pools. During Mega Meepo form, you become a single massive unit that is extremely difficult to burst down. This ability is both an escape tool and a teamfight reset.
Mega Meepo applies a basic dispel on activation, removing silences and most debuffs. The combined health pool means that if your clones had 2,000 HP each across 4 bodies, Mega Meepo gives you roughly 8,000 effective HP in one unit. When the duration ends, you split back into individual Meepos with distributed health. This is your panic button against heavy AoE lineups and your answer to Earthshaker Echo Slam.
Aspect Choices
More Meepo gives you a 4th clone but reduces clone stats to 85% of the main Meepo. Clones appear at levels 3, 10, 17, and 24. This aspect is for aggressive early-game strategies where you need to gank early and snowball against difficult lanes.
Pack Rat grants each Meepo +5% attack speed and +2 armor for every nearby clone. With 3 clones nearby, each Meepo gets 10% attack speed and +4 armor — effectively a free item worth of stats. Clones receive 100% of main Meepo stats with this aspect. Pack Rat is the default choice for most games because the stat efficiency is enormous and your clones are significantly tankier.
Item Builds by Rank Bracket
| Rank | Starting | Early Game | Core | Late Game |
|---|---|---|---|---|
| Herald-Crusader | 2x Slippers, Circlet, Quelling Blade, Iron Branch | Power Treads, Wraith Band | Diffusal Blade, Dragon Lance, Blink Dagger | Eye of Skadi, Heart of Tarrasque |
| Archon-Legend | 2x Slippers, Circlet, Quelling Blade, Iron Branch | Power Treads, Magic Wand | Diffusal Blade, Blink Dagger, Aghanim’s Scepter | Disperser, Eye of Skadi, Scythe of Vyse |
| Ancient-Divine | 2x Slippers, Circlet, Quelling Blade, Iron Branch | Power Treads | Diffusal Blade, Disperser, Blink Dagger | Eye of Skadi, Scythe of Vyse, Travel Boots |
| Immortal | 2x Slippers, Circlet, Quelling Blade, Iron Branch | Power Treads | Diffusal Blade, Disperser, Aghanim’s Scepter | Scythe of Vyse, Eye of Skadi, Overwhelming Blink |
Why Items Differ by Rank
Herald-Crusader: At lower ranks, fights are messy and prolonged. Dragon Lance gives survivability through stats and range is irrelevant — the 12 agility and 12 strength keep your clones alive through chaotic teamfights. Heart of Tarrasque is picked because low-rank players struggle to efficiently use active items, and Heart provides passive tankiness that forgives positional mistakes.
Archon-Legend: Players here start understanding combo execution. Blink Dagger becomes core because you can actually land Blink + Poof combos reliably. Aghanim’s Scepter provides Mega Meepo as a safety net for when fights go wrong — and at this bracket, fights go wrong often. The Mega Meepo transformation covers positional errors and gives you a second chance.
Ancient-Divine: Disperser becomes a rush item because the active dispel is critical for removing silences, roots, and slows that would otherwise kill you. Players at this bracket actually purchase Orchid Malevolence and other targeted disables against Meepo, so Disperser’s self-purge is not optional — it is survival. Eye of Skadi provides the slow and stats needed to chase down mobile heroes.
Immortal: At the highest level, item builds are entirely game-dependent. The Diffusal into Disperser path is standard, but Aghanim’s timing shifts based on enemy draft. Against heavy AoE (Earthshaker, Sand King), Scepter is rushed second item. Against squishy lineups with no AoE threat, you skip it entirely for faster Skadi timing. Scythe of Vyse is the premier late-game item because it provides instant lockdown through BKB — hexed targets cannot activate BKB, making it the answer to enemy carries who think they are safe.
Item Reasoning Deep Dive
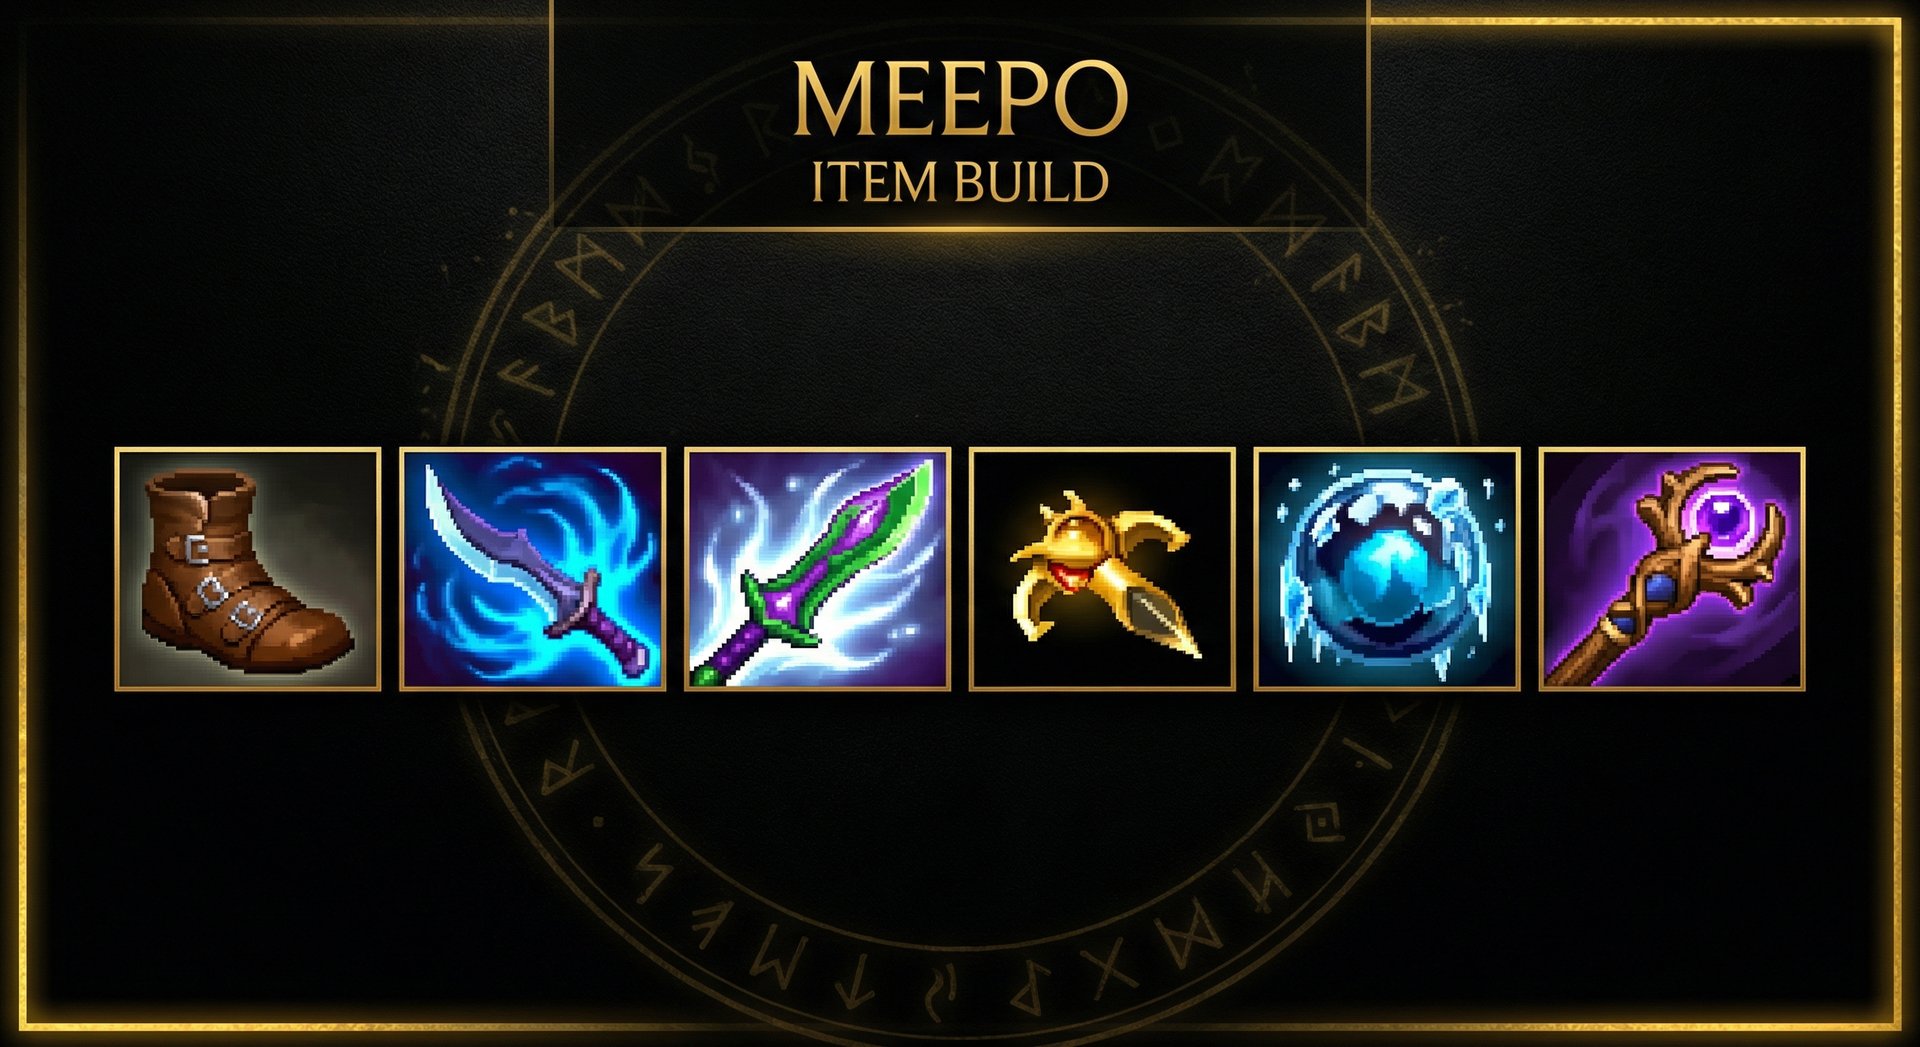
Diffusal Blade is first item in every bracket because it solves Meepo’s biggest early problem: targets escaping. The mana burn per hit is applied by every clone, draining enemy mana pools in seconds. The active slow guarantees kills during Earthbind root windows. And the 20 agility feeds directly into clone stats.
Disperser (Diffusal upgrade) provides 40 agility and a self-cast dispel that removes silence from your main Meepo so you can cast Mega Meepo. This single item prevents more Meepo deaths than any other purchase in the game. The active also works offensively — cast it on an enemy to slow them, or cast it on a clone to grant them a speed boost for chasing.
Blink Dagger enables the classic Meepo initiation: Blink main Meepo onto target, all clones Poof to main, Earthbind to root, right-click to death. Without Blink, Meepo relies on walking up to targets, which gives enemies time to react. With Blink, the kill window goes from “maybe” to “guaranteed” against any hero without a save.
Eye of Skadi is the premium stat item. Every stat point on Skadi benefits every clone. The slow on attack stacks with Diffusal, making it nearly impossible for enemies to escape. The 725 health per clone (across all bodies) adds 2,000-3,000 total effective HP to your army.
Laning Phase Masterclass
Meepo’s laning phase is paradoxically both his weakest and most important timing. Before level 4, you are a below-average melee mid with no escape, no burst, and no special mechanics. After level 4, you become a fundamentally different hero with two bodies that can farm, gank, and trade simultaneously.
Levels 1-3: Survival Mode
Your priority is simple: do not die and hit level 4 as fast as possible. Take Poof at level 1 for last-hitting and wave manipulation. Poof the ranged creep to secure it, use the AoE to push waves when you want to stack the nearby camp, and play conservatively against ranged matchups.
Against strong laners like Huskar, Viper, or Templar Assassin, you may need to accept a CS deficit. That is acceptable. Meepo’s recovery speed after level 4 is unmatched. Losing 5-10 last hits in the first 3 minutes means nothing when you are farming 3 camps simultaneously by minute 5.
Level 4: The Power Spike
The moment you hit level 4, the game changes. Your second Meepo appears, and you immediately send it to jungle. The standard farming pattern is:
- Main Meepo stays mid, securing lane creeps and contesting runes
- Clone farms the nearest medium or large camp
- When the wave pushes, main Meepo joins clone to clear a stack, then returns to lane
- By level 7-8, you have enough damage to farm two jungle camps simultaneously with Poof bouncing between clones
Stacking is critical. Every time a camp spawn timer approaches (:53-:55), ensure one Meepo is pulling a camp to stack it. Triple and quadruple stacks are worth 300-600 gold each, and Poof clears them in seconds. A good Meepo at minute 10 should have at least 80-90 last hits, not from the lane alone, but from aggressive jungle farming alongside lane creeps.
First Gank Timing
Your first kill opportunity usually comes between levels 5-7, when you have two points in Poof and one point in Earthbind. The combo is straightforward: walk the main Meepo into the side lane from river or through a ward gap, Earthbind the target, Poof the second Meepo onto the main. With allied stun or slow, this is almost always a kill on any support and most offlaners.
The key is reading the map. If the enemy safelaner is pushed up with no TP, and your offlaner has a stun, that is a free kill. If the enemy mid leaves lane, immediately shove mid tower with both Meepos — you take tower faster than any other hero at this stage.
Matchup Adjustments
| Enemy Mid | Difficulty | Strategy |
|---|---|---|
| Huskar | Hard | Do not trade. Farm with Poof from range. Consider More Meepo aspect to jungle from level 3. Rush Diffusal to burn his mana and reduce healing output. |
| Viper | Hard | Viper zones you from wave. Accept CS loss, stack camps with clone, recover through jungle. Avoid extended trades — Nethertoxin destroys clones. |
| Invoker | Medium | Pre-level 4, Invoker out-harasses you. Post-level 4, you can kill him with Poof combo. Earthbind prevents Ghost Walk escape. Aggressive once you have two bodies. |
| Shadow Fiend | Medium | Both heroes want to farm. Contest Raze damage with Poof wave clear. After level 7, you out-farm him. Force fights before he gets BKB. |
| Sniper | Easy | Sniper cannot escape Earthbind + Poof. Blink timing = guaranteed kill. Zone him from minute 4 onward with clone pressure. |
| Zeus | Medium | Zeus pokes you down but has no escape. Survive to level 4, then all-in with Poof combo. His low armor means Ransack sustain out-trades him. |
Mid and Late Game Transitions
The 10-20 Minute Window: Meepo’s Peak
Meepo’s power curve peaks between 15-25 minutes. This is the window where your level and item advantage is at its maximum. At minute 15, a well-farmed Meepo has Power Treads, Diffusal Blade, and is working toward Disperser or Blink — while the enemy carry likely has one completed item and is level 10-12 compared to your 15-16.
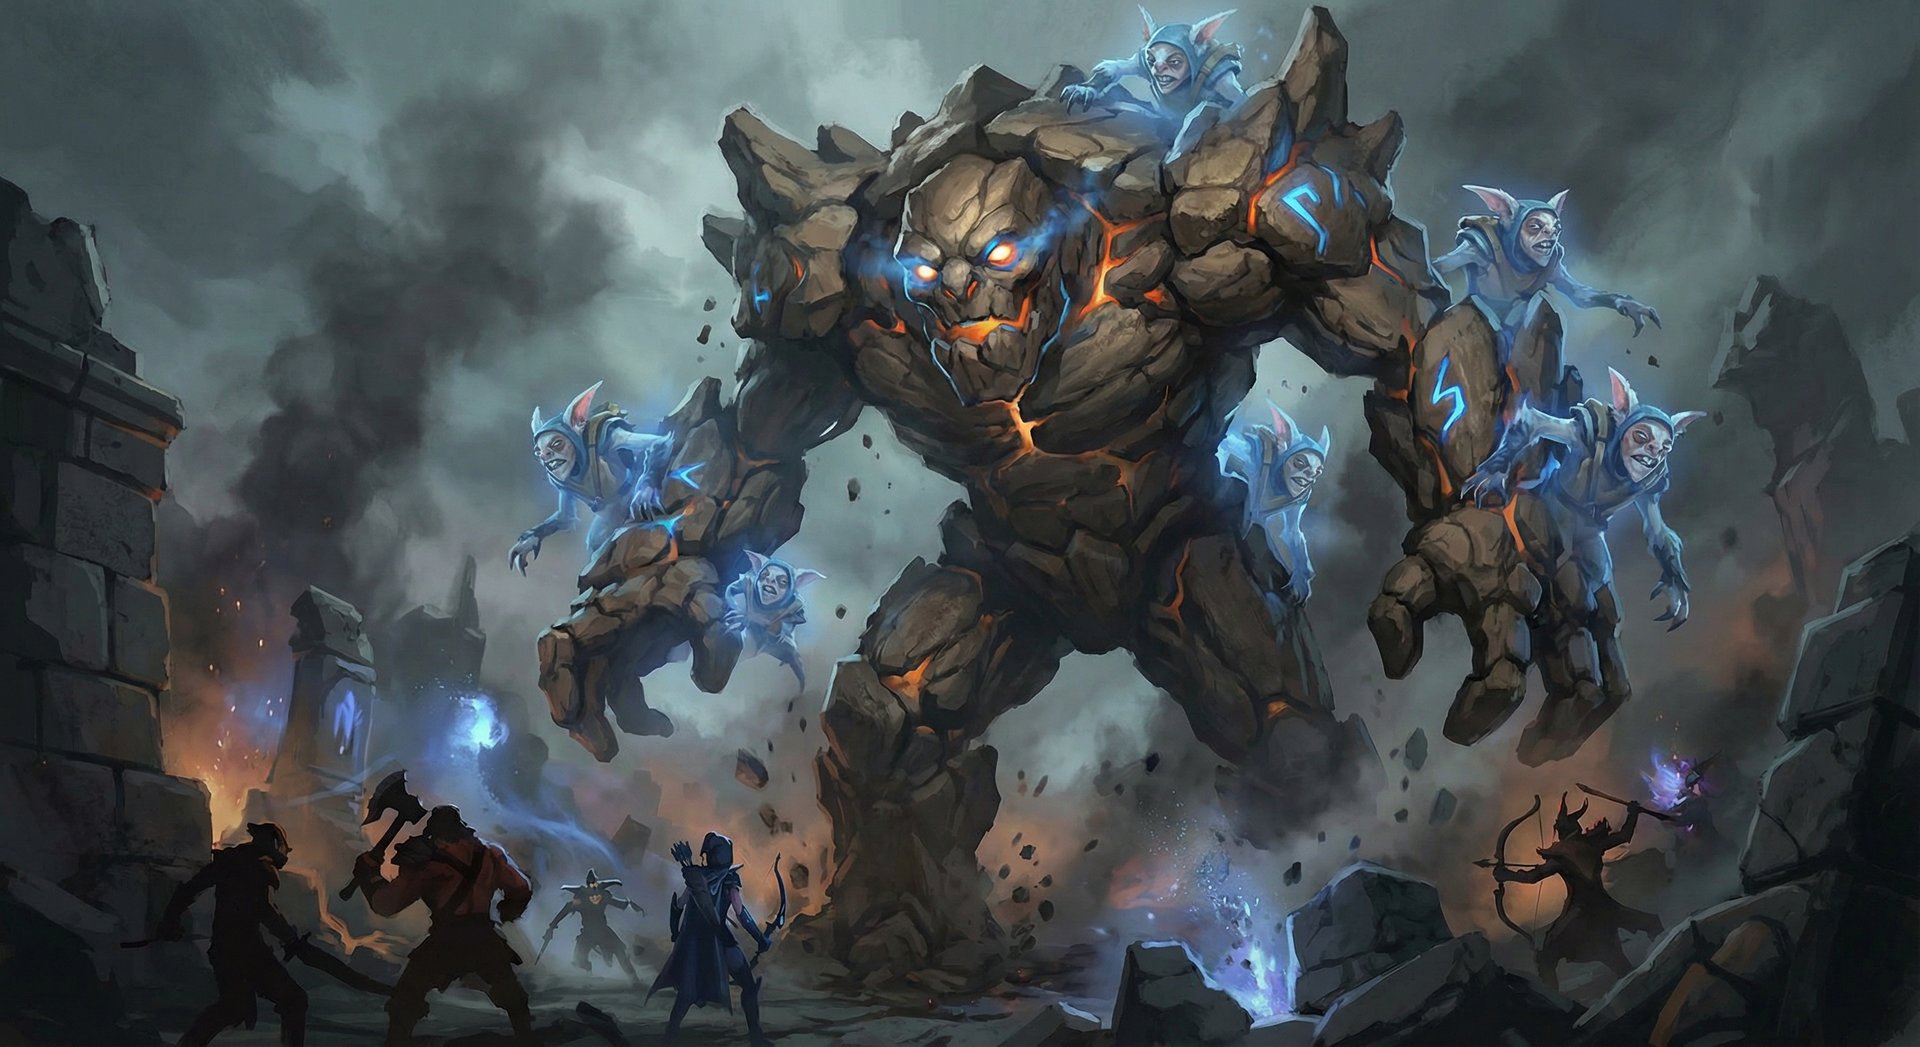
Solo Roshan timing: With Diffusal Blade and level 14-15, you can solo Roshan. The technique is straightforward — send all clones to attack Roshan, cycle low-health clones to the back so Ransack heals them, and Poof for burst damage when Roshan drops below 40% HP. The Aegis essentially gives you two teamfight lives, which is devastating on a hero that already has 3-4 bodies.
Tower pressure: Meepo takes towers faster than almost any hero in the game. Three or four Meepos hitting a tower with Ransack sustaining through backdoor damage can delete tier 2 towers before the enemy can TP and respond. Use this to control map territory and deny enemy jungle farm.
The 25-35 Minute Window: Maintaining Advantage
This is where many Meepo players lose games. The enemy carry starts catching up in items, and your level advantage narrows. The key is not to play passively. Meepo does not scale as well as heroes like Medusa, Terrorblade, or Faceless Void in ultra-late game. Your job is to end the game or build such an economic lead that the enemy cannot recover.
Target priority in teamfights:
- Kill the enemy support with the save ability first (Oracle, Dazzle, Shadow Demon)
- Hex or chain-root the enemy carry so your team can focus them
- If the fight is going poorly, use Mega Meepo to disengage and reset
- Never chase kills deep into enemy territory — one dead clone means all dead
BKB Timing Decision
Meepo does not typically buy BKB because it only activates on the main Meepo — clones do not benefit from spell immunity. However, against lineups with heavy targeted disable (Lion Finger + Hex, Lina Laguna Blade, Necrophos Reaper’s Scythe), a BKB on the main Meepo can be the difference between winning and losing a fight. The calculation is simple: if the enemy is killing your main Meepo specifically with targeted spells, BKB is worth it. If they are killing clones with AoE, Aghanim’s Scepter is the better answer.
Split Pushing and Map Control
One of Meepo’s greatest strengths is simultaneous map presence. Send one clone to push a side lane, keep two clones farming jungle, and hold the main Meepo near your team for potential fights. This forces the enemy to either dedicate a hero to defending the split push (removing them from fights) or lose towers and map control.
At the Immortal level, Meepo players assign each clone to a separate control group (keys 3, 4, 5, 6) and micro each one independently. This allows farming 3-4 different map locations simultaneously, generating gold income that no other hero can match.
Counters: Heroes That Destroy Meepo
Meepo has some of the most polarizing matchups in Dota 2. Against certain heroes, you are completely unplayable. Knowing these counters lets you avoid picking Meepo into them — or at least understand how to minimize the damage.
1. Earthshaker — The Classic Counter (Meepo Winrate: ~47%)
Echo Slam deals bonus damage for every unit in the radius. With 3-4 Meepo clones grouped up for a Poof combo, Echo Slam can deal 2,000+ magical damage to each clone. One good Echo Slam literally one-shots your entire army. There is no reliable counterplay except buying Aghanim’s Scepter and transforming into Mega Meepo before Echo lands — which requires god-tier reaction time.
How to play around it: Never group all clones tightly unless you have confirmed Earthshaker’s position on the map. Keep one clone separate as insurance. Rush Aghanim’s Scepter specifically for this matchup. If Earthshaker blinks in, immediately Mega Meepo to merge into one unit.
2. Elder Titan — The Silent Killer (Meepo Winrate: ~43%)
Elder Titan’s Natural Order aura removes base armor and magic resistance from nearby enemies. Meepo clones have significant base armor that keeps them alive — Natural Order strips all of it. Combined with Earth Splitter dealing percentage-based damage, Elder Titan can wipe a full Meepo army regardless of how tanky you build. This is statistically Meepo’s worst matchup in the game.
How to play around it: There is no good answer. Avoid fighting near Elder Titan’s spirit. If Elder Titan is picked specifically to counter you, consider requesting a different role. This matchup is genuinely close to unwinnable at equal skill levels.
3. Ember Spirit — The Cleave Machine (Meepo Winrate: ~44%)
Ember Spirit’s Sleight of Fist hits every unit in an area, and with Battle Fury or Maelstrom procs, the cleave damage hits every Meepo clone. Flame Guard provides magic damage reduction against Poof burst, and Fire Remnant makes Ember impossible to catch with Earthbind since he activates Remnant before the root connects.
How to play around it: You need to end the game before Ember gets Battle Fury + Daedalus. Early game, you can still burst Ember before he has Flame Guard sustain. After 25 minutes, this matchup heavily favors Ember. Scythe of Vyse is your best late-game answer — hex prevents Remnant activation.
4. Axe — The Brawler (Meepo Winrate: ~49%)
Berserker’s Call forces all nearby Meepos to attack Axe, triggering Counter Helix on every single hit. With 3-4 Meepos hitting Axe during Call, Counter Helix procs constantly, dealing massive AoE physical damage. Culling Blade provides execution through any amount of Ransack healing if a clone drops below threshold.
How to play around it: Spread your clones. Never group all Meepos within Call radius. Focus Axe with Poof burst from range before engaging in melee. If Axe initiates with Blink Call, immediately Mega Meepo to prevent Counter Helix spam.
5. Winter Wyvern — The Team Fight Disaster
Winter’s Curse forces allied units to attack a cursed target. If Wyvern uses Curse on one Meepo clone, all other clones are compelled to attack it, killing it almost instantly — which kills all Meepos. This is one of the most devastating single-ability interactions in Dota 2 against Meepo specifically.
How to play around it: Keep clones separated in fights. Never have all Meepos within Winter’s Curse radius simultaneously. This requires high-level micro — keep one clone farming a side lane during teamfights as insurance. Mega Meepo before Curse hits if possible.
Heroes Meepo Destroys
Meepo is not just about avoiding counters — there are matchups where he is genuinely oppressive and nearly impossible to deal with.
1. Anti-Mage (Meepo Winrate: ~61%)
Anti-Mage wants to farm for 25-30 minutes before fighting. Meepo does not let that happen. You hit your power spike at minute 15 when AM has Battlefury and nothing else. Earthbind prevents Blink escape, Poof burst kills AM before he can Manta dodge, and Diffusal drains his mana pool so Mana Void deals no damage. This is one of Meepo’s best matchups.
2. Shadow Demon (Meepo Winrate: ~61%)
Shadow Demon’s illusion-based kit does nothing against Meepo’s clone army. Disruption creates illusions of Meepo that are useless since clones share no items. Shadow Demon has no escape against Earthbind and melts to Poof burst. Demonic Purge is a single-target slow that barely matters when you have 4 bodies.
3. Phantom Lancer (Meepo Winrate: ~58%)
Phantom Lancer’s illusion swarm looks threatening but cannot trade with real Meepo clones. Each Meepo body has full items and abilities — PL illusions do not. Poof clears illusion waves instantly, Earthbind catches the real PL, and Meepo’s farming speed ensures you are 2 items ahead by mid game.
4. Queen of Pain (Meepo Winrate: ~57%)
QoP’s Blink is nullified by Earthbind root. Scream of Pain tickles Meepo’s combined health pool across multiple bodies. QoP wants to burst a single target — she cannot burst 4 targets simultaneously. Meepo runs at QoP after level 6 and she cannot escape without perfect positioning.
5. Legion Commander (Meepo Winrate: ~55%)
Duel locks one Meepo in place, but all other clones continue hitting Legion Commander for free. The dueled Meepo gets healed by Ransack while the free clones stack Poof damage on the dueler. Legion essentially traps herself in a 1v4 scenario every time she ults.
How Pros Play Meepo in the Current Meta
Meepo has always been a niche competitive pick, but certain players have elevated him to must-ban status. The hero sees periodic resurgence in the pro scene whenever patches buff his stats or itemization paths align with his needs.
Key Meepo Players
Abed “Abed” Yusop remains one of the most iconic Meepo players in competitive Dota history. His Meepo was the first hero to break 10,000 MMR on the Southeast Asian leaderboard, and his aggressive early-game style defined how modern Meepo is played. Abed’s approach focuses on constant aggression from level 4, rarely farming for more than 2 minutes without attempting a gank.
w33 “w33haa” brought Meepo into the TI spotlight with unforgettable performances on Digital Chaos. His style is more methodical than Abed’s — prioritizing farm efficiency and hitting item timings over constant skirmishing. w33’s Meepo taught the scene that the hero could work even against semi-prepared drafts.
Alan “Satanic” Gallyamov emerged as the biggest revelation of the 2025 competitive season. As a teenage prodigy playing carry for Team Spirit, Satanic showed that Meepo can work as a position 1 cheese pick at the highest level. His willingness to last-pick Meepo in critical tournament matches — and win — proved the hero still has a place in modern competitive Dota.
Current Pro Build Trends
The dominant pro build in the current meta follows this progression:
- Power Treads (Agility) — Always first
- Diffusal Blade — Core for kill potential and mana burn
- Disperser — Rushed for the self-purge active
- Aghanim’s Scepter — Situational but common against AoE-heavy drafts
- Eye of Skadi or Scythe of Vyse — Late game scaling
Notably, professional players have largely moved away from the old Ethereal Blade build. The reworked Diffusal into Disperser path provides better stats, a crucial dispel, and more consistent damage output than the burst-focused E-Blade approach.
Draft Context
In competitive play, Meepo is almost exclusively a last-pick. He is never shown in the first two phases because doing so invites every counter in the game. The ideal draft scenario for Meepo is:
- Enemy has no Earthshaker, Elder Titan, Ember Spirit, or Winter Wyvern
- Enemy has limited AoE damage
- Enemy carry is a late-game farmer (AM, Spectre, Medusa) who cannot fight early
- Your team has strong saves (Oracle, Dazzle) and frontline (Mars, Tidehunter)
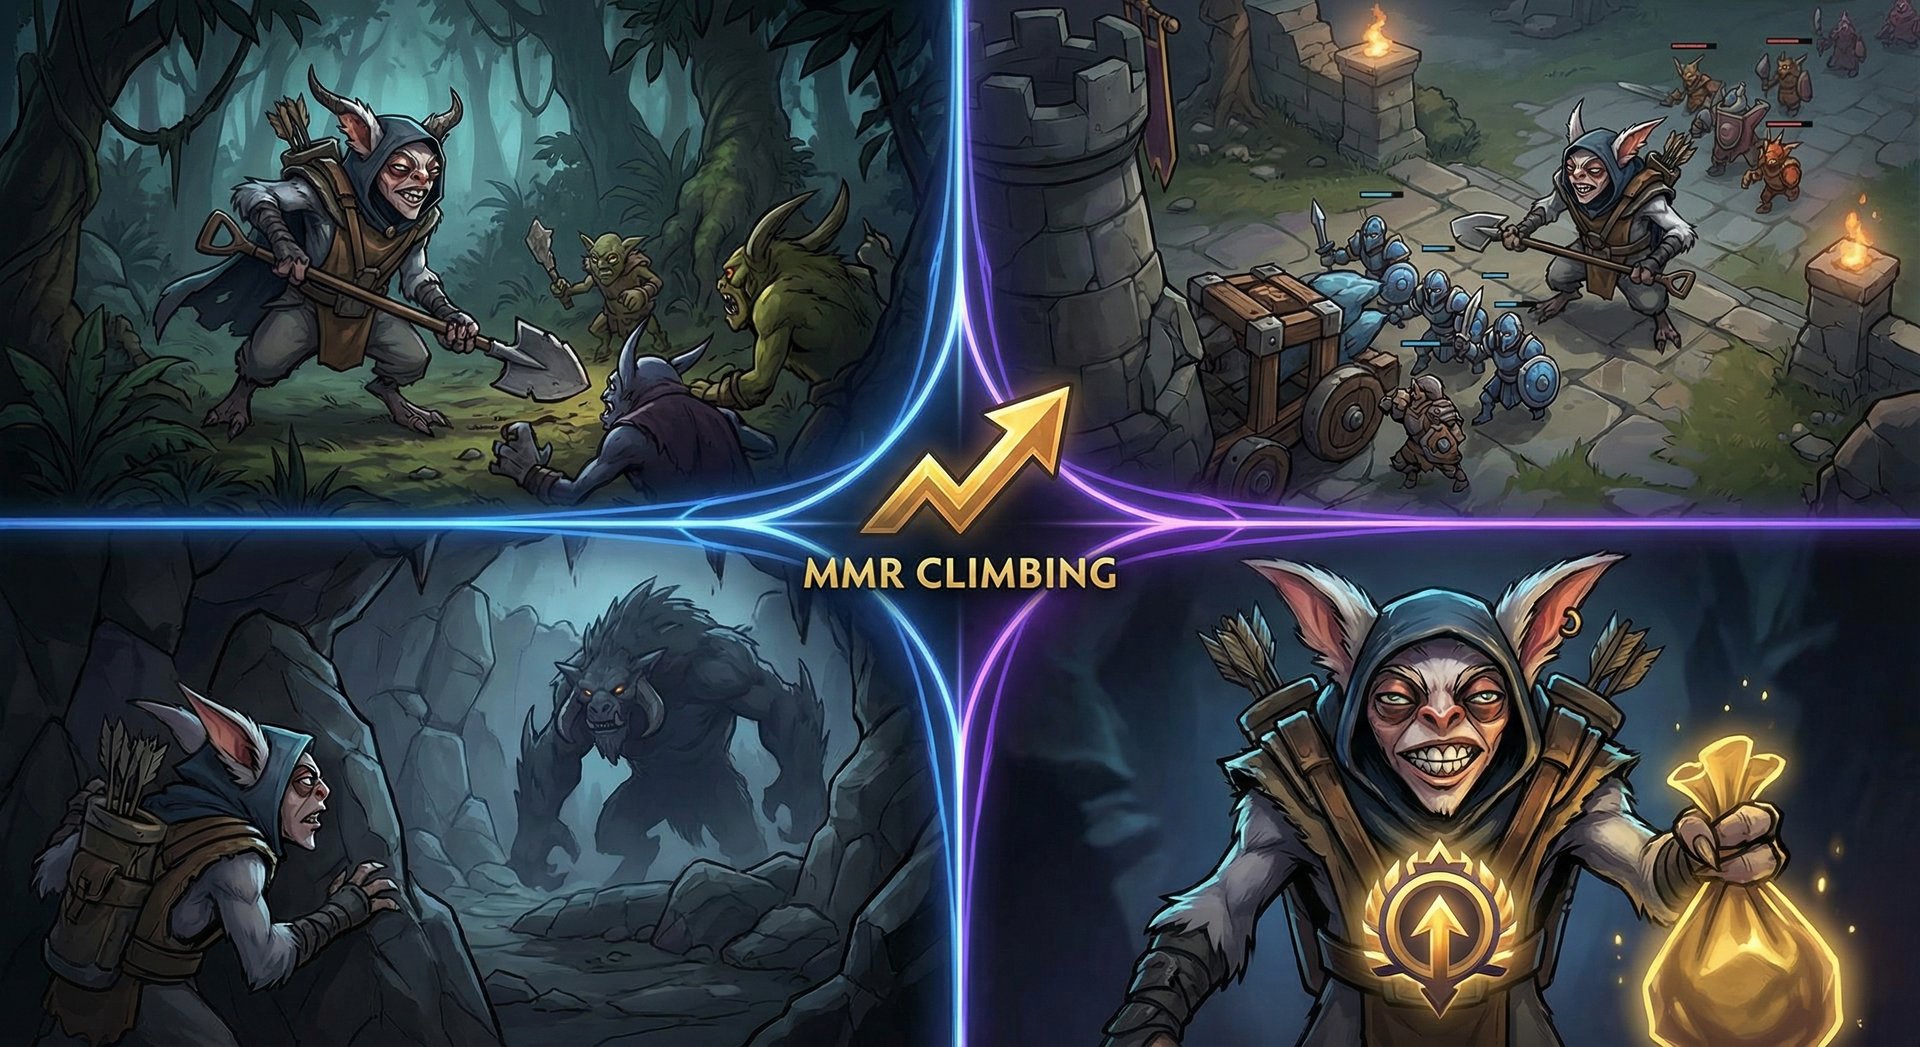
Rank-Specific Climbing Guide
Herald to Guardian: Foundation Basics
At this bracket, your goal is simple: learn to not kill yourself. Most Herald Meepo deaths come from forgetting a clone exists. It is standing in the middle of the enemy jungle at 10% HP while you micro the other three, and suddenly all four die.
Action steps:
- Use Auto-Poof exclusively. Do not attempt Tab-Poof combos yet
- Keep all Meepos on one control group (press 1 to select all). Micro them as a single unit
- Focus entirely on farming. Do not attempt ganks until you are comfortable with 80+ last hits at 10 minutes while managing 2 bodies
- Buy Power Treads and Diffusal Blade every game. Do not deviate from this build
- Practice the Roshan solo at minute 15-16 in bot matches until it feels automatic
Crusader to Archon: Adding Game Sense
You can now farm efficiently and execute basic combos. The next step is understanding when to fight and when to farm. The biggest mistake Archon Meepo players make is joining every fight. Some fights are not worth your time — if the enemy team is grouping as 5 at minute 12, you can take their entire jungle on the opposite side of the map instead.
Action steps:
- Learn the Blink + Poof combo. Practice in demo mode until you can execute it in under 2 seconds
- Start using two control groups: All Meepos (1) and Main Meepo only (F1)
- Buy Aghanim’s Scepter as your third or fourth item — Mega Meepo will save you from mistakes
- Watch the minimap constantly. If three enemies are showing top, you can push bot tower with all clones
- Aim for 600+ GPM every game. If you are below 500 GPM, you are not farming aggressively enough
Legend to Ancient: The Macro Leap
This is where Meepo gameplay transitions from mechanical execution to strategic decision-making. Legend players can combo and farm, but they lack the macro understanding to close games. You take Roshan at 15 minutes, get Aegis, and then… what Many Legend Meepos farm with Aegis instead of pushing objectives.
Action steps:
- After Roshan, immediately push a tier 2 tower with Aegis. Force the enemy to commit resources
- Start splitting Meepos across the map. One clone farms, others group for objectives
- Learn to read enemy itemization. When you see the enemy carry buy Silver Edge or Orchid, adjust your build (Disperser rush, Lotus Orb consideration)
- Practice the “escape clone” technique: always keep one Meepo in a safe location. If the team fight goes wrong, Poof all surviving clones to the safe one
- Communicate with your team. Tell them when Roshan is up, when you want to push, and when you need them to create space
Divine to Immortal: What Separates the Top 1%
At this level, everyone knows how Meepo works. They draft against him, itemize against him, and play specifically to shut him down. What separates Immortal Meepo players from Divine ones is adaptability and micro precision under pressure.
Action steps:
- Use individual control groups for each Meepo (keys 3-6). Micro each clone to a different farm location
- Master the “clone cycling” technique in fights: rotate low-HP clones to the back while fresh clones take aggro, keeping all bodies alive through Ransack healing
- Adjust your Earthbind usage dynamically. Against mobile heroes, hold Earthbind for reactive catch rather than using it preemptively
- Learn Meepo’s exact kill thresholds at each item timing. Know that at minute 12 with Diffusal, you can solo kill any hero with less than 1,400 HP
- Develop game-reading skills: identify the enemy’s win condition and target it. If their plan is “survive until Medusa is farmed,” you go Medusa’s jungle and kill her repeatedly
Tips and Tricks
Animation Cancels and Hidden Mechanics
- Poof to dodge: The 1.5-second Poof channel makes your Meepo invulnerable during the teleport frame. Time Poofs to dodge projectile stuns (Sven’s Storm Hammer, Venge’s Magic Missile) by starting the channel early
- Earthbind vision: Earthbind grants flying vision of the target area for 2 seconds. Use it to scout Roshan pit, check highground, or deward without face-checking
- Clone death prevention: If a clone is about to die, select it and Poof to a safe clone. The 1.5-second channel is often enough time — and even if the clone dies mid-channel, the Poof damage still goes off at departure
- Mega Meepo timing: You can activate Mega Meepo while rooted. This means against lineups that root you, you can still merge before dying. The transformation also applies a basic dispel
- Neutral item sharing: Meepo clones can hold neutral items even though they cannot use active ones. Stat-based neutral items like Vambrace or Ring of Aquila affect clone stats
Common Mistakes to Avoid
- Grouping all clones for Poof combo against Earthshaker: This is how you throw games. Always check the enemy team composition before grouping clones tightly
- Forgetting a clone in jungle: This happens to every Meepo player. A clone sitting at 30% HP in enemy jungle is a free kill for any roaming support. Always know where every clone is
- Not buying Disperser against silence: Silence prevents Mega Meepo activation. If the enemy has Orchid, Skywrath, Silencer, or any source of silence, Disperser is not optional
- Farming with Aegis: Aegis expires in 5 minutes. Every second you farm with Aegis instead of pushing objectives is wasted potential. Use the safety net aggressively
- Picking Meepo early in the draft: Never show Meepo before the last pick phase. Every counter in the game becomes 10x more punishing when the enemy specifically drafts for it
- Not checking Meepo clone health bars: Enable health bars above units in settings. Glancing at clone health every 2-3 seconds prevents surprise deaths
Control Group Setup Guide
| Key | Assignment | Purpose |
|---|---|---|
| F1 | Main Meepo | Quick-select primary hero for items and positioning |
| 1 | All Units | Group movement, coordinated attacks, team fights |
| 2 | All Other Units | Select clones for Poof combo (Tab through them) |
| 3 | Clone 1 | Individual micro for split farming (advanced) |
| 4 | Clone 2 | Individual micro for split farming (advanced) |
| 5 | Clone 3 | Individual micro for split farming (advanced) |
| Tab | Next Unit | Cycle through Meepos for sequential Poof casting |
Frequently Asked Questions
Yes. Meepo maintains a 50-52% winrate across all ranks and significantly higher among specialists. The Diffusal into Disperser item path and Mega Meepo from Aghanim’s Scepter keep him competitive. He is not a meta staple, but in the right hands against the right draft, he remains one of the most dominant heroes in the game.
Pack Rat in 80% of games. The 100% stat sharing on clones (versus 85% with More Meepo) makes every item significantly more gold-efficient. Only pick More Meepo against brutal lane matchups where you need a second body at level 3 to jungle and survive — like Huskar or Viper mid.
Start with Auto-Poof mode (right-click the Poof ability icon). Play 20-30 Turbo games using only two control groups: All Units (1) and Main Meepo (F1). Once you can consistently hit 600+ GPM and execute Blink + Poof combos, add individual clone control groups. The learning curve is steep but the muscle memory locks in after roughly 50 games.
You can solo Roshan at level 14-15 with Diffusal Blade and Power Treads. The standard timing is 14-16 minutes. Make sure you have ward coverage of the Roshan pit entrance, and try to attempt it when the enemy mid or support is showing on the opposite side of the map. Use Ransack sustain to keep clones alive during the fight.
Disperser provides 40 agility (which benefits all clones), a self-purge that removes silence (enabling Mega Meepo activation), and an offensive slow or defensive speed boost. Ethereal Blade is burst-focused and leaves you vulnerable during the ghost form. The meta shifted toward sustained fighting over burst combos, and Disperser fits that playstyle while also providing the critical silence counter.
Rush Aghanim’s Scepter for Mega Meepo. Never group all clones within Echo Slam radius. Keep one clone separate during fights as insurance. If Earthshaker blinks in, immediately activate Mega Meepo to merge into one unit before Echo damage calculates. Alternatively, try to pick off Earthshaker before teamfights start — he is squishy without items and Blink + Poof deletes him.
Technically yes, but mid is significantly better. Meepo needs solo experience to hit level 4 as fast as possible. In the safelane, shared experience with a support delays your first clone by 1-2 minutes, which delays your entire farming trajectory. Pro players like Satanic have played carry Meepo successfully, but it requires specific support duos that can leave lane early and a draft that enables fast level 4.
Struggling to Climb with Meepo
Meepo is one of the hardest heroes to master, but our Immortal-rank coaches have thousands of Meepo games. Get personalized coaching to level up your micro, farming patterns, and game sense — or let our boosters handle the grind while you focus on improving.


