


How to Watch and Download Dota 2 Replays (Client, Match ID, Replay Parsing)

Every mistake you make in Dota 2 is recorded. Every death, every missed stun, every wrong item, every positioning error — the replay file captures all of it and keeps it waiting for you to review. The players who climb fastest are not the ones with the most raw game time; they are the ones who review their replays and turn mistakes into concrete adjustments.
This guide covers the complete replay workflow: how to find and watch replays inside the Dota 2 client using Recent Games or a match ID, how to download the .dem replay file to your machine, how to navigate to specific moments in a game, and how to use external tools like Dotabuff and STRATZ to get analysis your eyes alone would miss. Whether you want to review your last 20 minutes or audit a professional match, this is the full system.
Contents
- Why Replays Fix Your Game Faster Than Games Alone
- How to Watch Replays in the Dota 2 Client
- Watching a Replay by Match ID
- How to Download a Dota 2 Replay File
- How to Navigate to a Specific Moment
- Replay Analysis Tools: Dotabuff, STRATZ and OpenDota
- Tool Comparison Table
- The 20-Minute Replay Audit Framework
- Using Replay Analysis to Close the Rank Gap
- FAQ
Why Replays Fix Your Game Faster Than Games Alone
In a live game, your attention is split between the minimap, your lane opponent, cooldowns, and your team. You process the game at full speed with imperfect information. That is not the optimal state for learning. Replays let you step outside the pressure and watch with complete information: you know the outcome, you can pause at every decision point, and you can rewatch the same 10 seconds as many times as you need.
The practical effect is compounding. A player who reviews one game per day and identifies two fixable mistakes will make 60 concrete improvements in a month. A player who plays five games per day with no review may log the hours but repeat the same errors. Replay review is not a substitute for game time — it is the amplifier that makes game time worth more.
The other advantage is perspective. You played the game from one hero’s point of view. In a replay you can watch the enemy carry’s positioning during your team fight, see how the enemy support rotated before you got ganked, or watch what your carry was doing during the moment your team aced them. Context you never had in the live game becomes obvious in review. That context is often the difference between “I just got ganked” and “I walked into a ward, their mid was missing for 40 seconds, and I had no path to safety.”
Professional players at the highest levels of the game review replays as a standard part of their training. Not because they have more time than pub players, but because they understand that the fastest path to fixing a habit is watching yourself repeat it until the pattern becomes undeniable. Replays make the pattern visible.
How to Watch Replays in the Dota 2 Client
Finding a Replay in Recent Games
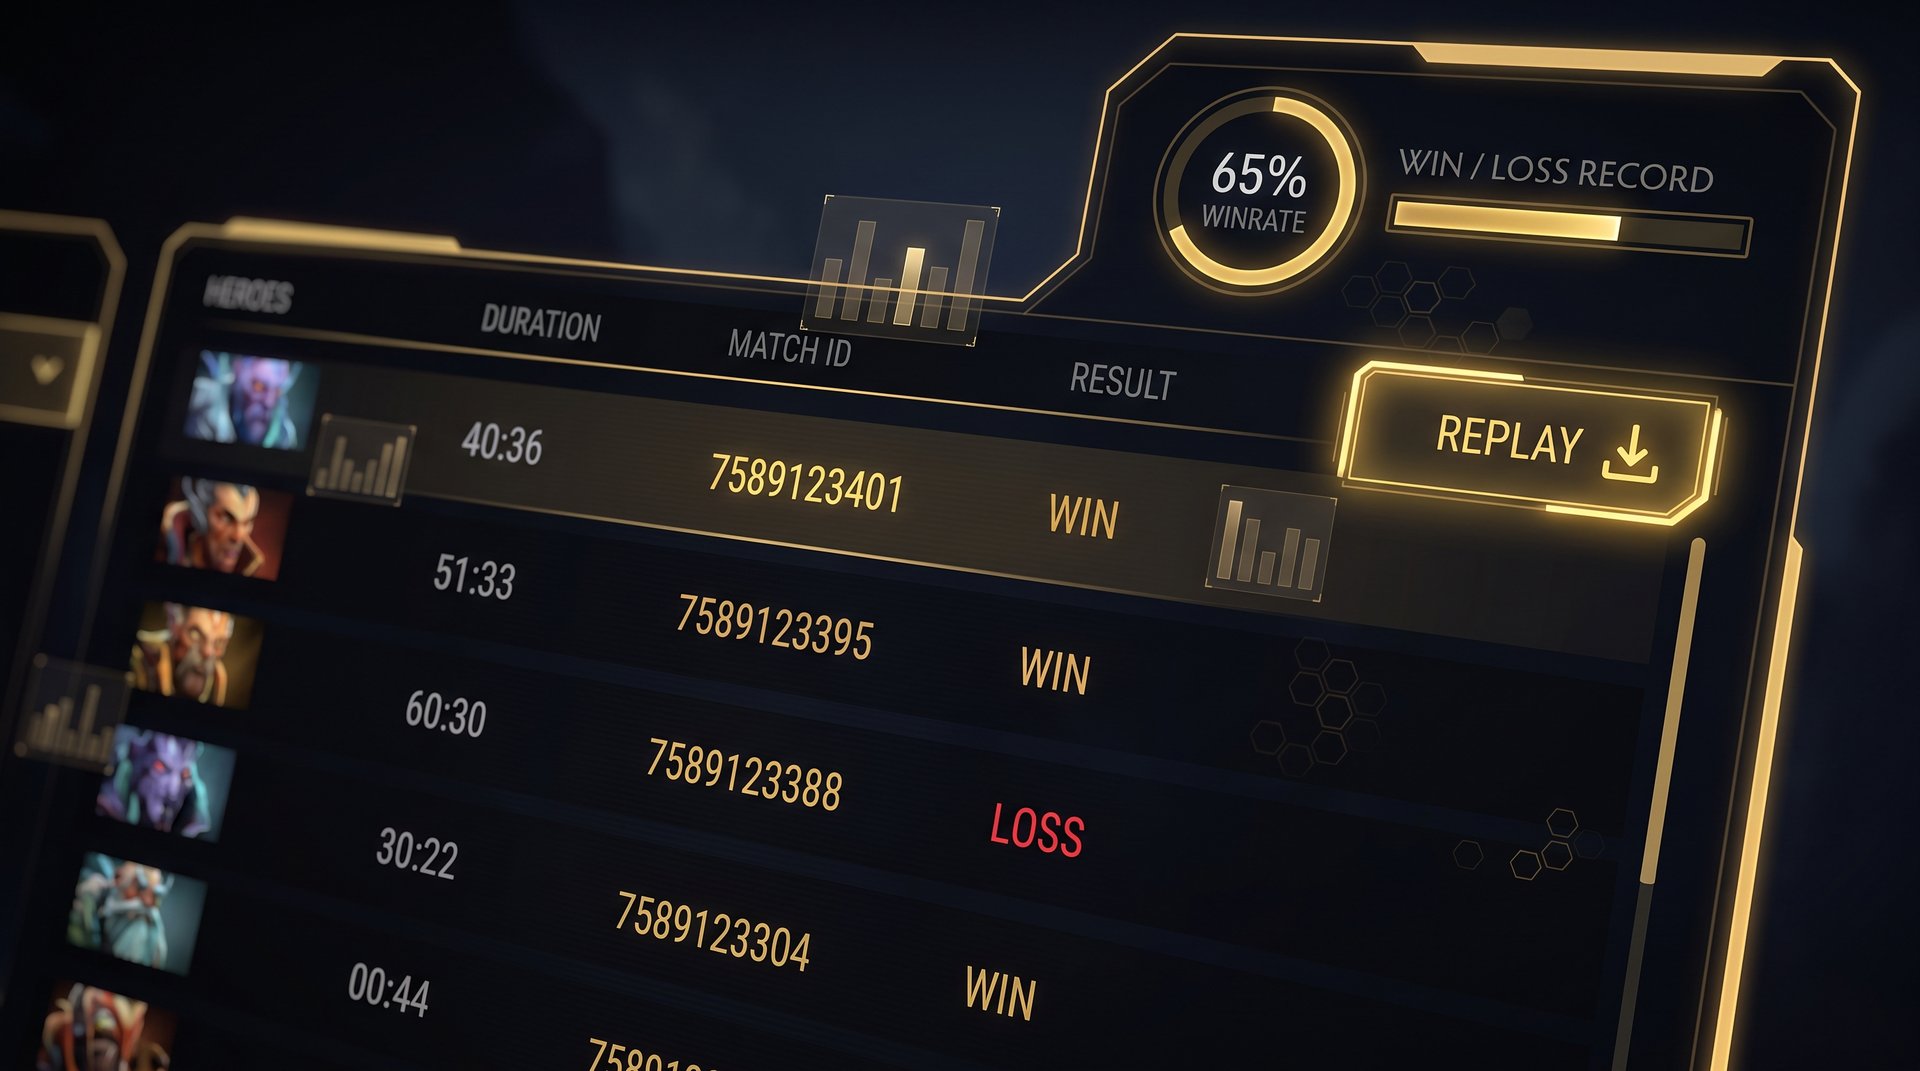
The quickest path to your most recent replays is the Watch tab inside the Dota 2 client. Open Dota 2, click Watch from the main navigation bar at the top of the screen, then select Recently Played. This list shows every match from your account over roughly the past 30 days. Each row shows the hero you played, the game mode, the outcome, the match duration, and your performance summary.
To watch a match from this list, click the row and then click the Watch Replay button on the details panel that opens on the right. The game will check whether the replay file is still available on Valve’s servers, download it if needed, and start playback. The download is usually fast — most replay files are between 30MB and 150MB depending on match length.
If you want to watch a specific teammate’s or enemy’s game rather than your own, search for their Steam name or Dota ID in the Find Players search bar at the top of the Watch panel. Their recent public matches will appear and you can open the replay from there, provided they have not set their match history to private.
Replay Playback Controls Explained
Once a replay loads you have a set of controls at the bottom of the screen. The most important ones for analysis work:
- Speed controls: You can watch at 0.5x (slow motion for studying specific movements), 1x (real time), 2x, or 4x (fast-forward through long farming phases). The default is 1x; use 4x to skim a game and then drop back to 1x for the sections you want to study.
- Hero selection: Use the hero portraits along the bottom or press the number keys (1-5 for Radiant, 6-10 for Dire) to jump the camera to a specific hero’s perspective. This is essential for studying positioning — watch the fight from your position, then rewind and watch it from the enemy carry’s position.
- Free camera: Press Space or click the camera lock icon to unlock the camera and pan it freely. Use this to watch areas of the map that none of the heroes are on, such as neutral camps during a fight, or to compare multiple heroes’ positions simultaneously.
- Kill feed and event markers: The bottom timeline shows colored markers for kills, major objectives, and Roshan events. Click any marker to jump directly to that moment. This is much faster than scrubbing manually when you are looking for a specific engagement.
- Timeline scrub: Drag the position indicator left or right on the main timeline to jump to any point in the game. Hold Ctrl while dragging for finer precision on specific timestamps.
Watching a Replay by Match ID
Sometimes you want to watch a specific game and you have the match ID — from a friend, from a forum post, from a Dotabuff link, or from a coaching session. You do not need to find it through the Recent Games list. The Watch tab has a direct Match ID search function.
Go to the Watch tab and look for the search field in the upper right of the screen. Type or paste the match ID (a 10-digit number) and press Enter. If the match is within the available window and the replay file is still on Valve’s servers, the match details will appear and you can open the replay directly. The same expiry rules apply — if the match is older than 14 days, the file may no longer be available.
Match IDs appear in several places: in the post-game scoreboard under each player’s name, in Dotabuff and STRATZ URLs (the number at the end of the match URL is the match ID), in the game’s client history, and in the Watch interface itself. Sharing a match ID is the standard way coaches ask players to submit games for review — it is a more reliable reference than a screenshot or description of the game.
If you want to review a game you watched live or a professional match, you can also find the match ID from the Watch > Live or Watch > Recent tabs in the client. Professional match IDs are also published on Liquipedia next to each match result. Paste the ID into the search field and the replay opens the same way as any other match.
How to Download a Dota 2 Replay File
The Download Process
To download a replay file to your computer, find the match in the Watch panel (either via Recent Games or Match ID search), open the match details panel, and click Download. The file downloads in the .dem format to your Dota 2 replay folder. The download happens in the background; a notification appears when it is complete. Downloaded replays do not expire as long as they stay on your machine — you own the local copy permanently.
Where the .dem File Saves on Your Computer
On Windows, downloaded replays land at:
C:\Program Files (x86)\Steam\steamapps\common\dota 2 beta\game\dota eplays\
The file is named by match ID, so a match with ID 7891234567 saves as 7891234567.dem. On macOS the path is inside your Steam library equivalent under the same folder structure. If you have Steam installed on a different drive, replace the C: drive path with your Steam library location. You can also find the folder by right-clicking Dota 2 in Steam, selecting Manage, and choosing Browse local files — the replays folder is inside the dota subfolder.
How Long Do Replays Stay on Valve’s Servers?
Valve stores replay files on their servers for approximately 7 to 14 days after a match is played. After that the file is deleted from Valve’s servers and cannot be accessed from the client. If you try to watch a match older than two weeks and see an error message saying the replay is unavailable, the file has expired. Valve does not guarantee a specific window, and the availability can vary slightly based on server load and match volume.
In practice, replays from the past 7 days are almost always available; replays from 10 to 14 days ago are usually available; anything older than 14 days is often gone. If you want to keep a replay permanently, download it before it expires. Once it is on your machine as a .dem file it stays there until you delete it.
| Replay Age | Server Availability | Recommended Action |
|---|---|---|
| 0-7 days | Almost always available | Watch or download at any time |
| 7-14 days | Usually available | Download soon if you want to keep it |
| 14-21 days | Often expired | Check — may already be gone |
| 21+ days | Almost always expired | Use Dotabuff/STRATZ data only |
Third-Party Replay Archives
Some external tools and community archives store .dem files independently of Valve’s servers. Coverage is inconsistent and focused on high-profile matches — professional games, high-MMR Immortal games, and notable pub matches. These are not official. For expired replays of your own games, there is no recovery path if you did not download the file in time. The data from the match (stats, events, ward placements) is still available indefinitely through Dotabuff, STRATZ, and OpenDota even after the replay file expires.
How to Navigate to a Specific Moment in a Replay
Using Event Markers on the Timeline
The timeline at the bottom of the replay player has colored event markers showing every kill, major objective (towers, barracks, Roshans), and teamfight. These are your quickest navigation tool. If you want to study the first Roshan attempt, look for the gold marker around the Roshan timing in the mid-game. If you want to review the fight that decided the game, the large cluster of kill markers will be visible as a dense section on the timeline. Click any marker to jump to that moment.
The game pauses on arrival, giving you time to orient yourself before you press play. Use this marker system before you start watching anything — spend 30 seconds scanning the whole timeline to understand the game’s shape before diving into specific moments. A game where the gold graph shows one decisive swing in the mid-game will have a very different pattern of markers than a game that went to high ground multiple times.
Timecodes for Sharing Specific Moments
If you are working with a coach or a teammate and want to share a specific moment, the in-game clock gives you the reference point. For example: “watch the fight at 23:14” gives anyone watching the replay an exact jump point. The in-game clock is visible in the top center of the screen during replay playback. Note the game clock, not the real-world elapsed time since you opened the replay — they differ if you have fast-forwarded or skipped sections.
Some external tools (STRATZ in particular) show events with timecodes linked directly to their match pages. You can click a kill event on a STRATZ match page and it opens the replay at that exact second in some browser-based replay viewing modes. This makes STRATZ the fastest way to identify a timestamp and then jump to it in the Dota 2 client.
Ward and Vision Review in Replays
One of the highest-value uses of replay review is studying ward placement and vision. Switch to free camera mode (press Space to unlock) and watch the period before a gank. Where was the enemy support? Were they visible on the minimap and you did not notice, or were they in a position you genuinely had no vision of? Watching the same gank sequence from three perspectives — yours, the ganking hero, and an overhead free camera — turns a vague “how did they know I was there?” into a concrete answer with a concrete fix.
The free camera is also essential for studying teamfight positioning. Lock onto the fight’s center and watch where all 10 heroes are at the moment the fight starts. Most positioning errors become immediately obvious from the overhead view in a way they never are from the first-person hero camera during a live game.
Replay Analysis Tools: Dotabuff, STRATZ and OpenDota
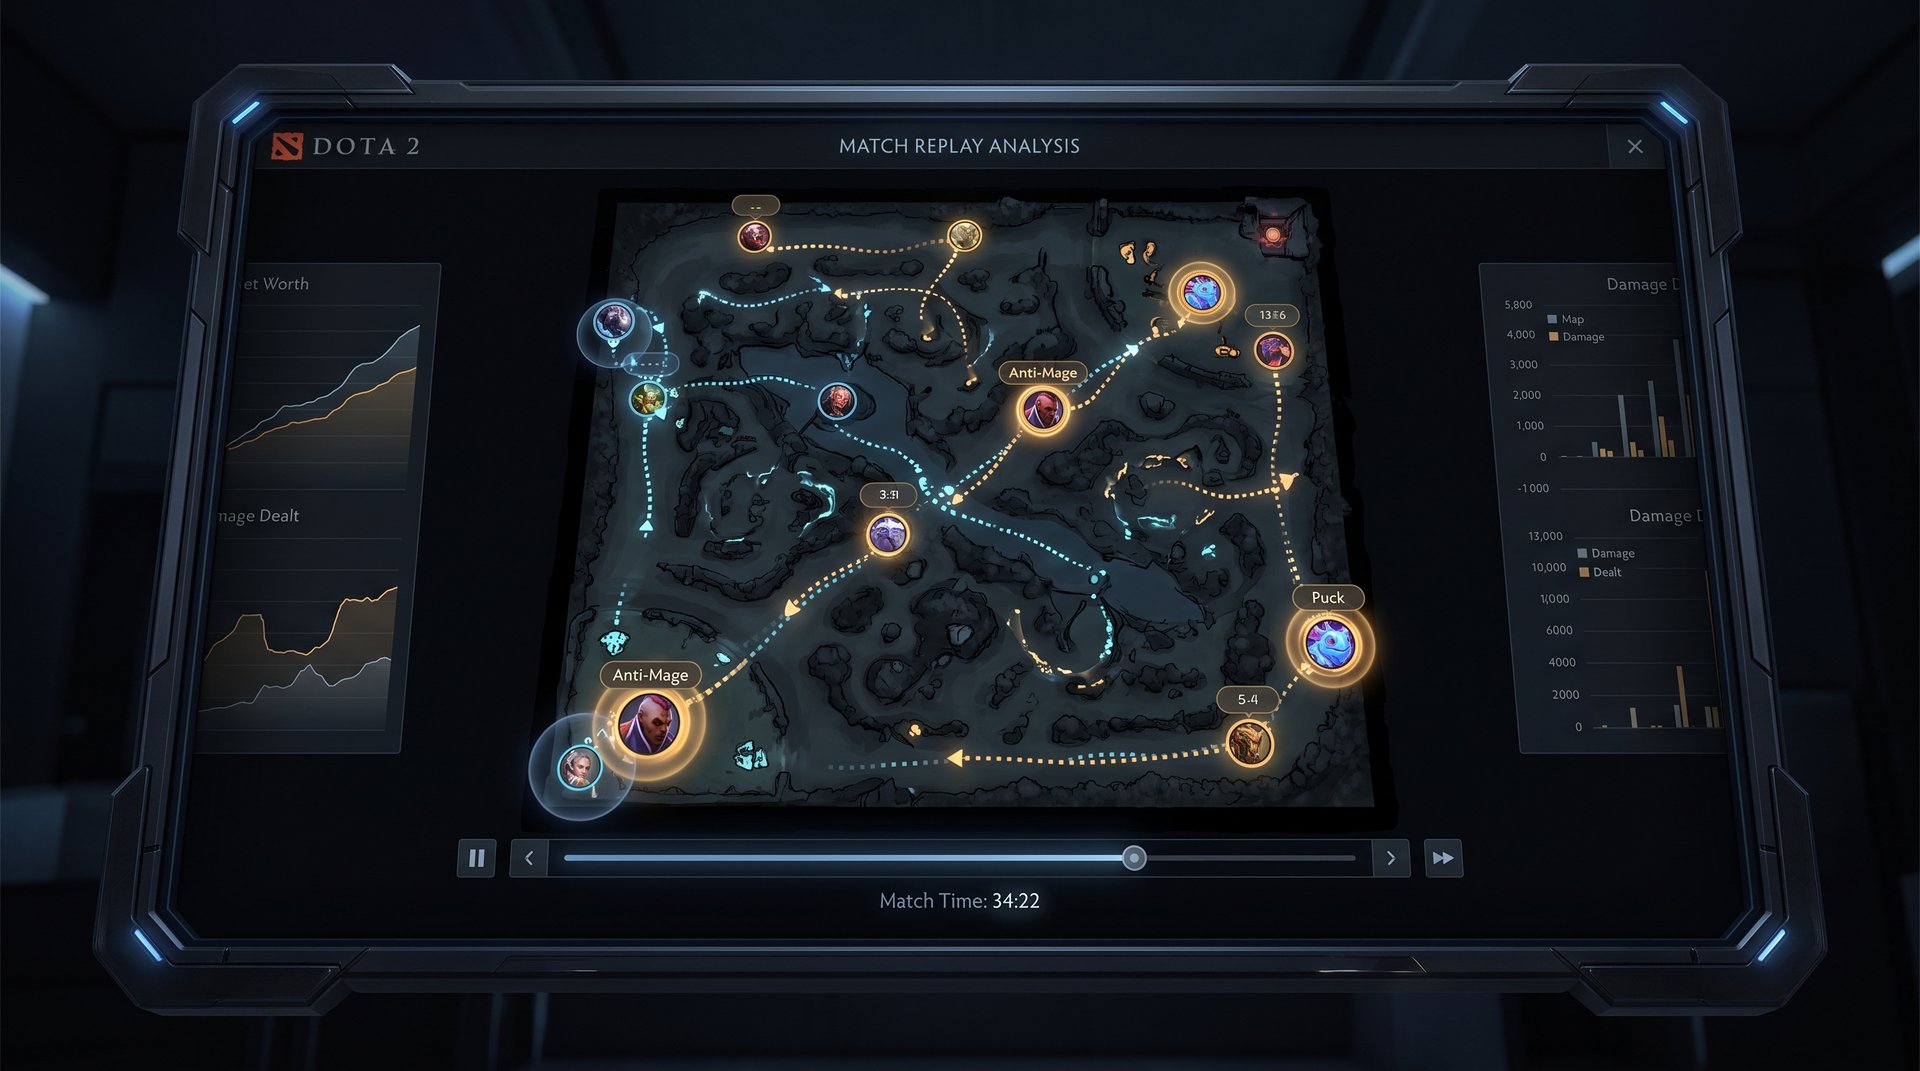
The in-client replay gives you the visual game. External tools parse the same .dem data and turn it into structured statistics that are faster to scan. These tools do not replace watching the replay; they tell you where to look so your replay time is spent on the right moments.
Dotabuff
Dotabuff (dotabuff.com) is the most widely used Dota 2 statistics platform. For any public match it shows the full scoreboard with kills, deaths, assists, last hits, denies, gold per minute, experience per minute, net worth, hero damage, tower damage, and healing. It also shows ward placement history (where each ward was placed and when it was dewarded), item build progression with timestamps, and an interactive graph of gold and experience leads over time.
The most useful Dotabuff features for replay work:
- Gold & XP graph: The two-line graph of Radiant and Dire gold over time shows exactly when leads were created and lost. A sudden swing on the graph corresponds to a fight or objective. Find the swing, note the timestamp, and go watch that moment in the replay client.
- Ward map: The ward placement overlay shows every Observer and Sentry placed in the match with timestamps. Use this to understand which areas of the map each team controlled and when. If you were ganked, check whether an enemy ward covered your position in the minutes before it happened.
- Hero Benchmark: On a player’s profile, Dotabuff shows how their performance in a given match compares to their historical average and to the average for that hero at that rank. If your GPM was significantly below your benchmark, the replay will likely reveal why — you were being contested on camps, you died at a bad time, or your farming patterns were inefficient.
STRATZ
STRATZ (stratz.com) offers deeper per-player and per-fight analysis. Its match pages include lane analysis (who dominated the early phase), fight breakdowns (a timeline of every teamfight with damage dealt and received by each hero), ability cast counts, and graphical movement maps showing each hero’s path across the game. STRATZ’s free tier covers most of this; its premium tier adds AI-assisted summaries and deeper historical comparisons.
The fight breakdown is particularly valuable for replay work. Each teamfight gets a separate entry with a damage breakdown chart. You can see at a glance whether your team’s damage was concentrated on the right target, whether a hero was not casting spells during a fight (a sign of mispositioning or disorientation), and which fights were decisive versus inconsequential for the game’s outcome.
OpenDota
OpenDota (opendota.com) is an open-source platform that parses .dem files at a level of detail the other tools do not reach. It shows click counts, action-per-minute breakdowns, ward interaction data (not just placement, but whether each ward provided actual vision value), and log-level event data for ability casts. OpenDota’s parsing requires that the match has been parsed — most recent public matches are parsed automatically, but older or lower-profile matches may need a manual parse request through the match page.
For players who want to understand their habits over time, OpenDota’s player profile pages are the most granular. You can filter by hero, rank bracket, time period, and game result to isolate patterns across hundreds of games. If you want to know whether your CS in lane is consistently lower when you play against a specific hero type, OpenDota’s data can show you that pattern.
Tool Comparison: Which Replay Analysis Tool to Use
| Tool | Best Use Case | Free Tier | Replay File Required |
|---|---|---|---|
| Dota 2 Client | Visual game review, positioning, teamfights | Full (within expiry) | Yes (.dem file) |
| Dotabuff | Quick stats scan, ward map, gold timeline | Most features free | No (API data) |
| STRATZ | Lane analysis, fight breakdowns, damage share | Most features free | No (API data) |
| OpenDota | Deep data: action counts, ability logs, patterns | Full (open source) | No (auto-parsed) |
The recommended workflow: check STRATZ first for a summary of where the game was won or lost, identify two or three moments that look significant from the timeline swings, then open the replay in the Dota 2 client to watch those moments with full visual context. Dotabuff’s ward map is worth checking before you open the client if the game involved a lot of ganks or had a hard-to-explain laning phase outcome.
The 20-Minute Replay Audit Framework
A full replay review takes as long as the game itself — 35 to 60 minutes. That is not sustainable as a daily practice for most players. The 20-minute audit is a structured approach that extracts the most learning per minute of review time. Rather than watching the entire game, you spend 20 minutes on the highest-leverage sections.
The framework works in three passes:
- Stats scan (3 minutes): Open STRATZ or Dotabuff before touching the client replay. Look at the gold graph — where did your team fall behind or go ahead? Identify the two to three biggest swings. These are your target timestamps for the next pass.
- Timeline jumps (12 minutes): Open the replay in the Dota 2 client and jump directly to your target timestamps using the event markers. Watch each section at 1x speed. For each one, answer: what did I do, what were my options, what would a better player have done? Do not watch the sections in between — skip forward using the timeline.
- Pattern note (5 minutes): Before you close the replay, write down the single most actionable thing you found. Not a vague “play better” but a specific habit: “I stepped out of position at 23:14 because I was chasing a kill instead of checking the minimap for the missing mid. Before every team fight I commit to, check the minimap for missing heroes.”
The TeamSmurf guide covers this audit methodology in full, including role-specific checklists for each position. See the 20-Minute Replay Audit SOP for the complete framework, including what to look for at each phase of the game and how to track patterns across multiple sessions.
Using Replay Analysis to Close the Rank Gap
Replay review identifies what is holding you back at your current rank. But review alone does not change the rank — consistent application of what you find does. Many players reach a point where they understand their mistakes through self-review but cannot execute the corrections under live game pressure. They know the right decision in the replay viewer but cannot do it at speed in a real game.
This is a skill-transfer problem rather than a knowledge problem. The fix is usually targeted practice with feedback — which is what coaching delivers more efficiently than additional solo replay review. A coach can watch the same replay with you, identify the physical habit or decision pattern causing the error, and design specific drills to fix it faster than self-review alone.
For players evaluating different approaches to MMR improvement, our breakdown of the best Dota 2 rank improvement services covers what each approach offers and which situations each fits best. The full context on how rank improvement services work is in our MMR boosting guide. If you are evaluating the safety considerations for any of these services, the analysis of whether Dota 2 boosting is safe covers the practical rules in detail.
Frequently Asked Questions
Turn Replay Insights Into Real Rank Gains
Knowing what went wrong is one part of the equation. The other is putting in games where the corrections actually stick under pressure. TeamSmurf’s Dota 2 coaching service connects you with an Immortal-rank coach who watches replays with you, identifies your specific decision patterns, and builds a focused practice plan around what your replays actually show.
Explore coaching sessions, MMR boosting services, and rank improvement options built for Dota 2 players.
Get Dota 2 Coaching MMR Boosting Service


