How to Climb from Herald to Guardian as Pos 5 Hard Support in Dota 2

Let’s be upfront: Position 5 hard support is the hardest role to climb with in Herald. You have the least gold, the least XP, and the most responsibility for things that don’t show up on the scoreboard — warding, pulling, stacking, zoning, and keeping your carry alive. When you do your job perfectly, your carry farms well and your team wins fights. When your carry still doesn’t farm despite everything you do… well, that’s Herald for you.
If you’re committed to climbing from Herald to Guardian as a Position 5, this guide gives you every tool you need. But understand the reality: this is the slowest, most thankless grind in Dota 2. You will play games where you do everything right and still lose because your carry has 120 CS at 30 minutes. You will buy wards that nobody uses. You will save teammates who immediately run back in and die.
If that sounds like something you’d rather skip entirely, Team Smurf’s MMR boost exists for exactly this reason. But if you’re determined to learn the role and climb through it, read on.
What Separates Herald from Guardian as a Position 5
The difference between Herald and Guardian supports is night and day. It’s not about mechanical skill — supports don’t need fast fingers or complex combos. It’s about game understanding, positioning, and making your limited resources count.
- Laning: Guardian Position 5s actively zone the enemy offlaner, maintain creep equilibrium through pulling, and keep their carry alive with heals and saves. Herald Position 5s stand behind the carry, auto-attack the wave, steal CS, and provide zero lane pressure.
- Pulling: Guardian 5s pull the small camp at the right time to reset the creep wave. Herald 5s either never pull or pull at the wrong time (pulling when the wave is already under their tower, pulling without stacking the small camp so the pull doesn’t fully clear).
- Warding: Guardian 5s buy Observer Wards on cooldown, place them in useful locations, and deward enemy vision. Herald 5s either never buy wards or place them in spots that provide zero useful information (warding your own jungle when you’re winning, warding a lane that nobody is using).
- Positioning in fights: Guardian 5s stay at the back, use spells from maximum range, and survive long enough to cast everything. Herald 5s walk to the front of the fight, get killed in 2 seconds, and never use their spells.
- Item efficiency: Guardian 5s buy cheap, high-impact items (Glimmer Cape, Force Staff) that save lives. Herald 5s try to build expensive items (Aghanim’s Scepter, Refresher Orb) that they never complete because they die too often and have no gold.
The fundamental mindset shift: as Position 5, your CARRY is your hero. Their success is your success. Every decision you make should answer the question: “Does this help my carry win the game” If you zone the offlaner, your carry farms more. If you pull, the wave resets so your carry can farm safely. If you ward, your carry knows when to be safe. If you buy Glimmer Cape and use it on your carry during a fight, they survive and deal damage. Everything loops back to enabling your cores.
Top 5 Heroes to Climb from Herald to Guardian as Position 5
1. Crystal Maiden
Crystal Maiden is the quintessential Position 5. Arcane Aura gives your entire team bonus mana regeneration globally — your mid and carry benefit just from you being in the game. Crystal Nova slows and damages in an area. Frostbite roots a single target. Freezing Field is a massive teamfight ultimate that can win fights single-handedly if positioned well.
Skill Build:
- Level 1: Crystal Nova (Q) — slow and damage for lane harass
- Level 2: Frostbite (W) — root for kills and jungle farm
- Level 3: Crystal Nova (Q)
- Level 4: Arcane Aura (E) — global mana regen
- Level 5: Crystal Nova (Q)
- Level 6: Freezing Field (R)
- Max Crystal Nova → Frostbite → Arcane Aura, ult at 6/12/18
Item Build:
- Starting: Observer Ward, Sentry Ward, Tango, Clarity x2, Blood Grenade
- Early: Tranquil Boots, Magic Wand, Wind Lace
- Core: Glimmer Cape (self-cast during Freezing Field makes you invisible) → Force Staff
- Mid-game: Aether Lens, Ghost Scepter
- Late-game: Aghanim’s Scepter, BKB (for uninterrupted Freezing Field)
Playstyle: In lane, use Crystal Nova to harass the enemy offlaner. The slow is excellent for setting up kills with your carry. Frostbite roots the offlaner in place — if your carry is nearby and attacks during the root, you often secure a kill. Alternate between harassing and pulling to control the lane.
CM can also farm jungle with Frostbite — it deals bonus damage to creeps. Between pulls and harass, walk to a jungle camp and Frostbite the large creep for gold and XP. This supplements your income without taking anything from your carry.
Freezing Field is a fight-winning ultimate in Herald. Herald players don’t interrupt channels (they don’t buy stuns, they forget to target you). Pop BKB or Glimmer Cape, walk into the middle of a fight, and press R. Each explosion deals massive damage. In Herald, you’ll get full-duration Freezing Fields regularly because nobody focuses you.
CM’s weakness is that she’s the squishiest and slowest hero in the game. Position yourself behind your team at ALL times. If a Phantom Assassin blinks on you, you’re dead. Stay far back, use spells from max range, and only channel Freezing Field when it’s safe.
2. Lich
Lich is the easiest Position 5 hero in Dota 2. Frost Blast is a targeted nuke + slow with no skillshot required. Frost Shield gives an ally 60% damage reduction and slows nearby enemies. Sinister Gaze is a channeled disable. Chain Frost bounces between enemy heroes for massive damage in grouped fights — and Herald players ALWAYS group up.
Skill Build:
- Level 1: Frost Blast (Q) — harass and slow
- Level 2: Frost Shield (W) — protect your carry
- Level 3: Frost Blast (Q)
- Level 4: Frost Shield (W)
- Level 5: Frost Blast (Q)
- Level 6: Chain Frost (R)
- Max Frost Blast → Frost Shield → Sinister Gaze, ult at 6/12/18
Item Build:
- Starting: Observer Ward, Sentry Ward, Tango, Clarity x2, Blood Grenade
- Early: Tranquil Boots, Magic Wand
- Core: Glimmer Cape → Force Staff
- Mid-game: Aether Lens, Ghost Scepter
- Late-game: Aghanim’s Scepter, Scythe of Vyse
Playstyle: Lich’s lane is incredibly strong. Frost Blast harasses the offlaner while slowing them for your carry to hit. Frost Shield on your carry gives them 60% damage reduction during trades — your carry literally takes half damage from the offlaner for the duration. This makes almost every lane matchup favorable.
Chain Frost is devastating in Herald. It bounces between nearby enemy heroes, and Herald players group up in every fight. A well-timed Chain Frost during a 5v5 fight bounces 10+ times and deals thousands of total damage. The key is to cast it when enemies are grouped — don’t ult a single target.
Frost Shield is your key teamfight contribution beyond Chain Frost. Cast it on whoever is getting focused — usually your carry or offlaner. The 60% damage reduction keeps them alive through burst that would otherwise kill them.
Lich is simple, effective, and incredibly hard to mess up. If you’re new to Position 5, start with Lich.
3. Warlock
Warlock is a teamfight monster. Shadow Word is a single-target heal/damage spell that keeps your carry alive or slowly kills enemies. Fatal Bonds links enemies together so damage dealt to one spreads to all — in team fights, this amplifies your team’s damage massively. And Chaotic Offering (his ultimate) summons a golem that stuns in an AoE on impact. In Herald, a well-placed Chaotic Offering wins the fight instantly.
Skill Build:
- Level 1: Shadow Word (W) — heal/harass
- Level 2: Fatal Bonds (Q) — damage amplification
- Level 3: Shadow Word (W)
- Level 4: Fatal Bonds (Q)
- Level 5: Shadow Word (W)
- Level 6: Chaotic Offering (R)
- Max Shadow Word → Fatal Bonds → Upheaval, ult at 6/12/18
Item Build:
- Starting: Observer Ward, Sentry Ward, Tango, Clarity x2, Blood Grenade
- Early: Arcane Boots, Magic Wand
- Core: Holy Locket (amplifies Shadow Word healing) → Glimmer Cape
- Mid-game: Refresher Orb (DOUBLE GOLEM = double AoE stun), Force Staff
- Late-game: Aghanim’s Scepter, Aether Lens
Playstyle: In lane, cast Shadow Word on the enemy offlaner — it deals 30 damage per second for 11 seconds at max level. That’s 330 total damage from one spell. Cast it on your carry when they need healing. It’s incredibly versatile.
Fatal Bonds is what makes Warlock terrifying. Link 3-5 enemy heroes, then any damage your team deals spreads to all linked targets. If your carry hits one enemy for 200 damage, all bonded enemies take a percentage of that damage too. In Herald teamfights where everyone is clumped together, Fatal Bonds multiplies your team’s damage significantly.
Chaotic Offering is a fight-winner. Drop the golem on top of 3+ enemies for a massive AoE stun. The golem then attacks and slows enemies. With Refresher Orb, you can drop TWO golems — that’s two separate AoE stuns and two golems hitting people. Herald players have no idea how to handle double golems. They scatter, they panic, and your team cleans up.
Warlock excels in long games (common in Herald) because his teamfight contribution only gets stronger with items. He’s a fantastic pick when you want to guarantee teamfight dominance.
4. Witch Doctor
Witch Doctor brings everything a Position 5 needs: a stun (Paralyzing Cask), sustain (Voodoo Restoration), a damage amp (Maledict), and one of the highest-damage ultimates in the game (Death Ward). In Herald, Maledict alone wins lanes, and Death Ward in fights melts entire teams because nobody focuses it or you.
Skill Build:
- Level 1: Paralyzing Cask (Q) — stun that bounces
- Level 2: Maledict (W) — damage amplification curse
- Level 3: Maledict (W)
- Level 4: Paralyzing Cask (Q)
- Level 5: Maledict (W)
- Level 6: Death Ward (R)
- Max Maledict → Paralyzing Cask → Voodoo Restoration, ult at 6/12/18
Item Build:
- Starting: Observer Ward, Sentry Ward, Tango, Clarity x2, Blood Grenade
- Early: Tranquil Boots, Magic Wand
- Core: Glimmer Cape (use during Death Ward channel) → Aether Lens
- Mid-game: Aghanim’s Scepter (Death Ward bounces), Force Staff
- Late-game: BKB (uninterrupted Death Ward), Ghost Scepter
Playstyle: Maledict is absurdly strong in lane. It curses an enemy for 12 seconds, dealing damage ticks every 4 seconds. Each tick deals bonus damage based on how much HP the target lost since the curse was applied. Translation: Maledict someone, then have your carry hit them. The more damage they take, the more Maledict deals. At level 3 Maledict, a cursed enemy who takes moderate damage will lose 40-60% of their HP from the curse alone. Herald players don’t respect Maledict and they die to it constantly.
Paralyzing Cask stuns and bounces between nearby heroes and creeps. In lane, throw it when the offlaner is near creeps — the bounces between them and creeps create multiple stun instances. In teamfights, Cask bouncing between grouped enemies provides excellent crowd control.
Death Ward is the highest single-target DPS ultimate in Dota 2. Channel it during a fight and it shreds whoever it targets. In Herald, nobody stuns you out of the channel. They just let you stand there for 8 seconds dealing 3,000+ damage. With Glimmer Cape active, they can’t even see you while you channel. With Aghanim’s, the ward’s attacks bounce to nearby enemies. It’s absolutely devastating.
Witch Doctor’s weakness is that he’s squishy and Death Ward roots you in place. Position carefully — use it from behind trees, from high ground, or from fog. If the enemy team has gap closers, wait until they’ve used their blinks and jumps before channeling.
5. Jakiro
Jakiro is the lane bully Position 5. Dual Breath is a massive AoE slow + damage. Ice Path is a long-range AoE stun. Liquid Fire is a passive that burns towers and slows attack speed. Macropyre is a massive AoE damage field that zones enemies in fights. Jakiro pushes towers faster than almost any other support and provides excellent teamfight control.
Skill Build:
- Level 1: Dual Breath (Q) — harass and slow
- Level 2: Liquid Fire (E) — tower damage and harass
- Level 3: Dual Breath (Q)
- Level 4: Ice Path (W)
- Level 5: Dual Breath (Q)
- Level 6: Macropyre (R)
- Max Dual Breath → Ice Path → Liquid Fire, ult at 6/12/18
Item Build:
- Starting: Observer Ward, Sentry Ward, Tango, Clarity x2, Blood Grenade
- Early: Arcane Boots, Magic Wand
- Core: Eul’s Scepter (set up Ice Path perfectly) → Aether Lens
- Mid-game: Force Staff, Glimmer Cape
- Late-game: Aghanim’s Scepter, Octarine Core
Playstyle: Jakiro’s lane is oppressive. Dual Breath covers a huge area and slows + damages any enemy caught in it. Use it on the offlaner when they walk up to CS. Liquid Fire passively applies on your attacks — hit the enemy for extra burn damage. Between Dual Breath and Liquid Fire, you deal constant damage that Herald offlaners can’t sustain through.
Liquid Fire’s true value is pushing towers. It works on buildings and increases your team’s pushing speed dramatically. After winning a fight, Jakiro hits the tower with Liquid Fire and it melts. In Herald, where teams don’t push objectives efficiently, having a Jakiro makes every won fight convert into a taken tower.
Eul’s Scepter + Ice Path is a guaranteed combo. Eul’s cyclone an enemy (they’re lifted in the air for 2.5 seconds), then place Ice Path directly under them. When they land, they’re immediately stunned for 1.4-2 seconds. This combo catches anyone and sets up kills perfectly. In Herald, no one has the reaction time to avoid it.
Macropyre is a massive damage zone. Drop it in a chokepoint or on top of a fight and enemies have to move or take enormous damage. Herald players stand in Macropyre because they don’t see it (or don’t care). Free damage.
10 Specific Mistakes Herald Position 5 Players Make
1. Stealing Your Carry’s Last Hits
This is the single biggest sin of Herald Position 5 play. You auto-attack the creep wave, you take CS from your carry, and you push the wave into a dangerous spot. STOP. Do not auto-attack creeps in lane. Your carry needs every last hit. Your job is to harass the enemy and pull camps, not to farm.
2. Never Pulling Creeps
Pulling the small camp at X:15 or X:45 draws your lane creeps into the jungle, which resets the wave position and denies the enemy XP and gold. Herald Position 5s never pull. The wave pushes under the enemy tower, the carry can’t farm safely, and the offlaner gets free XP. Learn the pull timings. Practice them. Do them every other minute.
3. Standing Behind the Carry AFK
If you’re standing behind your carry and not doing anything, you’re leeching XP and providing zero value. Either zone the offlaner (stand between them and the creep wave, hit them when they approach), pull a camp, stack a camp, or leave the lane entirely if your carry is safe. Never stand around doing nothing.
4. Not Buying Wards
Observer Wards are free (they regenerate in stock). Sentry Wards cost 50 gold. There is no excuse for not buying wards. Place Observers in spots that give your team information: rune spots, jungle entries, Roshan pit. Place Sentries to deward enemy vision or reveal invisible heroes. If you’re not buying wards as Position 5, you’re not playing the role.
5. Dying Before Using Spells in Fights
Herald Position 5 players walk to the front of the fight and die in 2 seconds without casting a single spell. Your spells are your contribution. Crystal Nova, Chain Frost, Chaotic Offering, Death Ward — these abilities are enormous. If you die before using them, you contributed NOTHING. Stay behind your team. Wait for the fight to start. THEN cast your spells from maximum range.
6. Building Greedy Items
Aghanim’s Scepter costs 4,200 gold. As a Position 5, you earn roughly 200-300 GPM. That’s 15-20 minutes of farming for one item — and you’re not even supposed to be farming. Meanwhile, Glimmer Cape costs 1,950 gold, saves lives in every fight, and can be completed in 8-10 minutes. Buy cheap, impactful items. Glimmer, Force Staff, Urn, Medallion. Save expensive items for when you’re ahead.
7. Not Trading HP with the Offlaner
Your job in lane is to make the offlaner’s life miserable. Walk up and hit them. Use your spells on them. Force them to use their regen. Every time the offlaner walks to the wave for a CS, they should take damage from you. Herald Position 5s are passive — they stand back and let the offlaner farm freely. Be aggressive. You have more regen. Use it.
8. Following the Carry Everywhere
After laning phase, Herald Position 5s follow their carry around the map like a lost puppy. Your carry doesn’t need you to babysit them 24/7. Place wards to keep them safe, then go do something useful — stack camps, gank with your offlaner, set up vision for the next objective. You’re most useful when you’re making plays, not when you’re standing next to your carry watching them farm.
9. Using Spells on Creeps
Your mana is limited. Your spells are for fighting and harassing. Using Crystal Nova to farm a creep wave or Frost Blast to kill a jungle camp is a waste of mana that could have been used to kill an enemy hero or save a teammate. Only use spells on creeps when pushing a tower or when you’re certain no fight is coming.
10. Not Buying Dust and Sentries
The enemy has an invisible hero (Riki, Bounty Hunter, Clinkz) and nobody on your team has detection. Whose job is it YOURS. Carry Dust of Appearance at all times when playing against invisible heroes. Place Sentry Wards in lanes where invisible heroes gank. Detection is 100% the Position 5’s responsibility, and Herald supports never buy it. One 80-gold Dust that reveals and kills a Riki is worth 10x its cost.
Phase-by-Phase Guide: Laning → Mid-Game → Late-Game
Laning Phase (0:00 — 10:00)
The laning phase as Position 5 is the most important part of your game. What you do in the first 10 minutes determines whether your carry has a good game or a terrible one.
Before the horn (0:00):
- Buy starting items: Observer Ward, Sentry Ward, Tangos (share 2 with mid), Clarities, Blood Grenade
- Place Observer Ward covering the enemy offlane or pull camp area
- Place Sentry Ward if you suspect enemy wards blocking your pull camp
Minutes 0-5: Active laning
- Zone the offlaner: Stand between the enemy offlaner and the creep wave. When they walk up, hit them and use spells. Your goal is to keep them away from XP range.
- Don’t soak XP: When your carry doesn’t need protection, step back out of XP range or go pull. Your carry levels faster with solo XP.
- Pull at X:15 and X:45: Pull the small camp to deny the enemy a creep wave and reset equilibrium. Stack the small camp first if possible (pull through) for a full deny.
- Share tangos and salves: If your carry is low HP but you have regen, give it to them. Their HP is more important than yours.
Minutes 5-10: Transition
- If the lane is won (enemy offlaner is zoned, your carry is farming freely), you can leave and rotate to help mid or stack camps.
- If the lane is contested, stay and continue supporting. Don’t leave a carry who’s struggling.
- Start placing deeper wards as the laning phase ends — ward the enemy jungle entries to track rotations.
- Stack the large camp near your carry’s farming area for accelerated farm later.
Target: Your carry should have 45+ CS by 10 minutes. If they do, you’ve done your job.
Mid-Game (10:00 — 25:00)
The mid-game is where Position 5 impact becomes less visible but equally important. Towers are falling, fights are starting, and your role shifts from “lane support” to “team support.”
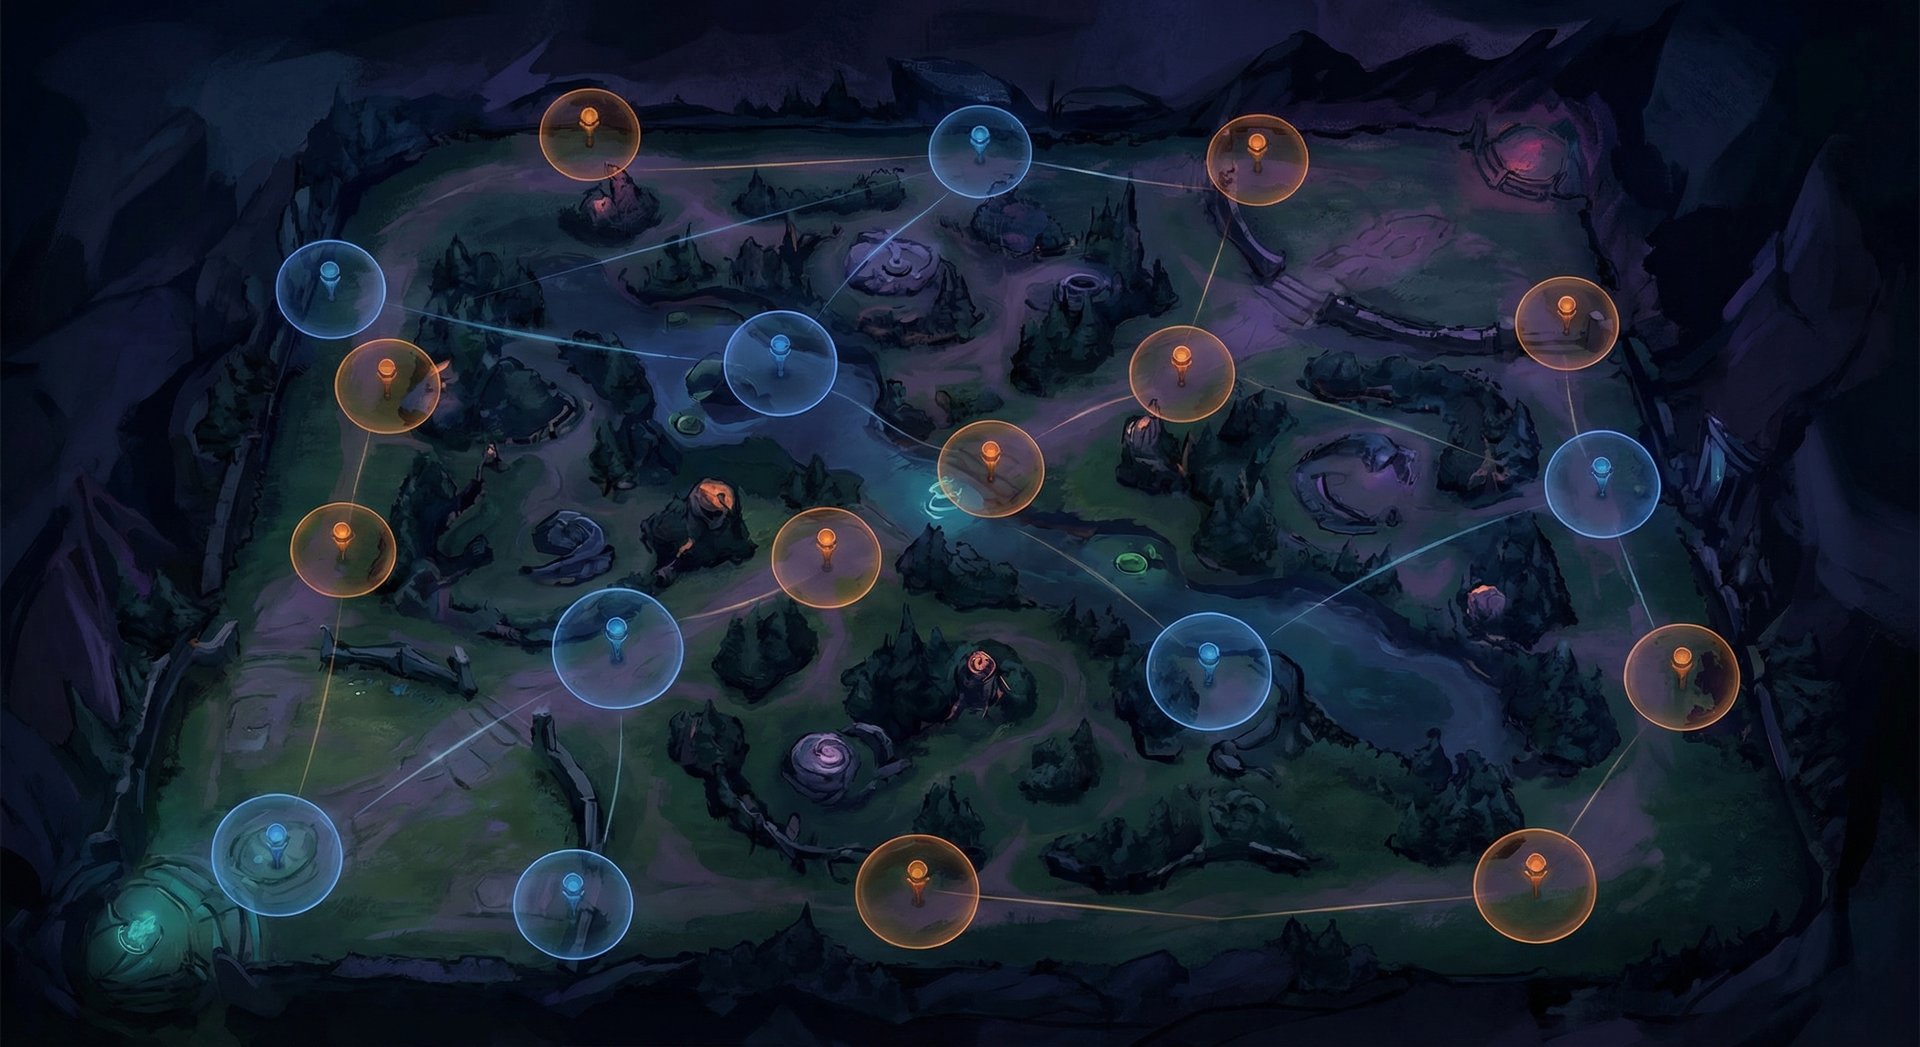
Warding: This is your #1 job. Place wards that provide information about enemy movements. Key ward spots:
- Enemy jungle entries (see heroes moving between jungle and lanes)
- Roshan pit (know when they attempt Rosh)
- High ground near the lane you’re pushing (see TP responses)
- Behind towers you’re sieging (see reinforcements coming)
Dewarding: If you see enemy wards (courier icon on minimap, or you get ganked from an unexpected angle), buy Sentries and deward. Denying enemy vision is as impactful as providing your own.
Stacking: Stack camps for your carry whenever you walk past them. A stacked ancient camp at minute 15 gives your carry 300+ gold in one clear. Do this regularly.
Teamfight positioning:
- Stay behind your team. ALWAYS.
- Cast spells from maximum range.
- Target priority for disables: enemy carry > enemy mid > anyone diving your carry.
- Save items (Glimmer Cape, Force Staff) for your carry unless you’re the one being focused.
- Don’t chase kills. Your job is to disable and save, not to get the last hit.
Key items to rush:
- Glimmer Cape: Cheap, saves lives, can be used while channeling. #1 support item.
- Force Staff: Saves allies from melee carries, repositions yourself.
- Ghost Scepter: If the enemy has physical damage heroes diving you every fight.
Late-Game (25:00+)
Late-game Position 5 is about survival and spell usage. You are the squishiest, least-farmed hero on your team. One bad position means instant death, which means your team fights without your spells.
- Never walk alone. You WILL get picked off. Always move with at least one other hero.
- Ward safely. Don’t walk into enemy jungle alone to place wards. Ward during pushes or after winning fights when you have map control.
- Save your ult for key moments. Chain Frost on 5 grouped enemies wins the fight. Chain Frost on a solo support does nothing. Wait for the right moment.
- Buyback for defense. If you die and the enemy is pushing high ground, buy back. Your stuns and saves are critical for base defense. Keep buyback gold after 30 minutes.
- Stay behind Tier 3 towers during defense. Your range and spells can contribute to fights from behind the tower. Don’t walk in front of the tower — that’s your offlaner’s job.
- Smoke with your team. Late-game smokes that find pickoffs win games. As Position 5, you should be the one buying smokes and pinging your team to group.
The Teammate Problem: Why Herald Position 5 Games Feel Unwinnable
Position 5 is the hardest role to climb with because you’re the most team-dependent hero in the game. Your success is literally measured by your carry’s success. And in Herald, your carry is… Herald-level.
- Your carry can’t last-hit despite perfect lane conditions. You’ve zoned the offlaner, the wave is in the perfect spot, your carry has uncontested farm… and they miss half the last hits. They end the laning phase with 30 CS when they should have 50. You created the conditions for success, but they couldn’t execute. This is the most common and most frustrating Position 5 experience in Herald.
- Your carry doesn’t understand power spikes. You’ve given them a great lane, they’re farming well, they complete their first item at a good timing… and they keep farming for 15 more minutes instead of fighting. Or they start fighting before their item is done. Either way, your excellent support play is wasted because the carry doesn’t know when to push their advantage.
- Your carry doesn’t use the space. You rotate to help mid, secure a kill, pressure a tower — the map opens up. Your carry should be farming aggressively. Instead, they’re farming the same small camp they’ve been farming for 10 minutes. The space you created evaporates.
- Your team doesn’t group for objectives. You have wards everywhere, you’re pinging Roshan, you’re telling your team to push — and they’re scattered across the map doing nothing. Position 5 is the shot-caller in an ideal game, but in Herald, nobody listens to calls.
- You get blamed for everything. “No wards” when there are 4 wards on the map. “No support” when you’ve been pulling, stacking, and saving them all game. “GG support” when they died because they dove past 3 towers. Position 5 is the scapegoat role in Herald, and the flame is relentless.
- Your cores pick 4 carries. Your lineup is Anti-Mage safe lane, Shadow Fiend mid, Phantom Assassin offlane, and Nature’s Prophet “support.” You’re the only real support on a team of 4 farmers. Nobody wards, nobody stacks, and the team has zero teamfight. As the solo Position 5, you simply cannot provide enough support for 4 cores.
The mathematical reality of climbing as Position 5 in Herald is grim. Your win rate will hover around 51-54% because your individual impact is the lowest of any role. You can play perfectly and still lose because your carry had 150 CS at 30 minutes. Over hundreds of games, you’ll climb — but the climb is painfully slow.
This is why Position 5 players are the most common users of boosting services. After 200 games of perfect warding, perfect pulling, and perfect positioning — and still being stuck at the same MMR because your carries can’t capitalize — the appeal of having an Immortal player handle the account becomes overwhelming.
Realistic Timeline: How Long Does It Take
Let’s be brutally honest: Position 5 is the slowest climb in Dota 2.
- 51% win rate (barely improving): ~2,850 games → literally years. Don’t do this to yourself.
- 53% win rate (improving): ~760 games → 8+ months at 3 games/day.
- 55% win rate (strong Position 5): ~380 games → 4 months at 3 games/day.
- 57% win rate (exceptional): ~253 games → 2.8 months at 3 games/day.
A 57% win rate as a Position 5 in Herald is extremely high — it requires near-perfect play AND good hero picks that provide fight-winning ultimates (Warlock, Witch Doctor). Most improving Position 5 players sit around 52-54%, meaning 5-8 months to reach Guardian.
That’s potentially 8 months of buying wards nobody uses, pulling camps your carry ignores, and getting flamed for losses that aren’t your fault. It’s the longest, most frustrating climb in Dota.
Speed-up strategies:
- Pick fight-winning heroes: Warlock and Witch Doctor have ultimates that can solo-win teamfights. These heroes have higher carry potential than pure utility supports like Lich.
- Stack camps religiously: A stacked ancient camp every 2 minutes provides your carry extra farm that most Herald carries wouldn’t get otherwise. You’re directly increasing their GPM.
- Shot-call with pings: Ping objectives, ping enemies, ping retreat. Some Herald players respond to pings even if they ignore chat. Your game sense is your weapon — use pings to direct your team.
- Consider role-swapping: If climbing is your priority, playing mid or carry will be 2-3x faster than Position 5. You can always go back to Position 5 at Guardian where supports are slightly better utilized.
For Position 5 players who love the role but hate the grind, coaching is the best investment. An Immortal support player reviewing your replays can identify exactly what to change to push your win rate from 52% to 55% — a shift that saves 3-4 months of grinding. And if you’d rather just be at Guardian now, our MMR boost gets you there in days.
Frequently Asked Questions
Is Position 5 the worst role for climbing
Yes. Position 5 has the lowest individual carry potential and is the most team-dependent role. Your success is measured by your cores’ success, and in Herald, your cores are unreliable. If climbing speed is your priority, play mid. If you love Position 5 and accept the slower climb, it’s absolutely viable — just expect it to take 2-3x longer than core roles.
Should I ever take last hits as Position 5
Only in specific situations: when your carry is dead, when no core is nearby to farm the wave, or when you’re farming a jungle camp that nobody else would take. In lane, NEVER take last hits from your carry. After laning phase, farm waves only when cores aren’t there to take them.
What items should I always build
Glimmer Cape and Force Staff are universally useful. Glimmer saves allies from magic burst and makes you invisible during channeled ults. Force Staff repositions allies out of danger. Between these two items, you have answers to most situations. After that, Ghost Scepter against physical carry heroes, and Eul’s for self-purge and setup.
How do I know where to place wards
Ward where your team is playing. If you’re pushing mid, ward the mid jungle entries so you see rotations. If you’re farming your own jungle, ward the entrances to it. If Roshan is a possibility, ward the pit. Don’t ward spots nobody is near — a ward on the enemy’s tier 3 tower while everyone is farming your jungle is wasted vision.
How do I deal with toxic teammates who blame me for everything
Mute them instantly. Don’t argue, don’t defend yourself, don’t type in chat. Every second you spend typing is a second you’re not playing. Mute the toxic player, focus on your game, and move on. Your MMR climbs through consistent play, not through winning arguments.
Should I buy all the support items or share the cost with Position 4
In an ideal game, Position 4 and Position 5 split support costs. In Herald, your Position 4 probably isn’t buying wards or Dust. Accept this and buy what’s needed. Yes, it delays your items. Yes, it’s unfair. But a team with wards wins more than a team where the Position 5 has slightly faster Glimmer Cape but no vision. Eat the cost, buy the wards, and win more games overall.
Skip the Grind — Let Team Smurf’s Immortal Boosters Handle It
Position 5 in Herald is a labor of love. You do the most work for the least recognition, you spend the most gold on items that help your team instead of yourself, and your climb is the slowest of any role. You’ll spend 5-8 months buying wards for teammates who don’t look at the minimap, pulling creeps for carries who can’t last-hit, and getting blamed for losses you couldn’t prevent.
If you love Position 5 and want to play it at a bracket where your efforts actually matter, the fastest path is Team Smurf’s MMR boost. Our Immortal boosters will move your account to Guardian (or higher) in days. At Guardian, your carries at least know basic farming patterns, your team responds to pings, and your ward placements actually prevent ganks. Your Position 5 skills will finally be appreciated — you just need to get to the bracket where they matter.
Want to maximize your impact as Position 5 Our Dota 2 coaching pairs you with Immortal support players who’ll teach you the high-impact habits that separate 52% win rate from 56% — which is the difference between an 8-month grind and a 4-month grind. Every percentage point matters when you’re playing the longest climb in Dota.
Struggling with low priority from teammates reporting you after losses We handle that too. Or if you want a fresh start, our calibration service gives you a clean slate at a rank that matches your actual skill.
Skip the Grind — Let the Pros Handle It
Climbing as Position 5 in Herald is the slowest grind in Dota 2. If you want to reach Guardian (or higher) without the frustration, Team Smurf’s Immortal-rank boosters can get you there.


