Dota 2 7.41c Tower Defense Patterns vs Deathball

Patch 7.41c introduced significant changes to tower armor values, siege creep scaling, and several key hero abilities that directly affect how deathball compositions attack and how defensive lineups can hold high ground. If you are still playing 7.40-era defensive patterns against a 7.41c deathball, you are defending with outdated information against an updated threat model.
This guide covers the complete tower defense framework for 7.41c: how deathball compositions are structured in the current patch, what specific timings they target, the defensive item choices that counter their burst damage windows, and the high-ground positioning patterns that give even undermanned teams the best chance of holding and transitioning into a comeback scenario.
Table of Contents
- 7.41c Deathball Anatomy: How These Lineups Work
- Attack Timing Windows Deathballs Target
- Defensive Drafting Against Deathball
- Item Counters to 7.41c Deathball Mechanics
- High-Ground Positioning Patterns
- Buyback Math in High-Ground Defense
- Transitioning Defense Into a Comeback
- Frequently Asked Questions

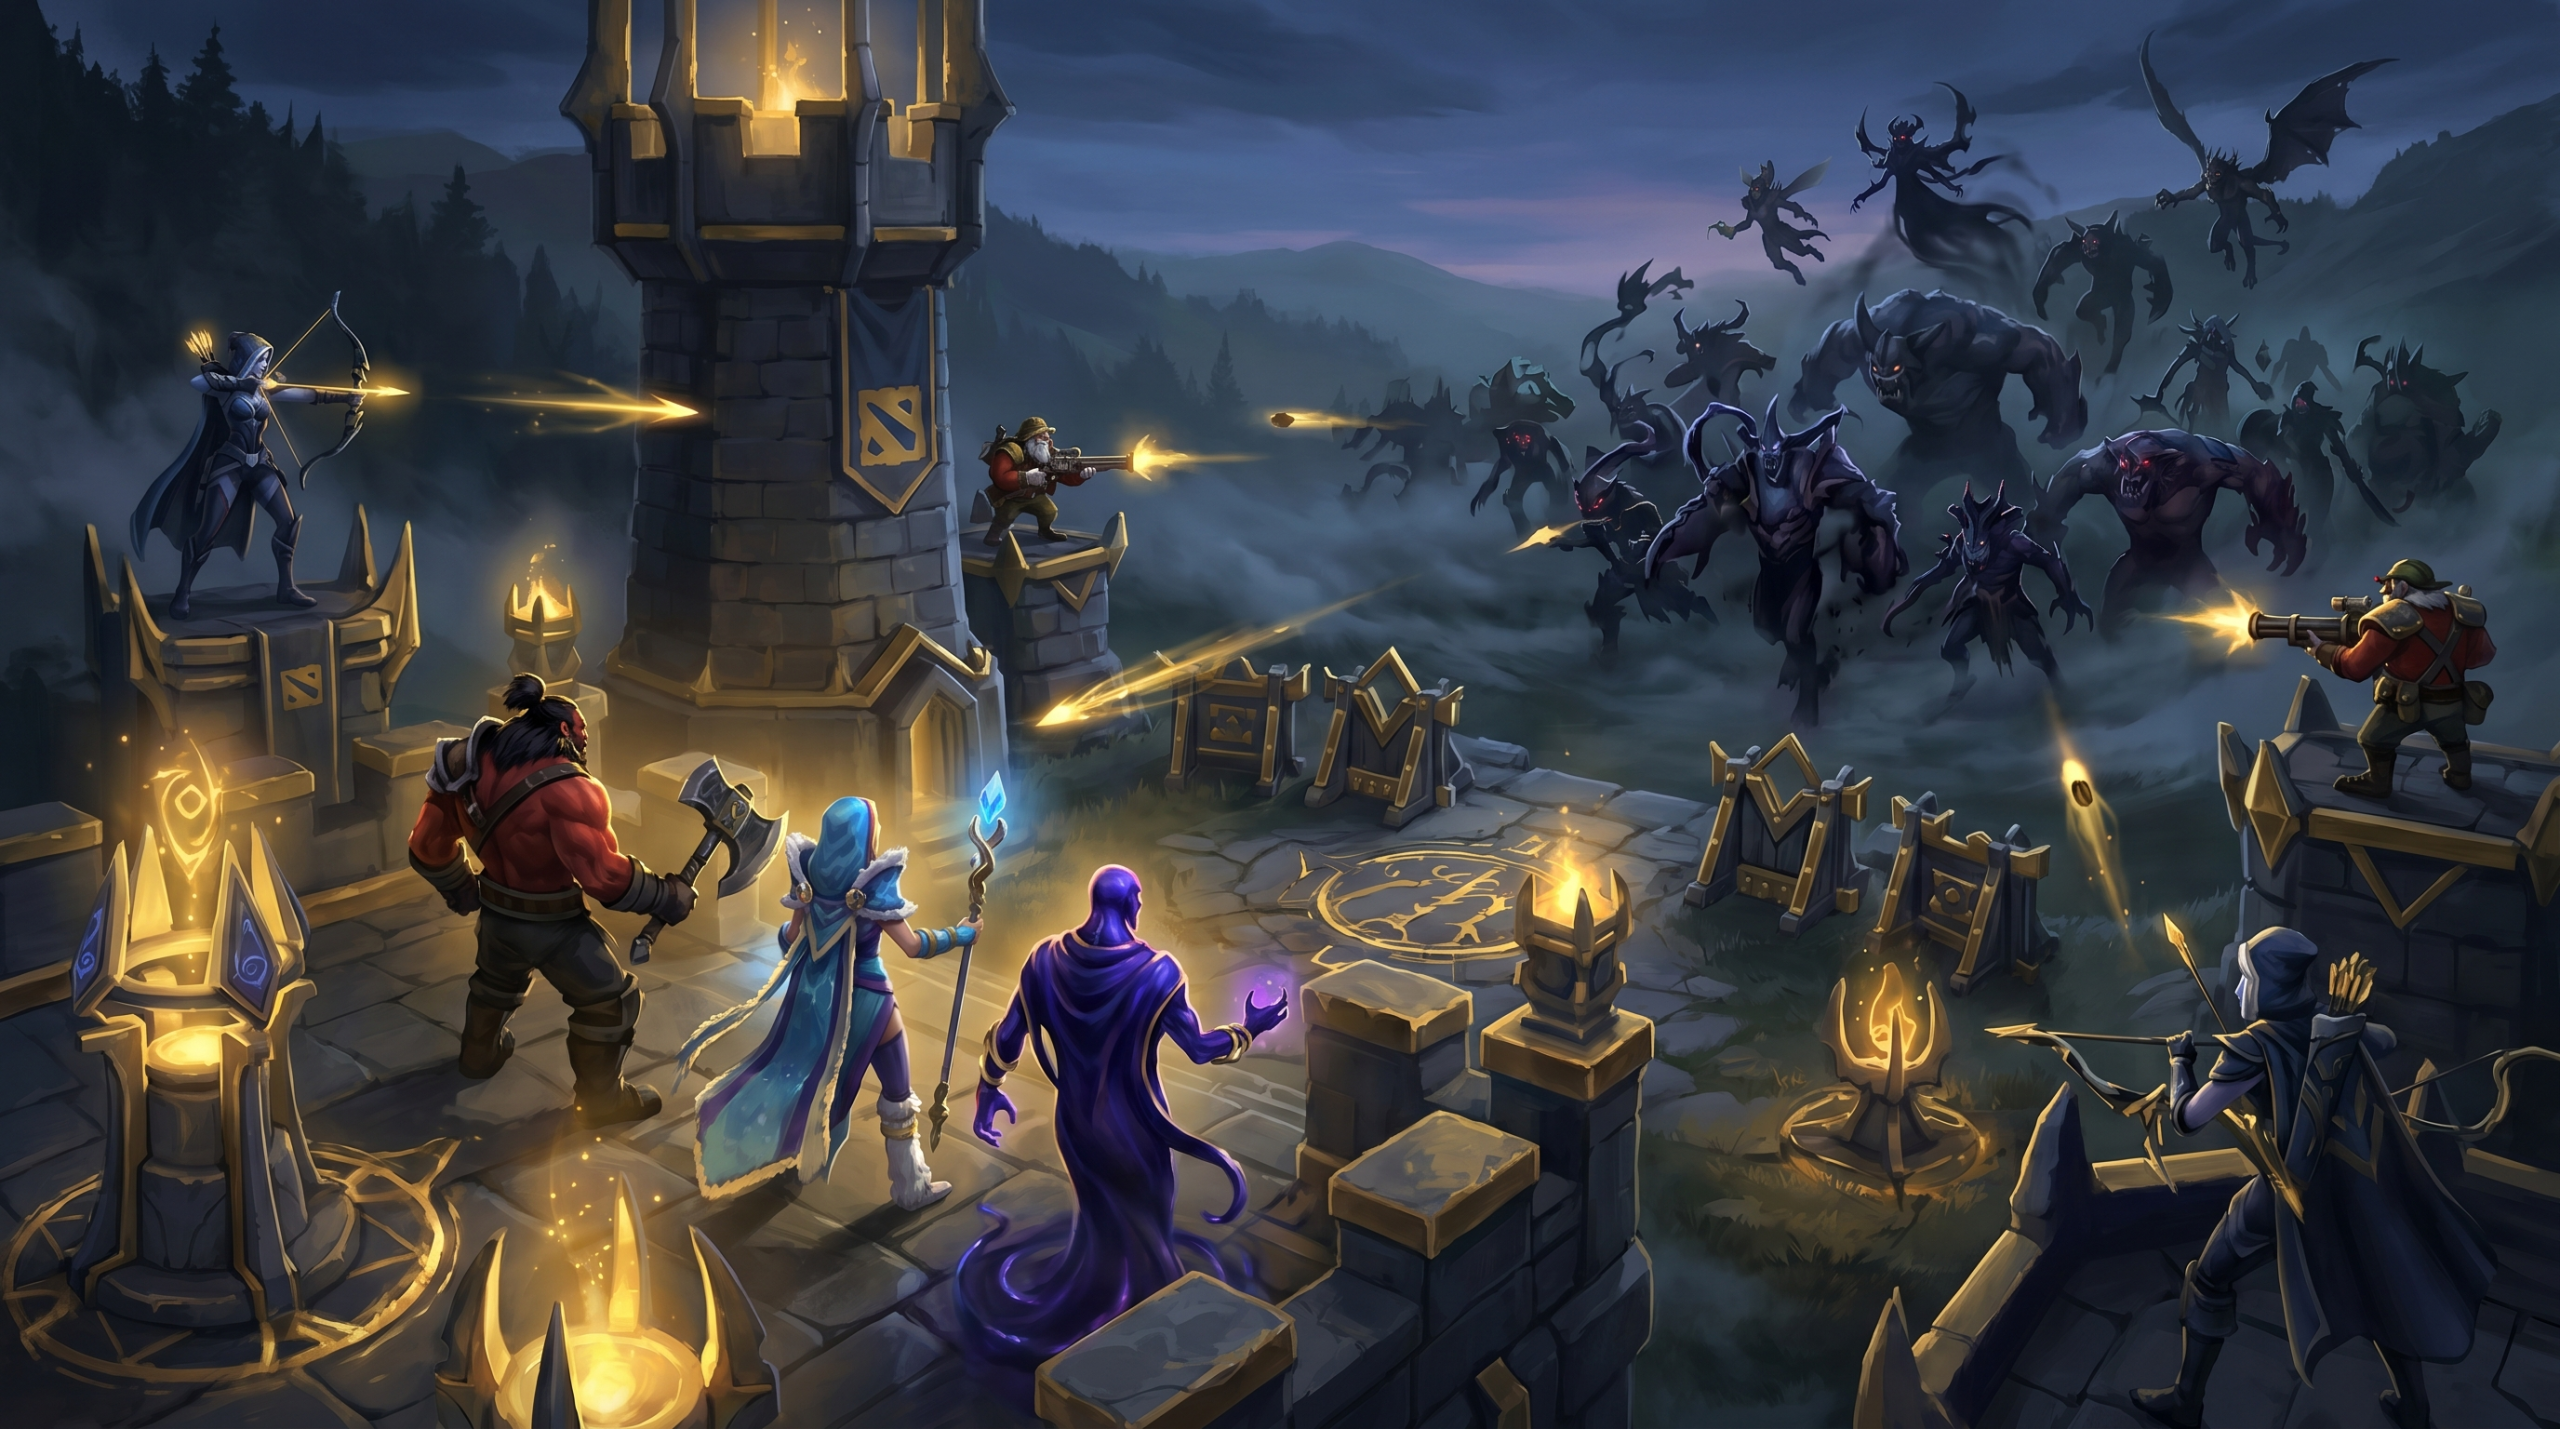
7.41c Deathball Anatomy: How These Lineups Work
A deathball composition in 7.41c is defined by three structural requirements: wave clear to maintain siege creep pressure, AoE fight control to prevent defenders from picking off individual attackers, and a hard-engage initiation that forces the defending team to fight under their towers rather than behind them. Without all three elements, the composition degrades into a standard push that high-ground terrain advantage can neutralize.
The most prevalent 7.41c deathball structures fall into two categories. The first is the fast push — a lineup built around Lycan, Natures Prophet, and Broodmother-style heroes that convert early map control into a 25-minute high-ground attack before the defending team completes survivability items. These lineups win or lose by minute 28. If they have not broken high ground by then, their window has closed and the game transitions to a late-game that their lineup is not built for.
The second is the siege deathball — lineups built around Medusa or Spectre plus hard initiators (Enigma, Tidehunter, Dark Seer) that use sustained siege creep waves as cover while building the farm required to fight in the 35-45 minute window. These lineups are harder to draft against because they have a viable plan against both early and late defense strategies.
7.41c Specific Changes Affecting Deathball Strength
Patch 7.41c increased the base armor on Tier 3 towers by 2, which meaningfully extended the time available for high-ground defense. A deathball that previously took a Tier 3 tower in 45 seconds of sustained attack now takes approximately 55-60 seconds before defenders can intervene. This 10-15 second window is significant for buyback timing calculations.
Simultaneously, 7.41c buffed Lycan’s Howl to provide bonus attack speed to illusions, making his siege creep pressure stronger than in 7.40. Broodmother received movement speed increases that allow her to clear waves faster and contest defenders’ positioning more aggressively. Understanding these specific changes is critical because the meta responses from previous patches may no longer be fully adequate.
Attack Timing Windows Deathballs Target
Deathball compositions attack at specific timing windows that correspond to the defending team’s item incompleteness. Understanding these windows allows you to prioritize item purchases specifically for the timing you are most likely to face, rather than building a general late-game item order that leaves you vulnerable at the critical defense moment.
The Minute 22-26 Window: Pre-BKB Defense
Fast-push deathballs target the minute 22-26 window because most defending carries have not yet completed BKB. Without BKB, the carry can be chain-disabled and cannot participate meaningfully in high-ground defense. The deathball runs the Aegis-carrier plus four heroes with disable chains into the high ground, stuns the carry out of the fight, and tears down the barracks before the carry can contribute a single hit.
The defensive counter to this window is not BKB — you will not complete it in time if the deathball is targeting this window aggressively. Instead, it is Linken’s Sphere (which blocks the initiating disable that starts the chain) combined with a defensive position that forces the deathball to commit 5v5 rather than isolating your carry for the chain-disable sequence.
The Minute 30-35 Window: Single Aegis Attack
The most common deathball timing is the first Aegis kill at approximately minute 28-30, followed by an immediate high-ground assault. The Aegis carrier goes into the towers knowing they have a 5-second death protection. Defenders who focus the Aegis carrier create a scenario where the carry dies, immediately respawns, and continues fighting for another 20-30 seconds while the rest of the deathball team destroys towers and creeps.
The counter is not focusing the Aegis carrier first — it is focusing the heroes without Aegis who provide the AoE fight control. Dark Seer’s Ion Shell is more important to eliminate than the Aegis carrier himself. Enigma must be stopped before Black Hole lands. Focus the enablers, not the protected carry.
The Minute 40-45 Window: Second Aegis Plus Cheese
If the game reaches the second Roshan respawn, siege deathballs with late-game carries (Medusa, Spectre) attack with Aegis plus Cheese combination. The defender who dies while the Aegis carrier has Cheese creates a scenario where the attacker effectively cannot be killed within the teamfight — they have both Aegis respawn and Cheese instant-heal. Defenders must account for this by not committing to a fight unless their damage output can kill the Aegis carrier twice before the fight ends.
Defensive Drafting Against Deathball
The best tower defense happens at the draft phase, not at minute 30 when the deathball is at your high ground. Defensive drafts against deathball share common structural elements: area denial rather than AoE initiation, single-target burst to punish overextension, and at least one hero with strong split-push threat to force the deathball to make choices about their push timing.
The Split-Push Threat as Deathball Counter
A split-push hero — Nature’s Prophet, Tinker, or Anti-Mage — forces the deathball to choose between continuing their push and sending heroes back to deal with the split threat. Every hero they send back is a hero that is not destroying your towers. With three heroes defending high ground and a split-pusher threatening two lanes simultaneously, the deathball effectively needs six heroes to respond to your five, which is mathematically impossible.
This only works if the split-push hero is fast enough to create genuine pressure before the deathball completes their objective. An Anti-Mage who teleports to the enemy base after your rax falls has provided no value. An Anti-Mage who creates pressure on enemy tier-2 towers at the same moment the deathball attacks your tier-3 tower forces a real decision.
Hard Counters to Specific Deathball Initiators
If the enemy drafts Enigma, prioritize a Bane or Shadow Demon on your team whose entire game plan is interrupting Black Hole. If the enemy has Tidehunter, draft heroes with BKB who are unaffected by Ravage’s 2.5-second stun and can reposition after the stun ends. If the enemy has Dark Seer, purchase Linkens on your carry to block the Ion Shell application during the fight entry.
| Deathball Initiator | Hard Counter Hero | Counter Item |
|---|---|---|
| Enigma (Black Hole) | Bane, Shadow Demon | Eul’s Scepter (interrupt timing) |
| Tidehunter (Ravage) | BKB users, Faceless Void | BKB (immunity to Ravage) |
| Dark Seer (Ion Shell) | Silencer, Ancient Apparition | Linken’s Sphere |
| Lycan (Siege Push) | Jakiro, Naga Siren | Crimson Guard, Radiance |
| Natures Prophet (Split) | Clockwerk, Meepo | Nullifier (disable TP) |
Item Counters to 7.41c Deathball Mechanics
The 7.41c item economy rewards specific defensive purchases that previous patches did not emphasize as strongly. Building these items before the deathball reaches high ground is the difference between a hopeless defense and a winnable one.
Crimson Guard: The Tower Defense Force Multiplier
Crimson Guard’s active ability blocks physical attack damage from all nearby units for 4 seconds. During a deathball assault on a tier-3 tower, activating Crimson Guard at the moment the deathball enters tower range effectively gives your tower 4 seconds of near-invulnerability against physical attacks. Combined with the tier-3 tower’s increased armor in 7.41c, this creates a window where your tower takes dramatically reduced damage while your defenders deal full damage to attackers.
In 7.41c, the optimal Crimson Guard holder is your position 3 or position 4 — a hero who will be in the thick of the deathball fight rather than farming on the edges. Position 5 Crimson Guard is suboptimal because the support is often pressured away from the fight at the critical moment of tower defense.
Pipe of Insight: AoE Damage Mitigation
Deathball lineups generate enormous AoE magical damage through abilities like Leshrac’s Pulse Nova, Dragon Knight’s Breathe Fire, and Warlock’s Chaotic Offering. Pipe of Insight’s barrier absorbs 400 magical damage for every hero under the buff, which in a 5-hero application absorbs 2,000 total magical damage in a single activation.
Timing the Pipe activation correctly requires recognizing the fight entry moment — the instant your Blink initiator commits to the engagement. Activating Pipe 1 second before the deathball’s AoE abilities land maximizes the damage absorption. Activating it after the first spell has already hit means the most damaging initial burst has already resolved and the remaining Pipe duration covers only the subsequent ability casts.
Nullifier: The Anti-TP Item
Nature’s Prophet is the most damaging split-push hero in 7.41c when used within a deathball lineup because his Teleportation ability allows him to immediately respond to any push attempt on your side while his treants maintain siege pressure on your objectives. Nullifier’s active ability prevents the Teleportation from completing when applied within the channeling window, effectively trapping Nature’s Prophet in the fight rather than allowing him to TP to safety once engaged.
High-Ground Positioning Patterns
High ground provides a 25 percent miss chance on attackers below the terrain level. This means every physical attack the deathball makes from below high ground has a 1-in-4 chance of missing entirely. Maximizing the time defenders spend on or behind the high-ground cliff multiplies this advantage across the entire fight duration.
The Ramp Choke Point Defense
The high-ground ramp is the single most defensible position in the game. Defenders who hold the ramp force attackers into a narrow corridor where AoE abilities hit fewer targets, where the miss chance advantage is maximized, and where the attacker’s initiation options are limited to predictable pathways. The mistake most teams make is retreating too far back from the ramp — positioning behind the barracks gives up the miss-chance advantage and allows the deathball to establish full high-ground vision before fighting.
The optimal defensive position is 200-300 units from the crest of the ramp: close enough to attack ramp-crossing heroes with high-ground miss chance applied, far enough back that the deathball cannot reach you with a single initiation ability from below. This positioning requires active discipline — most heroes instinctively retreat further under pressure, giving up the terrain advantage the ramp provides.
Cliff-Jump Aggression in Defense
The high-ground cliffs around the ramp provide a terrain feature that defenders can use offensively: a hero with Blink Dagger can jump from the cliff to below high ground, attack the enemy’s backline supports, and blink back up before the deathball can fully respond. This cliff-jump aggression forces the deathball to maintain defensive positioning for their supports rather than fully committing to tower assault.
Effective cliff-jump heroes for tower defense: Axe (Blink into Berserker’s Call on the enemy supports, blink back to high ground), Clockwerk (Hookshot onto an isolated enemy, Battery Assault them under the tower, blink up), Spirit Breaker (Charge of Darkness targeting the back-line support provides a brief window of disruption).
Buyback Math in High-Ground Defense
Buyback decisions during high-ground defense are the most consequential economic decisions in late-game Dota 2, yet most players make them reactively (buying back when they die) rather than proactively (holding gold specifically for buyback as a tactical resource).
When Buyback Is Worth More Than Items
At minute 30-plus, with the deathball threatening high ground, the gold cost of BKB (3,975g) buys you approximately 8 seconds of invulnerability in one fight. The same 3,975g held as buyback gold buys you a second life in the fight — your hero dies, you spend the gold, and immediately respawn at fountain and teleport back into a fight that your team might still be winning. In many scenarios, the buyback-gold-held is higher expected value than the item purchased with it, because the deathball’s attack timing is concentrated at one specific moment rather than distributed across multiple fights where the item would provide value.
The Buyback Trigger Points
Hold buyback when: the enemy has Aegis and is approaching your high ground, your team is 3 or more heroes down in a fight that the enemy is winning, or the enemy is within 500 units of your barracks with your entire team dead. Do not spend gold on item components in these windows — the buyback is your most valuable asset.
Calculate buyback cost before the fight. At 35 minutes with maximum respawn time, buyback costs approximately 2,800-3,200 gold depending on your hero. If you are sitting on 4,500 gold and a 900g item component, spending on the component before the fight leaves you with 3,600g — still enough for buyback. But if you spend 2,000g completing a major item and the deathball attacks immediately, you may not have buyback gold available when your hero dies 30 seconds into the fight.
Transitioning Defense Into a Comeback
Successful high-ground defense is not the end of the game — it is the moment where the defending team must immediately transition from defense to offense before the deathball recovers and attempts a second attack.
The Immediate Counter-Push
When the deathball fight ends in the defender’s favor — whether through successful defense or a full wipe of the attacking team — the defending team has a 40-80 second window where multiple enemy heroes are dead or in fountain recovery. This window must be used for immediate counter-push into the enemy base. Sending your team back to farm during this window wastes the momentum of the defense and allows the deathball to regroup.
Push the lane that your fight occurred in. If you defended mid high ground and wiped three enemy heroes, immediately push mid with all five heroes. The dead heroes’ respawn timers, combined with their fountain recovery time, give you 40-60 seconds of uncontested access to enemy towers. Three enemy heroes dead at minute 32 means approximately 50-second respawn timers — that is long enough to take a tier-3 tower if your entire team moves immediately.
To develop these high-ground defense patterns faster under coaching guidance, a session with a Team Smurf Immortal coach can review your specific defensive failures and prescribe both the positional corrections and item timing adjustments that would have changed the outcome. If your MMR is not yet at the bracket where high-ground defense matters consistently, a boost service can move you to the bracket where these patterns appear and where developing them provides maximum game-to-game value.
Ready to Skip the Grind?
Team Smurf’s Immortal boosters handle your MMR while you focus on actually improving your game.


