Dota 2 7.41c Hero Matchups: 12 Lane Counters You Should Memorize

Patch 7.41c refined the number balance on dozens of heroes without overhauling any core mechanics, which means the lane counter relationships baked into the previous meta are still active — but the specific timing windows and item thresholds have shifted. If you’re trying to win your lane in the current patch, understanding exactly why a counter works mechanically is worth ten times more than just knowing the matchup name. Any Archon can tell you “Viper beats Medusa in lane.” Almost nobody can explain what Viper’s stats actually do to Medusa’s regen model and why that interaction closes the window on Medusa’s level-6 power spike.
This guide covers 12 specific lane counter matchups organized by role — carry, mid, offlane, and support. For each matchup, we break down the exact mechanical reason the counter works, the timing window where the advantage is sharpest, and the item interaction that either extends or neutralizes the edge. Use these to draft with precision, win your lane, and force opponents into bad positions before the midgame even begins.
Table of Contents
Carry Lane Counters
The carry lane (safe lane, position 1) is won or lost through a combination of early harass, sustain, and scaling. The following three matchups are among the most mechanically decisive in 7.41c for the carry role.
Viper vs Medusa
This is the clearest mana-harassment counter in the safe lane. Medusa’s primary laning strength is her Mana Shield, which converts mana into an effective HP buffer at a ratio of 1.6 damage absorbed per 1 mana consumed (in 7.41c). Medusa enters lane with roughly 260 to 280 mana at level 1, which translates to approximately 416 to 448 effective HP of shield capacity before she needs to regenerate.
Viper’s Poison Attack (on autocast) drains 24 mana per hit at level 1 and scales to 40 mana per hit by level 2. Each Viper hit therefore removes approximately 38 to 64 effective HP of Mana Shield capacity from Medusa. Over a 60-second lane exchange with Viper getting 8 to 10 attack opportunities, Medusa loses 240 to 400 mana — neutralizing her Mana Shield entirely. Once the shield is drained, Medusa takes full physical damage and her fragile base HP (530 at level 1) becomes extremely vulnerable.
The timing window: this counter is sharpest from levels 1 through 5. Medusa’s first mana regen item is usually Ring of Basilius into Vladmir’s Offering or an early Perseverance, and neither of these comes online before the 8 to 12 minute mark in most games. Before those items arrive, Medusa is regenerating mana slowly (base mana regen at level 3 is approximately 0.75 per second, or 45 mana per minute from base stats). Viper’s harass rate exceeds her regeneration rate at almost any attack speed, meaning the mana stays drained.
Item interaction: Medusa’s counter is Manta Style, which purges Poison Attack. In 7.41c Manta arrives after minute 20 at the earliest for most Medusa players. Viper needs to press the mana-drain advantage hard in the 0 to 15 minute window and ideally deny Medusa enough farm to delay Manta. Viper’s own early Vanguard or Aghanim’s Scepter path doesn’t change the core mechanical advantage, but an early Witch Blade on Viper does increase attack speed and poison stacks significantly, widening the window further.
Naga Siren vs Phantom Assassin
This counter works primarily through Naga’s Mirror Image illusion pressure and the way it interacts with PA’s low base armor and evasion dependency. PA at level 1 has 3.4 armor and approximately 15% evasion from Blur. Her laning survivability depends on her evasion working — she can tank more hits than her HP suggests because of that miss chance. But Naga’s Mirror Image creates 3 illusions at level 4, and each illusion attacks independently. PA’s evasion applies to each illusion attack separately, meaning the probability that all 4 attack sources (Naga plus 3 illusions) miss simultaneously is 0.15^4 = 0.05 percent. Statistically, PA takes hits from essentially all sources consistently.
Beyond the evasion neutralization, Mirror Image also massively increases the creep aggro pressure on PA. PA has weak base stats (21 agility, 18 strength, 12 intelligence at start) and poor lane sustain. When Naga summons illusions and walks into the creep wave, the aggro switches to the illusions, and PA has to choose between last hitting under constant harassment pressure or disengaging and losing CS. Naga with a level 2 or 3 Rip Tide also hits all illusions and the real Naga with the armor reduction (minus 7 armor on hit in 7.41c), which further punishes PA’s already thin physical defense.
Timing window: levels 4 through 10. Before level 4, Naga only has 2 illusions and the pressure is more manageable. After level 10, PA’s Coup de Grace crits start doing enough damage to one-shot individual illusions and potentially the real Naga if she’s not careful. The dominant window is the 4 to 10 level range where Naga’s illusion count is maxed but PA’s crit damage hasn’t scaled to threatening levels yet.
Timber vs Lifestealer
This is a stat-advantage and spell-timing counter. Lifestealer’s lane gameplan is to use Feast (passive lifesteal scaling with max HP) and Rage (magic immunity for 3 to 5 seconds) to sustain through physical trades while staying immune to magic burst. Timbersaw’s entire offensive kit deals Pure damage (Whirling Death and Chakram in 7.41c deal a combination of Pure and Magical damage depending on ability rank), which partially bypasses both Rage’s magic immunity and Lifestealer’s armor-scaling physical defense.
More critically, Timbersaw has one of the highest base HP growth rates per level in the game (3.4 HP per strength, with 25 starting strength and 3.0 strength per level), and his Reactive Armor stacks give him an armor pool that scales with how many times he’s hit. Lifestealer’s Feast lifesteal scales with a percentage of the target’s max HP — at level 1, it’s 0.9% per hit. Against Timbersaw’s 700+ HP at level 3 with Reactive Armor stacks active, Feast heals Lifestealer for roughly 6 to 8 HP per hit. Meanwhile, Timbersaw’s Whirling Death dealing 100 pure damage at level 2 (minus reductions) is a more efficient exchange. Lifestealer can’t sustain against pure damage at the same rate he sustains against physical, because his Feast doesn’t scale his magic resistance and pure damage ignores both.
Timing window: the entire lane phase. Timbersaw’s advantage in this matchup doesn’t have a sharp expiry the way some counters do. Even at level 6, Lifestealer’s Infest into Rage combo can’t nullify pure damage from Chakram. The matchup stays in Timbersaw’s favor until Lifestealer gets Sange and Yasha plus Heart of Tarrasque (typically around 35 to 45 minutes), at which point the HP pool is large enough to absorb the damage exchanges. In the laning phase and through minute 20, Timber wins convincingly.
| Counter Matchup | Core Mechanic | Dominant Window | Counter-Counter Item |
|---|---|---|---|
| Viper vs Medusa | Mana drain disables Mana Shield | Levels 1 — 6 | Manta Style (purges Poison) |
| Naga Siren vs PA | Illusions negate evasion, aggro pressure | Levels 4 — 10 | Butterfly (stacks evasion, but expensive) |
| Timber vs Lifestealer | Pure damage bypasses Feast sustain | Entire lane phase | Heart of Tarrasque (HP pool dilution) |
Mid Lane Counters
Mid lane counters operate on different logic than carry counters. The mid lane is won through rune control, level 6 power spikes, and the ability to either dominate the 1v1 or push the tower fast enough to gain map presence. The three matchups below cover the dominant mid counter dynamics in 7.41c.
Dragon Knight vs Storm Spirit
Storm Spirit’s laning phase relies on Ball Lightning (his ultimate) for escapes and position plays, but the core of his early lane dominance is Overload (his passive) — after casting any ability, Storm’s next attack deals bonus magic damage and slows. Dragon Knight’s key counter is Dragon Tail (his stun), which interrupts Storm’s combo timing, and more importantly his Corrosive Breath passive (Dragon Blood level 2 and up) which reduces armor and amplifies physical damage.
The mechanical argument: Storm Spirit has 13 starting armor and high mobility, but his HP pool is thin (580 HP at level 1) and his armor is partially paper — it comes from agility rather than from items in the early game. Dragon Knight’s Dragon Tail stun (1.6 to 2.4 seconds depending on level) completely interrupts the Overload combo and puts Storm in a vulnerable position during the stun window. DK’s base attack damage is also significantly higher than Storm’s (57 to 63 compared to Storm’s 47 to 53 in 7.41c), meaning DK wins physical trades decisively between his stun windows.
The level 6 power spike comparison is particularly decisive: DK’s Elder Dragon Form at level 6 grants bonus armor, HP regen, and a dragon attack that adds poison slow. Storm Spirit’s level 6 gives him Ball Lightning — primarily an escape and positioning tool. In a direct level-6 fight at mid, DK’s total EHP jumps by approximately 600 to 800 points while Storm gains primarily mobility. Storm can outplay this by kiting and never fighting directly, but if DK plays level 6 correctly with a Dragon Tail stun into Elder Dragon attack strings, Storm cannot trade.
Timing window: levels 6 through 10. Before 6, the matchup is competitive — Storm can harass with Vortex and Overload more freely when DK has limited gap-close. After minute 25, Storm’s Ball Lightning mana efficiency improves enough that he can simply avoid DK entirely and split-push. The 6 to 16 minute window is DK’s moment.
Pudge vs Invoker
Pudge as an Invoker counter is often dismissed because Invoker is generally difficult to play against in mid, but the mechanical logic is sound in 7.41c specifically. Invoker’s primary early-game harassment tools are Quas-Wex (Cold Snap and Tornado), which have casting ranges of 900 and 850 respectively. Meat Hook’s cast range is 1,300, which exceeds both of these entirely. A Pudge who positions at his own mid tower cliff (approximately 1,200 units from lane center) can hook Invoker at full range while being outside Invoker’s optimal harassment range.
The deeper mechanical reason is Invoker’s mana dependency. Invoker needs mana to level both his Quas and Wex/Exort orbs, cast multiple spells per engagement, and maintain the ability to refresh (Invoke) quickly in fights. Pudge’s Rot (constant toggled AoE around Pudge) passively damages nearby heroes and is free to use — it doesn’t draw mana from Pudge, making it a pressure tool that Invoker can’t reply to with equal efficiency per mana spent. When a Pudge with Rot active walks into Invoker’s face after a hook, Invoker burns significant mana running the combo to kill or escape, while Pudge just has Rot ticking for free.
Item interaction: Invoker’s counter is Eul’s Scepter of Divinity, which lets him cyclone himself mid-Hook flight (Hook travels during the cyclone, and Invoker lands after Hook has passed — technically a counter). In 7.41c, Eul’s timing is usually 12 to 15 minutes for an efficient Invoker. Before Eul’s arrives, Pudge’s Hook is highly dangerous. After Eul’s, Pudge needs to bait the Eul’s first and then throw Hook during Invoker’s reaction delay after cyclone landing. Advanced but executable.
Venomancer vs Puck
This is a sustain-denial and positioning counter. Puck’s mid-lane dominance comes from Illusory Orb (his signature wave-clearing and poke tool) and Phase Shift (his escape). Venomancer’s Poison Sting passive applies a slow and DoT on every autoattack, and Gale Force pushes Puck out of position by slowing movement speed below the threshold where Illusory Orb’s travel speed (900 units/second) can be aimed precisely.
More fundamentally: Puck’s Illusory Orb at level 1 deals 70 magic damage. Venomancer’s Poison Nova at level 6 (ultimate) deals 30 damage per second for 18 seconds — 540 total damage, pure. Venomancer also has Venomous Gale at level 1 dealing 80 damage per second at range 1200. The point is that Venomancer’s total burst in a level 6 trade significantly exceeds Puck’s at the same level, and Puck’s Phase Shift (2.0 to 3.0 seconds at various talent levels) can delay but not prevent the Poison Nova’s applied DoT from running its full duration. Once Poison Nova is applied, Puck is taking damage regardless of whether he phases — the poison is already on him.
Timing window: levels 6 through 12. Pre-6, Puck can kite Venomancer with Orb and Dream Coil (if leveled). Post-12, Puck gains his level 15 talent (typically +200 health on Blink Dagger timing) and can disengage more reliably. The level 6 to 11 window is where Venomancer’s aggregate damage output versus Puck’s escape is most in Venomancer’s favor.
Offlane Counters
The offlane (position 3) in 7.41c is dominated by heroes who either apply constant lane pressure to deny the enemy safe laner farm, or heroes who can absorb punishment while setting up for teamfight. The three matchups below cover the most reliable offlane counter dynamics in the current patch.
Axe vs Juggernaut
Axe in the offlane counters Juggernaut through two distinct mechanics that interact synergistically. Berserker’s Call (Axe’s AoE taunt) forces all nearby enemies to attack Axe for 2.4 to 3.6 seconds depending on level. During this time, Axe’s Counter Helix (passive) triggers on any attack with a 17% proc rate, dealing 140 to 200 pure AoE damage to all enemies around Axe. Juggernaut’s early lane is built around Blade Fury (makes him spell immune and generates damage around him) and autohit trading.
The collision: Axe walks into Juggernaut’s attack range during Blade Fury’s window intentionally, triggering Counter Helix procs while Blade Fury damage hits Axe (who can afford it due to Berserker’s Call armor) and creeps. Blade Fury deals 55 DPS for 5 seconds (275 damage total) — significant early, but Axe with Vanguard (a standard 8 to 10 minute rush item in 7.41c) has enough HP to absorb this while Counter Helix procs deal pure damage that Blade Fury cannot block. Juggernaut’s Omnislash at level 6 is a potential kill tool on Axe, but only if Axe’s HP is already low — Berserker’s Call interrupts Omnislash because it force-moves Juggernaut’s attack target to Axe, which technically cancels the jump sequence if Axe taunts mid-Omnislash.
Timing window: levels 4 through 8. Axe wants Berserker’s Call at level 2 (3.0 second taunt) plus Counter Helix at level 2 before fully committing to the harassment pattern. Before level 4, Axe is harassing with simple stat pressure. After level 8, Juggernaut’s Healing Ward gives him enough sustain to weather Counter Helix trades — the window narrows but doesn’t close entirely.
Earthshaker vs Bristleback
Bristleback’s entire durability model depends on enemies attacking from behind or the side — Bristleback reduces damage taken from the rear by 24% and the side by 12% (7.41c values). Earthshaker’s Fissure creates a physical impassable terrain barrier, which forces Bristleback out of his optimal positioning angle. A well-placed Fissure behind Bristleback cuts off his retreat route and forces him to turn to face Earthshaker, eliminating the damage reduction. Now Bristleback takes full frontal damage, and his durability model collapses — he takes 24% more effective damage than his sustain build accounts for.
Earthshaker’s Aftershock passive stuns on every ability cast. In the offlane, Earthshaker casting Fissure stuns Bristleback for 0.9 seconds, then follows with an Echo Slam cast that stuns again. Bristleback cannot cast Quill Spray efficiently during stun windows, which delays his primary damage output and sustain cycle. Quill Spray builds charge stacks based on damage received — when Bristleback is stunned and not taking hits, he’s also not building stacks, which further degrades his comeback potential in the trade.
Item interaction: Bristleback’s counter-counter is Cloak into Hood of Defiance — both reduce magic damage which is Earthshaker’s primary damage type (Fissure, Echo Slam, and Aftershock are all magical). In 7.41c, Hood arrives around minute 14 to 16 for an efficient Bristleback. Before Hood, the Earthshaker advantage is pronounced. After Hood, the matchup becomes more neutral.
Centaur vs Anti-Mage
Anti-Mage’s lane survivability depends on Blink (his dodge-and-reposition spell), his passive Mana Void (which punishes mana-heavy heroes), and his Counterspell passive (20% magic resistance plus active Magic Reflect in 7.41c). Centaur’s Hoof Stomp is a ground-target AoE stun — it doesn’t require Anti-Mage to be in front of Centaur or at a specific facing angle, and crucially, it can be cast immediately after Blink if Centaur is close enough when AM blinks away. This is the “post-blink stun” timing that makes Centaur one of the most dangerous offlane pressures against AM.
More importantly: Anti-Mage’s Mana Burn silences and burns mana. Centaur has the second-lowest base intelligence in the game (15 starting intelligence, gaining only 1.4 per level), which means his mana pool is tiny. Mana Burn against Centaur deals almost no meaningful damage because there is almost no mana to burn — the spell’s damage scales with mana burned (0.8 times mana burned). Centaur loses perhaps 40 mana and takes 32 damage. For AM, this means his single most reliable harassment tool against most opponents is nearly inert against Centaur.
Timing window: levels 1 through 6. The laning phase is where Centaur’s physical stat advantage and AM’s mana-burn inefficiency combine to make life miserable for Anti-Mage. After level 6, AM’s Blink cooldown at level 1 is 6 seconds — he can disengage every 6 seconds, which makes Centaur chasing dangerous. The level 1 to 6 window, before AM has Blink at high levels and before his farming tempo is established, is when Centaur can do the most damage.
Support Counters
Support counters in Dota 2 operate differently than carry and mid counters — they’re often about denying the opposing support’s ability to enable their carry, rather than winning a pure 1v1 matchup. The three matchups below cover the most impactful support counter dynamics in 7.41c.
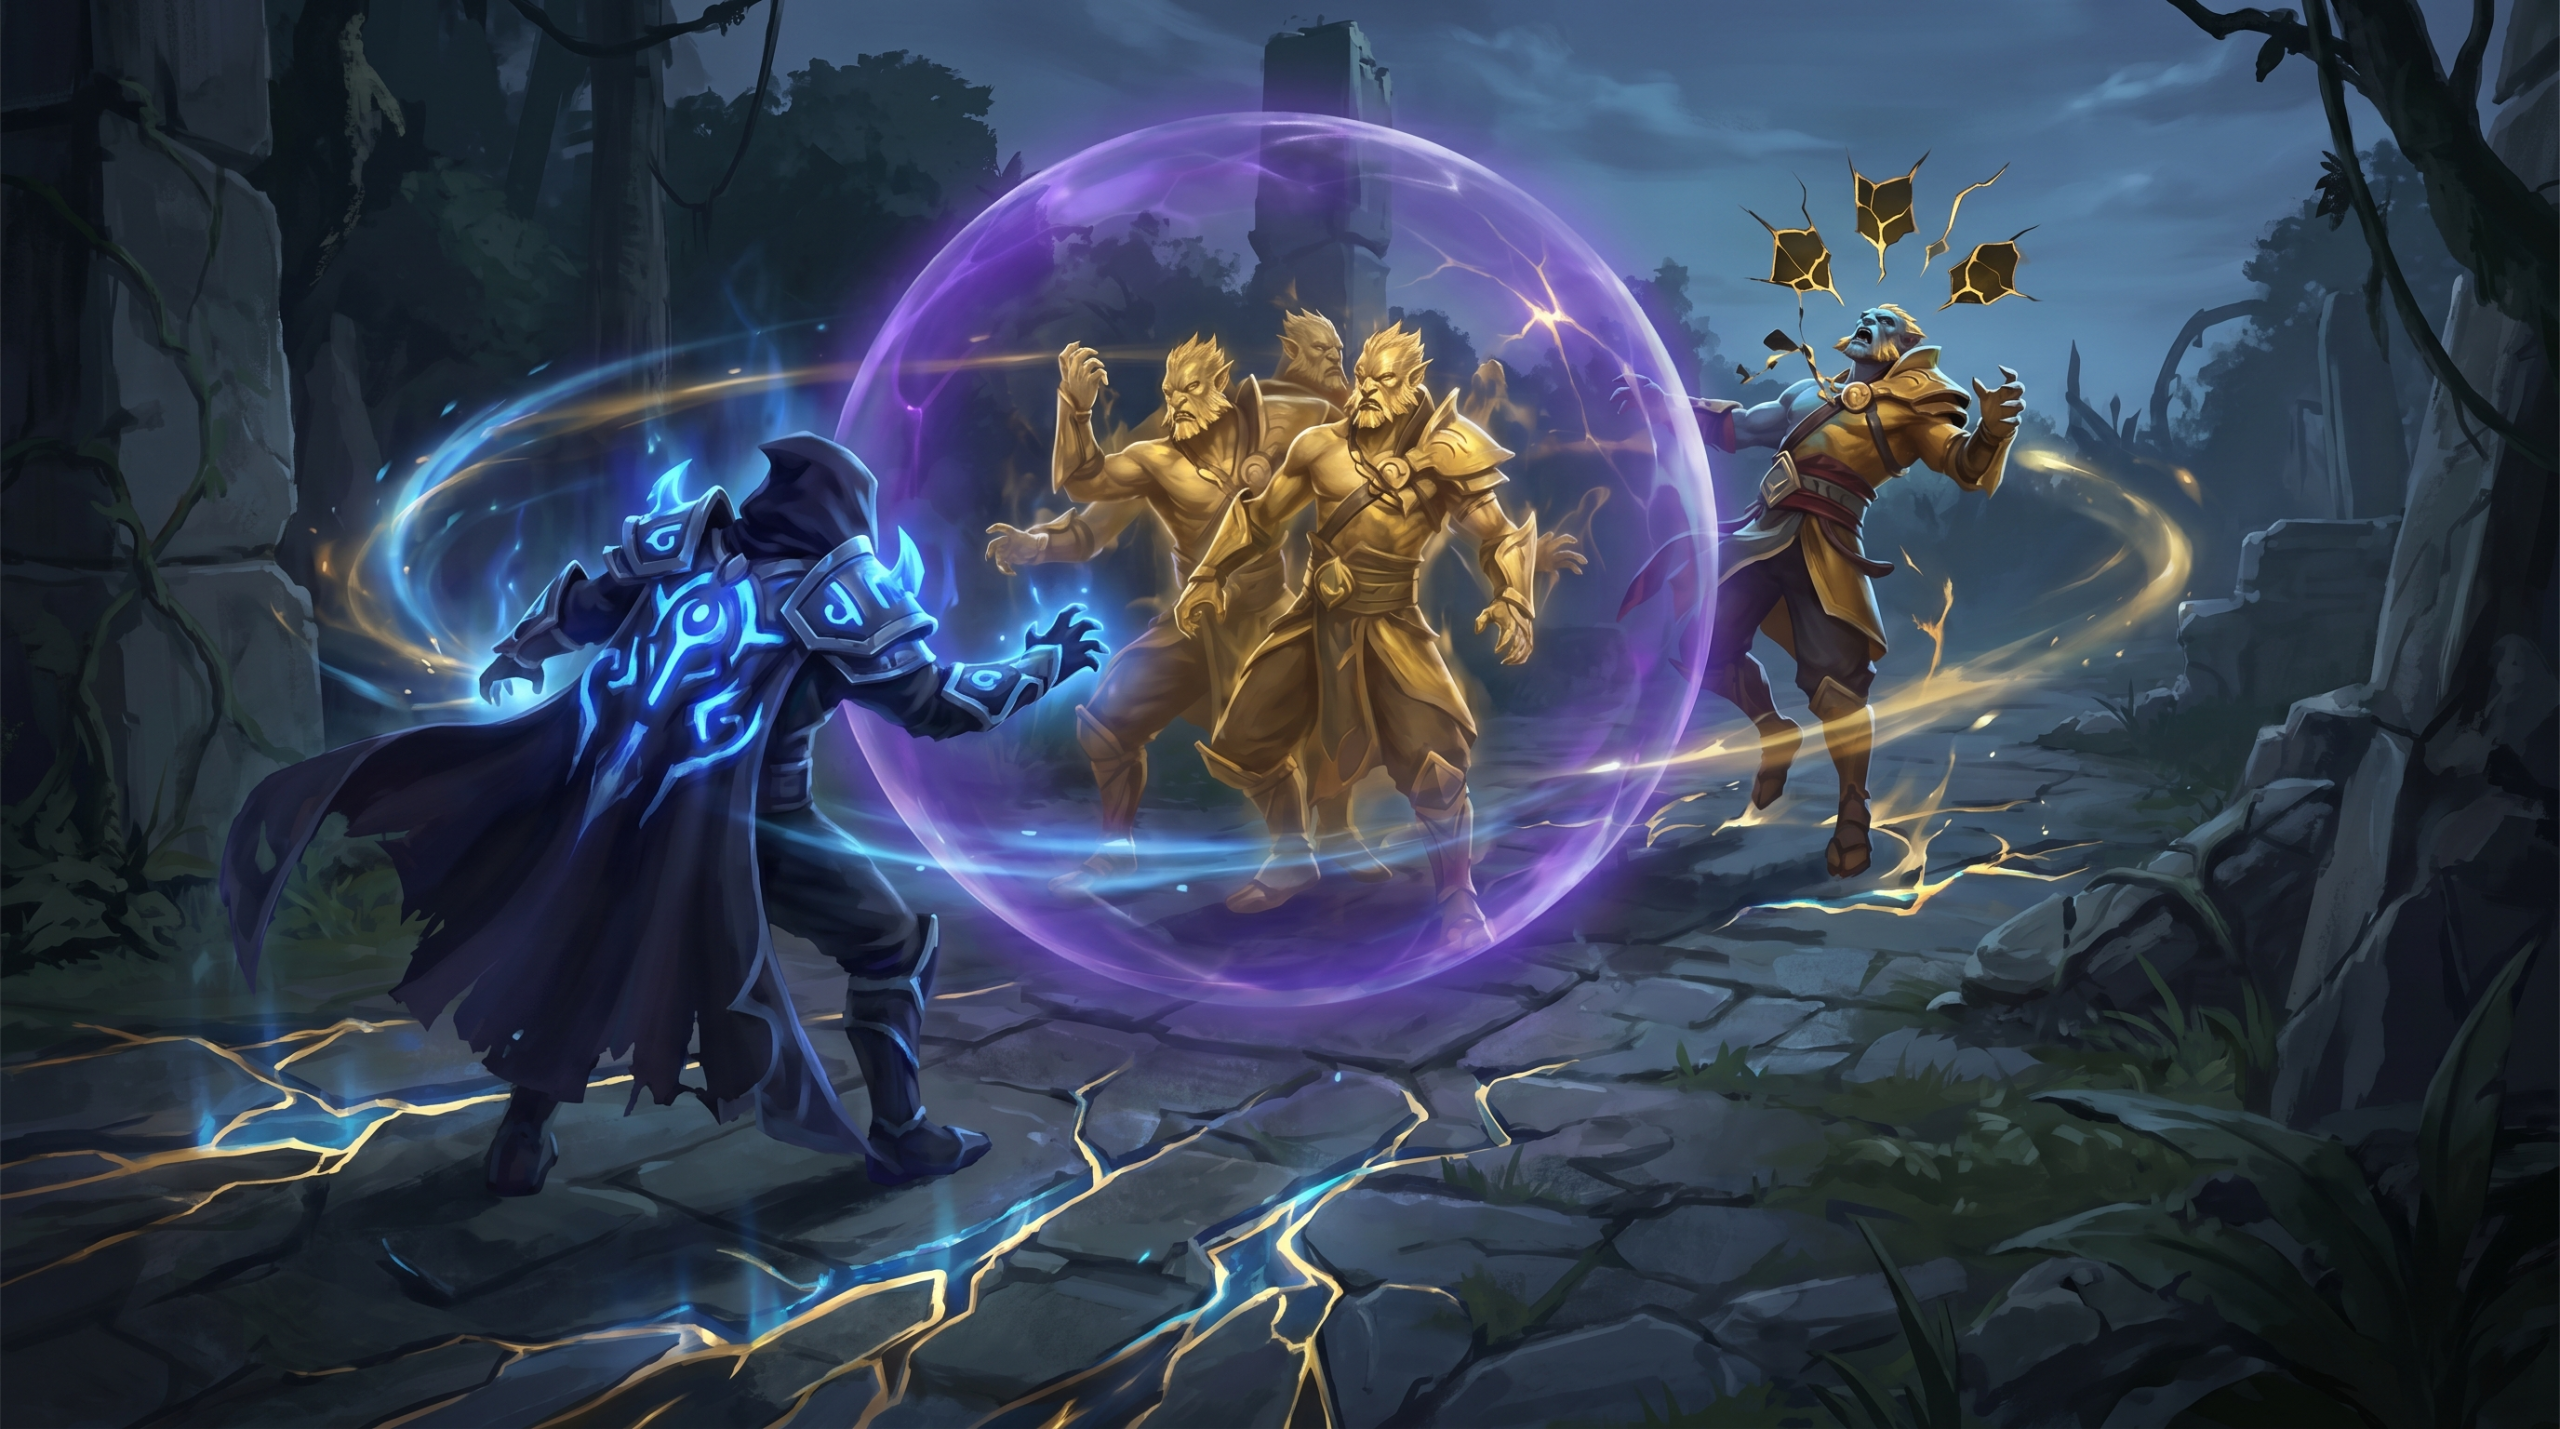
Bane vs Arc Warden
Arc Warden’s laning phase strength is Tempest Double (his ultimate) and Spark Wraith, both of which create dangerous zoning tools in the safe lane. Bane’s Brain Sap (targeted lifesteal/mana drain) is particularly effective against Arc Warden because of Arc’s very high mana cost profile. Spark Wraith costs 90 mana at level 1 and Flux (his slow) costs 100 mana — Arc Warden burns through mana faster than almost any hero in the early game. Brain Sap at level 1 drains 100 mana from the target and gives Bane 50 HP and 50 mana back. Each Brain Sap on Arc Warden effectively disables 1 to 2 full Spark Wrath casts.
The deeper mechanical issue: Bane’s Nightmare (target sleep) affects Arc Warden’s Tempest Double as a separate unit. In 7.41c, Nightmare applied to the Tempest Double disables it for the full 6 to 8 second duration (the Double cannot be controlled during Nightmare). This eliminates the primary offensive tool Arc Warden uses to trade or escape, because the Double’s zapping attacks and Spark Wrath placement are disabled simultaneously. A Bane who hits the Double with Nightmare every time it’s spawned essentially halves Arc Warden’s lane output.
Lion vs Templar Assassin
Templar Assassin’s Refraction buff (5 instances of damage absorption at level 3, each absorbing approximately 115 damage in 7.41c) is her primary defensive mechanic. It regenerates every 17 seconds at level 4. Lion’s Mana Drain (channeled mana drain) combined with Earth Spike is specifically dangerous because Mana Drain strips mana at 200 mana per second (level 3). TA has 507 mana at level 5. Lion can drain TA’s mana pool in 2.5 seconds of channeled drain, preventing her from regenerating Refraction (Refraction costs 140 mana at level 4), casting Psi Blades for lane pressure (70 mana), or initiating with Blink Strike (100 mana).
The compounding effect: once Refraction is down and mana is low, TA is a fragile hero with 3.8 armor and 580 HP at level 5. Earth Spike into Hex into autoattacks is a full kill combo at this level. Lion’s Hex (5 second disable at level 4, with the item Aghanim’s upgraded Hex at 6 seconds) is long enough for Lion plus a carry partner to output the full kill damage while TA can’t Blink Strike to reposition.
Pugna vs Warlock
Warlock is one of the game’s best teamfight supports because Chaotic Offering (his ultimate) summons an immortal Golem with 9 second stun AoE. Pugna’s Decrepify is the most direct counter to this: Decrepify makes a unit ethereal, which means it deals 0 physical damage. Applying Decrepify to Warlock’s Golem causes the Golem to deal 0 physical damage from its attacks while the Decrepify buff is active. The Golem’s only other damage source is its Permanent Immolation (35 DPS magic AoE), which is unaffected, but the primary threat from the Golem is its 50 to 90 base attack damage plus its stun on spawn — neutralizing the physical component cuts the Golem’s damage by 60 to 70 percent.
In the laning phase, Pugna’s Nether Blast (level 2, 120 magic damage to units in target area) is efficient against Warlock specifically because Warlock’s base HP is low (530 at level 1) and his Fatal Bonds (his primary lane harass) requires both heroes to take damage — meaning Warlock stays near the action when he uses it, giving Pugna clean Nether Blast targets. Pugna’s Life Drain at level 6 drains an ally’s HP to heal Pugna — but the more common use is draining enemy HP, and against a Warlock who relies on staying alive to channel Shadow Word or Fatal Bonds, a channeled Life Drain forces Warlock either to disengage or die.
| Counter Matchup | Core Mechanic | Dominant Window | Key Execution Tip |
|---|---|---|---|
| Bane vs Arc Warden | Brain Sap drains combo mana; Nightmare disables Double | Levels 1 — 8 | Always Nightmare the Double, not the real AW |
| Lion vs Templar Assassin | Mana Drain kills Refraction regen cycle | Levels 4 — 10 | Drain first, Spike second to hold TA in place |
| Pugna vs Warlock | Decrepify nullifies Golem physical damage | Teamfight phase (16+) | Save Decrepify for the Golem summon, not laning |
| Axe vs Juggernaut | Counter Helix pure damage through Blade Fury | Levels 4 — 8 | Walk into Blade Fury on purpose — it procs Helix |
| Earthshaker vs Bristleback | Fissure forces frontal positioning, removes DR | Levels 5 — 12 | Place Fissure behind BB, not in front |
| Viper vs Medusa | Poison Attack drains Mana Shield efficiency | Levels 1 — 6 | Autocast Poison Attack every wave, no exceptions |
Key Item Interactions That Shift the Matchups
None of these counter matchups are permanent. Every one of them has an item or talent that narrows or reverses the advantage. Here are the most important item thresholds to track.
Manta Style Purge Timing (affects Viper vs Medusa, Timber vs Lifestealer)
Manta Style at 4,600 gold purges most debuffs including Viper’s Poison Attack stack. Medusa’s Manta timing in 7.41c is usually 20 to 24 minutes depending on how much lane denial she took. Viper’s advantage window closes the moment Manta is purchased. Viper needs to translate the lane advantage into a tower kill and early midgame pressure before minute 20 — not just dominate the lane and then back off.
Eul’s Scepter Cyclone Timing (affects Pudge vs Invoker)
Eul’s at 2,725 gold arrives for Invoker at 12 to 15 minutes. Once Invoker has Eul’s, he can self-cyclone during Hook flight to dodge it. Pudge needs to secure kills or significant roaming advantages before Eul’s timing, or he needs to develop the advanced technique of baiting the Eul’s first and then throwing Hook during the post-cyclone vulnerable window (approximately 0.8 seconds after Invoker lands).
BKB Timing (affects multiple matchups)
Black King Bar breaks almost every disable-based counter relationship. Juggerntaut’s BKB (typically minute 18 to 22 for a farming Juggernaut) gives him immunity to Berserker’s Call’s forced attack, turning the Axe vs Juggernaut matchup neutral. TA’s BKB (minute 20 to 25) blocks Lion’s Hex and Earth Spike. Dragon Knight’s BKB makes him immune to Storm’s static remnant and Vortex — though DK already has Elder Dragon Form’s armor to tank through it. Plan around BKB timing in every matchup by achieving a decisive advantage before minute 20.
If you’re trying to understand these timing windows well enough to consistently exploit them in your rank, working with a knowledgeable coach via Team Smurf’s coaching service is the most efficient way to internalize them at your specific bracket level.
How to Draft These Counters in Pub Games
Knowing a counter exists is different from being able to draft it in a pub game where ban/pick order is partially out of your control. Here are practical guidelines for each role.
Drafting Carry Counters
Safe lane counters are most reliably drafted in the last-pick carry slot (picks 4 and 5 in Captains Mode, or the last pick in All Pick). Wait to see what carry the enemy is taking, then select your counter. Viper and Naga Siren are both high-priority enough that opponents sometimes try to ban them, so be prepared with a backup counter list. In All Pick, the pick order is simultaneous after the ban phase — watch for the enemy carry pick confirmation and react immediately.
Drafting Mid Counters
Mid counters require flexibility. DK as an Invoker counter is only effective if your player is comfortable with DK’s level 6 timing and can execute the Dragon Tail into Elder Dragon Form combo. Pudge as an Invoker counter requires Hook accuracy that not every player has at every bracket. For players below Archon, Viper mid is a simpler implementation of the same “punish Invoker’s mana dependency” concept without requiring Hook accuracy. Use mechanically simpler implementations of counter principles at lower brackets.
Drafting Offlane Counters
Offlane counters are best drafted when you know the enemy safe laner in advance. If you’re picking 3rd or 4th overall and the enemy carry is locked in, this is your moment. Axe, Earthshaker, and Centaur are all strong independently — they don’t become weak if the counter opportunity doesn’t materialize perfectly. Drafting them as your offlane is low risk with high upside when the matchup lands.
Using Booster Knowledge
If your goal is to actually climb MMR rather than just learn the theory, professional boosters from Team Smurf apply exactly this kind of counter-draft knowledge in every game they play on your account. Watching their replays after a completed boost session is a highly efficient way to see these principles applied at a level above your bracket in real match conditions. It’s a passive form of coaching that most customers underutilize. For active learning, Team Smurf’s coaching service can walk through specific matchup exploitation techniques with you directly.
Ready to Skip the Grind?
Team Smurf’s Immortal boosters handle your MMR using exactly this level of patch knowledge and counter-drafting precision in every session.
Get Your Boost Now Talk to Our Team


