

Mana Management by Role: Never Miss the Kill Spell

You have the perfect kill window. Your cursor is already moving. You press the spell and nothing happens — blue bar bone dry. The enemy walks away. The game shifts. That one missed cast cost you the fight, the tower, possibly the match.
Dota 2 mana management is one of the most overlooked fundamentals at every bracket below Divine. It is not about memorizing numbers. It is about knowing exactly how much mana your role needs, when it needs it, and which items and habits keep that bar full at the moments that count. This guide breaks it down by position so you get practical rules you can apply in your very next game.
Table of Contents
- Mana Fundamentals: Pool, Regen, and Intelligence
- Carry Mana Management (Position 1)
- Mid Mana Management (Position 2)
- Offlane Mana Management (Position 3)
- Support Mana Management (Positions 4 and 5)
- The Treads Switch: Free Mana Every Cast
- Mana Items by Role: Full Comparison
- Bottle and Rune Management
- Spell Order and Cast Efficiency
- When to Base: Mana Thresholds by Role
- Frequently Asked Questions
Mana Fundamentals: Pool, Regen, and Intelligence
Every hero in Dota 2 has three mana-related stats that govern how freely they can cast: their base mana pool, their mana regeneration rate, and their Intelligence attribute. Understanding how these interact is the foundation for every role-specific decision that follows.
Your mana pool is determined by your Intelligence attribute. Each point of Intelligence increases your mana pool by a set amount. When you buy items that add Intelligence — Null Talisman, Eul’s Scepter, Linken’s Sphere — you are directly expanding your mana pool. The higher your pool, the more casts you can fit before you need to base or consume a regeneration item.
Mana regeneration works as a percentage of your maximum mana pool per second, modified by flat regen bonuses from items. A hero with a small mana pool who builds high mana regen will refill faster in absolute time than a hero with a massive pool and low regen. This is why support heroes with Arcane Boots feel sustainable in lane despite low Intelligence growth — the active restore is a large flat chunk relative to their pool.
Intelligence heroes are obvious beneficiaries: they gain mana pool naturally as they level. But every attribute type needs to think about mana management because the stakes differ wildly by role. A carry who runs out of mana in a teamfight loses one or two casts. A support who runs out of mana in a fight loses the lockdown that the whole combo depends on. A mid who has no mana for a smoke gank arrives as a passenger.
| Role | Primary mana concern | Consequence of going dry | Primary solution |
|---|---|---|---|
| Carry (Pos 1) | Having mana for one full spell combo in fights | Physical-only fighter — misses kill spell on low HP target | Treads switch, late-game int items |
| Mid (Pos 2) | Sustaining through repeated spell casts in lane and ganks | Falls behind on wave control, can’t rotate with kill threat | Bottle, Soul Ring, rune control |
| Offlane (Pos 3) | Having combo mana when Blink comes online | Buys Blink but can’t execute the combo from full distance | Soul Ring, Arcane Boots, int items |
| Support 4 (Pos 4) | Sustaining harassment and lockdown across full lane phase | Goes passive, lane becomes free for the enemy carry | Clarities, Aether Lens, Arcane Boots |
| Support 5 (Pos 5) | Always having mana for one save or one disable | Teammate dies in a gank because heal or stun was on empty bar | Clarities, Soul Ring, careful casting |
The lesson from this table: the higher the position number, the more critical it is to keep at least one cast’s worth of mana in reserve at all times. A position 1 carry running dry mid-fight usually still contributes right-clicks. A position 5 running dry at the wrong moment can cost a teammate their life.
Carry Mana Management: How to Never Miss the Kill Spell
Most carries are Agility heroes with low Intelligence growth and modest base mana pools. At level 7, a typical Agility carry might have 450-650 mana before items. That is enough for two or three spells — but their key kill spells often cluster in quick succession, and landing them all on empty bar is the difference between a kill and a feed.
The Laning Phase: Conserve, Don’t Harass with Spells
In the early game, your mana is almost exclusively for two scenarios: escaping danger and securing kills. Do not spend spell mana on routine harassment in the lane. If you use Phantom Lancer’s Doppelganger to dodge an auto-attack, that is mana you may not have when the enemy support tries to kill you at level 6. If you use Juggernaut’s Blade Fury for lane control at level 1, you may not have it when your mid roams for a kill at level 4.
The general carry rule for laning: keep at least 70-80% of your mana pool available at all times unless you are actively executing a kill or defending your life. This sounds conservative, but the cost of a failed kill window — or worse, dying because you had no escape — is far higher than the marginal lane pressure from one spell.
The Treads Switch: Carry’s Signature Mana Tool
If you are playing a carry on Power Treads, the Treads Switch is non-negotiable. Before you use any significant spell or item active, switch your Treads to Intelligence. Your mana pool increases by roughly 150-180 mana. You cast your spell. Switch back to Agility or Strength for fighting. The net result: you spent less of your total mana percentage on that cast, which means you effectively gained mana for free. We cover this in detail in the dedicated section below.
Mid-to-Late Game: Build for the Full Combo
As the game goes long, carries accumulate mana from items naturally. Yasha and Kaya provides Intelligence and mana regen amplification for heroes like Morphling. Eye of Skadi gives 25 Intelligence. Linken’s Sphere gives 16 Intelligence. By 35 minutes a well-farmed carry often has 900-1,400 mana naturally.
The key question to ask yourself when shopping: “Do I have enough mana to use every item active and every spell in my combo in one rotation?” If the answer is no, consider adding a Null Talisman, an Energy Booster component, or prioritizing a high-Intelligence item in your next purchase. The carry who runs dry at 60% mana during a Roshan attempt is a liability.
The best Dota 2 boosting services — including TeamSmurf — track how well a hero executes their spell combo. Boosters who play your account maintain mana discipline that most pubs do not. If you want to understand exactly what correct carry mechanics look like in real time, watching a booster play your carry pool is one of the highest-signal learning tools available.
Mid Mana Management: Sustaining Through the Laning Phase
The mid lane is where Dota 2 mana management is most visible and most impactful. Mid heroes are expected to control the lane against a solo opponent, absorb rune bounties, and then translate that gold and experience lead into map pressure. Every part of that chain is mana-dependent.
Bottle Is Your Bank Account
Bottle is the defining early item for most mid heroes, and the reason is purely mana management. Each charge restores mana and health simultaneously, making it the most gold-efficient early sustain item in the game for the player who controls runes. A Bottle with a Power Rune stored inside restores dramatically more — and some runes like Bounty and Regeneration have value of their own. The mid that controls the 0:00 and 2:00 runes and banks them in their Bottle has a significant mana advantage over a mid who ignores rune control.
Rune rotation priority from a mana perspective:
- Regeneration Rune: Fills both HP and mana completely. Always bank it if you are not full.
- Double Damage: Store it for the next gank or fight window. Mostly a DPS rune, but saving it prevents you from needing mana immediately since you win the fight faster.
- Haste: Situational — useful for ganks but does not restore mana. Grab it if you are healthy and ready to rotate.
- Arcane Rune: Reduces spell mana costs by 40% for 50 seconds. One of the strongest mana runes in the game. Prioritize banking this when your Bottle is near empty — it stretches your remaining mana dramatically.
- Illusion: Primarily a damage tool. Low mana impact directly, but applies to heroes who use illusion mechanics.
Soul Ring on Burst Mids
For intelligence-hungry burst mids — Storm Spirit, Shadow Fiend, Lina — Soul Ring is an underrated pickup in the current meta. It converts a chunk of your HP into instant mana, letting you cast more aggressively in lane without burning Clarity potions or wasting charges on partial regeneration. The HP cost is manageable when you are healthy from rune regeneration. The mana gain is immediate and lets you execute your combo faster than any regen-based solution.
The counter-argument: heroes who are frequently dived (Shadow Fiend, for example, without a reliable escape) should be more careful about sacrificing HP for mana in lane. Know your hero’s safety margin before rushing Soul Ring.
The Clarity in Your Starting Items
Even on heroes with Bottle planned as the first item, carrying 1-2 Clarity potions in the first 5 minutes is good mana management. Before your Bottle arrives, a single Clarity at 25% mana pool can let you cast 2-3 more spells in the lane matchup. That is often enough to create a kill window or deny a creep wave that sets your opponent behind. Clarity potions are the cheapest mana item in the game relative to their impact in the first 5 minutes.
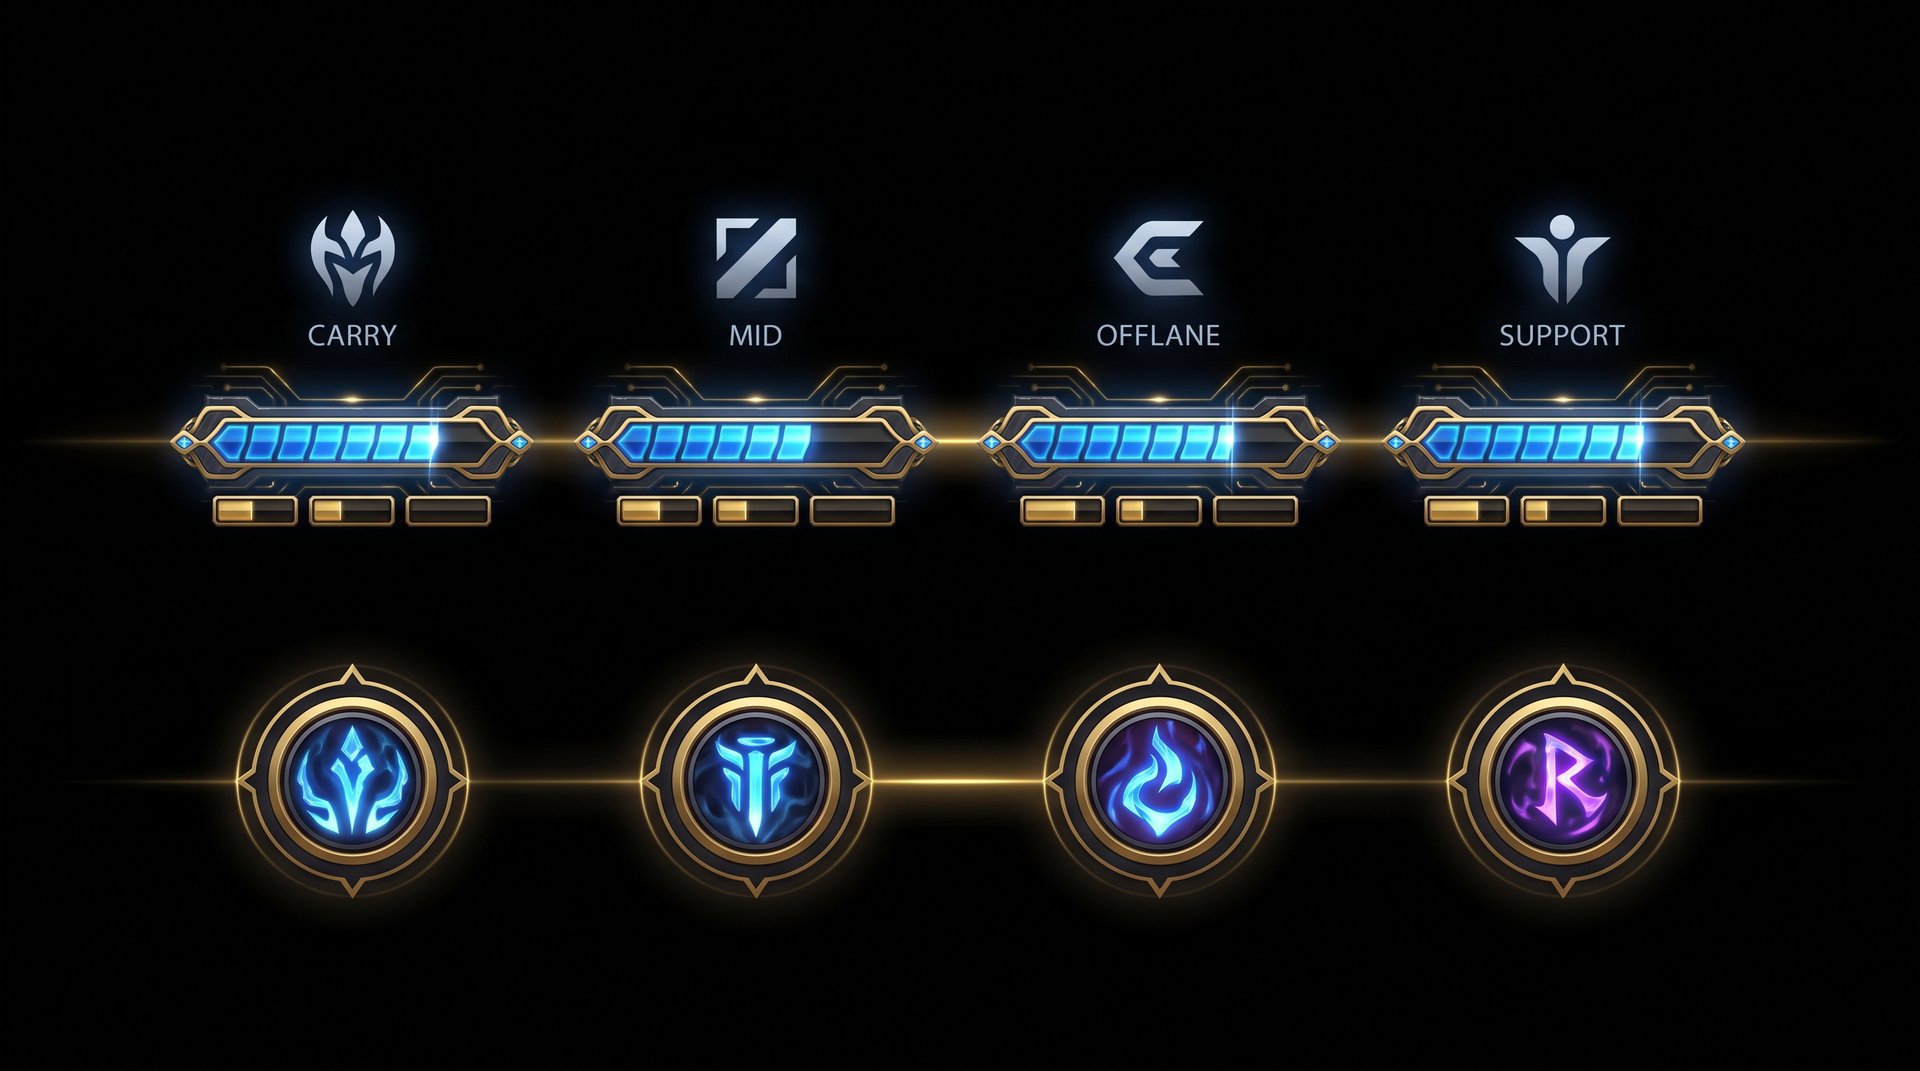
Offlane Mana Management: Playing Aggressive Without Going Empty
The offlane is a brutal mana environment. You are solo (or at least playing as the primary initiator), your hero usually has a high-mana-cost initiation spell like Blink Dagger or a displacement, and you are expected to make things happen repeatedly across a 40-minute game. Mismanaging mana here leads to a carry who farms freely because the threat of initiation disappears the moment you are dry.
Know Your Combo Mana Cost Before Every Engagement
The most important offlane mana habit: memorize the total mana cost of your full initiation combo before you reach level 6. If you play Axe, that is Blink + Battle Hunger + Berserker’s Call + Culling Blade (situationally). Add those costs up. Now you know the minimum mana bar you need before you can threaten anything meaningful. Walking at enemies with 300 mana when your combo costs 400 is a guaranteed waste of Blink Dagger cooldown.
Many offlane players make the mistake of buying Blink Dagger and immediately trying to use it, only to discover they have enough for the Blink but not for the follow-up stun or slow. The enemy repositions and the initiation is wasted. Always check your mana threshold before committing.
Soul Ring Is Your Best Friend
Soul Ring is the premier mana solution for strength and agility offlaners who have high base HP. It converts HP to mana on a 25-second cooldown, and when you combine it with high natural HP regeneration from Strength attributes and items like Vanguard, the HP cost becomes nearly negligible. Heroes like Axe, Centaur Warrunner, Dragon Knight, and Underlord can sustain aggressive Soul Ring usage because they regenerate the HP before the next fight window.
The rule: use Soul Ring after you have confirmed you are not about to take significant damage. Do not use it while you are being chased or right before a teamfight where you will lose the HP before your base regen restores it.
Arcane Boots vs Tranquil Boots for Offlaners
This is a common item decision point. Arcane Boots give the larger mana pool and the 160-mana AoE active, which is excellent for spell-heavy offlaners and for supporting teammates in teamfights. Tranquil Boots give HP regeneration, which extends your lane presence and pairs better with Soul Ring.
The decision comes down to your hero’s natural mana pool and spell reliance:
- Arcane Boots: Brewmaster, Clockwerk, Enigma, Sand King — heroes whose combo is entirely spell-based and who need to cast repeatedly in teamfights.
- Tranquil Boots: Axe, Centaur Warrunner, Underlord — heroes who can rely on Soul Ring for mana and prefer the HP sustain from Tranquil to stay in lane longer.
Veil of Discord and Eul’s Scepter: Dual-Purpose Solutions
Veil of Discord is the most mana-efficient int item for early offlaners because it also amplifies magic damage dealt to enemies — so you are buying mana AND improving your combo’s damage in a single item slot. Eul’s Scepter gives a large flat Intelligence boost, mana regen, and a strong active that displaces an enemy for 2.5 seconds, creating a setup for your stun. Both items solve mana problems while also adding combat utility.
If you find yourself repeatedly out of mana after your initiation, one of these two items should be your next purchase before you consider further damage items.
Support Mana Management: Making Every Clarity Count
Support mana management is the highest-pressure version of this skill in Dota 2. You have limited gold, limited item slots, low base Intelligence in many cases, and your team depends on you to have a save or a lockdown available at any moment. The cost of running empty is not a missed kill — it is a dead teammate or a lost Aegis.
Starting Items: Prioritize Clarity Potions
Every support should start with at least two Clarity potions unless they are playing a hero with exceptional early mana sustainability (Crystal Maiden passive, for example). Clarity potions are the most gold-efficient mana tool in the game for early levels. At 50 gold each, two Clarities give you room to cast 4-6 additional spells in the first 10 minutes that you simply could not afford otherwise.
Position 5 supports should lean toward 3 Clarities in some matchups — especially if they are playing a high-mana-cost hero like Witch Doctor or Warlock who casts repeatedly in the laning phase. Position 4 supports, who typically receive a bit more farm, can often afford a Soul Ring earlier and rely on fewer Clarities.
Arcane Boots: The First Item, Almost Always
Arcane Boots should be the first completed item for most supports. The combination of expanded mana pool and the AoE active gives you and your carry lane partner a mana safety net that accelerates both your timings. A carry who keeps their mana full from your Arcane Boots active can cast more freely, creating more kill threat. A support who has the mana pool bonus can sustain more spell casts before hitting empty.
The exception: position 5 supports who are playing pure ward-and-observe roles in low-kill matchups sometimes skip Arcane Boots in favor of Medallion, Glimmer Cape, or Force Staff, because the active utility of those items outweighs the mana benefit of Arcane. In those cases, Clarities become your primary mana tool through the mid game.
Managing Clarities: When to Use, When to Save
Clarity potions are canceled by taking damage from enemy heroes. This is important: do not use a Clarity while you are being harassed, near the edge of a cliff where you might get spotted and targeted, or during a fight. Use them during quiet periods when you can safely stand still for the 30-second regen duration.
A common mistake: using Clarity the moment your mana hits 50%, then having it canceled by a harass auto-attack from the enemy carry. Now the Clarity is gone and you have wasted 50 gold. The correct habit is to use Clarity when you are safe, near full health, and expect at least 10-15 seconds of calm — not reactively when your bar hits a panic threshold.
Good Dota 2 mana management at the support role is one of the clearest signals separating players who grind their way up through Ancient and those who stay stuck at Crusader. If you want to see what optimized support play looks like in your bracket, check the MMR boosting guide for how boosters approach support mechanics when playing to maximize win rate rather than just farm efficiency.

The Treads Switch: Free Mana Every Cast
The Treads Switch is one of the highest-value micro habits in all of Dota 2, and it is relevant to every role that runs Power Treads. Here is how it works and why it matters.
Power Treads grant bonus stats to a single attribute — Agility, Strength, or Intelligence — and you can switch between them freely at any time. When you switch to Intelligence before casting a spell, your Intelligence temporarily increases by roughly 10 points compared to Agility or Strength mode. Each point of Intelligence increases your mana pool. A larger mana pool means the same spell costs a smaller percentage of your total mana.
The practical flow:
- Switch Treads from Agility (or Strength) to Intelligence.
- Cast your spell. Your mana pool is now larger, so the cast costs less of your percentage.
- Switch back to Agility (or Strength) for fighting.
- Net result: you effectively spent less mana than if you had cast with non-intelligence Treads equipped.
| Treads mode | Approx. mana pool bonus | Best for |
|---|---|---|
| Agility (main mode for AGI carries) | Baseline | Auto-attacking, sustained fighting |
| Intelligence | +150 to +180 mana pool vs AGI | Casting spells and item actives |
| Strength | 0 mana gain, +HP buffer | Tanking a big hit or initiation |
The mana saved per Treads Switch cycle is typically 60-90 mana depending on your hero’s Intelligence stat and items. That sounds small, but over a 40-minute game where you might switch 30-40 times, you are effectively getting 2,000-3,600 extra mana out of a single item at no gold cost. This is why Immortal-bracket players switch Treads every single cast as a trained reflex.
Heroes who benefit most from the Treads Switch: Phantom Assassin, Ursa, Gyrocopter, Bloodseeker, Terrorblade — any Agility carry whose spells are central to their kill combo but who has a modest base mana pool. For heroes with naturally high Intelligence (Storm Spirit, Invoker), the marginal gain is smaller, but the habit is still worth building.
Mana Items by Role: Full Comparison
Knowing which mana item fits your role prevents you from buying solutions that are inefficient for your position. Here is a role-sorted breakdown of the most impactful mana items and what they are actually for.
| Item | What it gives | Best for | Notes |
|---|---|---|---|
| Clarity Potion | Mana regen over 30s | All roles early, especially supports | Canceled by hero damage; use safely |
| Bottle | Charges that restore mana + HP | Mid, sometimes offlane with rune access | Best when paired with rune control |
| Soul Ring | Converts HP to instant mana | Offlane, burst mid, some supports | Needs HP regen to offset the cost |
| Arcane Boots | +250 mana pool, AoE active restore | Supports, spell-heavy offlaners | Usually upgrades to Aether Lens or Guardian Greaves |
| Null Talisman | +9 int, +2.25 mana regen | Mids and carries needing cheap mana pool | Stack 2-3 early if you need sustained mana before expensive items |
| Eul’s Scepter | +10 int, +2.5 mana regen, active dispel/setup | Mids, offlaners, some supports | One of the best value mana + utility items in the game |
| Kaya / Kaya and Sange / Yasha and Kaya | Int, mana regen amplification, spell amp | Spell-based carries (Morphling, Storm, Lina) | Mana regen amplification stacks multiplicatively with high base regen |
| Bloodstone | +600 mana pool, +2.5 mana regen, active restore | Mana-hungry mids (Storm Spirit, invoker) | High gold cost but turns mana into a non-issue |
| Scythe of Vyse | +35 int, +5 mana regen, Hex active | Supports, control mids | Extremely powerful late-game mana source; pairs with Guardian Greaves |
| Refresher Orb | +6 mana regen, double-cast active | Heroes whose ult defines teamfights (Enigma, TidehunterI) | Massive mana cost for the active; requires very high mana pool to use effectively |
A pattern you will notice: cheaper items solve early mana problems, expensive int items solve late-game mana problems. Do not try to solve a 6-minute mana problem with a Bloodstone you will have at 25 minutes. Solve early problems with Clarity, Soul Ring, and Arcane Boots. Solve late problems with Scythe, Bloodstone, or role-appropriate int carriers.
Bottle and Rune Management: The Hidden Mana Engine
Beyond the mid lane, Bottle is underappreciated on heroes who have map control enough to contest runes. An offlaner who controls the side shop rune areas or who can safely grab the 2:00 rune before the enemy can contest is essentially playing a free Bottle on their hero’s laning phase budget.
For supports, Bottle is typically not worth the gold — rune contesting is too dangerous for a pos 5 who needs wards and Clarities. But a position 4 roamer with high early map presence (Bounty Hunter, Earth Spirit, Io) can effectively share Bottle charges with their carry or themselves to dramatically extend roaming capacity.
Key rune timing habits for mana management:
- 0:00 rune: Mid should always grab this. Everyone else should at least check both sides to see what spawned.
- 2:00 rune: Mid’s primary rune contest. Offlaner or pos 4 should contest the off-side rune if it is safe.
- 4:00+ runes: Power runes spawn every 2 minutes. A mid with Bottle should plan their position around rune timing — not just for the mana, but because the rune type can shift whether you push, gank, or play defensively for the next 2 minutes.
Spell Order and Cast Efficiency by Phase
Spell order is the least discussed but most practical mana management tool available to every role. Casting spells in the wrong order wastes mana on abilities that end up not mattering because the fight resolves before they are needed.
Laning Phase (Levels 1-7): Save the Kill Spell
In early levels, almost every hero has one spell that creates kill threat and one or two spells that create lane pressure. Lead with the lane pressure spell only when you are certain the kill spell is not needed for the next 30 seconds. Level your highest-threat spell first. If you play Earthshaker, Fissure is your kill spell — save enough mana to cast it even after using Enchant Totem for harassment. If you play Crystal Maiden, Frostbite is your kill spell — do not burn your mana on Brilliance Aura-free spam of Crystal Nova unless you confirm the kill window is not available.
Mid Game (Levels 8-15): Combo Efficiency
By mid game, most heroes have their full kit available. The mana question becomes: in which order do you cast your combo? The general rule is to lead with your setup/lockdown (stuns, slows, silences), then follow with damage. This order is also more mana-efficient because a failed lockdown often means the fight is already over — spending damage mana before confirming the lockdown can result in you having burned your full mana pool on a kill that did not happen.
Late Game (Levels 16+): Build for the Second Combo
In the late game, teamfights often go long enough for multiple spell rotations. The mana-rich player can cast twice; the mana-poor player casts once and watches. By 35+ minutes, your itemization should have addressed your mana pool enough that you can cast your full combo at least twice in any fight without hitting empty. If you cannot, something is wrong with your item prioritization or your Treads switch habit.
When to Base: Mana Thresholds by Role
Knowing when to base versus when to stay and regenerate in lane is one of the highest-impact efficiency decisions in Dota 2. Mana is a major input to this decision.
Carry (Position 1): Base when your mana drops below 30% AND you are not near a kill window. If a kill window is imminent — enemy hero is mispositioned, your support is setting up — hold off and execute the kill even at low mana if you have enough for your key spell. The gold from the kill often offsets the lost farm time from basing later.
Mid (Position 2): Base when your Bottle is empty and no rune is available within 30 seconds, OR when your mana drops below 40% and the enemy mid has lane kill threat. Mid heroes who stay in lane at 20% mana are vulnerable to enemy mid rotations where they cannot respond.
Offlane (Position 3): Base when you have used your full combo, your mana is below your combo cost, and no fight is imminent within 60 seconds. Offlaners who stay in lane after using Blink + combo with empty mana are liabilities — they take up space on the map without providing initiation threat, which is their entire value.
Support 4 (Position 4): Base when you are below your key spell’s mana cost AND below 40% HP. The exception: if your carry is in a kill position, you can sometimes sacrifice your HP buffer to provide one more stun. Judge this based on whether the kill pays back the time you lose basing.
Support 5 (Position 5): Never base while your carry is in the lane and has kill threat or is under pressure. Your value in the lane is higher than whatever you recover by basing. Buy a Salve or a Clarity instead and regenerate in a safe position near lane. The 50-100 gold on a regeneration item is almost always a better spend than the 60-90 seconds you lose from a base TP.
Understanding when to base is also central to the MMR boosting decisions that high-skilled players make — boosters running accounts stay in lane longer because they manage their mana resources more efficiently, reducing the number of necessary base trips and compounding their farm lead.
If you struggle to close out games after winning the laning phase, look at how many unnecessary base trips you are taking. Every avoidable base trip is 60-90 seconds of creeps unfarmed, objectives uncontested, and pressure released. Mana management through Clarities, Treads switches, and correct spell order can eliminate most of those trips.
Want to See Perfect Mana Management Live?
TeamSmurf’s Immortal-rank boosters play every role with the exact habits described in this guide — Treads switching, Clarity timing, Arcane Boots usage, combo threshold awareness. Watch your replays after a boost to see what correct mana discipline looks like on your specific heroes.
Get a Dota 2 MMR Boost Book a Coaching Session


