

Best Teamfight Ultimates Ranked (2026)

Teamfight ultimates decide games. Not farm leads, not item timing, not creep score — when five heroes channel their strongest spells in a five-second window, the team with the better ultimates almost always wins. This guide ranks every major teamfight ultimate in Dota 2 in 2026, explains exactly what makes each one strong or situational, and tells you which heroes to queue if climbing through pub teamfights is your goal.
These rankings come from thousands of games analyzed by TeamSmurf’s active boosters and coaches at Immortal rank. They reflect how each ultimate performs in real pub lobbies — not just coordinated pro scenarios. We have separated them into S, A, and B tiers, and included a quick-reference table so you can scan the full list at a glance.
What We Cover
What Makes a Teamfight Ultimate Great?
Not every ultimate with a big animation belongs in a teamfight tier list. The best teamfight ultimates share a specific set of properties that separate them from single-target skills and generic nukes. Here is what our boosters look at when evaluating any ultimate for teamfight value:
- Area coverage — Does the spell hit multiple heroes at once? A 900-radius stun wins fights. A single-target disable does not.
- Duration and persistence — A two-second stun that covers a large area is worth more than a five-second stun that hits one enemy. Duration matters most when it prevents enemy spellcasting during the critical fight window.
- Engagement or disengagement value — Some ultimates initiate fights from a safe position (Black Hole, Reverse Polarity). Others force favorable re-engages (Song of the Siren). Both types reshape the fight outcome.
- BKB interaction — Does the ultimate pierce Black King Bar? An ultimate that can be nullified by one item loses significant value in the mid-to-late game. BKB-piercing ultimates remain effective throughout all stages.
- Self-reliance vs setup dependency — An ultimate that requires no setup (Ravage, Overgrowth) is more reliable in pubs than one that needs perfect positioning from allies (Black Hole, Chronosphere). Both types are strong, but pub reliability differs significantly.
- Impact ceiling — When the ultimate lands perfectly, does it guarantee the fight? S-tier ultimates win fights by themselves under good conditions. Lower tiers contribute but rarely carry the fight alone.
With those criteria in mind, here is the full ranked list.
Full Tier List at a Glance
| Tier | Hero | Ultimate | Key Strength | BKB-Piercing |
|---|---|---|---|---|
| S | Tidehunter | Ravage | Massive AoE stun, instant cast | Yes |
| S | Enigma | Black Hole | Pulls and disables all enemies, combos with Midnight Pulse | No (Aghs pierces) |
| S | Magnus | Reverse Polarity | Pulls and stuns, enables all follow-up | Yes |
| S | Treant Protector | Overgrowth | Global root, huge radius, near-instant cast | No |
| S | Faceless Void | Chronosphere | Stops all units, best single target delete in game | Yes |
| A | Crystal Maiden | Freezing Field | Massive DPS, AoE slow | Yes (Aghs) |
| A | Earthshaker | Echo Slam | Multiplies damage with unit density | No |
| A | Phoenix | Supernova | AoE stun on explosion, heals allies | Yes |
| A | Naga Siren | Song of the Siren | Resets teamfights, forces enemy to wait | No |
| A | Disruptor | Static Storm | Silences and mutes, no BKB counter | Yes |
| A | Dark Seer | Wall of Replica | Creates enemy illusions, chaos in cramped fights | No |
| A | Sand King | Epicenter | Sustained AoE damage and slow | No |
| B | Puck | Dream Coil | Locks enemies in place, punishes BKB cast | Yes |
| B | Pangolier | Rolling Thunder | Mobile stun, hard to dodge | No |
| B | Brewmaster | Primal Split | Multi-unit disruption, thunder clap stun | Varies |
| B | Marci | Unleash | High burst with finale stun | No |
S-Tier Teamfight Ultimates
S-tier ultimates define the meta. Heroes in this group are consistently first-picked or banned in coordinated play because their ultimates are so impactful that they can single-handedly win team fights when used at the right moment. In pubs, these heroes are among the highest-value teamfight picks regardless of bracket.
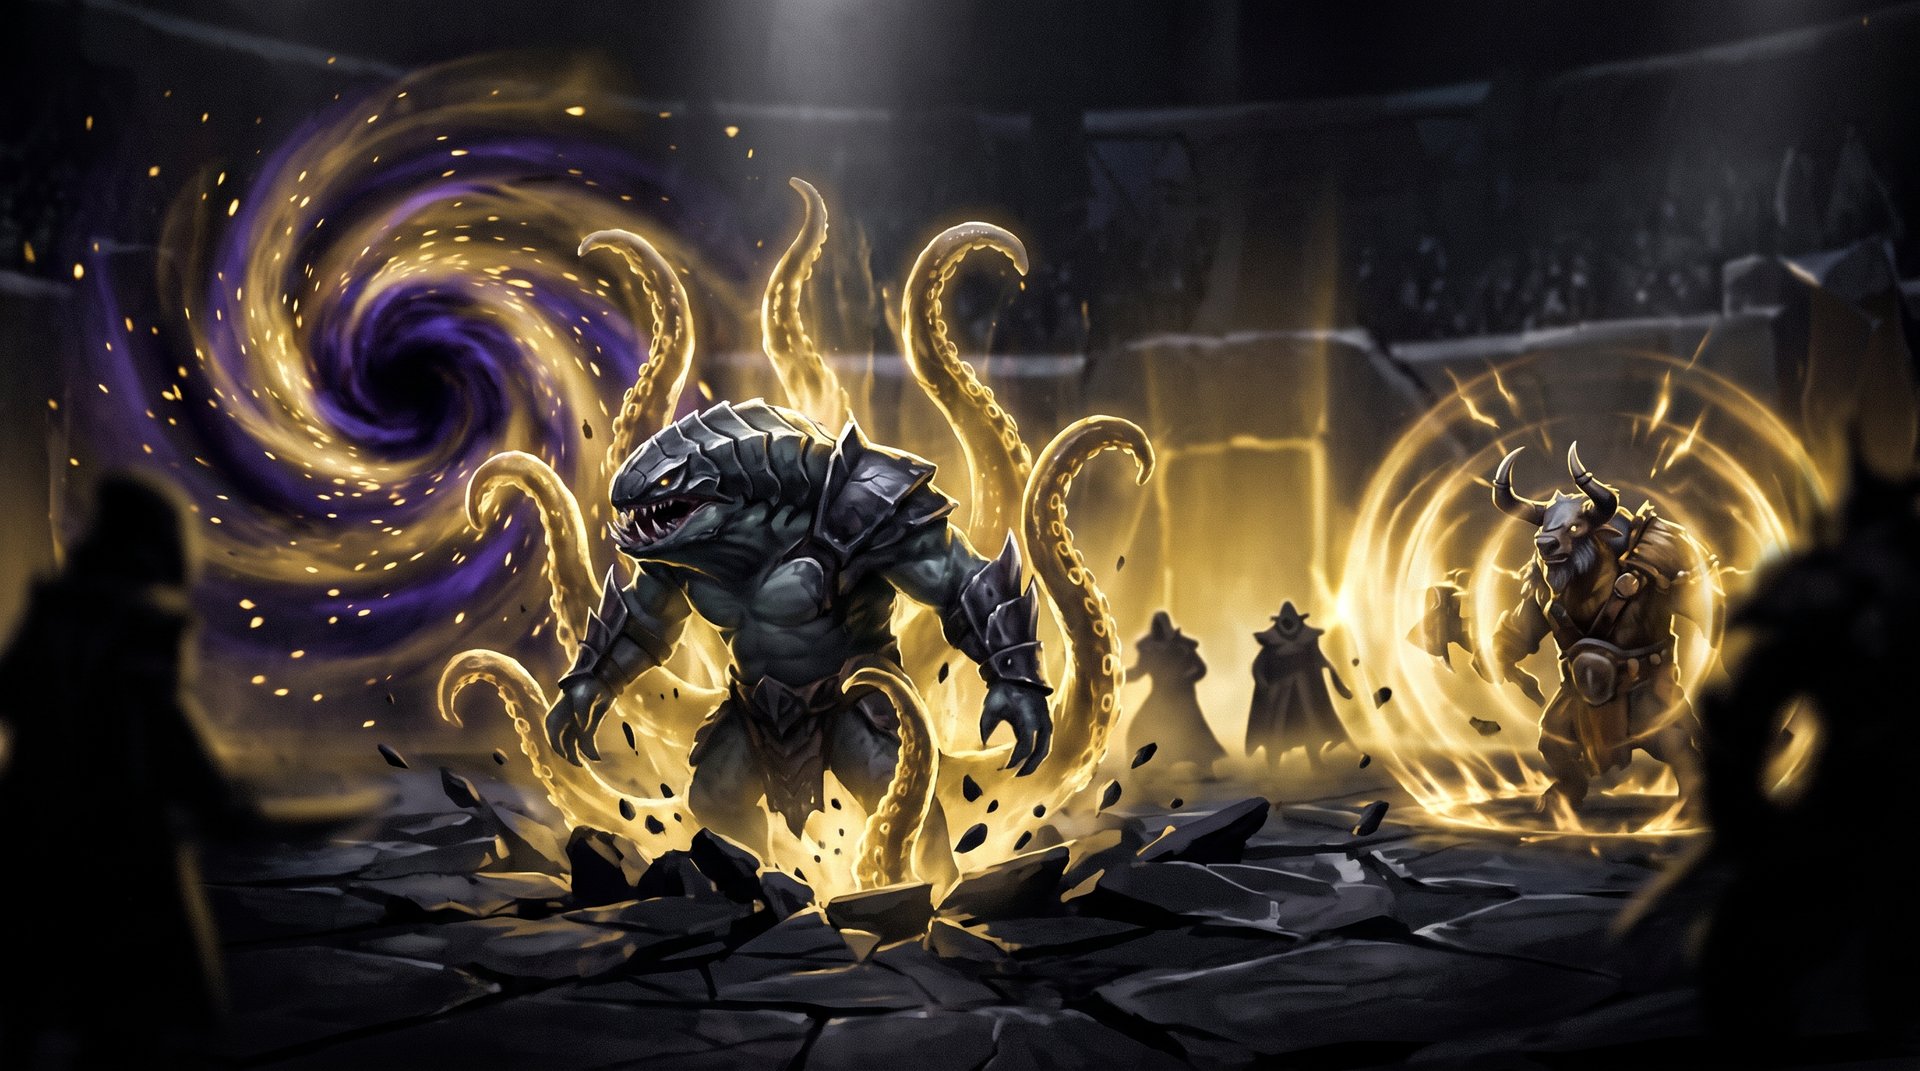
Tidehunter — Ravage
Ravage is the gold standard of teamfight ultimates. It stuns every enemy hero in a massive radius for over two seconds, requires no setup beyond being in range, and pierces Black King Bar. In a pub lobby, where enemies cluster around objectives or stack up during messy fights, Ravage eliminates entire teams in a single button press.
What makes Ravage special beyond raw numbers is its reliability. Tidehunter does not need his team to set anything up. He walks into a fight, presses R, and the enemy team is stunned while your team presses every spell they have. The short cooldown on Ravage compared to most fight-winning ultimates means Tidehunter is relevant in back-to-back teamfights — a rare property among S-tier heroes.
Tidehunter also excels because his laning phase is forgiving. He is tanky, his Kraken Shell blocks burst damage, and he does not need farm to deliver Ravage. A 0/5 Tidehunter still wins teamfights with a perfectly timed ultimate. If you want to climb MMR fast through teamfights, Tidehunter is the single most efficient hero pick for that goal.
Enigma — Black Hole
Black Hole is the highest ceiling teamfight ultimate in Dota 2. When it lands on multiple heroes, combined with Midnight Pulse ticking under them, the damage output is enough to kill supports and delete cores with no further input from Enigma’s team. The pulling effect prevents enemies from walking away, and it lasts long enough for your entire team to dump every spell they own.
The trade-off is pure execution requirement. Black Hole is channeled, meaning any stun, hex, or silence on Enigma cancels it immediately. Enigma needs a Blink Dagger to enter from the trees, a Black King Bar to channel safely, or teammates with lockdown to protect the channel. In coordinated brackets, this is manageable. In pubs below Divine, landing a clean Black Hole is one of the most satisfying — and rarest — experiences in the game.
Enigma rewards investment in mechanics. His jungle clearing with Eidolons is fast, which means he reaches his Blink + BKB timing quickly even without farm from the lane. If you enjoy planning high-impact moments and are willing to practice timing, Enigma delivers the highest teamfight payoff of any hero in the game.
Magnus — Reverse Polarity
Reverse Polarity does two things simultaneously that no other ultimate matches: it pulls all nearby enemies into a cluster, then stuns them for three seconds. This combo breaks the fundamental problem of teamfight ultimates — the setup requirement — by creating its own setup. Magnus pulls enemies together and stuns them, which means Enigma’s Black Hole, Crystal Maiden’s Freezing Field, and Earthshaker’s Echo Slam all hit the entire enemy team without any prior arrangement from allies.
Reverse Polarity also pierces Black King Bar on the pull component, which means BKB users get dragged in before they can respond. This is one of the few BKB-countering mechanics that costs the enemy an item slot without giving them a reliable escape.
Magnus is typically played in the offlane or as a position 4, which means his teamfight value comes with minimal farm dependency. A Magnus who reaches Blink Dagger before the 20-minute mark is an immediate fight threat. If you want reliable teamfight impact without requiring a core farm role, Magnus is the most slot-efficient choice in the game.
Treant Protector — Overgrowth
Overgrowth roots every enemy within a huge radius for multiple seconds. Unlike most AoE ultimates, it does not require precise positioning — it just needs enemies to be anywhere near Treant when he casts it. The root does not stun, so enemies can still cast spells, but they cannot move or use most mobility items to escape. For physical damage carries who need targets to stand still, Overgrowth is the best setup ultimate in the game.
What earns Overgrowth an S-tier placement is its global Aghanim’s Scepter upgrade, which lets Treant cast it from anywhere on the map. In practice, this means Treant can respond to any fight that starts anywhere, rooting the entire enemy team while your team engages. The global version changes how games are structured — enemies must always track Treant’s position even while he is farming the jungle on the opposite side of the map.
Treant is typically played as a position 5 support, making his contribution completely free in terms of gold and experience allocation. He is also one of the hardest heroes to kill in teamfights because of his massive HP pool and passive healing. If you want an S-tier teamfight ultimate at minimum cost to your draft, Treant Protector is the most efficient delivery mechanism.
Faceless Void — Chronosphere
Chronosphere stops time for all units inside its area, including allies. Everything in the sphere — heroes, creeps, projectiles — freezes in place while only Faceless Void himself can act freely. In a four-second window, a well-farmed Void can delete one or two heroes completely using Time Walk damage resets and his own right-click attacks.
Chronosphere sits in S-tier for solo carry potential rather than raw teamfight contribution. A good Void is a fight-ending threat by himself. The limitation is the ally-freeze: a Chronosphere placed over allies who are still alive traps them too, which can turn a winning fight into a loss. This ally-interaction element separates Void from the other S-tier ultimates in terms of draft and execution difficulty.
In pub lobbies, Void is best suited for players who want to dominate as a carry with a teamfight ultimate. He scales very well into late game, and his Chronosphere becomes more devastating as his attack speed and damage items compound. If you are comfortable managing the ally-freeze risk and prefer the carry role, Void offers S-tier teamfight impact in the right hands.
A-Tier Teamfight Ultimates
A-tier ultimates are consistently strong and win teamfights under good conditions, but they require either more setup, have more specific counters, or are less reliable in chaotic pub environments than S-tier picks. Every hero in this group is a legitimate first-pick consideration in the right team composition.
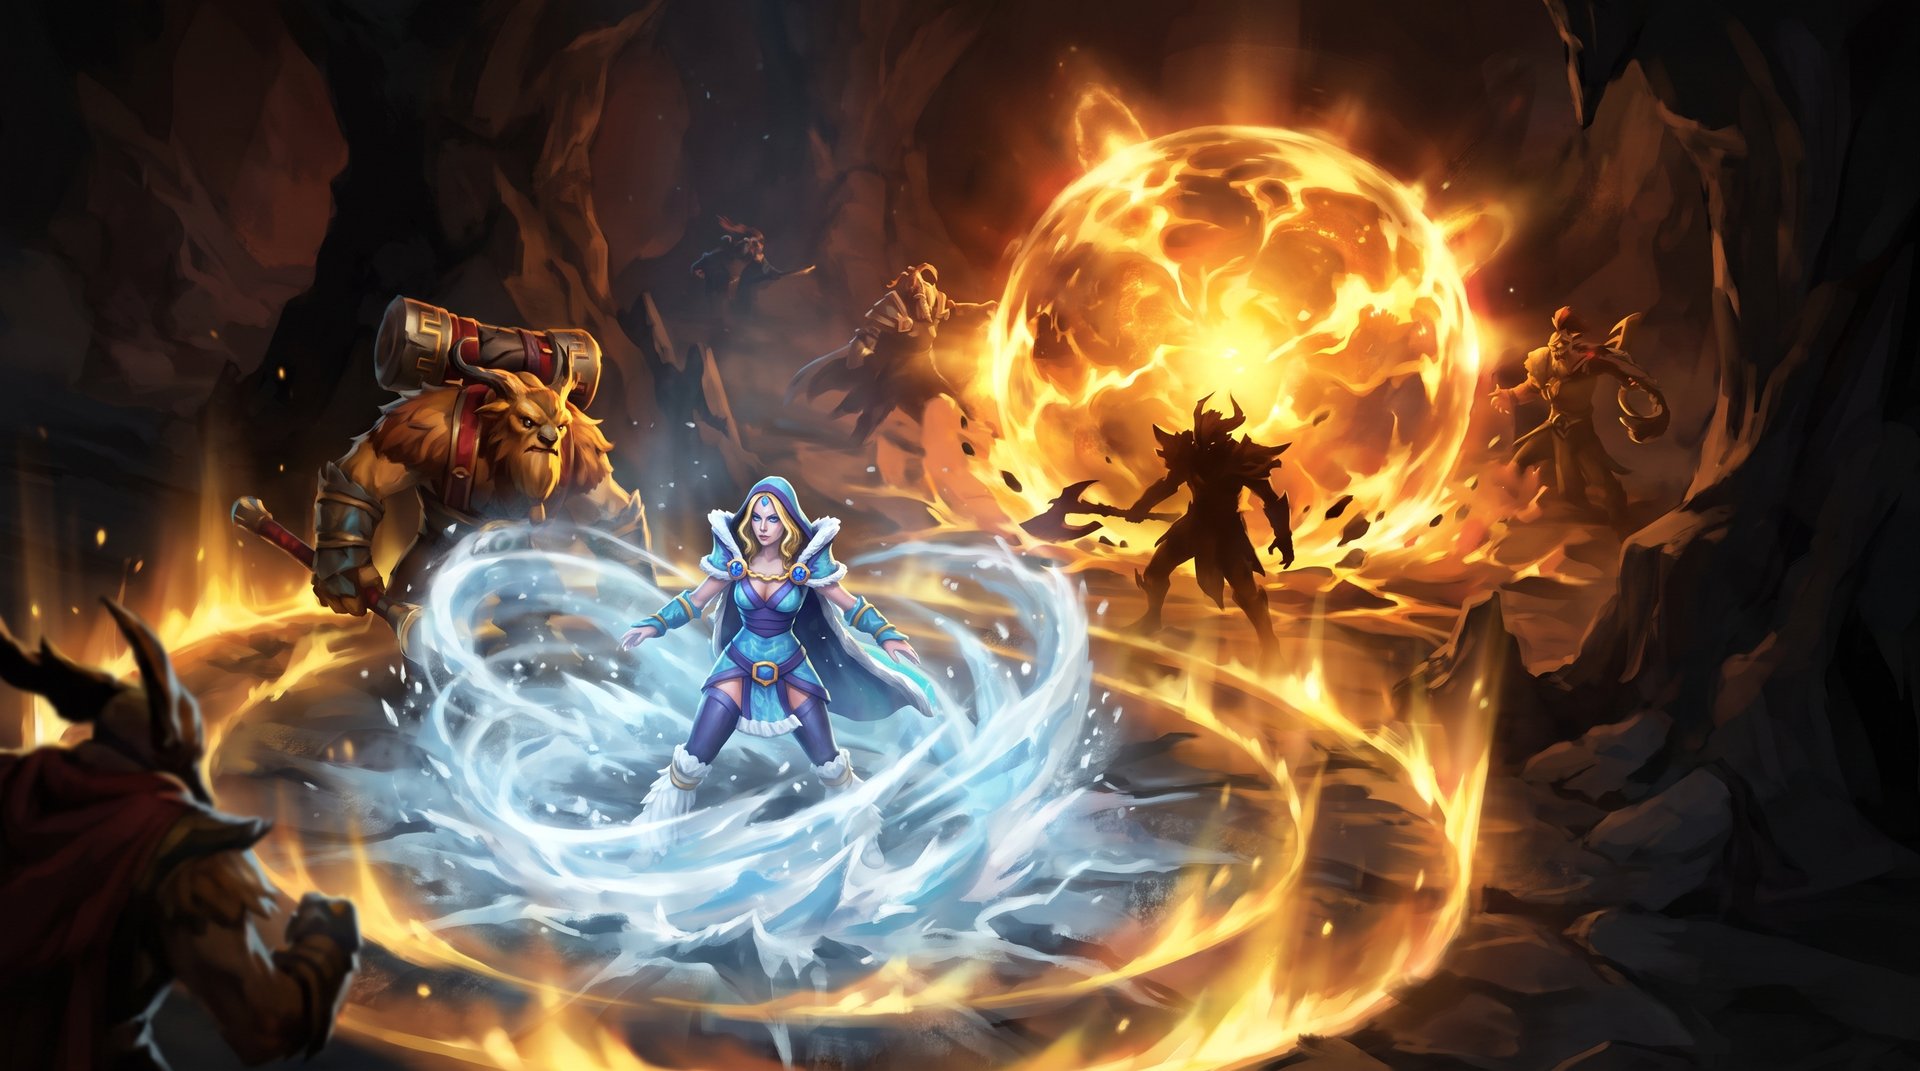
Crystal Maiden — Freezing Field
Freezing Field generates a massive field of random explosions centered on Crystal Maiden, each explosion dealing heavy magic damage and applying a significant movement speed slow to enemies caught in the radius. Against a clustered enemy team, Freezing Field’s sustained output over its duration exceeds most other damage-based ultimates in the game.
The problem is Crystal Maiden herself. She is one of the squishiest heroes in Dota 2, and channeling Freezing Field requires her to stand in the middle of the enemy team for several seconds. Without a Black King Bar or a defensive item like Glimmer Cape or Lotus Orb, she gets killed almost instantly after casting. A CM with BKB and a team that can peel for her, however, delivers S-tier damage output from an A-tier pickup.
Crystal Maiden is a position 5 support, which means her Freezing Field comes at zero resource cost to the team. She is one of the strongest late-game supports in the game purely because of this ultimate, and her early-game mana aura provides permanent value in the laning phase. If your team can protect her, Crystal Maiden’s teamfight contribution is extraordinary.
Earthshaker — Echo Slam
Echo Slam is a unique ultimate in that its damage scales directly with how many units are near each enemy hero when it detonates. In a fight where five enemies are standing close together, Echo Slam hits each hero and then echoes off every nearby unit — the result is burst damage that can delete the entire enemy team in a single cast. Against a seven-creep wave plus five heroes, Echo Slam numbers become obscene.
The catch is density requirement. Echo Slam is weak against spread-out enemies and much weaker in the early game before large creep waves join fights. Earthshaker also requires a Blink Dagger or Force Staff to enter from an optimal angle, adding an item dependency that slows his fight contribution. But when the conditions are right — a Roshan fight, a barracks engagement, any fight where armies are involved — Echo Slam is the highest burst ultimate in the game.
Earthshaker fits comfortably in the position 4 or position 5 role. His Fissure provides early fight value as a zoning and blocking tool, which means he contributes meaningfully before his ultimate is available. If you want a teamfight ultimate that punishes enemy clustering near objectives, Earthshaker is the highest-ceiling choice for that specific scenario.
Phoenix — Supernova
Supernova transforms Phoenix into a temporary sun that moves slowly across the battlefield. During this state, Phoenix takes damage from enemy attacks and spells — if the sun dies before the duration ends, Phoenix dies. But if the sun survives, it explodes: every enemy in a large radius around the explosion point is stunned, and Phoenix respawns at full health with all abilities refreshed.
A fully resolved Supernova is a game-winning event. Phoenix comes back from the dead with a full spell rotation while the entire enemy team is stunned. This makes Supernova one of the strongest late-game ultimates because the payoff for protecting the sun is dramatically one-sided. Earlier in the game, Supernova’s sun can be burst down quickly, but in late-game scenarios with significant HP on the sun, it becomes nearly unkillable.
Phoenix also provides outstanding early game value through Icarus Dive, Fire Spirits, and Sun Ray, which means he is never a burden to draft even when Supernova is on cooldown. For players who enjoy multi-faceted heroes with high skill ceilings, Phoenix rewards good positioning and game sense with A-tier teamfight impact.
Naga Siren — Song of the Siren
Song of the Siren puts every enemy hero on the map — not just nearby ones, but all of them — into a sleep state for several seconds. Enemies cannot act, cannot cast, cannot die. They simply stand still while Naga Siren’s team repositions, buys time, revives dead allies, or stacks additional spells ready to detonate the moment the song ends.
Song of the Siren is the ultimate fight-reset tool. Your team is losing badly? Song of the Siren. Your team needs to wait for a dead ally to respawn before engaging? Song of the Siren. The enemy team is running a split-push strategy and you need all five of them in one place? Song of the Siren. No other ultimate offers this breadth of strategic utility.
The trade-off is damage. Song of the Siren itself deals no damage and does not kill anyone. It creates opportunity, not direct output. This is why Naga is A-tier rather than S — she depends entirely on her team to capitalize on the window she creates. In drafts built around her ultimate (Magnus, Earthshaker, Crystal Maiden), Song of the Siren enables S-tier combined teamfight potential.
Disruptor — Static Storm
Static Storm creates a persistent AoE zone that silences enemy spellcasting and — most critically — mutes item usage. Enemies inside the storm cannot use active items. No Black King Bar, no Blink Dagger escape, no Eul’s Scepter, no Manta Style. This makes Static Storm uniquely effective against teams that rely heavily on item actives to survive or escape fights.
Disruptor builds around Static Storm through Kinetic Field, which traps enemies in a circle, and Glimpse, which sends enemies back to where they were seconds ago — pulling anyone who blinked away back into the fight. His toolkit has one of the highest individual teamfight floors in the support category, because every ability contributes to winning a fight. Static Storm also pierces Black King Bar on the mute component, making it one of the few abilities in the game that renders BKB useless.
Dark Seer — Wall of Replica
Wall of Replica creates an invisible wall across the battlefield. Any enemy hero who walks through it spawns a full-damage illusion of themselves fighting for Dark Seer’s team. In a teamfight where five enemies pass through the wall, Dark Seer suddenly has five additional full-damage copies of the enemy carries dealing damage for his team.
Wall of Replica’s teamfight value is highest against physical damage carries with high attack damage — illusions deal full physical damage but receive bonus damage, making them dangerous weapons and easy targets simultaneously. The ultimate is strongest against heroes like Juggernaut, Phantom Assassin, and Terrorblade, where illusions deal enormous right-click damage. It is weakest against spellcaster-heavy teams where the illusions deal minimal output.
Sand King — Epicenter
Epicenter channels briefly and then releases a series of expanding AoE pulses, each applying heavy movement speed slow and physical damage to every enemy caught in the area. The total damage output over Epicenter’s full duration is substantial, and the movement slow makes it nearly impossible for enemies to walk out of the area before taking all pulses.
Sand King pairs Epicenter with Burrowstrike, which functions as a blink that stuns enemies in its path, and Caustic Finale, which slows and poisons enemies on attacks. His ability to initiate cleanly and immediately follow with Epicenter makes him one of the most reliable teamfight initiators in the game. Sand King is a strong pub climb hero because his ultimate does not require team coordination — he channels, everyone gets slowed, and your team takes over from there.
B-Tier Teamfight Ultimates
B-tier ultimates are strong in specific team compositions or game scenarios but have meaningful limitations that prevent them from topping the tier list. These heroes are excellent picks when their team is built around them, but they require more context-specific drafting to perform at their ceiling.
Puck — Dream Coil
Dream Coil attaches magical coils to enemy heroes in a target area. If those heroes move beyond the coil’s range, the coil breaks and deals significant damage plus a stun. The coil itself does damage over time to tethered heroes, and it forces an immediate decision: stand still and take damage, or break the coil and take a stun. For teams that want to BKB and charge into your team, Dream Coil prevents that charge by stunning anyone who activates BKB and walks out of range.
Dream Coil is B-tier because it requires enemies to make mistakes to reach its maximum potential. A patient enemy team can wait out the coil duration without breaking it, negating much of its fight impact. It is most effective against aggressive, high-mobility enemies who want to instantly jump in and out of fights. With Aghanim’s Scepter, Dream Coil extends significantly and the tether range increases, pushing Puck closer to A-tier teamfight value.
Pangolier — Rolling Thunder
Rolling Thunder transforms Pangolier into a rolling ball that bounces off terrain, stunning every enemy he collides with. The bounce behavior makes the ultimate highly mobile and difficult to dodge in enclosed spaces, but also unpredictable in open areas where Pangolier can sail past enemies and waste the cast. In the right map position — inside a confined base entry, or bouncing between buildings — Rolling Thunder chains stuns continuously and is nearly impossible to escape.
Pangolier earns B-tier because his ultimate is highly map-geometry dependent. Players who understand the terrain bounce patterns get significantly more value than those who use it reactively. The stun duration on each hit is short, meaning enemies recover quickly between bounces. However, Pangolier’s Swashbuckle and Shield Crash provide consistent fight value even when Rolling Thunder is on cooldown, making him a useful teamfighter beyond just his ultimate.
Brewmaster — Primal Split
Primal Split splits Brewmaster into three units — an Earth Brewling that disarms enemies with Hurl Boulder and Thunderclap, a Storm Brewling that provides an AoE cyclone and wind walk, and a Fire Brewling that stuns with Drunken Haze and deals AoE damage. Each unit has its own HP pool, spells, and movement. While the split is active, the Brewmaster himself is effectively unkillable because he does not exist as a target.
Primal Split’s teamfight value comes from the Earth and Fire brewlings’ disables. The Thunderclap damages and slows, the Hurl Boulder stuns, and the combined pressure from three moving units that cannot be focused down with a single spell creates sustained disruption. The split also buys Brewmaster additional time to revive, since he only dies when all three brewlings die. B-tier placement reflects the execution complexity and item dependency — Brewmaster needs Blink Dagger and Aghanim’s Scepter to maximize Primal Split effectiveness.
Marci — Unleash
Unleash powers up Marci with a series of rapid punch chains that each deliver heavy physical damage, with the final hit of each chain applying a knockback stun. During Unleash, Marci also receives a significant movement speed boost, making her extremely difficult to kite or escape. The ultimate creates a high burst damage window for a physical attacker that also contributes crowd control through knockback timing.
Marci is B-tier in teamfights because Unleash’s impact is concentrated on a single target at a time, unlike S and A-tier ultimates that hit multiple enemies simultaneously. She is better classified as a high-burst single-target assassin with strong teamfight pressure. Her Rebound ability, which lets her jump to a target and launch them, provides additional teamfight utility and setup for Unleash. With practice, Marci can eliminate the highest-priority enemy carry before the fight starts, which is its own kind of teamfight win condition.
Which Heroes to Pick for Pub Climbing
If your primary goal is climbing MMR through teamfight ultimates, the best choices depend on your preferred role and mechanical comfort level. Here is how we advise players across different brackets:
Herald to Archon (Lower Brackets)
At lower brackets, teamfights are messy and enemies rarely spread out or counter your positioning. This is the bracket where big AoE ultimates perform at their absolute highest. Tidehunter and Treant Protector are the top recommendations because they require minimal setup and their ultimates cannot be misused. Both can be played at position 3 or 5 without needing significant farm to contribute.
Earthshaker is also excellent in lower brackets because enemies at this skill level tend to cluster heavily around objectives and fights. Echo Slam frequently hits creep waves and multiple heroes simultaneously, creating damage numbers that exceed expectations. Safe and reliable hero picks that do not require mechanical skill to use effectively are the fastest path to climbing at this level.
Legend to Ancient (Mid Brackets)
Mid-bracket games involve more BKB usage and more deliberate fight spacing. This is where Magnus becomes extremely valuable because Reverse Polarity counters BKB-heavy lineups and rewards good initiation timing. Crystal Maiden with BKB also overperforms at this bracket because supports begin buying defensive items for her but enemies rarely have the coordination to focus her down during Freezing Field.
Disruptor is a consistent performer at Legend to Ancient because enemies in this bracket are highly item-dependent. Muting their BKBs, Blink Daggers, and Manta Styles in the same fight-window as Static Storm removes their entire response toolkit. If you are playing as a position 4 or 5 support and want maximum teamfight impact, Disruptor delivers reliably at this bracket.
Divine to Immortal (High Brackets)
In high-bracket games, enemy teams communicate well enough to counter one-dimensional ultimates. This is where Enigma, Naga Siren, and Faceless Void reach their full potential because they require — and reward — tactical execution that lower-bracket players cannot match. Enigma’s Black Hole requires perfect positioning and protection; in games where your team can provide that protection, Black Hole wins every fight it touches.
Naga Siren’s Song of the Siren becomes a strategic weapon at high brackets, enabling coordinated resets around specific timings (Roshan respawn, buyback denial, waiting for a specific allied item). For players who want the highest teamfight ceiling in the game and are prepared to invest in mechanics, Enigma and Void are the recommended picks.
If you want to accelerate your MMR climb while developing your teamfight game sense, working with a high-MMR TeamSmurf coach is the most efficient path. Our coaches specialize in fight timing and ultimate maximization at every bracket.
Frequently Asked Questions
Want to Climb With Teamfight Heroes Faster?
TeamSmurf’s boosters are Immortal-rank specialists who play the same teamfight heroes every day. Whether you want a safe MMR boost while we play your account or a coaching session to improve your own teamfight game sense, we have you covered. No bots, no shared accounts — real Immortal boosters only.



