


Dota 2 Towers and Barracks Explained: HP, Armor, Gold, Glyph, Backdoor Protection and Mega Creeps

Towers and barracks are the backbone of every Dota 2 game. They set the tempo for when fights happen, how much gold each push is worth, and whether you ever get mega creeps. Yet most players at Herald through Archon cannot answer basic questions: Why did my tower die so fast even though I used glyph? Why does the enemy just keep walking up to my T3 tower and killing it? How much gold is a tower actually worth?
This page is a numbers-first reference. You will find HP and armor values for every tower tier, gold bounty tables, the exact rules for backdoor protection and glyph of fortification, barracks HP, and the conditions and stats for mega creeps. Bookmark it and come back every time you are not sure whether a tower push is worth it.
If you want the strategic layer — when to push, when to fight, and how to turn a tower advantage into a win — read our tower-pushing strategy guide. This page covers the rules; that one covers the decisions. You will also find glyph situational tips in our glyph and scan micro advantages guide.
What Is in This Guide?
- Tower overview and tier system
- Tower stats by tier: HP, armor, damage
- Tower gold bounties explained
- Backdoor protection — the full rule
- Glyph of Fortification: cooldown and use
- Tier 3 towers and barracks connection
- Barracks HP, armor and gold
- Mega creeps: conditions and stats
- Tower timings and when to push
- FAQ
What Are Towers in Dota 2?
Towers are defensive structures placed along every lane. Each team has 11 towers in total: three in each of the three lanes (top, mid, bottom) and two Ancient towers surrounding the enemy base. They deal physical damage to enemies in range, prioritizing enemy heroes who attack allied heroes first, then any enemy units in range.
Towers are organized into four tiers. Tier 1 towers sit at the outer edge of each lane and are the first line of defense. Tier 2 towers are deeper in each lane. Tier 3 towers sit at the high-ground entrance to the base and protect the barracks behind them. Tier 4 towers — sometimes called Ancient towers or base towers — flank the enemy Ancient itself.
The lane towers must fall in order. You cannot attack a Tier 2 tower until the Tier 1 tower in that lane is destroyed. You cannot attack a Tier 3 tower until Tier 2 falls. This creates a natural progression of objectives across the game.
Each tower also provides vision around it during the day and reduced vision at night. This matters for ganking rotations: the moment a tower dies, that area of the map goes dark for the defending team.
Tower Stats by Tier: HP, Armor and Attack Damage
Tower durability is defined by two numbers: HP and armor. Armor reduces physical damage significantly — each point of armor contributes roughly 5.5% damage reduction at lower values. A Tier 4 tower with 20 armor absorbs about 52% of incoming physical damage before any other modifiers apply, which is why pushing the Ancient without creep support is essentially impossible in most situations.
| Tier | HP | Armor | Base Attack Damage | Attack Range | Bounty Vision Range (Day / Night) |
|---|---|---|---|---|---|
| Tier 1 (Outer) | 1800 | 10 | 100 — 110 | 700 | 1900 / 800 |
| Tier 2 (Inner) | 2500 | 16 | 155 — 165 | 700 | 1900 / 800 |
| Tier 3 (High Ground) | 2600 | 18 | 155 — 165 | 700 | 1900 / 800 |
| Tier 4 (Ancient) | 2600 | 20 | 180 — 200 | 700 | 1900 / 800 |
Source: Dota2Wiki community data, patch 7.41f. Tower attack damage is a range; the exact value varies slightly by lane and side.
Why Armor Matters More Than HP at High Tiers
At 10 armor, a Tier 1 tower has about 36% physical damage reduction, meaning a hero dealing 200 physical damage per hit lands roughly 128 effective damage. By Tier 4 at 20 armor, that same 200 damage becomes only 96 effective — a 25% reduction relative to the T1 case, purely from extra armor.
In practical terms: a carry who has 300 right-click damage can shred a T1 tower in a handful of hits with a creep wave. That same carry against a T4 tower with no creeps will trigger backdoor protection before they get anywhere near the 2600 HP threshold. Armor scales the difficulty of tower pushes dramatically between early and late game.
Spell damage interacts differently. Most magical damage is reduced by magic resistance, not armor. Towers have standard magic resistance (25%), which means burst mages can deal relevant damage to towers. However, the backdoor protection rule (covered below) applies to all damage types, so spell nuke pushes without creeps are equally restricted.
How Much Gold Do Towers Give?
Tower gold in Dota 2 is split between a team bounty shared among all nearby heroes and a bonus for the player who deals the last hit. Understanding this split matters because it affects whether spreading out or stacking near a tower before it dies is optimal.
The team bounty is shared equally among all heroes within a certain range of the tower when it dies. Heroes who are too far away receive nothing. The last-hit bonus goes exclusively to the hero who lands the killing blow. In organized play, carries often deliberately last-hit towers to maximize their personal gold income.
| Tier | Team Bounty (per hero nearby) | Last-Hit Bonus | Total Max Gold (5 nearby heroes) |
|---|---|---|---|
| Tier 1 | ~160 gold | +25 gold | ~825 gold |
| Tier 2 | ~200 gold | +25 gold | ~1025 gold |
| Tier 3 | ~250 gold | +50 gold | ~1300 gold |
| Tier 4 | ~300 gold | +50 gold | ~1550 gold |
Source: Dota2Wiki community data, patch 7.41f. Bounty values are approximate; actual splits may vary slightly by game state.
Team Bounty vs Personal Gold
The team bounty system means that taking a tower with all 5 heroes nearby is worth significantly more total gold than taking it alone or with 2 heroes. A full team pushing a Tier 3 tower earns up to ~1300 gold distributed across the team, which can buy a key item component for multiple players simultaneously. This is one reason coordinated 5-man pushes snowball so effectively — the gold surge hits the whole team at once.
At lower brackets, players often take towers 1v1 or 2v2 during laning phase without the rest of the team nearby. This results in only 1-2 players receiving the bounty instead of all 5, leaving significant gold on the table.
For players learning when and how to leverage tower timings, our MMR boosting guide covers the macro-level map control decisions that turn consistent tower gold into rank progression.
Backdoor Protection: Why You Cannot Solo a Tower
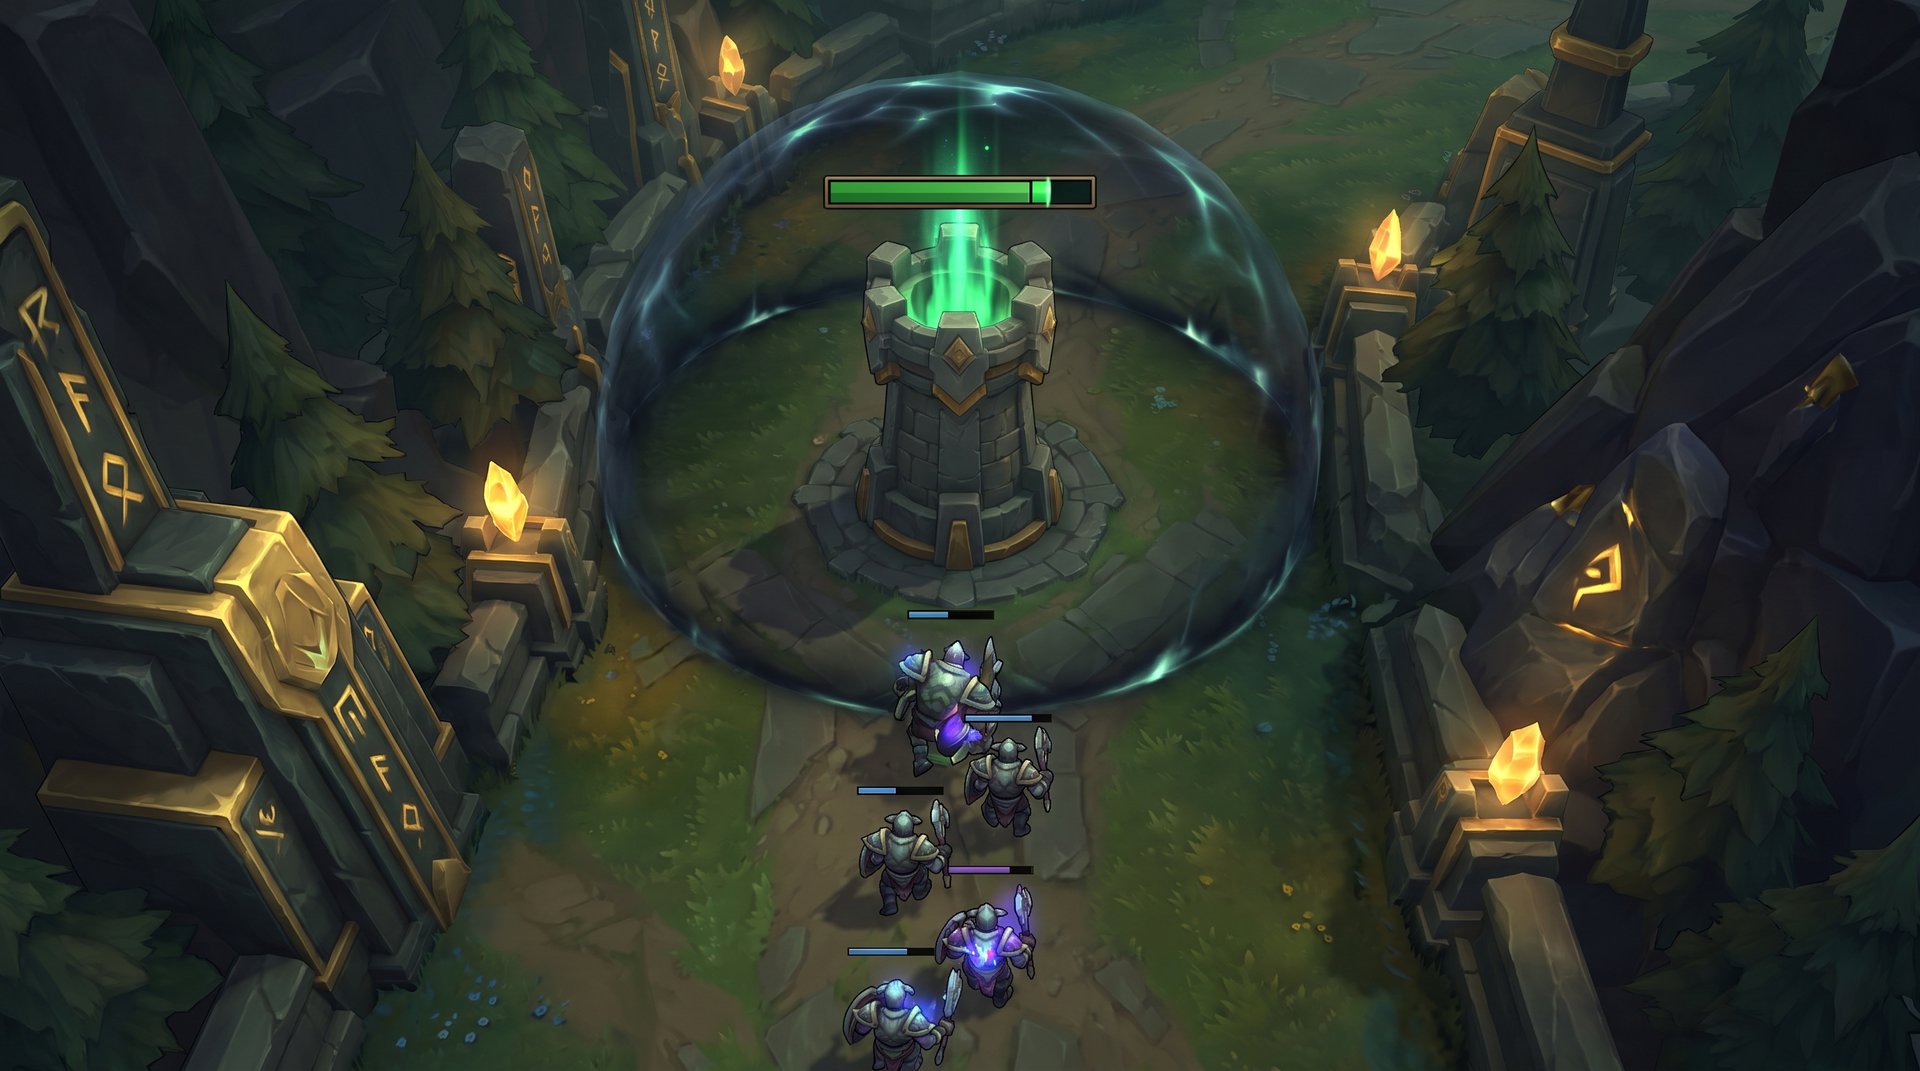
Backdoor protection is one of the most important mechanics in Dota 2 and one of the most misunderstood by new players. In simple terms: towers cannot be easily killed without a creep wave pushing into them.
How Backdoor Protection Works
When no enemy lane creeps or siege creeps are within approximately 1600 units of a tower, that tower gains two major defensive bonuses:
- Rapid HP regeneration: The tower regenerates health at a high rate — roughly 40 HP per second, which is around 2% of its maximum HP each second. A Tier 3 tower at 2600 HP regenerating 40 HP/sec can recover from significant damage quickly if enemies back off.
- Damage reduction: Incoming damage is substantially reduced, making it nearly impossible to kill the tower with only hero attacks or abilities.
The protection disables the moment an enemy lane creep or siege creep arrives within range. This is why pushing with a creep wave is not just good practice — it is mechanically required for any significant tower damage.
What Counts as “Disabling” Backdoor Protection
Only lane creeps (regular creeps, siege/catapult creeps) disable backdoor protection. The following do NOT disable it:
- Illusions of heroes
- Summoned units (wolves, treants, skeletons)
- Enemy heroes themselves
- Neutral creeps
Siege (catapult) creeps DO disable it and are highly valuable in pushes for this reason. This explains why heroes that summon siege units or that can control them — like certain push-meta specialists — are stronger in aggressive push strategies.
Backdoor Protection and Glyph
Backdoor protection is separate from the Glyph of Fortification ability. You can have a full creep wave at a tower (disabling backdoor protection) and still use glyph on top to make the tower temporarily invulnerable. The two mechanics stack independently.
Glyph of Fortification: Cooldown, Duration and When to Use It
The Glyph of Fortification is a shared team ability displayed in the bottom HUD. Either the Radiant or Dire team can activate it to grant all of their allied structures temporary invulnerability. It is one of the most impactful defensive tools in the game and one of the most wasted.
Glyph Stats
| Property | Value |
|---|---|
| Cooldown | 5 minutes |
| Duration (invulnerability) | 4 seconds |
| Targets affected | All allied buildings (towers, barracks, Ancient) |
| Effect | Full damage immunity for all structures |
| Shared ability | Yes — any player on the team can activate it |
When to Use Glyph
Glyph has a 5-minute cooldown, meaning it resets approximately every 5 minutes from when it was last used. Getting maximum value from glyph means not wasting it on small incidental tower damage and saving it for pushes where a tower is genuinely at risk of dying in the next 4-6 seconds.
The best times to use glyph:
- When the enemy team is doing a 5-man push with a siege creep already in range. A siege wave backing a full team will kill a tower fast; glyph buys your team time to rotate back or at least delay the loss.
- To save a Tier 3 tower or barracks. Losing a Tier 3 tower exposes your barracks. Losing barracks enables mega creeps. The glyph is worth far more here than on a Tier 1.
- When the enemy is taking Roshan and will immediately push afterward. Save the glyph for the push that follows a successful Aegis pickup.
Do NOT use glyph when:
- A lone hero is auto-attacking your outer tower between waves — backdoor protection will restore the HP anyway once they leave or the protection kicks back in.
- A tower is at high HP and the enemy does not have a siege creep nearby.
- A Tier 1 tower is low but your team has heroes close by and can defend without it.
For the situational micro decisions around glyph timing at different MMR brackets, see our dedicated glyph and scan micro guide. That post covers the scan ability and how to combine both for map control.
Tier 3 Towers and Barracks: How the High Ground Works
Tier 3 towers are unique for two reasons. First, they are placed on high ground, which creates a miss chance for any attacker on low ground. Second, they directly protect the barracks behind them.
High Ground Miss Chance
Attacking from low ground up to high ground causes melee and ranged attacks to have a 25% miss chance. This applies to enemy heroes attacking your Tier 3 tower, barracks, or Ancient from the low-ground side. The miss chance does not apply to abilities — only right-click attacks. This is why heroes with reliable spell damage (Storm Spirit, Lina, Zeus) are more effective at breaking high ground than pure right-clickers.
Heroes with True Strike (Monkey King Bar active, certain hero abilities) negate the miss chance. In the mid-to-late game, itemizing for True Strike is often necessary when the enemy is massing on high ground.
Barracks Accessibility
Barracks cannot be attacked until the Tier 3 tower in their lane is destroyed. Once the T3 tower falls, both the melee and the ranged barracks become targetable. Unlike towers, barracks do NOT have backdoor protection — they can be attacked by heroes without any creep wave present. This is a critical asymmetry that experienced players exploit in the late game by using smoke, teleport scrolls, or flanking rotations to reach barracks quickly after a T3 falls.
This is also the reason why using your glyph to save a Tier 3 tower is usually a better decision than saving a barracks — once the T3 is already down, backdoor protection is no longer a factor for what stands behind it.
For the broader strategic context of when to force the high-ground fight versus playing for objectives, the tower defense vs deathball guide breaks down the playstyle tradeoffs in detail.
Barracks Stats and What Happens When They Fall
Each lane has two barracks: one melee barracks and one ranged barracks. They spawn behind the Tier 3 tower and share the same high-ground position. Losing even one barracks has lasting effects on the game; losing both in a lane triggers the mega creep condition for that lane.
| Structure | HP | Armor | Gold Bounty (team) | Backdoor Protection |
|---|---|---|---|---|
| Melee Barracks | 1500 | 5 | ~325 gold | None |
| Ranged Barracks | 1500 | 3 | ~325 gold | None |
Source: Dota2Wiki community data, patch 7.41f. Bounty values are approximate team gold shared among nearby heroes.
What Happens When Only One Barracks Falls
If only the melee barracks in a lane dies, that lane’s melee creeps are upgraded to super creeps — they deal more damage and have more HP than regular lane melee creeps. Ranged creeps in that lane remain normal.
If only the ranged barracks dies, that lane’s ranged creeps are upgraded to super ranged creeps. Melee creeps remain normal.
Super creeps are meaningfully stronger than regular creeps but are not as powerful as mega creeps. Experienced players often prioritize finishing both barracks in a lane quickly rather than stopping at one.
What Happens When Both Barracks Fall in a Lane
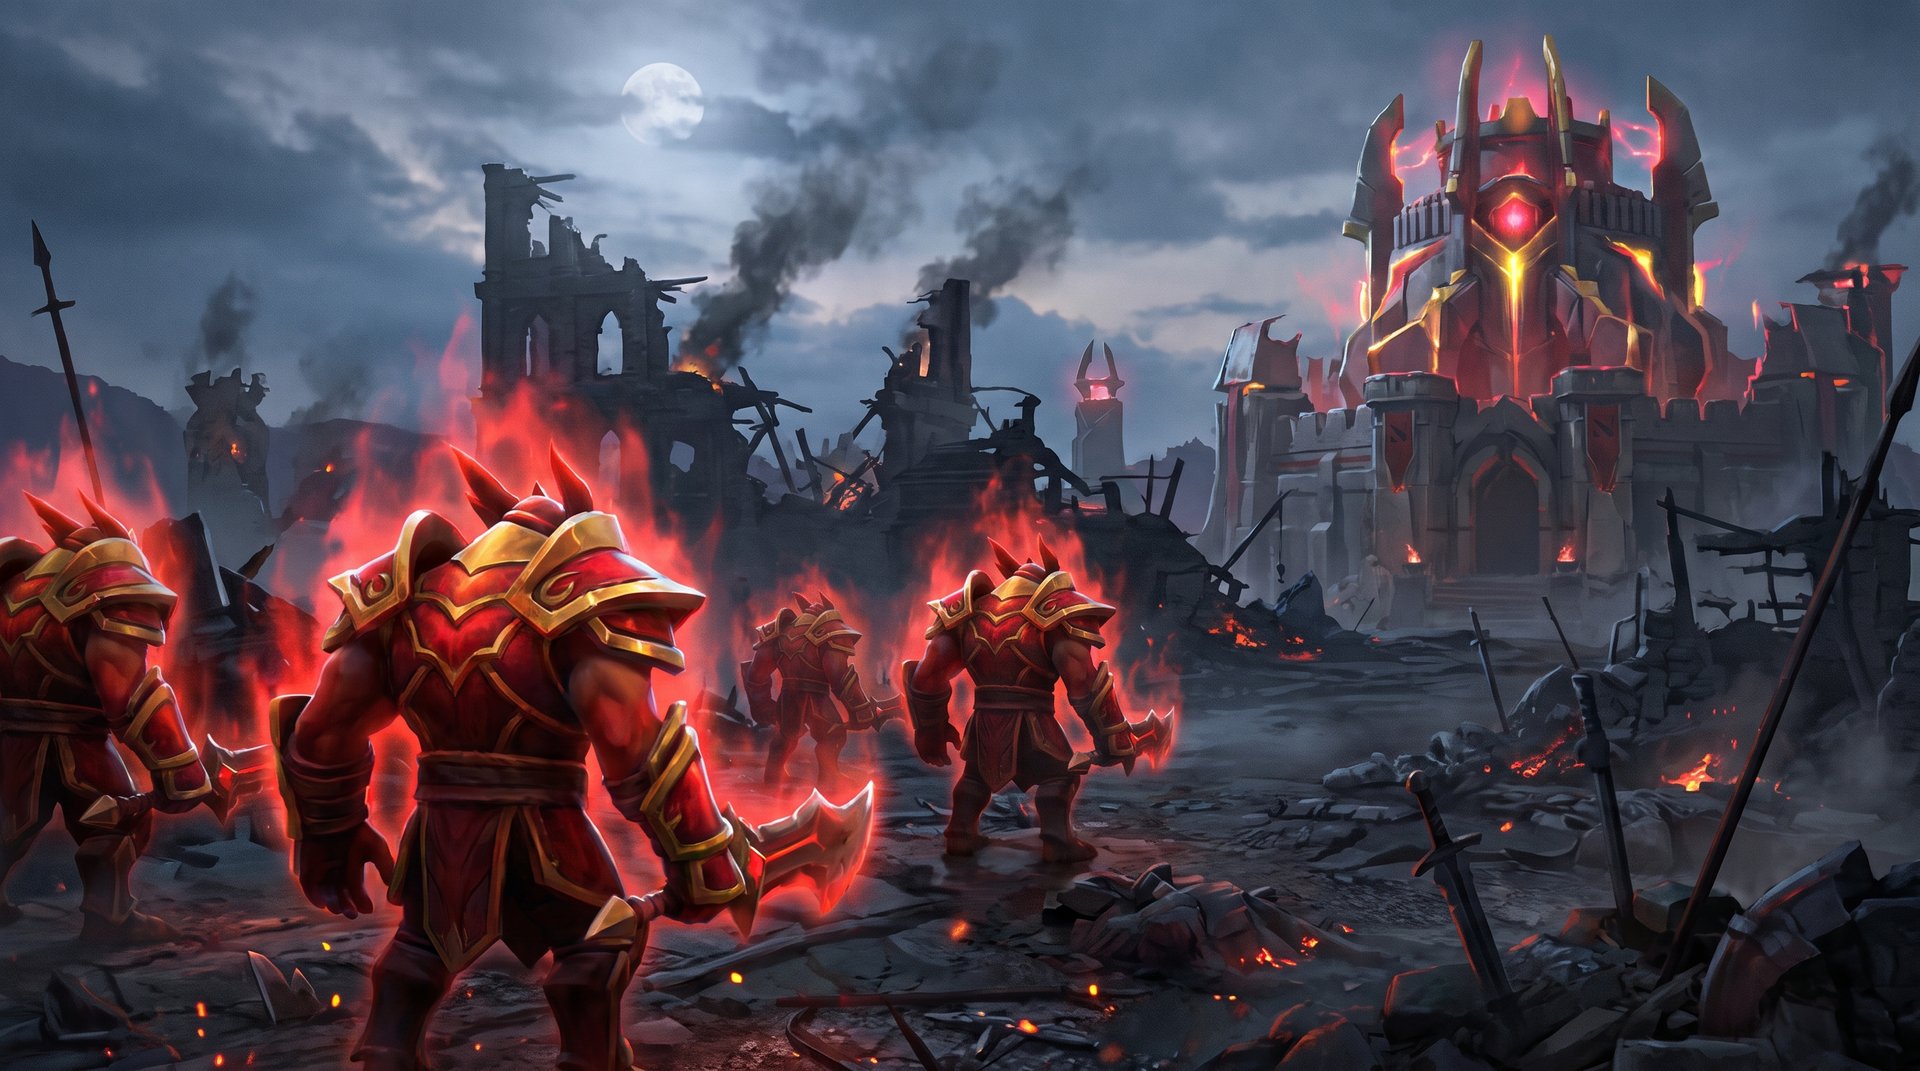
When both the melee and ranged barracks die in the same lane, that lane’s creeps become mega creeps. Mega creeps are substantially stronger than super creeps and also regenerate HP when near allied buildings — which makes them very difficult for the defending team to clear. This is covered in detail in the next section.
Mega Creeps: Conditions, Stats and Why They Win Games
Mega creeps are the strongest form of lane creep and represent a nearly-winning condition when achieved in multiple lanes. Unlike regular or super creeps, mega creeps have a passive regeneration ability that makes them extremely durable near towers and barracks — the defending team cannot simply let them push uncontested while fighting elsewhere.
The Mega Creep Condition
Mega creeps activate on a per-lane basis. For a lane to have mega creeps, BOTH the melee and ranged barracks in that lane must be destroyed. Destroying only one barracks gives super creeps, not mega creeps.
When all three lanes have mega creeps — meaning all six barracks (melee + ranged in top, mid, and bottom) are destroyed — the defending team is in an extremely difficult position. Each lane is flooding with hard-to-kill creeps that regenerate near structures, and the defending team cannot farm or push back without dedicating multiple heroes to creep clearing at all times.
Mega Creep Stats
| Creep Type | HP Bonus vs Regular | Damage Bonus vs Regular | Regen Near Structures |
|---|---|---|---|
| Mega Melee Creep | +500 HP (total ~1000) | +40 damage | Yes — ~15 HP/sec |
| Mega Ranged Creep | +300 HP (total ~700) | +20 damage | Yes — ~15 HP/sec |
| Super Siege Creep | +250 HP | +30 damage (vs structures) | Yes — ~15 HP/sec |
Source: Dota2Wiki community data, patch 7.41f. Regen rate is approximate and applies only when the creep is within range of an allied building.
Why Mega Creeps Win Games
The regeneration mechanic is the key. A regular creep wave can be cleared by one hero farming between two towers. Mega creeps near a tower regenerate faster than most heroes can kill them solo, which means the defending team must commit multiple heroes to clearing a wave — leaving fewer to defend elsewhere or to push back.
This is the classic mega-creep dilemma: if the defending team sends heroes to clear, the attacking team can take the Ancient. If the defending team stalls the attackers, the mega creep waves chip away at towers and barracks without needing hero backup. The only true defense against mega creeps is a game-ending teamfight win — usually by finding and killing the enemy team with a buyback-secure carry or forcing a teamfight the enemy cannot win.
Defending Against Mega Creeps
Several heroes are especially effective at clearing mega creep waves because of AoE abilities or summons that deal high damage quickly:
- Heroes with area nuke abilities (Leshrac, Lina, Zeus) can clear waves fast.
- Summon-heavy heroes (Broodmother, Nature’s Prophet, Lycan with wolves) can use summons to tank and chip mega creeps.
- Siege creeps on the defending side also gain regen, but the net regen of enemy mega creeps usually outpaces what defending sieges can do.
At most MMR brackets, the best approach when you are being mega-creeped is to group as 5, kill the enemy team, and use the time after the teamfight to take the game. Trying to “out-creep” mega creeps with split-pushing usually fails unless you have one of the specific heroes above and a significant level advantage.
Tower Timings and When to Push
Knowing tower stats is only useful if you also know when pushing a tower is the right call. Tower timings vary significantly by game state, hero composition, and MMR.
Early Game: T1 Tower (6-12 Minutes)
Tier 1 towers often fall in the laning phase if a lane is dominated hard. Taking a Tier 1 tower before 10 minutes is typically a sign of an aggressive lane kill that snowballed. Most Tier 1 towers fall between 10 and 20 minutes in pub games.
The gold value (~825 total with 5 nearby heroes) is meaningful but not game-deciding. The bigger value is the vision removal: once a Tier 1 falls, the enemy no longer has automatic map vision in that lane, making rotations and jungle entries from that side much easier.
Mid Game: T2 and T3 Towers (15-30 Minutes)
Tier 2 and Tier 3 towers are the most important objectives in the mid game. Taking a Tier 2 opens up the enemy jungle from that lane direction and often enables the first Roshan attempt from an unexpected angle. Taking Tier 3 exposes barracks and completely changes the game’s stakes.
The gold bounty for a T3 tower is substantial — roughly 1300 gold across the team — and the strategic value is even higher. Most games where a team takes two or more T3 towers proceed to mega creeps and a win, unless the defending team finds a late game teamfight reversal.
Late Game: Barracks and Base (30+ Minutes)
Once towers fall, the priority shifts to barracks. Taking barracks triggers the creep upgrade that compounds over time. Because barracks have no backdoor protection, a team with good positioning and smoke ganks can sometimes kill barracks quickly after a successful teamfight win — even if the enemy team is still alive and respawning.
This is why understanding buyback and death timers is closely tied to understanding tower timings. Our Dota 2 objectives and decision guide covers how high-MMR players make push-vs-fight decisions in real time.
When to Use Coaches to Learn Tower Timings
Tower timing decisions — when to take a trade, when to group for an objective, when to use glyph — are exactly the kind of macro skill that is hard to develop from pub games alone. Pub games reward mechanics; coaching sessions speed up the macro decision-making process by 3-6 months based on what our coaches see in sessions.
If you want faster rank progression through better objective control, a Dota 2 coaching session gives you an Immortal-level coach reviewing your specific game replay and telling you the exact moments you misvalued a tower or used glyph incorrectly.
Frequently Asked Questions
What is backdoor protection in Dota 2?
How much gold are towers worth in Dota 2?
What happens when barracks fall in Dota 2?
How long is the Glyph of Fortification cooldown?
Do barracks have backdoor protection?
What is the HP and armor of Dota 2 Tier 3 barracks?
Can you attack a Tier 2 tower without killing Tier 1 first?
Learn Tower Timings From an Immortal Coach
Knowing the numbers is the first step. Applying them in real games — when to push, when to glyph, when a tower trade is worth it — is where rank is won or lost. Our Immortal-level coaches review your replays, identify the exact moments your macro decision-making costs you MMR, and give you a specific plan to fix it.


