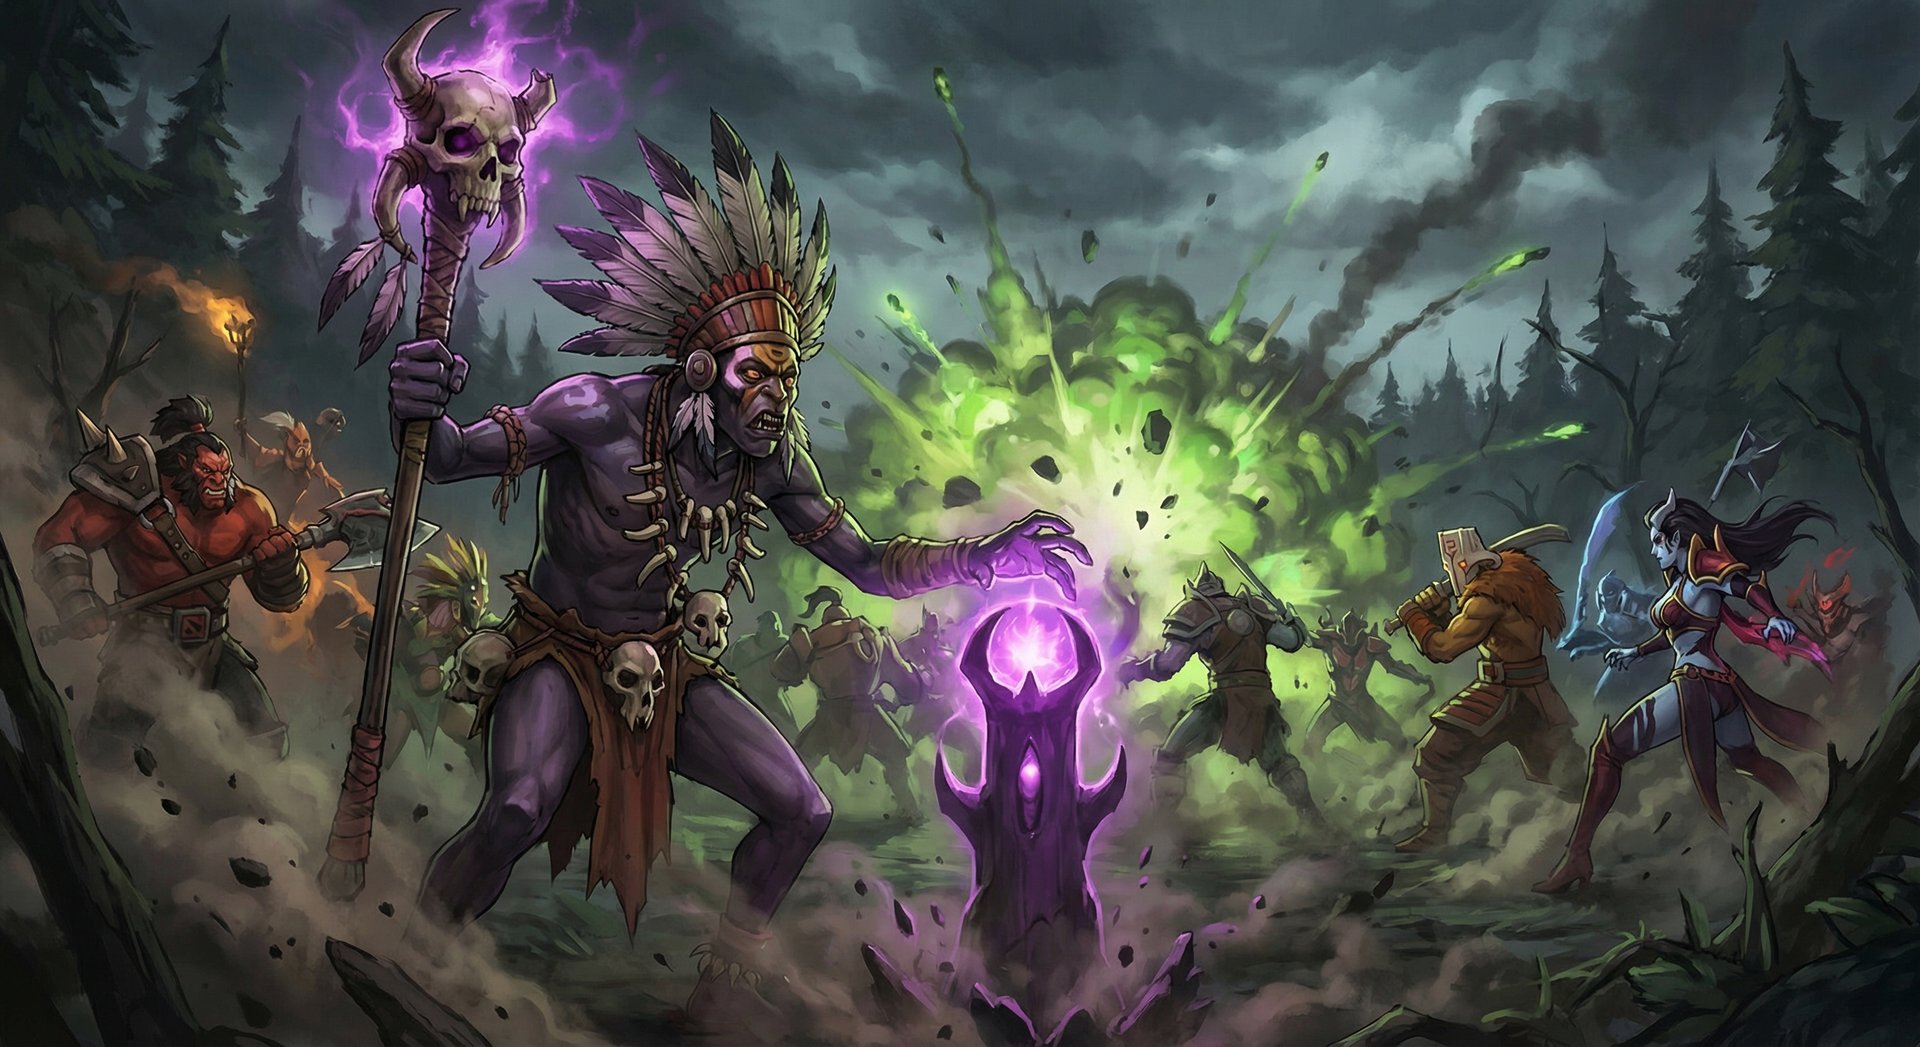
How to Master Witch Doctor in Dota 2: The Ultimate Guide for Every Rank (2026)

Few heroes in Dota 2 can single-handedly flip a team fight the way Witch Doctor does. One perfectly channeled Death Ward in a chokepoint, and the enemy carry evaporates before they even pop BKB. One well-timed Paralyzing Cask into a two-hero cluster, and the stun chain buys your team three full seconds of free damage. Witch Doctor is deceptively simple on the surface — point, click, heal, ult — but the difference between a 2K Witch Doctor and a 7K one is enormous.
In this guide, we break down everything you need to master Witch Doctor in 2026 — from hidden Maledict interactions most players have never heard of, to the exact positioning that separates a game-winning Death Ward from a feeding channel. Whether you are grinding Herald or pushing for Immortal, this is the only Witch Doctor resource you will ever need. Let’s get into it.
Table of Contents
Why Witch Doctor Is Dota’s Most Underrated Support
Witch Doctor is a position 4/5 support who brings an absurd amount of kill potential for a hero that costs almost nothing to operate. His kit covers everything a support needs: a reliable stun with Paralyzing Cask, a devastating damage-over-time with Maledict, sustain through Voodoo Restoration, and one of the highest damage ultimates in the game with Death Ward.
As of Patch 7.40c, Witch Doctor sits at a 52.4% winrate across all ranks on Dotabuff, with a healthy 10.2% pick rate that places him among the top 15 most-picked supports. His winrate climbs even higher in lower brackets — hitting 54%+ in Herald through Archon — because players at those ranks simply do not respect Maledict’s burst potential.
What makes Witch Doctor special is his kill threat from level 2 onward. Most supports need items or levels to threaten kills. Witch Doctor just needs Paralyzing Cask and Maledict, and suddenly any hero below 70% HP in lane is in lethal danger. He transitions cleanly into the mid game as a team fight menace, and with Aghanim’s Scepter, his Death Ward becomes one of the most feared abilities in all of Dota.
If you enjoy playing aggressive, securing kills in lane, and watching enemies melt during your ultimate channel, Witch Doctor is your hero. He rewards smart positioning over mechanical skill, making him both beginner-friendly and infinitely deep at high MMR.
Abilities Deep Dive
Paralyzing Cask (Q)
Paralyzing Cask is Witch Doctor’s bread-and-butter disable — a projectile that bounces between enemy units, stunning heroes for 1 second per bounce and creeps for 5 seconds. At max level, it bounces 8 times with a 575 cast range. The key mechanic most players miss: the cask prioritizes heroes on each bounce if one is within the 575 bounce radius.
This means casting cask into a group of two heroes with no creeps nearby guarantees multiple hero stuns. In a two-hero scenario, each hero gets stunned twice for 1 second each — that is 2 full seconds of stun on both targets. In lane, this is devastating when the enemy support and carry stand near each other without creep cover.
Hidden interaction: Paralyzing Cask deals 75 bonus damage to creeps at all levels. This makes it surprisingly effective for securing ranged creep last hits in contested lanes when your carry cannot reach them. The cask also bounces to invisible units — if you suspect a Riki or Bounty Hunter is nearby, throwing cask near their last known position can reveal them through the bounce indicator.
Skill build note: Most players max cask first, but in kill lanes where you have a strong laner (Juggernaut, Ursa, Troll), consider getting value points in cask (level 1-2) and maxing Maledict instead. The stun duration does not increase with levels — only the number of bounces and damage do.
Voodoo Restoration (W)
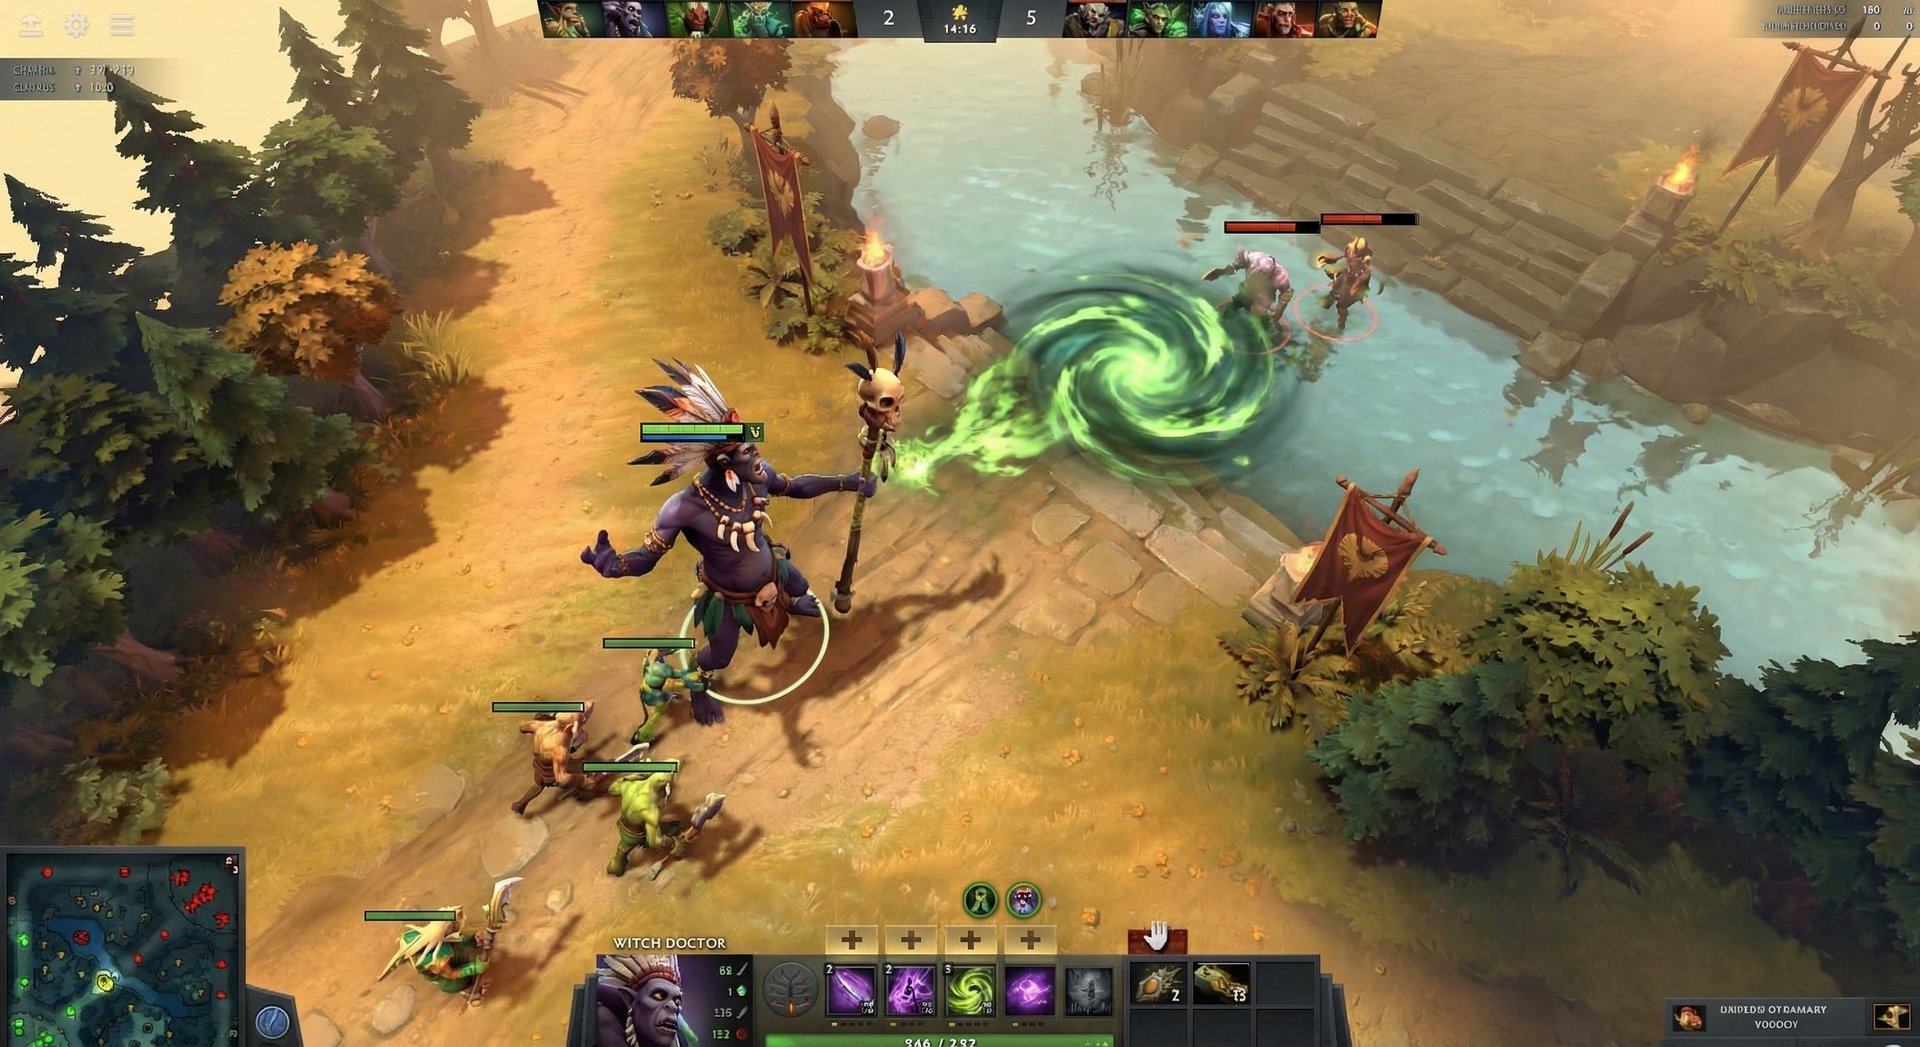
Voodoo Restoration is a toggle heal that restores 16/24/32/40 HP per second to nearby allies in a 500 radius. It drains 8/14/20/26 mana per second, making it expensive to leave on permanently in the early game. The ability has no cooldown — you toggle it on and off freely.
What separates good Witch Doctor players from great ones is efficient toggling. Do not leave Voodoo Restoration running while walking between lanes. Toggle it on during fights, during pushes when your team takes tower damage, and when your carry is getting harassed in lane. Toggle it off the instant the damage stops.
Hidden mechanic: Voodoo Restoration heals Witch Doctor himself for the same amount. Combined with a Locket or Spirit Vessel, you become surprisingly tanky for a support. In the mid game, toggling W during a team fight while channeling Death Ward keeps you alive through incidental damage.
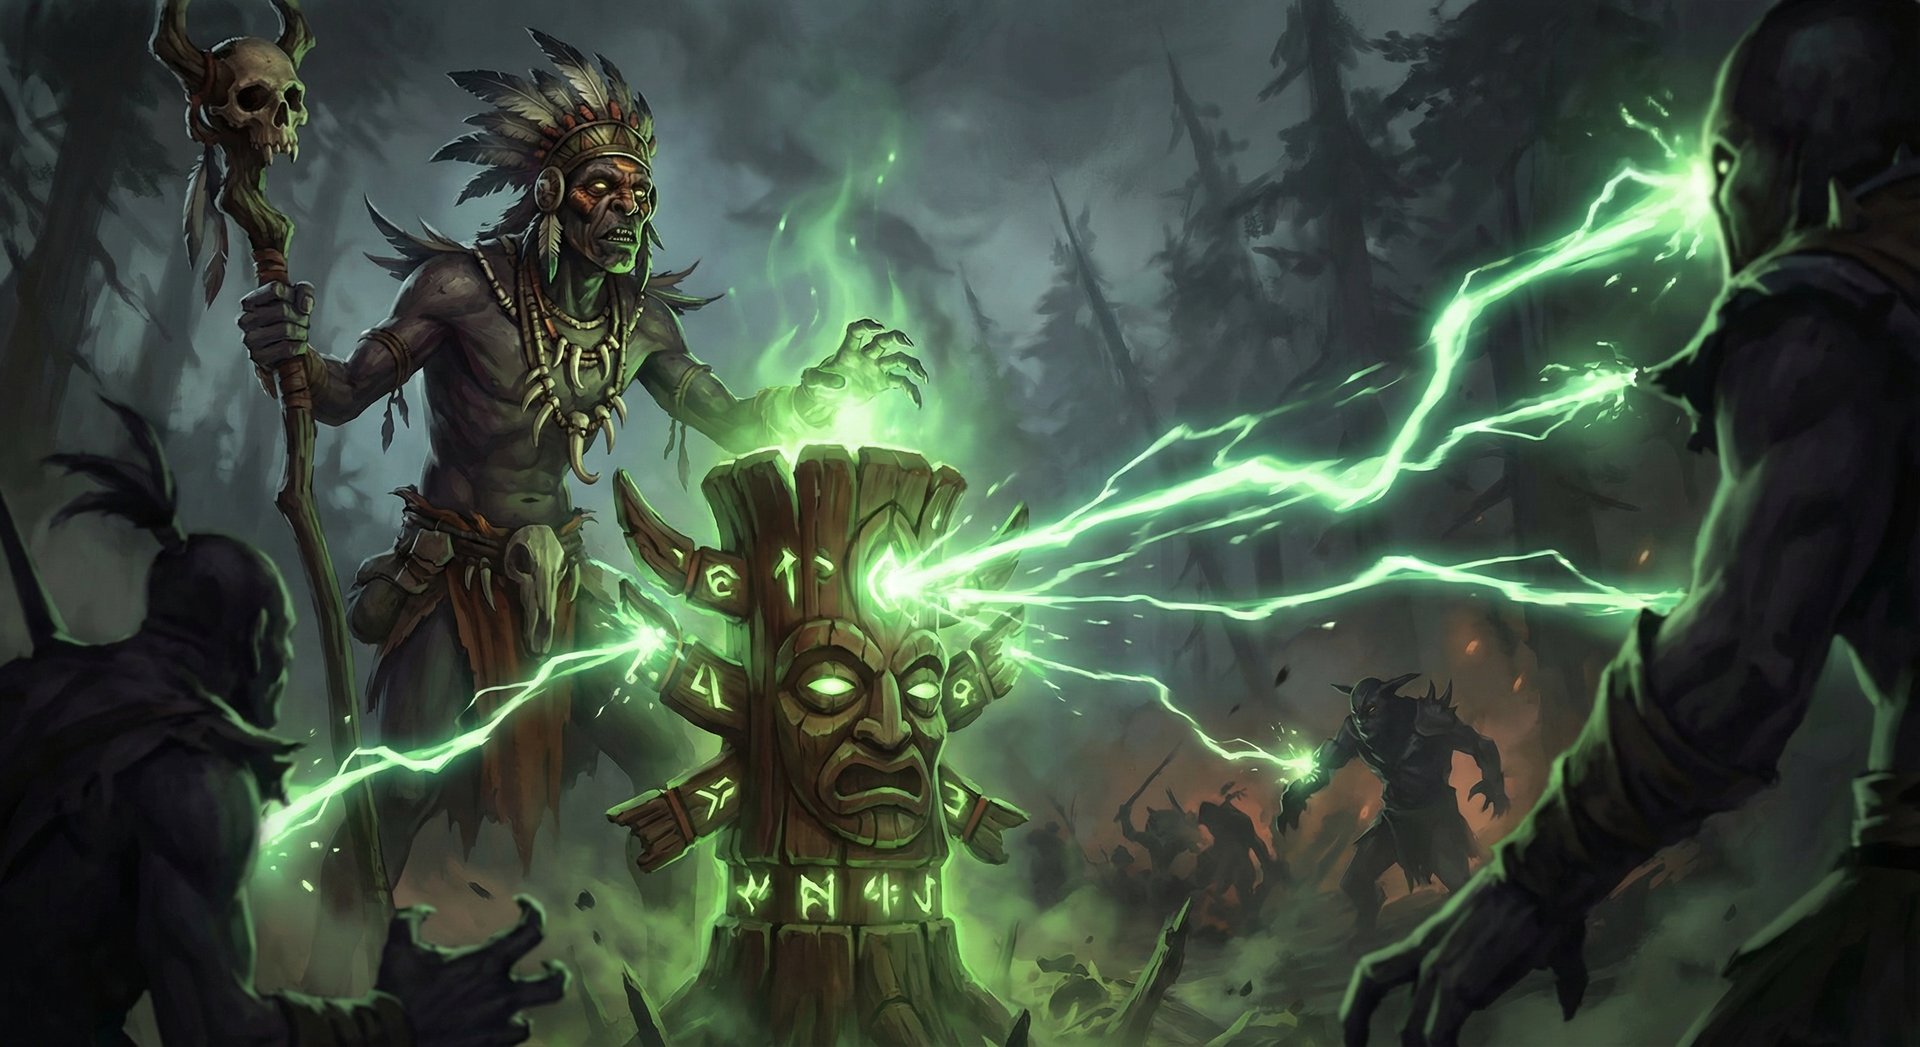
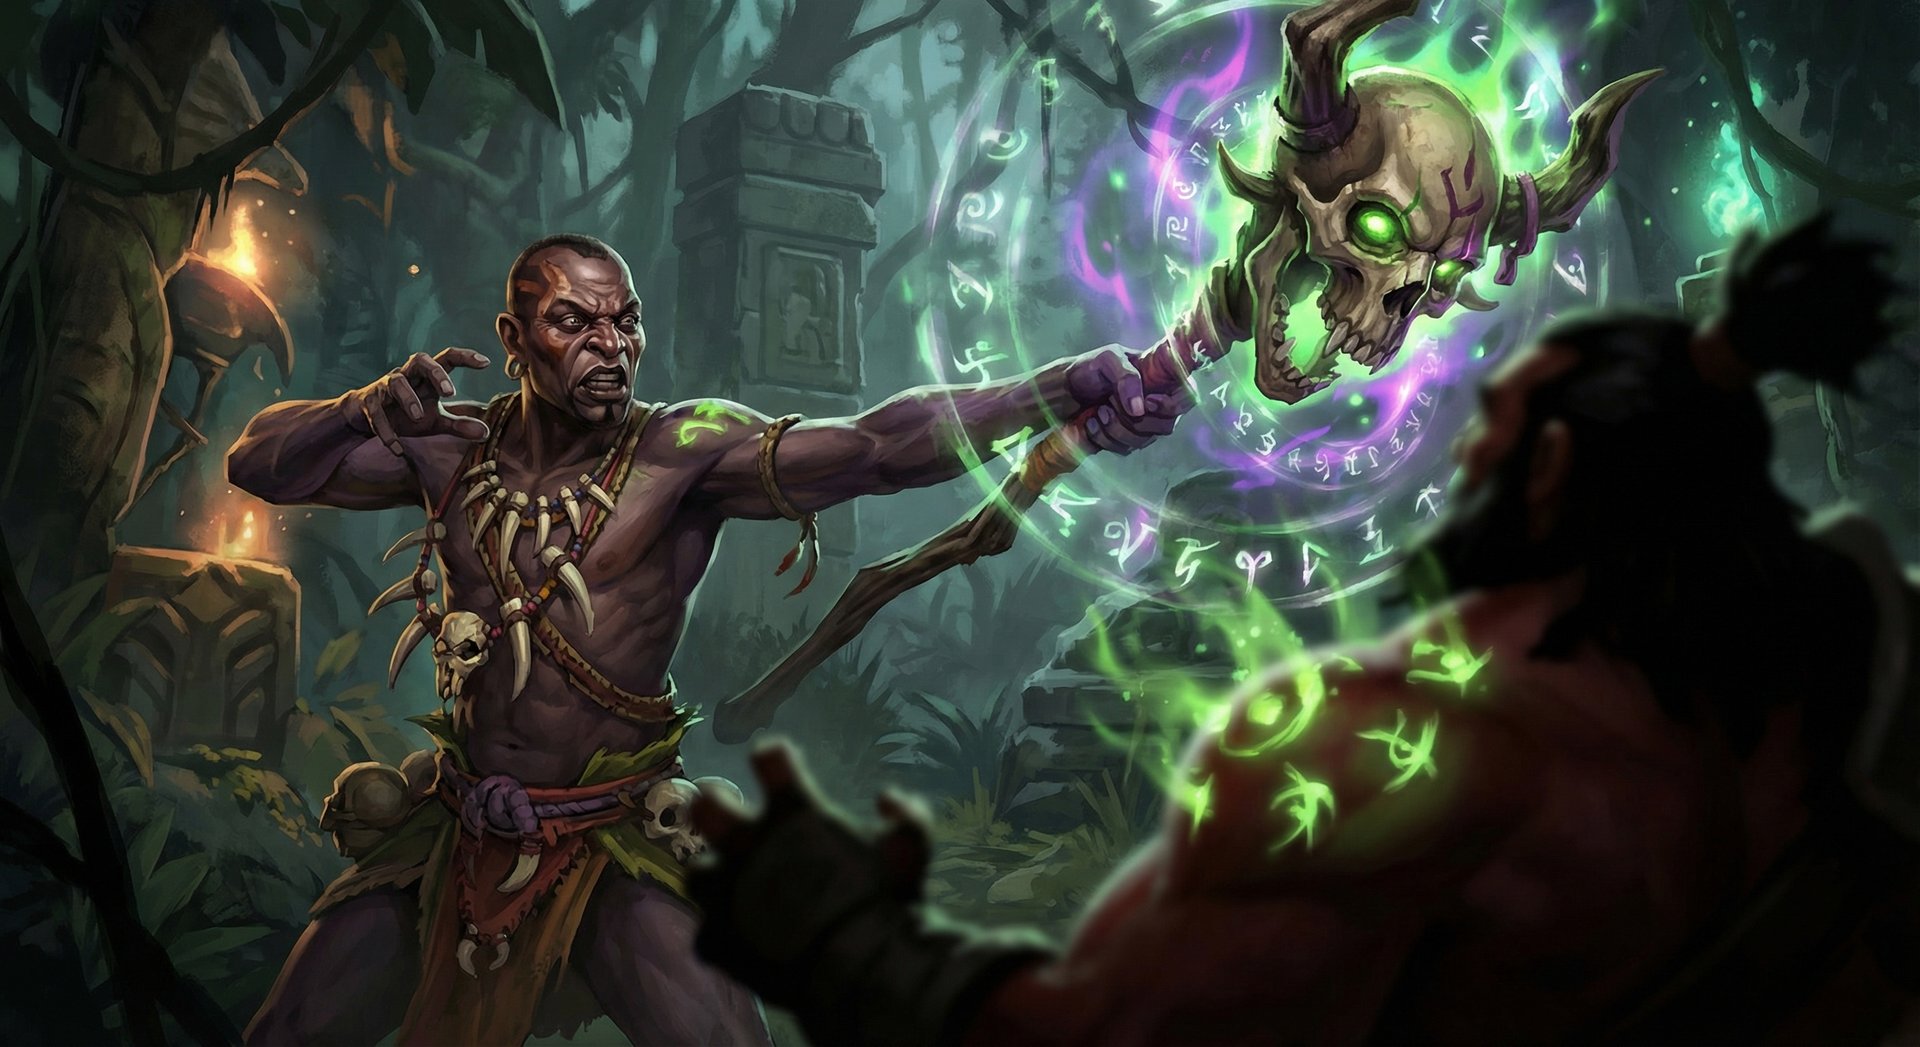
Maledict (E)
Maledict is arguably the most underrated ability in Dota 2. It places a curse on enemies in a 180 AoE that deals damage over 12 seconds. Every 4 seconds, Maledict checks how much HP the target has lost since the curse was applied and deals bonus damage equal to a percentage of that HP loss. At max level, it deals 24/40/56/72 base damage per tick plus 20/28/36/44% of HP lost.
Here is why Maledict is broken: if you land it on a hero at full HP and your team bursts them down to half, Maledict’s ticks start dealing hundreds of bonus damage. On a hero with 2,000 HP who drops to 1,000, the third tick deals 44% of 1,000 = 440 bonus damage on top of the base damage. Maledict has killed more heroes after they thought they escaped than any other ability in Dota.
Critical timing: Always cast Maledict BEFORE the burst damage happens, not after. The curse snapshots the target’s HP at the moment of application and measures all HP loss from that point. Casting Maledict on a hero who is already low does almost nothing — the HP loss from the snapshot will be minimal.
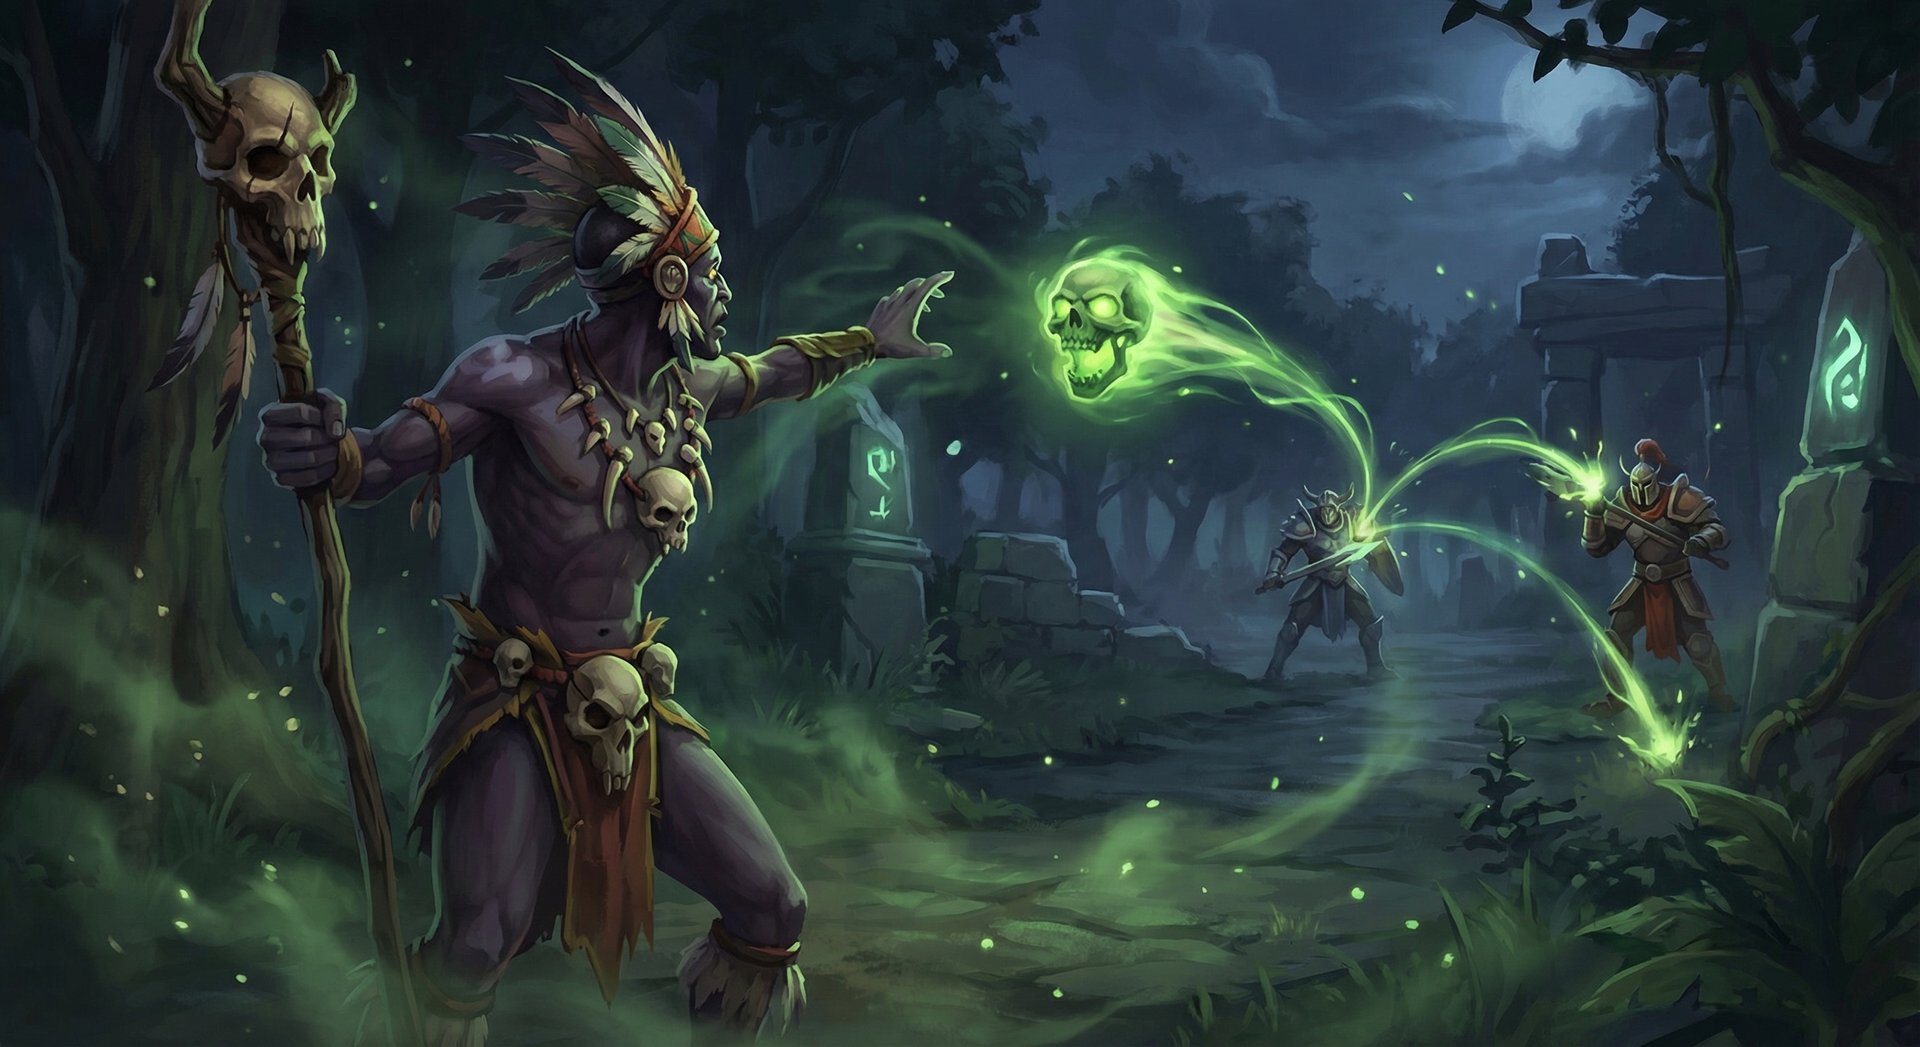
Death Ward (R) — Ultimate
Death Ward is a channeled ability that summons a ward dealing 60/105/150 damage per attack with a 0.22 second attack interval. That translates to roughly 270/477/682 DPS before reductions — higher than most carries’ auto-attack damage at equivalent game timings. The ward lasts 8 seconds, attacks in a 700 range, and bounces with Aghanim’s Scepter.
The golden rule: Positioning is everything. Death Ward channels from wherever you cast it, and you cannot move during the channel. The best Death Ward positions are behind walls, on cliffs, or inside trees where enemies cannot easily reach you to cancel the channel. A Death Ward from fog of war that catches three heroes wins team fights outright.
Aghanim’s Scepter upgrade: Death Ward attacks bounce to nearby enemies, turning it from a single-target nuke into an AoE monster. With Scepter, Death Ward in a grouped team fight deals damage comparable to Enigma’s Black Hole — without the 200-second cooldown. This is why Aghanim’s is the single most important item on Witch Doctor.
Aghanim’s Shard upgrade: Paralyzing Cask creates a mini Death Ward at each bounce location for 2.5 seconds. This adds significant AoE damage during team fights and makes your cask a damage ability, not just a disable.
Item Builds by Rank Bracket
Witch Doctor’s item progression changes significantly based on your rank bracket. Lower ranks need survivability because fights are chaotic and unpredictable. Higher ranks can afford greedier builds because team coordination protects your channels.
| Rank Bracket | Starting | Early (0-15 min) | Core (15-30 min) | Late (30+ min) |
|---|---|---|---|---|
| Herald – Crusader | Tango, Clarity x2, Blood Grenade, Observer Ward | Magic Stick, Boots, Wind Lace | Glimmer Cape, Arcane Boots | Aghanim’s Scepter, Force Staff |
| Archon – Legend | Tango, Clarity x2, Blood Grenade, Sentry Ward | Magic Wand, Tranquil Boots, Urn of Shadows | Glimmer Cape, Aghanim’s Shard | Aghanim’s Scepter, Black King Bar |
| Ancient – Divine | Tango, Clarity x2, Blood Grenade, Sentry Ward | Magic Wand, Tranquil Boots, Urn | Aghanim’s Shard, Glimmer Cape or Force Staff | Aghanim’s Scepter, BKB, Aether Lens |
| Immortal | Tango, Clarity x2, Blood Grenade, Sentry | Magic Wand, Tranquil Boots, Urn | Aghanim’s Shard, Force Staff | BKB, Aghanim’s Scepter, Refresher Orb |
Why Glimmer Cape first in low ranks: Below Ancient, enemies rarely buy detection consistently. A Glimmer Cape lets you channel Death Ward while invisible, and in Herald-Archon games, you will get the full 8-second channel roughly 70% of the time because nobody carries Dust. It is hands-down the most cost-efficient item for Witch Doctor in low MMR.
Why BKB in high ranks: Above Ancient, enemies will immediately stun or silence your Death Ward channel. BKB guarantees your channel completes, and a full 8-second BKB Death Ward with Scepter can deal upwards of 5,000 total damage across multiple targets. Immortal players often rush BKB even before Scepter if the enemy has instant disables like Nyx Assassin or Spirit Breaker.
Urn of Shadows / Spirit Vessel: Witch Doctor is one of the best Urn carriers in the game because he participates in kills from minute 2 onward. Urn charges synergize perfectly with Maledict — the continuous damage ticks from Urn increase the HP loss that Maledict multiplies. If you are getting kills early, Urn into Spirit Vessel is devastating against strength cores.
Laning Phase Masterclass
Witch Doctor is one of the strongest lane-phase supports in the game. His 600 attack range lets him harass from a safe distance, and his Paralyzing Cask + Maledict combo can secure kills from level 2. The key to winning your lane as Witch Doctor is understanding when to go aggressive and when to sit back.
Level 1 Strategy
Start with Paralyzing Cask at level 1. Your job is to trade right-clicks with the enemy support and look for cask opportunities when the enemy carry and support are close together. A cask that bounces between two heroes with no creeps is a 2-second stun at level 1 — your carry can deal massive damage during that window.
Positioning tip: Stand between the enemy creep wave and the enemy heroes. This forces the cask to bounce only between heroes (no creeps to absorb bounces). If they split apart to avoid cask bounces, you have won the positioning battle — one of them is now isolated.
Level 2-3 Kill Threat
At level 2, pick up Maledict. This is your kill window. The combo is simple: Paralyzing Cask to stun, immediately cast Maledict on the stunned target, then right-click together with your carry. If the target drops below 50% HP during the Maledict duration, they are almost certainly dead — the damage ticks will finish them even if they run to tower.
The math at level 2: Cask stuns for 1 second (two bounces on a solo hero). Maledict deals 24 base + percentage of HP lost over 12 seconds. If your carry deals 200 damage during the stun and you add 100 more in right-clicks, Maledict’s ticks escalate to finish off anyone below 400 HP. This is why Witch Doctor has one of the highest kill participation rates at level 2 in all of Dota.
Lane Partner Synergies
Witch Doctor pairs best with carries who have early kill potential and follow-up damage:
- Juggernaut: Cask stun into Blade Fury is a guaranteed kill at level 2. The enemy cannot escape the Blade Fury damage while stunned, and Maledict finishes survivors.
- Ursa: Earthshock slow plus cask stun gives Ursa enough time to stack Fury Swipes 4-5 times. With Maledict amplifying the HP loss, this is the deadliest duo lane in the game.
- Troll Warlord: Troll’s melee bash plus Witch Doctor’s cask chain creates an extended lockdown that few heroes survive.
- Phantom Assassin: PA’s Stifling Dagger slow into cask stun allows PA to close the gap and start hitting. Maledict punishes heroes who try to trade blows with PA.
- Faceless Void: Time Walk initiation into cask bounce creates 3+ seconds of disable. Void’s bash procs during cask stun are devastating.
When to Rotate
If your lane is going well (your carry is farming freely and the enemy is playing safe), consider rotating mid at minute 4-5 with a Smoke of Deceit. Witch Doctor’s kill threat is just as potent mid — cask bounce on the enemy mid with your mid laner following up often results in a first blood or at least a forced TP. Bring a clarity and use the downtime walking to mid to regen mana.
Mid and Late Game Transitions
Witch Doctor’s power curve is unique among supports. He spikes hard at level 6 when Death Ward comes online, dips slightly in the 15-25 minute window when enemies get BKBs and can cancel his channel, then spikes again once he completes Aghanim’s Scepter or BKB and can guarantee full-duration channels.
Level 6-12: The Team Fight Menace
Once you hit level 6, your job changes from lane harasser to team fight closer. Position yourself behind your frontline and wait for the enemy to commit before channeling Death Ward. The single biggest mistake Witch Doctor players make is ulting too early — enemies scatter, someone stuns you in 0.5 seconds, and your 120-second cooldown is wasted.
Wait for the commitment. Once the enemy carry BKBs and jumps in, once the enemy initiator uses their big spell, THEN channel Death Ward from fog or behind a wall. They have already used their resources and cannot easily cancel you.
Timing Windows
Witch Doctor’s key timing windows:
- Level 6 (minute 8-10): Death Ward does more DPS than most carries at this timing. Force fights at Roshan or towers.
- Aghanim’s Shard (minute 15-20): Your cask now spawns mini Death Wards. Team fights become chaotic for the enemy.
- Aghanim’s Scepter (minute 25-30): Bouncing Death Ward is a game-changer. A 5-man Death Ward with Scepter can deal 3,000+ total damage.
- BKB timing (minute 25-35): BKB + Death Ward cannot be interrupted by most abilities. This is your peak.
BKB Decision Making
The eternal question: Scepter first or BKB first Here is the decision tree:
- Buy BKB first if the enemy has instant disables (Nyx Vendetta, Spirit Breaker Charge, Clockwerk Hookshot, Rubick Telekinesis) that they specifically save for your ult.
- Buy Scepter first if the enemy lacks reliable ways to reach your backline, or if they tend to group up in fights (making bouncing Death Ward devastating).
- Buy neither first if your team is behind. Get Glimmer Cape or Force Staff to survive and play for Maledict + Cask value until you can afford the bigger item.
Late Game (40+ minutes)
In ultra-late game, Witch Doctor’s value shifts toward Maledict as the primary damage source because enemies have BKBs to shut down Death Ward. A max-level Maledict on a 3,000 HP Strength carry who gets bursted to half deals astronomical tick damage. At 40+ minutes, focus on landing Maledict on the enemy carry, using cask for disruption, and channeling Death Ward only when BKBs are on cooldown.
If you somehow reach Refresher Orb, double Death Ward is one of the most terrifying things in Dota. Channel the first ward, let them use resources to cancel it, then immediately channel the second. Very few teams can deal with two full Death Ward channels in a single fight.
Counters: Heroes That Destroy Witch Doctor
Witch Doctor’s biggest weakness is his channeled ultimate. Any hero with a long-range disable or gap closer can shut down Death Ward instantly. Here are the five worst matchups:
1. Nyx Assassin
Nyx is Witch Doctor’s absolute nightmare. Vendetta provides invisible approach to break Death Ward channel. Mana Burn destroys your already limited mana pool. Spiked Carapace reflects your cask stun back onto you. Against Nyx, you need BKB before anything else — there is no other solution.
How to play around it: Ward aggressively to spot Nyx before he initiates. Save Death Ward until Nyx reveals himself and uses Vendetta or Carapace. If Nyx has already used Carapace, your window to cask and ult is approximately 14 seconds.
2. Spirit Breaker
Charge of Darkness gives Spirit Breaker a global-range ability to find and interrupt your Death Ward from anywhere on the map. Greater Bash’s stun goes through BKB. Even with BKB active, Spirit Breaker’s Nether Strike stuns you and cancels your channel.
How to play around it: Never channel Death Ward unless you know where Spirit Breaker is on the map. If he is missing, assume he is charging you. Position near allies who can Lotus Orb or Force Staff you during Charge.
3. Clockwerk
Hookshot provides a long-range stun that specifically targets channeling heroes. Battery Assault inside Power Cogs makes it impossible to channel anything. Clockwerk can reach you from 2,000+ range and lock you down for 4+ seconds.
How to play around it: Position behind terrain where Hookshot’s line cannot reach you. Cliffs and high ground are your friends. Force Staff is essential to escape Cogs.
4. Rubick
Rubick stealing Death Ward is a genuine game-losing scenario. His stolen Death Ward benefits from Rubick’s spell amplification and can be used without channeling with Aghanim’s Scepter. Telekinesis also instantly cancels your channel from 550 range.
How to play around it: After channeling Death Ward, immediately cast Voodoo Restoration (W toggle) so Rubick steals the heal instead. This is the single most important Witch Doctor habit to develop against Rubick.
5. Anti-Mage
Mana Break destroys Witch Doctor’s tiny mana pool. Blink provides instant gap close to reach your Death Ward position. Mana Void can one-shot you when your mana is depleted from channel. Anti-Mage also tends to split-push, making it hard to find good Death Ward targets.
How to play around it: Build Aether Lens for extra cast range to stay farther from AM’s blink range. Hold Death Ward until AM commits to a fight and burns Blink cooldown chasing someone else.
Heroes Witch Doctor Destroys
Witch Doctor excels against heroes who clump together, lack mobility, or have no way to cancel his channel. These are his best matchups:
1. Phantom Lancer
Paralyzing Cask bounces endlessly between PL’s illusions, providing massive AoE stun. Death Ward with Aghanim’s Scepter bounces between illusions too, dealing AoE damage across the entire army. Maledict on the real PL punishes his tendency to dive into fights. Witch Doctor is one of PL’s hardest counters in the game.
2. Broodmother
Cask bounces between Broodmother’s spiderlings, stunning her repeatedly. Death Ward shreds through the spider army. Maledict punishes Brood’s aggressive dives. If Brood tries to all-in your team, she walks into a wall of cask bounces and Death Ward damage.
3. Chaos Knight
Similar to PL, CK’s Phantasm illusions give Paralyzing Cask unlimited bounce targets. A single cask into CK’s illusion army stuns the real CK multiple times. Death Ward with Scepter clears the illusions rapidly.
4. Meepo
Every Meepo clone counts as a hero for Paralyzing Cask bounces. Cask bouncing between 4-5 Meepo clones stuns each one repeatedly. Death Ward shreds through Meepo’s relatively low armor. Maledict on the main Meepo while your team focuses clones creates devastating multiplied damage.
5. Huskar
Maledict is the ultimate Huskar counter ability. Huskar plays at low HP to maximize Berserker’s Blood — but Maledict deals bonus damage based on HP lost. A Huskar who drops from full to 30% HP takes catastrophic Maledict tick damage. Combined with Spirit Vessel (which reduces Huskar’s healing), Witch Doctor makes Huskar’s entire strategy backfire.
How Pros Play Witch Doctor in the Current Patch
Witch Doctor sees consistent pro play as a position 5 hard support, particularly valued in drafts that need strong lanes and team fight damage. In recent DPC events and regional leagues, several notable Witch Doctor performances stand out.
Team Spirit’s Mira has been a frequent Witch Doctor picker, favoring a greedy Aghanim’s Scepter rush when his team creates enough space. In a notable match against Gaimin Gladiators, Mira’s Witch Doctor finished with a 5-2-22 scoreline, landing three-hero Maledict curses in multiple team fights that swung the game decisively. His build path: Tranquil Boots, Urn, Aghanim’s Shard at minute 18, followed by Scepter at 28 minutes.
Build trends in pro play:
- Skill build: Pros almost universally go 1-1-1 by level 3, then max Maledict by level 7. The reasoning: Maledict’s damage scaling per level is significantly higher than Cask’s utility scaling.
- Aghanim’s Shard timing: Pro supports aim for Shard between minutes 15-20. The mini Death Wards from cask bounces add substantial team fight damage without requiring Witch Doctor to channel.
- BKB priority: Against heavy-disable lineups, pros buy BKB before Scepter roughly 60% of the time.
- Positioning: Pro Witch Doctors rarely channel Death Ward in the open. They use Smoke of Deceit, tree juking, and high-ground positions to channel from unexpected angles.
Draft context: Pros pick Witch Doctor when they need a support that can win lanes and scale into late game. He is often paired with aggressive carries like Ursa, Troll Warlord, or Juggernaut who can capitalize on his early kill potential. Witch Doctor is less favored in defensive or turtle-style drafts where his channeled ult gets less value.
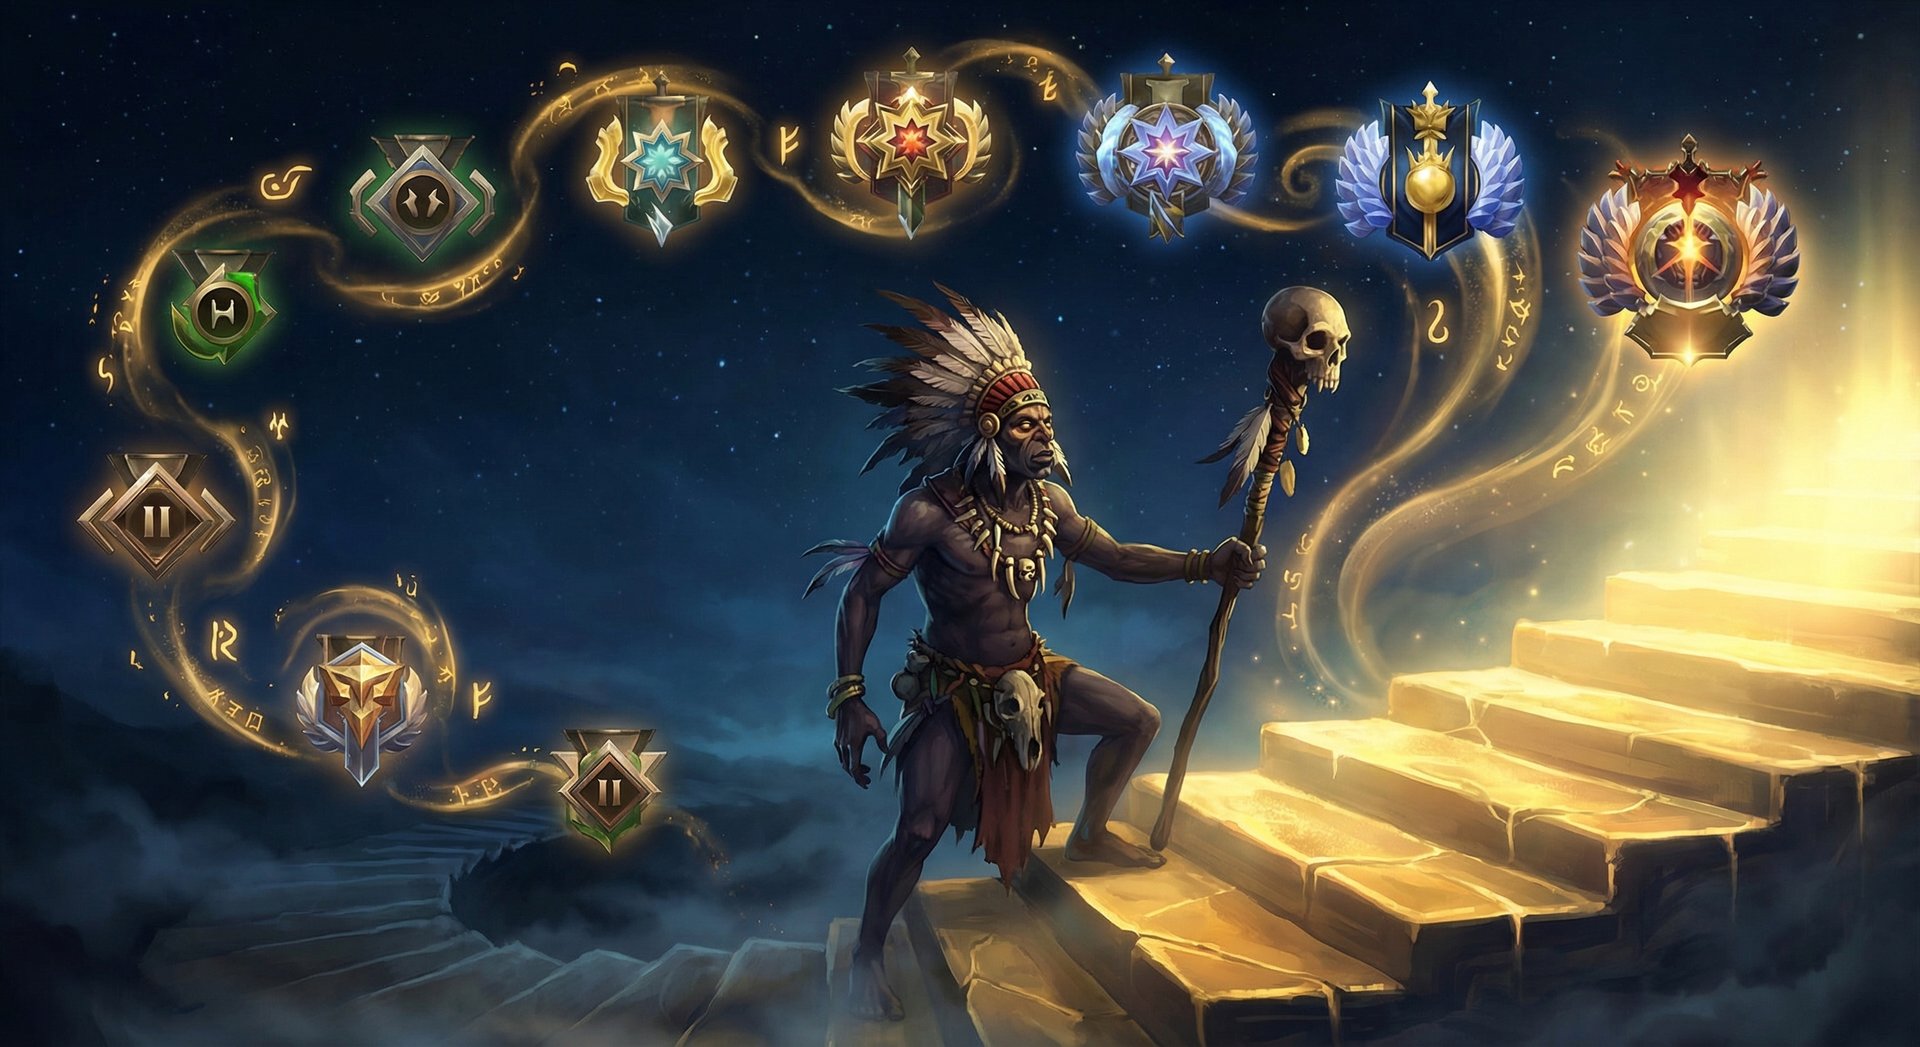
Rank-Specific Climbing Guide
Herald to Guardian: Build the Foundation
At this bracket, Maledict is your win condition. Players at Herald-Guardian do not understand Maledict’s damage mechanics. They will tank full Maledict ticks while running to tower, believing they escaped. They did not escape.
Focus on:
- Landing Cask + Maledict combo on a single target in lane. Do not worry about multi-hero plays yet.
- Buying Glimmer Cape and using it during Death Ward channel. Nobody buys Dust at this rank.
- Standing behind your carry in fights, not in front. Your job is damage, not tanking.
- Using Maledict on ANY hero who drops below 60% HP during a fight. The ticks will often kill them.
Common mistake: Wasting Maledict on full-HP targets who then disengage. Maledict only deals massive damage when the target takes significant HP loss during the curse. Use it on targets your team is actively focusing.
Crusader to Archon: Adding Game Sense
At this rank, you should start thinking about Death Ward positioning before the fight starts. Before every team fight, identify a tree cluster, cliff, or fog position where you can channel Death Ward safely.
Focus on:
- Warding to create information advantages for your team — Witch Doctor benefits enormously from knowing where enemies are.
- Smoking at key timings (minute 10, 15, 20) with your mid laner or offlaner to get pickoffs. Your Cask + Maledict + their damage = kills.
- Prioritizing Aghanim’s Shard after basic utility items. The mini Death Wards from cask are game-changing in chaotic Archon fights.
- Learning to toggle Voodoo Restoration efficiently to sustain through pushes without going OOM.
Legend to Ancient: The Macro Leap
Legend-Ancient is where Death Ward positioning becomes the skill differentiator. Enemies at this rank will actively hunt for your channel. You need to play one step ahead.
Focus on:
- Using Smoke of Deceit to find off-angle Death Ward positions before fights start.
- Reading the enemy draft during pick phase — count the number of abilities that can cancel your channel and plan your item build accordingly.
- Timing your Maledict to coincide with your team’s burst window. Communicate “I’m going to Maledict the carry, everyone focus them.”
- Building Force Staff when you need to save allies from ganks, or Glimmer Cape when Death Ward safety is more important.
Divine to Immortal: What Separates the Top 1%
At Immortal, every enemy knows exactly how Witch Doctor works. They save stuns for your ult. They buy Dust for your Glimmer. They focus you first in every fight. The difference between a Divine WD and an Immortal one:
Focus on:
- Bait ults without ulting. Position as if you are about to channel Death Ward. When the enemy uses a disable on you preemptively, your team collapses while their cooldowns are wasted. Then channel Death Ward in the follow-up fight.
- Maledict target prioritization. In Immortal, Maledict the enemy hero your team will focus — often the position 1 or 2 after their BKB expires.
- Toggle W (Voodoo Restoration) during ult channel. The heal keeps you alive through chip damage and can be the difference between completing a full channel or dying 0.5 seconds early.
- Refresh your ult when behind. If you buy Refresher, use first Death Ward to bait BKBs/stuns, then immediately Refresh and channel again. Nobody expects the double ult.
Tips and Tricks
Animation Cancels and Hidden Mechanics
- Cask into Maledict cancel: Cast Paralyzing Cask, then immediately queue Maledict on the same target. The Maledict cast begins during the cask travel time, landing almost simultaneously with the stun. This gives enemies zero time to react.
- Death Ward tree trick: You can channel Death Ward from inside a tree cluster where enemies cannot see you. The ward itself has 700 attack range, but enemies need to cut trees or have flying vision to find you. In pubs, this buys 2-3 extra seconds of channeling.
- Voodoo Restoration Mana management: At level 1, Voodoo Restoration costs 8 mana/second. Toggle it for exactly 3-4 seconds per use in the early game to heal 48-64 HP at a cost of 24-32 mana. Never leave it running while walking between lanes.
- Cask bounce manipulation: Paralyzing Cask bounces to the nearest valid target. You can control bounces by positioning yourself to isolate the target you want stunned. If only two heroes are near each other with no creeps, the cask bounces exclusively between them.
Common Mistakes to Avoid
- Channeling Death Ward too early: The most common Witch Doctor mistake. Wait 2-3 seconds into the fight until enemies have committed their key abilities. A Death Ward that channels for 5+ seconds wins fights. A Death Ward that gets cancelled in 0.5 seconds is a wasted 120-second cooldown.
- Forgetting to Maledict before burst: Maledict MUST be applied before the damage happens. Casting it on a hero who is already at 20% HP does almost nothing. Cast it at 80%+ HP, then let your team burst them down.
- Overextending for kills: Witch Doctor has no escape. No blink, no mobility spell, no invis. If you walk too far forward for a Maledict, you die. Stay at 600+ range and use Cask’s cast range to initiate safely.
- Ignoring Voodoo Restoration in fights: Many players forget to toggle W during team fights. The 40 HP/sec heal at max level adds up significantly during a 10-second fight — that is 400 extra effective HP for you and nearby allies.
- Not buying BKB when needed: Some support players refuse to buy BKB because “it is a carry item.” On Witch Doctor, BKB is THE support item. A 4,000 gold BKB that guarantees a full Death Ward channel provides more value than any other item in the game.
Advanced Techniques Only High-MMR Players Know
- Death Ward cliff ward: Several spots on the Dota 2 map allow you to channel Death Ward from cliffs where enemies cannot reach you without a blink. Learn the ward spots near Roshan pit, the triangle jungles, and behind tier 2 towers.
- Fake channel bait: Walk into a Death Ward position and start channeling. When the enemy uses their stun on you, your team engages on the now-cooldown-spent enemies. You channel Death Ward in the follow-up engagement when they have no answers.
- Maledict + Spirit Vessel timing: Apply Maledict first, then immediately use Spirit Vessel on the same target. The Vessel damage ticks count toward Maledict’s “HP lost” calculation, creating a feedback loop of escalating damage that is nearly impossible to out-heal.
- Shard value in Roshan fights: In Roshan pit, Paralyzing Cask with Aghanim’s Shard spawns mini Death Wards that bounce between grouped enemies in the tight pit space. This adds 500+ total damage to any Roshan pit fight.
Frequently Asked Questions
Witch Doctor works in both roles, but he is slightly better as position 5 in the current meta. As a 5, he wins lanes with Cask + Maledict, then transitions into a team fight threat with Death Ward. As a 4, he can afford faster Aghanim’s Scepter, but he misses out on the lane-winning potential that makes him so strong. In pubs below Divine, play him as position 5 for maximum impact.
The standard build is Q-E-Q at levels 1-3, then max Maledict (E) by level 7, followed by maxing Cask (Q). Take Death Ward at 6, 12, and 18. Get one value point in Voodoo Restoration at level 4 for sustain. In kill lanes with Ursa or Juggernaut, you can go Q-E-E for even more Maledict damage by level 3.
If the enemy has 2+ reliable ways to cancel your Death Ward channel (stuns, hexes, silences that reach your backline), buy BKB first. If the enemy lacks mobile initiators and tends to group up, buy Scepter first. In most pub games below Ancient, Glimmer Cape before either is actually the best choice because enemies rarely buy detection.
Nyx is your hardest counter. Buy Sentry Wards aggressively and plant them where you plan to channel Death Ward. Get BKB as your first major item — it prevents Nyx’s stun from canceling your ult. Never cast Paralyzing Cask when Nyx has Spiked Carapace available, as it reflects the stun back onto you. Wait for Nyx to use Carapace before engaging.
Yes, Witch Doctor is in a strong spot in 7.40c. His 52%+ winrate across all ranks and consistent pro pick rate confirm he is viable. The meta favors aggressive early-game supports who can transition into team fight damage dealers, which is exactly what Witch Doctor does. He is particularly strong against the current trend of illusion-based carries like Phantom Lancer and Naga Siren.
The strongest combos are with heroes that provide follow-up damage or extended lockdown: Juggernaut (Blade Fury + Cask), Ursa (Earthshock + Cask + Overpower), Faceless Void (Chronosphere + Death Ward is devastating), and Enigma (Black Hole + Death Ward). Any hero with a stun or slow that keeps enemies in Death Ward’s range is a great partner.
Cast Maledict BEFORE the burst damage happens — ideally when the target is above 70% HP. Then have your team focus that target immediately. The more HP the target loses during the 12-second Maledict duration, the more damage each tick deals. Pair Maledict with Spirit Vessel for even more damage amplification, and never waste Maledict on targets who are already low HP or disengaging.
Ready to Dominate with Witch Doctor
Our Immortal-rank coaches can teach you advanced Death Ward positioning, Maledict timing, and the support fundamentals that turn Witch Doctor into a team fight nightmare. Or skip the grind entirely with our MMR boosting service.
Get Witch Doctor Coaching
Boost My MMR Instead


