

Two-Man Lane Kill Combos That Work at Every Rank

Most solo queue deaths before minute 10 are not accidents. They are the result of one duo running a kill combo that the victim did not recognize in time. Two heroes, planned or improvised, stack CC and damage to burst an enemy below their reaction window. The kill happens in under two seconds and the lane is decided.
This guide breaks down the two-man lane kill combos that actually work at every skill bracket — from Herald to Divine — with execution tips tailored to each rank. No theory-crafting. No invented synergies. These are the setups used by TeamSmurf boosters when they need to snowball a lane fast.
Table of Contents
What Makes a Kill Combo Work
Every successful lane kill comes down to three numbers: CC duration, kill threshold, and execution window. If you understand all three, you can evaluate any two-hero pairing in about thirty seconds.
CC Duration
A target needs to be disabled long enough for your carry to deal killing damage. A single 1.5-second stun is rarely enough at level 3 or 4 unless the target is already low. A chained 4-second lockdown gives your partner time to right-click, use abilities, and land items. The best combos either chain two separate disables with zero gap or provide one long-duration disable that lasts past BKB purchase.
CC stacking matters too. A stun followed by a root is weaker than a stun followed by another stun, because the enemy can move during a root and use items. A hex followed by a stun, or a stun followed by another stun with no gap, is the gold standard. Lion is the classic example: Hex prevents item usage during the disable, then Earth Spike lands when Hex ends for a seamless follow-through.
Kill Threshold
At levels 2 to 5, the typical support-carry duo needs to burst roughly 400 to 600 HP to secure a kill before the enemy can react or escape. This is the kill threshold window. Combos that deal burst magic damage alongside their CC — Skywrath Mage, Shadow Demon, Witch Doctor — are powerful because they close the HP gap quickly. Pure CC combos like Shaman or Lion need a fed carry dealing the damage, but their disable duration covers for lower early damage output.
Execution Window
The execution window is the gap between when the combo becomes available and when the enemy gets powerful enough to survive it or buy counter-items. BKB neutralizes most magic CC. Hood of Defiance, Pipe, and Eul’s Scepter reduce magic burst. Your window for a raw magic kill combo is roughly levels 3 to 11 — after that, an experienced player will have the gold and items to survive. Picking the right moment within that window is what separates a good kill combination from a telegraphed feed.
Quick Reference: Top Combos by Difficulty and Rank Floor
| Combo | Total CC | Difficulty | Rank Floor | Best Countered By |
|---|---|---|---|---|
| Lion + Any Carry | 4-5s chain | Very Easy | Herald | BKB, Force Staff |
| Shadow Shaman + Any Carry | 8s+ total | Easy | Herald | Force Staff, Eul’s |
| Ogre Magi + Any Carry | 2-3s stun + slow | Very Easy | Herald | Hood, Phase Boots |
| Crystal Maiden + Any Carry | 3.5s root | Easy | Herald | Force Staff, Eul’s |
| Undying + Any Carry | Pressure-based | Easy | Herald | Healing items, fast Bottle |
| Skywrath Mage + Any Carry | Silence + slow | Medium | Crusader | Hood, Cloak, BKB |
| Witch Doctor + Any Carry | 0.5-1s per bounce | Medium | Crusader | Spread positioning |
| Ancient Apparition + Any Carry | 4s freeze (conditional) | Medium | Archon | High mobility, Blink |
| Shadow Demon + Any Carry | 2s + stacking DoT | Hard | Legend | BKB, Linkens |
| Pudge + Lion | Hook + full chain | Very Hard | Ancient | Positioning, Linkens |
Stun-Chain Combos — The Most Reliable Kills
Stun chains are the backbone of Dota 2 lane killing. Two heroes each holding a stun, deployed back-to-back with no gap, create a lockdown that lasts long enough for almost any carry to secure the kill. The key mechanic is zero-gap chaining: the second stun lands before the first expires so the target never regains control.
Lion + Any Carry
Lion is the most tutorial-friendly kill support in the game, and that is not a knock against him. Hex (2.5 to 3.25 seconds depending on level) prevents the target from using any items or abilities. When Hex ends, Earth Spike stuns for 1.1 to 1.6 seconds. The total lockdown reaches 4 to 5 seconds at higher levels — more than enough for a carry hitting Phase Boots and a core item to land the kill.
The execution is simple: Hex first, then Earth Spike as soon as Hex ends. Do not Earth Spike first. The reason is that Hex removes the target from the game entirely — no Blink, no Force Staff, no TP. Earth Spike, while a stun, allows the enemy to use items the instant the stun ends. Starting with Hex gives you the cleanest window. Finger of Death provides the final burst damage if the target survives the CC chain, or if they run with low HP.
Works with: Virtually any pos 1 or pos 2 who deals physical damage. Juggernaut with Blade Fury, Dragon Knight, Faceless Void (who should ideally Chronosphere during the Hex), Anti-Mage if close enough — the list is long because Lion provides both the initiation and the finisher.
Shadow Shaman + Any Carry
Shadow Shaman delivers one of the longest single-target lockdowns available to any support in the early game. Hex at max level lasts 3.25 seconds. Shackles channels for 5 seconds. The total lockdown — Hex into Shackles — is over 8 seconds, which is long enough for your carry to right-click the target to death with zero ability usage required.
The tradeoff is that Shackles is a channel. Both Shaman and the target are rooted during Shackles, which means Shaman is vulnerable to being killed to break the channel. Always Hex first to prevent the enemy from using a Force Staff or a Blink to escape, then immediately begin Shackles. Position yourself behind your carry so that the enemy cannot reach you to break the channel, and make sure your carry is standing between you and the enemy. Serpent Wards add additional pressure during and after the lockdown, making any near-death target impossible to escape.
Shadow Shaman’s power spike is enormous at levels 6 to 8 when both Hex and Shackles are close to max level. If you reach this state against a lane that has not bought Force Staff or Eul’s, the kills will be free. This combo is one of the clearest reasons to prioritize MMR climbing with a duo queue partner who communicates spell timing.
Ogre Magi + Any Carry
Ogre Magi is the most forgiving stun-chain support in the game because his CC does not require setup. Fireblast delivers a 1.5 to 2.25 second stun with very short cast animation and good cast range. Ignite adds a 40 percent slow for 7 seconds on top. The combination of stun into sustained slow means your carry has a long window to land kills, and Ogre’s own high HP pool lets him play aggressively without dying.
The unique advantage of Ogre is the Multicast passive. Early in the game, there is always a chance that Fireblast or Ignite multicasts, dealing double or triple the base damage and repeating the stun or slow. A level 1 double-Fireblast with an aggressive carry is sometimes enough to kill an enemy before they can react. At low ranks this is extremely hard to play around because it is random — which makes Ogre one of the strongest lane stomp supports at Herald through Archon.
For the carry pairing, aggressive right-click carries work best: Juggernaut, Dragon Knight, Wraith King, Sven. Any hero with a built-in slow or stun to add to the chain is also strong — Phantom Assassin’s Stifling Dagger, Dragon Knight’s Breathe Fire, Sven’s Storm Hammer all extend the lockdown window further.
Freeze and Root Combos — Cheap and Effective
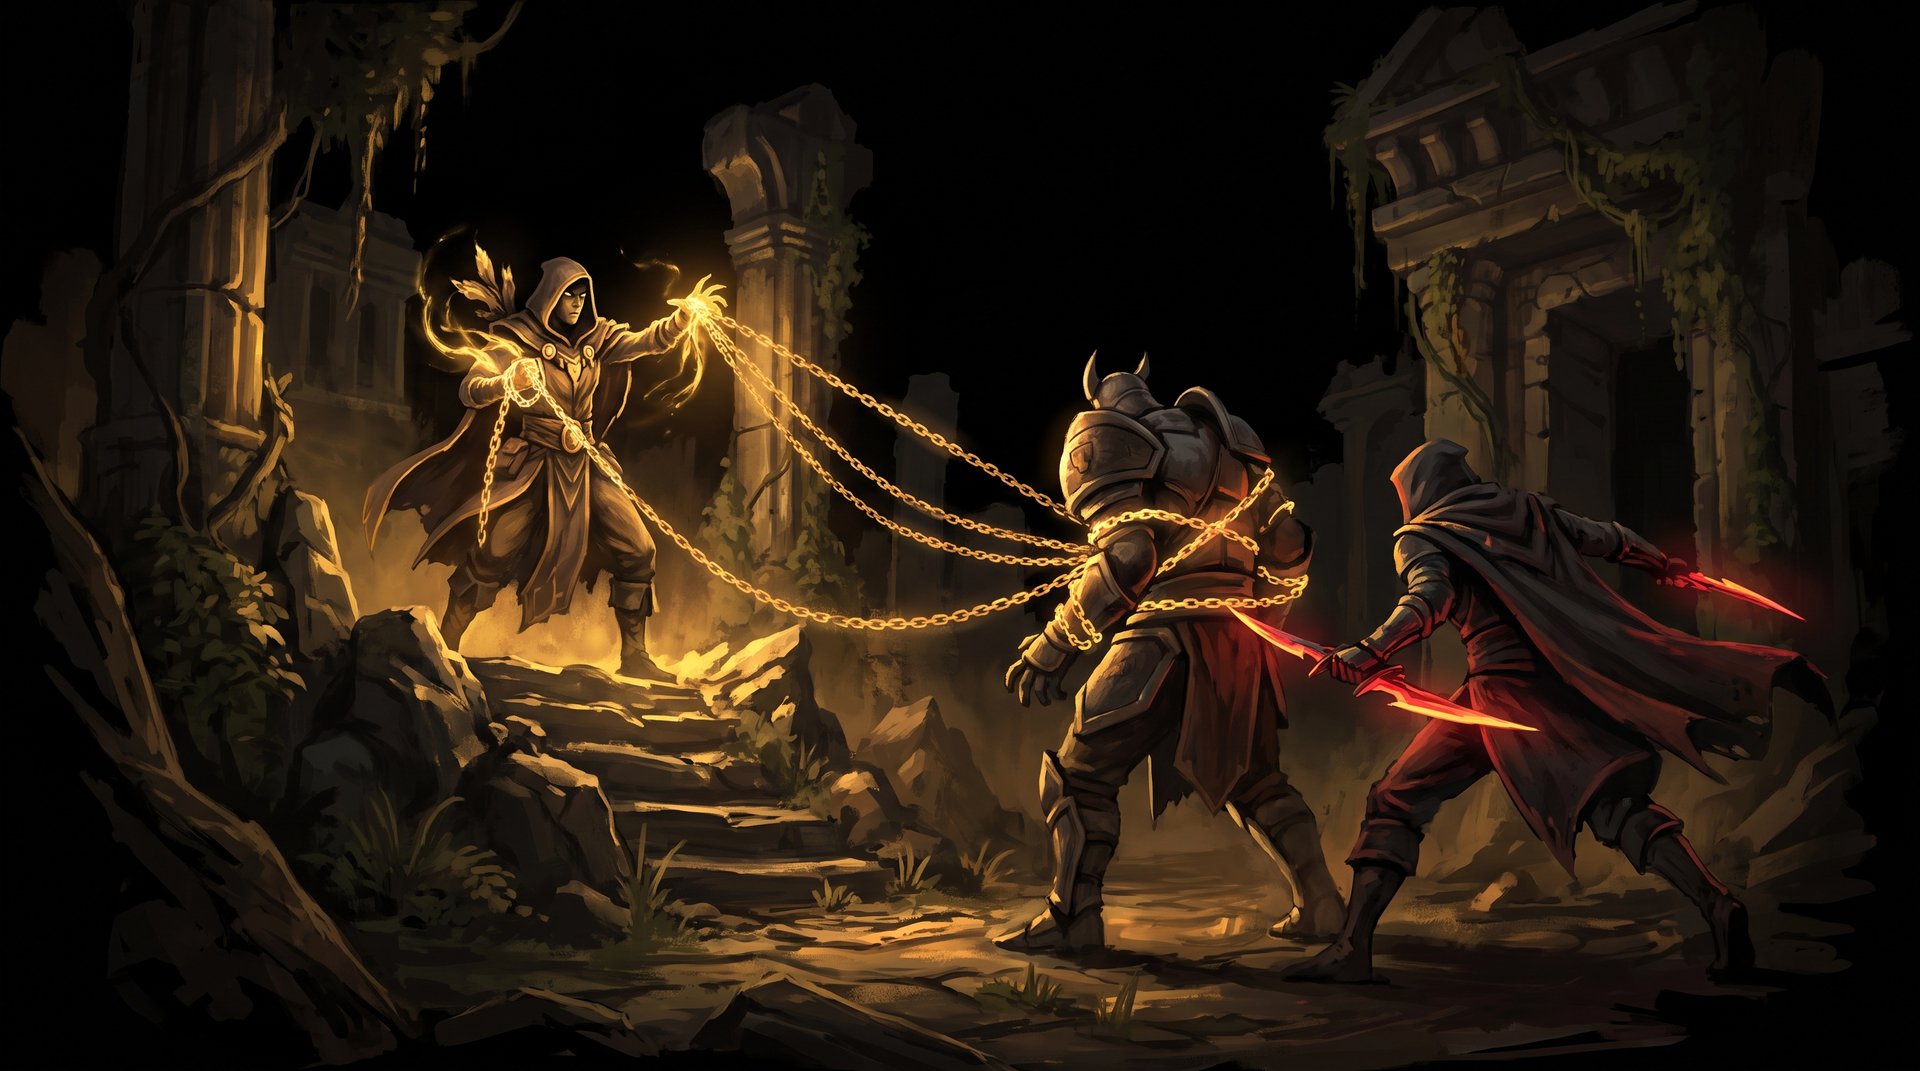
Root-based combos differ from stun chains in one critical way: a rooted target can still use most activated items. A Force Staff, a Blink Dagger (once the blink restriction timer expires), and most active defensive items work through a root. However, roots deny the ability to walk away, which is what makes them functional kill setups. Pair a root with enough burst damage and the target dies in place.
Crystal Maiden + Any Carry
Frostbite roots a single target for 3 to 3.5 seconds at max level. Crystal Nova provides an AoE slow on a short cooldown. Together they create a lane where movement is punished constantly. Crystal Maiden also provides her passive Arcane Aura, which gives nearby allies mana regeneration — effectively giving your carry free ability spam throughout the lane phase.
The key execution point: Frostbite is a root, not a stun. The target can use a Force Staff to escape if they are not rooted again. Cast Frostbite as your carry commits to the kill, not before. If you Frostbite at the start of the chase before your carry is in range, the root expires before the kill lands. Time it so your carry is one or two hits away and Frostbite secures the last few seconds.
Crystal Maiden pairs best with hard-hitting physical carries: Dragon Knight, Sven, Wraith King, and particularly Razor (whose static link forces the enemy to stay close, making Frostbite even more effective). Venomancer as a carry-support hybrid with CM behind is also extremely strong because Venomous Gale + Frostbite in the same lane creates a 9-second combined slow-and-root sequence.
Ancient Apparition + Any Carry
Ancient Apparition’s Cold Feet is one of the highest-skill-floor CC abilities in the game, but when executed correctly it provides a conditional 4-second freeze that no Force Staff can escape. Cold Feet creates a tether on the target: if the target moves more than 740 units from their original position within the 4-second duration, the freeze triggers. If they stay still, nothing happens.
The combo execution requires your carry to deal enough damage to force the enemy to commit to fighting rather than fleeing. Cast Cold Feet on the target, then have your carry aggressively cut off the escape path. Most low-rank players panic and run, which triggers the freeze and seals the kill. High-rank players know to stand still during Cold Feet and then escape — which is why Ancient Apparition’s complexity scales with the enemy skill level, not just your own.
Ice Vortex reduces magic resistance by 20 percent (in the area), which synergizes well with carries who deal magic damage. Cold Feet should be saved for kill attempts, not traded in lane for harassment — its mana cost is significant and wasting it on a failed attempt can cost you the kill window.
Silence and Burst Combos — Shutting Down Casters
Silence is not a damage dealer in itself, but it removes the enemy’s ability to respond to your kills. Against intelligence heroes with escape abilities — Leshrac, Queen of Pain, Puck, Storm Spirit — a silence at the start of the kill means they cannot Blink out, cannot use a defensive item, and cannot deal their own burst damage. Combined with a damage amplifier, silence combos delete casters before they know what happened.
Skywrath Mage + Any Carry
Skywrath Mage is the most dangerous level-6 spike support in the game. At level 6, his full combo — Ancient Seal (silence + magic resistance debuff), Arcane Bolt (repeatable smart-targeting magic nuke), Concussive Shot (slow on the nearest enemy), and Mystic Flare (ultimate) — can kill almost any hero in the game who does not have a Hood of Defiance.
The level 6 kill is executed like this: Ancient Seal first to silence and apply the magic resistance reduction. Arcane Bolt as your carry engages. Mystic Flare on the target (it deals most of its damage in the first 2 seconds if the target is not moving, which they usually are not while silenced). Concussive Shot to slow and ensure they cannot run. The target is dead.
Before level 6, Skywrath is still a strong harasser with Arcane Bolt spam — it auto-targets the nearest visible enemy and deals reliable damage on a short cooldown. Concussive Shot applies a 30 percent slow in a zone around the nearest enemy hero, making trades favorable. The mana cost is his only real limitation, which means Mango or Bottle on the Skywrath is mandatory for sustained harassment.
Pairs excellently with: Razor (Static Link combined with silence is brutal), Timbersaw (both have mana needs but incredible burst once fully committed), Bloodseeker (Rupture into silence means the target cannot use any escape item, Blink, or ability), Viper (Viper Strike slows AND poisons, combining beautifully with silence).
Witch Doctor + Any Carry
Witch Doctor’s Paralyzing Cask bounces between nearby units, applying a 0.4 to 1 second stun on each bounce. The total stun duration against a single target is modest, but the Cask also bounces to creeps — which means stacking the lane with creeps near the enemy hero increases Cask bounces and extends the total stun time. In a pulled or high-creep lane, a Cask can stun a single hero multiple times in a row.
Maledict is Witch Doctor’s damage amplifier: targets under Maledict take burst damage every 4 seconds based on how much HP they have lost since the debuff was applied. In combination with an aggressive carry, Maledict turns every missed hit into piling damage — your carry does not need to be a precise damage dealer because Maledict compensates for missed attacks. The first burst pulse fires 4 seconds after application, followed by another at 8 seconds. Both hitting on a target who has lost 300 HP deals roughly 300 bonus damage from Maledict alone at max level.
Pairs best with: Melee carries who stay close to the target. Chaos Knight, Dragon Knight, Lifestealer, and Wraith King all benefit from having the target slowed and amplified. Witch Doctor also scales well into team fights with Death Ward, so he contributes throughout the game, not just in lane.
Displacement and Trap Combos — High Skill, High Reward
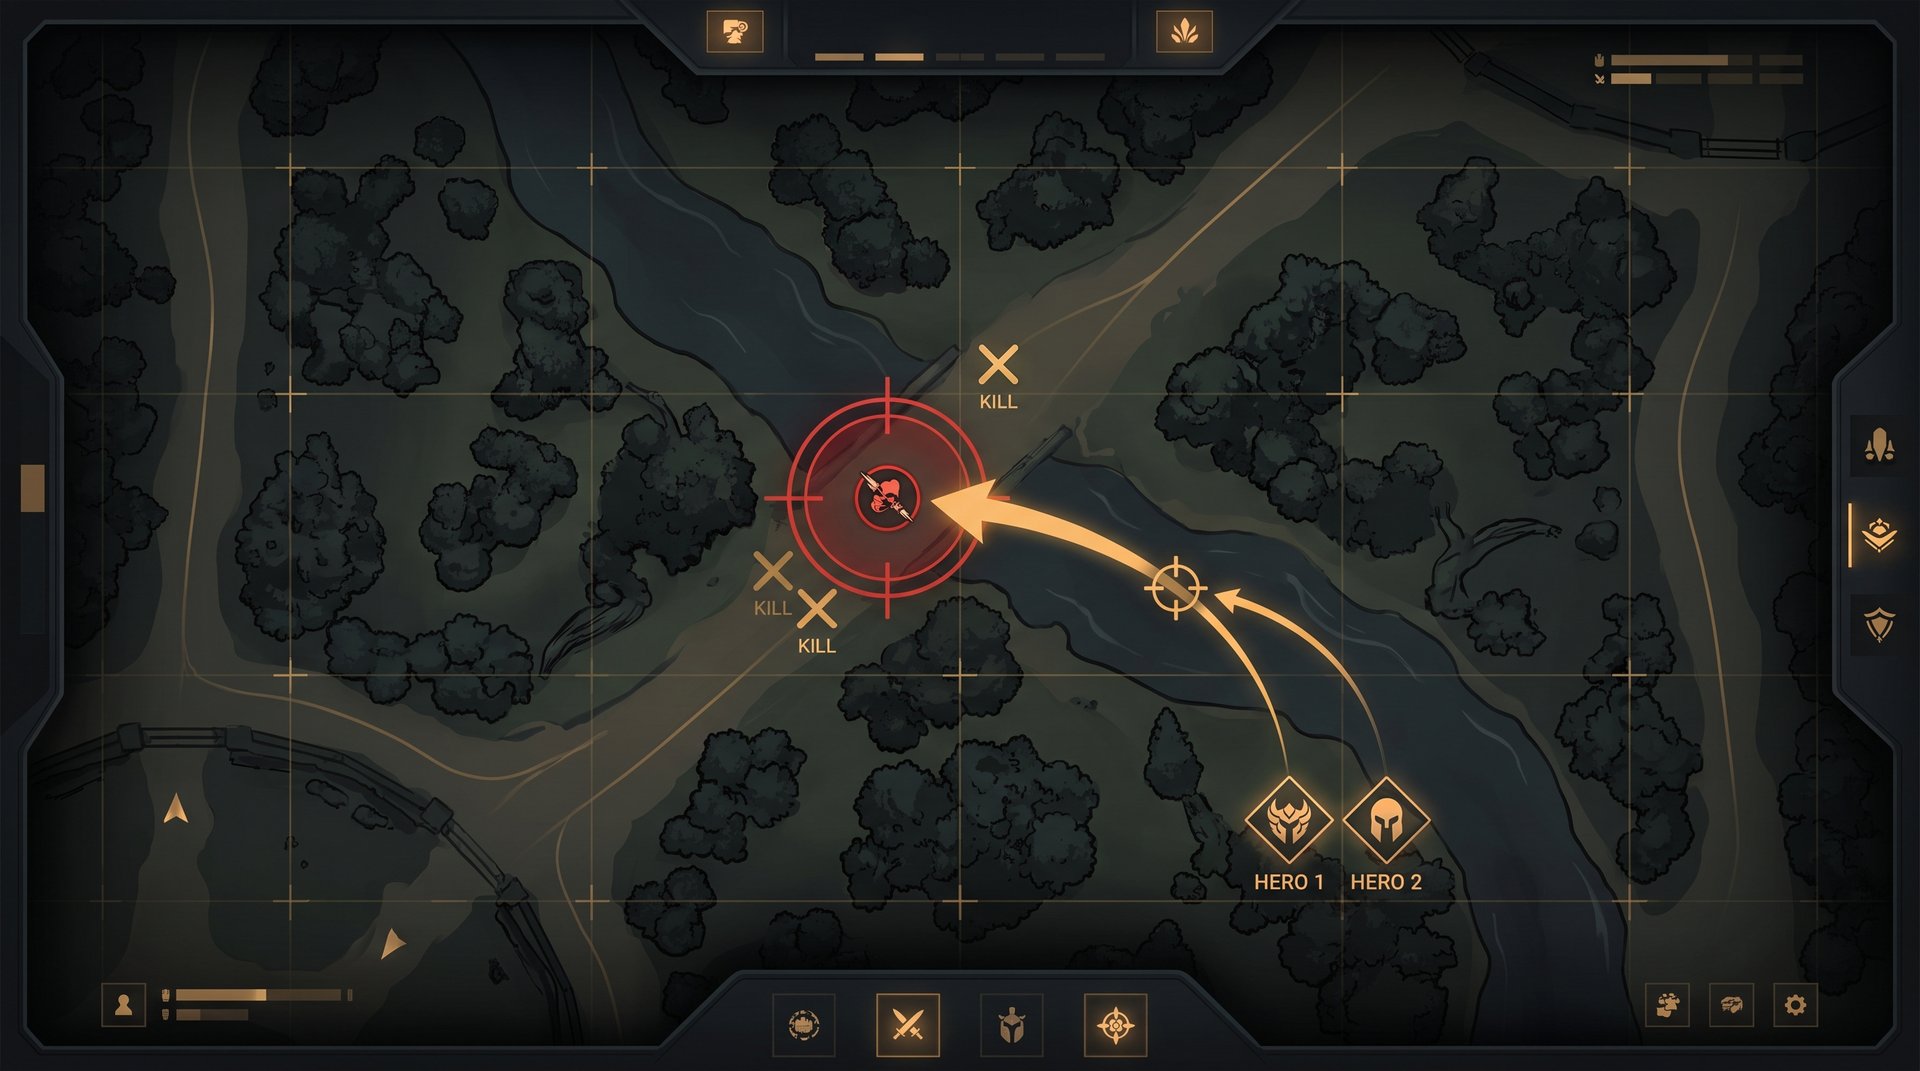
Displacement combos move the enemy somewhere they do not want to be, which is usually inside a follow-up disable or away from their tower. These require more execution precision than stun chains but create kill opportunities out of thin air against enemies who would otherwise have safe escapes.
Shadow Demon + Any Carry
Shadow Demon’s Disruption banishes the target for 2 seconds — they are invulnerable and invisible for that duration, then reappear with two illusions. During the 2 seconds of banishment, your carry positions for the follow-up kill. When the target reappears, Shadow Poison stacks deal their burst damage and your carry is already in position. Against most enemies, the 2-second banishment plus the reappear position means the target has no time to react before the kill combo lands.
The additional value of Disruption is that it can save your carry. If your carry is about to die, Disruption removes them from the game for 2 seconds and the enemy’s abilities pass through empty air. This dual offensive-defensive use makes Shadow Demon one of the highest-skill-ceiling supports, with the ceiling also offering the highest payoff in terms of lane dominance.
Shadow Poison stacks are the actual kill damage. Three stacks deal a significant magic burst when they expire (or when Shadow Demon presses the release key). Start stacking Shadow Poison on the lane enemy before committing to Disruption — a target with three or four stacks takes substantial magic damage when the stacks release, often enough to close out a kill that the carry started.
Pudge + Lion (or Any Stun)
Pudge + a follow-up stun is the most mechanically demanding lane combo in this list. Meat Hook pulls the target toward Pudge from up to 1300 units. If the Hook lands, the target appears in front of Pudge. Rot activates to hold them in place (or Pudge can just walk into them). The follow-up support — ideally Lion with instant Hex — disables the target before they can react, and the kill follows.
The failure mode is obvious: Meat Hook is a skillshot. Missing costs you the combo entirely and often punishes your positioning. This combo is listed last in the displacement section not because it is weak — a perfectly executed Pudge Hook into Lion full chain is a guaranteed kill — but because it requires a level of mechanical consistency that does not translate reliably until Legend or higher brackets. Below that, the Hook miss rate is too high to build a lane strategy around.
If you want to run a displacement combo at lower ranks, Shadow Demon is more reliable because Disruption is a targeted ability, not a skillshot. Save the Pudge + stun lane for when both players have the mechanics to execute it consistently.
Pressure and Attrition Combos — Win Without Killing
Not every lane kill combo needs to end in a death marker. Some combos work by making the lane experience so painful for the enemy that they either pull back entirely or spend their gold on defensive items rather than damage. This category of combo is underrated at lower ranks and powerful at every level of play.
Undying + Any Carry
Undying’s Decay steals maximum HP from the target with each cast. At early levels, each Decay cast reduces the target’s max HP by 20 while healing Undying. The cooldown is short enough that Undying can cast Decay multiple times in a single engagement, and the HP reduction stacks. After three or four Decay casts, the enemy carry is operating with 60 to 80 fewer HP at maximum, which means every fight thereafter becomes a kill opportunity for your own carry.
Tombstone is the second pressure tool: it summons a structure that spawns Zombies targeting nearby enemies. In an aggressive lane, Tombstone behind the enemy slows their retreat and continues dealing damage and applying a minor slow. The combination of max HP reduction and sustained Zombie harassment makes Undying one of the strongest level 1 to level 7 lanes in the game when paired with a melee carry who can bully with the opened HP window.
Undying is particularly powerful at lower ranks because enemies do not understand that the max HP reduction is the threat, not the direct damage. By the time they realize their HP bar has effectively shrunk, your carry has a free kill.
Venomancer + Any Carry
Venomancer converts every engagement into a slow war. Venomous Gale applies a 6-second escalating slow that starts at 20 percent and increases over time. Poison Sting applies a passive slow on every attack. The combination means that any enemy who enters a Venomancer lane is walking in slow motion from the moment contact is made.
The kill combo works like this: Venomous Gale at maximum range to open the window, then Plague Ward harassment while the carry deals free hits. The enemy cannot run at full speed, cannot out-creep the ward damage, and takes poison damage throughout. Against melee carries who are already restricted by their movement speed, Venomancer plus an aggressive right-click carry creates a lane where the enemy pos 1 simply cannot farm safely.
Venomancer also has Poison Nova at level 6, which adds another layer of kill conversion when the enemy reaches low HP in a team fight. This makes him a strong pick even beyond the lane phase — unlike some purely lane-dominant supports whose value drops off sharply at 15 minutes.
How Kill Combos Scale Across Ranks
The same combo executes differently depending on the bracket. Understanding how to adjust your execution is what makes the difference between a combo that works in Herald and one that only works in Divine.
Herald to Guardian (0 to 1,000 MMR)
At this bracket, the goal is simplicity. Ogre Magi + any carry is the best combination here because the CC is on a single button and Multicast provides random but powerful bonuses. Crystal Maiden + a melee carry is the second-best choice because Frostbite is one button and CM’s mana aura means your carry never runs out of ability mana. Undying is particularly effective at this rank because enemies do not recognize the HP-reduction threat and continue fighting with reduced max HP.
Avoid complex combos at this bracket. Shadow Shaman Shackles requires channel discipline that does not develop reliably until Archon. Skywrath Mage requires mana management. Stick to two-button combos where one ability is the setup and one is the finisher.
Crusader to Legend (1,500 to 3,500 MMR)
Players in this range start buying counter-items. Hood of Defiance appears on intelligence heroes. Force Staff is purchased regularly. BKB comes online by late laning phase. This means pure magic burst combos — Skywrath + carry — have a shrinking window, and physical CC combos like Lion or Shadow Shaman become more valuable because Hex still disables BKB users when the BKB is not activated.
Witch Doctor becomes strong here because Maledict’s damage calculation rewards the consistent harassment this bracket provides. Players in Crusader-Legend are always losing HP in small amounts from right-clicks and harass — Maledict turns that accumulated damage into burst kills.
Archon to Ancient (3,000 to 5,500 MMR)
Here, combos require setup and timing that goes beyond the basic “stun, right-click, kill” loop. Shadow Demon’s value spikes because experienced players understand how to use Disruption offensively and defensively. Ancient Apparition becomes excellent because enemies at this range try to stay in lane under pressure rather than teleporting home, making Cold Feet freeze triggers more reliable.
The critical skill at this bracket is communicating combo initiation without wasting the element of surprise. A “go” ping at the right moment — when the enemy is at 70 percent HP with no mana to defend — is what separates a successful combo from a failed attempt that burns both supports’ cooldowns.
Divine to Immortal (5,500+ MMR)
At the top of the ladder, lane kill combos are drafted, not improvised. Drafters identify which enemy heroes are killable in lane and specifically pick combos to exploit them. Skywrath Mage into a high-burst carry is picked when the enemy has no magic resistance items. Pudge + Lion is drafted when the enemy has no Linkens Sphere and tends to over-extend. The combo is planned in the draft screen, and execution is expected to be near-perfect. Missing a Lion Hex or letting Shaman’s channel break is a significant mental error at this level.
This does not mean lane kill combos are only for high-skill players. It means that the better your execution, the more you can demand from the combo. A Crusader Lion might Hex-then-wait-then-Spike with a 0.5 second gap. A Divine Lion closes the gap to zero and gets two extra seconds of carry attack time out of it. That gap in execution, compounded over many kills, is one of the clearest measurable reasons some players climb and others plateau.
If you want to reach a bracket where you can execute these combos reliably, a professional evaluation from a TeamSmurf coach who has played at Divine or Immortal will show you the specific gaps in your execution much faster than grinding alone will.
Making Combos Work Without Communication
The most common objection to lane kill combos in solo queue is that they require communication. In theory, yes. In practice, most combos at the support-carry level work on signal reads that do not require typing or voice chat.
The primary signal is commitment. When your carry steps forward and starts right-clicking an enemy hero, that is the initiation signal. Your support should immediately begin casting the CC or damage ability. The sequence “carry steps up, support casts CC” is readable from in-game actions alone. You do not need your carry to type “go” if you are watching their animation.
The secondary signal is HP. If the enemy hero drops below 50 percent HP from right-click harassment, the kill is available whenever your CC cooldown is ready. Position closer, wait for the carry to press on, and fire. No communication required — the HP bar tells you the timing.
Timing your Witch Doctor Maledict to fire when the enemy is at 60 to 70 percent HP means the two burst pulses will bring them through zero. You do not need to verbally coordinate — you can see the enemy HP bar and your Maledict cooldown simultaneously. Play the UI instead of the microphone.
Converting Lane Kills Into a Snowball
A lane kill that does not translate into an objective is a missed opportunity. When your combo secures a kill, you have roughly 40 to 70 seconds before the enemy respawns (at early levels). Use those seconds to take a tower, force the enemy jungle, steal their camp stacks, or rotate to secure a rune. The kill itself is worth 200 to 300 gold. The follow-up objective is worth 500 to 1,500 gold on top.
The specific priority order: first push the wave into the tower to deny gold, then secure the closest neutral camp if it is up, then take the tower itself if your carry has the damage. Do not sit in the empty lane farming creeps one by one — move the gold advantage into something the enemy cannot reverse with a buyback.
If you need to accelerate your MMR trajectory beyond what your current skill level allows organically, the best Dota 2 boosting services place you into a bracket where these combos are executed correctly from both sides, which accelerates your understanding of timing, positioning, and follow-up.
Frequently Asked Questions
Stop Losing Lanes You Should Win
Lane kill combos give you the tools. Execution is the separator. If you want to climb faster than grinding solo allows, TeamSmurf places you with players who execute these combos correctly every game — which means you absorb the timing, positioning, and follow-up patterns at your new bracket, not your current one.
Get Your MMR Boost Compare Services



