

How to Master Spirit Breaker in Dota 2: The Ultimate Guide for Every Rank (2026)

Few heroes in Dota 2 inspire the same primal fear as Spirit Breaker. That minimap icon starts glowing, your screen begins to shake, and before you can even TP to safety — you are dead. Barathrum has terrorized pubs since the earliest days of Dota, and despite countless reworks and balance changes, his core identity remains unchanged: he is the most oppressive global-presence hero in the game for solo queue climbing.
Spirit Breaker currently sits at a 52.8% winrate across all brackets on Dotabuff, with his winrate climbing above 54% in Herald through Archon where players lack the coordination to deal with his constant aggression. In this guide, you will learn exactly how to maximize Charge of Darkness timing, abuse Greater Bash probability manipulation, build items that scale from lane to late game, and climb MMR at every rank bracket. Whether you are a Herald learning the basics or a Divine player looking for the 1% edge, this is the only Spirit Breaker resource you need.
Table of Contents
Why Spirit Breaker Is the Ultimate Pub Stomper
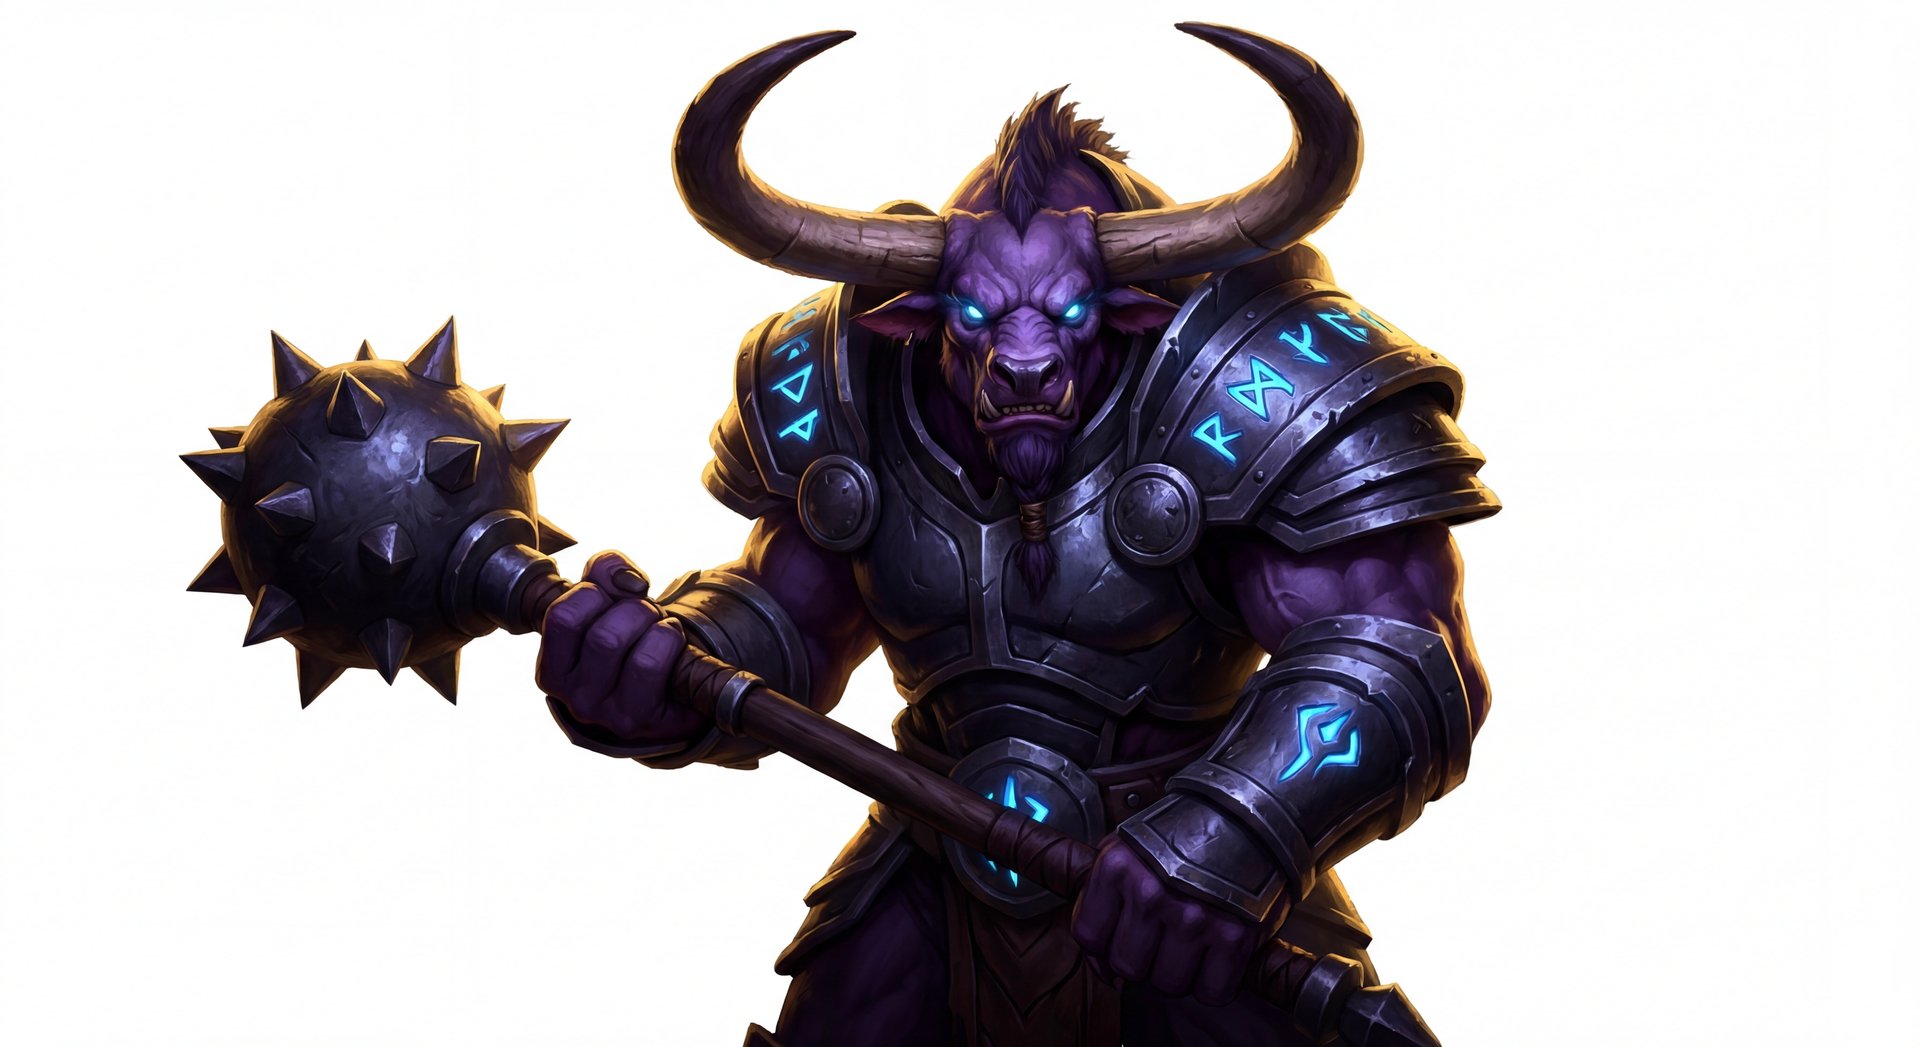
Spirit Breaker occupies a unique space in Dota 2. He is not the hardest carry, not the best teamfighter, and not the most efficient farmer. But none of that matters because Spirit Breaker wins games by breaking the enemy team’s mental state. Every single player on the opposing team has to play differently when Barathrum is in the game. Supports cannot ward alone. Mid players cannot take aggressive trades without checking the minimap every two seconds. Carries farming the triangle are never truly safe.
His current position in the meta is as a position 3/4 offlaner or roaming support. He can flex into either role depending on the draft, though most pub players find the most success playing him as a position 4 roamer after laning phase ends. His base stats are surprisingly tanky — 2.9 Strength gain per level gives him natural bulk that most supports would kill for, and his base movement speed of 295 combined with Bulldoze means he is nearly impossible to kite in the early-to-mid game.
What makes Spirit Breaker terrifying is not any single ability in isolation. It is the combination of global presence, reliable lockdown, and damage that scales with movement speed. A hero that can appear anywhere on the map in seconds, stun through BKB with Greater Bash, and deal percentage-based damage is always going to be relevant. The question is never whether Spirit Breaker is good — it is whether you know how to pilot him correctly.
Abilities Deep Dive
Charge of Darkness (Q)
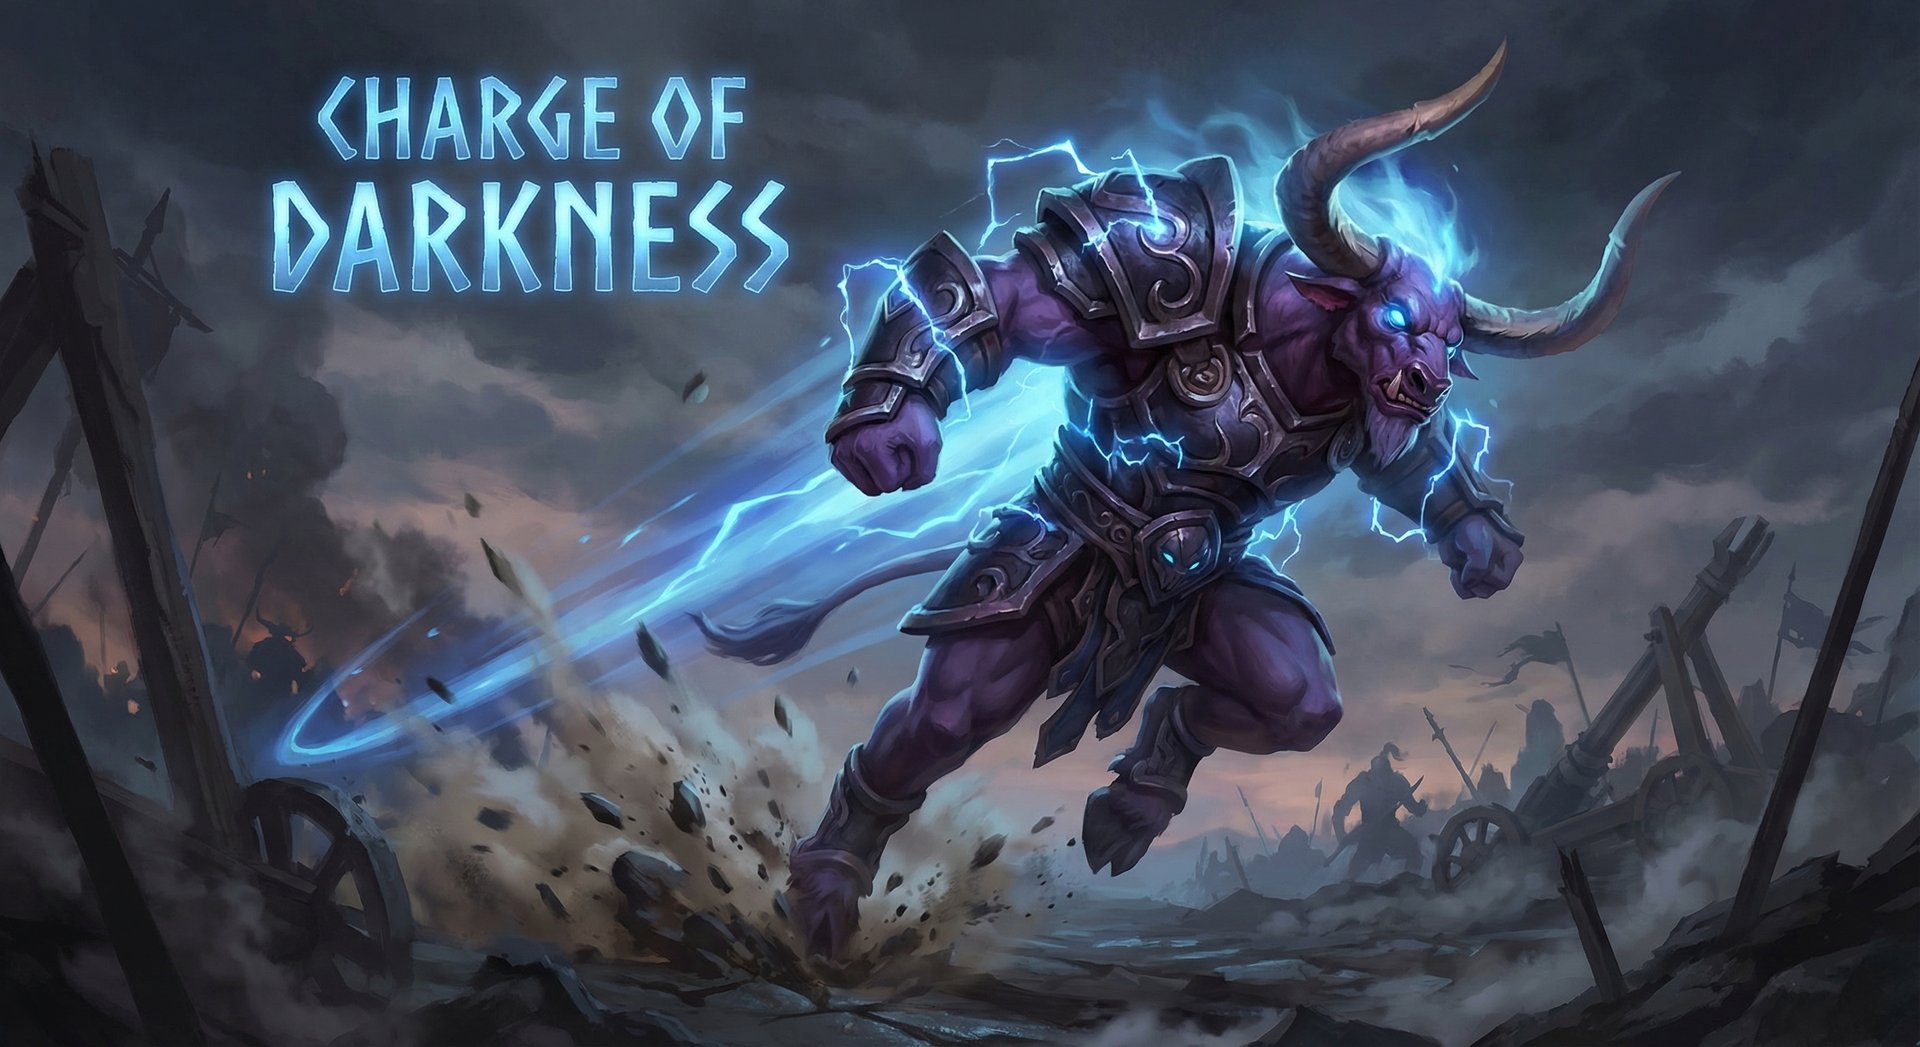
This is the ability that defines Spirit Breaker. Charge of Darkness is a global-range targeted charge that sends Barathrum barreling toward an enemy hero at increasing speed. Upon impact, the target is stunned for 1.2/1.6/2.0/2.4 seconds and takes Greater Bash damage. During the charge, Spirit Breaker gains vision of the target and becomes immune to movement speed slows.
The hidden mechanics of Charge are what separate good Spirit Breaker players from great ones:
- Speed acceleration: Spirit Breaker accelerates during the charge, reaching speeds far above his base movement speed. This means Greater Bash damage during the impact is significantly higher than a normal bash proc
- Charge vision: You gain TRUE SIGHT of the target during Charge, meaning invisible heroes, heroes in Smoke, and heroes hiding in trees are all revealed. This makes Spirit Breaker one of the best Smoke-breakers in the game
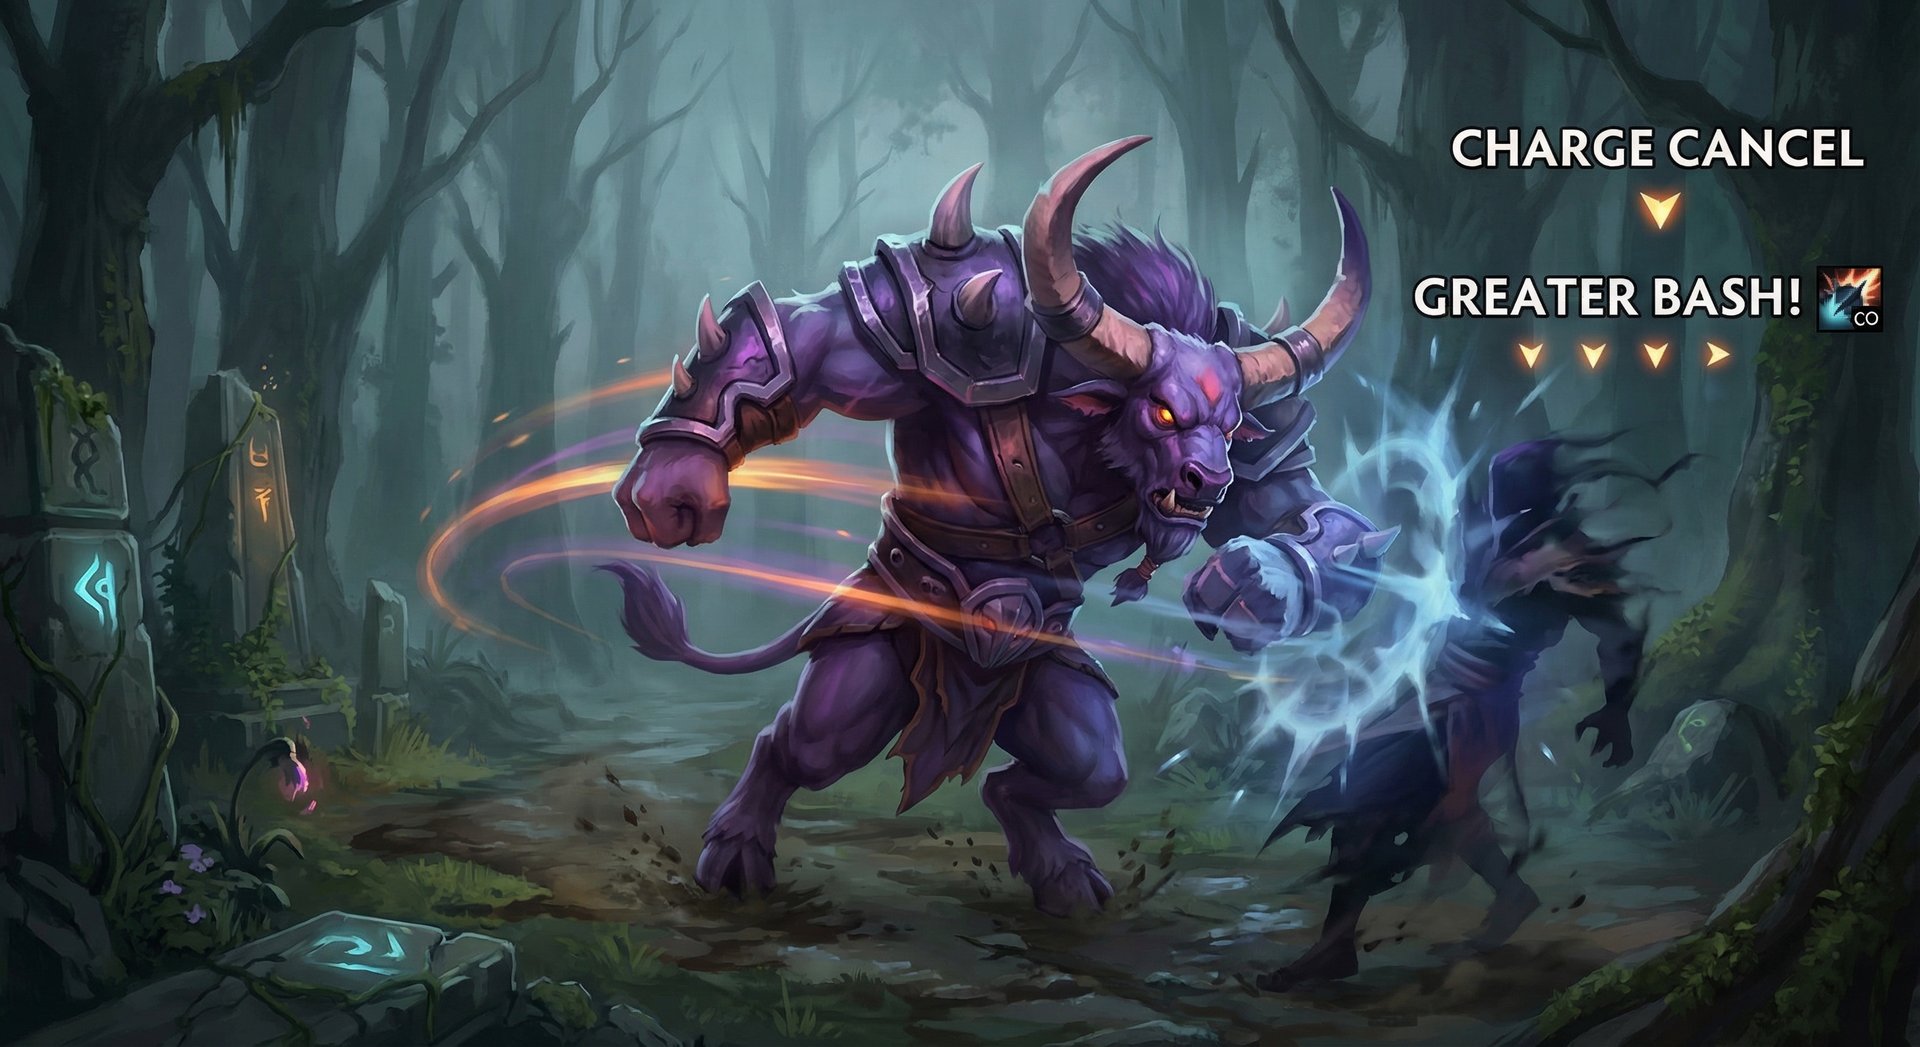
- Charge cancellation: You can cancel Charge at any time by pressing Stop (S) or issuing a different command. Smart players charge toward one target, then cancel mid-charge to gank a different hero they pass by on the way
- Bash through charge path: Any enemy hero you pass through during Charge gets hit with a Greater Bash proc. In teamfights, intentionally charging through clumped enemies before hitting your primary target is a massive damage increase
- TP interaction: If the target TPs while you are charging, you follow them to the new location. This also works with relocates and certain movement abilities
Bulldoze (W)
Bulldoze is Spirit Breaker’s survivability steroid. When activated, it grants 30%/40%/50%/60% status resistance and 6/10/14/18% bonus movement speed for 8 seconds. The status resistance is the key mechanic here — it reduces the duration of all disables, slows, and debuffs applied to you.
At max level, 60% status resistance means a 3-second stun only lasts 1.2 seconds on you. Combined with BKB, Spirit Breaker becomes nearly impossible to lock down. The movement speed bonus also directly increases your Greater Bash damage, making Bulldoze both an offensive and defensive tool.
Key interactions:
- Bulldoze stacks multiplicatively with BKB’s debuff immunity — you can activate both for near-complete disable immunity
- The movement speed bonus applies during Charge, increasing your bash damage on impact
- Status resistance affects the duration of your own debuffs too, so self-casting items like Satanic or Armlet benefit from faster cycling
- Always pre-cast Bulldoze BEFORE initiating with Charge, not after — the status resistance is most valuable during your initial dive
Greater Bash (E) — Passive
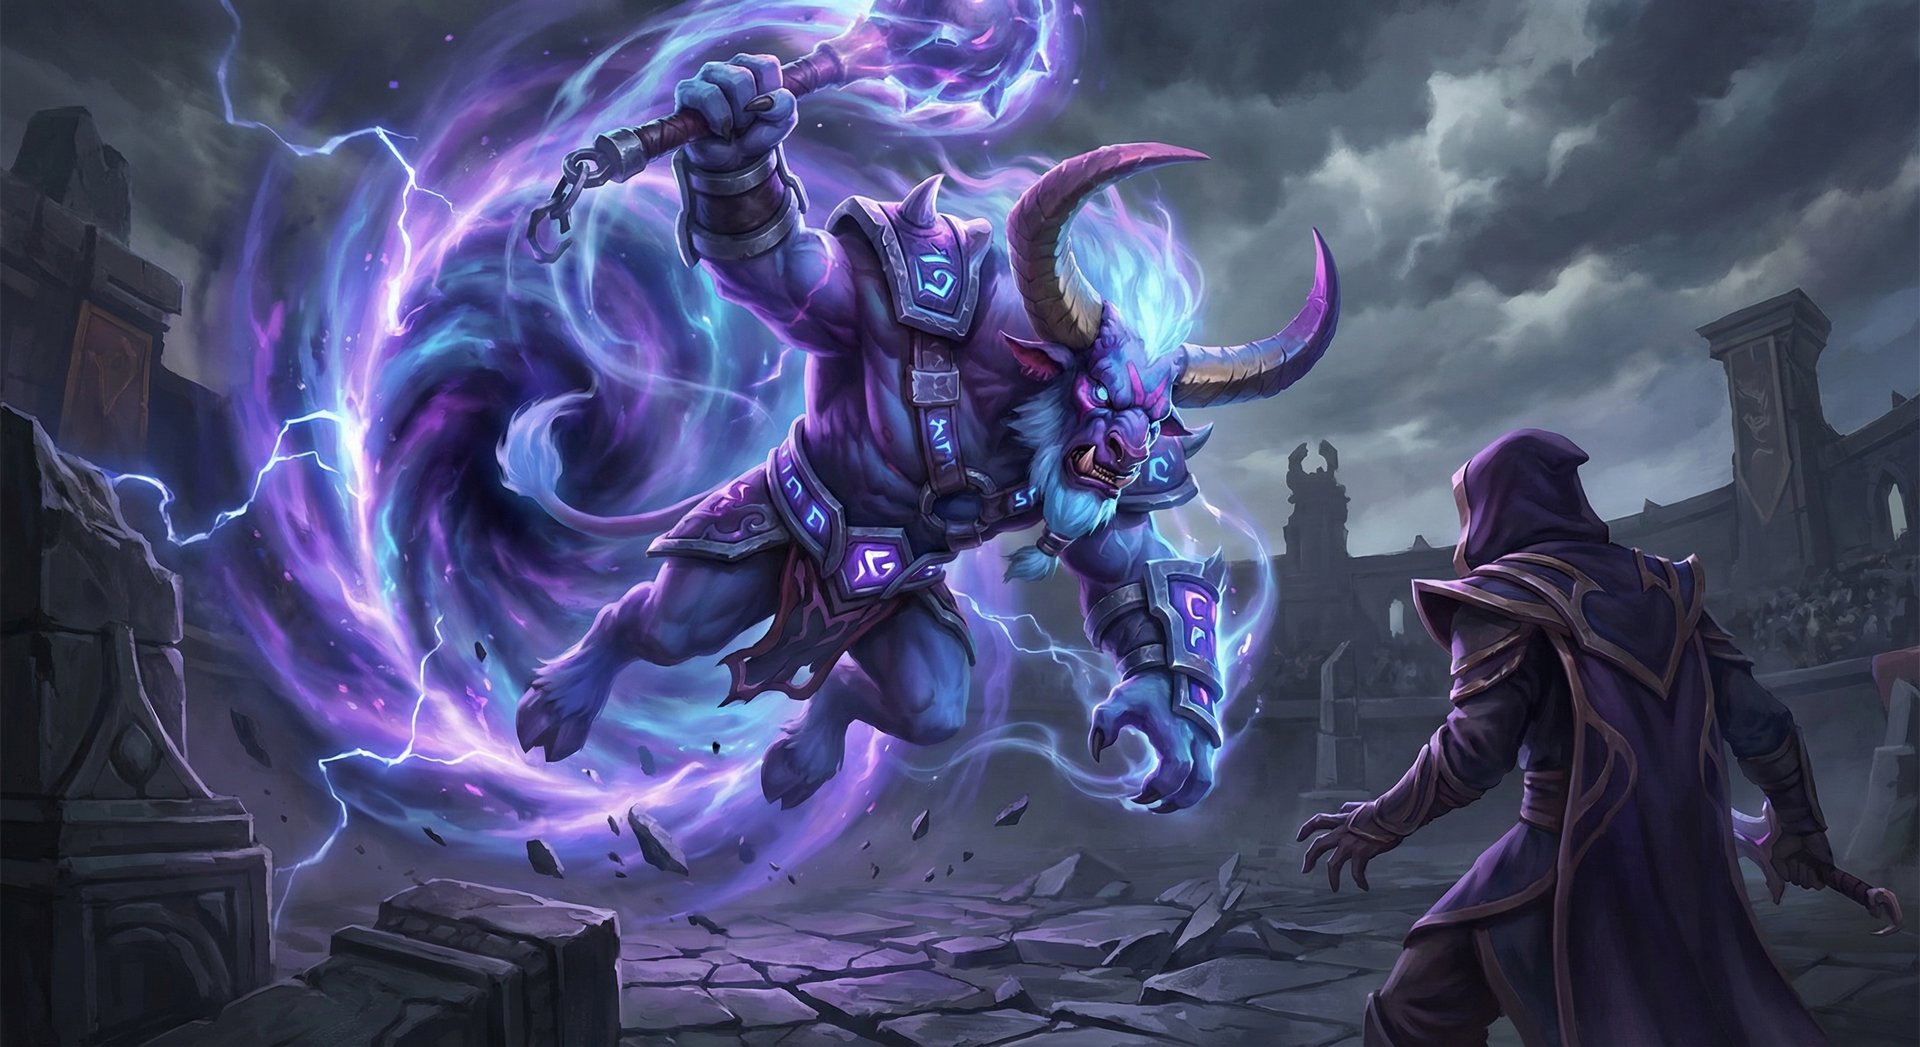
Greater Bash is a passive ability that gives Spirit Breaker a 17% chance on each attack to bash the target, dealing bonus damage based on his movement speed and pushing the enemy in the direction of the attack. The bash stuns for 1.2/1.4/1.6/1.8 seconds and deals 22/28/34/40% of Spirit Breaker’s movement speed as bonus magical damage.
The movement speed scaling is what makes this ability scale into the late game. With Phase Boots, Bulldoze, and a few movement speed items, Spirit Breaker can hit bash procs dealing 200+ magical damage. The bash also procs during Charge of Darkness and Nether Strike, guaranteeing at least two bash applications per gank cycle.
Probability mechanics: Greater Bash uses pseudo-random distribution (PRD), not true random. This means the probability starts lower than 17% and increases with each non-bash attack until a bash procs, then resets. Experienced Spirit Breaker players “prime” their bash by attacking creeps 3-4 times without a bash proc, then charging a hero — the first attack after arriving has a much higher than 17% chance to bash.
Nether Strike (R) — Ultimate
Spirit Breaker’s ultimate teleports him through a dimensional rift directly to the target enemy, dealing 150/250/350 damage and applying a Greater Bash on arrival. The cast range is 700 at all levels, and it has a brief 1.2-second cast animation before the teleport happens. Nether Strike is instant after the cast point — you cannot be disjointed.
The key to Nether Strike is understanding the combo sequencing. The standard combo is: Charge (Q) to the target for the stun and bash, immediately Nether Strike (R) for another stun and bash, then auto-attack for potential additional bash procs. This chain of stuns can lock down a target for over 4 seconds with max-level abilities.
Aghanim’s Scepter upgrade: Adds a 700 AoE to Nether Strike that applies Greater Bash to all enemies near the target. This transforms Spirit Breaker from a single-target assassin into an AoE teamfight disruptor. In clumped fights, Aghanim’s Nether Strike can stun and damage 3-4 heroes simultaneously. This is one of the most game-changing Aghanim’s upgrades in Dota 2 and should be a priority in most games.
Aghanim’s Shard upgrade: Causes Charge of Darkness to apply a 1.5-second stun and Greater Bash to all enemies in a small AoE on impact. This makes your charges even more devastating in teamfights and further cements Spirit Breaker’s role as a disruptive initiator.
Skill Build Order
| Level | Standard Build | Aggressive Roam | Offlane Tank |
|---|---|---|---|
| 1 | Charge (Q) | Charge (Q) | Greater Bash (E) |
| 2 | Greater Bash (E) | Greater Bash (E) | Bulldoze (W) |
| 3 | Charge (Q) | Bulldoze (W) | Charge (Q) |
| 4 | Bulldoze (W) | Charge (Q) | Greater Bash (E) |
| 5 | Charge (Q) | Charge (Q) | Charge (Q) |
| 6 | Nether Strike (R) | Nether Strike (R) | Nether Strike (R) |
| 7 | Charge (Q) | Charge (Q) | Charge (Q) |
Max Charge first in almost every game — the stun duration increase from 1.2 to 2.4 seconds is enormous. Greater Bash second for the damage scaling. Take one early point in Bulldoze for the status resistance, but do not max it until last unless you are against heavy disable lineups.
Item Builds by Rank Bracket
| Rank | Starting | Early Game | Core Items | Late Game |
|---|---|---|---|---|
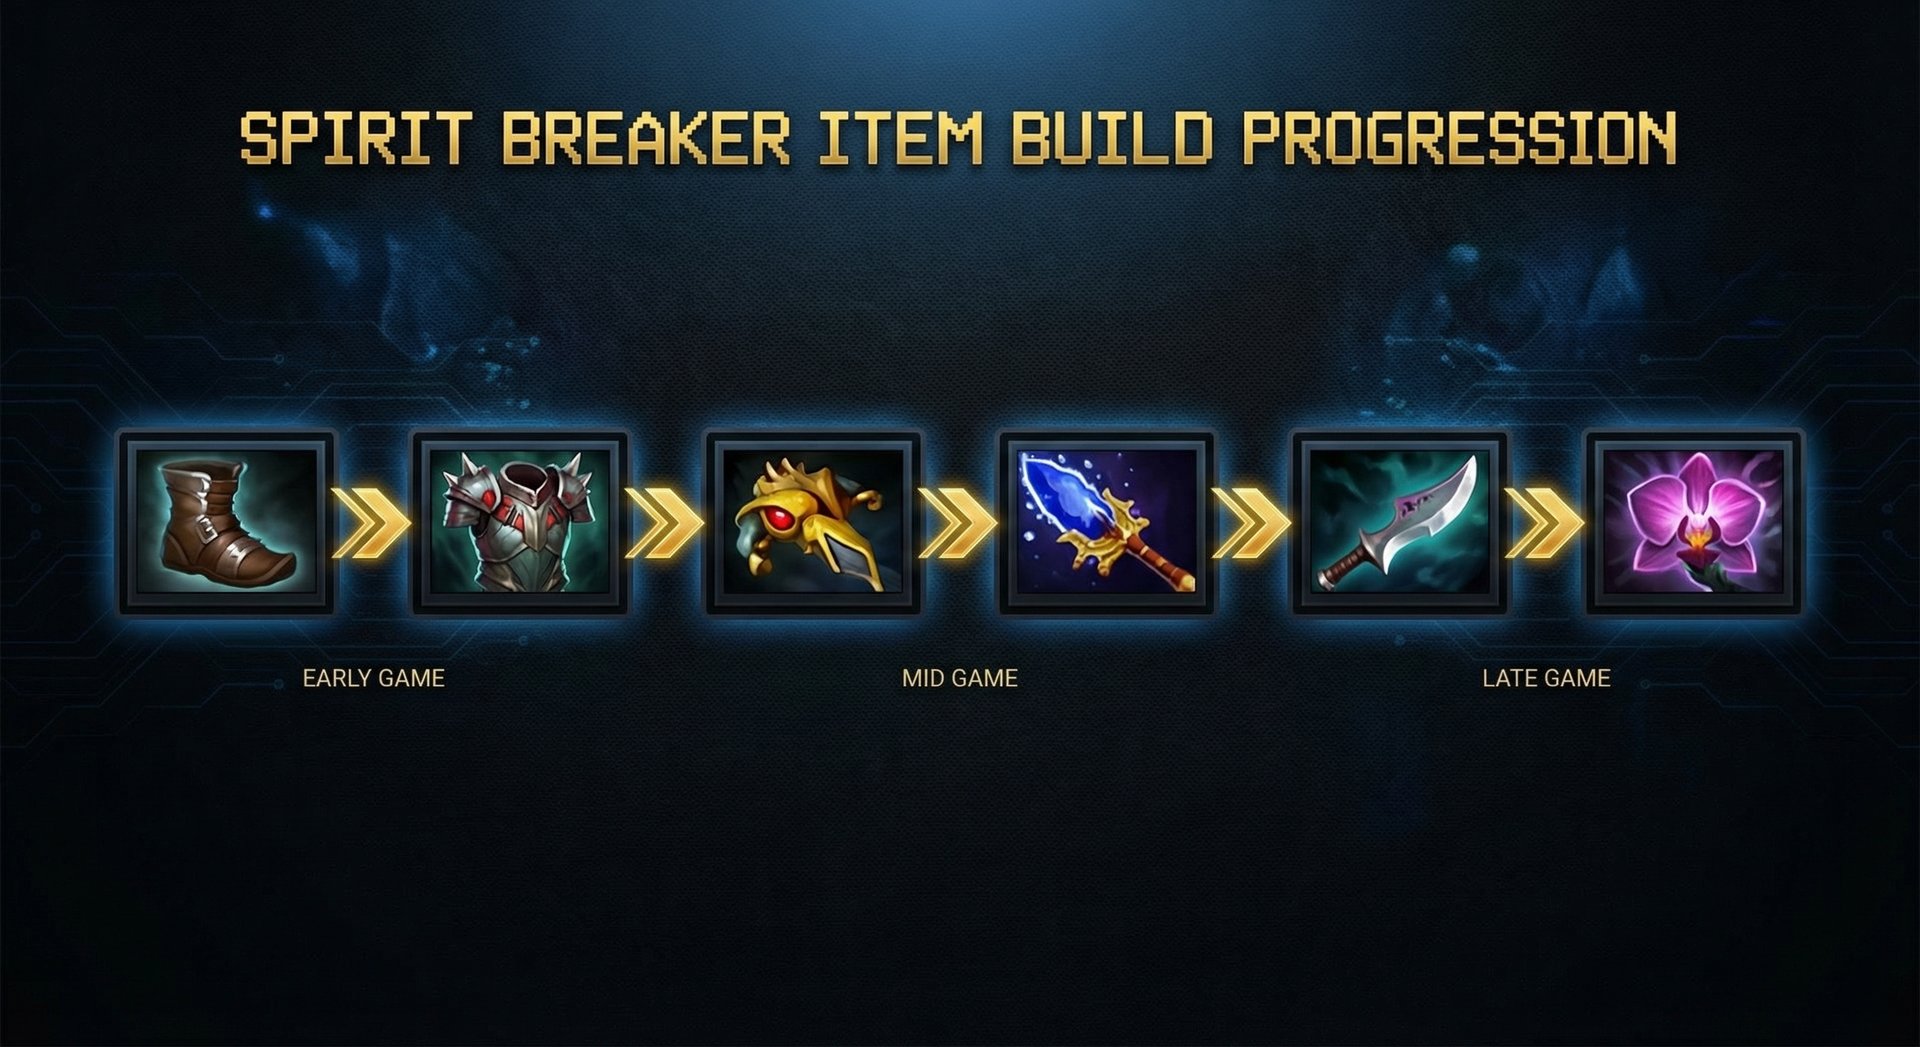
| Herald – Crusader | Orb of Venom, Tango, Branch x2 | Phase Boots, Urn of Shadows, Wind Lace | Blade Mail, BKB, Spirit Vessel | Aghanim’s Scepter, Assault Cuirass |
| Archon – Legend | Orb of Venom, Tango, Clarity, Branch | Phase Boots, Urn, Magic Wand | BKB, Aghanim’s Scepter, Blade Mail | Assault Cuirass, Refresher Orb |
| Ancient – Divine | Orb of Venom, Tango, Mango | Phase Boots, Urn, Wind Lace | BKB, Aghanim’s Shard, Aghanim’s Scepter | Refresher Orb, Overwhelming Blink |
| Immortal | Orb of Venom, Tango, Mango, Smoke | Phase Boots, Spirit Vessel, Wind Lace | BKB, Aghanim’s Shard, Shadow Blade | Aghanim’s Scepter, Refresher, Overwhelming Blink |
Why Items Differ by Rank
Herald through Crusader players benefit most from Blade Mail because enemies at this bracket tend to right-click Spirit Breaker during his charge instead of disabling him. Blade Mail punishes this severely and teaches lower-rank players that diving is worth it. Spirit Vessel is also prioritized because low-rank supports rarely build it, and the heal reduction is crucial against heroes like Alchemist and Lifestealer that dominate these brackets.
Archon through Legend players should rush BKB earlier because this is the rank range where enemies start chaining stuns on your charge target. Without BKB, you arrive at your gank target and get stunned by the mid laner’s TP support. Aghanim’s Scepter becomes core because teamfights at these ranks happen frequently and the AoE bash is devastating.
Ancient through Immortal players need coaching-level precision on item timing. BKB is non-negotiable as a first major item. Shadow Blade at Immortal rank provides the critical element of uncertainty — even though detection exists, the extra second of invis approach combined with a cancelled charge creates kill windows that high-MMR players can exploit. Aghanim’s Shard is bought early at these ranks because the AoE stun on Charge impact is more reliable initiation than Aghanim’s Scepter in organized play.
Situational Items
- Orchid Malevolence / Bloodthorn: Against mobile heroes like Storm Spirit, Queen of Pain, or Puck. The silence after Charge prevents instant escape
- Halberd: When the enemy carry is physical damage focused. The evasion also stacks with your natural tankiness
- Lotus Orb: Against single-target disablers like Lion or Shadow Shaman. The dispel on charge arrival removes many disables
- Pipe of Insight: When your team lacks magic resistance and the enemy has heavy magical burst
Laning Phase Masterclass
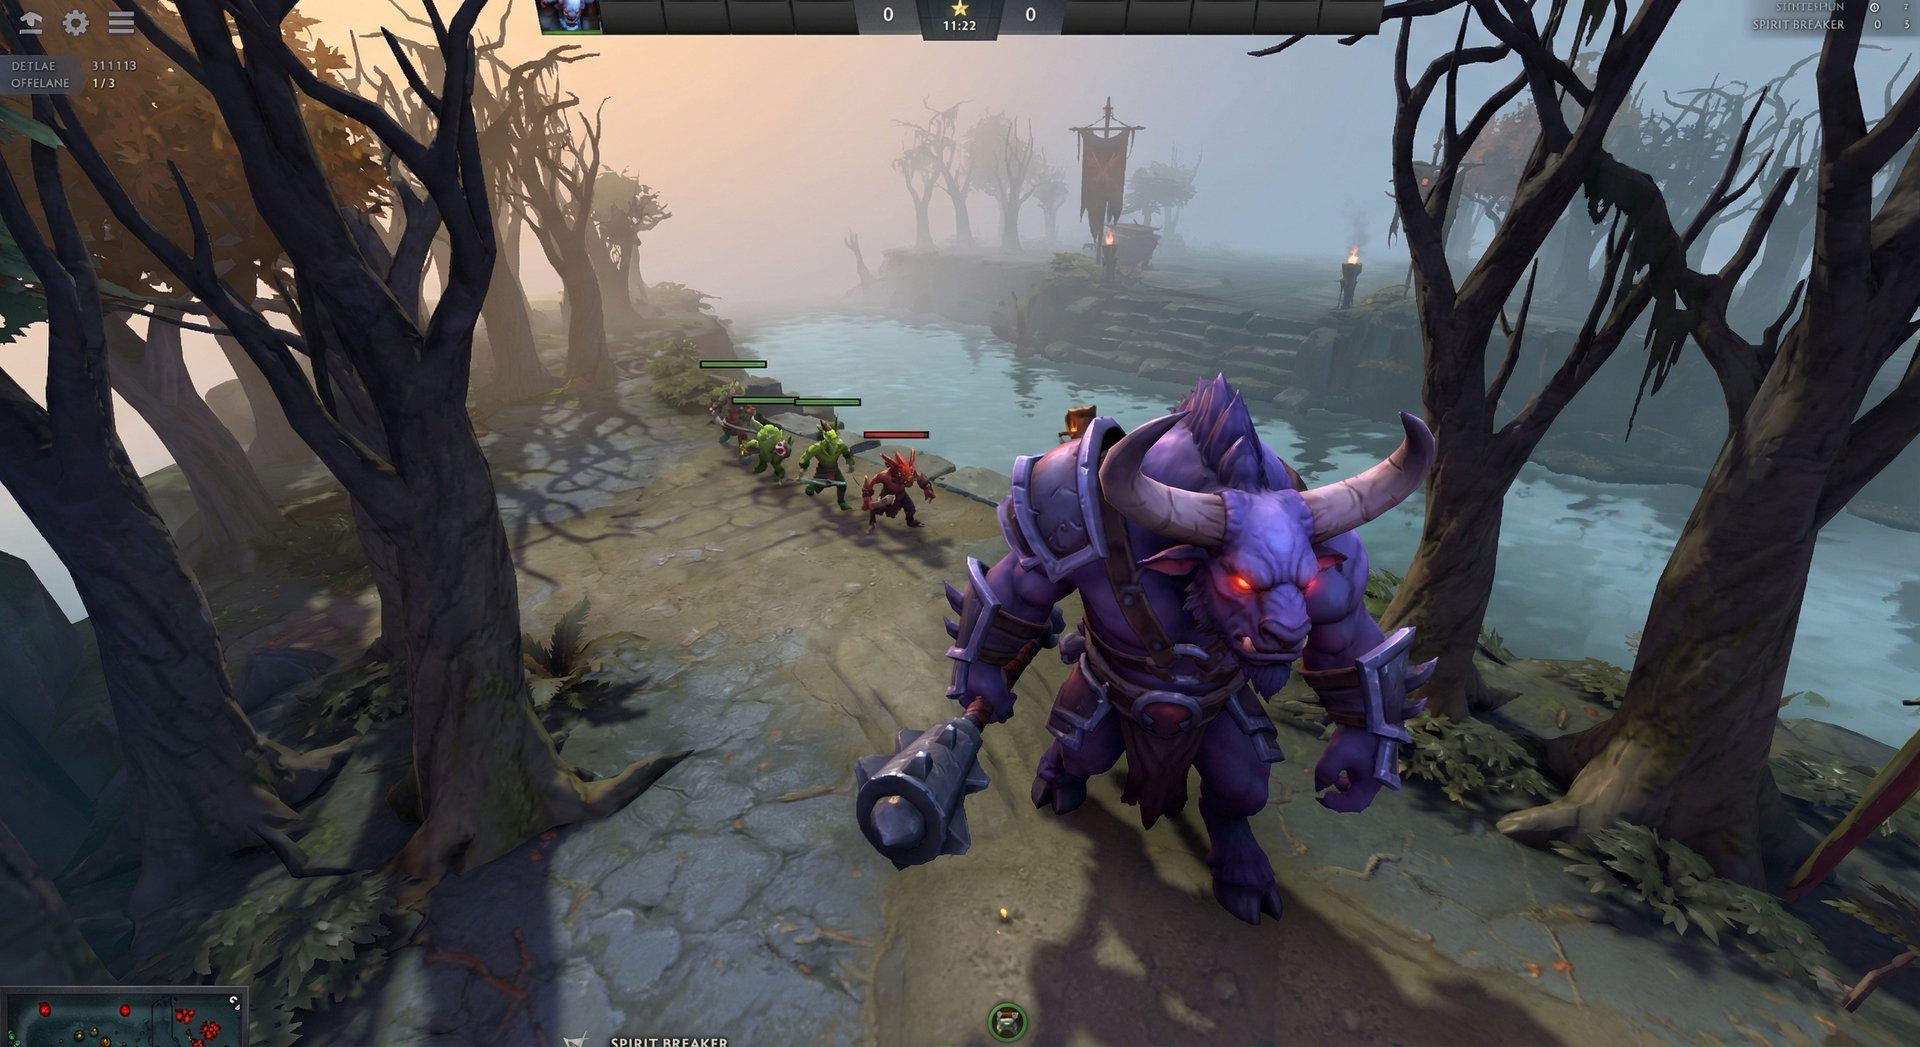
Position 4 Support Laning (Most Common)
Spirit Breaker’s laning phase as a position 4 is all about threatening the enemy safelane with kill potential from level 1. Your base damage is decent at 60-70, and Orb of Venom combined with Greater Bash procs makes trading extremely favorable. The goal in lane is not to win the CS war — your carry handles that. Your goal is to zone the enemy support, create kill threat with Charge at level 1, and stack when you have nothing to do.
At level 2, with a point in both Charge and Greater Bash, you become genuinely lethal. If the enemy offlane is pushed past the river, you can charge from behind the trees for a guaranteed stun + bash into your carry’s follow-up damage. In most Herald through Legend games, this first blood window between levels 2-3 is where Spirit Breaker games are won or lost.
Position 3 Offlane Laning
When playing Spirit Breaker as a position 3, your laning is focused on survival and disruption. Take Greater Bash level 1 for last-hitting and trading — the occasional bash proc wins trades that Spirit Breaker should otherwise lose. Max Charge second and use it primarily to escape ganks and counter-gank the mid lane during the laning phase.
The critical timing for offlane Spirit Breaker is hitting level 6. Once you have Nether Strike, you can kill almost any support 1v1 and most mid heroes with a Charge + Nether Strike combo. Communicate with your team and start rotating once you have your ultimate and Phase Boots. Sitting in lane past level 7-8 is wasting Spirit Breaker’s strongest power spike.
Lane Partner Synergies
Spirit Breaker pairs best with heroes that have follow-up stuns or high burst damage:
- Ursa: Charge stun gives Ursa free Fury Swipes stacking — almost guaranteed first blood at level 2
- Juggernaut: Charge into Blade Fury is lethal on any hero without an escape. The spin also heals through your own harass damage
- Troll Warlord: The bash chain between Greater Bash and Troll’s own bash can perma-lock a target
- Phantom Assassin: Charge stun into Stifling Dagger slow creates a kill window PA can exploit with Phantom Strike
Mid and Late Game Transitions
Timing Windows
Spirit Breaker’s power curve is unusual. He spikes hard at three specific timings:
- Level 6 (minute 7-9): Charge + Nether Strike combo can solo kill any squishy hero. This is your first major power spike and the window where you should start cross-map ganking aggressively
- BKB timing (minute 18-22): With BKB, Spirit Breaker can charge into any fight without fear of getting chain-stunned. This is the peak teamfight timing — force objectives here
- Aghanim’s Scepter (minute 28-32): AoE Nether Strike transforms you from a single-target initiator into a teamfight monster. Push high ground with your team during this window
Between these spikes, Spirit Breaker should be constantly creating pressure on the map. Never farm jungle camps for more than 30 seconds. Your job is to appear on one side of the map, get a kill or force a TP, then immediately charge to the opposite side. This “global pressure” playstyle is what makes Spirit Breaker oppressive — the enemy team can never safely split up.
Teamfight Positioning
Spirit Breaker’s teamfight role depends on your item build and game state:
- Primary Initiator (BKB + Blade Mail): Charge the backline support, pop BKB + Bulldoze, Nether Strike a second target, then body-block and bash everything in reach
- Follow-up Initiator (Aghanim’s): Wait for your primary initiator (Enigma, Magnus, Tidehunter) to commit, then Charge through the clumped enemies for maximum bash procs, and Nether Strike the AoE center
- Peeler (Pipe + Halberd): Stay near your carry, use Charge defensively to stun any hero diving your backline, and Nether Strike enemy assassins
How to Stay Relevant Late Game
Spirit Breaker does fall off in damage scaling past 35-40 minutes, but his utility never falls off. A 2.4-second BKB-piercing stun on a 12-second cooldown is relevant at any stage of the game. Your late-game role shifts from “assassin who kills heroes” to “disruptor who creates chaos.” Focus on stunning the enemy carry during BKB, using AoE Nether Strike during Roshan fights, and providing vision with Charge of Darkness before objectives.
If the game goes ultra-late (50+ minutes), consider selling damage items for aura items like Assault Cuirass, Pipe, or Crimson Guard. Your team benefits more from your auras and stuns than from your right-click damage at this point. Refresher Orb is the ultimate luxury item — double Charge + double Nether Strike with Aghanim’s means you are locking down and damaging the entire enemy team twice in a single fight.
Counters: Heroes That Destroy Spirit Breaker
1. Lifestealer — The Hard Counter
Lifestealer is Spirit Breaker’s worst nightmare. Rage grants magic immunity, which means Greater Bash’s magical damage component is nullified. Feast heals Lifestealer for a percentage of Spirit Breaker’s maximum HP — and since SB is one of the tankiest heroes in the game, Lifestealer heals for absurd amounts. Even if you charge Lifestealer, he pops Rage, hits you 4-5 times with Feast, and walks away at full HP while you are at half. Avoid this matchup at all costs.
How to play around it: Never charge Lifestealer directly. Target his supports instead. If Lifestealer Infests an ally, track which hero he is inside and avoid charging that hero. Build Spirit Vessel early to counter his sustain.
2. Razor — The Damage Drain
Razor’s Static Link is devastating against Spirit Breaker. When you charge in and get linked, Razor drains your attack damage over 8 seconds. Since Spirit Breaker needs to stand and right-click for bash procs, you either stay and lose all your damage or run and waste your charge cooldown. Razor also builds items like Refresher and BKB that make him nearly impossible to burst down.
How to play around it: Break the link range by charging away immediately after landing your initial stun. Do not try to manfight a Razor with active Static Link.
3. Ursa — The Manfighter
Ursa stacks Fury Swipes and kills Spirit Breaker faster than SB can kill him. Enrage gives Ursa status resistance and damage reduction, making your stuns shorter and your bash damage lower. Even with BKB, a 6-slotted Ursa will shred through Spirit Breaker’s HP pool in 3-4 hits.
How to play around it: Kite with Charge. Never stand and trade with Ursa. Use Halberd to disarm him during fights.
4. Shadow Demon — The Disruption Counter
Shadow Demon can Disrupt you during your Charge arrival, wasting your stun window. Demonic Purge slows you massively and purges Bulldoze. In lane, Soul Catcher amplifies damage on Spirit Breaker’s large HP pool, making you surprisingly killable.
How to play around it: Charge SD first to force Disruption on himself. If he Disrupts you, your team has 2.5 seconds to reposition.
5. Disruptor — The Glimpse Lock
Disruptor’s Glimpse sends Spirit Breaker back to his position from 4 seconds ago. After a long-range charge, Glimpse sends you all the way back to where you started, completely wasting your initiation. Static Storm also prevents you from using Charge to escape. The Disruptor matchup is miserable and requires you to charge from short range to minimize Glimpse distance.
How to play around it: Charge from short range (1000-1500 units). Buy BKB to prevent Glimpse. Target Disruptor first in fights before he can react.
Heroes Spirit Breaker Destroys
1. Sniper
Sniper has no escape, no stun, and no way to survive a full Charge + Nether Strike combo. Spirit Breaker is quite literally Sniper’s worst nightmare. Charge from fog, one-shot him, and walk away. Sniper players in pub games rarely buy defensive items early enough to survive the first gank.
2. Zeus
Zeus wants to stand at maximum range and spam spells. Spirit Breaker crosses that range in seconds with Charge. Zeus has no mobility, no stun, and no defensive ability. Charge him from fog and he dies before he can cast two spells.
3. Crystal Maiden
The slowest hero in Dota 2 with no mobility and no escape. Crystal Maiden is free food for Spirit Breaker at every stage of the game. She cannot ward safely, cannot farm safely, and cannot even TP safely because Charge cancels TPs.
4. Drow Ranger
Drow’s entire kit is designed around keeping enemies at range with Frost Arrows and Gust. Spirit Breaker ignores all of this by charging through slows and stunning on arrival. Marksmanship is disabled when Spirit Breaker is in melee range, removing Drow’s primary damage steroid. Drow Ranger simply cannot function with a Spirit Breaker in the game.
5. Techies
Spirit Breaker’s Charge reveals the target and grants vision, which helps spot mine setups. More importantly, Techies players rely on the enemy walking into their traps — Spirit Breaker does not walk anywhere, he charges directly at heroes. Techies also has no escape from a Charge gank.
How Pros Play Spirit Breaker in the Current Patch
Spirit Breaker has seen consistent pro play throughout 2025 and into 2026, primarily as a position 4 support in the offlane. His pick rate in competitive matches hovers around 8-10%, making him a reliable but not meta-defining pick. According to Liquipedia, Spirit Breaker is most commonly picked in the second phase of the draft as a flex pick that can go position 3 or 4.
Notable Pro Builds and Strategies
Cr1t (Evil Geniuses) popularized the “Shadow Blade Spirit Breaker” build in late 2025. The concept is simple: charge from fog, cancel the charge just before vision range, Shadow Blade invis, walk up, then Nether Strike for a guaranteed kill with no Charge warning sound. This build requires precise execution but is devastating against teams with limited detection.
GH (Team Liquid) favors the utility-focused build with early Pipe of Insight and Spirit Vessel. His Spirit Breaker is less about solo kills and more about enabling his cores — charging into fights to create space, soaking initial spells with Bulldoze + BKB, and providing aura items that benefit the team.
Key takeaway from pro play: Professional Spirit Breaker players charge approximately 40-50% less than pub players. They wait for specific timing windows — enemy TP on cooldown, no enemy detection, a core farming alone — rather than charging on cooldown. Patience with Charge is the #1 lesson from watching pro Spirit Breaker gameplay.
Rank-Specific Climbing Guide
Herald to Guardian: Foundation Basics
At this rank, simply showing up to fights wins games. Herald and Guardian players frequently farm alone in dangerous positions with no map awareness. Spirit Breaker punishes this mercilessly. Your game plan is simple: get Phase Boots, start charging enemy heroes on cooldown, and TP to defend towers when needed.
Focus on:
- Always carry a TP scroll — charge one direction, TP the other
- Do not charge into groups of 3+ enemies without BKB
- Buy Blade Mail second item — enemies at this rank will right-click you during charge and kill themselves
- Do not worry about optimal targets — any kill is a good kill at this rank
Crusader to Archon: Adding Game Sense
This is the rank range where you need to start reading the minimap before charging. Check how many enemies are visible. If you see 3 heroes in one lane and want to charge the carry farming alone on the opposite side, that is a high-percentage play. If you see 0 enemies on the minimap, they are either smoked or grouped — do not charge blindly.
Key improvements:
- Buy Smoke of Deceit and use it before important charges — your charge does not break Smoke until you are close to the target
- Start itemizing based on the game state, not following one build every game
- Learn when to charge and when to walk — if you can reach the fight by walking, save Charge for chasing or catching TPs
- Communicate with your team before charging — a simple “I’m charging mid” ping gives your mid player time to prepare follow-up
Legend to Ancient: The Macro Leap
Legend and Ancient players understand basic Spirit Breaker mechanics but struggle with macro decision-making. At this rank, you need to think about what your charge accomplishes beyond the kill. Does killing the enemy mid let your team take a tower Does charging top force the enemy carry to TP, opening Roshan for your team
Advanced concepts for this bracket:
- Use Charge as a scouting tool — charge a likely enemy position to gain vision, then cancel if the fight is unfavorable
- Track enemy buyback status — killing a carry with no buyback and 50 seconds until respawn is far more valuable than killing a support
- Play around power spikes — your team has a 3-minute window after Aegis pickup where you should be forcing fights non-stop
- Stop charging into late game. After 35 minutes, your charges should be strategic picks, not fishing expeditions
Divine to Immortal: What Separates the Top 1%
At Divine and Immortal, Spirit Breaker players live and die by information asymmetry. You win by knowing where the enemy is while they do not know where you are. This means buying and placing wards, tracking enemy ward positions, and charging from fog-of-war rather than lane.
Immortal-level techniques:
- Charge cancel mindgames: Start charging a hero, wait for the enemy to rotate defensively, then cancel and charge the now-undefended lane
- Bash priming: Attack creeps 3-4 times without a bash proc before charging — your first hit on the target has a significantly higher bash probability due to PRD
- Shadow Blade charge cancel: Charge from fog, cancel before detection range, Shadow Blade, walk into melee range, then Nether Strike. No warning sound, no Charge animation, just instant death
- Refresher timing: Double Charge + double Nether Strike with Aghanim’s is 6+ seconds of AoE lockdown. Time this with your team’s big cooldowns for teamfight-ending combos
Tips and Tricks
Animation Cancels and Hidden Interactions
- Charge + TP scroll cancel: Start a TP to a tower, then immediately Charge a hero near that tower. You TP to the tower location and arrive charged, saving the travel time. This only works if the target is near the TP destination
- Greater Bash through Linken’s Sphere: Charge pops the Linken’s Sphere, and the Greater Bash proc still applies. This makes Spirit Breaker one of the best Linken’s breakers in the game
- Nether Strike through trees: Nether Strike has a fixed teleport distance. If you Nether Strike at max range while standing in trees, you teleport to the target and the trees around your original position are destroyed, creating a new path. Use this for creative juke routes
- Charge through Roshan pit: You can charge through the Roshan pit if your charge path crosses it. This occasionally results in a drive-by bash on Roshan, which can be useful for scouting whether the enemy is doing Roshan
- Phase Boot interaction: Using Phase Boots during Charge grants the movement speed bonus, directly increasing your Greater Bash damage on impact. Always Phase Boot during your charge
Common Mistakes to Avoid
- Charging on cooldown: The biggest mistake at every rank. Every charge should have a purpose — a kill, information, or pressure. Random charges waste your most valuable cooldown and reveal your position
- Not buying BKB: Spirit Breaker without BKB past 25 minutes is a feeding machine. You charge in, get stunned for 3 seconds, and die before landing a single bash. BKB is core in every single game
- Ignoring Bulldoze: Many players forget to activate Bulldoze before charging. The 60% status resistance and movement speed bonus are massive. Get in the habit of pressing W before Q every time
- Farming instead of ganking: Spirit Breaker’s GPM should come from kills and assists, not creep farming. If you are afk hitting jungle camps for more than 30 seconds, you are playing the hero wrong
- Same target syndrome: Do not charge the same hero repeatedly. If the enemy mid has died to you 3 times, they will start playing safely. Switch targets and create fear across all 5 enemy players
Frequently Asked Questions
Position 4 is generally stronger in the current meta. Spirit Breaker does not need farm to be effective — his abilities scale with levels and movement speed, not expensive items. Playing position 4 lets him roam earlier and create space for a position 3 who scales better with gold, like Mars or Beastmaster. However, in lower ranks (Herald through Archon), position 3 Spirit Breaker works fine because games last longer and the extra gold allows for Aghanim’s + BKB + luxury items.
Pick Spirit Breaker when the enemy team has squishy, immobile heroes like Sniper, Zeus, Crystal Maiden, or Drow Ranger. He is also excellent against split-push lineups with heroes like Nature’s Prophet or Tinker, since Charge lets you catch them anywhere on the map. Avoid picking Spirit Breaker into heavy disable lineups or against Lifestealer.
Yes. Greater Bash stun pierces spell immunity (BKB). The bash damage is magical and does NOT go through BKB, but the stun component does. This makes Spirit Breaker one of the few heroes who can reliably disable a BKB-active carry. This is a huge part of why Spirit Breaker stays relevant in the late game.
The standard kill combo is: Bulldoze (W) before charging, Charge of Darkness (Q), land the stun + bash, immediately cast Nether Strike (R) for another stun + bash, then auto-attack. If you have Shadow Blade, the enhanced combo is: Charge from fog, cancel before detection range, Shadow Blade, walk into melee range, attack for Shadow Blade bonus damage, then Nether Strike. This skips the Charge warning sound entirely.
Do not charge Lifestealer directly — ever. Focus on his supports and other cores instead. Build Spirit Vessel early to cut his Feast healing. In teamfights, let your carry deal with Lifestealer while you lock down everyone else. If Lifestealer is inside another hero via Infest, track which hero he is inhabiting and avoid charging that target.
In most games, buy Shard first (1,400 gold) then Scepter later. Shard gives AoE stun on Charge impact, which is immediately useful for teamfights. Scepter costs 4,200 gold and gives AoE Nether Strike — more impactful but far more expensive. At higher ranks, Shard is almost always bought before Scepter. At lower ranks, rushing Scepter is fine because games go longer and the AoE Nether Strike damage is easier to use.
Play 10 unranked games focusing exclusively on one concept per game. Game 1-3: Charge timing (only charge when you are 80%+ confident of a kill). Game 4-6: Item builds (try different builds and note which feel strongest). Game 7-10: Map awareness (track enemy positions before every charge). After that, take Spirit Breaker into ranked and focus on your weakest area. For faster improvement, consider professional coaching from an Immortal-rank player who can review your replays.
Ready to Charge Through the Ranks
Our Immortal-rank coaches can review your Spirit Breaker gameplay and show you exactly where your charges, item timings, and map rotations can improve. Or skip the grind entirely with our professional MMR boosting service.



