

Roshan Drops by Kill in 2026: Aegis, Cheese, Refresher Shard, Banner and Respawn Timer

Every Roshan kill drops different items depending on which kill number it is and which pit Roshan dies in. Get one detail wrong and your team loses hundreds of gold in trade value, misses a banner push, or sends the wrong hero to hold the Aegis. This post is the mechanic reference: what drops, when, which pit matters, and what each item does. Bookmark it and pull it up before a late-game Roshan fight.
For hero picks and timing windows, see Roshan Control for Low Coordination Teams. For the shotcalling template once you have Roshan secured, see How to Convert a Lead into Roshan. This page covers the mechanics — those pages cover the strategy.
Quick Reference Table: Roshan Drops by Kill Number
The table below is the complete drop reference for patch 7.41f. The second and third columns split by pit because the location where you kill Roshan now determines which bonus items drop. Kill #1 is the same regardless of pit.
| Kill Number | Dire Pit Drops (nighttime) | Radiant Pit Drops (daytime) |
|---|---|---|
| Kill 1 | Aegis of the Immortal | Aegis of the Immortal |
| Kill 2 | Aegis + Cheese | Aegis + Roshan’s Banner |
| Kill 3 | Aegis + Cheese + Aghanim’s Blessing | Aegis + Roshan’s Banner + Refresher Shard |
| Kill 4+ | Aegis + Cheese + Aghanim’s Blessing | Aegis + Roshan’s Banner + Refresher Shard |
The Aegis is the only item that drops on every kill regardless of pit. All other drops depend on which pit Roshan dies in. The good news: you will almost always know which pit you are fighting in before the fight starts — Roshan moves between pits at every day/night transition.
Drop Item Summary at a Glance
| Item | Drop Condition | Sellable? | Can Be Denied? |
|---|---|---|---|
| Aegis of the Immortal | Every kill, either pit | No | Yes (enemy can deny) |
| Cheese | Kill 2+, Dire pit only | Yes (500 gold) | No |
| Roshan’s Banner | Kill 2+, Radiant pit only | No | No |
| Aghanim’s Blessing | Kill 3+, Dire pit only | No | No |
| Refresher Shard | Kill 3+, Radiant pit only | Yes (500 gold) | No |
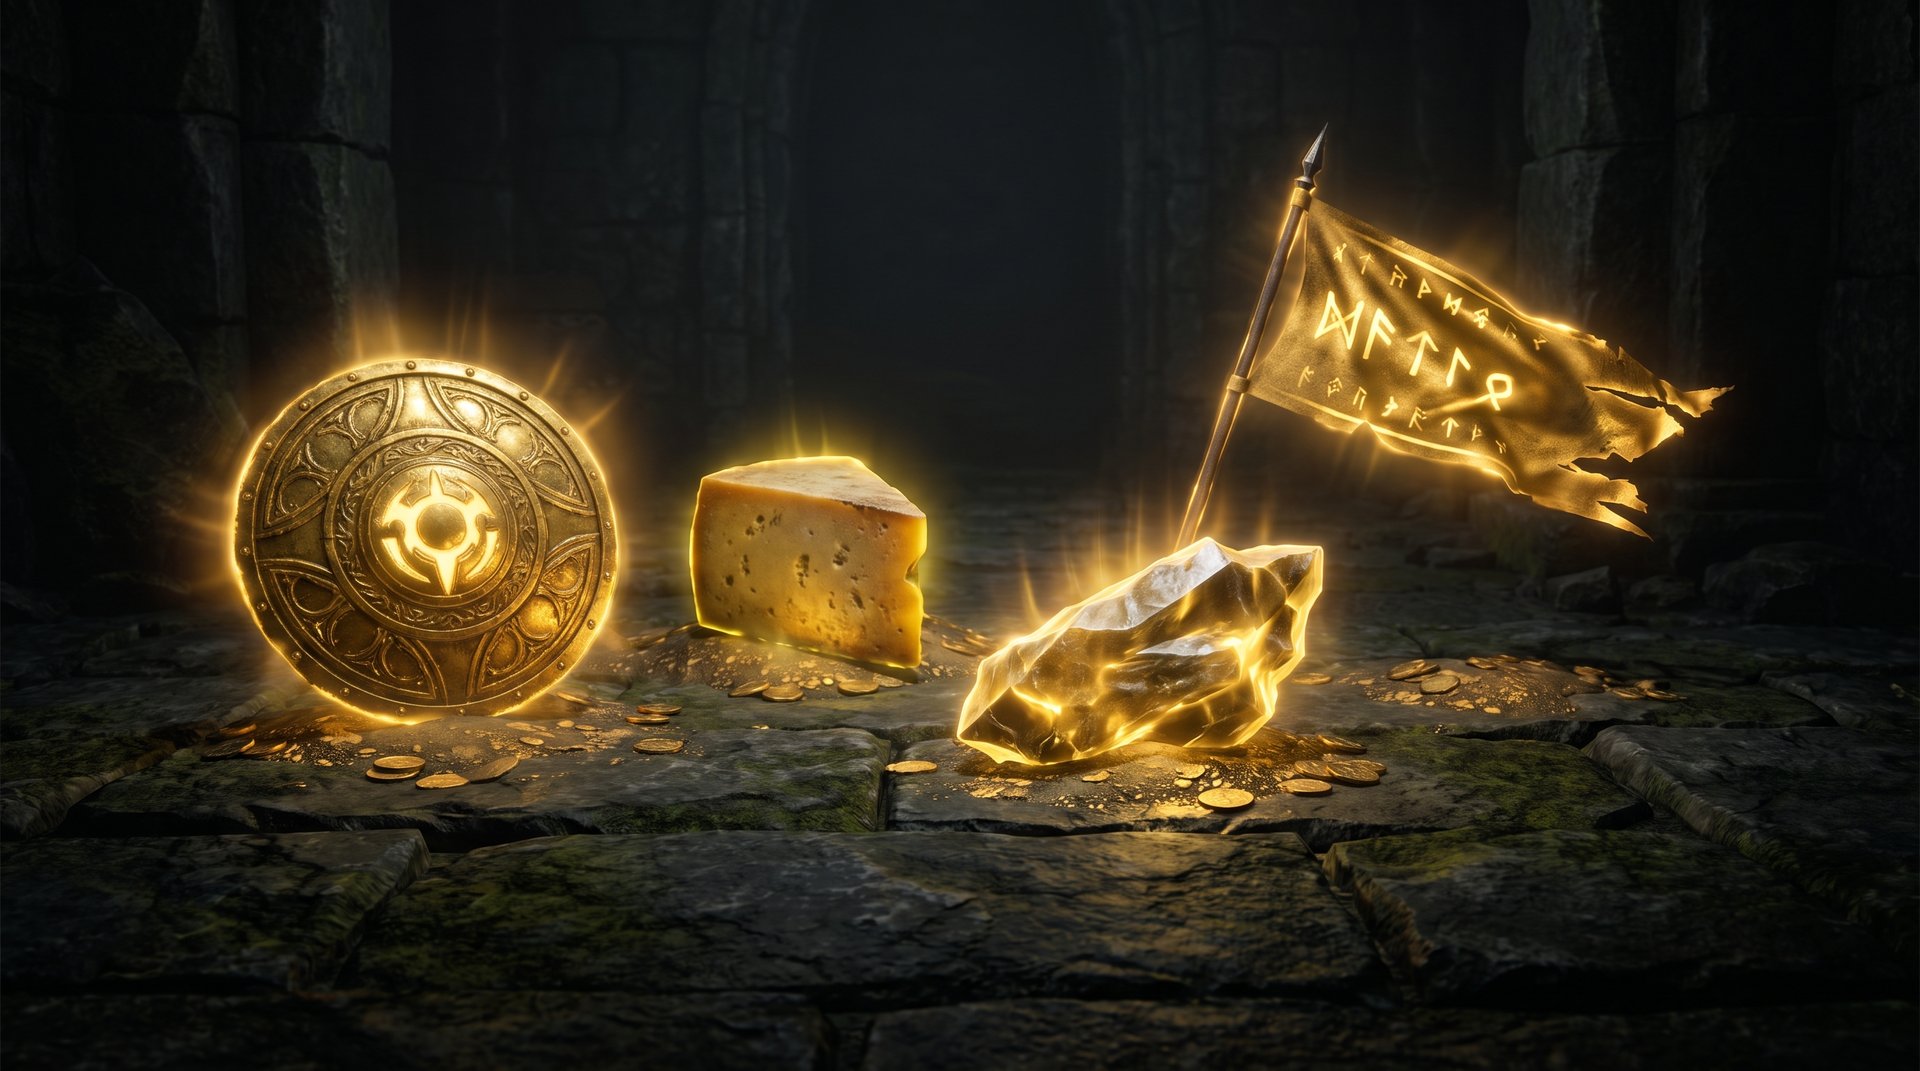
How Pit Location Determines Which Items Drop
This is the mechanic that trips up most players who last played before patch 7.33. In the old single-pit system, drops were purely sequential by kill count. In 7.33 and onwards through the current 7.41f, Roshan has two pits and moves between them on the day/night cycle. The pit he dies in changes which bonus items drop.
The Two Roshan Pits and Their Schedule
Roshan lives in the Radiant pit during the day and moves to the Dire pit when night falls. He uses the Twin Gates to teleport across the map when switching — and while he is moving, he has increased movement speed and will knock back any heroes in his path for 200 damage. Do not stand in his path during a transition.
| Time of Day | Active Pit | Kill 2+ Bonus Drop | Kill 3+ Bonus Drop |
|---|---|---|---|
| Daytime | Radiant pit (northwest corner) | Roshan’s Banner | Refresher Shard |
| Nighttime | Dire pit (southeast corner) | Cheese | Aghanim’s Blessing |
The practical implication: the Roshan fight is not just a timing question. It is also a location question. A second Roshan during the day gives your team a Banner for a creep-powered push. The same second Roshan at night gives Cheese — a personal save item with very different value. Know which pit you are heading into before you commit.
One more thing to understand: when Roshan respawns after being killed, he respawns in the pit appropriate for the current time of day, not the pit he died in. So if you kill him at night in the Dire pit and he respawns during the day, the next fight happens in the Radiant pit with Radiant-pit drops. The drop type is always determined by the pit he dies in, not where he was last seen.

Aegis of the Immortal: Every Kill, Every Pit
The Aegis is the most important item Roshan drops and the one that never changes. It falls on every kill regardless of which pit, which kill count, or any other variable. Every Roshan fight, an Aegis appears on the ground.
What the Aegis Does
The Aegis has one ability: Reincarnation. When the hero holding the Aegis dies, instead of dying normally, they are revived at full health and mana at the location of their death after a brief delay. The effect is essentially an extra life. The Aegis expires after 5 minutes if not used — when it expires, a global announcement plays for both teams. Roshan also reclaims the Aegis when he respawns, no matter where the item is on the map.
Key Rules About the Aegis
- Cannot be dropped once picked up — the hero who picks it up holds it until they die or it expires.
- Cannot be sold under any condition.
- Both teams see an announcement when a hero picks up or denies the Aegis.
- The enemy team can deny the Aegis by picking it up themselves before your team does — denying it prevents your team from using it and gives neither team the item.
- Aegis Reincarnation does NOT proc buyback immunity. A hero revived by Aegis can still use buyback.
- The 5-minute expiry is hard — there is no extension.
Who Should Hold the Aegis?
The correct Aegis carrier depends on your team composition, but the general principle is straightforward: give the Aegis to the hero who creates the most value by being alive for an extended fight, and who your team would struggle most to replace in a teamfight if they die early. In most cases that is your hard carry, since losing your core late-game often means losing a fight that you were ahead in. The Aegis effectively turns your carry into a hero who has to be killed twice in the same teamfight — which is enormously powerful at full buyback cooldown timings.
There are exceptions. If your carry is extremely ahead and the enemy team has no way to kill them reliably, giving the Aegis to a frontliner who can bait skills and absorb cooldowns before your carry cleans up is sometimes stronger. These decisions belong to the shotcalling guide — see Roshan Control for Low Coordination Teams for the framework.
If you want to climb faster than grinding out Roshan rotations game by game, a Dota 2 boosting service from a TeamSmurf specialist can put you in games where Aegis management is executed correctly, accelerating your learning curve significantly.
Cheese: Dire Pit, Kill 2 and Above
Cheese drops on every Roshan kill from the second one onwards — but only when Roshan dies in the Dire pit (nighttime). It does not appear on the first kill, and it does not drop from the Radiant pit. If your team expects Cheese from a Roshan fight but the fight happens during the day, no Cheese will appear.
What Cheese Does
Cheese has one active ability called Fondue. When used, it instantly restores 2500 HP and 1000 mana to the hero who uses it. It is a consumable item — one use and it is gone. It cannot be dropped once picked up by your initial recipient. However, it is fully sharable: it can be passed to any allied hero before use.
| Cheese Stat | Value |
|---|---|
| HP restored on use | 2500 |
| Mana restored on use | 1000 |
| Sell value | 500 gold (first picker only) |
| Shareable? | Yes |
| Droppable? | No (once picked up) |
Cheese Strategy Notes
Cheese is most valuable on a hero who burns through their health pool in a single teamfight — typically your position 1 carry or a brawler who frontlines. A 2500 HP restore mid-fight is equivalent to several turns of regeneration compressed into an instant, which can swing a fight you would otherwise lose. The mana restore is a bonus but often matters less at full build.
The 500 gold sell option is meaningful early in the game, when 500 gold buys a significant item component. If no hero on your team has a meaningful use for the healing — for example, you have a full five-hero buy setup and everyone is near max HP going into the fight — selling Cheese for gold is a legitimate call. Later in the game, the raw healing value typically exceeds what 500 gold buys, so sell it only if you are certain nobody will use it.
Roshan’s Banner: Radiant Pit, Kill 2 and Above
Roshan’s Banner is the counterpart to Cheese. It drops from the second kill onwards, but only when Roshan dies in the Radiant pit during the day. It was introduced in patch 7.35 and has been part of the game through 7.41f without significant changes to its core mechanic.
What Roshan’s Banner Does
Roshan’s Banner is a consumable ward item with a global cast range. When used (the “Place Banner” ability), your hero plants a physical banner anywhere on the map. The banner creates an aura with a radius of 750 that affects nearby lane creeps, giving them 75% bonus health and 50% bonus damage. The aura effect lingers for 45 seconds after a creep leaves the radius, and the banner itself lasts 300 seconds (5 minutes). The banner is a destructible unit with 24 HP — enemies can destroy it.
| Roshan’s Banner Stat | Value |
|---|---|
| Cast range | Global |
| Aura radius | 750 |
| Creep HP bonus | 75% |
| Creep damage bonus | 50% |
| Aura linger duration | 45 seconds |
| Banner duration | 300 seconds |
| Sellable? | No |
| Shareable? | Yes |
How to Use Roshan’s Banner Effectively
The Banner turns your next lane push into a siege operation. Boosted creeps with 75% more health are substantially harder to clear with AoE — and 50% more damage means they chunk towers faster. Place the banner just ahead of a coordinated push, ideally at the next wave spawn point so the creeps walk through the aura and carry the buff into the enemy base.
When placing the banner, note that it triggers a minimap ping visible to both teams. The enemy knows you placed it the moment it lands. That is a minor downside but rarely changes the result — a boosted wave with your team behind it is hard to stop regardless.
The banner also has one niche interaction: Monkey King’s Mischief ability in the Roshan pit can transform him into a Banner disguise on the third kill from a Radiant pit. This is a minor mechanic curiosity that rarely impacts competitive play but can catch enemies off-guard.
Aghanim’s Blessing from Roshan: Dire Pit, Kill 3 and Above
Aghanim’s Blessing drops on the third Roshan kill and beyond when Roshan dies in the Dire pit at night. It is the most game-changing drop in the list because it fundamentally alters how a hero’s abilities work for the rest of the game.
What Aghanim’s Blessing Does
The Roshan version of Aghanim’s Blessing functions exactly like the store-bought version — it upgrades the hero’s ultimate ability (or primary ability where applicable) with the Aghanim’s upgrade for that specific hero. The one mechanical difference: unlike the store version which has a channeled use, the Roshan drop must be manually activated from your inventory as a consumable. It is not automatically applied — a hero can hold it and give it to an ally before using it.
The item is unsellable and fully sharable. Any allied hero can use it once it is passed to them.
Who Benefits Most from Aghanim’s Blessing
The value of Aghanim’s Blessing varies enormously by hero. On heroes where the Aghanim’s upgrade is considered one of the best items in the game for that hero — Invoker, Shadow Demon, Dark Willow, Warlock, and many others — getting a free Blessing in the late game from Roshan is the equivalent of a free 4200-gold item. On heroes where the Aghanim’s upgrade is weak or rarely purchased in professional play, the Blessing’s value is lower and should be given to the hero on your team who benefits most.
Do not auto-give Aghanim’s Blessing to your carry. Check the upgrade values for every hero on your team first. A support hero whose Aghanim upgrade fundamentally changes their teamfight impact may get more value from it than a carry who already has their key items.
If you are playing in a bracket where these decisions are rarely made correctly, working with a TeamSmurf coach through our Dota 2 coaching service is the fastest way to internalize which upgrades matter on which heroes — a lesson that pays dividends for thousands of games.
Refresher Shard: Radiant Pit, Kill 3 and Above
Refresher Shard is the Radiant-pit counterpart to Aghanim’s Blessing. It drops on the third kill and beyond when Roshan dies in the Radiant pit during the day.
What Refresher Shard Does
Refresher Shard has one active ability: Reset Cooldowns. Using it resets all ability and item cooldowns for the hero who activates it. It is a single-use consumable. Like Cheese, the first hero who picks it up can sell it for 500 gold. It is fully sharable before use.
| Refresher Shard Stat | Value |
|---|---|
| Effect | Resets all ability and item cooldowns |
| Sell value | 500 gold (first picker only) |
| Shareable? | Yes |
| Droppable? | No (once picked up) |
Who Should Take the Refresher Shard
Refresher Shard is at its strongest on heroes with high-impact ultimates that have long cooldowns. A hero like Enigma using Black Hole, resetting with Shard, and immediately casting Black Hole again is a fight-winning play that is essentially impossible for the enemy to prepare for. The same logic applies to Earthshaker’s Fissure, Sand King’s Epicenter, Magnus’s Reverse Polarity, and any hero whose ultimate has a cooldown measured in minutes rather than seconds.
On heroes with short ultimate cooldowns or ultimates that do not have a major teamfight component, the 500-gold sell value may genuinely be better than the ability reset. Evaluate on a game-by-game basis based on what your team needs at the moment of the Roshan kill.
A Refresher Shard in combination with the Refresher Orb item means a hero can reset their cooldowns twice in one fight — an edge-case setup that is devastating when it lands and the primary reason some teams explicitly time their third Roshan kill around the orb purchase on their core hero.
Roshan Respawn Timer: The 8 to 11 Minute Window
When Roshan is killed, a respawn timer starts. The respawn is random — anywhere between 8 and 11 minutes after the kill. Neither team receives an in-game indicator of the exact respawn time. The uncertainty is deliberate: it forces both teams to either ward the pit to track when Roshan appears or accept the risk of showing up early or late.
Respawn Timing Details
| Respawn Variable | Value |
|---|---|
| Minimum respawn time | 8 minutes after death |
| Maximum respawn time | 11 minutes after death |
| Respawn location | Radiant pit (daytime) or Dire pit (nighttime) |
| Respawn prevented? | No — cannot be prevented by any mechanic |
| Respawn indicator for players? | None |
| Respawn visible for spectators? | Yes — timer visible 5 minutes after Roshan’s death |
The Ward-and-Wait Play
The standard play after a Roshan kill is to ward the entrance to the relevant pit at the 8-minute mark after the kill. If Roshan is not there at 8 minutes, he will be there no later than 11. Teams that do not ward this window often discover a fully regenerated Roshan when they wander in at minute 10 having assumed the pit was empty. The penalty for walking in blind is potentially a full wipe at a point in the game where the objective matters enormously.
One important detail: Roshan respawns in the pit appropriate for the current time of day, regardless of where he died. If it is day at respawn time, he spawns in the Radiant pit. If it is night, he spawns in the Dire pit. When the side switches, so does the pit you need to ward.
How Roshan Grows Stronger Over Time
Roshan starts the game with 6000 HP and gains 130 HP per minute as the game progresses. He also gains 0.375 armor per minute and 6 attack damage per minute. By minute 60, Roshan is significantly harder to kill than at minute 15 — not impossible, but the window for a clean solo-kill with a single hero has long since closed for most heroes. Teams fighting Roshan after minute 40 should expect to commit most of their lineup to the kill.
His experience bounty also scales: base 400 XP plus 20 XP per minute of game time. The gold bounty is fixed at 135 gold per player on the killing team, plus 200-290 for the killing blow hero.
Item Pickup Priority: Who Takes What in 2026
After the kill, the items are on the ground. In most Dota 2 games at the median bracket, items get picked up somewhat randomly. In coordinated teams, there is a system. Here is the baseline priority framework for patch 7.41f:
Kill 1: Aegis Only
Give the Aegis to the hero who creates the most value being alive through the next teamfight. This is almost always your position 1 carry in a standard game. Exceptions: if your carry is so far ahead that they cannot realistically die in one teamfight anyway, consider a hard-initiating position 3 who forces skills before your carry cleans up. See the Roshan shotcalling template for the decision tree.
Kill 2 (Dire Pit): Aegis + Cheese
Aegis goes to your carry. Cheese goes to whoever has the best heal-to-kill-prevention ratio for the upcoming fight. In most cases: second core, or whoever will enter the fight first and absorb initial burst. If nobody has a compelling case, sell it for 500 gold and put that toward an item component.
Kill 2 (Radiant Pit): Aegis + Roshan’s Banner
Aegis goes to your carry. Banner should be placed immediately or saved for your next lane push — whoever has the global cast range does not matter since Banner placement is instant and has no positioning requirement. Assign one player to hold it and place it at the next creep wave heading toward the enemy base.
Kill 3+ (Dire Pit): Aegis + Cheese + Aghanim’s Blessing
Aegis carry as usual. Cheese to your best healer candidate. Aghanim’s Blessing: identify in advance (before the fight, not after) which hero on your team gets the highest value from the Aghanim upgrade. Pass it to them immediately after the kill. Wasting seconds arguing over it at the pit is how you get wiped by a defending team. Check the MMR guide for hero-specific decision frameworks if this is a recurring source of confusion in your games.
Kill 3+ (Radiant Pit): Aegis + Roshan’s Banner + Refresher Shard
Aegis carry as usual. Banner to the player responsible for the next push — place it immediately. Refresher Shard: give to your hero with the highest-impact ultimate. If multiple candidates, whoever is closest to getting a Refresher Orb already is generally the right call — the two items stack and the double-reset play is a game-ender.
Frequently Asked Questions
Climb Faster — Let a Specialist Play the Roshan Timing for You
Understanding drop mechanics is only half the equation. The other half is executing the Roshan call at the right moment against a defending team. TeamSmurf’s Dota 2 boosters play thousands of rated games a month — they know every pit timing, which hero holds the Aegis, and how to convert a Roshan kill into a won game. Let them show you how it is done.



