

How to Counter Anti-Mage Before Minute 25

Anti-Mage is the most punishing carry in Dota 2 when he hits his farm. Every Dota player has felt that sick feeling when the clock rolls past 35 minutes and an enemy AM shows up with Battle Fury, Manta Style, and a pocket full of time to drain your entire team’s mana before casting Mana Void for 2,000 damage. The good news is that Anti-Mage has one of the clearest exploitable windows in the game: the first 25 minutes.
Before minute 25, AM is fragile, slow, and entirely dependent on uncontested farm. If you understand his item timings, his laning weaknesses, and the specific heroes and items that shut him down, you can dictate the game before he ever becomes a threat. This guide covers everything from draft picks and lane matchups to the exact map pressure moves that starve AM out of relevance.
All patch data in this guide is sourced from dotacoach.gg (patch 7.41d). Win-rate matchup figures are community aggregate data from dota2counters.com and should be treated as directional trends rather than absolute values. If you want to jump straight to a ranked bracket and skip the grind, our best Dota 2 boosting services page covers your options.
Table of Contents
Anti-Mage in Patch 7.41d: What You Are Dealing With
Before diving into counters, it helps to understand what AM actually does now. The 7.41 patch cycle made some meaningful changes to his kit that affect how you play against him. According to dotacoach.gg, as of patch 7.41d Anti-Mage holds a 49.7% win rate at a 12.8% pick rate, and he ranks as the second most banned hero in the game. That ban rate tells you everything — he is not broken, but he is threatening enough that drafts routinely choose to remove him.
Abilities in 7.41d
Persecutor (Passive): AM’s attacks slow enemies based on how much mana they are missing. The slow is minimal at high mana (12% when target is at 60% mana) and increases as mana drops (24% at 0% mana). This ability is breakable. In patch 7.41c, Valve increased the threshold from 50% to 60% mana, meaning Persecutor activates slightly earlier in a drain sequence. It does not activate at all if the enemy is above 60% mana.
Mana Break (Passive): The core of AM’s identity. Each attack burns 25/30/35/40 mana and deals 60% of the burned mana as bonus physical damage. Illusions apply a 25% version. In 7.41a, the mana-burned-as-damage ratio increased from 50% to 60%, making him noticeably more dangerous against targets with large mana pools. This ability is also breakable.
Blink: AM’s escape and repositioning tool. At max level it has a 1,100 range and a 6-second cooldown, with a mana cost of 45 after the 7.41d reduction. Critically, Blink is disabled for 3 seconds after AM takes player-delivered damage. This is the mechanic your entire early-game counter plan should revolve around.
Counterspell (Passive/Active): Passively grants 14/21/28/35% magic resistance (down from 16/24/32/40% in the 7.41 patch). The active creates a 1.3-second shell that reflects targeted spells back at the caster. Do not cast targeted spells into an AM who has the active ready — wait for it to go on cooldown or bait it out first.
Mana Void (Ultimate): Deals magical damage to a target equal to 0.9/1.05/1.2 times their mana deficit, plus an AOE stun to nearby units. The key takeaway: Mana Void is only devastating if your allies are low on mana. Keep mana pools topped up at all times to defang this spell.
Recent Patch Changes That Matter
- 7.41d: Base agility increased from 24 to 25, base damage up by 1, Blink mana cost reduced. AM is slightly better in lane with these buffs.
- 7.41a: Movement speed increased from 310 to 315, base health regen up, Mana Burned as Damage increased from 50% to 60%. The damage buff is significant — he punishes mana-heavy heroes harder in the mid-game than before.
- 7.41: Base armor +1, Counterspell magic resistance reduced, Blink cooldown and range reworked, Facets system removed from the game.
The net result of the patch cycle is an AM who is a slightly improved laner and a more dangerous mana drainer, but who still has the same fundamental weakness: he needs uncontested farm for 20-25 minutes and folds to aggressive early pressure.
Why the 25-Minute Window Exists
Anti-Mage’s power is almost entirely determined by his items. Without his core farm, he is a mediocre right-clicker with low base damage, limited lockdown, and fragile HP. Understanding his item timing lets you calculate exactly how long you have to take control of the game.
AM’s standard farm target is Battle Fury as his first major item, typically aiming for a 16-21 minute timing depending on how well the lane goes. Battle Fury transforms his farming speed from ordinary to absurd — he can clear jungle camps and creep waves almost instantly after Blinking between them. Before Battle Fury, he is farming at the speed of a normal carry. After it, he can out-farm almost any hero in the game in open conditions.
The second major item is usually Manta Style or Diffusal Blade. Manta gives him illusions that also apply Mana Break (at 25% effectiveness), dispels slows and silences, and massively accelerates his mana drain. A rough Manta timing is 25-30 minutes. After Manta, a fed AM becomes genuinely difficult to gank because his illusions confuse enemies and his Blink makes him nearly impossible to catch without reliable hard disables.
Your window is this: the game between the 8-minute and 25-minute mark. During that span, AM has no Battle Fury, or has just completed it without Manta. He is farmable, gankable, and counterable. After 25 minutes, if he has both items and Black King Bar to follow them, you are fighting him on his terms. This is why every strategic decision — hero picks, lane assignments, rune control, tower pressure — needs to be oriented around breaking his farm pattern in that window.
AM’s Core Weaknesses You Must Exploit
Anti-Mage has a defined set of exploitable weaknesses that remain constant regardless of his item state in the early game. Knowing them lets you build your game plan around them.
- Blink is disabled on damage: Any player-delivered damage prevents Blink for 3 seconds. In the early game, sustained right-click harassment, nukes, or DOT effects can keep him Blink-locked in place. Towers also trigger this, which is why diving him under tower with a stun is so effective early on.
- Low base HP and strength gain: AM gains only 1.6 strength per level. At level 7, he has roughly 650-700 HP. Burst damage heroes and assassination-style gankers can kill him very quickly if he is caught.
- Farm dependency before Battle Fury: AM without Battle Fury farms at average speed. If you slow or deny his farm in the first 15 minutes, his timing pushes out significantly and your window extends.
- Mana Break and Persecutor are breakable: The Break mechanic in Dota 2 disables passive abilities. Items or heroes that apply Break eliminate his mana drain entirely, turning him into a slow, low-damage carry with an escape tool.
- Counterspell can be baited: The active Counterspell has a cooldown. Bait it with a low-value spell or wait for it to expire before using your key disables.
- No AOE or teamfight presence before Manta: Without Manta, AM can only single-target drain. He has no reliable initiation and no way to participate in a 5v5 fight except by cleaning up low-mana enemies. Force team fights before his Manta.
Best Hero Counters to Anti-Mage
These heroes have consistent advantages against AM either in the lane phase, during the mid-game window, or both. Win-rate data below is community aggregate data from dota2counters.com and represents AM’s win rate in these matchups.
| Hero | AM Win Rate (community data) | Why It Works | Best Used As |
|---|---|---|---|
| Clockwerk | ~45% | Power Cogs trap AM without needing a stun; Battery Assault deals damage that prevents Blink; mana burn from cogs drains him further | Offlane / Pos 4 |
| Ancient Apparition | ~46% | Ice Blast prevents healing and forces AM away from lanes; Chilling Touch harasses in lane; Cold Feet is hard to blink away from if timed right | Pos 5 Hard Support |
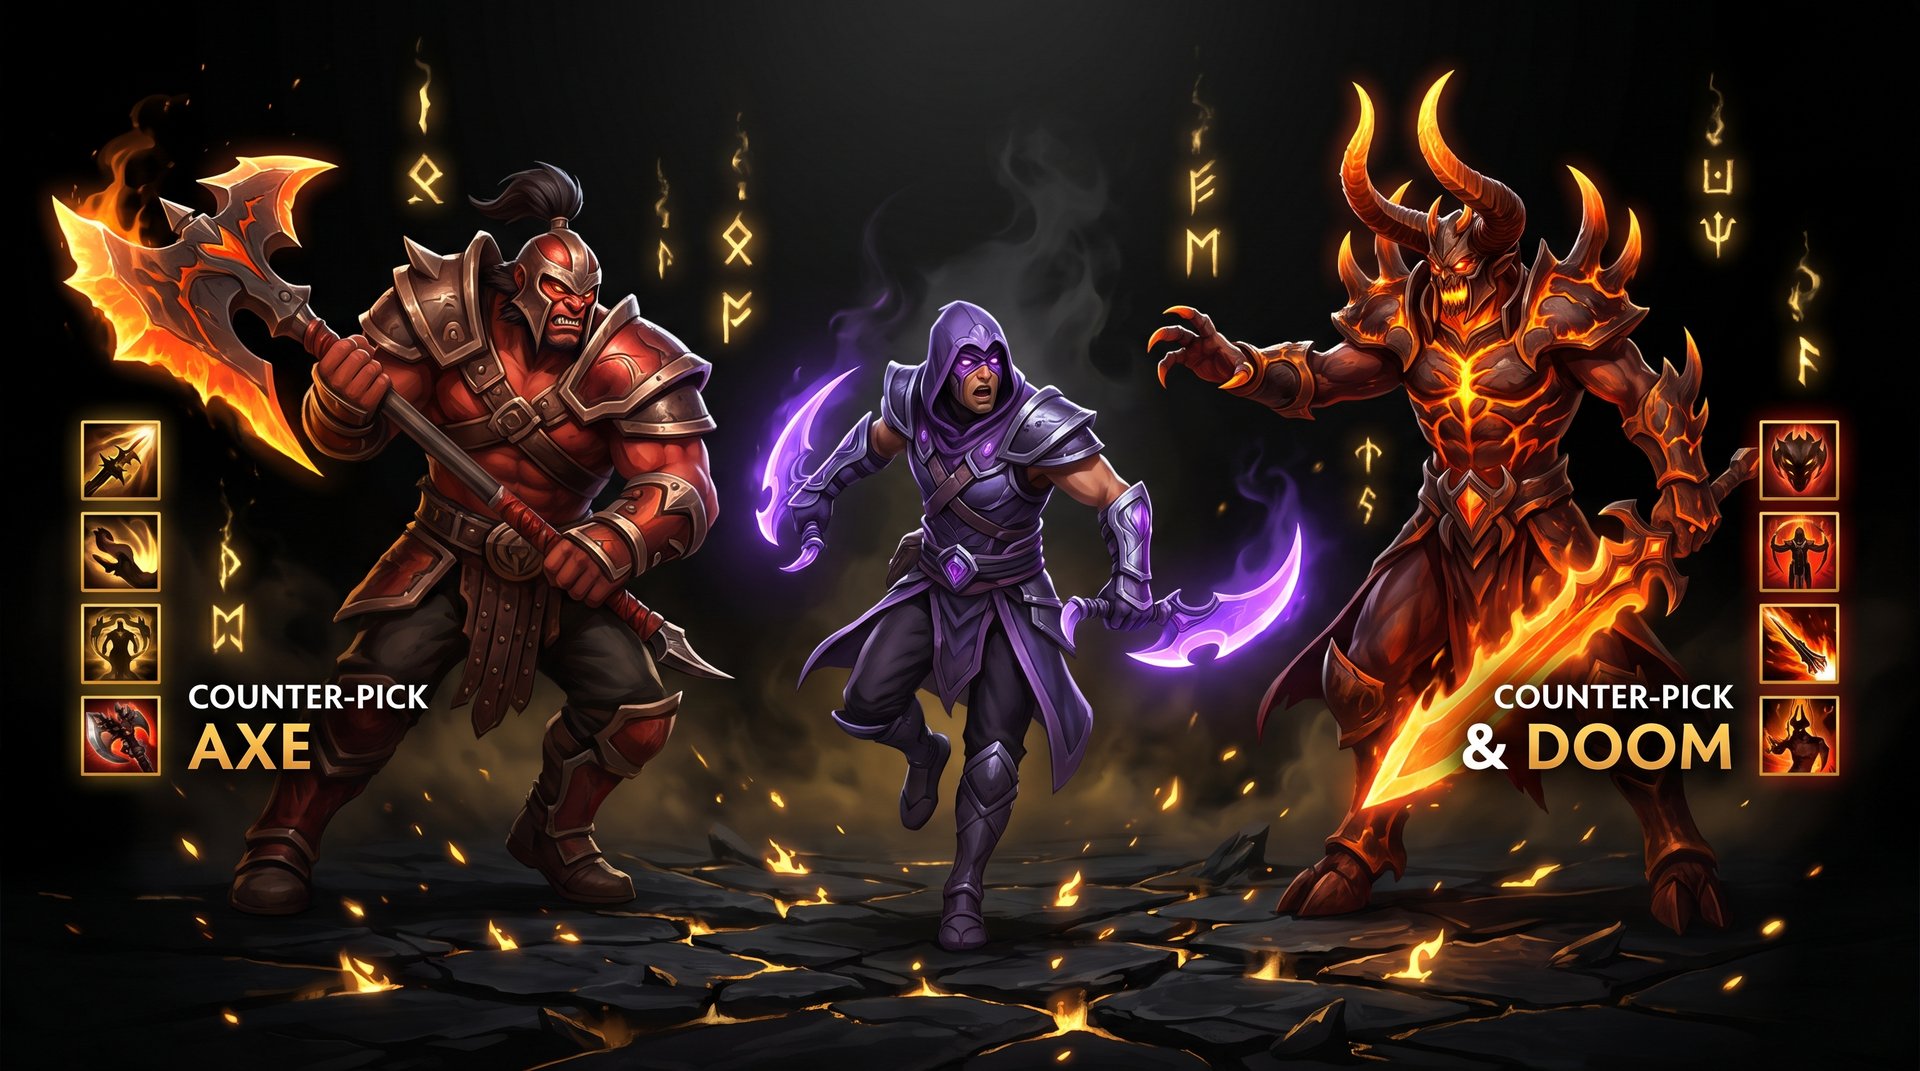
| Axe | ~46% | Counter Helix and Culling Blade deal pure damage, bypassing Counterspell’s magic resistance; Counter Helix procs on every AM attack including during Blink-chasing | Offlane |
| Doom | ~47% | Doom ultimate removes all AM abilities including Blink, Counterspell, and Mana Break, turning him into an average right-clicker for 16 seconds | Offlane |
| Grimstroke | ~48% | Soulbind prevents AM from Blinking away without dragging his bound ally; Ink Swell roots and deals damage; Phantom’s Embrace reduces AM’s attack output | Pos 4 / Pos 5 |
| Faceless Void | ~49% | Chronosphere hard-locks AM with no Blink escape; Void has the physical damage to follow up; Time Walk can re-engage if AM somehow escapes the initial cast | Safe Lane Carry |
| Disruptor | ~49% | Static Storm silences AM’s team, preventing Blink for its entire duration; Kinetic Field traps him if he Blinks into your team; Glimpse sends him back to where he was | Pos 4 Support |
Clockwerk — The Best Lane Threat
Clockwerk is arguably the strongest situational counter to AM for one specific reason: Power Cogs. AM’s Blink has a cast range of 875 at level 1 and increases to 1,100 at level 4. Power Cogs have a small enough footprint that once AM is trapped inside them, he cannot Blink to the edge — he needs to break a cog or wait. During that window, Battery Assault continuously deals minor damage, which repeatedly re-triggers the Blink disable. Combined with Rocket Flare harass in the early lane and the fact that Clockwerk’s armor makes him hard to kill with physical damage, he makes AM’s laning phase a nightmare.
The bonus advantage is that Clockwerk’s Battery Assault provides constant minor damage ticks, which means AM cannot Blink freely during the engagement. In the laning phase, a Clockwerk in the safe lane or offlane can coordinate with a hard-disabling support to kill AM consistently from level 4 onward.
Doom — The Nuclear Option
Doom is the cleanest counter in draft terms. His ultimate disables every ability AM has, including Blink. A Doomed Anti-Mage at minute 20 is a 700 HP creep with low armor. Doom gains gold from Devour throughout the laning phase, which gives him an independent farming pattern in the jungle that does not require a safe lane. This lets your team dedicate the safe lane fully to a strong laning carry or a push-oriented lineup.
The counterplay is that Doom has to actually land the ultimate, which AM can dodge with Blink if he sees it coming. Use Doom with a reliable setup hero like Lion, Earthshaker, or Disruptor to ensure the initiation lands.
Ancient Apparition — The Support Punisher
AA does not directly shut AM down in the lane, but he contributes to the early-game punish plan through two mechanics. First, Chilling Touch converts his autoattacks into ranged nuke hits, which repeatedly prevent AM from using Blink when AA is in his lane. Second, Ice Blast at level 6 prevents all healing, which matters because AM’s natural regeneration and bottle use are how he sustains in the early jungle when he gets low. Ice Blast also does magic damage in an AOE, spreading the chill to nearby allies who may be low on mana and threatening Mana Void chains.
Laning Against Anti-Mage
Most Anti-Mage players want a quiet safe lane with a protective support. The goal is to hit their Battle Fury timing without dying or losing too much farm. Your laning strategy should make both of those things hard.
The Support Role in AM’s Lane
Pick an aggressive, level 2-4 kill threat as your offlane support. Heroes like Hoodwink, Pudge, Undying, and Venomancer make AM’s life miserable in the early game. These heroes apply consistent damage or slows that prevent Blink and push AM off the creep wave. If AM does not get his last hits in the first 8 minutes, his Battle Fury timing pushes out by 3-5 minutes. That extra time is invaluable for your carry to build items and your team to set up objectives.
Pulling and Denying
If you are the Radiant team with AM on the safe lane, contest every pull. AM’s support will try to pull the small camp to deny him lane XP and free up the wave. Force them to fight for every pull by contesting with your support. If you are Dire, use your offlane to apply pressure so AM’s support has to spend all their time babysitting instead of pulling.
Level 6 Gank Windows
Before AM hits level 6, he has no reliable escape because his Blink is on a long cooldown at level 1 (10.5 seconds). The window between levels 3 and 5 is when a roaming mid or offlane hero can rotate and score kills consistently. The sequence is simple: stun locks Blink, apply damage from Blink disable through the disable duration, follow up with burst damage. AM at 700 HP will not survive a coordinated double-stun into nuke combo.
If you have a mid hero with early kill potential — Lina, QoP, Templar Assassin, Lion — send a smoke rotation toward the safe lane at 5-6 minutes. Kill AM or burn his TP scroll. Either way, you have delayed his farming pattern.
Item Counters to Anti-Mage
Items are your most reliable defense because they do not depend on draft decisions and can be purchased situationally based on how the game is going. Here are the most effective anti-AM items and the situations where each one shines.
| Item | Cost | Why It Works Against AM | Best On |
|---|---|---|---|
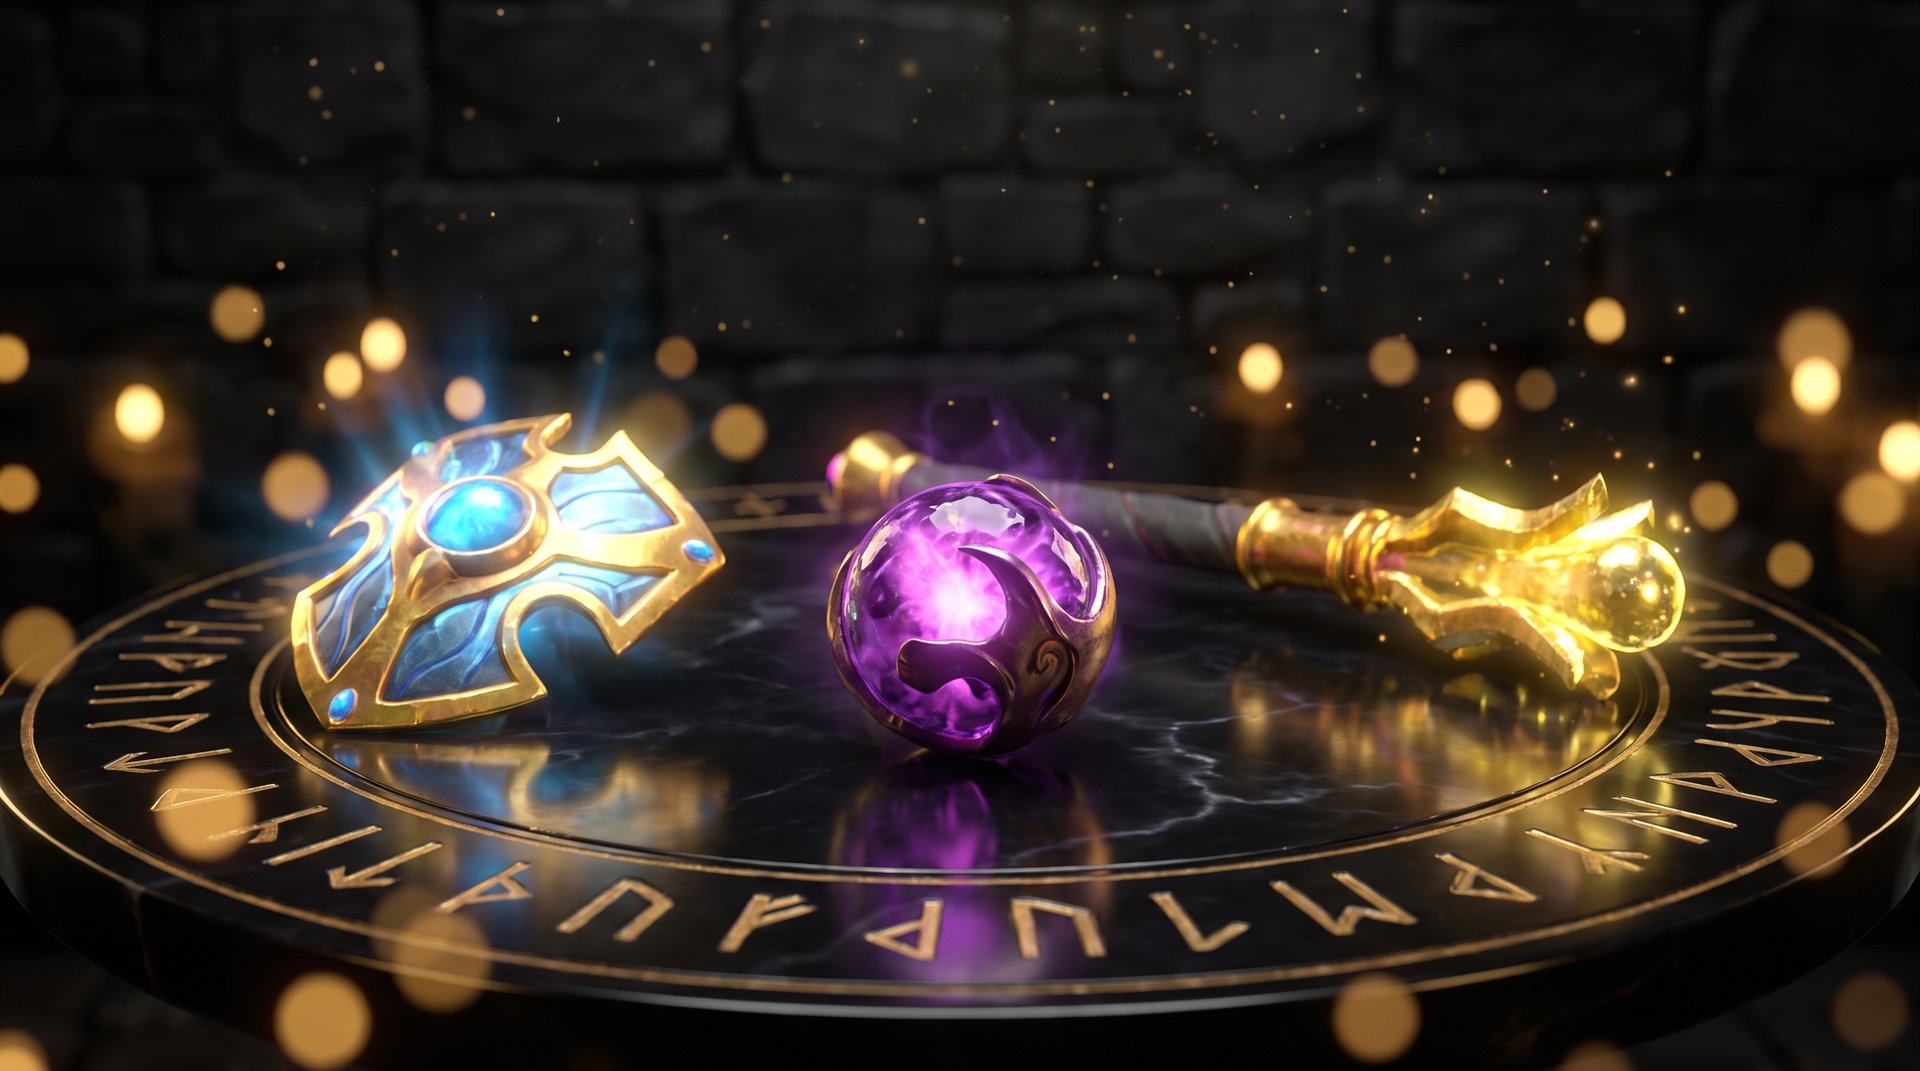
| Orchid Malevolence | 3,475 | Silences AM for 5 seconds, preventing Blink use; Soul Burn deals bonus damage; transitions into Bloodthorn for break | Mid / Pos 4 core |
| Bloodthorn | 6,800 | Silences and applies Break, disabling Mana Break and Counterspell passive; guarantees all hits crit | Mid core with orchid buildup |
| Eul’s Scepter | 2,750 | Cyclone AM before he can Blink; he is untargetable during cyclone but cannot act — use this to setup for your team’s follow-up | Supports, utility cores |
| Scythe of Vyse | 5,675 | Hex instantly stops all actions including Blink; AM in hex form cannot use any abilities for 3.5 seconds | Pos 4 / Pos 5 supports with gold |
| Abyssal Blade | 6,250 | 0.1-second bash stun + active stun; holds AM long enough for your team to follow up; stacks with other disables | Carry or semi-carry cores |
| Aeon Disk | 3,000 | Auto-triggers when HP drops below 70%, granting temporary damage immunity; buys crucial seconds for AM’s target to escape or fight back | Squishy mid-game cores |
| Arcane Boots | 1,400 | Restores 175 mana to nearby allies; keeps team mana high, reducing Mana Void damage significantly | Pos 5 hard support every game |
| Ghost Scepter | 1,500 | Makes you immune to physical damage for 4 seconds; AM’s entire damage model is physical in the early game, making Ghost a complete shutdown | Squishy supports and casters |
The Orchid-to-Bloodthorn Path
If you have a mid hero with damage and attack speed, the Orchid to Bloodthorn build is the single most complete counter item path against AM. Orchid silences him, which prevents Blink entirely. Bloodthorn upgrades that silence, adds the Break mechanic (turning off Mana Break and Persecutor), and guarantees all hits are crits during the debuff. A mid hero landing Bloodthorn on AM at 25 minutes can solo kill him even if he is ahead in net worth. Templar Assassin, Shadow Fiend, and Viper with Orchid are all viable options depending on the rest of your draft.
Why Arcane Boots on Support Is Non-Negotiable
This seems obvious but is often skipped by lower-bracket supports who prioritize other items. In an AM game, your team’s mana levels are a direct damage mitigation stat. Each replenish from Arcane Boots restores 175 mana to all nearby heroes. If your five-person team is sitting at 100 mana each and AM uses Mana Void, each hero only takes damage based on their missing mana — so 100% mana = 0 Mana Void damage. One Arcane Boots replenish mid-fight can prevent 3,000+ total Mana Void damage to your team. This item is required in every game where AM is the enemy carry.
Map Pressure: The Minute-by-Minute Timeline
Winning against AM is not just about picking the right heroes and items — it is about executing a deliberate map pressure sequence that denies him the uninterrupted farm he needs. Here is how a well-executed early game looks against AM.
Minutes 0-6: Lane Control
Your priority is winning the lane or at minimum making AM’s lane uncomfortable. Have your support contest the first bounty rune to deny AM’s team gold income. Station your offlane hero with a kill threat close to the AM. Every time AM steps up to last-hit, punish him with harassment. Your safe-lane carry should be farming normally while your mid hero focuses on getting their own items, not helping the safe lane — you need the mid carry to be strong enough for the minute-12 smoke gank.
Minutes 6-12: The First Rotation
At level 6, your mid hero should have enough kill potential for a safe lane rotation. Buy a Smoke of Deceit and walk to the safe lane with your mid and one support. Execute a coordinated kill or force AM to use TP scroll and back off. Even if you do not get the kill, burning his TP costs him 250 gold and forces him to walk back from the fountain. Set up the Wisdom rune at minute 7 for your supports and mid — the extra XP advantage keeps you ahead of AM’s level gains.
Minutes 12-18: Tier 1 Tower Siege
Most AM players retreat to their jungle after losing the lane. The worst thing you can do is let them farm there uncontested. After your rotation, push the safe-lane Tier 1 tower. Taking it eliminates AM’s safe jungle (the small and medium camps behind the safe lane trees) and forces him to farm in more exposed positions. Every camp he loses access to extends his Battle Fury timing. If you win a teamfight during the push, rotate to take the Tormentor for a free Aghanim’s Shard reward to your most useful support.
Want to hit these timing-sensitive objectives but your team keeps drafting passively? Our MMR boosting guide explains how to identify when solo queue is holding you back versus when it is a skill gap you can close. Sometimes the best answer is watching a professional play your account for a session and studying the replay — that is exactly what our boosting service provides.
Minutes 18-25: Rosh and High Ground Threat
If you have taken T1 towers and maintained your gold lead, attempt Roshan between 18 and 22 minutes. An Aegis on your carry means the team fight around Roshan denies AM the clean 5v4 scenario he needs. After Roshan, use the advantage to threaten Tier 2 towers or even high ground. AM without Battle Fury cannot contest a push efficiently. Even if you cannot take high ground, keeping him defending towers prevents any farm — and a defending AM is a starved AM.
After Minute 25: Damage Control
If the game goes past 25 minutes and AM has Battle Fury plus Manta, your strategy shifts. You can no longer farm passively and expect to outscale him. Focus on split-push responses, fight with BKB timing, keep mana pools full, and pick off AM with Silence or Hex before team fights. Do not groupfight without a hard disable on AM — he will Blink through your lines, drain mana, and reset with Mana Void.
Draft Strategy Against Anti-Mage
Drafting against AM requires balancing hero counter picks with lineup cohesion. A five-hero lineup of pure AM counters often has no win condition of its own — all your picks are reactive rather than proactive. The ideal draft has two or three specific AM threats woven into a lineup that can also execute the early-pressure game plan.
The Ideal Anti-AM Lineup Template
- Safe lane carry: Pick a hero who wins the mid game before AM spikes. Faceless Void, Juggernaut, Dragon Knight, and Lycan all have strong mid-game power spikes and can fight at 20-25 minutes when AM is still farming.
- Mid: A silence-oriented or burst-damage mid who can execute the minute-12 rotation. Templar Assassin, Silencer, Viper, or Lina all work. Silencer’s Intelligence Steal and Arcane Curse are particularly effective — he permanently reduces AM’s maximum mana every time AM uses an ability, making Mana Void progressively weaker.
- Offlane: Clockwerk, Doom, or Axe. These three heroes win the offlane fight reliably against AM’s support and create lane kill pressure without needing their carry to do all the work.
- Supports: One hard disable (Lion, Disruptor, Shadow Shaman) and one mana sustain support (Crystal Maiden, Omniknight, Io). The mana sustain support keeps the team’s mana topped up to defuse Mana Void, while the hard disable provides the setup for midgame ganks.
Heroes to Avoid Picking Against AM
Not every hero is viable in this matchup. Avoid these in AM games:
- Medusa: Her entire power comes from a large mana pool. AM’s Mana Break drains her mana pool very quickly, Persecutor slows her to a crawl, and Mana Void does catastrophic damage to her once drained. Dota2counters.com community data shows AM vs Medusa is one of AM’s highest win-rate matchups.
- Muerta: Similarly reliant on a large mana pool and magical damage that Counterspell reflects or resists. Teamsmurf.com’s Muerta guide notes that “AM is widely considered Muerta’s hardest counter.”
- Morphling: Another mana-heavy, agility carry. AM drains Morphling’s mana, preventing him from using Waveform to escape. As noted in the teamsmurf.com Morphling guide, “without mana you cannot use Waveform to escape or Adaptive Strike to burst.”
- Storm Spirit, Skywrath Mage, Invoker: All heavily mana-reliant casters. One AM right-click sequence can deplete their mana entirely, rendering them helpless.
If you want to improve your draft decision-making consistently but find that ranked queue partners make it impossible to execute, an Dota 2 boosting session from a high-MMR booster can demonstrate exactly how these draft decisions play out in real games.
Advanced Mechanics: What High-MMR Players Do Differently
Beyond the standard pick-and-item advice, there are execution details that separate players who merely know the AM counter theory from those who actually win AM games consistently.
Break Timing and Diffusal Blade Awareness
AM frequently rushes Diffusal Blade after Battle Fury in games where he faces tanky heroes or illusion-based carries. Diffusal applies a mana-burn that burns 50 mana per hit and slows the target. If AM has Diffusal, his mana drain per hit is dramatically higher. Check the item timing in the minimap HUD and adjust your Arcane Boots replenish timing accordingly — use it right before a fight engagement, not after AM has already begun draining.
Apply Break (from Bloodthorn, Silver Edge, or heroes like Doom and Viper’s Corrosive Skin talent path) specifically to disable Mana Break and Persecutor. A Broken AM is not threatening to mana-reliant heroes at all.
Managing the Illusion Problem After Manta
Post-Manta AM sends illusions to push lanes while he farms elsewhere. The discipline rule is: do not chase illusions. If you see a lone AM illusion pushing a lane, ignore it or let your tower handle it. AM’s team waits for enemies to overextend chasing these illusions and then initiates 5v4. Use the Scan ability from 2:30 onward to check jungle camps and locate real AM versus illusions when uncertain.
Illusions can be identified by slightly different particle effects and by the fact that they do not use active items or spells. If you see AM cast a spell, it is the real one. If AM is just auto-attacking, it may be an illusion. In ranked games, this distinction is important when deciding whether to initiate or retreat.
Sentry Wards and High Ground Vision
In extended games against AM, ward the jungle entrances on the enemy side with Sentry Wards to deward his Observer wards (AM players almost always ward their own jungle to spot smoke rotations). Removing his vision means your smoke ganks arrive undetected. Place Observer Wards on key jungle chokepoints — the deep camp behind the secret shop, the triangle camp access — so you can spot AM’s farming pattern and time rotations when he isolates himself from his supports.
A Note on the Pub Bracket Reality
In pubs below Divine bracket, AM games often go longer than they should because teams draft and execute these strategies inconsistently. If your teammates do not coordinate the minute-12 rotation or waste TP scrolls responding to illusion pushes, the theory breaks down. This is one of the genuine frustrations of ranked solo queue — you can draft perfectly and still lose because of execution failures elsewhere.
If you have hit a ceiling trying to coordinate anti-AM games in solo queue, the best Dota 2 boosting services can help you get to a bracket where teammates actually execute coordination naturally. Alternatively, book a coaching session with one of our Immortal-bracket coaches to work through your specific matchup problems and game-sense gaps in real time.
Frequently Asked Questions: Countering Anti-Mage
Stuck in the AM Bracket?
Knowing the theory is one thing. Executing it in solo queue where teammates go Medusa into AM is another. Our Immortal-ranked boosters have played thousands of games on every side of the AM matchup. Let them run through your problem bracket while you study the replays.



