

How to Master Ember Spirit in Dota 2: The Ultimate Guide for Every Rank (2026)

Ember Spirit is one of the most mechanically demanding heroes in Dota 2 — and one of the most rewarding to master. A single perfectly-timed Remnant jump can turn a lost teamfight into a rampage. A well-placed Sleight of Fist can delete an entire backline before the enemy even registers what happened. This hero separates the good mid players from the great ones.
With a 49.8% winrate across all ranks but a devastating 54%+ winrate in Immortal, Ember Spirit is the definition of a high-skill-ceiling hero. The gap between a Herald Ember and an Immortal Ember is wider than almost any other hero in the game. That is exactly why you are reading this guide.
Whether you are picking Ember Spirit for the first time or grinding your way toward 7K MMR, this guide covers everything: ability mechanics you did not know existed, item builds that actually match your rank bracket, laning tricks that win mid before the horn, and the exact combos that pro players use in tournament games. Let us turn you into an Ember Spirit player your opponents fear.
Table of Contents
Why Ember Spirit Is the Ultimate Playmaker
Ember Spirit is a melee agility hero primarily played in the mid lane, though he occasionally shows up as a safe lane carry in specific drafts. His identity revolves around extreme mobility, magical burst damage, and the ability to be everywhere on the map at once. No other hero in Dota 2 can jump across the entire map, deal massive AoE damage, and escape back to safety — all within a few seconds.
What makes Ember Spirit unique is his dual damage scaling. In the early and mid game, he deals devastating magical damage through Flame Guard, Searing Chains, and Sleight of Fist combined with magical damage items like Maelstrom and Radiance. In the ultra-late game, he can transition into a physical damage monster with Daedalus, Rapier, and raw damage items that multiply through Sleight of Fist hitting every enemy in range.
His current pick rate sits around 8-10% across all brackets, making him one of the more popular mid heroes. In professional play, Ember Spirit is a staple pick for teams that value aggressive tempo and map control. His winrate scales directly with player skill — struggling below 48% in Herald but climbing above 54% in Divine and Immortal brackets.
The hero excels at split pushing, pick-offs, and extended teamfights where his cooldowns cycle multiple times. He is weak against silences, burst magic damage, and heroes that can lock him down before he activates Fire Remnant. Understanding when you are strong and when you are vulnerable is the single most important skill for any Ember Spirit player.
Abilities Deep Dive
Searing Chains (Q)
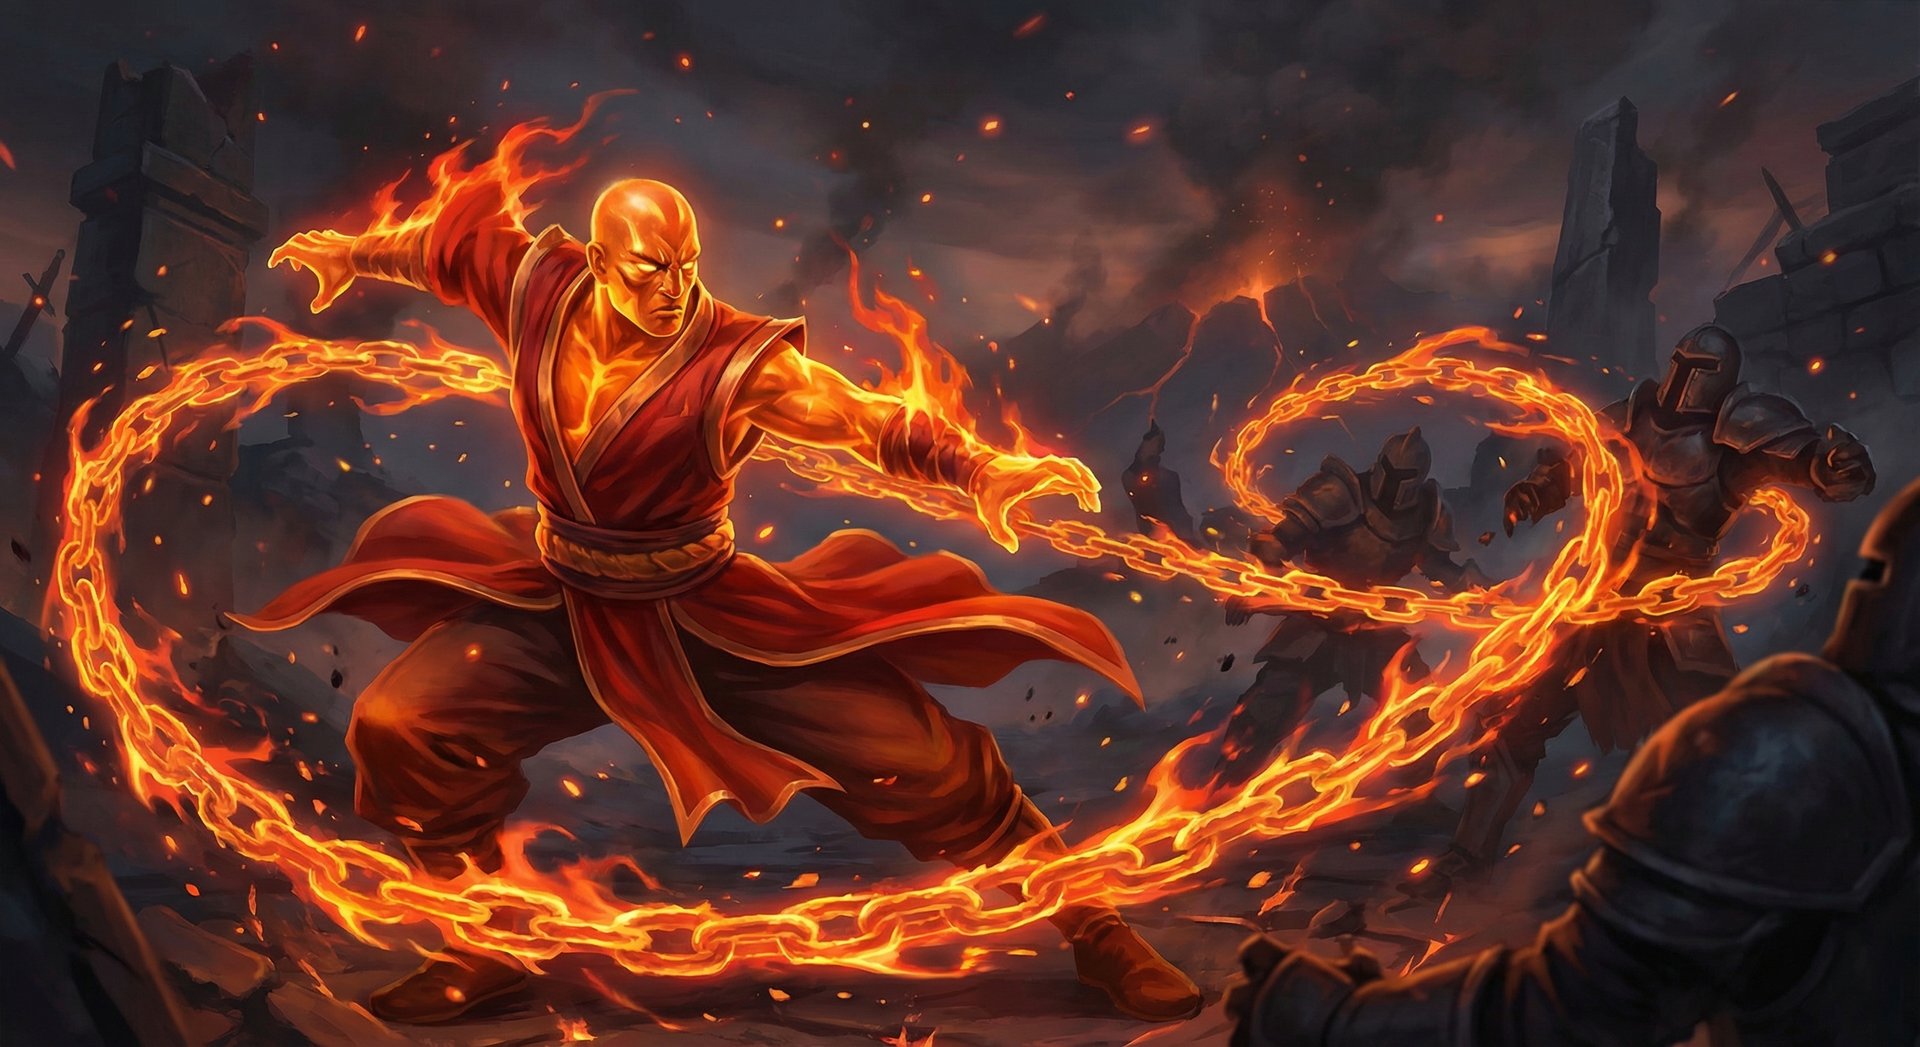
Searing Chains launches fiery bolas that latch onto up to 2 random enemy heroes within a 400 radius, dealing 120/180/240/300 magical damage over 2/2/3/3 seconds while rooting them in place. This is Ember Spirit’s primary lockdown tool, and mastering it separates average Embers from good ones.
Hidden mechanics most players miss:
- Chains prioritize heroes over creeps — but only if heroes are within the 400 AoE. If no heroes are in range, it latches onto creeps instead.
- Sleight of Fist + Searing Chains combo — You can cast Chains during Sleight of Fist. Since Sleight moves you to each target, casting Chains while next to an enemy hero guarantees the latch. This is THE core Ember combo.
- Root, not stun — Enemies can still cast spells and use items while chained. They cannot move, blink, or use movement abilities. This means BKB still activates during chains.
- Damage is dealt in ticks — The total damage is spread across the duration, which matters for Flame Guard’s damage absorption calculation.
Sleight of Fist (W)
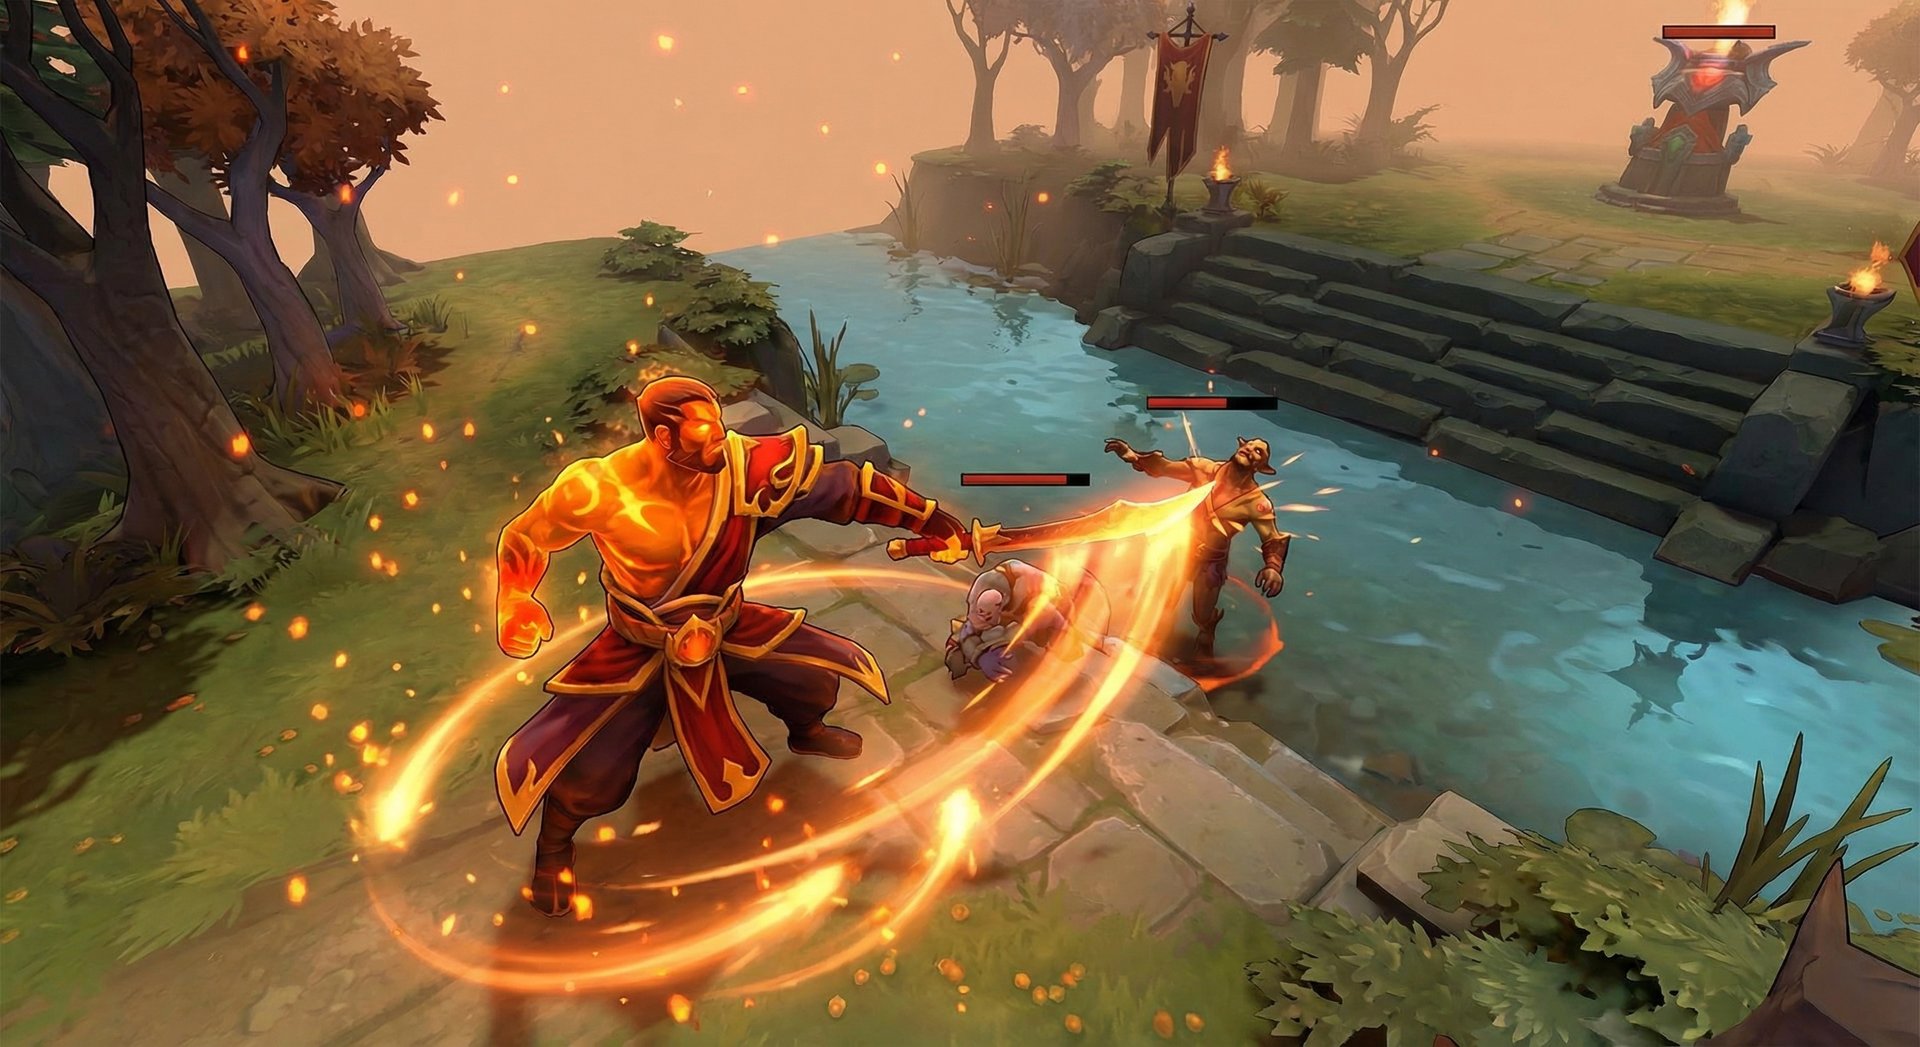
Sleight of Fist is the ability that defines Ember Spirit’s teamfight identity. Ember dashes to every enemy unit in a 550/600/650/700 AoE, dealing bonus damage of 40/80/120/160 to heroes and applying attack effects to each target. The entire sequence happens in roughly 0.2 seconds per target, and Ember is invulnerable during the animation.
Critical interactions:
- Applies all on-hit effects — Maelstrom, Mjollnir, Desolator, Daedalus crits, and even Basher procs all trigger on each target. This is why items like Maelstrom are core.
- You can cast abilities during Sleight — Searing Chains, Flame Guard, Fire Remnant, and even items like BKB can be used mid-Sleight. This creates incredibly powerful combo windows.
- Invulnerability frames — You dodge every projectile and spell while slashing. Timing Sleight to dodge key abilities (Laguna Blade, Finger of Death, Storm Hammer) is an Immortal-level skill.
- Remnant placement during Sleight — Dropping a Fire Remnant while Sleighting lets you reposition safely after the damage is done.
Flame Guard (E)
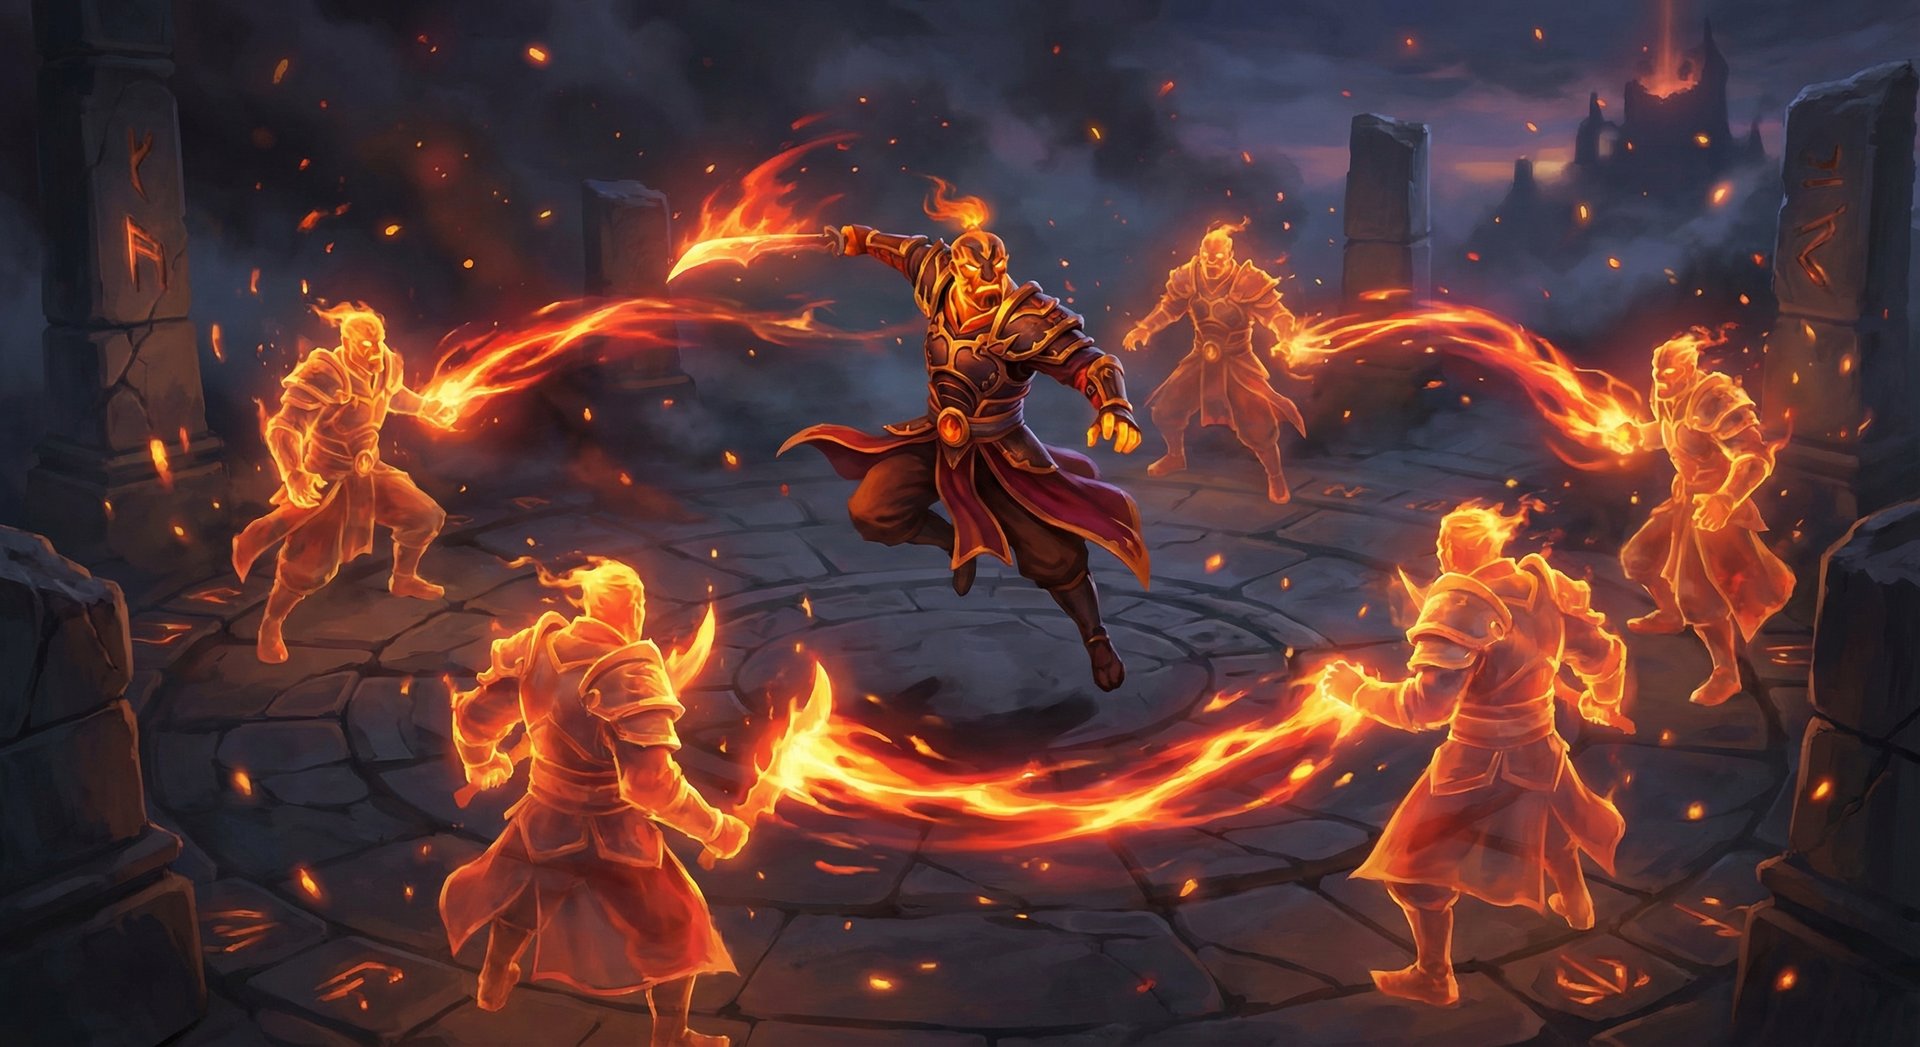
Flame Guard surrounds Ember Spirit with a fire shield that absorbs 70/110/150/190 magical damage and deals 30/40/50/60 DPS to nearby enemies. The shield lasts 8/12/16/20 seconds or until the magical damage absorption is depleted. At max level, 20 seconds of Flame Guard deals 1,200 magical damage to anyone standing next to you.
What experienced players know:
- The DPS aura persists even after the shield breaks — Many players think Flame Guard ends when the absorption runs out. It does not. The fire damage continues for the full duration.
- Purges with strong dispels only — Regular dispels do not remove Flame Guard. You need Eul’s Scepter (the cyclone purges it), Oracle’s Fortune’s End, or similar strong dispels.
- The absorption is magical damage only — Physical damage and pure damage go straight through the shield to your HP.
- Stacks with other magic resistance — The absorption happens before magic resistance is applied, making it even more effective with items like Hood of Defiance.
Fire Remnant (R) — Ultimate
Ember Spirit’s ultimate is what makes him one of the most mobile heroes in Dota 2. He sends out a Fire Remnant that travels to the target location at 2x his movement speed. He can then activate Remnant to dash to any placed remnant, dealing 100/150/200 magical damage in a 450 AoE along the path and at the destination. He stores up to 3 charges with a 35-second recharge time.
Advanced Remnant mechanics:
- Remnants last 45 seconds — Place one at your fountain or a safe location before fighting. If things go wrong, jump back instantly from anywhere on the map.
- Remnant travel speed is 2x your current movement speed — With Boots of Travel and Wind Lace, your Remnants reach their destination faster, which matters for aggressive plays.
- You are invulnerable during the dash — The travel to a remnant makes you invulnerable. You can dodge spells by jumping to a remnant at the right moment.
- Damage stacks — Jumping through multiple remnants deals damage from each one. Placing two remnants close together and jumping through both deals double the AoE damage.
- Remnant management is the #1 skill — Running out of remnants with no escape is how most Ember players die. Always keep at least one remnant in a safe position.
Skill Build Order
| Level | Standard Mid Build | Aggressive Ganking | Defensive/Hard Lane |
|---|---|---|---|
| 1 | Flame Guard | Flame Guard | Flame Guard |
| 2 | Sleight of Fist | Searing Chains | Searing Chains |
| 3 | Flame Guard | Flame Guard | Flame Guard |
| 4 | Searing Chains | Sleight of Fist | Sleight of Fist |
| 5 | Flame Guard | Flame Guard | Flame Guard |
| 6 | Fire Remnant | Fire Remnant | Fire Remnant |
| 7 | Flame Guard | Searing Chains | Flame Guard |
| 8-9 | Searing Chains | Searing Chains | Searing Chains |
| 10 | Sleight of Fist | Sleight of Fist | Sleight of Fist |
Flame Guard is maxed first in almost every game. The DPS and shield are your primary laning tools. Searing Chains gets maxed second for the increased root duration from 2 to 3 seconds — a massive power spike at level 8-9. Sleight of Fist scales with items, so you max it last unless you are going an early physical build.
Item Builds by Rank Bracket
| Rank | Starting | Early Game | Core Items | Late Game |
|---|---|---|---|---|
| Herald-Crusader | Quelling Blade, Tango, Faerie Fire, Branches x2 | Bottle, Boots of Speed, Magic Wand | Phase Boots, Maelstrom, BKB | Daedalus, Mjollnir, Assault Cuirass |
| Archon-Legend | Quelling Blade, Tango, Faerie Fire, Branches x2 | Bottle, Boots, Orb of Corrosion | Phase Boots, Maelstrom, Aghanim Scepter | Shiva Guard, Refresher, Octarine Core |
| Ancient-Divine | Tango, Faerie Fire x2, Branches x2, Circlet | Bottle, Boots, Wand | Boots of Travel, Maelstrom, Aghanim Scepter | Octarine Core, Shiva Guard, Refresher |
| Immortal | Tango, Faerie Fire x2, Branches x2, Circlet | Bottle, Boots, Wand | BoTs, Maelstrom, Aghanim Scepter or Kaya and Sange | Octarine Core, Shiva Guard, Linken Sphere, Refresher |
Why Item Builds Differ by Rank
Herald-Crusader players benefit from a simpler physical damage build because teamfights in low ranks are chaotic and long. BKB keeps you alive when positioning is inconsistent, and Daedalus crits through Sleight of Fist are straightforward damage that does not require precise timing. The physical build is more forgiving — you right-click and things die.
Archon-Legend is where the magical/utility build starts becoming viable. Players at this level begin understanding Ember’s combo patterns, so Aghanim’s Scepter (which adds Searing Chains to Sleight of Fist automatically) becomes a massive power spike. You still want Maelstrom for farming speed, but the build transitions toward spell amplification.
Ancient-Divine players should always go Boots of Travel first. The ability to split push, jump to a remnant, TP to the opposite side of the map, and rejoin fights is what makes Ember Spirit broken at high levels. BoTs on Ember effectively give you global presence combined with Remnant escapes.
Immortal builds are highly situational. Kaya and Sange is chosen when the enemy has heavy lockdown and you need status resistance plus spell amp. Linken’s Sphere blocks targeted disables that would kill you before Remnant activates. The key at this level is building reactively, not following a static guide.
Core Item Explanations
- Maelstrom — Procs on every Sleight of Fist target. In a 5-hero teamfight, you get 5 chances to proc chain lightning on each Sleight. This is your farming accelerator and teamfight damage combined.
- Aghanim’s Scepter — Adds an automatic Searing Chains proc to Sleight of Fist, locking down 2 heroes without you having to manually cast. This frees up your combo execution and guarantees roots on slippery targets.
- Boots of Travel — Global presence. Place remnant at base, TP to a lane, farm, rejoin fights instantly. The efficiency gain is enormous.
- Octarine Core — Reduces all cooldowns by 25%. Your Sleight of Fist goes from 6 seconds to 4.5, Fire Remnant recharges faster, and Searing Chains cycles more often. Combined with the spell lifesteal, you become incredibly hard to kill in sustained fights.
- Shiva’s Guard — The active blast from Shiva applies during Sleight of Fist and combos with your AoE damage. The armor and attack speed slow also help against physical damage carries.
Laning Phase Masterclass
Levels 1-3: Survive and Secure
Ember Spirit’s laning phase is not as strong as people think. Before level 3, you are a melee hero with mediocre base damage (52-56) and no real kill threat. Your priority is securing every last hit with Quelling Blade and not dying to aggressive ranged mids like Queen of Pain, Lina, or Puck.
Flame Guard at level 1 is critical for trading hits. Activate it when the enemy mid commits to harassing you — the 30 DPS punishes anyone who stands next to you, and the magic absorption soaks nuke damage. Against physical damage mids like Templar Assassin, Flame Guard is less valuable early and you may want to save the mana.
Bottle timing matters enormously. Aim to complete your Bottle by 1:30-2:00. Use the first and second bounty runes to refill it. The water runes at 2:00 and 4:00 are power spikes — a full Bottle with Flame Guard active lets you dominate most matchups.
Levels 4-6: The Kill Window Opens
Once you have Flame Guard level 2-3 and Searing Chains, your kill potential spikes dramatically. The standard combo is:
- Activate Flame Guard from fog or behind creeps
- Walk up to the enemy mid or use Sleight of Fist to close the gap
- Cast Searing Chains when you are within 400 range
- Stand on top of them while Flame Guard burns (60-80+ DPS at this point)
- Right-click during the root duration
Against most mid heroes, this combo deals 400-600 damage at level 5 before magic resistance. Combined with a few right-clicks during the 2-3 second root, that is enough to kill most heroes from 70% HP.
When to Rotate
Ember Spirit should start looking for rotations at level 6-7 once Fire Remnant is available. The pattern is:
- Push the mid wave with Flame Guard + Sleight of Fist
- Drop a Fire Remnant mid (or near your tower for safety)
- Walk or TP to a side lane for a gank
- Use Searing Chains + Flame Guard to secure the kill
- Activate Remnant to return to mid lane without losing farm
This rotation pattern is nearly risk-free because you always have a Remnant to escape back to mid. Even if the gank fails, you lose minimal mid farm. The best Ember players rotate constantly between minutes 6-15, keeping all three lanes under pressure while farming efficiently with Sleight of Fist.
Lane Partner Synergies
When Ember Spirit is played safe lane (less common), he pairs exceptionally well with:
- Crystal Maiden — Mana aura solves Ember’s mana issues, and Frostbite + Searing Chains is 5+ seconds of lockdown.
- Shadow Demon — Disruption setup into guaranteed Searing Chains is devastating. Shadow Poison stacks add massive kill threat.
- Grimstroke — Ink Swell on Ember while he runs at enemies with Flame Guard creates an unavoidable AoE stun + burn combo.
Mid and Late Game Transitions
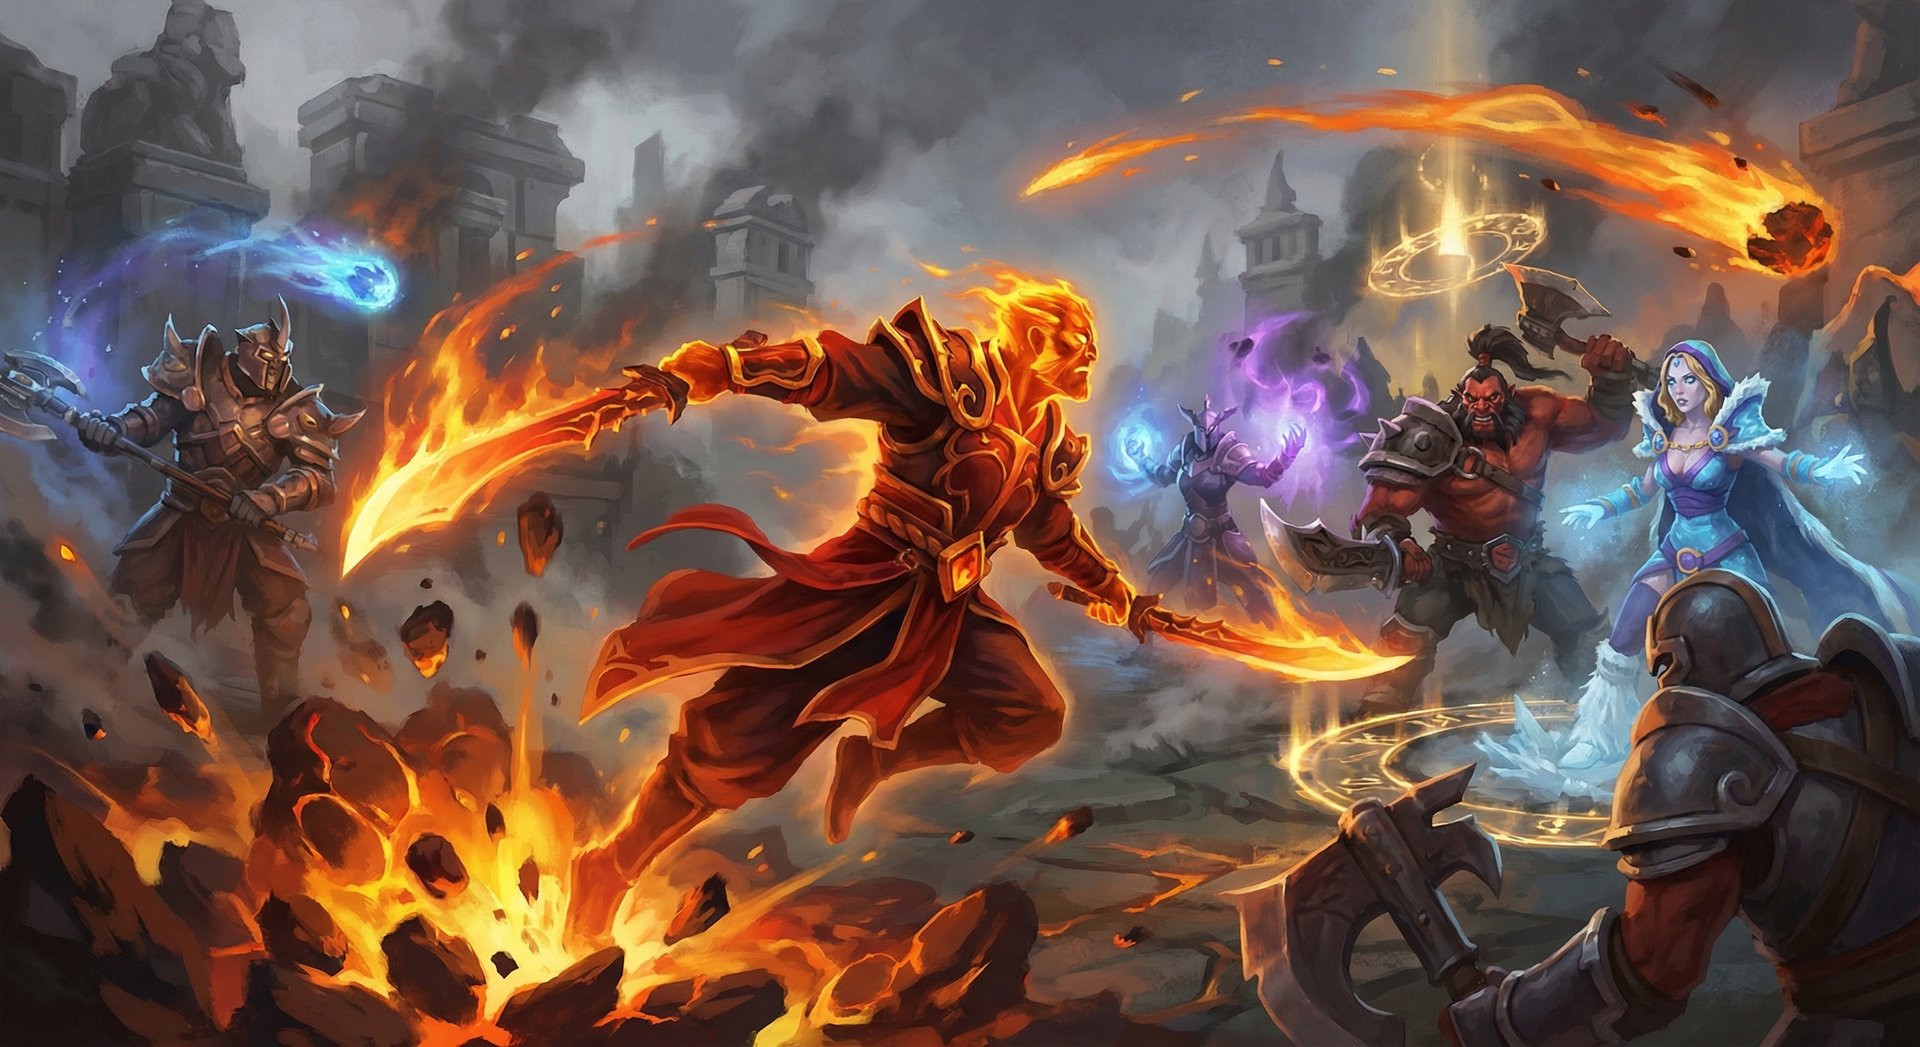
Timing Windows: When Ember Spirit Peaks
Ember Spirit has two major power spikes:
- Maelstrom timing (12-16 minutes) — Once Maelstrom is complete, your Sleight of Fist becomes a farming tool and a teamfight nuke. You can clear waves instantly, farm jungle camps efficiently, and deal significant AoE damage in skirmishes. This is your first window to take aggressive fights.
- Aghanim’s Scepter timing (20-26 minutes) — Aghanim’s makes your Sleight of Fist automatically cast Searing Chains on 2 heroes. This is game-changing for teamfights. You Sleight into the enemy team, 2 heroes get rooted, and your team follows up. This is Ember’s strongest timing in most games.
Teamfight Positioning
Your positioning in teamfights should follow these rules:
- Never be the initiator — Let your frontliner go in first. Ember is a follow-up hero who punishes enemies that clump or use their spells on other targets.
- Keep a Remnant behind you — Always place a Remnant 1,500-2,000 range behind the fight before committing. If you get silenced or stunned, you can jump back the moment it wears off.
- Sleight from maximum range — The 700 AoE at max level lets you hit the entire enemy team without actually being in danger. Use Sleight to deal damage safely, then commit with Remnants only when kills are confirmed.
- Target backline supports — Your combo deletes squishy supports. Sleight + Chains on the enemy Crystal Maiden or Warlock before the fight starts removes key ultimates from the equation.
Split Pushing With Ember
One of Ember Spirit’s greatest strengths is permanent split push threat. With Boots of Travel and Fire Remnants, the pattern is:
- Place a Remnant near your team
- TP to a side lane and push with Sleight of Fist + Flame Guard
- If the enemy sends heroes to stop you, jump to Remnant and your team fights 4v3 or 4v4
- If nobody comes, take the tower
This forces the enemy into a lose-lose situation. They either let you take buildings or split their team to deal with you, giving your team a numbers advantage. High-level Ember players spend 60-70% of the mid game split pushing rather than grouping with their team.
BKB Timing Decision
BKB on Ember Spirit is situational, not automatic. Buy BKB when the enemy has:
- Multiple instant disables (Hex, Orchid, targeted stuns)
- AoE silences (Death Prophet, Drow Ranger)
- Burst damage that kills you before you can Remnant out
Skip BKB when you can dodge most threats with Sleight invulnerability and Remnant mobility. Against low-disable lineups, that BKB gold is better spent on damage or utility items.
Counters: Heroes That Destroy Ember Spirit

1. Anti-Mage
Anti-Mage is Ember Spirit’s nightmare matchup. Mana Break burns your mana pool with every hit, and Ember is extremely mana-dependent. Counterspell reflects your Searing Chains. Mana Void punishes your naturally low mana pool for massive damage. In the late game, Anti-Mage blinks on top of you, burns your mana in seconds, and Mana Voids you for a kill before you can Remnant out.
How to play around it: Avoid direct fights with AM. Focus on ganking his lanes early before he gets Battlefury. Build Linken’s Sphere to block Mana Void. Always keep enough mana for at least one Remnant jump (150 mana).
2. Nyx Assassin
Nyx Assassin counters Ember on multiple levels. Spiked Carapace reflects Sleight of Fist damage and stuns you mid-animation — completely negating your primary teamfight ability. Mana Burn depletes your limited mana pool. Vendetta’s break reveals and damages you from invisibility, and the stun duration is long enough for follow-up kills.
How to play around it: Check for Spiked Carapace activation before Sleighting. If Nyx glows purple, do not use Sleight. Buy detection and play with your team to collapse on Nyx before he initiates.
3. Doom
Doom (the ultimate ability) completely disables every single one of Ember’s abilities for the duration, including Fire Remnant. A Doomed Ember Spirit is a dead Ember Spirit — you cannot escape, cannot use Sleight invulnerability, cannot Remnant away. You are just a melee hero with no items that matter.
How to play around it: Build Linken’s Sphere to block Doom. Stay at maximum range in fights and never show yourself before Doom is used on someone else. Aghanim’s Shard on Doom breaks Linken’s, so consider Lotus Orb as a secondary defense.
4. Storm Spirit
Storm Spirit can zip on top of you and Orchid/Hex before you react. His Ball Lightning lets him chase through your Remnant escapes. Overload’s damage burst combined with a silence item means you die in the lockdown duration before Remnant can activate.
How to play around it: Rush Eul’s Scepter to self-purge Orchid silence. Play opposite side of the map from Storm. In teamfights, bait Storm’s zip before committing your position.
5. Puck
Puck’s Dream Coil is devastating against Ember. If you are caught in the Coil, you cannot Remnant out without being stunned and taking massive damage. Waning Rift silences, preventing Sleight of Fist dodges. Puck is also slippery enough that your chains often miss or fail to secure kills.
How to play around it: Wait for Dream Coil to be used before joining fights. BKB blocks the Coil leash. Stay outside Coil range and use Sleight from max distance to contribute without putting yourself at risk.
Heroes Ember Spirit Destroys
1. Sniper
Sniper has no escape and no way to deal with Ember’s mobility. Sleight of Fist + Searing Chains from fog catches Sniper every time. Remnant jumps close the distance instantly, and Flame Guard absorbs Shrapnel damage. Sniper players should dodge Ember games entirely — the matchup is that bad.
2. Medusa
Medusa relies on being tanky and dealing sustained damage. Ember does not care about either. You never stand still long enough for Mystic Snake or Split Shot to matter. Sleight of Fist hits her and her team while you remain invulnerable. Stone Gaze is useless when you can Remnant away before it activates, and your magical burst cuts through Mana Shield efficiently.
3. Drow Ranger
Another immobile ranged carry who crumbles against Ember’s gap-closing. Drow’s Gust silence is dangerous, but Sleight of Fist’s invulnerability dodges it. Once you are on top of Drow, Searing Chains + Flame Guard melts her. Drow’s Marksmanship bonus is disabled when Ember is close, removing her primary damage steroid.
4. Crystal Maiden
One Sleight of Fist + Searing Chains combo kills Crystal Maiden from full HP past the 15-minute mark. She is too slow to escape Remnant chases, too fragile to survive Flame Guard, and her Freezing Field ultimate gets canceled by your root. Free gold every time she shows on the map.
5. Invoker
Invoker is a skill matchup that heavily favors the Ember at equal skill levels. Flame Guard absorbs Cold Snap and EMP damage. Remnant escapes Tornado + Meteor combos. Sleight of Fist dodges Sun Strike. Ember can pressure Invoker’s weak early laning phase and snowball from there. Most Invoker players struggle to deal with aggressive Embers who understand the matchup timing.
How Pros Play Ember Spirit in the Current Patch
Ember Spirit remains a tier 1 mid pick in professional Dota 2. Top players like Somnus (formerly Maybe), NothingToSay, and Yopaj consistently showcase the hero at the highest level.
The current pro meta for Ember Spirit emphasizes early Boots of Travel into Maelstrom into Aghanim’s Scepter. Professional players prioritize map control over raw fighting — they use BoTs to push waves in all three lanes, accumulating a massive gold lead through superior farming patterns.
Key pro trends in the current patch:
- Kaya and Sange as an alternative to Aghanim’s — Some pros build KnS when facing heavy lockdown lineups. The status resistance reduces stun and silence durations, making it harder for enemies to kill you during disables.
- Shiva’s Guard as a 3rd or 4th item — The active AoE nuke during Sleight of Fist adds another layer of teamfight damage. Pros activate Shiva’s mid-Sleight for a perfectly-timed blast.
- Refresher Orb in ultra-late games — Double Fire Remnant charges (6 total) combined with double Shiva’s, double Sleight, and double Chains makes Ember nearly unkillable while dealing massive sustained AoE.
- Early Aghanim’s Shard — The Shard upgrade enhances Flame Guard’s absorption and damage, making Ember’s mid-game significantly stronger in extended skirmishes.
In recent DPC and major tournament matches, Ember Spirit has been first-phase banned or picked in approximately 35-40% of games. Teams value the hero for his versatility — he can be drafted into aggressive ganking lineups, split-push strategies, or late-game teamfight compositions depending on the rest of the draft.
Watch replays from players like NothingToSay on Team Xtreme and Yopaj from Blacklist Rivalry to see how top-level Embers manage remnant positioning, itemize reactively, and create pressure across the map simultaneously. Their Remnant placement patterns and timing are worth studying frame-by-frame.
Rank-Specific Climbing Guide

Herald to Guardian: Build the Foundation
At this rank, do not overthink combos. Focus on:
- Last hitting — Aim for 50+ CS by 10 minutes in mid lane. Use Flame Guard to secure ranged creeps when contested.
- Not dying — Place a Fire Remnant near your tower before being aggressive. If anything goes wrong, jump back.
- Simple combos only — Walk up, Chains, right-click with Flame Guard active. Do not try Sleight + Chains yet.
- Physical damage build — Phase Boots, Maelstrom, BKB, Daedalus. Straightforward and effective.
- Push lanes — After winning mid, push your wave and hit the tower. Objectives win games.
The single biggest mistake Herald Ember players make is wasting all 3 Remnant charges aggressively and dying with no escape. Keep one Remnant safe at all times. Always.
Crusader to Archon: Adding Game Sense
At this level, start incorporating:
- Sleight + Chains combo — Practice this in demo mode until it is muscle memory. Sleight into the target, press Chains immediately. The timing window is generous once you understand it.
- Rune control — Use Flame Guard to push the wave before rune spawns. Secure runes and use them aggressively for kills.
- Rotation timing — After pushing the wave at level 6-7, rotate to side lanes. Place Remnant mid, walk to the side lane, gank, Remnant back.
- TP awareness — Carry a TP scroll and use it for counter-ganks. Ember arriving at a fight changes everything.
- Buy detection — Dust costs 80 gold and kills invisible heroes you otherwise cannot catch.
Legend to Ancient: The Macro Leap
This is where Ember Spirit starts dominating games if played correctly:
- Boots of Travel rush — Complete BoTs by 11-14 minutes. Use them to farm every lane and the jungle between fights.
- Split push patterns — After taking your mid tower, alternate between pushing side lanes and farming jungle. Force enemies to respond to you while your team takes objectives on the other side.
- Dodge spells with Sleight — Start timing your Sleight of Fist to dodge key abilities. Laguna Blade, Finger of Death, Storm Hammer — all dodgeable with proper timing.
- Remnant efficiency — Stop wasting Remnants for movement. Walk when it is safe, Remnant only when necessary. Having 3 charges available for a fight is massively more valuable than using one to get to lane 5 seconds faster.
- Item timing pressure — When your Aghanim’s completes, force fights. Ping your item, tell your team to group, and take Roshan or a tower.
Divine to Immortal: What Separates the Top 1%
The difference at the highest level is decision-making speed and consistency:
- Remnant pre-placement — Before every fight, place a remnant in a calculated escape position. Not behind you — to the side, near trees, where enemies will not expect it. Predictable remnants get predicted.
- Sleight + Chains + Remnant + Sleight combos — Chain abilities together during Sleight invulnerability to maximize damage while remaining untouchable. Drop Remnant during Sleight, cast Chains, exit Sleight, immediately Remnant away.
- Item-dependent playstyle shifts — Change your approach based on each item completion. Maelstrom means farm aggressively. Aghanim means teamfight. BoTs means split push. Adapt in real-time.
- Enemy cooldown tracking — Know when key enemy abilities are on cooldown. Jump in after Doom uses his ultimate, after Storm Spirit burns his mana, after Puck wastes Dream Coil. Timing your aggression around enemy cooldowns is the core Immortal skill.
- Buyback management — Keep buyback gold available after 30 minutes. An Ember with buyback can die, buy back, and Remnant back into the fight instantly. This makes you effectively have two lives in critical fights.
If climbing through Ember Spirit feels impossibly slow, you are not alone. The hero demands hundreds of games to truly master, and even then, certain matchups and team compositions make it feel like an uphill battle. For players who want to reach a higher bracket faster, Team Smurf’s MMR boosting service can get you to your target rank while you focus on improving your Ember mechanics in unranked.
Tips and Tricks
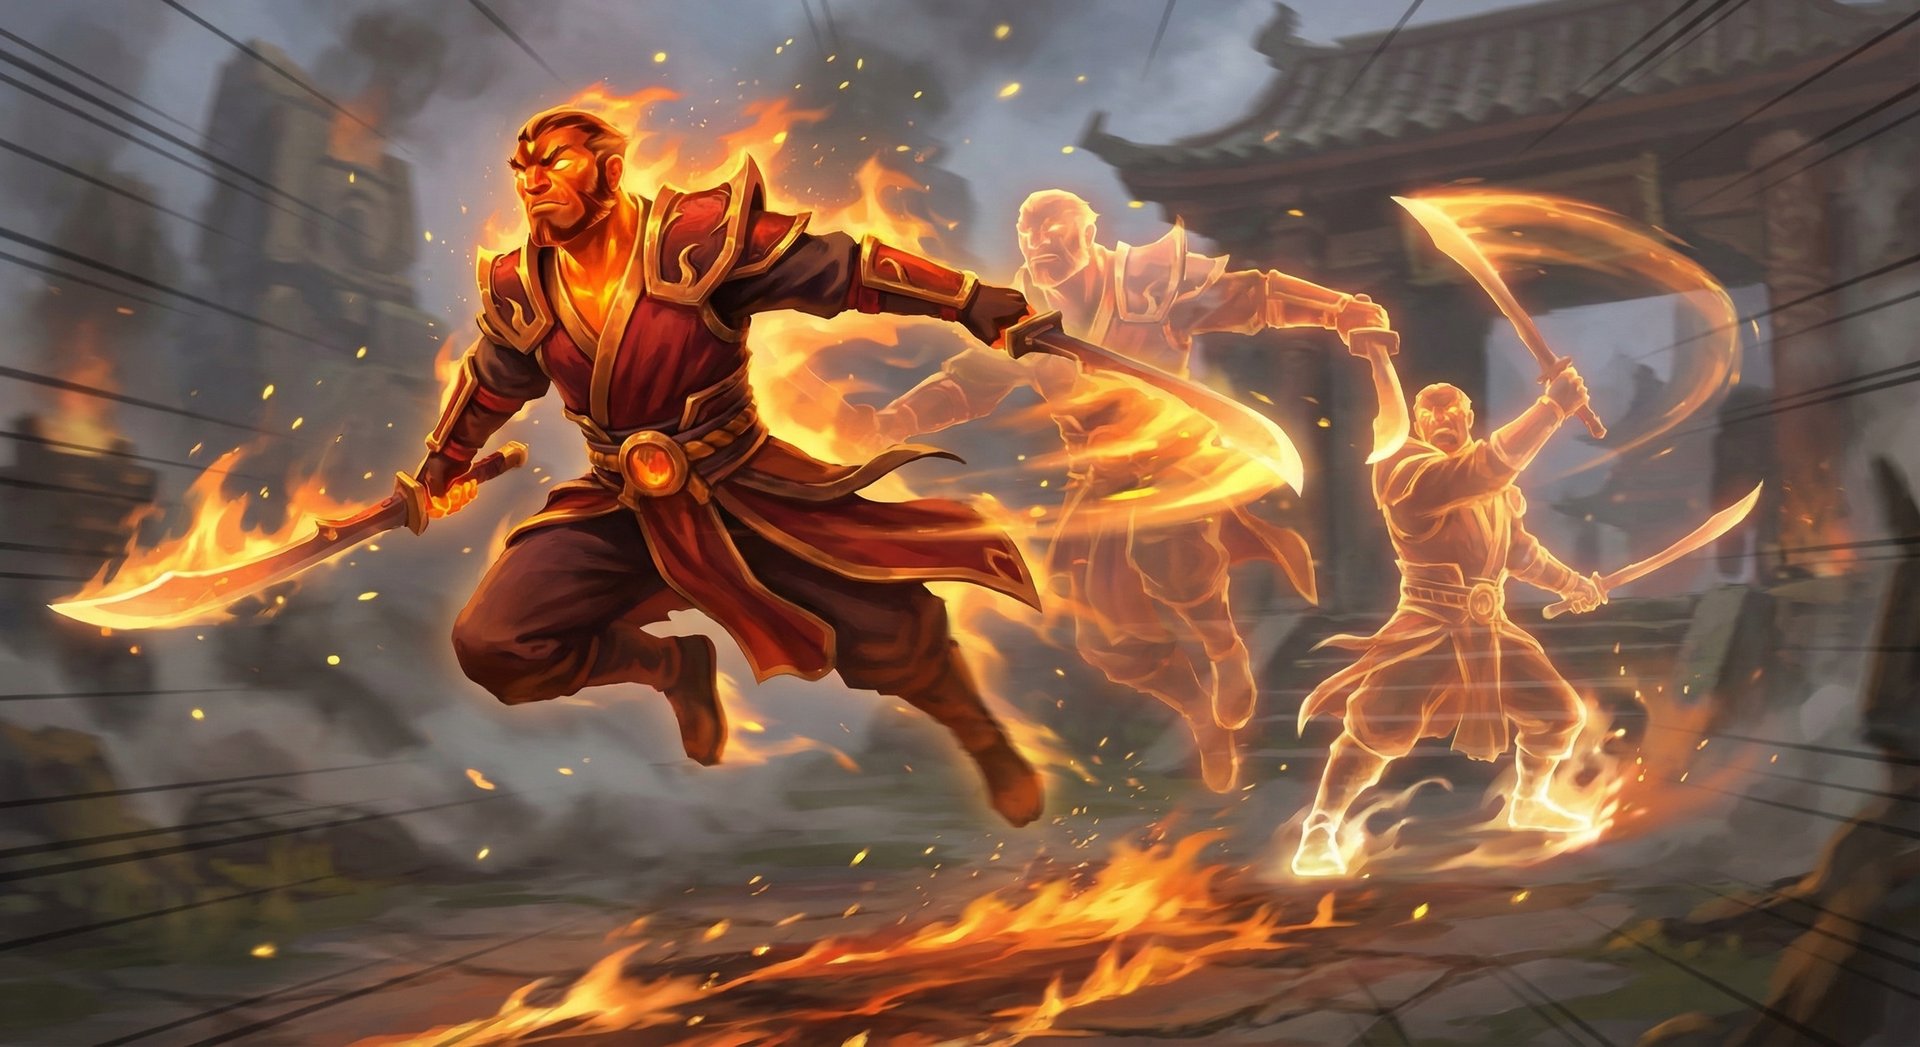
Animation Cancels and Hidden Interactions
- Sleight + Chains is not a “combo” — it is one action. Cast Sleight, then immediately spam Chains. Ember will cast Chains from the Sleight position, guaranteeing it hits the target you are slashing. The timing window is the entire Sleight duration.
- Drop items before Flame Guard to maximize absorption. Intelligence items increase your magic resistance, which means Flame Guard absorbs less raw magical damage before popping. This is a micro-optimization, but at high MMR, every point matters.
- Remnant placement through Sleight. During Sleight of Fist, you can place a Fire Remnant at any location. This lets you drop a remnant behind enemy lines while remaining safe in the Sleight animation. Extremely useful for creating escape routes mid-fight.
- Double Remnant damage trick. Place two Remnants close together (within 450 units) and activate. You deal damage from both Remnants in the same area, effectively doubling your burst damage. This is a legitimate kill combo at all stages of the game.
- Dodge projectiles with Sleight timing. If you see a slow projectile (Sniper Assassinate, Windrunner Powershot, Zeus Lightning Bolt), use Sleight of Fist right before it hits. The invulnerability causes the projectile to miss entirely. This takes practice but is incredibly powerful once mastered.
Common Mistakes to Avoid
- Using all 3 Remnants aggressively. This is the number one cause of death for Ember players at every rank. Always keep at least 1 Remnant as an escape. Two is better.
- Fighting without mana. Ember’s abilities cost significant mana. If you are below 300 mana, you probably cannot combo and escape. Retreat and regenerate.
- Maxing Sleight of Fist early. Sleight scales with items, not levels. The extra AoE radius is nice but not worth delaying Flame Guard or Chains max. Only max Sleight early if you are going a Battlefury physical build (which is rarely optimal).
- Ignoring BKB when you need it. Ember players love flashy item builds. But if the enemy has 3+ disables targeting you, BKB is not optional. Dying with a completed Octarine is worse than surviving with BKB.
- Not buying back when it matters. After 30 minutes, keep 4,000+ gold in reserve. Ember with buyback is one of the scariest things in Dota because you can die, rebuy, and Remnant back into the fight within seconds.
Advanced Mechanics for High MMR
- Flame Guard + TP canceling. If an enemy is TPing out and you cannot reach them, check if Flame Guard DPS is enough to cancel their TP. At max level, 60 DPS is often enough to interrupt a TP if they do not have high HP regen.
- Stacking camps with Remnants. Drop a Remnant near a jungle camp, walk to another camp, and stack both by pulling and using Remnant timing. This accelerates your farm without wasting time.
- Fake Remnant aggression. Throw a Remnant toward the enemy aggressively, but do not activate it. Enemies will retreat expecting your jump. This creates space without spending cooldowns. Then use that remnant as a damage source when enemies forget about it.
- Sleight vision. Sleight of Fist grants brief vision of the area you slash. Use it to scout Roshan, check trees for hiding enemies, or deward high ground without face-checking.
Frequently Asked Questions
Ember Spirit is one of the hardest heroes in Dota 2 to play effectively. His skill floor is manageable — you can contribute with basic Sleight + Chains combos — but his ceiling is extremely high. If you are new to mid lane, consider starting with simpler heroes like Sniper or Drow Ranger before transitioning to Ember. That said, if you enjoy the hero’s playstyle, playing him from a low rank will make you a much better player overall because he teaches map awareness, positioning, and resource management.
In 2026, the magical/utility build (Maelstrom, Aghanim’s Scepter, Octarine Core, Shiva’s Guard) is almost always superior. The physical build (Battlefury, Daedalus, Rapier) is viable in ultra-late game scenarios but is riskier and less consistent. The magical build gives you teamfight impact at every stage while remaining slippery and hard to kill. Only consider physical damage if the game is clearly going past 50 minutes and you need Rapier to end it.
Silence is Ember’s worst debuff because it disables Fire Remnant escapes. Against silence-heavy lineups (Orchid carriers, Death Prophet, Drow Ranger), build Eul’s Scepter as an early item. The cyclone self-cast purges silence and gives you 2.5 seconds to reposition. Alternatively, BKB prevents silence entirely during its active duration. Manta Style is another option that purges silence on activation.
Pick Ember when: the enemy has squishy backline heroes, limited targeted disables, and no hard counters like Anti-Mage or Nyx Assassin. He is excellent against illusion-based heroes (Phantom Lancer, Naga Siren) thanks to Sleight hitting all illusions. Avoid Ember when: the enemy has 3+ silences or instant hexes, multiple Break-through BKB abilities (Doom, Black Hole), or when your team already has enough damage and needs a different role from mid.
A good Ember Spirit should aim for 550-650 GPM in an average game. For CS, target 60+ by 10 minutes and 200+ by 20 minutes. With Boots of Travel and Maelstrom, efficient Ember players hit 250-300 CS by 25 minutes by farming all three lanes and jungle camps between fights. At Immortal level, top Ember players consistently hit 700+ GPM.
It can work in specific drafts, but mid lane is almost always better. Safe lane Ember delays your level 6 power spike and gives you less rune access. If you do play safe lane, pair with an aggressive support who can set up kills (Shadow Demon, Grimstroke) and focus on farming Maelstrom quickly. The safe lane build usually goes Phase Boots into Maelstrom with earlier fighting items.
Most players need 100-150 games to feel comfortable with basic combos and Remnant management. True mastery — dodging spells with Sleight, perfect Remnant placement, fluid item builds — takes 300-500+ games. Ember is a hero that always has room for improvement, which is part of what makes him so rewarding. If you want to focus on improving without worrying about MMR, consider using Team Smurf’s coaching service to get personalized tips from Immortal-rank Ember players.
Become the Ember Spirit Your Team Needs
Mastering Ember Spirit takes hundreds of games and a deep understanding of Dota 2 mechanics. Our Immortal-rank coaches specialize in mid lane heroes like Ember Spirit and can fast-track your improvement with personalized replay reviews, combo drills, and game sense training. Or if you just want to reach a higher bracket to play with better teammates, our boosting service gets you there safely.
Get Ember Spirit Coaching Boost My MMR Instead



