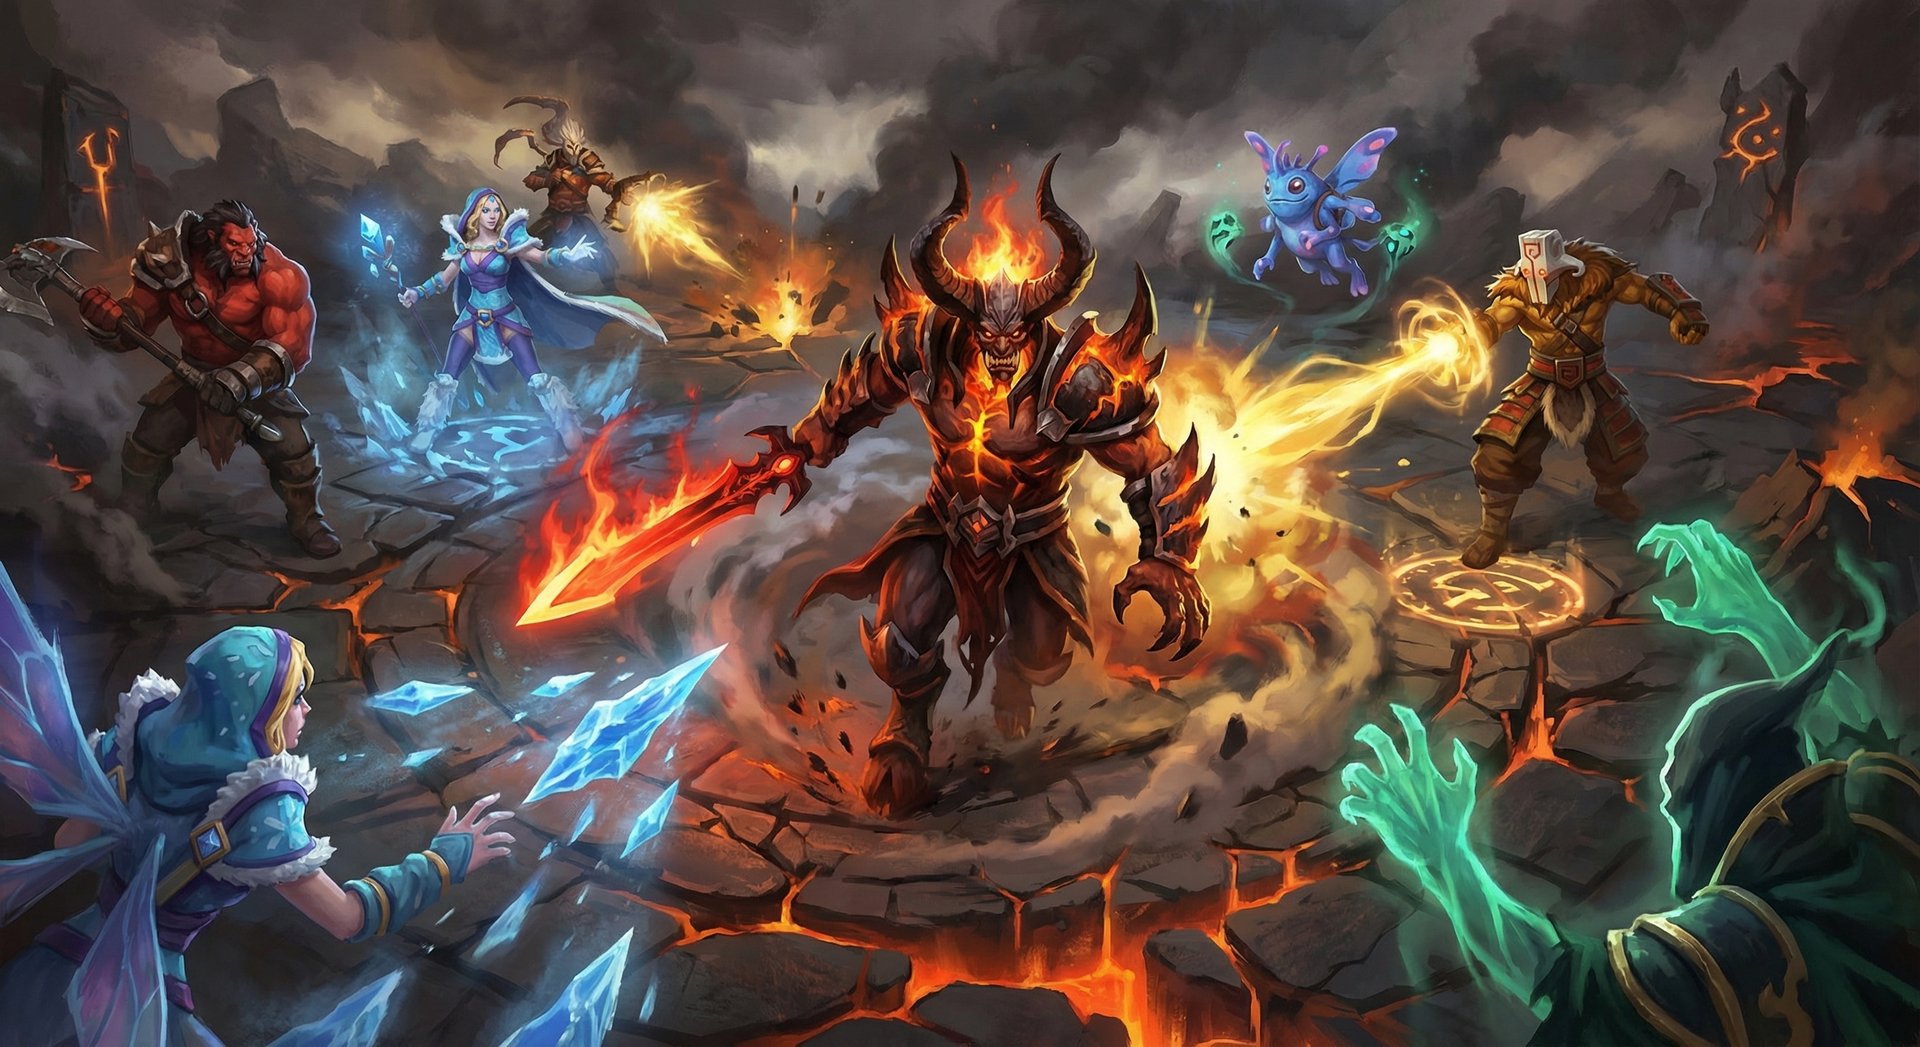
How to Master Doom in Dota 2: The Ultimate Guide for Every Rank (2026)

Doom is one of those heroes that can single-handedly decide the outcome of a game with a single cast. His ultimate — aptly named Doom — removes an enemy hero from the fight entirely, silencing all abilities, items, and passives for what feels like an eternity. In the current 7.40 meta, Doom sits at a comfortable 51-52% winrate across all brackets according to Dotabuff, and his pick rate has been climbing steadily as players rediscover how devastating a well-timed Doom cast can be in the offlane.
But here is the thing most players get wrong about this hero: Doom is not just a walking ultimate. His Devour ability gives him access to neutral creep abilities that fundamentally change his toolkit every game. Scorched Earth turns him into an unkillable frontliner. Infernal Blade deals percentage-based damage that shreds even the tankiest carries. This guide breaks down everything you need to know about mastering Doom — from optimal Devour targets and item builds at every rank bracket, to the pro-level decision making that separates Herald Dooms from Immortal ones.
Whether you are looking to climb MMR with a reliable offlaner or you just want to stop getting destroyed by enemy Doom players, this is your complete blueprint.
Table of Contents
Why Doom Is the Ultimate Game-Changer
Doom is a melee strength hero primarily played in the offlane (position 3), though he occasionally appears as a position 4 support or even a greedy midlaner in specific drafts. His role in the game is straightforward in theory but incredibly deep in practice: remove the most important enemy hero from every teamfight while being tanky enough to survive the chaos around you.
What makes Doom unique compared to every other offlaner in Dota 2 is the sheer versatility of his kit. Devour gives him access to over 30 different neutral creep abilities, meaning no two Doom games play exactly the same. One game you might have a Centaur stomp for initiation. The next, you are running around with a Satyr purge or an Alpha Wolf aura buffing your entire team’s damage. This adaptability is what makes Doom so powerful in the hands of a player who understands which creep abilities to prioritize in different situations.
According to Dotabuff, Doom’s winrate currently hovers around 51.5% across all brackets, but that number jumps to nearly 53% in Divine and Immortal games where players understand his timing windows. His pick rate remains steady at approximately 7-8%, making him a consistently relevant pick without being overly contested in the ban phase.
The hero excels in metas where single-target lockdown is valuable — and that describes nearly every Dota 2 patch. When the enemy team drafts heroes that rely heavily on abilities or key item actives (think Storm Spirit, Ember Spirit, Anti-Mage, or any hero that needs BKB to function), Doom becomes a nightmare matchup that forces the entire enemy draft to play differently.

Abilities Deep Dive
Devour (Q)
Devour is arguably Doom’s most complex and rewarding ability. It allows you to consume a neutral creep, gaining its abilities and bonus gold over the digestion period. At max level, Devour gives you 200 bonus gold per creep consumed and has a 50-second cooldown with a 70-second digestion time. The key mechanic most players miss: you gain the creep’s abilities immediately upon consuming it, not after the digestion timer completes.
The bonus gold from Devour is not flashy, but it adds up fast. At max level, you are generating an extra 240 gold per minute just from Devour — that is roughly equivalent to getting a free kill every two minutes. This is why Doom can keep up with farm even when the laning phase goes poorly.
Top Devour Targets by Game Phase
| Game Phase | Best Creep | Ability Gained | Why |
|---|---|---|---|
| Early Lane (1-7 min) | Centaur Conqueror | War Stomp (2s AoE stun) | Kill threat in lane with stun + Infernal Blade combo |
| Early Lane (alt) | Hellbear Smasher | Swiftness Aura + Thunder Clap | Movement speed aura for chasing, AoE slow for trades |
| Mid Game (10-25 min) | Alpha Wolf | Packleader’s Aura (30% damage) | Team damage boost for push timing and fights |
| Mid Game (alt) | Satyr Banisher | Purge | Dispel enemy buffs, slow, remove Rune effects |
| Late Game (25+ min) | Ancient Thunderhide | War Drums Aura + Frenzy | Attack speed buff for your carry, team aura |
| Late Game (alt) | Granite Golem | HP Aura | 15% max HP boost for your entire team in late fights |

Scorched Earth (W)
Scorched Earth is what makes Doom such a terrifying laner. When activated, Doom leaves a trail of fire beneath his hooves that damages nearby enemies and heals Doom simultaneously. At max level, it deals 60 DPS while healing Doom for 60 HP per second, lasts 16 seconds, and provides a 14% movement speed bonus.
The hidden power of Scorched Earth is in the movement speed boost. Combined with Phase Boots, Doom becomes one of the fastest heroes in the early game, allowing him to chase down kills or escape ganks. The damage and healing combined means you effectively have a 120 HP/s swing in any trade — you deal 60 and heal 60. Very few heroes can out-trade that in the first 10 minutes.
Skill interaction tip: Scorched Earth damage goes through magic immunity when upgraded with Aghanim’s Shard. This is a massive late-game upgrade that makes your teamfight presence constant even against BKB carriers.
Infernal Blade (E)
Infernal Blade is Doom’s auto-attack modifier that adds a mini-stun (0.6 seconds) and deals percentage-based burn damage (4% of the target’s max HP per second for 4 seconds at max level). This is the ability that makes Doom scale into the late game against tanky heroes. A 4000 HP Pudge takes 640 bonus damage over 4 seconds just from a single Infernal Blade proc — and that is before your normal right-click damage.
The mini-stun component is critically important for canceling channeled abilities like Black Hole, Fiend’s Grip, and Town Portal Scrolls. Smart Doom players hold their Infernal Blade specifically for interrupt opportunities rather than spamming it on cooldown.
Doom (R) — The Ultimate
The ultimate that makes this hero iconic. Doom silences all abilities, items, and most passives for 16 seconds at max level. The target takes 70 DPS during the duration and cannot use anything — no BKB, no Satanic, no Manta, no escape abilities. Nothing.
With Aghanim’s Scepter, Doom gains Break (disabling passive abilities like Bristleback’s damage reduction, PA’s Blur, and Spectre’s Dispersion) and the duration pauses while the Doomed target is within 900 range of Doom. This effectively means the target stays Doomed for the entire fight as long as you stay near them.

Skill Build Priority
| Level | Standard Offlane | Aggressive Lane | Defensive Lane |
|---|---|---|---|
| 1 | Devour | Scorched Earth | Devour |
| 2 | Scorched Earth | Infernal Blade | Scorched Earth |
| 3 | Scorched Earth | Scorched Earth | Scorched Earth |
| 4 | Infernal Blade | Scorched Earth | Devour |
| 5 | Scorched Earth | Scorched Earth | Scorched Earth |
| 6 | Doom | Doom | Doom |
| 7 | Scorched Earth | Devour | Scorched Earth |
| Max Order | W > E > Q | W > E > Q | W > Q > E |
Always max Scorched Earth first. The damage, healing, and movement speed scaling are too good to delay. Second priority is typically Infernal Blade for the percentage damage scaling, though in very passive lanes where you are farming jungle early, maxing Devour second for the gold bonus is viable.
Item Builds by Rank Bracket

| Rank | Starting | Early Game | Core Items | Late Game |
|---|---|---|---|---|
| Herald – Crusader | Tango, Quelling Blade, Ring of Protection, Branches | Phase Boots, Ring of Health, Soul Ring | Blink Dagger, BKB, Blade Mail | Shiva’s Guard, Heart of Tarrasque |
| Archon – Legend | Tango, Quelling Blade, Ring of Protection, Circlet | Phase Boots, Soul Ring, Wind Lace | Blink Dagger, BKB, Aghanim’s Scepter | Refresher Orb, Shiva’s Guard, Overwhelming Blink |
| Ancient – Divine | Tango, Quelling Blade, Ring of Protection, Branches | Phase Boots, Hand of Midas (situational), Drums | Blink Dagger, BKB, Aghanim’s Scepter | Refresher Orb, Shiva’s Guard, Linken’s Sphere |
| Immortal | Tango, Ring of Protection, Branches x2 | Phase Boots, Soul Ring, Shadow Blade (situational) | Blink Dagger, BKB, Aghanim’s Scepter | Refresher Orb, Overwhelming Blink, Shiva’s Guard |
Why Items Differ by Rank
Herald to Crusader: Blade Mail is included here because low-rank players tend to focus Doom in fights without realizing the damage reflection. BKB is essential at every rank, but at lower brackets players often skip it — do not make that mistake. Blink Dagger is your non-negotiable first major item because without it, you cannot reliably get your Doom off on the right target.
Archon to Legend: Players at this bracket start understanding target priority, so Aghanim’s Scepter becomes core. The Break and duration pause from Aghs make your ultimate devastating against heroes like PA, Bristleback, and Spectre who rely on passives. Coaching from Immortal players can accelerate your understanding of when Aghs timing matters most.
Ancient to Divine: Hand of Midas becomes situational here because players know how to create space with efficient farming patterns. The attack speed also helps with Infernal Blade procs. Refresher Orb is the ultimate late-game power spike — double Doom removes two heroes from a fight, which essentially wins any teamfight.
Immortal: Shadow Blade occasionally replaces Blink in Immortal games when opponents expect Blink initiation and play accordingly. The Silver Edge upgrade also provides Break, giving you a secondary source of passive-disabling before committing your ultimate. Overwhelming Blink is preferred over regular Blink for the slow and damage on landing.
Situational Items Worth Considering
- Lotus Orb: Against heavy single-target lineups; the dispel is useful and the reflect can punish enemies who try to hex or stun you before you Doom
- Heaven’s Halberd: Incredible against right-click carries; the disarm combined with Doom means the enemy carry literally cannot do anything for several seconds
- Pipe of Insight: When your team lacks magic resistance and the enemy has heavy magical damage
- Assault Cuirass: Physical damage-heavy games where your team needs the armor aura
- Eul’s Scepter: Budget option to pop Linken’s Sphere before Dooming, also provides movement speed and a self-dispel
Laning Phase Masterclass

Doom’s laning phase is deceptively strong. Most players assume Doom is a weak laner who just wants to Devour creeps and jungle, but that is a dated understanding of the hero. With Scorched Earth active, Doom wins most 1v1 trades in the offlane thanks to the combined damage and healing.
First 3 Minutes: Establishing Lane Presence
Start with Devour at level 1 and immediately consume a Centaur Conqueror from the nearest hard camp. The War Stomp gives you a reliable stun for kill attempts and helps you contest the lane. If you cannot reach the Centaur safely, a Hellbear Smasher is your second choice for the Swiftness Aura and Thunder Clap.
Your goal in the first few minutes is not to dominate the lane — it is to not die and get your levels. Doom has very high base HP (670 at level 1) and solid armor with a Ring of Protection start. Use this tankiness to secure last hits and denies while your Devour generates passive gold in the background.
Minutes 3-7: Aggressive Trading Window
Once you hit level 3 with two points in Scorched Earth and a point in either Devour or Infernal Blade, your kill potential skyrockets. Activate Scorched Earth and run at the enemy support or carry. The movement speed bonus lets you stay on top of them while the damage and healing swing the trade massively in your favor.
The combo for early kills: Scorched Earth, run at target, War Stomp (from Centaur), Infernal Blade hit, continue chasing. This deals approximately 300-400 damage in the first few seconds while you heal through their retaliation. Most supports cannot survive this, and even most carries need to burn resources (salves, mangos, or support rotations) to deal with it.
Lane Partner Synergies
Doom works best with aggressive supports who can amplify his kill threat:
- Undying: Decay steals strength, making targets squishier for Infernal Blade’s percentage damage. Tombstone plus Scorched Earth creates a death zone nobody wants to walk into.
- Grimstroke: Ink Swell on Doom while he runs at enemies with Scorched Earth is nearly impossible to escape. Soul Bind allows you to Doom two heroes at once (when timed correctly with Grimstroke’s Phantom).
- Clockwerk: Battery Assault combined with your Scorched Earth and Infernal Blade burns down almost any carry in the first 5 minutes. Cogs trap them with you inside the fire.
- Treant Protector: Living Armor keeps Doom alive through early harassment, and Nature’s Guise provides invisible ganking setups for Doom kills.
Dealing with Hard Lanes
Some lanes are simply unwinnable for Doom. Against ranged carries with strong supports (like Drow Ranger + Vengeful Spirit), your best play is to pull the creep wave toward your tower and jungle with Devour. Doom farms jungle efficiently thanks to Scorched Earth’s healing and Devour’s bonus gold. Do not feed kills trying to contest an impossible lane — your level 6 timing with efficient rotations is far more important than winning lane.
Mid and Late Game Transitions
Doom’s Power Spikes
Understanding when Doom is strongest helps you dictate the pace of the game:
- Level 6 (minute 6-8): Your first Doom timing. If you have Phase Boots and a good neutral creep ability, you can solo kill most heroes on the map. Smoke and rotate mid or to the enemy safelane for an unexpected Doom kill.
- Blink Dagger (minute 14-18): This is when Doom becomes truly terrifying. Blink into Doom on the enemy carry means instant teamfight advantage. Play aggressively around this timing — push towers with your team and force fights.
- BKB + Aghanim’s (minute 22-28): Your absolute peak power spike. BKB lets you Blink in without getting chain-stunned before casting Doom, and Aghanim’s means the enemy carry loses all their passives for the fight duration. This is your window to end the game or take a commanding lead.
- Refresher Orb (minute 30-40): The ultimate late-game insurance. Double Doom removes two key heroes from the fight. If you reach this point, your team should win almost every 5v5 engagement.
Teamfight Positioning
Your positioning in teamfights should follow one principle: stay on the edge until you see the right Doom target, then commit. Too many Doom players Blink in immediately at the start of a fight and get stunned before casting. Instead, wait 1-2 seconds for the enemy team to commit their stuns and disables on your frontliner, then Blink in and Doom their most important hero.
Target priority for Doom ultimate:
- The enemy’s main damage dealer (carry or mid) — especially if they rely on abilities or passives
- Key enablers — heroes like Enigma (Black Hole), Magnus (Reverse Polarity), or Oracle (False Promise) whose teamfight impact hinges on one ability
- Supports with save abilities — Dazzle (Shallow Grave), Oracle (Fate’s Edict + Purifying Flames), Shadow Demon (Disruption) — if your team can kill the carry without Doom but the support will save them
When Doom Falls Off (and How to Prevent It)
Doom’s weakness is that beyond minute 40, his right-click damage becomes irrelevant compared to hard carries. You transition from “scary offlaner” to “walking ultimate bot.” To prevent this from feeling terrible:
- Keep farming between fights. Devour’s bonus gold means you should always be eating neutral creeps between engagements. Never let Devour sit off cooldown.
- Build aura items that benefit your team even when you are not the primary damage dealer. Shiva’s Guard, Assault Cuirass, and Pipe all make your team stronger without requiring you to right-click.
- Refresh your Doom. Refresher Orb turns you from a one-trick ultimate bot into a two-trick ultimate bot — and removing two heroes from a fight is gamebreaking at any stage.
Counters: Heroes That Destroy Doom

1. Lifestealer
Lifestealer is Doom’s worst nightmare. Rage grants spell immunity, which means you cannot Doom him while it is active. His Feast ability (percentage-based lifesteal) means he out-sustains Doom in extended fights. And Infest gives him an escape that even Doom cannot prevent. The matchup is so bad that you should consider not picking Doom if Lifestealer is already on the enemy team.
How to play around it: Wait for Rage to end before Dooming. Alternatively, Doom a different target entirely and let your carry deal with Lifestealer.
2. Outworld Destroyer
Astral Imprisonment can save a Doomed ally by making them invulnerable and purging some debuffs on landing. OD’s Arcane Orb also deals pure damage that ignores Doom’s high armor. In lane, OD’s intelligence steal makes Doom’s already small mana pool even more painful.
How to play around it: Doom OD himself first, or bait Astral before committing your ultimate.
3. Silencer
Global Silence shuts down Doom’s entire initiation combo. You Blink in to Doom someone, and Silencer presses R from across the map — suddenly you cannot cast Doom, cannot use Scorched Earth, cannot use your neutral creep ability. His Intelligence steal passive also permanently reduces your mana pool every time you die, making it increasingly harder to cast your spells.
How to play around it: BKB before initiating, or wait for Global Silence to be used before going in.
4. Ancient Apparition
Ice Blast prevents all healing, which completely negates Scorched Earth’s sustain. Without Scorched Earth healing, Doom is just a slow melee hero walking at people. The shatter threshold also threatens Doom since he often drops low HP while tanking in fights.
How to play around it: Avoid prolonged fights where Ice Blast can stack damage. Play around AA’s ult cooldown.
5. Pugna
Nether Ward punishes Doom incredibly hard. Every spell Doom casts (Devour, Scorched Earth, Infernal Blade, and Doom) has a relatively high mana cost, and Nether Ward zaps him for each cast. Doom’s ultimate costs 350 mana at max level — that is a massive Nether Ward proc that can deal 500+ damage. Decrepify also saves allies from Doom’s physical damage and Infernal Blade.
How to play around it: Destroy Nether Ward before engaging (Quelling Blade works since it is a ward-type unit). Build items that offset the mana drain.
Heroes Doom Destroys
1. Anti-Mage
Anti-Mage relies entirely on Blink for survival and Mana Void for damage. Doom disables both. A Doomed Anti-Mage is just a squishy melee creep with no escape who dies almost instantly. This is one of the most satisfying matchups in Dota.
2. Storm Spirit
Storm Spirit’s entire hero identity revolves around Ball Lightning for mobility and Overload for damage. Doom removes all of it. Storm cannot zip away, cannot use Orchid or BKB, and just stands there taking damage. This matchup alone makes Doom a popular last-pick into Storm-heavy drafts.
3. Bristleback
Bristleback’s passive damage reduction is what makes him unkillable. With Aghanim’s Scepter, your Doom applies Break, disabling the passive entirely. Suddenly Bristleback takes full damage from behind and melts. Without Break, Bristleback is a raid boss. With Break, he is paper.
4. Ember Spirit
Similar to Storm, Ember Spirit needs his abilities (Remnant, Sleight of Fist, Flame Guard) to do anything useful. Doom removes all of them. Ember’s weakness has always been silence effects, and Doom is the ultimate silence — it even prevents item usage, so no Eul’s or Manta to dispel it.
5. Huskar
Huskar relies on Berserker’s Blood (passive attack speed and magic resistance at low HP) to be an unkillable damage machine. With Aghanim’s Break, Doom removes the passive entirely, and Huskar suddenly takes full magic damage at low HP. Combined with Doom’s DPS and Infernal Blade’s percentage damage, Huskar simply evaporates.
How Pros Play Doom in the Current Patch
In recent pro tournaments and high-level pubs, Doom has seen consistent play as a flex pick that can go position 3 or position 4. Teams like Team Spirit and Tundra Esports have shown different approaches to the hero that reflect the current meta understanding.
Collapse from Team Spirit has been picking Doom in the offlane during recent DPC matches, favoring an early Blink into BKB build with Alpha Wolf Devour at the 12-minute mark to boost his team’s damage during early push timings. His approach focuses on aggressive Smoke ganks starting at level 6, often securing 2-3 kills before the 10-minute mark.
33 (Neta Shapira) from Tundra has favored a more farm-heavy approach, going Hand of Midas into Aghanim’s Scepter rush. His Doom games average a 22-minute Aghanim’s timing, which he uses to Break key enemy passives in the mid-game. This build sacrifices early aggression for a stronger mid-game peak.
In recent Liquipedia tournament data, Doom averages a 54% winrate in pro play with the hero most commonly banned against teams that have strong Doom specialists. The hero is rarely first-picked but frequently appears as a 4th or 5th pick to counter specific drafts.
Pro Build Trends
- Phase Boots over Treads: 90% of pro Doom players choose Phase for the movement speed and armor, which complement Scorched Earth’s chase potential
- Blink over Shadow Blade: Pros prefer the instant initiation of Blink in 85% of games, with Shadow Blade only appearing against teams with poor detection
- Aghanim’s Scepter in 70% of games: Break is considered essential in the current meta where passive-reliant carries are common
- Refresher as 4th or 5th item: Double Doom appears in approximately 40% of pro Doom games that go past 35 minutes
Rank-Specific Climbing Guide

Herald to Guardian: Foundation Basics
At this rank, most players do not even know what Doom’s abilities do, let alone how to counter them. Your advantage is simple: Doom the enemy carry in every fight and watch your team win.
Focus on these fundamentals:
- Always have a neutral creep ability. Press Devour on cooldown. It does not matter which creep — having any ability is better than having none.
- Build Phase Boots into Blink Dagger every single game. Do not deviate. Do not build Shadow Blade. Blink gives you the reliable initiation you need.
- Use Scorched Earth before every fight. The healing keeps you alive and the damage adds up. Press it the moment a fight starts.
- Doom the hero that is killing your team. Do not overthink target selection at this rank. If the enemy Sniper is dealing all the damage, Doom the Sniper.
Crusader to Archon: Adding Game Sense
This is where you start thinking about which neutral creep to eat instead of just eating whatever is closest. Centaur Conqueror for the stun is your default choice, but start experimenting with Satyr purge against heroes with buffs and Alpha Wolf for team damage.
Key improvements at this bracket:
- Learn to farm between fights. After a successful teamfight, immediately Devour a creep and farm a jungle camp or push a lane. Doom players at this rank often stand around waiting for the next fight instead of generating gold.
- Start buying BKB after Blink. At Archon, enemies have enough coordination to stun-lock you before you cast Doom. BKB ensures your Blink-Doom combo goes off cleanly.
- Ward the enemy jungle entrances. If you can see the enemy carry farming, you can Smoke and Blink-Doom them for a pickoff. Map awareness wins games at this bracket.
Legend to Ancient: The Macro Leap
At Legend and above, opponents start playing around your Doom. They buy Linken’s Sphere, position behind teammates, and bait your Blink. You need to adapt your approach.
- Carry a Linken’s popper. Eul’s Scepter, Force Staff, or your neutral creep ability can break Linken’s before you Doom. Always check enemy inventories.
- Aghanim’s Scepter becomes essential. Break is the difference between a good Doom and a great one. Learn which enemy heroes rely on passives and prioritize them.
- Play around Roshan. Doom is excellent at contesting Roshan fights because his ultimate removes the enemy carry from the pit fight. Position near Rosh and threaten the Doom if they try to rush it.
- Communicate your Doom target. Tell your team who you plan to Doom so they can focus the remaining enemies. Coordination at this rank separates climbers from stagnators.
If the climb feels slow, an MMR boost can get you past the plateau so you can practice against better opponents.
Divine to Immortal: What Separates the Top 1%
At the highest levels, Doom is a chess piece, not a battering ram. Your mere presence in the game forces enemy itemization and positioning changes.
- Threat of Doom > Doom itself. Sometimes the best play is NOT Dooming anyone. Standing on the edge of a fight with Doom available forces the enemy carry to play scared, dealing less damage and staying back. Use this pressure.
- Neutral creep optimization. Immortal Doom players swap creep abilities 2-3 times per game based on the situation. Alpha Wolf for pushes, Centaur for ganks, Granite Golem for late-game teamfights. The bonus gold from Devour stacks over a game — never let it sit idle.
- Refresher timing. Buying Refresher at the right moment (typically before a high-ground siege or Roshan fight) can single-handedly win games. Double Doom is the most impactful combination in Dota 2 — use it wisely.
- Shard timing. Aghanim’s Shard making Scorched Earth damage pierce BKB is an underrated late-game pickup. Combined with Shiva’s Guard and your Doom DPS, you deal significant damage to BKB’d targets who think they are safe.
Tips and Tricks

Advanced Mechanics
- Devour grants the creep ability instantly — you do not need to wait for digestion. Use this to eat a Centaur right before a gank for an immediate stun.
- Infernal Blade can be cast during Scorched Earth without breaking the movement speed bonus. Many players stop to cast it — do not. Keep running.
- You can Devour Ancients at max level. Ancient Thunderhide and Granite Golem abilities are absurdly strong. Prioritize Ancient camps once Devour is maxed.
- Doom cancels Town Portal scrolls. If you see an enemy trying to TP out, Doom them immediately — the channel is interrupted and they waste the cooldown.
- Scorched Earth persists through death for its remaining duration. If you die in a fight with Scorched Earth active, the fire trail continues damaging enemies around your corpse.
Common Mistakes to Avoid
- Dooming the wrong target. This is the number one mistake at every rank. Do not Doom the enemy position 5 support just because they are closest. Wait for the right target even if it means holding Doom for a few seconds.
- Not using Devour on cooldown. Every minute Devour is idle, you are losing 240 gold. That adds up to thousands of gold wasted over a game. Set a mental timer or watch the cooldown.
- Building too greedy. Doom is not a carry. Do not build Radiance, Battle Fury, or Daedalus. Your job is to be tanky enough to survive fights and cast your spells. Utility and aura items win games on Doom.
- Panicking during Blink initiation. A common pattern: Blink in, miss Doom because you clicked the ground instead of the hero, die. Practice targeting with Doom in demo mode. It is a targeted ability — click on the hero portrait if you struggle with clicking the model.
- Ignoring Scorched Earth in fights. Some players focus so hard on getting Doom off that they forget to activate Scorched Earth. Always press W before or immediately after Blinking in. The healing and damage are significant.
Animation Cancel and Micro Tips
- Phase Boots + Scorched Earth stack. Activate both for maximum chase speed. Phase Boots’ phase does not cancel Scorched Earth.
- Infernal Blade has no cast animation. It is an auto-attack modifier, meaning it procs on your next attack with zero additional cast time. Use this to interrupt channels instantly.
- Devour while running. Devour has a very short cast time. You can eat a neutral creep while passing through the jungle without stopping.
Frequently Asked Questions
Yes. Doom is one of the most reliable MMR climbers for offlane players because his ultimate single-handedly removes the enemy’s best hero from fights. He works at every rank bracket and does not require mechanical skill — just good decision-making about who and when to Doom. His consistent 51-52% winrate across all brackets proves he is viable everywhere.
Centaur Conqueror (War Stomp) is the best all-around choice for most games. The 2-second AoE stun gives you reliable initiation and interrupt potential. For team-oriented play, Alpha Wolf (30% damage aura) is incredible during push timings. In the late game, Ancient Thunderhide or Granite Golem provide team-wide auras that can swing fights.
Yes. Doom pierces spell immunity (BKB). This is one of the primary reasons Doom is so powerful in the late game when every carry activates BKB. However, Linken’s Sphere DOES block Doom, so always carry a way to pop Linken’s first (Force Staff, Eul’s, or a neutral creep ability).
Not every game, but in approximately 70% of games it is the correct choice. Aghanim’s adds Break (disabling passives) and pauses Doom’s duration while you are near the target. Buy it when enemies have key passive abilities — Bristleback, PA, Spectre, Huskar, Phantom Lancer. Skip it when the enemy team relies more on active abilities than passives.
Priority order: (1) the enemy’s main damage dealer if they rely on abilities or passives, (2) key teamfight initiators like Enigma or Magnus, (3) save supports like Dazzle or Oracle. At lower ranks, just Doom whoever is dealing the most damage to your team. At higher ranks, consider the THREAT of Doom — sometimes holding it zones the enemy carry more effectively than casting it early.
Yes, but it is niche. Position 4 Doom sacrifices farm for faster rotations and early Doom ganks. You skip Blink and rely on Smoke or Shadow Blade for initiation. The build is typically Boots into Aghanim’s Scepter rush. It works best when your team already has a tanky position 3 and you just need the Doom utility. In most games, position 3 Doom is more reliable because you need the gold for Blink and BKB.
Several options: Eul’s Scepter (cheap and effective Linken’s popper), Force Staff (pushes the target and pops Linken’s), your neutral creep ability (Satyr Purge or Centaur Stomp), or even just asking a teammate to pop it with a single-target spell before you Doom. In Immortal games, players often eat a Satyr Banisher specifically for the Purge to pop Linken’s.
Ready to Unleash Doom on Your Enemies
Whether you need help perfecting your Doom combos or you want to climb ranks faster, Team Smurf’s Immortal-rank players have you covered. Get personalized coaching or let our boosters handle the grind.


