
How to Master Crystal Maiden in Dota 2: The Ultimate Guide for Every Rank (2026)

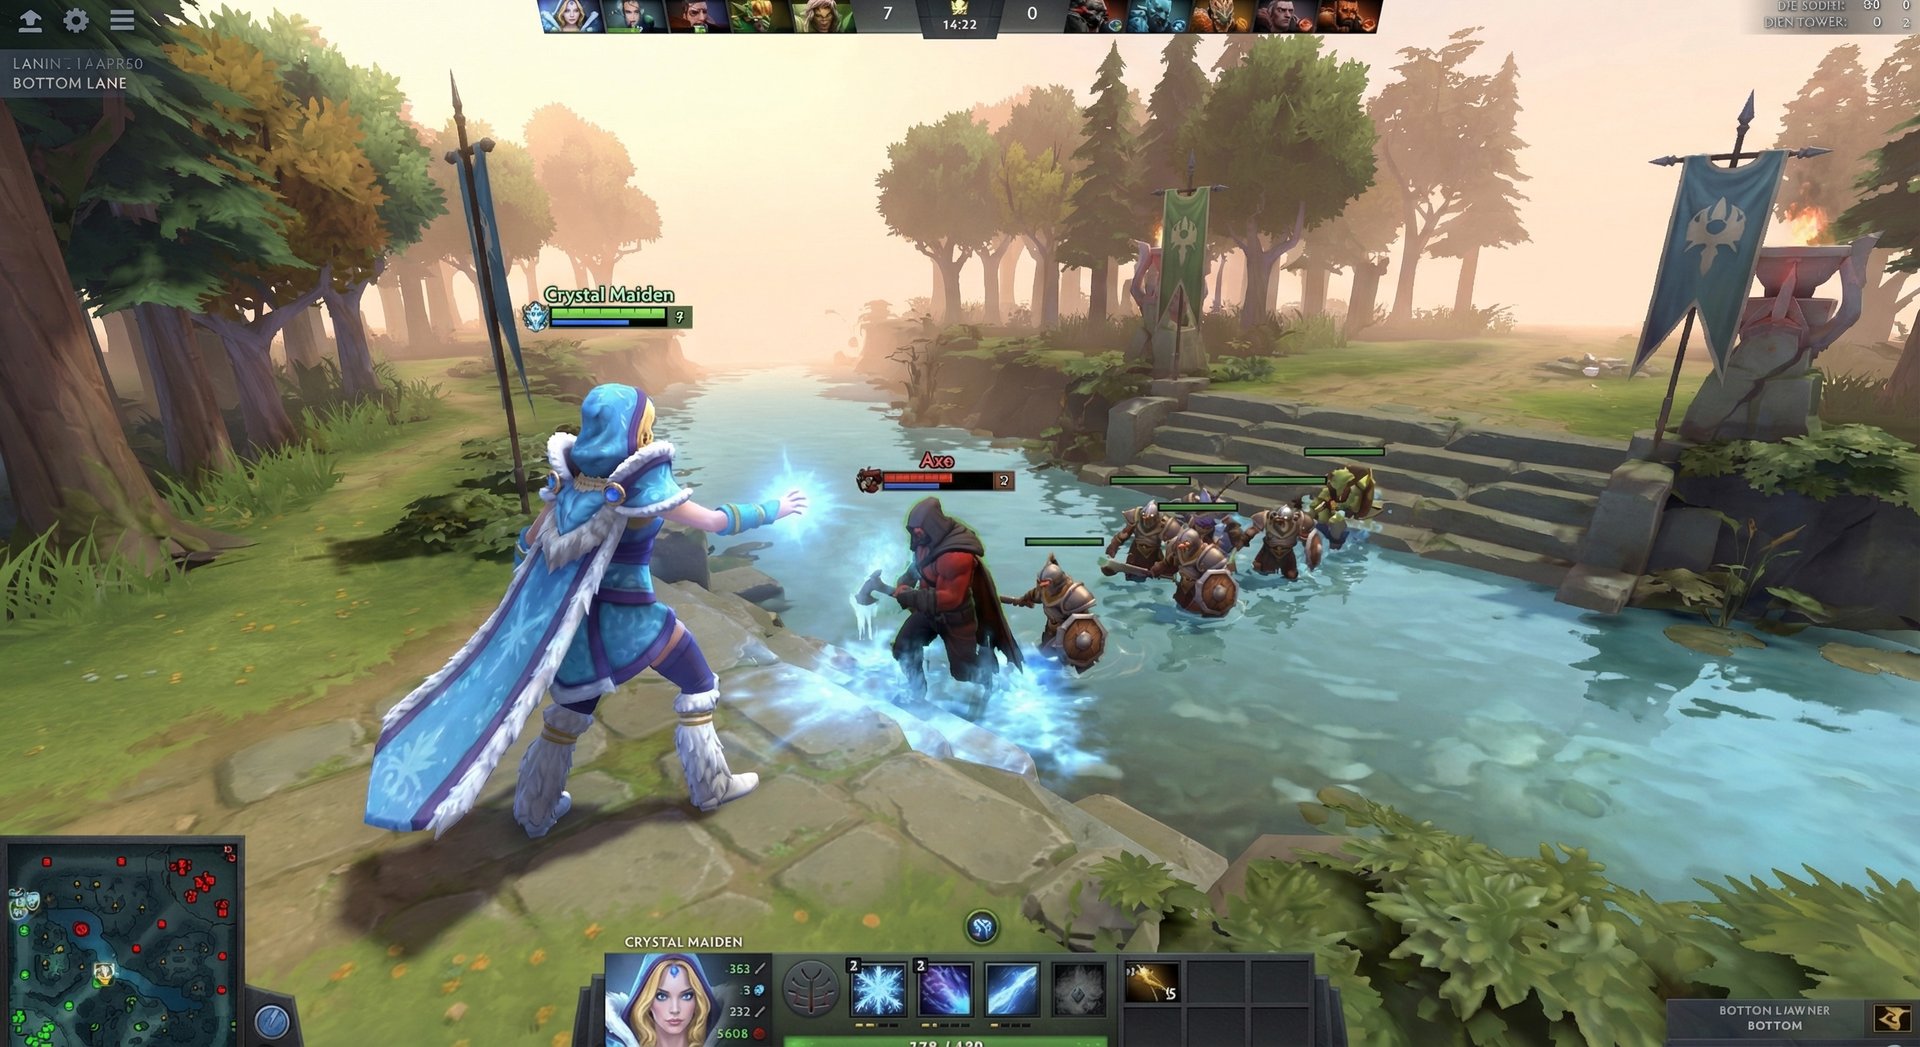
Crystal Maiden has been one of Dota 2’s most iconic support heroes since the game’s earliest days — and in the current 7.40 meta, she is more relevant than ever. Rylai the Crystal Maiden brings something almost no other position 5 support can offer: a global mana regeneration aura that fuels your entire team from minute zero. Whether your mid Invoker is spamming combos or your offlaner is trading spells non-stop, Arcane Aura quietly wins lanes across the map without CM even being there.
But Crystal Maiden is far more than a walking aura. In the right hands, she is a devastating ganker in the early game, a fight-winning ultimate channeler in the mid game, and a clutch save-maker with her item choices in the late game. The difference between a Herald CM who feeds 15 deaths and an Immortal CM who controls the entire tempo of a match comes down to positioning, timing, and game sense — all of which this guide will teach you.
In this guide, you will learn her hidden ability interactions, the exact item builds that work at every rank bracket, how to dominate your lane, when to rotate, how pros are playing her right now, and the rank-specific strategies that will help you climb. Let’s break down everything you need to know to master Crystal Maiden in 2026.
Table of Contents
Why Crystal Maiden Is Dota’s Most Impactful Position 5
Crystal Maiden currently sits at a 52.3% winrate across all brackets on Dotabuff, making her one of the most consistently successful supports in public matchmaking. Her pick rate hovers around 12-14%, placing her in the top 10 most-picked heroes globally. These numbers tell a clear story: CM wins games, and she wins them often.
What makes Crystal Maiden unique is how she impacts the game without even being present in a lane. Arcane Aura provides global mana regeneration to every allied hero on the map. This means your mid laner can spam spells more aggressively, your offlaner can trade more freely, and your carry has more mana for farming spells or escaping ganks. No other position 5 in Dota offers this kind of passive, map-wide influence.
Her role is primarily hard support (position 5), though she occasionally shows up as a position 4 in aggressive dual-offlane setups. CM excels at:
- Early kill potential — Frostbite is a 3-second root at level 1, one of the longest disable durations in the early game
- Lane control — Crystal Nova provides a large AoE slow that zones enemies out of creep equilibrium
- Global team utility — Arcane Aura solves mana problems for the entire team from minute one
- Teamfight devastation — Freezing Field, when channeled fully, deals over 7,000 magic damage in an area around her
The hero’s biggest weakness is her extreme fragility. With base movement speed of 280 (one of the slowest in the game) and a tiny HP pool, CM is a prime target for ganks. Mastering her means mastering positioning — staying alive long enough to get your spells off and your ultimate channeled is the entire game.
Abilities Deep Dive
Crystal Nova (Q)
Crystal Nova is a 900-range AoE nuke that deals damage and applies both a movement speed slow and attack speed slow in a 425 radius. At max level, it deals 260 damage with a 50% movement slow and 60 attack speed reduction lasting 5 seconds. The cast animation is 0.3 seconds, and the projectile has a brief travel time to the target area.
Hidden mechanics most players miss:
- The AoE provides brief flying vision for 6 seconds at the impact point — use it to scout Roshan pit, high ground, or tree jukes
- The attack speed slow is devastating against right-click carries in the early-mid game, effectively reducing their DPS by 30-40%
- Crystal Nova’s 425 radius is larger than it visually appears — enemies at the edge often get clipped when they think they dodged it
- You can cast Crystal Nova on the ground while running away without turning around if the target area is within your cast angle
Frostbite (W)
Frostbite roots a single target in place for 3 seconds at all levels against heroes (10 seconds against creeps), dealing 150/200/250/300 damage over the duration. This is one of the most powerful single-target disables in the early game. The cast range is 550, and the cast point is 0.3 seconds.
Critical interactions:
- Frostbite goes through Black King Bar if cast before BKB activation — the root continues even if BKB is popped after being Frostbitten
- The root disables most movement abilities including Blink, Leap, and Pounce, but does NOT prevent teleportation (TP scrolls can be used while rooted)
- Against creeps, Frostbite deals 1,000 damage over 10 seconds at all levels — this makes CM one of the fastest jungle clearers among supports for stacking and farming
- Frostbite can catch heroes mid-dash if timed correctly — it will stop Slark’s Pounce, Storm Spirit’s Ball Lightning, and Ember Spirit’s Fire Remnant mid-travel
- The damage is dealt in ticks, so magic resistance and magic damage amplification affect each tick independently
Arcane Aura (E)
The ability that makes Crystal Maiden unique in all of Dota 2. Arcane Aura is a global passive that provides mana regeneration to all allied heroes on the map. CM herself receives a 2x/3x/4x/5x multiplier on the aura’s effect. At level 4, allies get 2.0 bonus mana regen while CM gets 10.0 bonus mana regen.
Why this ability is secretly broken:
- At level 1, Arcane Aura gives 0.5 mana regen to all allies — that is equivalent to a free Sage’s Mask (175 gold value) for every hero on your team from minute one
- Across 5 heroes, level 1 Arcane Aura provides 875 gold worth of mana regeneration globally. At level 4, this value exceeds 3,000 gold worth of stats
- The self-multiplier means CM almost never has mana issues in the mid-late game, allowing her to spam Crystal Nova and Frostbite off cooldown
- Arcane Aura affects illusions and summons of allied heroes, meaning it helps heroes like Phantom Lancer, Naga Siren, and Nature’s Prophet maintain mana on their units
- The aura persists even while Crystal Maiden is dead — it is always active as long as the skill is leveled
Freezing Field (R) — Ultimate
Crystal Maiden channels a massive blizzard around herself for up to 10 seconds, randomly dropping ice explosions in a 810 radius that each deal 250/350/450 damage. During the channel, CM also applies a constant movement and attack speed slow to all enemies within the radius. With Aghanim’s Scepter, Freezing Field applies Frostbite to any enemy hero who stays within the radius for 2.5 seconds.
The math on full-channel Freezing Field:
- Explosions occur every 0.1 seconds, with up to 100 explosions over the full channel
- Maximum potential damage to a single target standing in the field: approximately 7,500 magic damage at level 3 (before reductions)
- After standard 25% magic resistance, a full-channel Freezing Field can deal roughly 5,625 damage to each enemy caught inside
- The channel can be interrupted by any stun, silence, or displacement — this is why BKB or Glimmer Cape timing is critical
Skill Build Orders
Standard Support Build (most games):
W – E – Q – W – W – R – W – Q – Q – Q – R – E – E – E – Talent – R
Max Frostbite first for the damage increase and kill potential. One early point in Aura at level 2 for global mana. Crystal Nova second for teamfight contribution.
Aggressive Kill Lane Build:
Q – W – W – W – W – R – Q – Q – Q – E – R – E – E – E – Talent – R
When paired with an aggressive carry like Juggernaut or Ursa who wants non-stop kills in lane. Skip Aura early to maximize damage output.
Aura-Focused Build (spell-heavy lineup):
W – E – E – W – E – R – E – W – W – Q – R – Q – Q – Q – Talent – R
When your lineup has 3+ mana-hungry cores (Invoker mid, Bristleback off, etc.). Maximizing Aura early lets your team dominate all lanes through mana advantage.
Item Builds by Rank Bracket
| Rank | Starting | Early (0-15 min) | Core (15-30 min) | Late (30+ min) |
|---|---|---|---|---|
| Herald – Crusader | Tango, Clarity x2, Blood Grenade, Observer Ward, Sentry Ward | Boots, Magic Wand, Wind Lace | Tranquil Boots, Glimmer Cape | Force Staff, Aghanim Scepter |
| Archon – Legend | Tango, Clarity x2, Blood Grenade, Observer Ward, Sentry Ward | Boots, Magic Wand, Wind Lace, Smoke of Deceit | Tranquil Boots, Glimmer Cape, Ghost Scepter | Force Staff, BKB, Aghanim Shard |
| Ancient – Divine | Tango, Clarity, Blood Grenade, Observer Ward, Sentry Ward, Smoke | Brown Boots, Magic Wand, Wind Lace | Tranquil Boots, Glimmer Cape or Force Staff | BKB, Aghanim Scepter, Aeon Disk |
| Immortal | Tango, Clarity, Blood Grenade, Observer Ward, Sentry, Smoke | Brown Boots, Magic Wand, Infused Raindrops | Tranquil Boots, Force Staff, Glimmer Cape | BKB, Aghanim Shard, Aeon Disk |
Why Items Differ by Rank
Herald-Crusader: At lower ranks, you can get away with greedier builds because enemies rarely punish your positioning. Aghanim’s Scepter is a realistic late-game goal because fights last longer and enemies often stand in Freezing Field without reacting. Focus on staying alive with Glimmer Cape — it is the single best item for CM at any rank.
Archon-Legend: Players start punishing bad positioning. Ghost Scepter becomes important against physical damage cores who dive you. BKB starts being necessary to guarantee your Freezing Field channel in fights. Coaching from an Immortal player can help you learn exactly when to use each defensive item.
Ancient-Divine: The first item choice becomes situational — Glimmer Cape vs Force Staff depends entirely on enemy draft. Against Clockwerk, Slark, or heroes that jump on top of you, Force Staff is mandatory first. Against magic burst, Glimmer Cape wins. Aeon Disk becomes a real consideration against instant-kill combos.
Immortal: At the highest level, Infused Raindrops in the early game is critical because mid players will look to kill you with ganks. Force Staff is almost always built before Glimmer because the repositioning is more valuable when enemies know how to play around invisibility. BKB timing for Freezing Field is non-negotiable in serious games. Aghanim’s Shard (Crystal Nova applies a Frostbite instance) gives massive teamfight control.
Laning Phase Masterclass
Level 1-3: Establishing Lane Dominance
Crystal Maiden’s laning phase is surprisingly aggressive for a position 5. At level 1, Frostbite provides a 3-second root that, combined with your carry’s damage, can secure a kill or force the enemy offlaner to burn their regen within the first two waves.
Your level 1 priority depends on your carry:
- With Juggernaut: Take Frostbite (W). Jug spins + CM roots = guaranteed first blood in most matchups. Walk behind the enemy offlaner, root them, and let Blade Fury do the rest.
- With Ursa: Take Frostbite (W). Ursa’s Fury Swipes + a 3-second root means the enemy is dead or has to buy back before the horn.
- With passive carries (Spectre, AM): Take Crystal Nova (Q). You need the AoE slow to zone the enemy offlaner away from the creep wave rather than committing to kills.
Pulling and Stacking
As a position 5, your pull game is essential. Crystal Maiden is one of the best supports for stacking and pulling because Frostbite deals 1,000 damage to creeps over 10 seconds at all levels. This means you can:
- Stack the hard camp at X:53-55 depending on the camp, then pull the small camp into your lane at X:15 or X:45
- Clear stacked camps quickly using Frostbite on the large creep — this is your primary source of gold and XP as a position 5
- Double-pull through from small camp to hard camp to deny the entire enemy creep wave
When to Rotate
CM is one of the best early rotation supports because Frostbite guarantees a 3-second window for your mid to follow up with damage. Look for rotation opportunities when:
- Your carry hits level 3-4 and can safely solo the lane for 30-60 seconds
- Enemy mid is pushed up past the river — walk from behind and Frostbite them under your mid’s tower
- You have a rune spawn coming at 4:00/6:00 — combine the rune pick-up with a mid gank attempt
- Your mid has a kill combo that needs a setup stun — heroes like Shadow Fiend, Zeus, or Lina love a CM rotation
Lane Partner Synergies
| Carry Partner | Synergy Level | Why It Works |
|---|---|---|
| Juggernaut | S-Tier | Frostbite root + Blade Fury = guaranteed kills from level 1. One of the most iconic kill lanes in Dota. |
| Ursa | S-Tier | 3-second root lets Ursa stack 6 Fury Swipes. Enemy dies before the root even ends. |
| Lifestealer | A-Tier | Open Wounds slow + Frostbite root chains disables for 5+ seconds. Naix benefits heavily from Arcane Aura. |
| Phantom Assassin | A-Tier | PA can Phantom Strike on rooted targets for guaranteed Stifling Dagger slow into right-click kills. |
| Anti-Mage | B-Tier | AM wants space, not kills. CM provides passive Aura value but the lane is weak together. |
| Spectre | B-Tier | Spectre needs a babysitter, and CM can provide that. But the kill potential is low. |
Mid and Late Game Transitions
Timing Windows
Crystal Maiden’s power curve has distinct peaks and valleys that you need to understand:
- Minutes 0-6 (Strong): Frostbite is one of the best disables in the game at this stage. Your kill potential is at its highest relative to enemy HP pools.
- Minutes 6-15 (Peak): With level 6 Freezing Field and enemies still lacking BKB, a well-timed ultimate in a teamfight can single-handedly win the engagement. This is your strongest window.
- Minutes 15-25 (Declining): Enemies start getting BKBs, and your raw spell damage falls off. You transition into an aura bot and utility support role.
- Minutes 25-40 (Utility): Your value comes from Arcane Aura, Glimmer/Force saves on cores, vision control, and opportunistic Freezing Fields when BKBs are down.
- Minutes 40+ (Second Wind): With Aghanim’s Shard and potentially Scepter, your teamfight contribution surges again. Crystal Nova applying Frostbite with Shard is devastating in late-game teamfights.
Teamfight Positioning
The number one mistake CM players make is standing too close to the fight before using Freezing Field. Your positioning checklist:
- Stay on the edges during the initial engagement — cast Crystal Nova and Frostbite from maximum range
- Wait for key enemy disables to be used before channeling Freezing Field — if their Tide has already Ravaged, their QoP has already Blinked, their initiation is spent
- Use terrain — channeling Freezing Field from behind trees, on high ground, or inside Roshan pit means enemies have to commit resources to cancel you
- Glimmer Cape + Freezing Field is the classic combo — activate Glimmer on yourself as you begin channeling for invisibility + magic resistance during the channel
- BKB + Freezing Field in high-MMR games guarantees the channel against stuns but not displacement (Force Staff, Pudge Hook can still cancel through BKB)
BKB Timing Decision
One of the hardest decisions for CM players is whether to build BKB. Here is the decision framework:
Build BKB when:
- Enemy has 3+ stuns or silences that can interrupt your ultimate
- You are dying before getting any spells off in fights
- Your team needs Freezing Field damage to win fights — it is your primary win condition
Skip BKB when:
- Enemy relies on physical damage to kill you — Ghost Scepter or Glimmer is better
- You are playing purely as a utility support and your cores carry the damage
- Force Staff solves your survivability problem (against Clock, Slark, etc.)
Counters: Heroes That Destroy Crystal Maiden
1. Phantom Assassin
PA is Crystal Maiden’s worst nightmare. Phantom Strike closes the gap instantly, and CM’s tiny HP pool means a single critical hit can one-shot her. PA’s evasion also makes right-clicks unreliable, and her Blur makes it hard to spot her on the map before she is already on top of you.
How to play around it: Stay far from PA’s initiation range. Ghost Scepter is mandatory. Never show on the map alone when PA has Desolator. Ward aggressively to see her coming.
2. Slark
Slark’s Pounce leash prevents CM from moving, and Dark Pact purges Frostbite. His Shadow Dance makes him impossible to target, and he loves hunting isolated supports in the mid-late game. CM is free Essence Shift stacks for Slark.
How to play around it: Force Staff is your most important item against Slark — it lets you break the Pounce leash. Never walk alone in the jungle after minute 10. Stay near teammates with disable.
3. Storm Spirit
Ball Lightning covers the entire map, meaning no amount of positioning saves you from a Storm with mana. He Zips in, Orchids, and kills you before you can press any button. Electric Vortex also interrupts Freezing Field.
How to play around it: Aeon Disk is the best counter-item. Glimmer Cape provides some protection. Stick with teammates who have stun to counter-initiate on Storm.
4. Clockwerk
Hookshot into Power Cogs traps CM inside a tiny area where she cannot escape. Battery Assault interrupts Freezing Field repeatedly, and Clock’s natural tankiness means Frostbite barely tickles him.
How to play around it: Force Staff is non-negotiable. You can Force yourself out of Cogs. Position behind your team so Clock has to go through others to reach you.
5. Anti-Mage
Mana Break destroys CM’s already-small mana pool, Blink closes the gap instantly, Counterspell reflects Frostbite back onto you, and Mana Void with CM’s INT pool can deal massive damage. AM fundamentally counters everything CM wants to do.
How to play around it: Never Frostbite AM while he has Counterspell active — wait for him to use it. Position so far back that AM has to burn Blink aggressively to reach you. Ghost Scepter is essential.
Heroes Crystal Maiden Destroys
1. Bristleback
Bristleback is one of the most mana-hungry offlaners in Dota, and Arcane Aura for your lane partner makes it easy to out-sustain his Quill Spray spam. Frostbite roots him in place, preventing him from turning his back to you. Crystal Nova’s attack speed slow reduces his right-click damage significantly.
2. Wraith King
WK has a notoriously small mana pool, and Frostbite’s mana cost is manageable for CM while WK struggles with mana for Wraithfire Blast. If you root WK and your carry follows up, he often burns his Reincarnation mana early, making him a walking creep for the next 60 seconds.
3. Huskar
Frostbite is a root, not a stun, which means it goes through Huskar’s BKB-like resistance from Berserker’s Blood to some extent. More importantly, Crystal Nova’s attack speed slow dramatically reduces his DPS when he is committing in low-HP fights. CM’s magic damage pierces his physical damage resistance.
4. Broodmother
Crystal Nova one-shots Broodmother’s spiderlings and spiderites when they clump up. A single Q into a spider army destroys hundreds of gold worth of units and denies Brood’s farming pattern. Frostbite also prevents Brood from escaping through webs.
5. Terrorblade
TB’s low base HP in ranged form makes Frostbite + Crystal Nova combo lethal in the laning phase. CM’s abilities also destroy TB’s illusions quickly. Freezing Field does not care about Sunder — if TB is standing in the blizzard, he is taking damage regardless of his HP manipulation.
How Pros Play Crystal Maiden in the Current Patch
In the current competitive meta (7.40), Crystal Maiden sees consistent picks in professional play, particularly in Eastern European and Chinese regions. Here is how the best players are leveraging her:
Drafting Trends
Pro teams pick CM primarily as a first-phase support because she fits into almost any lineup. Her Arcane Aura provides universal value, and her weaknesses can be covered by draft. Teams like Team Spirit and Gaimin Gladiators have shown her multiple times in recent DPC qualifiers, often pairing her with aggressive mid heroes like Puck or Invoker who benefit enormously from the global mana regen.
Pro Item Trends
At the pro level, the build order is almost always: Tranquil Boots, Magic Wand, Force Staff, Glimmer Cape, BKB. Notably, pros almost always build Force Staff before Glimmer at the highest level because they value the positioning tool more than the defensive stats. Aghanim’s Shard is the preferred upgrade over Scepter in most pro games because Crystal Nova applying Frostbite provides AoE lockdown that scales better into the late game.
Positioning in Pro Games
Watch any Immortal or pro CM player and you will notice they rarely use Freezing Field in the middle of a fight. Instead, they wait for the fight to break out, enemy BKBs to be popped, and then channel from the fog of war or tree lines. The element of surprise is worth more than raw positioning. Players like Puppey and Cr1t are known for finding creative Freezing Field angles that enemies do not expect, often using Smoke of Deceit to position before a fight.
Rank-Specific Climbing Guide
Herald to Guardian: Foundation Basics
At this rank, the fundamentals matter more than anything fancy. Focus on:
- Do not die. Seriously. CM’s biggest issue in Herald is feeding. Stay behind your carry. Do not walk into the enemy jungle alone. If the map is dark, you are in danger.
- Buy and place Observer Wards off cooldown. Even if the placement is not perfect, any vision is better than no vision. Put one near Roshan and one on the enemy side of the river.
- Cast your spells in fights. Many low-rank CMs die without pressing a single button. Before any fight, mentally prepare: Frostbite the closest threat, Crystal Nova the biggest clump, then consider Freezing Field only if you are safe.
- Skill Arcane Aura early. Your team will not appreciate it, but they will win more lanes because of it.
If climbing out of Herald feels impossible, a professional MMR boost can get you to a bracket where game knowledge matters more. But the fundamentals above will carry you to Crusader naturally.
Crusader to Archon: Adding Game Sense
This is where CM starts feeling impactful because players begin grouping for objectives. Your focus:
- Pull and stack consistently. At X:53 stack the hard camp, pull the small camp at X:15/X:45. This controls lane equilibrium and gives you XP and gold.
- Rotate mid at level 3-4. Walk through the river, Frostbite the enemy mid, and let your midlaner follow up. Even if you do not get the kill, burning the enemy mid’s regen is worth the trip.
- Carry a TP scroll always. Counter-TP to save allies when they get dived. A single Frostbite on a diving enemy can turn a kill attempt into a double kill for your team.
- Start buying Smoke of Deceit. Even one successful smoke gank per game can swing the momentum entirely.
Legend to Ancient: The Macro Leap
Legend is where macro decisions separate good CM players from great ones. Mechanical skill matters less than game sense at this bracket:
- Track enemy BKB timers. Know when each enemy core has BKB available. If their carry just used BKB in a fight, your Freezing Field is 10x more valuable in the next fight 70 seconds later.
- Deward aggressively. Carry Sentry Wards and deward high-ground spots where enemies place observers. Denying vision is as important as providing it.
- Play around item timings. If you just finished Glimmer Cape, tell your team to fight. Your power spike is real and temporary — use it before the enemy adapts.
- Stack multiple camps for your carry. Ancient stacks at minute 7-10 give your carry a massive gold injection. CM can clear stacked small/medium camps for herself using Frostbite.
Divine to Immortal: What Separates the Top 1%
At this level, every CM player knows the basics. The difference is execution under pressure and next-level game reading:
- Fog of war Freezing Fields. Never channel from visible positions. Use tree lines, Smoke, and high ground to start your ultimate from fog. Enemies cannot interrupt what they cannot see coming.
- Item timing manipulation. If the enemy core is 500 gold from BKB, force a fight NOW before they complete it. Your Freezing Field window is closing — do not waste it.
- Sacrifice correctly. Sometimes dying to save your carry’s life is worth it. Sometimes it is not. At Divine+, you need to calculate whether your death is a net positive or negative for the team in real time.
- Abuse Arcane Aura in lane trading. Your allies can spam spells 20-30% more than the enemy at equivalent levels. Ping your team to play aggressively when they have mana advantages.
- Frostbite prediction casting. Cast Frostbite on the position where a Blink hero is going to appear, not where they are. This requires reading enemy patterns and predicting initiations.
If you are stuck in the Divine bracket and need help reaching Immortal, one-on-one coaching from our Immortal-rank analysts can identify the specific mistakes holding you back and provide personalized strategies for your playstyle.
Tips and Tricks
Animation Cancels and Hidden Interactions
- Frostbite + Crystal Nova combo cancel: Cast Frostbite, then immediately queue Crystal Nova on the rooted target’s position. The cast animation overlap maximizes your damage output in the root window.
- Shift-queue Freezing Field: You can shift-queue BKB (or Glimmer Cape) into Freezing Field. Press BKB, then hold Shift and press R to seamlessly activate your defensive item and begin channeling without any gap.
- Tree juke Frostbite: When being chased, run into a tree line and Frostbite the pursuer while they follow your path. The 3-second root gives you enough time to TP out or create distance.
- Frostbite on couriers: Frostbite can target enemy couriers, rooting them in place for 10 seconds (creep duration). If you spot an enemy courier flying through, Frostbite it for a free kill or at minimum a massive delay.
Common Mistakes to Avoid
- Walking across the map with no boots: CM has 280 base MS — one of the lowest in Dota. If you skip Wind Lace or Boots early, every rotation takes 15-20 seconds longer. That time adds up over a game.
- Channeling Freezing Field in the open: Never ult in plain sight without BKB or Glimmer. You will be interrupted instantly. Use fog, trees, or wait for enemy cooldowns.
- Ignoring Arcane Aura until mid game: One value point at level 2-3 provides 875 gold of mana value across your team. Skipping it wastes CM’s most unique strength.
- Face-checking without vision: You have 280 MS and 600 HP at level 10. Walking into dark areas of the map is suicide. Use Crystal Nova for scouting — it provides 6 seconds of flying vision.
- Building damage items: Aghanim’s Scepter is the only “damage” item you should ever consider, and even then only after defensive items. Items like Dagon, Ethereal Blade, or Veil are traps on CM.
Advanced Mechanics Only High-MMR Players Know
- Frostbite interrupts channeled TPs — even though it is a root, the initial application interrupts Town Portal Scroll channeling. Use this to cancel enemy TPs in clutch moments.
- Freezing Field explosion pattern is random but weighted toward the edges of the radius. Enemies standing at medium range (400-600 units from CM) get hit more consistently than those right on top of her or at maximum range.
- Arcane Aura stacks with all mana regen sources. Heroes with Basilius ring, Clarity potions, or mana regen talents get amplified total regen. In drafts with multiple mana-regen builders, CM’s value multiplies exponentially.
- Crystal Nova vision trick: Cast Crystal Nova on Roshan pit, enemy high ground, or behind towers to gain 6 seconds of flying vision. This can reveal ward spots, Roshan attempts, or smoke ganks without putting yourself at risk.
Frequently Asked Questions
Yes. Crystal Maiden holds a 52%+ winrate across all brackets and remains one of the most consistent position 5 supports in Dota 2. Her Arcane Aura provides universal value that fits any lineup, and her Freezing Field is still one of the highest-damage teamfight ultimates in the game. She is particularly strong in metas where mana-hungry cores are popular.
Max Frostbite (W) first in most games. The damage per level increase is significant (150/200/250/300), and the 3-second root duration is the same at all levels, so you want the higher damage as early as possible. Only max Crystal Nova first if you are playing against Broodmother (to clear spiders) or against heavy illusion lineups where AoE is more valuable than single-target lockdown.
Buy BKB as your 2nd or 3rd major item when the enemy has 3+ stuns or silences that can interrupt your Freezing Field, and your team needs the ultimate damage to win fights. If enemies have mostly physical damage or you are playing a pure utility role, skip BKB in favor of Ghost Scepter, Force Staff, or Aeon Disk.
Aghanim’s Shard is generally more cost-effective and impactful. It makes Crystal Nova apply Frostbite to heroes caught in the AoE, giving you massive teamfight control for just 1,400 gold. Aghanim’s Scepter (4,200 gold) is stronger in theory but requires you to channel Freezing Field for 2.5+ seconds for the Frostbite effect to trigger, which is unreliable. Build Shard first in most games, and only consider Scepter as a luxury late-game purchase.
Crystal Maiden is almost exclusively played as a position 5 (hard support). She can occasionally work as a position 4, but her low base damage, slow movement speed, and need for early levels make her less effective as a roaming support compared to heroes like Earth Spirit or Tusk. Stick to position 5 for the most consistent results.
Three rules will cut your deaths in half: (1) Never walk into unwarded areas of the map alone after minute 10. (2) Stay at maximum cast range during fights — CM’s abilities have 550-900 range, use all of it. (3) Build at least one defensive item (Glimmer Cape, Force Staff, or Ghost Scepter) before any other major item. Positioning and map awareness are more important than any single item purchase.
Juggernaut + Crystal Maiden is the most iconic and effective kill lane in Dota 2. Frostbite’s 3-second root combined with Blade Fury’s damage guarantees kills from level 1 against almost any offlaner. Ursa + CM is equally deadly for the same reason. Any carry with high early damage who can exploit the Frostbite root window is a great partner.
Ready to Dominate with Crystal Maiden
Our Immortal-rank coaches have played thousands of CM games. Get personalized lane matchup advice, Freezing Field positioning, and ward placement strategies tailored to your rank and playstyle.


