
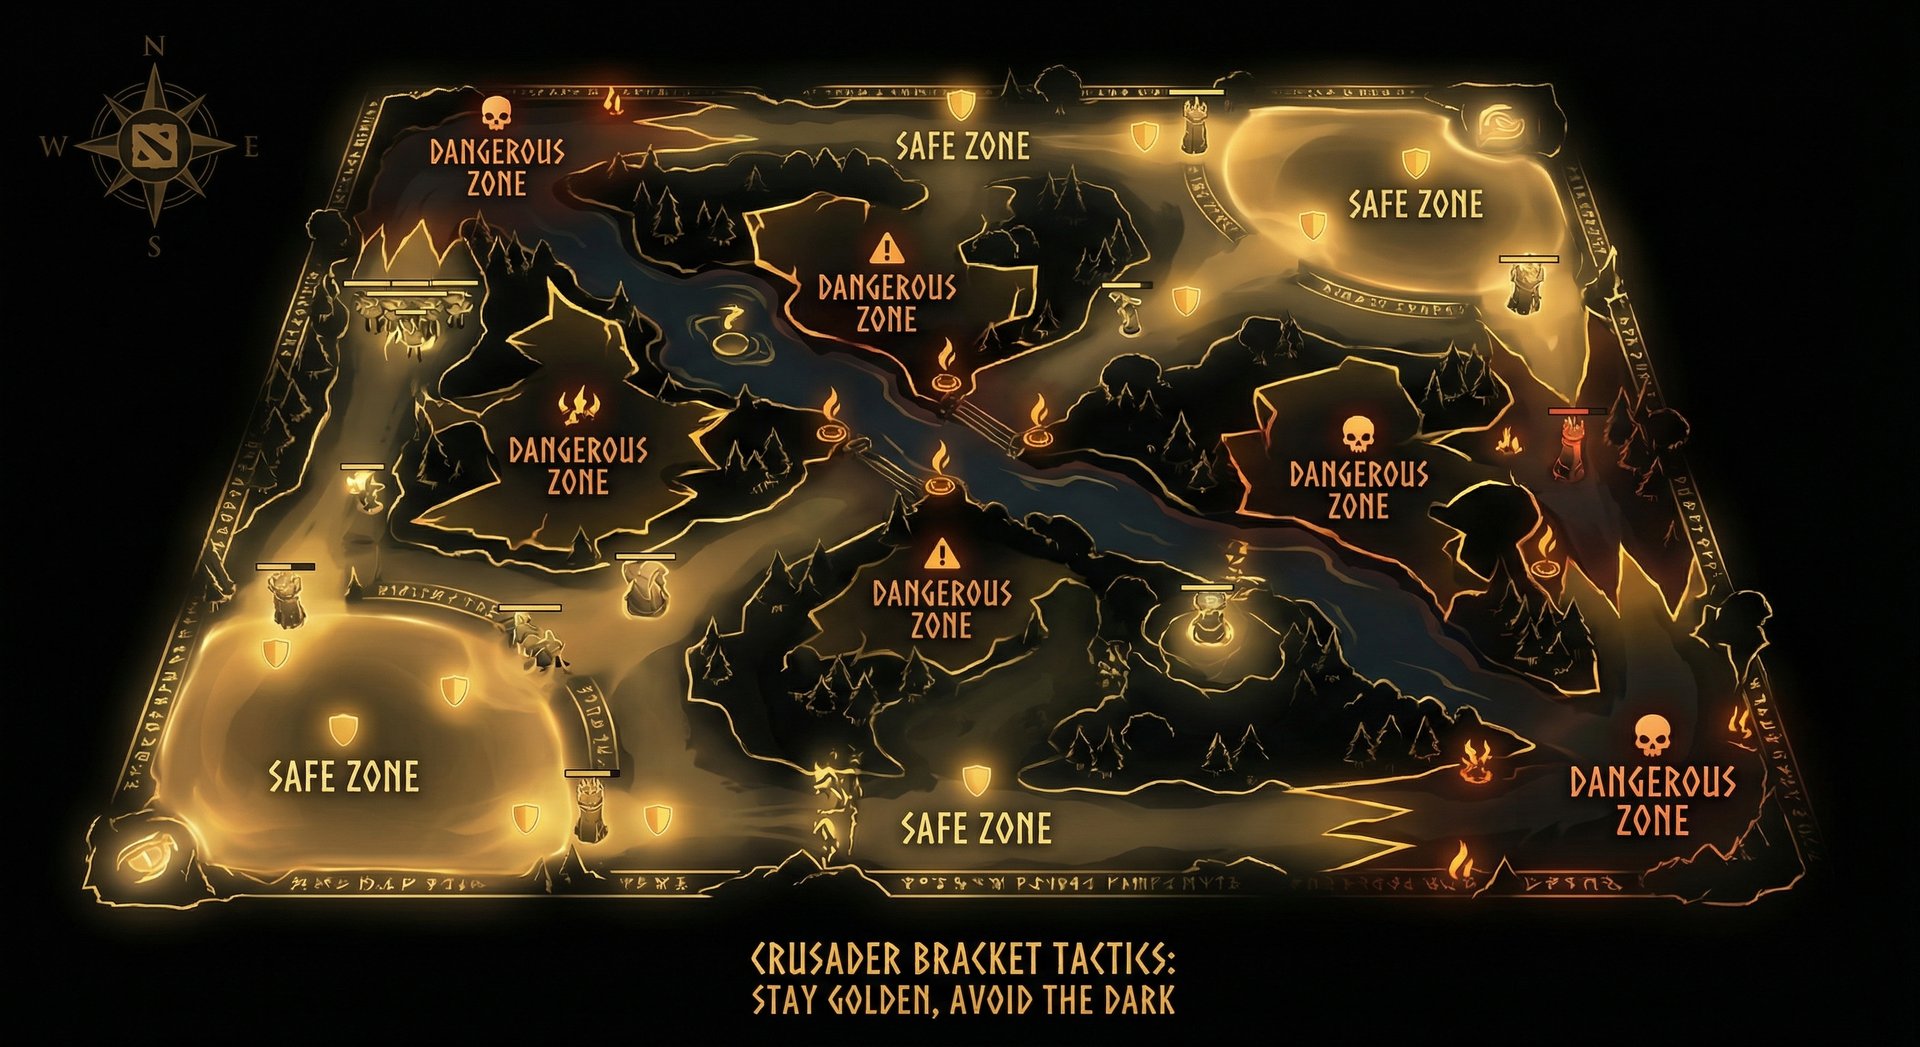
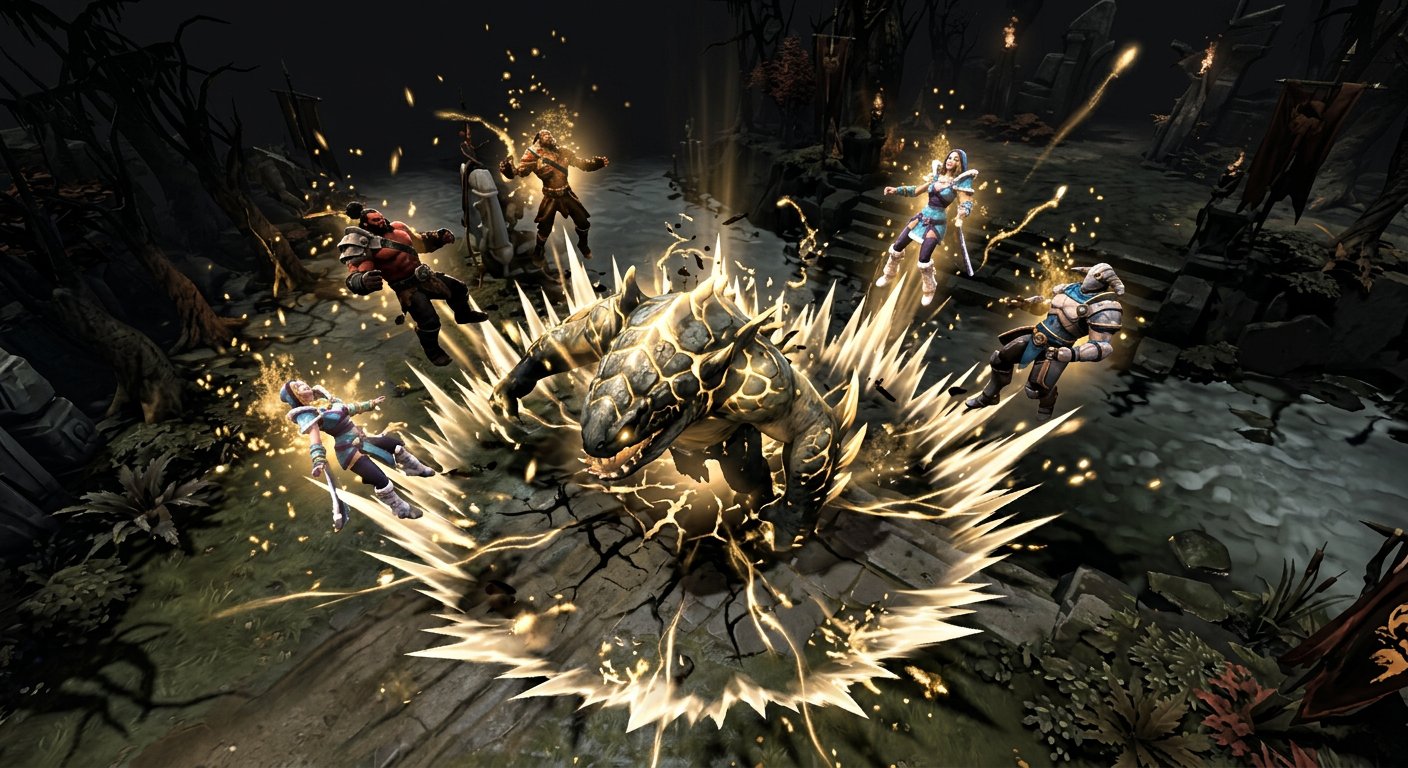
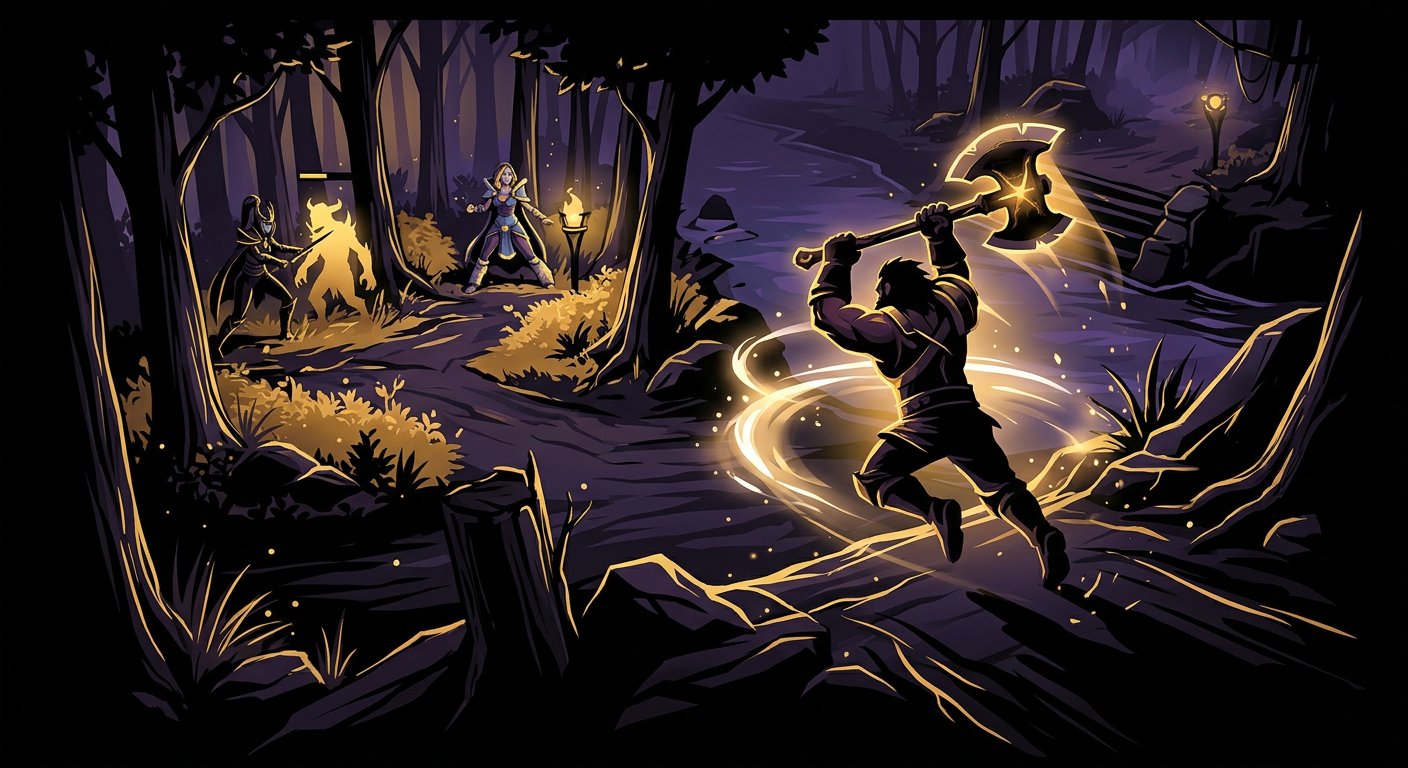
How to Climb from Crusader to Archon as Pos 3 Offlane in Dota 2 (2026 Guide)

Offlane is the most misunderstood role in Crusader. Most players think Position 3 means “tanky hero who runs at people and hopes to not die.” In reality, the offlaner is the tempo-setter — the player who decides when the team fights, where the team fights, and how much space the carry gets to farm.
If you’re climbing from Crusader to Archon (roughly 1,540 to 2,310 MMR) as a Position 3, you have a significant advantage: Crusader offlaners are terrible, so even basic competence at the role puts you above your bracket. Most Crusader offlaners pick heroes like Anti-Mage or Sniper “offlane,” contribute nothing to teamfights, and wonder why they lose.
This guide will teach you how to play the role correctly. We’ll cover the best heroes, complete builds, the ten critical mistakes Crusader offlaners make, a phase-by-phase guide, and a realistic assessment of the climb. If you’d rather skip the grind, we’ll also discuss MMR boosting and coaching options that get results faster.
Table of Contents
- Understanding the Offlane Role in Crusader
- Top 5 Offlane Heroes for Climbing from Crusader to Archon
- The 10 Mistakes Keeping You in Crusader as an Offlaner
- Phase-by-Phase Guide: How to Play Offlane from 0 to 50 Minutes
- The Teammate Problem: Offlane Edition
- Realistic Timeline: How Long Does the Climb Take
- Advanced Offlane Techniques for Archon-Level Play
Understanding the Offlane Role in Crusader
The offlane has three jobs, in order of priority:
- Disrupt the enemy carry’s farm. Every last hit you deny the enemy Position 1 delays their power spike. If you can kill them, even better. Your lane goal is to make the enemy carry’s life miserable.
- Create space for your own carry. By pressuring the enemy side of the map, you force rotations to deal with you — rotations that aren’t going to your safelane to kill your carry.
- Initiate and frontline in teamfights. You’re the one who starts fights, soaks damage, and enables your damage dealers to do their job safely.
In Crusader, most offlaners accomplish zero of these three jobs. They lose lane, AFK jungle at minute 5, buy carry items, and split push without ever joining a teamfight. If you simply do the three things above, you’ll win more games than you lose.
Why Crusader Safelanes Are Easy to Punish
The Crusader enemy safelane is predictable and exploitable:
- Carries can’t last hit under pressure. If you harass them while they’re trying to CS, they’ll miss half the wave and tilt.
- Position 5 supports don’t pull correctly. They either never pull (letting the wave push to your tower, which is great for you) or they single-pull at the wrong time (creating double waves that crash into you).
- They don’t trade efficiently. Crusader carries will try to trade hits with an Axe or Bristleback and lose every time, then wonder why they’re at half HP.
- Ganks are telegraphed. If the enemy support disappears and the carry plays aggressively, a rotation is coming. Crusader players don’t hide these tells.
Top 5 Offlane Heroes for Climbing from Crusader to Archon
1. Axe — The Crusader Destroyer
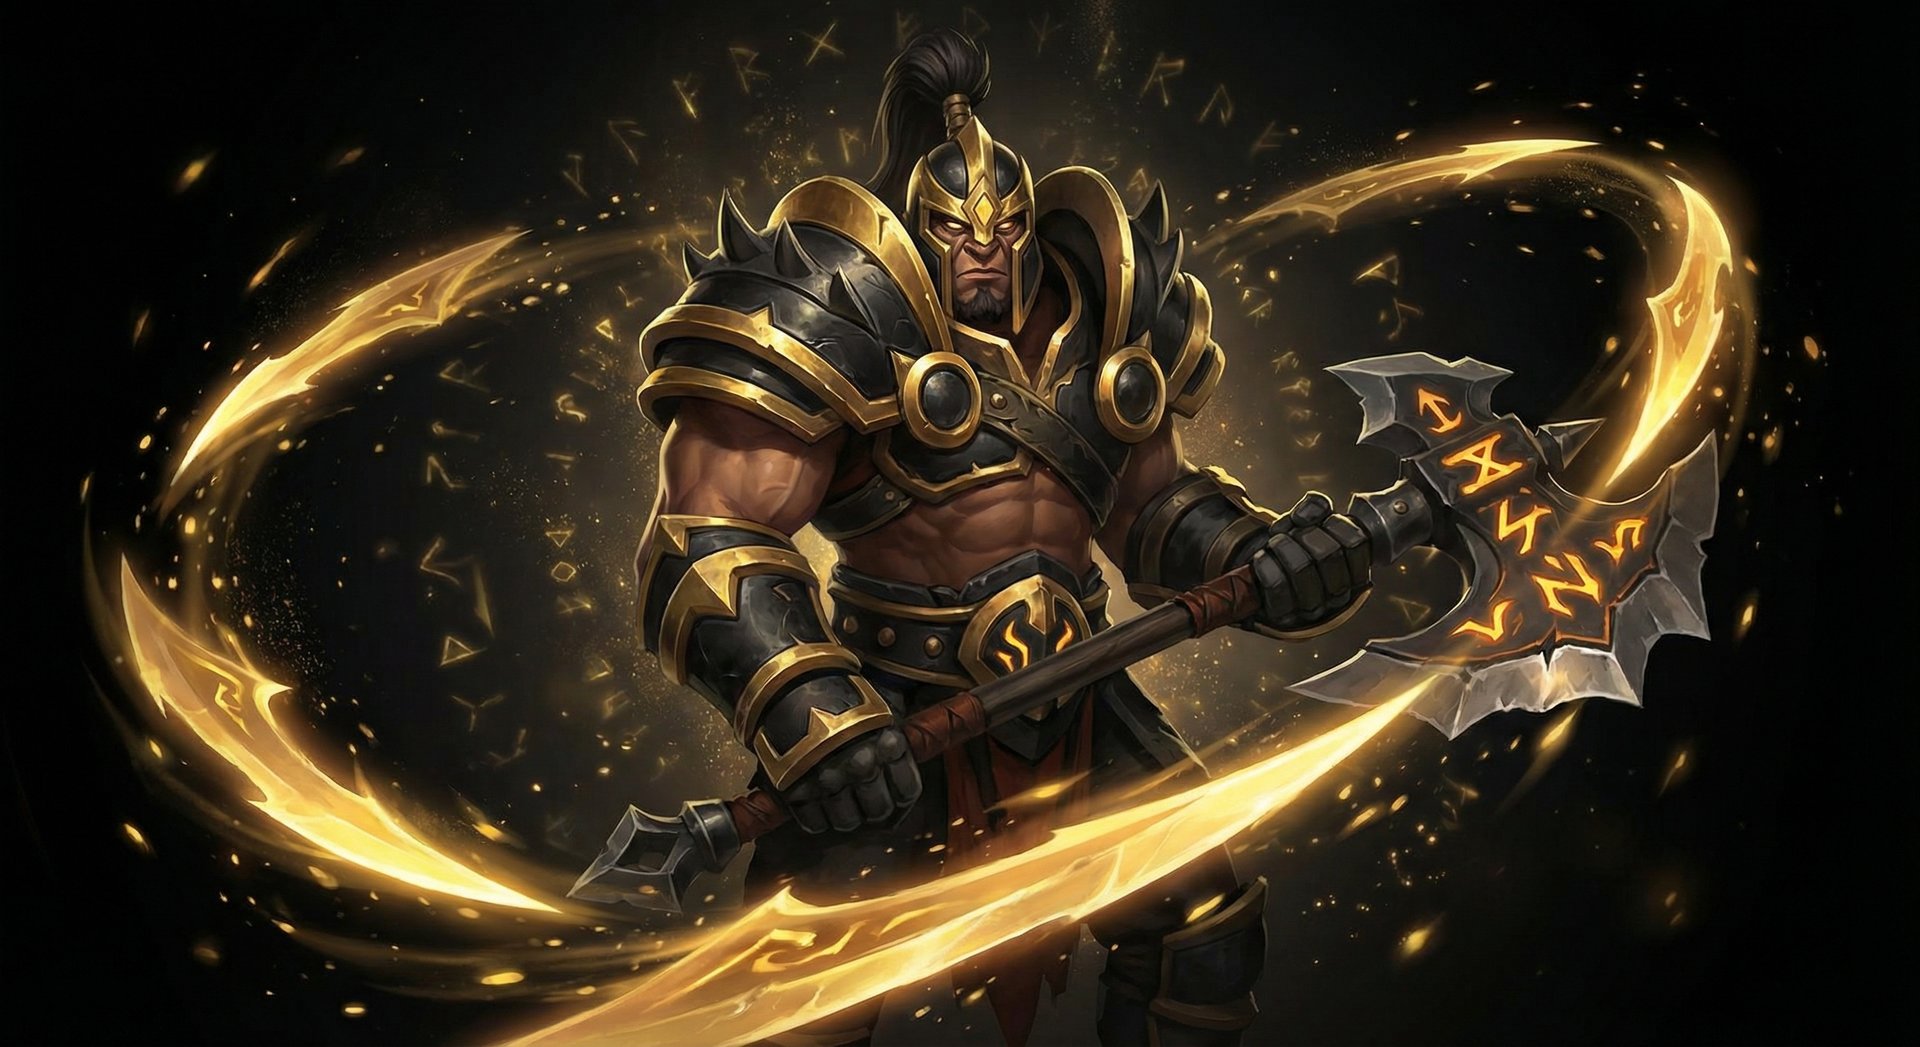
Why he’s #1: Axe does everything the offlane role requires and does it simply. Counter Helix wins trades automatically (you literally just stand near creeps and spin), Berserker’s Call is the best initiation in the game (it goes through BKB and forces enemies to attack you), and Culling Blade finishes kills that would otherwise escape. Axe punishes the two things Crusader carries love to do: hit creeps near an enemy hero, and fight at low HP hoping for a support heal.
Skill Build:
- Levels 1-4: E-W-E-Q (Counter Helix at 1 for trades, Battle Hunger at 2 for harass, second Helix at 3, Berserker’s Call at 4)
- Max Counter Helix first — it’s your lane dominance and farming tool
- Take ult at 6, 12, 18
- Max Battle Hunger second for the movement speed difference and damage
- Berserker’s Call last — one point is enough for the lockdown since duration doesn’t scale much at early levels
Item Build:
- Starting: Tango, Stout Shield, Ring of Protection, Iron Branch
- Early: Vanguard Phase Boots Blink Dagger
- Core: Blink Dagger Blade Mail Black King Bar
- Late: Overwhelming Blink, Shiva’s Guard, Heart of Tarrasque, Assault Cuirass
- Situational: Force Staff (if team needs saves), Aghanim’s Shard (for Battle Hunger empowerment), Lotus Orb (vs targeted disables)
Playstyle tip: In lane, cut the creep wave behind the enemy tower (walk past the tier 1 tower at minute 0 and intercept the wave). This pulls the lane toward your tower, denies the enemy carry farm, and gives your Position 4 solo XP. Crusader supports don’t know how to punish creep cutting, so you’ll often get away with it for 2-3 waves before they react. After Blink Dagger, your game plan is simple: blink call blade mail watch enemies kill themselves. In Crusader, people attack through Blade Mail every time.
2. Bristleback — The Unkillable Frontline
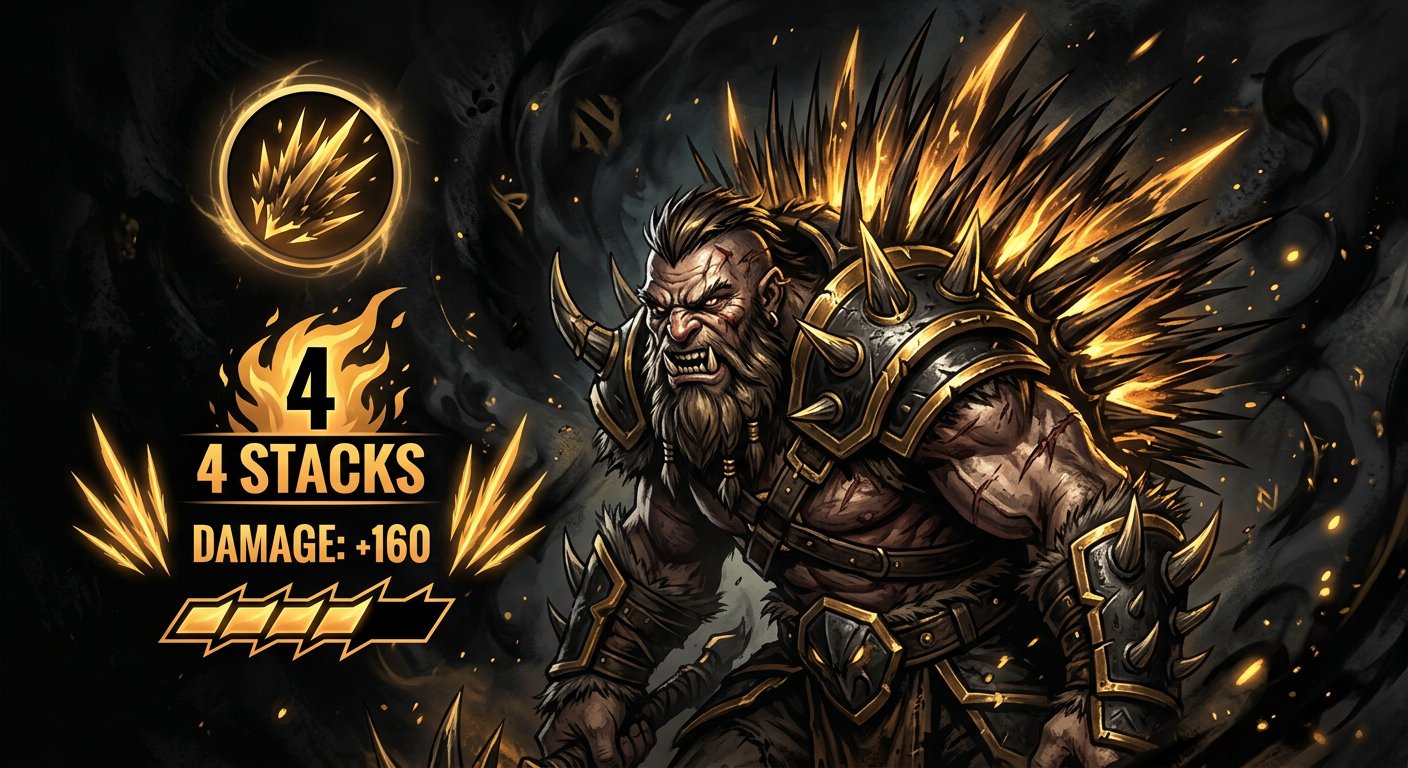
Why he works: Bristleback turns his back and becomes nearly unkillable. Crusader players don’t understand the damage reduction mechanic — they’ll commit 3-4 heroes to try to kill you from behind, waste all their cooldowns, and still fail. Meanwhile, your Quill Spray stacks are shredding them. Bristle also farms incredibly fast with Quill Spray, so even if you have a rough lane, you can jungle and catch up.
Skill Build:
- Levels 1-4: W-Q-W-E (Quill Spray first for trading, Viscous Nasal Goo at 2 for kill threat, second Quill at 3, Bristleback passive at 4)
- Max Quill Spray first — it’s your damage and farming tool
- Take ult at 6, 12, 18
- Max Bristleback passive second for maximum tankiness
- Viscous Nasal Goo last — one value point is enough for the slow/armor reduction
Item Build:
- Starting: Tango, Quelling Blade, Ring of Protection, Gauntlet of Strength
- Early: Vanguard Phase Boots Soul Ring
- Core: Eternal Shroud OR Pipe of Insight Aghanim’s Shard Heart of Tarrasque
- Late: Assault Cuirass, Lotus Orb, Shiva’s Guard, Overwhelming Blink
- Situational: Halberd (vs right-click carries), Blade Mail (vs high damage lineups), Sange & Kaya (for spell lifesteal + status resistance)
Playstyle tip: The key to Bristleback in teamfights is positioning. You want to be in the middle of the enemy team with your back turned toward the biggest damage source. Walk toward the enemy backline (supports and squishy carries) while spamming Quill Spray and Nasal Goo. The enemy frontline will try to hit you from behind — and that’s where your passive gives you 40% damage reduction. In Crusader, enemies will focus you for 20+ seconds while your team kills their backline. It’s beautiful.
3. Underlord — The Aura Monster
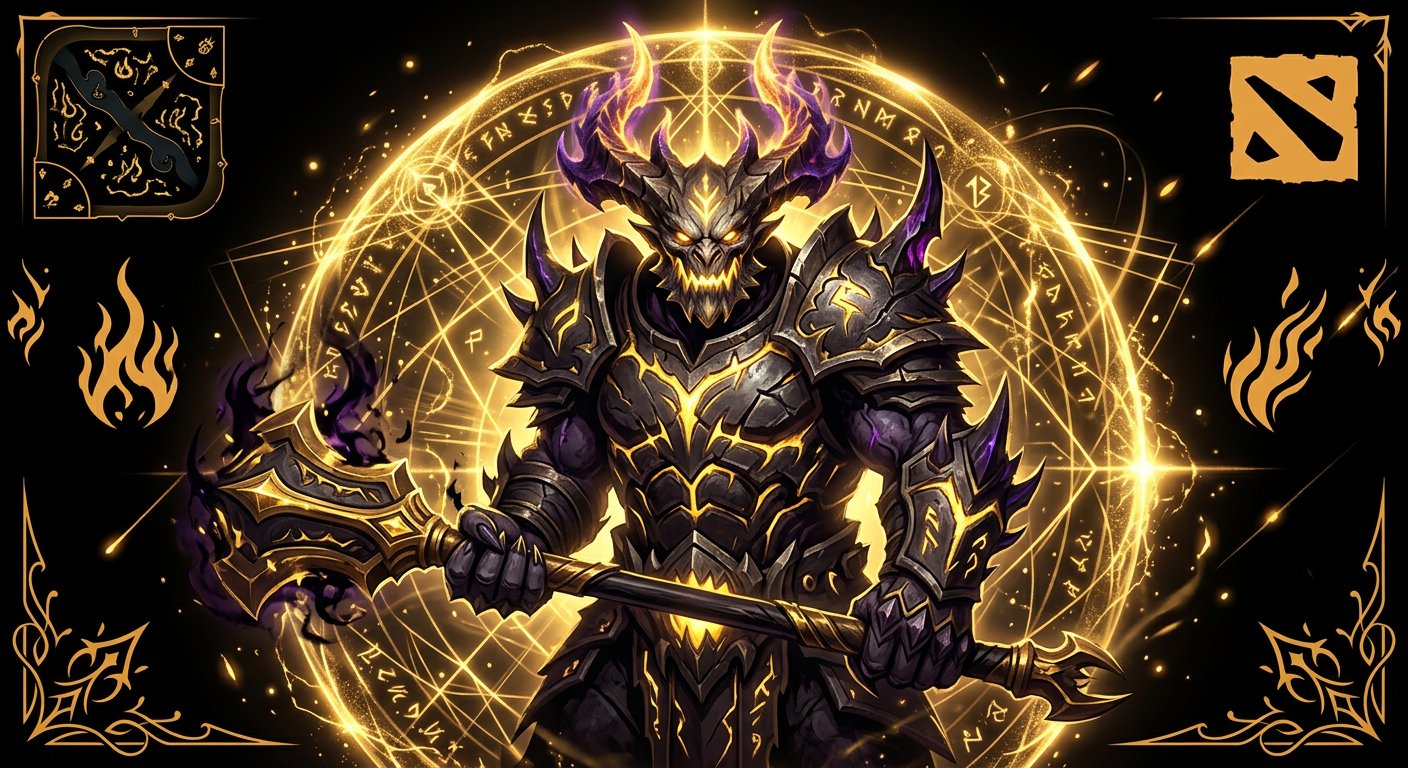
Why he’s perfect for Crusader: Underlord wins his lane automatically with Firestorm (spam it on the wave and the enemy carry simultaneously), builds aura items that make his entire team stronger, and has an escape ultimate that saves teammates who are out of position (which in Crusader is every teammate, every game). He’s also nearly impossible to kill thanks to his massive HP pool and damage reduction from Atrophy Aura.
Skill Build:
- Levels 1-4: Q-W-Q-E (Firestorm first for wave clear and harass, Pit of Malice at 2 for root, Atrophy Aura at 4)
- Max Firestorm first — it’s your lane control and damage
- Take ult at 6, 12, 18
- Max Pit of Malice second for root duration
- Atrophy Aura last — one value point early for the damage reduction
Item Build:
- Starting: Tango, Ring of Protection, Gauntlet of Strength x2, Iron Branch
- Early: Soul Ring Phase Boots Mekansm
- Core: Mekansm Guardian Greaves Pipe of Insight OR Crimson Guard
- Late: Assault Cuirass, Shiva’s Guard, Lotus Orb, Refresher Orb
- Situational: Rod of Atos (for more lockdown, combos with Pit), Vladmir’s Offering (for push strats), Aghanim’s Scepter (for the Fiend’s Gate portal)
Playstyle tip: Underlord’s strength is making your entire team harder to kill. Guardian Greaves + Pipe of Insight gives your team effectively 800+ extra HP worth of shields and resistance in every fight. In Crusader, where fights are drawn out and sloppy, this passive advantage is enormous. You don’t need to make big plays — just stand near your team, spam Firestorm, root people with Pit, and let your auras do the work.
4. Tidehunter — The Teamfight King
Why he’s reliable: Ravage is the most game-changing ultimate at Crusader level. A 3-4 man Ravage wins the fight before it starts — and in Crusader, where positioning is poor, getting a 3+ man Ravage is nearly guaranteed. Tidehunter also has an extremely safe laning stage thanks to Kraken Shell (which purges debuffs when you take enough damage) and Anchor Smash (which reduces enemy damage output).
Skill Build:
- Levels 1-4: W-E-W-Q (Anchor Smash at 1 for last hits and damage reduction, Kraken Shell at 2 for sustain, Gush at 4 for kill potential)
- Max Anchor Smash first — the damage reduction destroys carry players’ ability to trade
- Take ult at 6, 12, 18
- Max Kraken Shell second for the passive purge and damage block
- Gush last — one value point for the armor reduction and slow
Item Build:
- Starting: Tango, Quelling Blade, Ring of Protection, Iron Branch x2
- Early: Soul Ring Arcane Boots Blink Dagger
- Core: Blink Dagger Refresher Orb (yes, rush this second for double Ravage)
- Late: Shiva’s Guard, Guardian Greaves, Aghanim’s Scepter, Lotus Orb
- Situational: Pipe (vs magic heavy), Force Staff (for mobility/saves), Crimson Guard (vs physical), Aghanim’s Shard (for Gush upgrades)
Playstyle tip: Blink + Ravage is your entire game plan. Wait for the enemy team to group (they will — Crusader players love to 5-man), blink in, press R, and win the fight. With Refresher, you can Ravage twice in one fight, which is essentially an auto-win. The key mistake to avoid: don’t Ravage when only 1-2 enemies are in range. Patience wins games on Tidehunter. Wait for 3+ targets, then commit.
5. Beastmaster — The Objective Machine
Why he’s underrated: Beastmaster does two things that Crusader teams desperately need: push towers and provide vision. His boars attack buildings, his hawk gives flying vision of the enemy jungle, and Primal Roar is a point-and-click 4-second disable that goes through BKB. In a bracket where teams can’t push and have no vision, Beastmaster provides both effortlessly.
Skill Build:
- Levels 1-4: Q-W-Q-W (Wild Axes for wave clear, Call of the Wild at 2 for boar harass and hawk vision)
- Max Wild Axes first for damage and farming speed
- Take ult at 6, 12, 18
- Max Call of the Wild second for stronger boars and hawk duration
- Inner Beast last — aura is nice but less impactful early
Item Build:
- Starting: Tango, Quelling Blade, Ring of Protection, Iron Branch x2
- Early: Helm of the Dominator Boots of Speed Necrobook (if available) or Vladmir’s
- Core: Phase Boots Aghanim’s Scepter Blink Dagger or Black King Bar
- Late: Assault Cuirass, Refresher Orb, Overwhelming Blink, Heart
- Situational: Heaven’s Halberd (vs right-clickers), Solar Crest (for Rosh speed and ally buffing), Pipe (vs magic)
Playstyle tip: Send your hawk to scout the enemy jungle constantly. This one action provides more value than most Crusader players generate all game — you can see enemy rotations, find pickoffs, and prevent ganks on your carry. After winning a fight, use your boars and Inner Beast aura to push towers immediately. Beastmaster takes towers faster than almost any other offlaner, and in Crusader, towers win games because they give map control and gold to your entire team.
The 10 Mistakes Keeping You in Crusader as an Offlaner
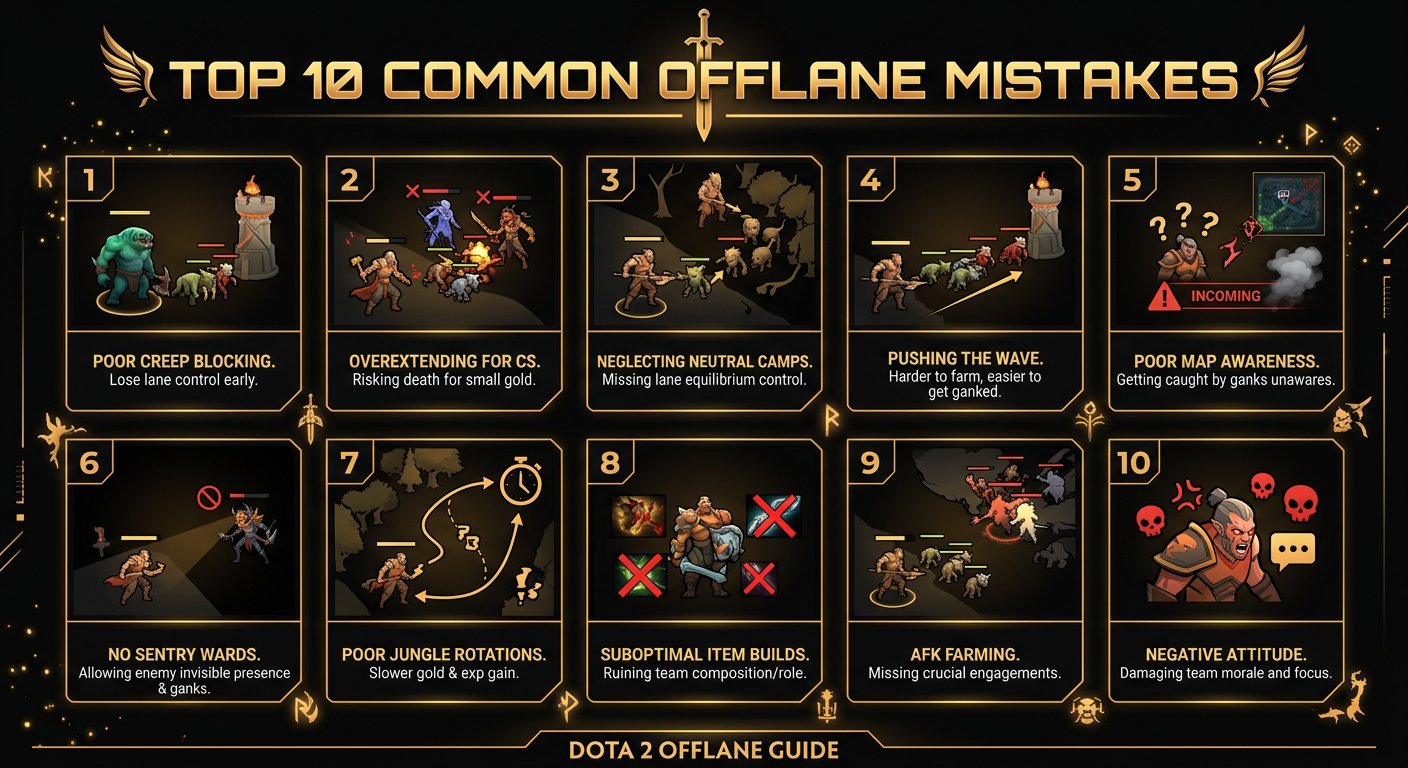
Mistake #1: Playing Offlane Like a Carry
You pick Axe, win your lane, then proceed to farm jungle for 20 minutes building Manta Style and Battle Fury. You have 400 GPM but zero teamfight items, and your team has no frontline. You lose because nobody can initiate.
The fix: Offlane items should enable your team, not just yourself. Blink Dagger, Pipe of Insight, Crimson Guard, Guardian Greaves, Lotus Orb — these items win games. A six-slotted offlaner with carry items loses to a three-item offlaner with Blink + Pipe + Greaves because the latter makes their entire team stronger.
Mistake #2: Not Pressuring the Enemy Carry
You walk to lane, pull aggro so creeps meet at your tower, last hit passively, and let the enemy carry free-farm. The carry gets a 15-minute Battle Fury uncontested and eventually runs over your team.
The fix: Your lane goal is to make the enemy carry’s life hell. Harass them constantly. Contest their last hits. Use abilities on them, not just the wave. If you can zone them from the wave entirely, do it. A carry with 20 last hits at 10 minutes because you bullied them is a carry who won’t be relevant until 30+ minutes.
Mistake #3: Dying Repeatedly in Lane
The inverse of mistake #2. You’re so focused on pressuring the carry that you overextend, die to a support rotation, TP back, and die again. Now the enemy carry is ahead and you’re behind.
The fix: Harass and pressure, but respect kill threat. If the enemy support has a stun and you’re below 60% HP, back off. If three heroes are in your lane, don’t try to “outplay” — jungle or go stack for your mid. Dying in the offlane is acceptable once or twice, but more than that and you’re feeding, not pressuring.
Mistake #4: Never Cutting Waves
Wave cutting (going behind the enemy tier 1 tower to intercept the creep wave) is the single most powerful offlane technique, and Crusader offlaners almost never do it.
The fix: On heroes like Axe and Bristleback, cut the wave starting from minute 0 or after you’ve drawn the lane in a favorable position. Walk behind the enemy tower, hit the creep wave, and drag it toward your tower. This denies the enemy carry 1-2 full waves of gold and XP while giving you extra farm. If they send multiple heroes to stop you, that’s even better — your carry is now 1v1 or free-farming.
Mistake #5: Jungling When You Should Be Fighting
You finished your Blink Dagger at 16 minutes. Instead of using it to initiate fights and take towers, you go farm the jungle for your next item. Your team fights 4v5 and loses. Twice.
The fix: As an offlaner, your “power spike” is usually your initiation item (Blink Dagger for Axe/Tidehunter, or your first aura item for Underlord/Bristle). When you hit that spike, you should be looking for fights immediately. Walk with your team, ward aggressively, and start taking objectives. Your team needs your frontline and initiation — without you, they’re a team of 4 squishy heroes with no one to start the fight.
Mistake #6: Building No Aura Items
Your team has 5 heroes, all building selfish damage or survivability items. Nobody has Pipe, Crimson Guard, Vladmir’s, or Assault Cuirass. The entire team dies to AOE magic damage because nobody itemized against it.
The fix: Aura items are the offlaner’s responsibility. Every game, ask: does my team need Pipe (vs magic damage), Crimson Guard (vs physical burst), or Assault Cuirass (for push and armor) Build that item second or third, after your initiation item. Your team’s survivability increases dramatically with even one aura, and in Crusader, no one else will build them.
Mistake #7: Bad Blink Usage
You have Blink Dagger on Axe. A fight breaks out. You blink in… to Call one support who’s at the edge of the fight. Meanwhile, the enemy carry is hitting your backline freely because you used your 3.2-second AOE disable on a Crystal Maiden with 800 HP.
The fix: Blink initiations should prioritize either (a) catching the maximum number of enemies or (b) catching the most important enemy target. A 1-man Call on the enemy carry who has BKB down is better than a 3-man Call on three supports. Context matters. Before every fight, identify your blink target and wait for the opportunity. Don’t panic-blink on the first thing you see.
Mistake #8: Not Pushing Towers After Won Fights
Your team wins a fight. Three enemies are dead. You have Beastmaster boars, Axe with full HP, or Underlord with Atrophy Aura damage. You go farm jungle. The enemy respawns and the cycle repeats.
The fix: After winning a fight where 2+ enemies die, immediately ping a tower. Walk to it. Hit it. Ping your team to come. Tower gold benefits everyone, and map control from a destroyed tower is permanent. In Crusader, the team that takes more towers wins 70%+ of games because the gold and map advantage compounds exponentially.
Mistake #9: Ignoring Roshan
You’ve been playing Dota for months and you take Roshan maybe once every 5 games. The enemy offlaner who takes Roshan after every won fight has Aegis advantage in every crucial engagement.
The fix: After winning a fight and taking a tower, check: can we Roshan If the answer is yes (and it usually is if 2+ enemies are dead), go Rosh immediately. Aegis on your carry or mid is the single strongest advantage in the game. Many offlaners (Beastmaster, Underlord, Axe) can tank Roshan while their team kills it quickly.
Mistake #10: Stealing Your Carry’s Farm
Your carry is farming the safe lane triangle. You walk in and start taking camps too. Now both of you are getting half the farm, and neither of you hits your items on time.
The fix: Farm the dangerous parts of the map. Push out the enemy safe lane. Farm the enemy jungle. Take the dead lane (the lane furthest from the next objective). The offlaner should be creating space by farming dangerously, not competing with the carry for safe farm. If you die while pushing out a lane, it’s usually okay — you’re the offlaner, not the carry. Your death creates map pressure.
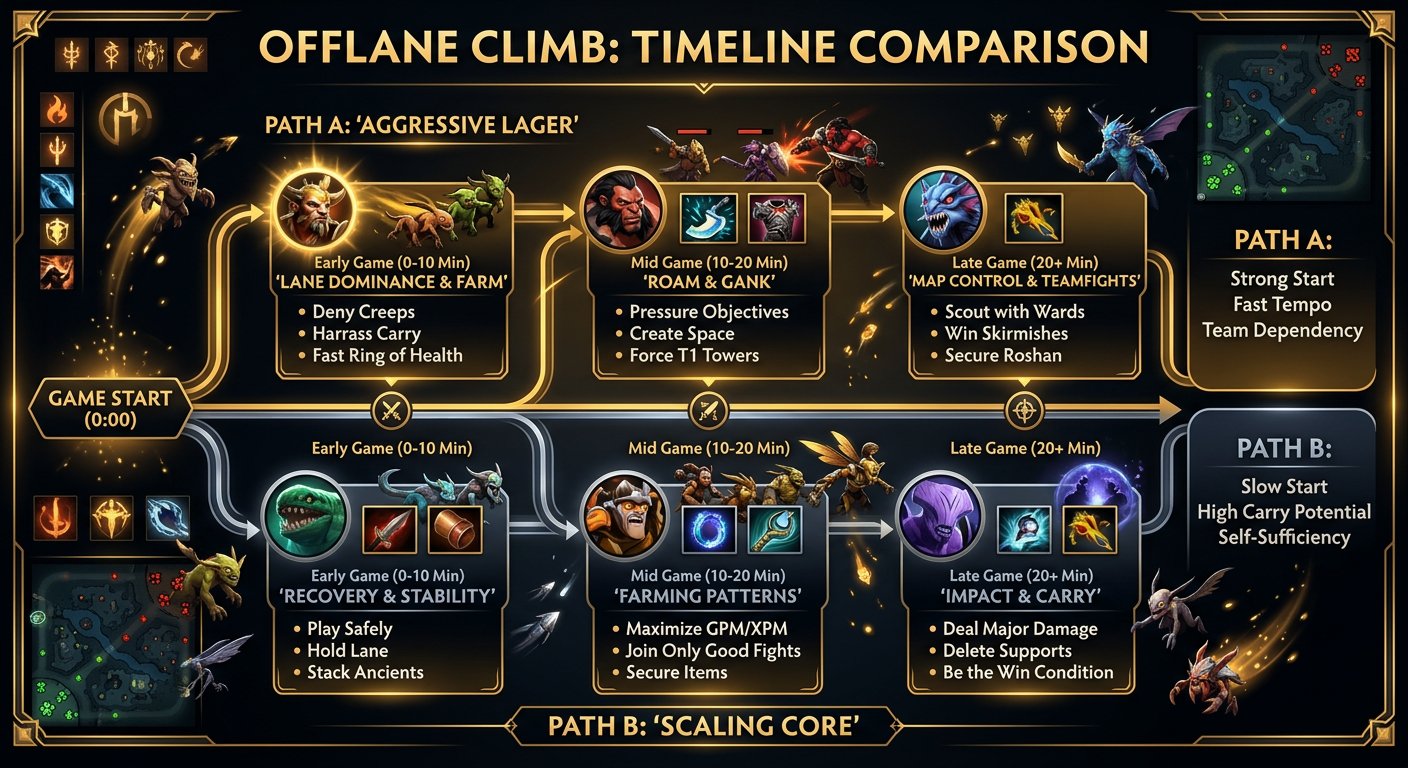
Phase-by-Phase Guide: How to Play Offlane from 0 to 50 Minutes
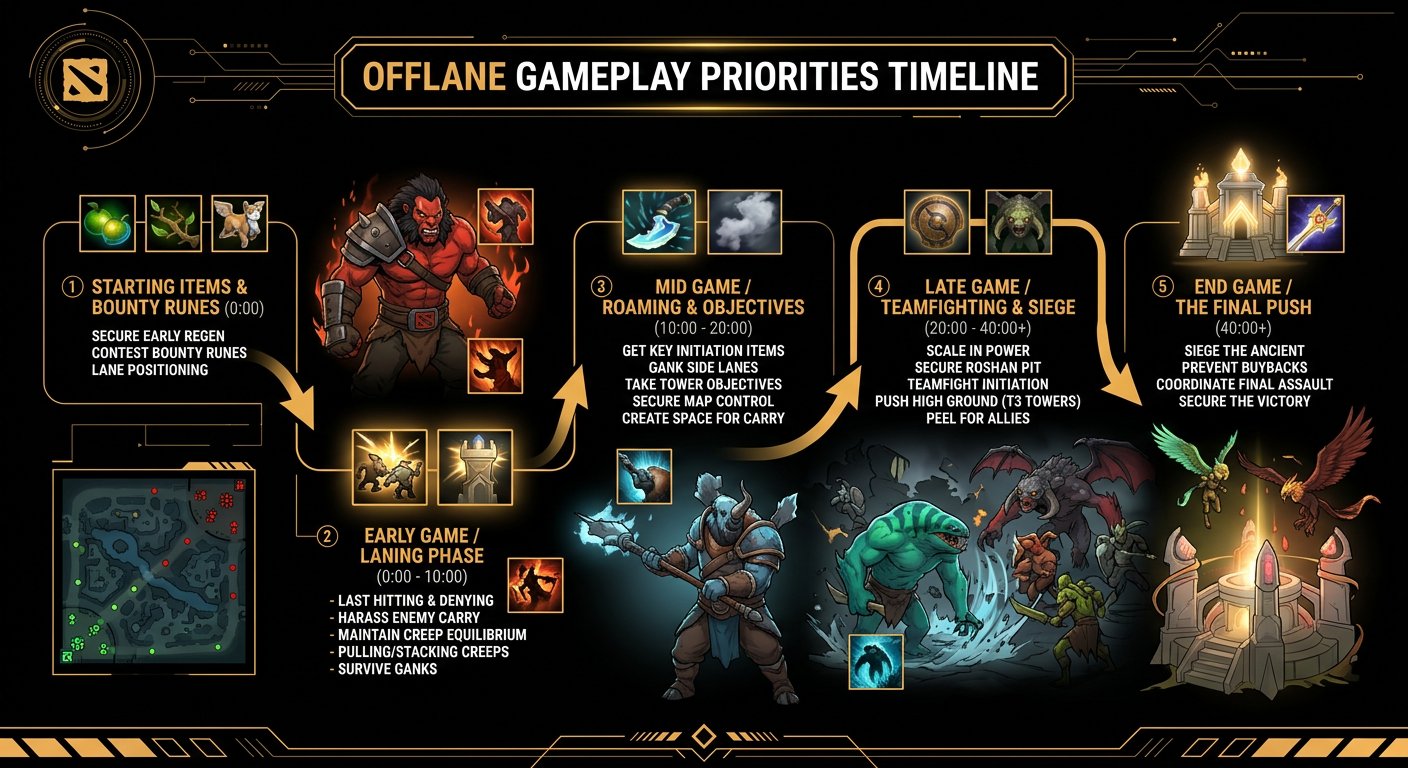
Pre-Game (Draft Phase)
The offlane pick should counter the enemy carry or complement your team’s draft. Key questions:
- Enemy carry is melee (Wraith King, PA) Pick heroes that punish melee laners: Axe (Counter Helix triggers constantly), Bristleback (they can’t chase), or Beastmaster (boar kites them).
- Enemy has heavy magic damage Pick Tidehunter (Kraken Shell) or Bristleback (turn your back + Pipe).
- Your team has no initiation Pick Axe, Tidehunter, or Beastmaster.
- Your team has no push Pick Beastmaster or Underlord.
Never pick a greedy offlaner (Alchemist, Medusa) unless you’re certain the rest of your team has enough teamfight. In Crusader, pick reliable over flashy.
Phase 1: Laning (0-10 Minutes)
- Bully the carry. Use your hero’s strengths to make laning painful for them. Axe cuts waves. Bristleback spams Quill Spray. Underlord Firestorms the wave and the carry simultaneously.
- Pull the wave when possible. If you can pull the enemy creep wave into your small camp (offlane pull), do it. This denies the enemy carry a full wave of XP and gold while giving you camp gold.
- Don’t feed. Be aggressive but not suicidal. One death is fine. Three deaths means you’re playing too aggressively for the matchup.
- Take the tower if you can. If you’ve dominated the lane and the supports have rotated away, pressure the tier 1 tower. Taking it by 8-10 minutes is a huge advantage.
Phase 2: Early-Mid Game (10-20 Minutes)
This is when offlaners become the most important hero on the team. Your priorities:
- Take the offlane tower. If it’s still up, push it down with your team’s help.
- Rotate mid. Help your mid take mid tower. Two towers down by 15 minutes opens up the entire map for your team.
- Build your initiation item. Blink Dagger or whatever your hero’s key teamfight item is. This should be completed by 15-18 minutes at the latest.
- Start fights. With your initiation item, you should be looking for pickoffs and teamfights. Smoke with your Position 4 and find kills in the enemy jungle.
Phase 3: Mid Game (20-30 Minutes)
- Lead the team. In Crusader, teams need direction. As the initiator, you decide when fights happen. Ping enemies, type “let’s go,” and blink in. Your team will follow (usually).
- Build aura items. Your second and third items should be team items — Pipe, Crimson, Greaves, AC. These multiply your team’s effectiveness.
- Control Roshan. Push for Roshan after every won fight. Ward the pit if your supports won’t.
- Push towers. After fights, immediately take objectives. Don’t let won fights go to waste.
Phase 4: Late Game (30+ Minutes)
- Protect your carry. Your carry is now the win condition. Use your spells to peel for them, initiate on enemies who threaten them, and body-block for them if needed.
- Don’t initiate into bad fights. A bad Blink + Call into 5 enemies without your team nearby is a feed, not an initiation. Make sure your team is ready to follow up before you go in.
- Buyback wisely. Offlaner buyback is less critical than carry buyback, but still important. If buying back lets your team win a fight and take an objective, do it.
- Itemize for late game. Refresher Orb on Tidehunter, Overwhelming Blink on Axe, Heart on Bristle — these items keep offlaners relevant when everyone is six-slotted.
The Teammate Problem: Offlane Edition
Offlane climbing has a unique frustration: you can initiate perfectly, but if your team doesn’t follow up, you just die.
You land a 4-man Ravage. Your carry is farming the triangle. Your mid is at base buying items. Your supports are warding. You die, the enemy survives, and the game continues.
This happens in Crusader. A lot. The offlaner’s job is to create opportunities, but if nobody capitalizes, the opportunities are wasted. It’s like being a point guard who throws perfect passes to teammates who refuse to shoot.
The teammate problem for offlaners:
- Position 4 who doesn’t lane with you. Your Pudge roams from minute 0, leaving you 1v2. You can’t pressure the carry, you can’t trade effectively, and you lose the lane despite picking a strong hero.
- Carry who doesn’t take space. You create space by pressuring the map, but your carry farms jungle instead of the safe lane you opened up.
- Team that doesn’t push after won fights. You ace the enemy team and ping the tier 3 tower. Your team farms the enemy jungle instead.
- Mid who doesn’t TP for fights. You initiate a perfect fight near mid tower. Your mid is hitting creeps on the other side of the map.
Offlane climbing rates fall between mid (best) and carry (worst). A good offlaner can maintain 54-57% win rate in Crusader, which translates to:
- 54% win rate: ~385 games, ~257 hours, ~128 days
- 57% win rate: ~220 games, ~147 hours, ~73 days
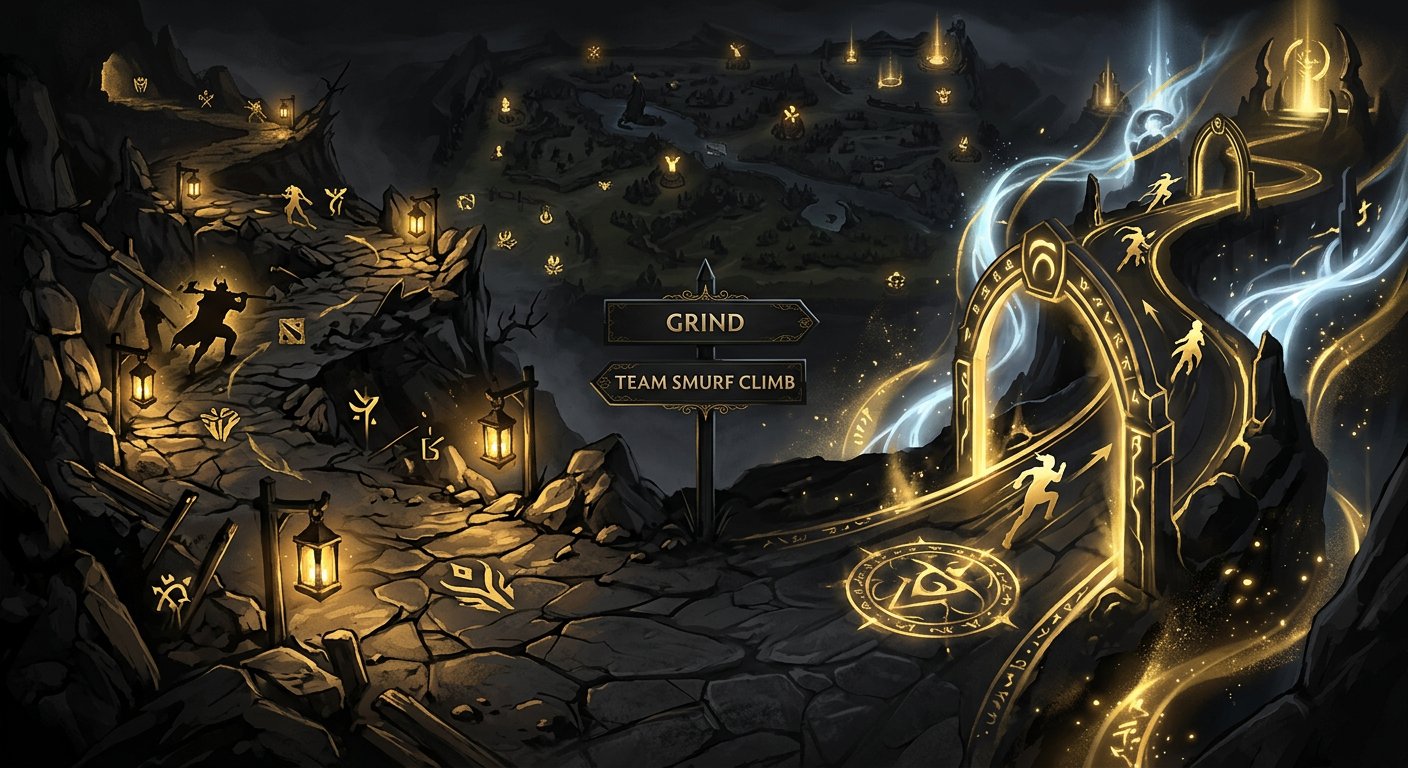
That’s 2-4 months of grinding, dealing with teams that don’t follow your initiations and carries who don’t use the space you create. If you’d rather bypass the frustration entirely, Team Smurf’s MMR boosting compresses the climb into days, and coaching sessions can dramatically improve your impact per game.
Realistic Timeline: How Long Does the Climb Take
The gap: 770 MMR (Crusader 1 to Archon 1).
| Win Rate | Net MMR/Game | Games Needed | Hours (40 min avg) | Days (3 games/day) |
|---|---|---|---|---|
| 52% | +1.0 | 770 | 513 | 257 |
| 54% | +2.0 | 385 | 257 | 128 |
| 56% | +3.0 | 257 | 171 | 86 |
| 58% | +4.0 | 193 | 129 | 64 |
| 60% | +5.0 | 154 | 103 | 51 |
The offlaners who climb fastest are the ones who understand their role: initiate, build auras, take objectives, and create space. If you do these four things consistently, you can push toward 57-60% and climb in 2-3 months.
Or skip the grind: Team Smurf’s MMR boost handles the climb in 3-7 days, and calibration services can place you at Archon from the start on a new or recalibrating account.
Advanced Offlane Techniques for Archon-Level Play
Double-Wave Under Tower
If you can manipulate the creep wave to create a double wave that crashes into the enemy tower, the carry will miss most of the CS because tower targeting is chaotic. You can do this by tanking a wave briefly and then backing off, causing your creeps to stack together. In Crusader, the enemy carry will panic and last-hit poorly under tower, losing 50%+ of the wave.
Creep Cutting Patterns
On Axe: walk behind the enemy tier 1 tower at the start of the game. Meet the creep wave, drag it between the tier 1 and tier 2 towers, and spin on them. You’ll take some damage but Counter Helix will kill the wave quickly. This denies 1-2 full waves from the enemy carry while giving you free gold and XP. It’s the single most effective laning technique for offlane and Crusader players rarely punish it correctly.
Pulling the Big Camp
Pull the enemy creep wave into the large camp near the offlane. This denies the carry a full wave and gives you neutral creep gold. The timing is :13 or :43 on most camps — practice in demo mode until it’s consistent.
Vision Warfare
Buy Observer Wards yourself. Place them aggressively — on the enemy high ground, near their jungle, around Roshan. Offlaners who buy and place wards are worth 200+ MMR more than offlaners who don’t, because vision in Crusader is almost non-existent. If you can see the enemy, you can initiate perfectly. If you can’t, you’re guessing.
Smoke Initiations
Buy Smoke. Gather your Position 4 (and maybe the mid). Smoke up and walk into the enemy jungle. Find a pickoff. Take a tower. In Crusader, nobody buys Smoke except you. That means every Smoke gank has a near-100% success rate because the enemy has no detection and terrible map awareness. One Smoke rotation per 5 minutes can generate 2-3 extra kills for your team.
Frequently Asked Questions
Ready to Climb Choose Your Path
Offlane is the backbone of every Dota 2 team, and at Crusader level, it’s one of the most impactful roles you can play. You now have the heroes, the builds, the mistakes to avoid, and the game plan to climb.
The grind path: Pick Axe or Tidehunter, learn to initiate, build auras, and climb over 2-4 months of consistent play.
The fast path: Team Smurf’s MMR boosting gets your account to Archon in days. Professional boosters playing offlane at Crusader maintain 85%+ win rates. Skip the frustration of teams that don’t follow up your initiations.
The smart path: Get coaching from a professional offlane player. They’ll watch your replays, fix your laning, optimize your teamfight approach, and give you a personalized roadmap. Combine with a calibration boost for maximum acceleration.
The offlane is waiting for players who understand the role. Be the one who initiates the fights, builds the auras, and takes the towers. Now go hit Archon.
Team Smurf has helped thousands of Dota 2 players reach their target rank. Explore our MMR boosting packages or book a coaching session today.
Ready to Climb Start Your Boost Today
Team Smurf’s Immortal-rank boosters can help you reach your target rank quickly and safely. Professional service, competitive pricing, 24/7 support.
Written by Team Smurf’s Immortal-rank analysts — Rankings last verified February 2026


