
How to Master Bloodseeker in Dota 2: The Ultimate Guide for Every Rank (2026)

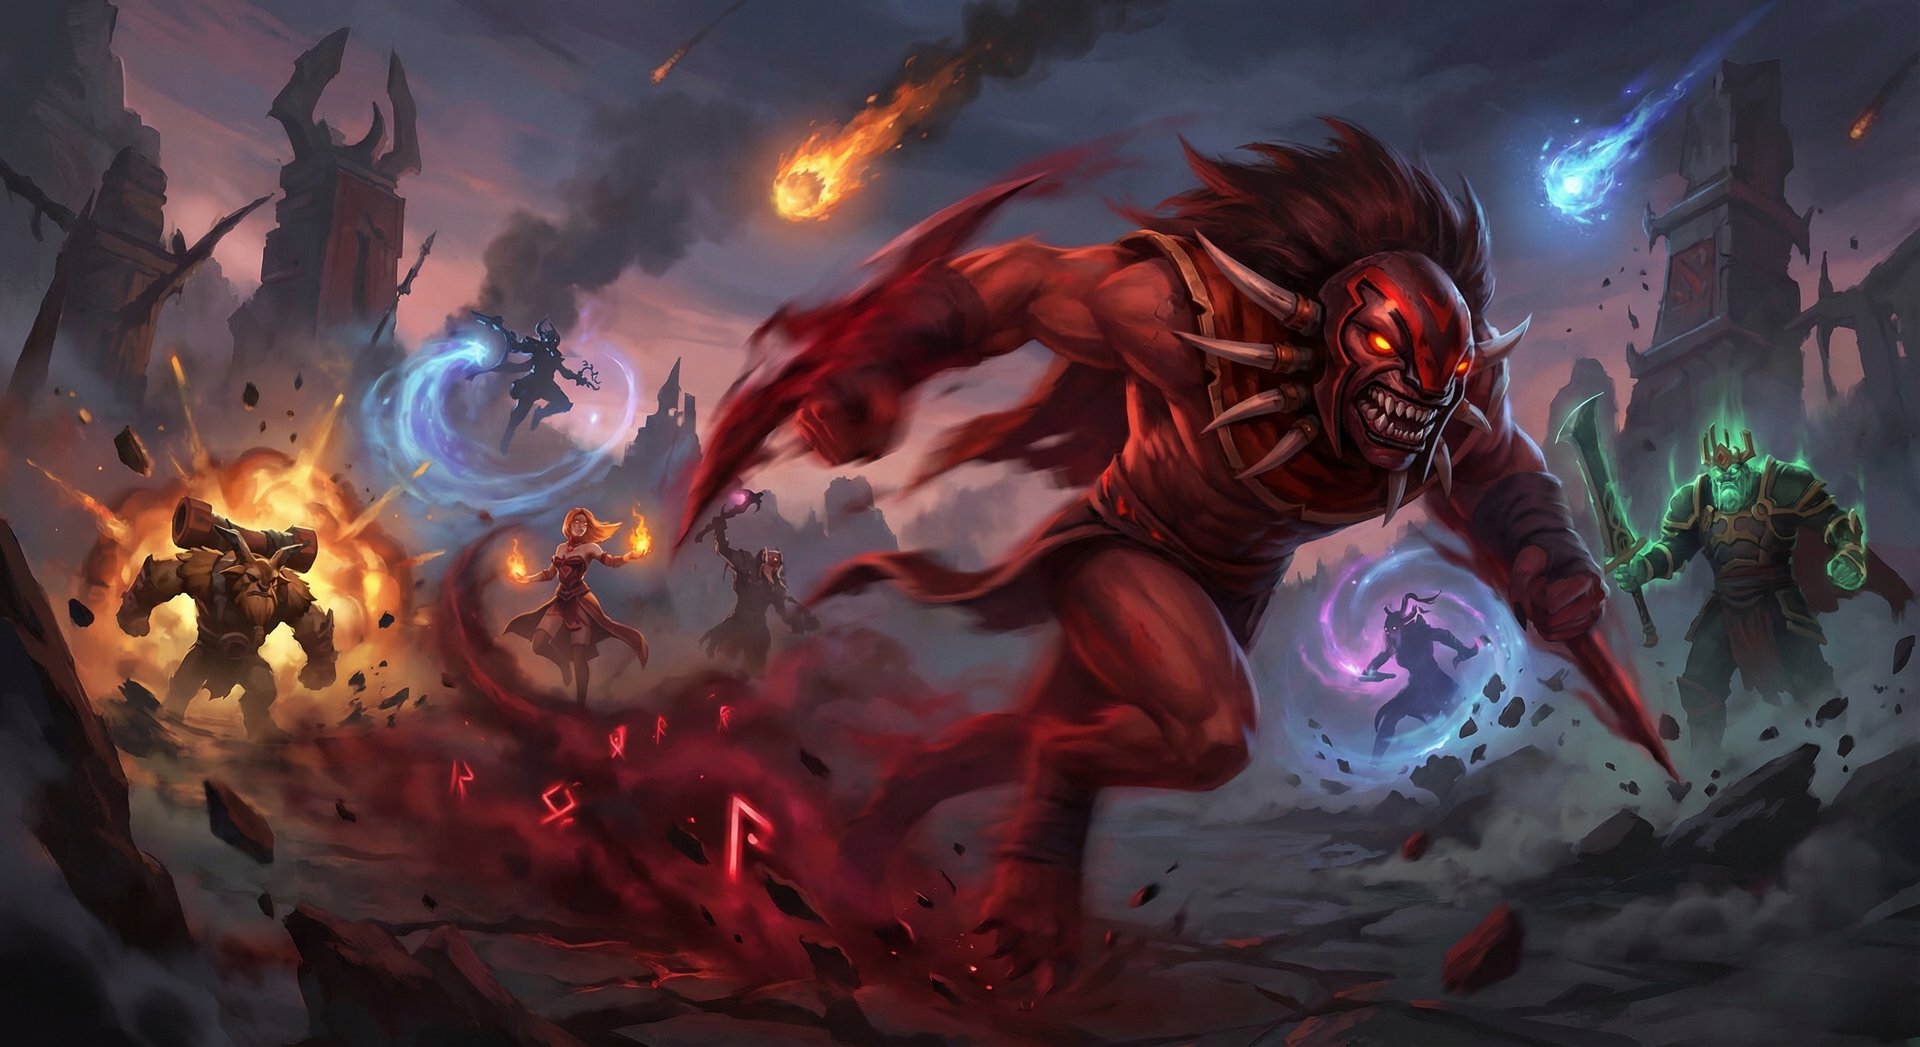
Bloodseeker is the ultimate punisher in Dota 2. While other carries need expensive items to come online, this feral predator gains raw power simply by existing near wounded enemies. His Thirst passive turns every low-HP hero on the map into a personal steroid, granting bonus movement speed and attack damage that scales with how desperate the enemy team becomes. In the right hands, Bloodseeker snowballs from a quiet laning phase into an unstoppable mid-game force that runs down kills at 600+ movement speed.
But here is the thing most guides will not tell you: Bloodseeker is one of the most misunderstood heroes in pub Dota. Players treat him like a brainless right-clicker when he is actually a tempo-controlling carry who wins games through map pressure and smart aggression. In this guide, we break down everything from optimal Bloodrage usage to Rupture kill combos, item builds that actually work at your rank, and the advanced techniques that separate Herald Bloodseekers from Immortal ones. Whether you are picking him up for the first time or looking to push your winrate past 60%, this is your complete roadmap.

Table of Contents
Why Bloodseeker Is the Scariest Snowball Carry
Bloodseeker occupies a unique niche in Dota 2. He is a melee agility carry who can flex between the safelane and midlane, functioning as a tempo-based core that peaks in the mid-game and transitions into a respectable late-game threat with the right items. According to Dotabuff, Bloodseeker maintains a consistent 51-53% winrate across all brackets, with his best performance in Crusader through Legend where players struggle to coordinate against his aggressive playstyle.
What makes Bloodseeker special is his built-in acceleration mechanic. Thirst gives him free damage and movement speed based on enemy heroes’ missing HP — and this works globally. When a teamfight breaks out anywhere on the map, Bloodseeker gets stronger. When enemies are farming jungle at low HP, Bloodseeker knows exactly where they are. This global awareness combined with absurd chase potential makes him the ultimate pub stomper.
His kit also includes one of the most punishing ultimates in the game. Rupture forces enemies to make an impossible choice: stand still and get killed, or run and bleed out from the movement damage. Combined with Blood Rite’s delayed silence and Bloodrage’s damage amplification, Bloodseeker has kill threat on virtually any hero once he hits level 6.
Pros
- Global vision on low-HP heroes via Thirst
- Insane movement speed for chasing and rotations
- Built-in sustain through Bloodrage healing
- Strong laning phase with high base damage
- Rupture punishes mobile heroes hard
- Flexible item builds (can go damage or utility)
Cons
- Falls off hard if he cannot snowball
- Weak against coordinated 5-man pushes
- No natural escape mechanism
- Bloodrage amplifies incoming damage too
- Easily kited by force staffs and ghost scepters
- Rupture is purgeable by strong dispels
Abilities Deep Dive
Bloodrage (Q)
Bloodrage is Bloodseeker’s signature self-buff and farming steroid. When activated, it amplifies all damage Bloodseeker deals and receives while providing a percentage-based heal whenever a unit dies near him. This ability is the foundation of Bloodseeker’s laning dominance and jungle efficiency.
Key mechanics most players miss:
- The heal triggers on ANY unit death nearby — not just your last hits. Enemy creeps dying to your lane partner, neutral camps being cleared by allies, even enemy summons expiring all count.
- The damage amplification works on ALL damage types — including spell damage. This means your Blood Rite hits harder while Bloodrage is active.
- The amplification is multiplicative with other damage bonuses. Stacking Bloodrage with items like Daedalus crits creates exponential damage scaling.
- You can toggle it off before taking big nukes. Smart Bloodseeker players deactivate Bloodrage right before an enemy Lina ult or Lion Finger lands to avoid the amplified damage.

Blood Rite (W)
Blood Rite creates a ritual area on the ground that, after a delay, silences and damages all enemy heroes caught inside. This ability is Bloodseeker’s primary teamfight contribution beyond right-clicking and serves as a powerful zone control tool.
Hidden interactions and advanced usage:
- Cast it on top of Ruptured targets. When you Rupture someone, immediately drop Blood Rite on their position. They either stand still and eat the silence + damage, or run and take massive Rupture damage. There is no winning play.
- The silence duration is long enough to chain into follow-up disables. Coordinate with teammates who have stuns — the silence prevents enemies from using BKB or escape spells.
- Use it to scout Roshan. Blood Rite provides vision in the area during the delay. Drop it in the Roshan pit to check without face-checking.
- It hits invisible units. If you suspect an enemy is Shadow Blading or using invis, drop Blood Rite on their last known position.
Thirst (E)
Thirst is arguably the most unique passive in all of Dota 2. It provides bonus movement speed and attack damage that scale based on enemy heroes’ missing health. When an enemy drops below a certain HP threshold, they become visible to Bloodseeker through fog of war.
Critical details for mastering Thirst:
- The bonuses scale linearly — you get partial bonuses even if enemies are only slightly damaged. You do not need them at 10% HP to feel the effect.
- It stacks across all five enemy heroes. In a teamfight where multiple enemies are low, Bloodseeker’s speed and damage become absolutely ridiculous — we are talking 600+ movement speed and 100+ bonus damage.
- The vision threshold is key for ganking. When you suddenly see an enemy hero through fog, that is your signal to rotate and hunt. The vision persists as long as they stay below the threshold.
- Thirst ignores the movement speed cap. Bloodseeker is one of the only heroes in Dota 2 who can exceed the 550 movement speed limit, making him virtually impossible to outrun.

Rupture (R) — Ultimate
Rupture is one of the most psychologically terrifying ultimates in Dota 2. It places a debuff on the target that deals damage based on the distance they move. The more they run, the more they bleed. Standing still Your team collapses on them. Running They die from the bleed.
Advanced Rupture mechanics:
- Rupture damage is HP removal — it goes through magic immunity (BKB). The target can activate BKB to prevent the initial cast, but once Rupture is on them, BKB does nothing to stop the movement damage.
- Teleporting (TP scroll) triggers massive damage. The distance traveled is calculated instantly, dealing enormous burst. Ruptured enemies who try to TP home will often die before the channel completes.
- Force Staff interaction: Using Force Staff on a Ruptured target pushes them 600 units, dealing significant Rupture damage. Buy Force Staff on Bloodseeker or ask a support to use it on the Ruptured target.
- Blink Dagger does NOT trigger Rupture damage. The distance traveled via Blink is not counted. This is why heroes with natural blinks (Anti-Mage, Queen of Pain) can partially counter Rupture.
- Scepter upgrade: Aghanim’s Scepter allows Bloodseeker to cast Rupture on two targets and reduces the cooldown significantly, making it viable as a multi-target lockdown tool in teamfights.
Skill Build Order
| Build | Level 1 | Level 2 | Level 3 | Level 4 | Level 5 | Level 6 | Priority |
|---|---|---|---|---|---|---|---|
| Standard Carry | Bloodrage | Thirst | Bloodrage | Blood Rite | Bloodrage | Rupture | Q > E > W |
| Mid Ganker | Bloodrage | Blood Rite | Bloodrage | Thirst | Bloodrage | Rupture | Q > W > E |
| Offlane Utility | Blood Rite | Thirst | Blood Rite | Bloodrage | Blood Rite | Rupture | W > E > Q |
Why max Bloodrage first in most games: The damage amplification and heal scale significantly per level. At max level, you are healing a huge percentage of your max HP on every creep death nearby while dealing amplified damage. This makes your farming speed comparable to dedicated flash-farmers.
Item Builds by Rank Bracket

| Rank | Starting | Early Game | Core Items | Late Game |
|---|---|---|---|---|
| Herald – Crusader | Quelling Blade, Tango, Branches | Phase Boots, Magic Wand, Wraith Band | Maelstrom, S&Y, BKB | Mjollnir, Basher/Abyssal, Daedalus |
| Archon – Legend | Quelling Blade, Tango, Circlet | Phase Boots, Wraith Band x2, Magic Wand | Maelstrom, BKB, Basher | Mjollnir, Abyssal, Nullifier, Butterfly |
| Ancient – Divine | Quelling Blade, Tango, Faerie Fire | Phase Boots, Wraith Band, Falcon Blade | Radiance/Maelstrom, BKB, S&Y | Abyssal, Butterfly, Skadi, Nullifier |
| Immortal | Quelling Blade, Tango, Faerie Fire | Phase Boots, Falcon Blade, Magic Wand | Radiance, BKB, Basher | Abyssal, Butterfly, Nullifier, Refresher |
Why Builds Differ by Rank
Herald through Crusader: At lower ranks, fights are chaotic and drawn out. Maelstrom into Sange and Yasha gives you everything you need — farming speed, movement speed, and survivability. Players at this bracket rarely buy Force Staff or Ghost Scepter to counter you, so raw stats work best. BKB timing matters less here because enemies misuse their disables, but you should still get it third.
Archon through Legend: Players start understanding itemization here. You need BKB earlier because supports begin buying disables and saves. Double Wraith Bands give efficient stats for the laning phase. Basher becomes important because enemies start using TP scrolls to escape your ganks — the bash cancels their channels.
Ancient through Divine: At this level, the Radiance build becomes viable because you have the game sense to maintain map pressure. The burn damage synergizes with Thirst — enemies take constant chip damage in fights, keeping your passive stacked. Falcon Blade provides the mana sustain you need for constant spell usage during aggressive plays.
Immortal: Top-tier Bloodseeker players go Radiance into BKB into Basher as their core progression. The Radiance timing (ideally 15-17 minutes) enables you to control the map. Late-game, Refresher Orb allows double Rupture + double BKB, which is a legitimate strategy in extended games. Nullifier is essential to deal with Ghost Scepter and Glimmer Cape saves.
Situational Items Explained
- Silver Edge: Essential against Bristleback, Phantom Assassin, or any hero relying on a passive. The break disables their defensive abilities while the damage from Shadow Blade helps your burst.
- Mjollnir: Your best farming accelerator. The chain lightning procs with Bloodrage’s damage amp, and the active shield punishes enemies who focus you in fights.
- Eye of Skadi: The slow stacks with your attacks and prevents enemies from kiting you. The stats also make you significantly tankier in the late game.
- Monkey King Bar: Buy this against Phantom Assassin, Windranger, or any hero with evasion. Do not default to it — only when needed.
- Black King Bar: This is not situational — it is mandatory in 95% of games. Bloodseeker without BKB gets chain-stunned and killed before he can do anything in teamfights.
Laning Phase Masterclass

Bloodseeker has one of the strongest laning phases among melee carries thanks to Bloodrage’s sustain and his high base damage (62-68 at level 1). Here is how to dominate your lane regardless of matchup.
Safelane Fundamentals
Level 1 Bloodrage strategy: Activate Bloodrage before the first creep wave meets. Every creep that dies near you restores HP, meaning you can trade aggressively with the enemy offlaner and heal it back from creep deaths. Most offlane players underestimate how much sustain this gives you early.
Creep equilibrium: Keep the wave close to your tower for the first two waves. Once you have level 2-3 with Bloodrage and Thirst, you can start pushing the wave out and looking for kill opportunities. A Bloodseeker with Phase Boots and level 3 Thirst can run down most offlaners if they overstep.
Rune control matters: Bounty runes are important for Bloodseeker’s early item timings. Always contest the 5-minute bounty rune — your movement speed advantage from Thirst makes you faster than most enemies trying to grab it.
Mid Lane Approach
Bloodseeker mid is a niche pick but extremely effective against the right matchups. You win mid against heroes who rely on regen and cannot burst you from full HP. The key advantage is infinite sustain from Bloodrage — you can trade with the enemy mid, eat their harass, and heal it all back from creep deaths.
Target matchups for mid: Bloodseeker excels against Shadow Fiend, Sniper, Windranger, and other squishy mids who cannot pressure him out of lane. Avoid picking him mid against Huskar, Viper, or Razor — they out-trade you even through Bloodrage sustain.
Lane Partner Synergies
| Support | Synergy Level | Why It Works |
|---|---|---|
| Crystal Maiden | Excellent | Frostbite root + your chase = guaranteed kills. Her aura solves your mana issues. |
| Ogre Magi | Excellent | Bloodlust stacks with Thirst for absurd speed. Ignite slow sets up kills. |
| Vengeful Spirit | Great | Wave of Terror armor reduction amplifies your right-click damage under Bloodrage. |
| Shadow Shaman | Great | Shackles hold enemies in place while you hit them. Hex prevents escapes. |
| Lich | Good | Frost Blast slow helps chase. Frost Shield keeps you alive during trades. |
When to Rotate
This is where most Bloodseeker players make critical mistakes. Do not leave your lane early unless:
- You have Phase Boots completed AND level 6 with Rupture
- Thirst reveals an enemy below 25% HP in a killable position
- Your tower is already destroyed and the lane is pushed out
- A teamfight breaks out near your location and Thirst is giving you massive bonuses
The worst thing you can do is leave a winning lane at minute 8 to chase kills across the map. Farm your core items first. Every minute of farming efficiency you lose to unsuccessful ganks delays your power spike.
Mid and Late Game Transitions
Bloodseeker’s Power Curve
Understanding when Bloodseeker is strongest is crucial for winning games. Here is the reality of his power curve:
- Minutes 0-10: Strong laner but limited kill threat without Rupture. Focus on farming and trading.
- Minutes 10-25: THIS IS YOUR WINDOW. With Phase Boots + Maelstrom/Radiance + BKB, Bloodseeker is at his deadliest. Force fights, take objectives, and snowball your advantage.
- Minutes 25-35: Still strong but the enemy carry is coming online. You need to have a significant gold lead from your mid-game aggression to stay relevant.
- Minutes 35+: Bloodseeker falls off relative to hard carries like Spectre, Medusa, and Terrorblade. You need luxury items (Butterfly, Abyssal, Nullifier) to compete.
Teamfight Positioning
Do not initiate fights. This is the most common mistake at all ranks. Bloodseeker is NOT an initiator despite his high movement speed. Your job is to:
- Wait for your initiator (Tidehunter, Magnus, Earthshaker) to go in first
- Rupture the most mobile enemy hero (the one most likely to escape or reposition)
- Drop Blood Rite on the fight area to silence and damage clustered enemies
- Activate BKB and Bloodrage, then go in and clean up
The ideal fight for Bloodseeker looks like this: your team initiates, enemies take damage (Thirst ramps up), you Rupture the key target, Blood Rite the area, BKB, and run at the weakest enemy with 500+ movement speed and amplified damage. You clean up the fight from the outside in.
Split Pushing and Map Control
With Maelstrom or Radiance, Bloodseeker clears waves extremely fast. Use this to pressure side lanes while your team groups mid. Thirst gives you global awareness — if a fight breaks out while you are split pushing, you will see enemy HP bars drop and can immediately run across the map at ludicrous speed to join.
Always carry a TP scroll. Bloodseeker’s speed means he can TP to a tower and arrive at a fight faster than almost any other hero. Your ability to be anywhere on the map within seconds is one of your biggest advantages.
Objective Priority
After winning a fight:
- Roshan if 3+ enemies are dead and you have Aegis timing (20-25 min)
- Towers — push the nearest tier 2 or tier 3 tower
- Enemy jungle — starve their carry of farm
Bloodseeker with Aegis is terrifying. If you die and revive, Thirst is still active and enemies are likely low from the first fight. The second life often gets you more kills than the first.
Counters: Heroes That Destroy Bloodseeker

1. Faceless Void
Chronosphere completely neutralizes Bloodseeker. You cannot right-click, you cannot use BKB, and your movement speed means nothing when you are frozen in time. Void also has Time Walk to escape Rupture by rewinding his HP — negating the psychological pressure of your ultimate. How to play around it: Stay on the edge of fights and wait for Void to commit Chronosphere before entering. Buy Linken’s Sphere if he keeps catching you.
2. Phantom Assassin
PA is one of the hardest counters because she has Blur for evasion (your right-clicks miss), a Blink Strike that does not trigger Rupture damage, and she outscales you in every late-game scenario. Her crits also amplify through your Bloodrage self-damage bonus. How to play around it: Buy Monkey King Bar and Silver Edge. End the game before she gets BKB + Desolator + Battlefury online.
3. Eul’s Scepter Carriers (Lina, Invoker, Death Prophet)
Eul’s Scepter is Bloodseeker’s worst nightmare as a 2,725 gold item. It dispels Rupture entirely and makes the target invulnerable for 2.5 seconds. Any hero that naturally builds Eul’s becomes a soft counter. How to play around it: Switch Rupture targets to heroes without Eul’s, or bait the Eul’s with Blood Rite first.
4. Lifestealer
Lifestealer laughs at Bloodseeker. Rage gives magic immunity (prevents Rupture cast), Feast heals him while fighting you, and he naturally builds items that make him tanky enough to stand and trade. Bloodseeker cannot burst him down and cannot outlast him. How to play around it: Do not fight Lifestealer alone. Use Rupture on other targets and let your team deal with him. Build Skadi to reduce his healing.
5. Anti-Mage
Anti-Mage’s Blink does not trigger Rupture damage, making your ultimate far less threatening. He also naturally burns your mana (Bloodseeker is mana-hungry), outfarms you in the mid-game, and has a Spell Shield that resists your magic damage. How to play around it: Pressure early before AM gets Battlefury. Coordinate with your team to gank him in jungle. Buy Abyssal Blade to lock him down through Blink.
Heroes Bloodseeker Destroys
1. Slark
Slark relies on Shadow Dance to regenerate HP and reposition. Thirst reveals him through Shadow Dance’s invisibility when he drops below the threshold, completely negating his ultimate’s primary defensive function. Rupture also prevents him from pouncing away effectively.
2. Storm Spirit
Rupture absolutely destroys Storm Spirit. His entire kit revolves around Ball Lightning — zipping across the map. With Rupture on him, every Ball Lightning costs him a massive chunk of HP in addition to the mana. He either stands still (and dies to your team) or zips (and dies to Rupture).
3. Weaver
Weaver’s Shukuchi makes him fast and invisible, but Thirst reveals him whenever he drops below the HP threshold. Rupture punishes his constant repositioning, and Blood Rite silences him out of Shukuchi. Even Time Lapse does not remove Rupture.
4. Ember Spirit
Ember Spirit’s Activate Fire Remnant counts as movement for Rupture purposes. If he jumps to a remnant far away while Ruptured, he takes catastrophic damage. This forces Ember to play extremely cautiously, which goes against his entire playstyle.
5. Tinker
Tinker’s TP-heavy playstyle means Rupture is devastating. He cannot safely Boots of Travel to another lane, and his squishy stat line means Blood Rite + Bloodrage-amplified attacks kill him in seconds. Thirst also reveals him in trees after he TPs and starts losing HP to neutral creeps.
How Pros Play Bloodseeker in the Current Patch
Bloodseeker sees periodic pro play, typically as a niche counter-pick rather than a first-phase staple. Here is how top players are using him in 2026:
Arteezy’s Radiance Rush Build: In several recent pub games at 12,000+ MMR, Arteezy has been running a fast Radiance build on Bloodseeker. The logic is simple — Radiance burn keeps enemies below full HP, which permanently activates Thirst. With Phase Boots + Radiance at 16 minutes, he controls the entire map by pushing waves and rotating to fights at insane speed.
Collapse’s Offlane Bloodseeker: Team Spirit’s Collapse has experimented with offlane Bloodseeker in DPC matches, maxing Blood Rite first for lane harass and teamfight contribution. His item build skips traditional carry items in favor of utility: Eul’s Scepter (for the self-purge and setup), Force Staff, and Aghanim’s Scepter for double Rupture.
Common pro patterns to steal:
- Pros almost always buy BKB as their second major item, no exceptions
- Phase Boots is the universal boot choice — the burst speed stacks with Thirst for chasing
- Rupture is used primarily on the enemy’s most mobile hero, NOT their carry
- Blood Rite is cast preemptively on choke points before fights start, not reactively
- Aghanim’s Scepter is becoming more popular as a 4th or 5th item for double Rupture in late-game scenarios
Rank-Specific Climbing Guide

Herald to Guardian: Foundation Basics
At this bracket, farming efficiency is your ticket out. Most Herald-Guardian Bloodseeker players spend too much time running around the map looking for kills instead of farming. Here is your simple game plan:
- Farm lane until Phase Boots + Maelstrom (aim for 14-16 minutes)
- Only leave lane for guaranteed kills where Thirst reveals a hero below 20% HP
- Hit creeps between fights. After every kill, immediately farm the nearest jungle camp or creep wave. Never stand around doing nothing.
- Buy BKB third. Even if you do not think you need it, you do.
Target last hits: aim for 50+ CS by minute 10. If you are hitting that number, you will outfarm everyone in your bracket and win through gold advantage alone.
Crusader to Archon: Adding Game Sense
This is where map awareness starts mattering. You need to:
- Watch Thirst indicators constantly. When an enemy drops low, look at the minimap — is it worth rotating to kill them Or are they under tower with teammates
- Time your BKB usage. Do not pop BKB at the start of fights. Wait until key disables are used, then BKB and run in.
- Learn Rupture + Blood Rite combo timing. Cast Rupture, immediately Blood Rite on their feet. They take silence OR Rupture damage — no counterplay.
- Start stacking camps for yourself. Bloodseeker with Maelstrom clears stacked camps in seconds. Ask your support to stack, or stack the camp near your lane yourself.
Legend to Ancient: The Macro Leap
At Legend and Ancient, itemization decisions become the difference between winning and losing:
- Adapt your build every game. Check the enemy’s items before fights. See Ghost Scepter Buy Nullifier. See evasion Buy MKB. Do not follow a static build order.
- Play around Roshan timers. Bloodseeker with Aegis during his power spike (20-28 minutes) wins games single-handedly. Communicate Roshan timing with your team.
- Pressure the right lanes. Push the lane opposite to the next objective. If the next fight will be around top Roshan, push bot to force rotations.
- Recognize when you are falling off. If the game reaches 35+ minutes and the enemy carry is six-slotted, switch to a utility role — use Rupture to peel for your team rather than trying to be the primary damage dealer.
Divine to Immortal: What Separates the Top 1%
Immortal Bloodseeker players understand that the hero is a tempo accelerator, not a hard carry. Here is what separates their gameplay:
- Radiance timing as a win condition. If you get Radiance before 17 minutes, you win 65%+ of games at this bracket. Track your timing and optimize your farming patterns to hit it consistently.
- Rupture target selection is an art. At Immortal, you Rupture the hero who enables the enemy team — the save support (Oracle, Dazzle), the initiator (Magnus, Enigma), or the mobile carry (Storm Spirit, Ember Spirit). Never waste it on a tanky frontliner.
- Toggle Bloodrage in fights. Turn it off before big nukes hit you, turn it on before your attacks land. This micro-management is what lets Immortal Bloodseekers survive fights that would kill lower-ranked players.
- Abuse the 550+ MS cap break. When Thirst is fully stacked, you move faster than anyone in the game. Use this to cut off escape routes by running AHEAD of fleeing enemies rather than chasing from behind.
Tips and Tricks

Animation Cancels and Micro Tricks
- Phase Boots during Rupture chase: Activate Phase Boots for the movement speed burst and unit-walking while chasing a Ruptured target. The bonus speed helps you stay in melee range for right-clicks while they bleed.
- Blood Rite in trees: Cast Blood Rite in tree lines where you think enemies are hiding. The area provides vision during the delay, revealing juking heroes. This is especially effective around the side shop areas and Radiant/Dire jungle paths.
- Bloodrage toggle trick: In the middle of a fight, toggle Bloodrage OFF right before a big enemy spell hits you, then toggle it back ON immediately after. This requires anticipation but can save your life against burst damage.
- Force Staff on Ruptured targets: If you buy Force Staff, you can force an enemy who is standing still under Rupture, dealing significant damage and potentially pushing them into Blood Rite’s area.
Common Mistakes to Avoid
- Chasing kills across the entire map at minute 8. You think you can get the kill because Thirst shows them low, but they TP to base or get saved. Meanwhile, you lost 2 creep waves and a jungle rotation worth of gold.
- Never toggling Bloodrage off. The damage amplification works BOTH ways. If you keep Bloodrage active while taking a Lion Finger or Lina Laguna Blade, you are amplifying their damage by a significant percentage. Toggle it off before big nukes.
- Rupturing the tank. Ruptured Bristleback just stands there and tanks your team. Ruptured Storm Spirit cannot play Dota. Pick the right target.
- Skipping BKB. “I am fast enough to dodge spells” — no, you are not. BKB is mandatory. Buy it.
- Not farming between kills. Every second you spend standing around after a kill or running to a fight that already ended is gold you are not earning. Always be hitting something.
Hidden Mechanics Only High-MMR Players Know
- Thirst provides vision through Smoke of Deceit. If a smoked enemy drops below the Thirst threshold (from a neutral creep hit, for example), you briefly see their icon. This can reveal smoke ganks before they arrive.
- Rupture damage is calculated based on the distance between the hero’s position each server tick. This means that rapid small movements (like Pangolier rolling) accumulate damage faster than you might expect.
- Blood Rite silences through BKB if the target was inside the area before activating BKB. The silence applies at the moment of detonation — if they BKB after the ritual starts but before it detonates, the damage is blocked but the silence still applies for a brief moment. Smart players use this to bait BKB usage.
- Bloodrage heal stacks with lifesteal. You can have Satanic, Bloodrage heal, AND Thirst all active simultaneously. In fights where creeps are dying around you, the healing becomes nearly impossible to outdamage.
Frequently Asked Questions
Safelane is the standard and most reliable role. Mid Bloodseeker works as a counter-pick against squishy mids like Shadow Fiend or Sniper, but he loses mid to strong laners like Huskar, Viper, and Razor. If you are below Ancient rank, stick to safelane — it is more forgiving and gives you a support to help secure your early game.
No. Blink Dagger, Anti-Mage’s Blink, and Queen of Pain’s Blink do not count as movement for Rupture. However, Force Staff DOES trigger Rupture damage because it physically moves the hero across the ground. This is a critical distinction for both playing as and against Bloodseeker.
Buy Radiance if you are having an uncontested laning phase and can complete it before 17-18 minutes. The burn damage synergizes with Thirst by keeping enemies slightly damaged. Buy Maelstrom if you need to fight early, if your lane was contested, or if you are behind. Maelstrom costs half the gold and gives you farming speed immediately. At Ancient and above, Radiance is generally preferred; below that, Maelstrom is safer.
Rupture can be removed by strong dispels — Abaddon’s Aphotic Shield, Legion Commander’s Press the Attack, Oracle’s Fortune’s End (with the purge), and items like Eul’s Scepter (which cyclones and purges the debuff). It cannot be removed by basic dispels like Manta Style. BKB prevents the initial cast but does not remove an already-applied Rupture.
Bloodseeker wants to end games between 25-35 minutes. His power spike is strongest at 2-3 core items (Phase + Maelstrom/Radiance + BKB). After 40 minutes, hard carries like Spectre, Medusa, and Terrorblade will outscale him. If the game goes ultra-late, transition to a utility role and use Rupture to peel or lockdown key targets rather than trying to be the primary damage dealer.
Two options: buy Nullifier to prevent the Ruptured target from using Force Staff on themselves, or buy your own Force Staff to push the enemy INTO your team after Rupturing them. At higher ranks, Nullifier is the preferred choice because it also disables Ghost Scepter and Glimmer Cape.
Aghanim’s Scepter is a strong 4th or 5th item. Double Rupture in teamfights is incredibly powerful — you can lock down two mobile heroes simultaneously. However, it should never be your first or second item. Get your core damage and BKB first. The Scepter shines in games that go past 35 minutes where you need more utility to stay relevant.
Ready to Climb with Bloodseeker
Our Immortal-rank coaches can review your Bloodseeker replays, fix your item timings, and teach you the advanced mechanics that separate good players from great ones. Or skip the grind entirely with our MMR boosting service.


