

Best Roshan-Taking Heroes and Timings in Dota 2 (2026)

Roshan is the most important objective in Dota 2. The Aegis of the Immortal gives one hero a free life, the Cheese provides a massive burst heal, and the Aghanim’s Blessing grants an upgraded ultimate to any willing carrier. Winning Roshan fights consistently is one of the clearest skill separators between Herald players and Immortals.
But not every hero takes Roshan equally well. Some can solo the pit in under seven minutes. Others need backup. In this guide we cover the best Roshan-taking heroes in the current patch, the item builds that make it possible, the ideal timing windows for each phase of the game, and the strategic decisions around Aegis priority and Cheese use that players most often get wrong.
What You’ll Find in This Guide
- Why Roshan Matters in 2026
- Roshan Timing Windows Explained
- 1. Ursa — The Fastest Solo Rosh Hero
- 2. Lycan — Sub-10 Minute Roshan
- 3. Lone Druid — Bear Tanks Everything
- 4. Naga Siren — Illusion Stacking
- 5. Terrorblade — Mid-Game Pit Control
- 6. Phantom Lancer — Numbers Win
- 7. Dragon Knight — Tanky Early Rosh
- 8. Broodmother — Spider Army Clears Pit
- Aegis Priority and Cheese Use
- Contesting Roshan Against the Enemy
- Frequently Asked Questions
Why Roshan Still Defines Dota 2 Games in 2026
Roshan sits in the western river pit and spawns at game start, already killable by the time the creep waves meet. Each time he is slain he drops two items — the Aegis of the Immortal always, and Cheese starting from his second death. Later deaths can yield a Refresher Shard or Aghanim’s Blessing.
The Aegis is the most contested item in the game because it is not purchased — it is contested. The hero who carries it effectively gets a second life during a fight. In high-level play this single item swings team fights more reliably than any purchasable item at the same gold cost would.
After death, Roshan respawns in a window of 8 to 11 minutes (exact respawn time is random within the window). Because that window is unpredictable, vision on the pit — via wards, sentries, or scanning — becomes a continuous game-knowledge problem throughout every game.
Roshan also increases in power with each minute that passes. His base damage, armor, and HP all scale with game time, which is why an 8-minute Roshan kill is dramatically faster and safer than trying to kill him at 35 minutes without a full six-slotted team.
Understanding which heroes can abuse the early power window — and which heroes are better suited for mid or late pit control — is the foundation of every high-level Roshan strategy.
Roshan Timing Windows Explained
Timing matters as much as hero selection. A hero who can kill Roshan at 8 minutes creates a completely different game state than one who needs to wait until 20 minutes. Here is how the three main windows break down:
| Timing Window | Approximate Game Time | Who Can Do It | Strategic Value |
|---|---|---|---|
| Ultra-Early | 7-10 minutes | Lycan, Ursa (fast farm), Lone Druid | Massive net-worth swing; catches enemy completely off guard |
| Early | 12-18 minutes | Ursa, Terrorblade, Naga Siren | Translates farming lead into objective; pairs well with a smoke push |
| Mid-Game | 20-28 minutes | Most carry heroes with 2+ core items | Aegis enables high-ground attempt or barracks dive |
| Late Game | 35+ minutes | Practically any fed carry | Cheese plus Aegis combo or Aghanim’s Blessing become the deciding factor |
The ultra-early window is where the real skill ceiling lies. Pulling off a 7-minute Roshan requires knowing your hero, hitting the right items, and reading whether the enemy supports are positioned to react. If they are not, you walk out with an Aegis and a 5,000+ net-worth lead before the laning phase is even over.
For mid-game and late-game windows the key variable shifts from hero kit to team coordination. Who gets the Aegis, where is the enemy ward coverage on the pit, and does your team have the follow-up to capitalize on the Aegis in a fight? These questions matter more than raw DPS once every hero can kill Roshan given enough time.
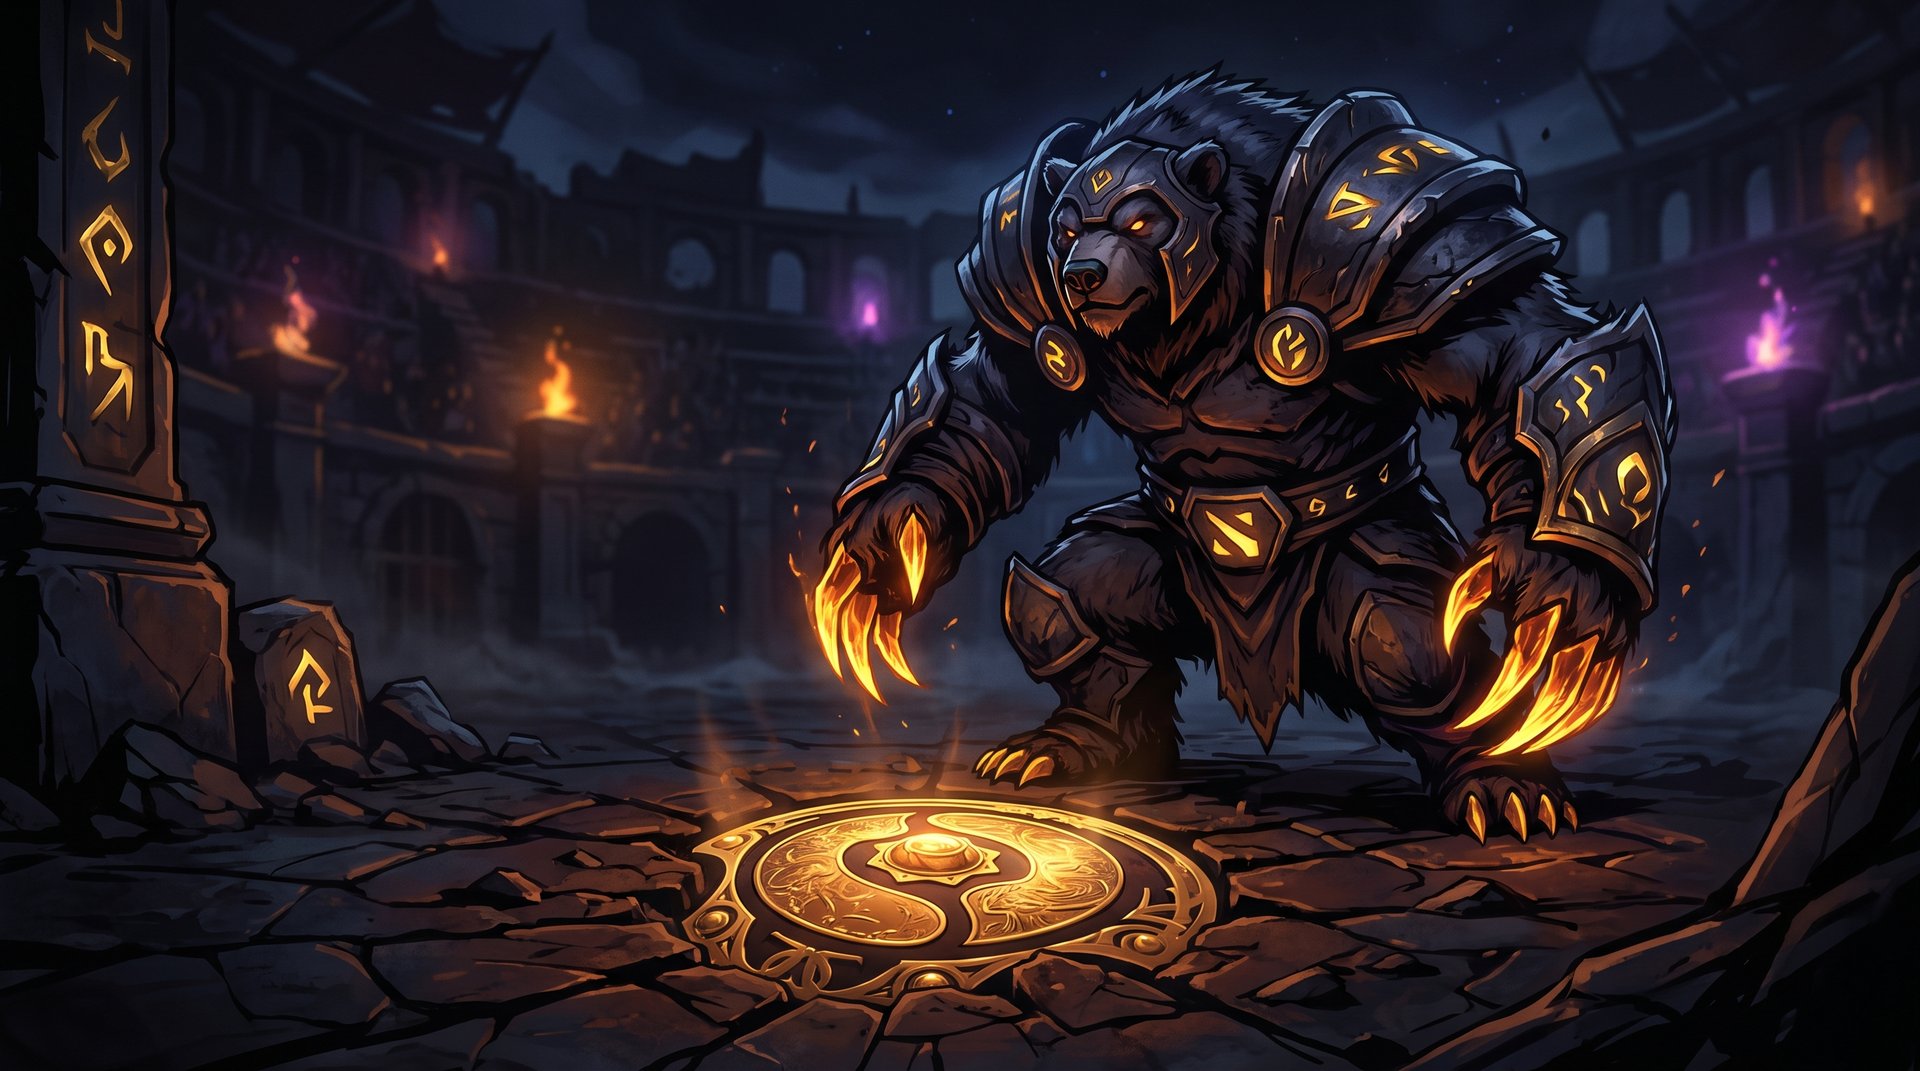
1. Ursa — The Fastest and Most Reliable Solo Roshan Hero
Ursa is the definitive Roshan hero and has been for years. His passive ability Fury Swipes stacks bonus physical damage on each consecutive hit to the same target, and Roshan is a single target that takes every stack. Combined with Enrage’s multiplicative damage amplification, Ursa’s DPS against Roshan scales faster than any other hero in the game.
What makes Ursa uniquely powerful for Roshan is not just the damage output but the reliability. A properly built Ursa can kill Roshan solo, fast, and repeatedly. He does not require supports or a second hero in the pit. He does not need a specific team composition. He just needs the right items and a moment of enemy inattention.
Why Ursa Works Against Roshan
- Fury Swipes: Each attack on the same target adds bonus physical damage. By 10-15 stacks Ursa is dealing a significant amount of extra physical damage per hit, and Roshan’s armor does nothing to stop the accumulation.
- Enrage: Multiplies Ursa’s total physical damage during its duration and reduces incoming damage to Ursa. This lets him survive the pit long enough to accumulate full stacks.
- Earthshock: Applies a movement and attack speed slow on Roshan, reducing incoming DPS throughout the kill window.
Recommended Item Build for Roshan
| Item | Role in Roshan Fight | Earliest Kill Possible |
|---|---|---|
| Phase Boots | Damage and movement speed | 7-8 minutes with Phase only (risky) |
| Lifesteal (Mask of Madness or Satanic later) | Sustain against Roshan’s heavy hits | — |
| Black King Bar (BKB) | Blocks Roshan’s magic damage and bash stun | 8-10 minutes; reliable window opens here |
| Aghanim’s Scepter | Resets Fury Swipes stack on cast; accelerates every kill | Any time after; further reduces kill time |
The most common question is whether BKB is required. In the current patch, Roshan deals a mix of physical and magical damage and has a bash that can stun. Without BKB you can still kill Roshan but you are timing kills around Enrage’s invulnerability window and taking a meaningful risk. With BKB the kill is clean, consistent, and fast. Purchase BKB before going to pit if you want a reliable sub-10-minute Roshan.
The Aghanim’s Scepter upgrade is a quality-of-life improvement rather than a requirement. Without it, Ursa clears Roshan in roughly 30-45 seconds once BKB is active. With Aghanim, the Fury Swipes reset on Enrage cast cuts that time down substantially and also means a second Roshan spawn can be cleared even faster than the first.
If you want to climb MMR using Ursa, our MMR boosting guide covers exactly when to prioritize Roshan kills vs continuing to farm, which is one of the highest-leverage decisions on Ursa and on carry heroes in general.
2. Lycan — Sub-10 Minute Roshan With Wolves
Lycan is the hero most associated with the fastest Roshan kills in the game. His summonable wolves — especially after leveling Feral Impulse — provide enough raw physical DPS to kill Roshan before most teams have even considered warding the pit.
The key advantage Lycan has over Ursa in the ultra-early window is that his wolves do the tanking. While Ursa has to stay in the pit and absorb hits, Lycan’s wolves eat most of the incoming damage while Lycan himself attacks from a relatively safe position. This makes the kill safer for the hero, even if the wolves themselves are sacrificed.
Why Lycan Works Against Roshan
- Wolves: Two durable summons that attack independently and scale with Feral Impulse aura. They tank Roshan’s bashes and physical hits.
- Shapeshift: Critical strikes that proc on Roshan, combined with a dramatic attack speed increase that makes Lycan’s own attack rate among the highest in the game during the duration.
- Feral Impulse: Aura that multiplies attack damage and speed for Lycan and his wolves simultaneously. The combined DPS is substantial even with early-game items.
Recommended Item Build for Roshan
| Item | Why It Matters |
|---|---|
| Helm of the Dominator | Lifesteal keeps wolves and Lycan alive; dominated creep adds to the pack for even more DPS |
| Mask of Madness | Attack speed buff on Shapeshift stacks with MoM for burst DPS windows |
| Phase Boots | Bonus damage contributes to overall DPS |
The optimal early Lycan Roshan sequence: jungle two camps after laning to reach Level 4 (Wolves level 2), purchase Ring of Basilius or Helm of Overlord components for sustain, then head to Roshan around the 8-10 minute mark. With three wolves and Lycan in Shapeshift this kill often completes in under 60 seconds. The Aegis then lets Lycan bully into the enemy jungle or force a barracks push immediately.
One pitfall: Lycan’s wolves are vulnerable to AoE spells. If the enemy team has noticed your Lycan is ahead, expect them to counter-ward the pit and contest with AoE. Timing the Roshan attempt for a moment when key AoE heroes are on the map elsewhere is as important as having the items.
3. Lone Druid — Spirit Bear Takes All the Hits
Lone Druid’s Spirit Bear is one of the most durable units in Dota 2. With its high base health and armor, the bear can simply tank Roshan’s attacks indefinitely while Lone Druid deals DPS from range. This makes Lone Druid one of the safest Roshan heroes in the game — if the bear dies, Lone Druid simply retreats and waits for it to respawn before attempting again.
Why Lone Druid Works Against Roshan
- Spirit Bear: High base health and armor, independent unit that soaks every one of Roshan’s attacks. It does not require lifesteal because its HP pool is so large.
- Item synergy: Lone Druid and the bear share items. Phase Boots or Vladmir’s Offering on the bear provide sustain and damage. Radiance on Lone Druid (or bear) accelerates the kill through burn damage.
- Range form: Lone Druid attacks safely from outside Roshan’s aggro radius, taking zero damage while the bear tanks.
A common early-game Lone Druid Rosh setup is Phase Boots plus Ring of Basilius on the bear, then sending the bear in at around 12-14 minutes. The bear tanks all incoming damage, Lone Druid attacks from range, and the kill completes without Lone Druid ever taking a hit. If the attempt goes wrong, Lone Druid escapes at full HP while the bear respawns.
Late-game Lone Druid becomes one of the best repeated Roshan heroes because the bear’s durability scales with items far better than most hero HP pools do. A bear with Assault Cuirass and Heaven’s Halberd can tank Roshan for several minutes, allowing Lone Druid to kill Roshan even without particularly high damage output.
4. Naga Siren — Illusions Overwhelm the Pit
Naga Siren creates illusions via Mirror Image that deal a percentage of her attack damage. Against Roshan’s massive HP pool the combined DPS of Naga plus three to four illusions is substantial. More importantly, illusions absorb Roshan’s bashes and attacks, keeping the real Naga safe at all times.
Why Naga Siren Works Against Roshan
- Mirror Image: Three illusions, each dealing a portion of Naga’s damage. All four units attack simultaneously, multiplying effective DPS.
- Manta Style illusions: Two additional illusions on a shorter cooldown. At peak, Naga has herself plus five illusions attacking Roshan simultaneously.
- Song of the Siren: Emergency reset tool — if Roshan is about to kill the real Naga, Song puts Roshan to sleep for several seconds, allowing repositioning and a fresh set of illusions.
Naga Rosh Timing
Naga needs Mirror Image at level 4 and ideally Manta Style before the pit attempt is reliable. This places her primary Roshan window at around 18-22 minutes with a good farm game. The key advantage over other illusion heroes is that Song of the Siren is a built-in emergency interrupt — no other hero has a Roshan-specific reset tool available at zero cost.
The main risk for Naga is that illusions deal reduced damage, so early kills before item scaling are slower than they look. At the 20-minute mark with Manta, the kill time is reasonable. At the 30-minute mark with Diffusal Blade, the kill is extremely fast because Diffusal’s mana burn also slows Roshan’s attack speed through the Feedback mechanic.
5. Terrorblade — Illusion Plus High Base Damage
Terrorblade’s Conjure Image creates an illusion that deals a high percentage of his damage, and Metamorphosis gives him ranged form with dramatically increased damage output. This combination makes Terrorblade’s mid-game Roshan kills extremely fast, typically faster than any other illusion-based hero at the same timing.
Why Terrorblade Works Against Roshan
- Metamorphosis: Grants ranged attack, bonus base damage, and lifesteal. Terrorblade and his illusions all switch to ranged attack mode simultaneously, attacking Roshan from outside his melee range.
- Conjure Image plus Manta: Multiple illusions all in Metamorphosis ranged form stack enormous DPS, all hitting safely from range while the real Terrorblade stays back.
- Sunder: Emergency panic button if Roshan’s bashes drop Terrorblade’s health low — swapping HP with an illusion buys time to finish the kill without dying.
The Terrorblade Roshan window opens around 15-18 minutes once Manta Style is purchased. Metamorphosis duration is long enough to kill Roshan before it expires if the item build is correct. Always start the attempt with Metamorphosis active and with fresh illusions — never begin a Roshan attempt in melee form or without illusions available.
The biggest skill expression on Terrorblade Roshan is not the damage — it is positioning. All Terrorblade illusions need to be in Metamorphosis ranged form throughout the kill. An illusion that drops out of Meta because the timer expired will switch back to melee form, walk into Roshan’s attack range, and die immediately. Count the Metamorphosis timer and restart the kill if needed.
If you want to learn how to execute Terrorblade’s Roshan timing with Immortal guidance, visit our page on the best Dota 2 boosting services to see coaching options where Immortal players take you through scenarios like this in real time.
6. Phantom Lancer — Numbers Win in the Late Game
Phantom Lancer is not the fastest Roshan hero, but his late-game Roshan kills are among the most efficient in the game. By the 30-40 minute mark PL has enough illusions and attack speed that Roshan can go down in under 30 seconds. The illusions also make it nearly impossible for the enemy team to kill PL during the attempt without bringing mass-AoE spells.
Why PL Works Late Against Roshan
- Juxtapose: Each attack has a chance to create a new illusion, and existing illusions can also proc Juxtapose. A full PL army generates 8-12 simultaneous attacking units in a prolonged fight, all absorbing Roshan’s hits.
- Diffusal Blade: Mana burn slows Roshan’s attack speed through the Feedback component. Roshan has a mana pool in Dota 2 and Diffusal can drain it, causing his attacks to slow.
- Manta Style: Resets the illusion army on demand during the kill and provides a reliable source of fresh illusions when Juxtapose procs slow down.
The weakness is time investment — PL needs three core items (Manta, Diffusal, and a damage item) before Roshan kills are fast enough to be worthwhile. Do not attempt early Rosh on PL; the hero’s power curve peaks in the 25-35 minute window for pit control. Before that timing, PL is better served farming efficiently to reach his item breakpoints.
7. Dragon Knight — Durability Over DPS
Dragon Knight is a unique Roshan pick because he wins through tankiness rather than raw DPS. Elder Dragon Form’s Corrosive Breath reduces Roshan’s armor over time (armor reduction increases physical damage taken), and DK’s high strength gain and Dragon Form HP pool makes him extremely hard to kill in the pit. This durability lets him take Roshan without BKB at timings where other heroes would be at serious risk.
Dragon Knight Rosh Setup
- Elder Dragon Form’s Corrosive Breath applies armor reduction — this increases the physical damage Roshan takes from all sources and speeds up the kill.
- Power Treads on Strength for maximum HP when tanking Roshan’s hits throughout the attempt.
- Blink Dagger or Shadow Blade for a surprise Rosh attempt without the enemy seeing the approach on the minimap.
- Pipe of Insight or BKB for the magical damage and bash component Roshan brings.
Dragon Knight’s optimal first Roshan window is around 14-18 minutes with his level 2 Dragon Form available. The hero excels at taking second and third Roshan spawns because his cooldowns reset fully between kills and he maintains his tanky profile throughout the game. Unlike carries who need to farm up to kill Roshan fast, Dragon Knight’s kill time stays relatively consistent — what changes is how much of his HP he takes in doing it.
8. Broodmother — Spider Army Clears the Pit
Broodmother’s Spiderlings are summoned units that each deal physical damage independently. Against Roshan, who has no AoE cleave, the spiders each survive long enough to contribute meaningful DPS. Broodmother herself attacks alongside them, and with a Manta Style the combined DPS clears Roshan faster than most players expect from a hero not traditionally associated with the pit.
Why Broodmother Works Against Roshan
- Spawn Spiderlings: The base 12 spiders from a level 4 Spawn Spiderlings all attack Roshan simultaneously. Each individual spider is low-damage but 12 of them combined output meaningful DPS throughout the attempt.
- Sticky Web pathing: Broodmother can place webs at the pit entrance and around the Roshan area, letting her retreat through cliff edges and walls if the enemy contests mid-attempt.
- Aghanim’s Scepter upgrade: Allows Broodmother to spawn spiders from within a Web, creating a continuous stream of new spiders for the kill. This makes late-game Roshan kills very fast.
Broodmother’s Roshan window is around 14-16 minutes with a Mask of Madness and Manta Style purchased. The key limitation to be aware of: if the enemy team brings AoE (Sand King’s Epicenter, Kunkka’s Tidebringer cleave, or Earthshaker), the Spiderlings die instantly and the attempt collapses. Always ward the pit entrance and scout for AoE heroes on the minimap before committing. Sending spiders in without vision is one of the fastest ways to gift the enemy team a free fight while your hero is isolated in the pit.
Aegis Priority and Cheese Use — The Decisions Players Get Wrong Most Often
Taking Roshan is only half the equation. Knowing who carries the Aegis and when to use the Cheese is where most teams leave value on the table at every MMR bracket below Divine.
Who Should Carry the Aegis
The Aegis grants a free respawn 5 seconds after death at the location of death. This means the hero carrying it needs to be positioned to die productively and respawn in a favorable location. A carry dying in a backline position might respawn behind enemy lines with no teammates alive to follow up. An initiator dying in the middle of the enemy team respawns exactly where the fight needs coverage.
| Hero Role | Aegis Priority | Why |
|---|---|---|
| Hard Carry (Position 1) | High — usually takes Aegis | Dying late as a carry costs the most net-worth; respawn enables continued DPS in an ongoing fight |
| Midlaner (Position 2) | High — if hero is fight-winning | Midlaners like Lina, Queen of Pain, or Storm Spirit can win fights alone; Aegis amplifies this |
| Offlaner (Position 3) | Medium — initiators benefit greatly | Axe or Earthshaker respawning inside a fight mid-initiation is devastating for the enemy team |
| Supports (Positions 4-5) | Low — almost never | Support respawn position advantage is limited; Aegis is better used by heroes who change fight outcomes |
The nuance is the initiator case. An Axe or Centaur carrying Aegis can initiate into five enemies, die, and respawn in the middle of the fight while their team follows up the initiation. This is a known high-level technique that changes how the other team has to respond to the initiation sequence. At lower brackets, supports sometimes take Aegis “to not waste it” — this is almost always wrong.
Cheese Use — When and How
Cheese is a consumable item dropped by Roshan on his second and subsequent deaths that restores 2,500 HP and 1,000 Mana instantly. Most players save it for a critical fight, which is usually correct — but the exact timing matters more than most players realize.
- Save Cheese for high-ground defense: When the enemy is 30 seconds away from hitting your barracks, Cheese is a free survival tool equivalent to a BKB-level HP swing for your carry.
- Use Cheese offensively on an Aegis carrier: An Aegis carrier who pops Cheese mid-fight and then dies still has the Aegis. Two lives in one fight window is one of the strongest possible situations in Dota 2.
- Do not hoard Cheese past 5 minutes: If your team has not used Cheese 5 or more minutes after Roshan dies, you are leaving value on the table. The item does not expire but fights that could have been won with Cheese are already lost.
- Cheese can be passed: Drop it from inventory so a teammate picks it up. If your carry is about to be stunned into a teamfight and cannot use it, drop it to another carry who is still alive and healthy enough to convert it into fight value.
For players looking to get more value out of their Aegis and Cheese decisions, our is Dota 2 boosting safe article explains how coaching sessions at TeamSmurf specifically target macro decisions like objective control and item priority.
How to Contest Roshan Against the Enemy Team
Knowing when and how to contest an enemy Roshan attempt is equally important as taking it yourself. The most common mistake at lower brackets is charging blindly into the pit without scouting, which gifts the enemy team a fight on favorable terrain on top of the Aegis.
Scouting Before Contesting
Never walk blind into the Roshan pit. The pit has a narrow entrance on both the Radiant and Dire sides. Attacking into it means your team is funneled into a choke point while the enemy team already has positional advantage. Always scout before committing:
- The free Scan ability from the shop (5-minute cooldown) reveals the pit interior. Use it every time it is off cooldown during the Roshan respawn window.
- Observer ward on the Radiant side cliff provides 7-minute vision of the pit entrance.
- Sentry ward placed inside the pit dewarding if they have warded for blocking your observer.
When to Contest vs. Concede
The wrong call many teams make is contesting a Roshan when they are at a significant numbers or gold disadvantage. If the enemy team has five heroes at the pit and you have three available, you almost always lose the fight and give them Roshan plus kill gold. The correct play is often to concede the Roshan and use the 3-4 minutes it takes them to set up, kill it, and distribute items to farm, push a lane, or take an outer tower.
A good rule: only contest Roshan if you have (a) vision of the pit, (b) a numbers advantage or an equal fight you favor in the open, and (c) an escape route if the fight goes wrong. Walking in blind without a plan gifts the enemy team a teamfight advantage on top of the Aegis they were already going to get.
Understanding when objectives beat farming is a core skill covered in the MMR boosting guide — coaches consistently cite Roshan timing as the decision that separates bracket-stuck players from those who climb steadily.
Frequently Asked Questions
Want Aegis Every Game?
Knowing which heroes take Roshan best is one thing — executing the timing and item build under pressure in a real game is another. Our Immortal coaches at TeamSmurf specialize in Dota 2 only, which means every session focuses on mechanics like Roshan timing, objective control, and the decision-making that separates climbing players from bracket-stuck ones.



