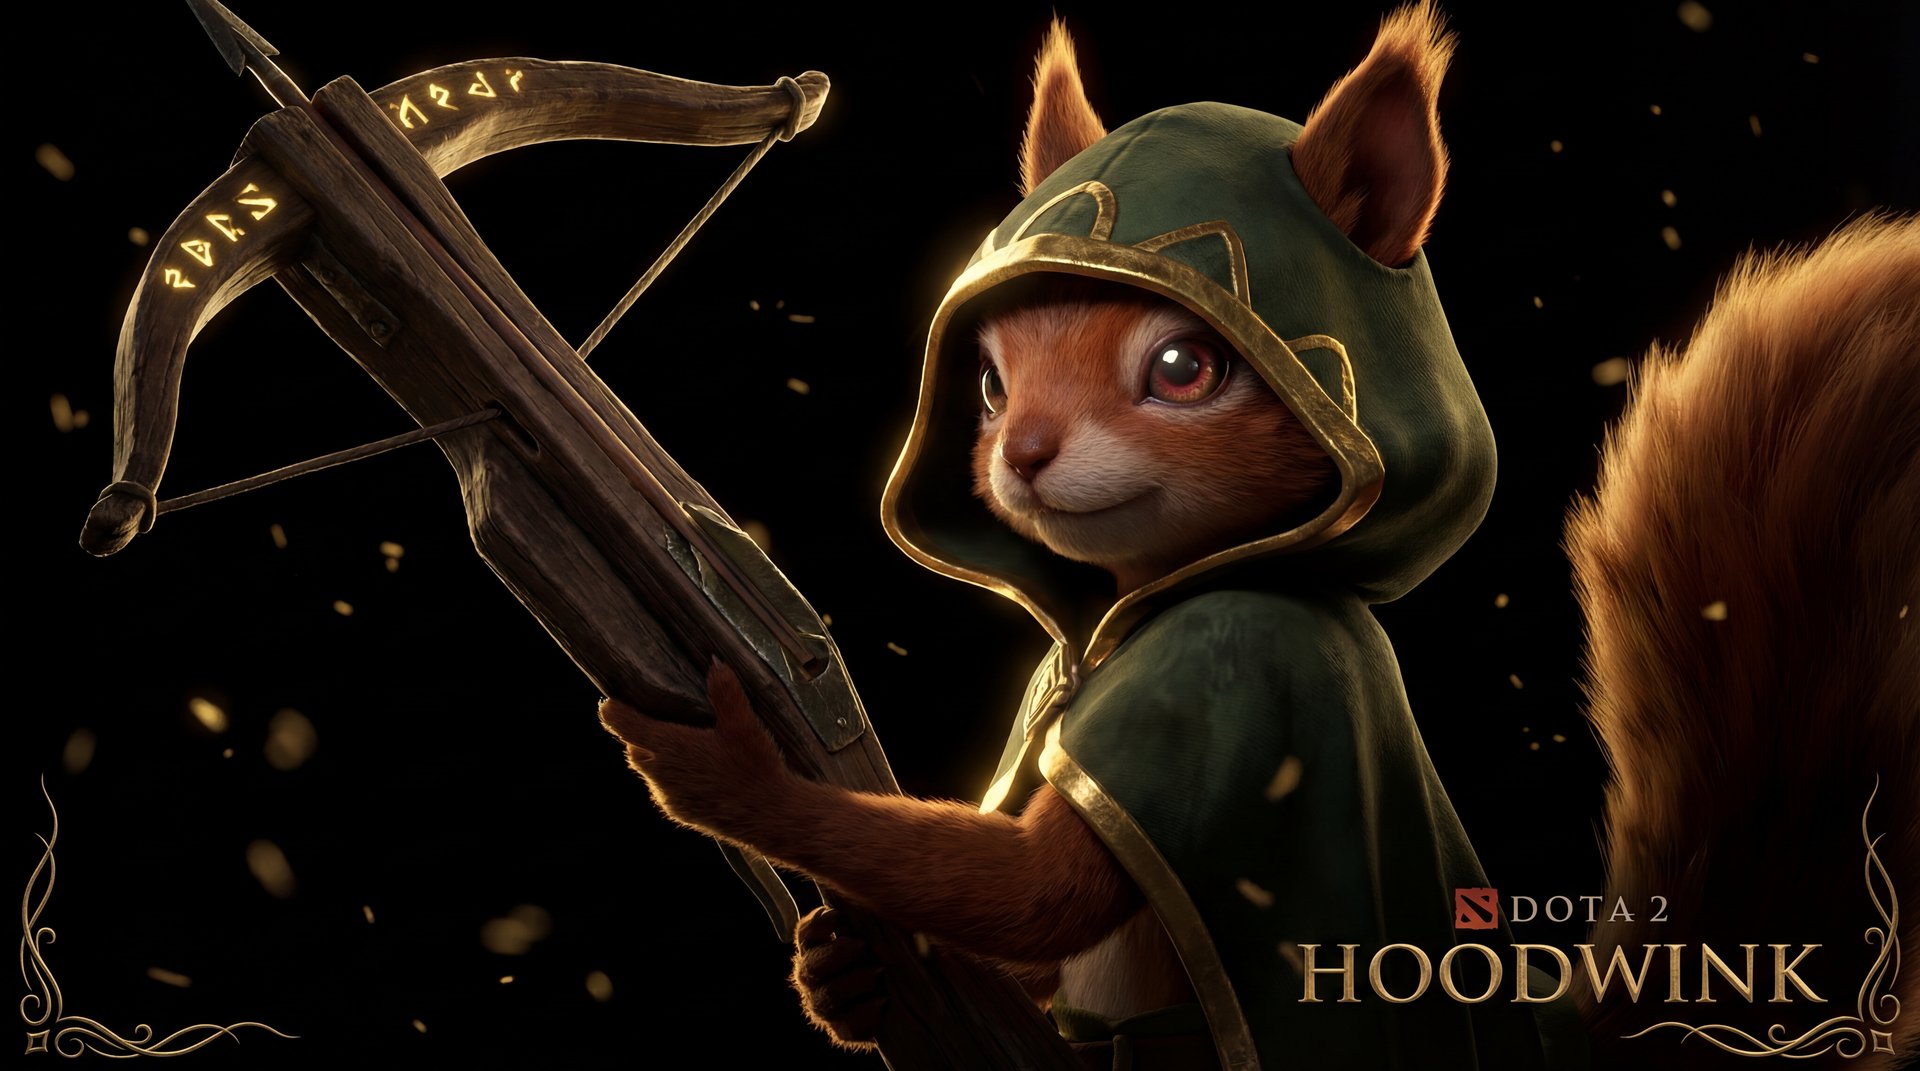
How to Master Hoodwink in Dota 2: The Ultimate Guide for Every Rank (2026)

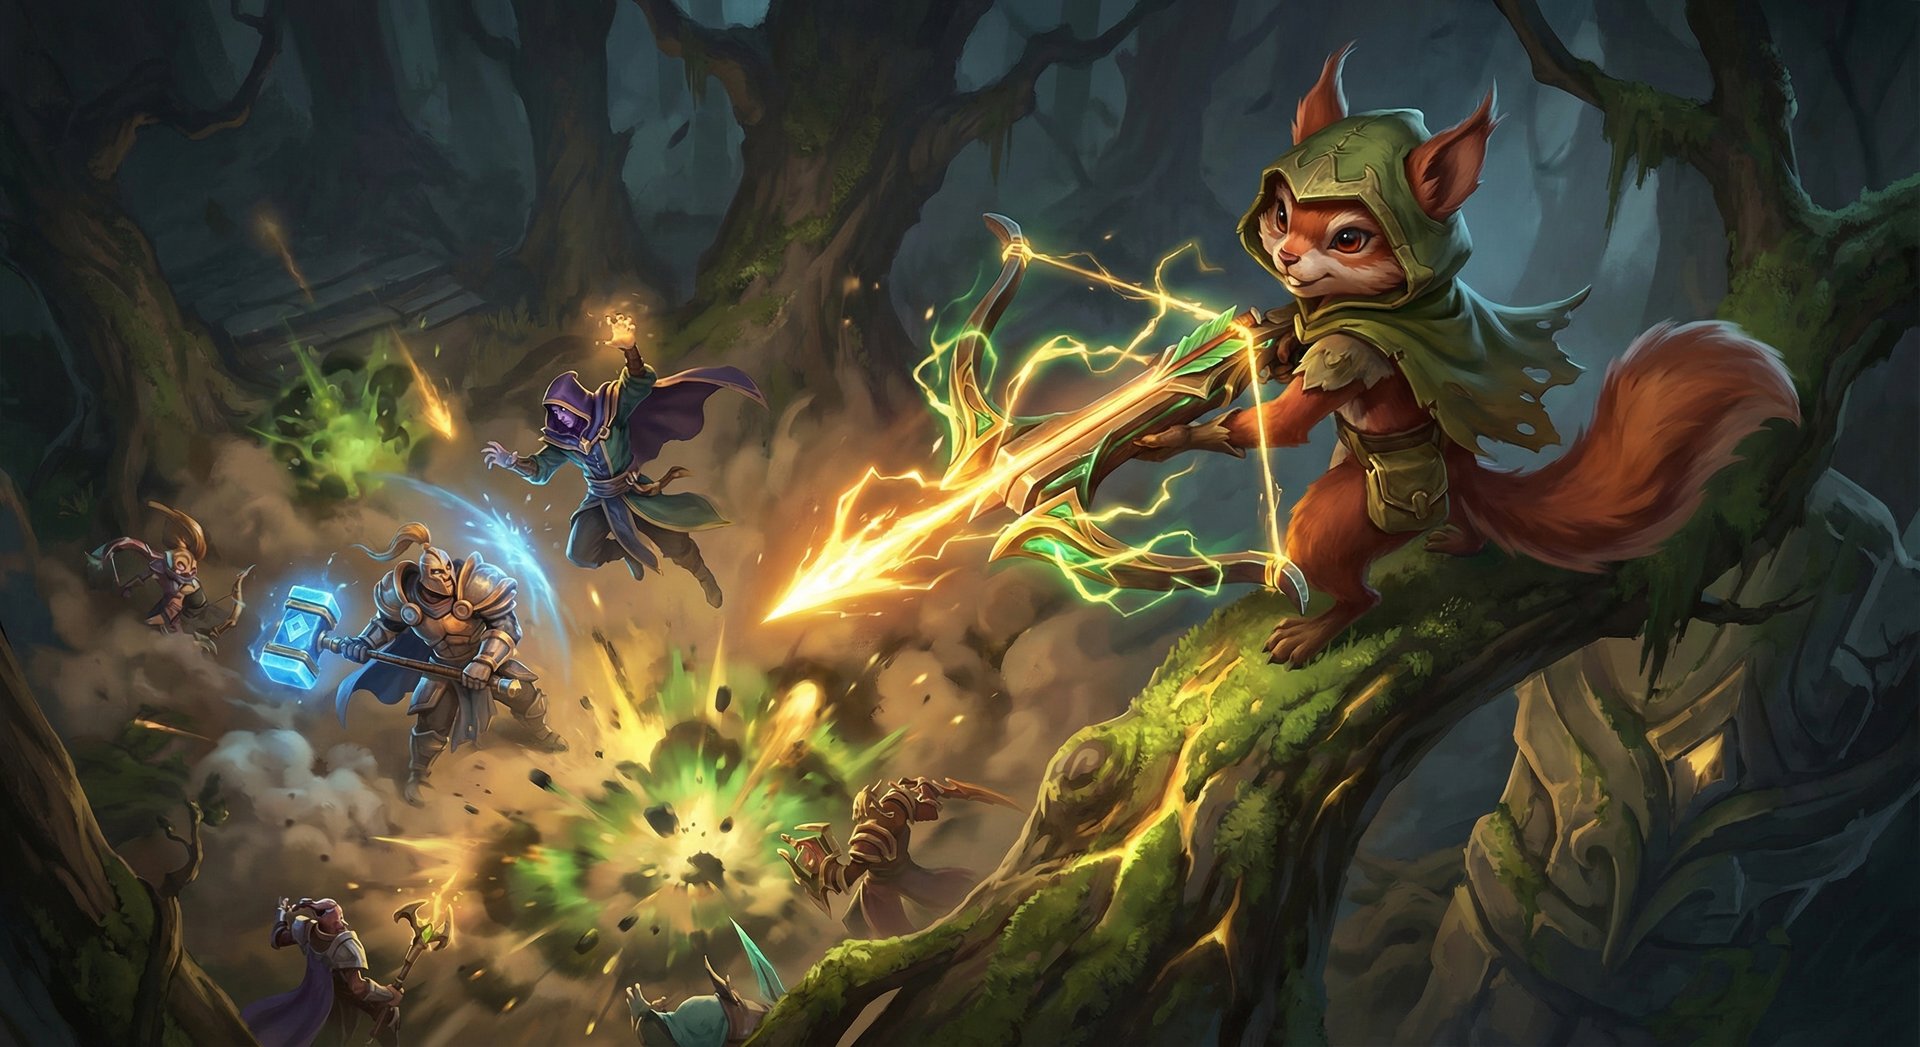
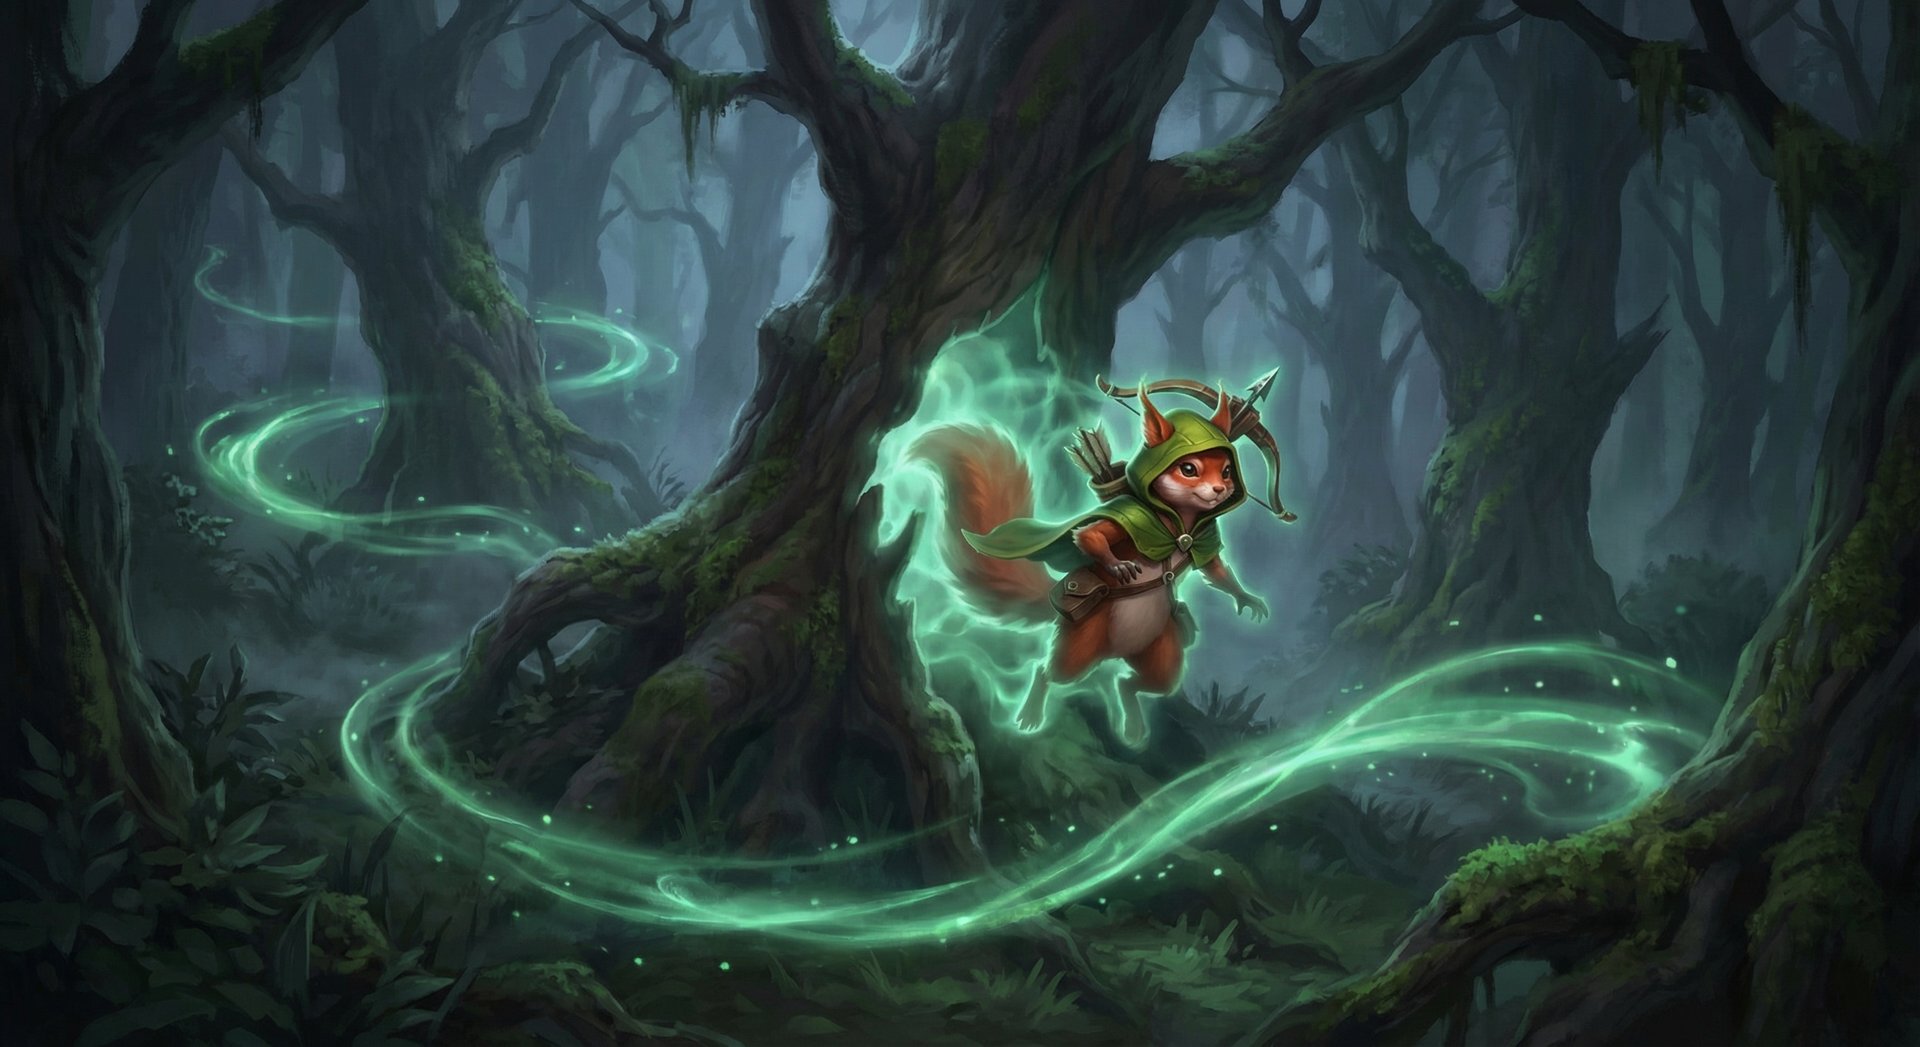
Hoodwink is one of the most mechanically demanding and rewarding heroes in Dota 2 — a tiny squirrel with a massive crossbow who can single-handedly win teamfights from the treeline. Since her release in patch 7.28, Hoodwink has evolved from a niche support pick into a flex pick nightmare who can be played as Position 3, 4, or even mid depending on the draft. Her combination of burst damage, crowd control, and tree-based mobility makes her unlike any other hero in the game.
In the current patch, Hoodwink sits at a 51-52% winrate across all brackets, with her performance spiking significantly in Ancient and above where players understand how to abuse tree positioning and Bushwhack setups. What separates a good Hoodwink from a great one is not mechanical skill alone — it is understanding the geometry of every fight, knowing exactly where trees are, and turning the map itself into your greatest weapon.
This guide covers everything you need to dominate with Hoodwink in 2026. Whether you are a Herald trying to learn the hero or an Ancient player looking to perfect your Sharpshooter angles, we will break down every ability interaction, rank-specific item builds, pro-level tricks, and the hidden mechanics that make Hoodwink one of the most satisfying heroes to master in all of Dota 2.
Table of Contents
Why Hoodwink Is the Forest’s Deadliest Assassin
Hoodwink is a ranged agility hero who excels at burst damage, crowd control, and positional warfare. She is most commonly played as a Position 4 soft support, but has seen consistent success as a Position 3 offlaner and occasional mid laner in both pubs and professional games. What makes Hoodwink special is her relationship with trees — every single ability in her kit interacts with tree placement, making her the only hero in Dota 2 whose power level literally changes based on the terrain around her.
According to Dotabuff, Hoodwink currently holds a 51.5% winrate with a 10-12% pick rate across all brackets. In Divine and Immortal games, her winrate jumps to roughly 53%, reflecting the fact that higher-skilled players can consistently land Bushwhack stuns and position around trees more effectively. She remains one of the most popular Position 4 picks in professional Dota, valued for her ability to set up kills, scout with Acorn Shot bounces, and delete squishy targets with a fully charged Sharpshooter.
What Makes Hoodwink Special
- Acorn Shot — A bouncing projectile that plants a tree on impact, creating setup for Bushwhack. This one ability gives Hoodwink both poke damage and tree creation on demand.
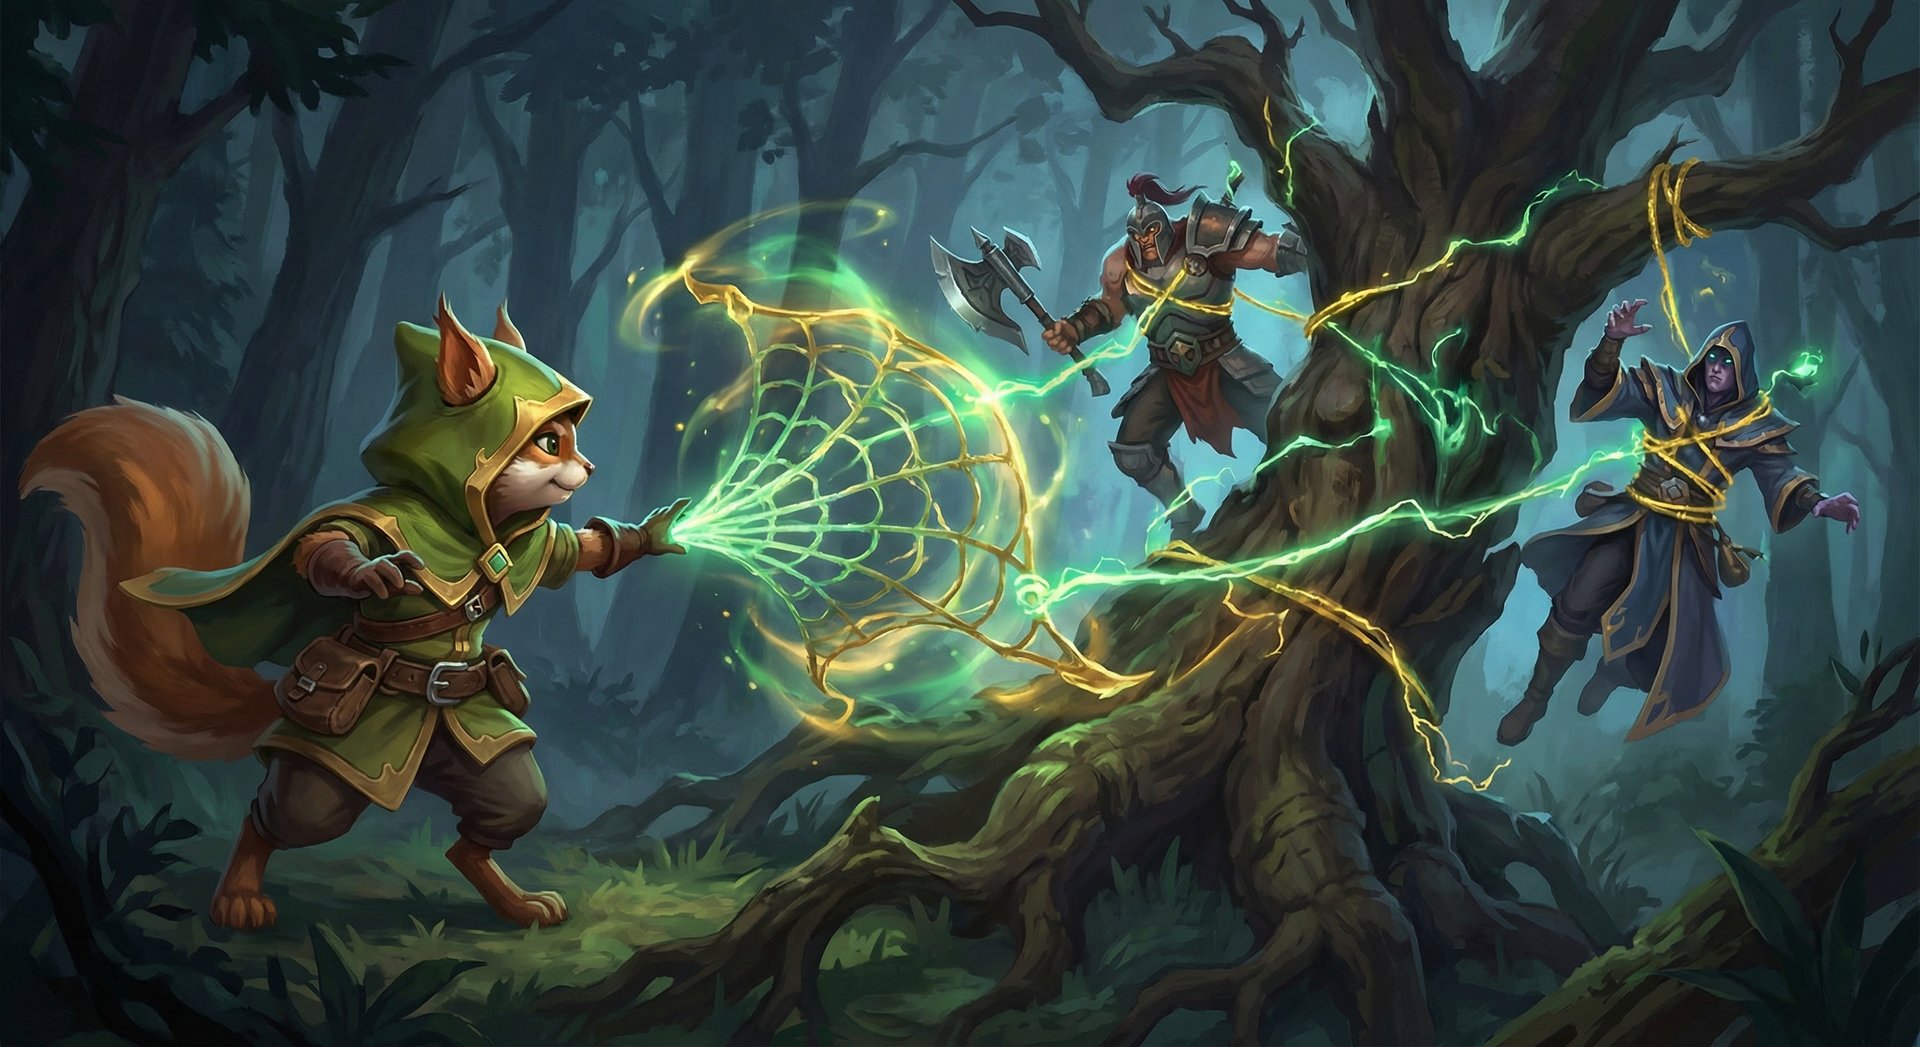
- Bushwhack — An AoE stun that only works near trees, but when it hits, it is one of the most devastating non-ultimate stuns in the game. Landing this ability consistently is the difference between a mediocre and a godlike Hoodwink.
- Scurry — Passive evasion near trees plus an active that grants free pathing through terrain. This makes Hoodwink one of the slipperiest heroes in the game when played near treelines.
- Sharpshooter — A channeled ultimate that fires a massive bolt dealing up to 950 pure damage at max channel and applying Break. This ability can one-shot supports and force carries to build BKB earlier than they want.
- Tree synergy — Every ability interacts with trees. Acorn Shot creates them, Bushwhack stuns near them, Scurry gives evasion near them. Hoodwink rewards players who understand Dota 2’s map geometry at a granular level.
Abilities Deep Dive
Acorn Shot (Q)
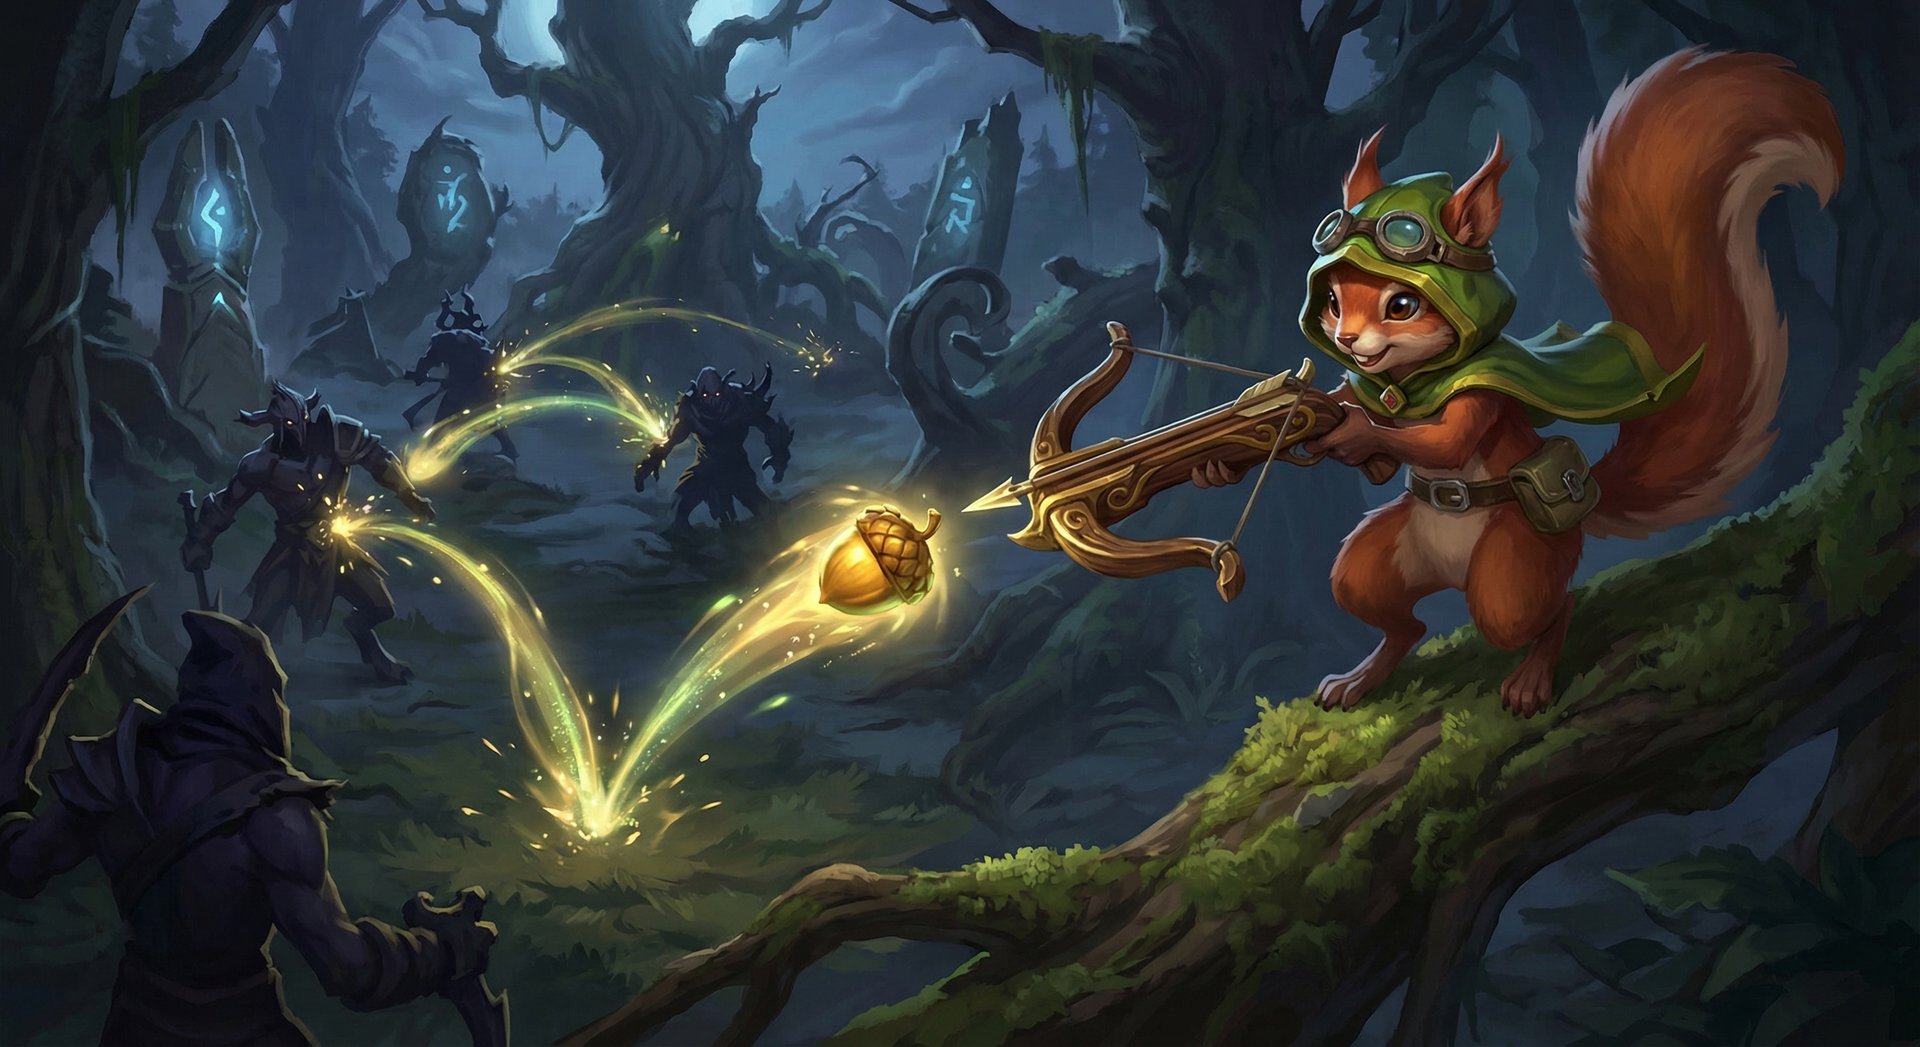
Acorn Shot is Hoodwink’s bread-and-butter ability. She fires an acorn at a target that deals bonus physical damage and bounces to nearby enemies. If the acorn is targeted at the ground instead of a unit, it plants a tree at the target location before bouncing. This tree creation mechanic is the foundation of Hoodwink’s entire kit.
Hidden Mechanics and Interactions
- Ground-target tree creation: When you target the ground, the acorn creates a tree FIRST, then bounces from that tree’s location. This is critical — you can create a tree next to an enemy hero and immediately follow with Bushwhack for a guaranteed stun setup.
- Bounce range and priority: Acorn Shot bounces to the nearest valid target within bounce range. It does NOT prioritize heroes over creeps. In lane, you need to position so that enemy heroes are the nearest valid bounce target.
- Applies attack modifiers: Acorn Shot applies on-hit effects from items like Gleipnir, Maelstrom, and Desolator on the primary target. This makes item choices for core Hoodwink extremely powerful.
- Tree duration: The tree planted by Acorn Shot lasts for 20 seconds. This is long enough to set up multiple Bushwhack attempts or to use as Scurry evasion terrain during extended fights.
- Vision: Each bounce gives brief vision around the bounce target. You can use Acorn Shot to scout Roshan pit, high ground, or fog by bouncing it into unseen areas.
- Reduced damage on bounces: Each bounce deals less damage than the primary hit. Focus on making the primary hit connect with your intended target.
Bushwhack (W)
Bushwhack is what makes Hoodwink Hoodwink. She throws a net that latches onto a nearby tree, stunning and pulling all enemies in the area toward the tree. If there is no tree in the AoE, the ability does nothing except waste mana. This binary nature — either devastating or useless — makes Bushwhack the highest skill-ceiling basic ability on any support in the game.
Critical Mechanics Every Hoodwink Player Must Know
- Tree search radius: Bushwhack searches for a tree within 275 units of the center of the AoE. If there are multiple trees, it latches to the closest one. You do NOT need pixel-perfect aim — just get the AoE close enough to a tree.
- Stun duration scales: The stun lasts 1.4/1.8/2.2/2.6 seconds at each level. At max level, 2.6 seconds is an eternity — comparable to a Ravage without the teamfight-defining cooldown.
- Pulls toward the tree: Enemies are dragged to the tree’s location, not the center of the AoE. This means you can pull enemies into unfavorable positions by choosing which tree the net latches onto.
- Destroyable stun: If the tree is destroyed while enemies are stunned (by Timbersaw, Quelling Blade, Tango, etc.), the stun ends immediately. This is Hoodwink’s biggest counterplay.
- Does NOT pierce BKB: Spell immunity blocks both the stun and the damage. BKB timing against Hoodwink is crucial for cores.
- Combo with Acorn Shot: The classic Hoodwink combo is Acorn Shot (ground target) into immediate Bushwhack on the newly created tree. This gives you a guaranteed tree to latch onto and works in open areas where no natural trees exist.
- Cast range: 1000 range at all levels. This is enormous — you can initiate fights from fog with Acorn Shot + Bushwhack from nearly a screen away.
Scurry (E)
Scurry is a dual-purpose ability with a passive and an active component. Passively, Hoodwink gains evasion while standing within 275 units of a tree. Actively, she can activate Scurry to gain bonus movement speed and free pathing through terrain for several seconds.
Key Interactions
- Passive evasion values: 10/18/26/34% evasion when near trees. At max level, this is significant — comparable to a free Talisman of Evasion. It forces enemies to buy MKB or True Strike abilities to deal with you reliably.
- Tree proximity check: The evasion only works within 275 units of a tree. This includes Acorn Shot trees, Iron Branch trees, and Sprout trees. You can create your own evasion terrain mid-fight.
- Active free pathing: When activated, Hoodwink can walk through trees, cliffs, and any terrain for the duration. Use this to escape through treelines, take shortcuts across the map, or reposition during fights.
- Active also gives bonus movement speed: The movement speed bonus stacks with boots and other MS items, making Hoodwink extremely fast during the active. Use it offensively to chase or defensively to flee.
- Does NOT give flying vision: You can walk through trees, but you cannot see through them. Be careful pathing through dense treelines — you might walk into an enemy waiting on the other side.
- MKB and accuracy counter this: True Strike and accuracy mechanics bypass Scurry evasion entirely. If the enemy team has MKB carriers, the passive component becomes much less valuable.
Sharpshooter (R) — Ultimate
Sharpshooter is Hoodwink’s defining teamfight ability. She charges up a massive crossbow bolt over 3 seconds, then releases it in a straight line. The bolt deals pure damage that scales with charge time — up to 950 damage at max channel — and applies Break to the first enemy hero hit, disabling all passive abilities.
Why Sharpshooter Changes the Game
- Pure damage: Sharpshooter deals PURE damage, meaning it ignores both armor and magic resistance. The only way to mitigate it is through damage reduction abilities (like Bristleback’s passive) or damage block.
- Break application: The Break debuff disables passive abilities for 4/5/6 seconds. This is devastating against heroes like Bristleback, Phantom Assassin, Spectre, and Huskar who rely on passives to survive.
- Charge time matters: Damage scales linearly with charge time. A quick-release Sharpshooter deals much less damage than a fully charged one. You need to commit to the full 3-second channel for maximum impact.
- Channeling and vulnerability: While channeling, Hoodwink is locked in place and vulnerable. Any stun, silence, or forced movement interrupts the channel. Position in fog or behind terrain before channeling.
- Projectile speed: The bolt is fast but not instant. At long ranges, enemies can dodge it if they see it coming. Aim where the enemy is going to be, not where they are.
- Goes through creeps: Sharpshooter hits the FIRST enemy hero in its path but passes through creeps and other non-hero units. You do not need a clear wave to land it.
- Pierces BKB partially: The damage does NOT go through BKB, but the Break debuff still applies through spell immunity in certain interactions. Check current patch notes for exact behavior.
- Slow on hit: Sharpshooter also applies a significant movement speed slow in addition to Break, helping your team follow up after the hit.
Skill Build Order
| Level | Standard (Pos 4) | Core Hoodwink (Pos 3/Mid) | Max Disable Build |
|---|---|---|---|
| 1 | Bushwhack | Acorn Shot | Bushwhack |
| 2 | Acorn Shot | Bushwhack | Acorn Shot |
| 3 | Acorn Shot | Acorn Shot | Bushwhack |
| 4 | Bushwhack | Scurry | Scurry |
| 5 | Acorn Shot | Acorn Shot | Bushwhack |
| 6 | Sharpshooter | Sharpshooter | Sharpshooter |
| 7 | Acorn Shot | Acorn Shot | Bushwhack |
Standard Position 4 build: Max Acorn Shot first for poke damage and tree creation, two points in Bushwhack early for setup potential, and skip Scurry until later. This gives you the best balance of damage and control for roaming.
Core build: Max Acorn Shot aggressively for farming and harass. One early point in Bushwhack for kill setups, early Scurry point for survivability and free pathing in lane. Sharpshooter at 6 always.
Max disable build: For games where your team needs lockdown more than damage. Max Bushwhack for the 2.6s stun, paired with enough Acorn Shot for tree creation. Best when playing with heavy physical damage cores.
Item Builds by Rank Bracket
| Rank | Starting | Early (0-10 min) | Core (10-25 min) | Late (25+ min) |
|---|---|---|---|---|
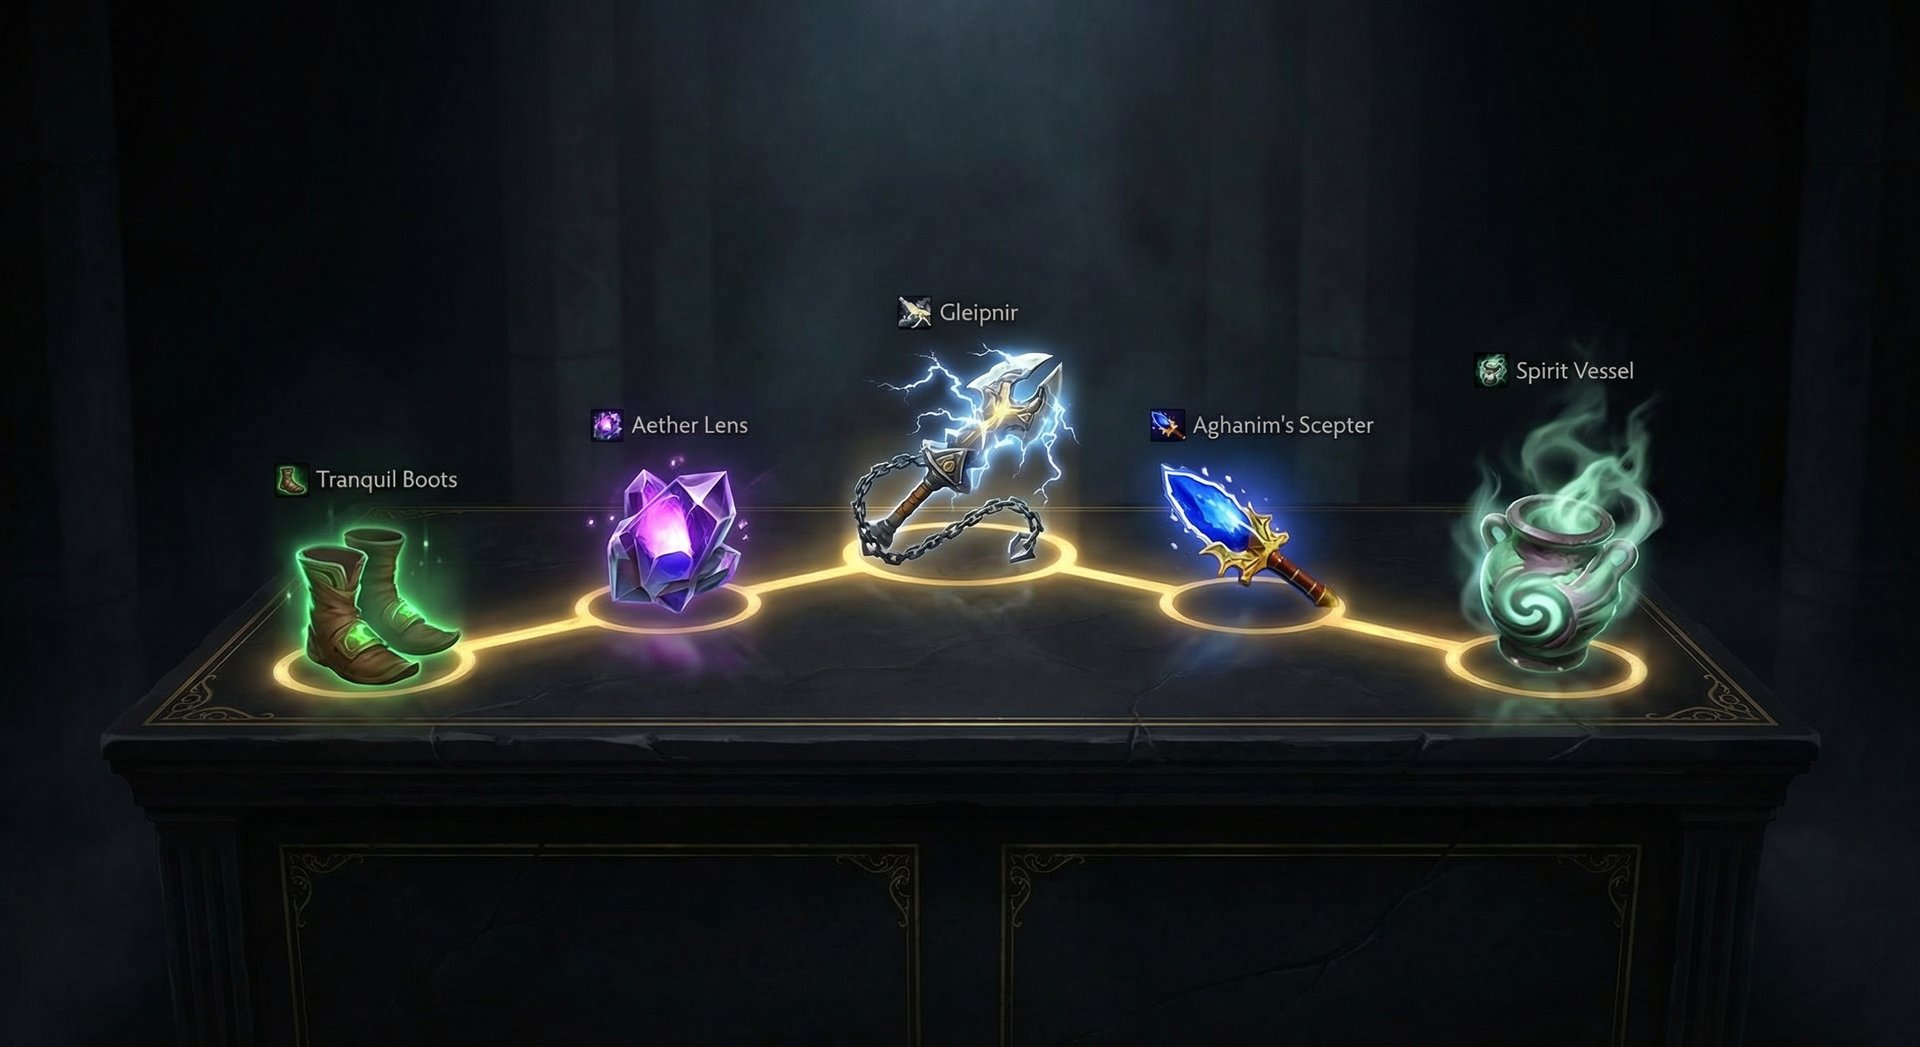
| Herald-Crusader | Tangoes, Healing Salve, Clarity x2, Blood Grenade, Observer Ward | Magic Stick, Boots, Wind Lace | Arcane Boots, Urn of Shadows, Magic Wand | Spirit Vessel, Gleipnir, Force Staff |
| Archon-Legend | Tangoes, Healing Salve, Clarity x2, Blood Grenade, Observer Ward | Magic Wand, Arcane Boots, Wind Lace | Ether Lens, Gleipnir | Glepnir, Aghanim’s Scepter, Force Staff |
| Ancient-Divine | Tangoes, Salve, Clarity x2, Blood Grenade, Sentry Ward | Magic Wand, Tranquil Boots, Urn | Spirit Vessel, Ether Lens or Solar Crest | Gleipnir, Aghanim’s Scepter, BKB |
| Immortal | Tangoes, Salve, Clarity x2, Blood Grenade, Sentry | Magic Wand, Tranquil Boots | Solar Crest or Medallion, Ether Lens | Gleipnir, Aghanim’s Scepter, Linken’s Sphere |
Why Items Differ by Rank
In Herald-Crusader, games go late and teamfights are messy. Arcane Boots keep your mana pool stable because lower-ranked players spam abilities inefficiently. Urn is forgiving because fights happen constantly, giving you easy charges. Gleipnir is the dream item — it gives you a guaranteed root into Bushwhack combo that even beginners can execute.
In Archon-Legend, players start understanding power spikes. Ether Lens extends your cast range dramatically, letting you land Bushwhack from safe distances. Gleipnir remains strong, but now you are building it more deliberately rather than as a crutch.
In Ancient-Divine, efficiency matters. Tranquil Boots plus Wind Lace gives maximum roaming speed — critical for a Position 4 who needs to be everywhere. Spirit Vessel is prioritized because these players understand how to use the active against specific heroes (Huskar, Alchemist, Morphling). Solar Crest provides flex value — use it on your carry or to amplify Acorn Shot damage on a target.
In Immortal games, Hoodwink players build for the exact game they are in. Solar Crest or Medallion rush when your team has heavy physical damage. Ether Lens when you need to play further back. Dota 2 coaching can help you understand these decision trees at a deeper level. Gleipnir and Aghanim’s Scepter remain the late-game power spikes, but the order and timing depend entirely on whether you need damage, control, or utility.
Aghanim’s Scepter — When and Why
Aghanim’s Scepter upgrades Sharpshooter to fire two bolts and reduces the cooldown. This is a massive power spike that turns Hoodwink into a teamfight menace. However, it is expensive for a Position 4. Rush it only when you are having a strong game with kill participation gold. Otherwise, prioritize utility items that help your team first.
Gleipnir — The Core Item
Gleipnir is arguably Hoodwink’s most important item regardless of role. The active root provides guaranteed Bushwhack setup — root a group of enemies, then Bushwhack the nearest tree. It also gives attack speed and damage for Acorn Shot bounces. If you build one damage item on Hoodwink, make it Gleipnir.
Laning Phase Masterclass
Hoodwink’s laning phase is all about tree positioning and harass efficiency. As a Position 4, you typically lane in the offlane with your Position 3 core. Your job is to win the lane through persistent harassment, secure kills with Bushwhack setups, and make the enemy carry’s life miserable.
Level 1 Strategy
Take Bushwhack level 1 if you expect an early fight at the rune or bounty rune. The 1.4-second stun at level 1 is strong enough to secure first blood with an aggressive offlaner like Mars, Axe, or Primal Beast. If the lane is passive, Acorn Shot level 1 gives you better trading potential — bounce it off the enemy support into the carry for free damage.
Harass Patterns
- Acorn Shot bounces: Position yourself so the nearest bounce target after the primary hit is the enemy carry. In most safe lanes, the carry stands near their creep wave — use the creeps as bounce vectors to hit them repeatedly.
- Tree-line trading: Stand near trees while trading right-clicks. Scurry’s passive evasion means you will dodge a percentage of incoming attacks. Enemy supports will burn more regen than you in extended trades near treelines.
- Bushwhack zoning: Place Bushwhack on a tree near the creep wave to zone the enemy carry. Even if you do not stun them, the threat of a 2+ second stun forces them to walk away from trees, which means walking away from the creep wave.
Kill Setup
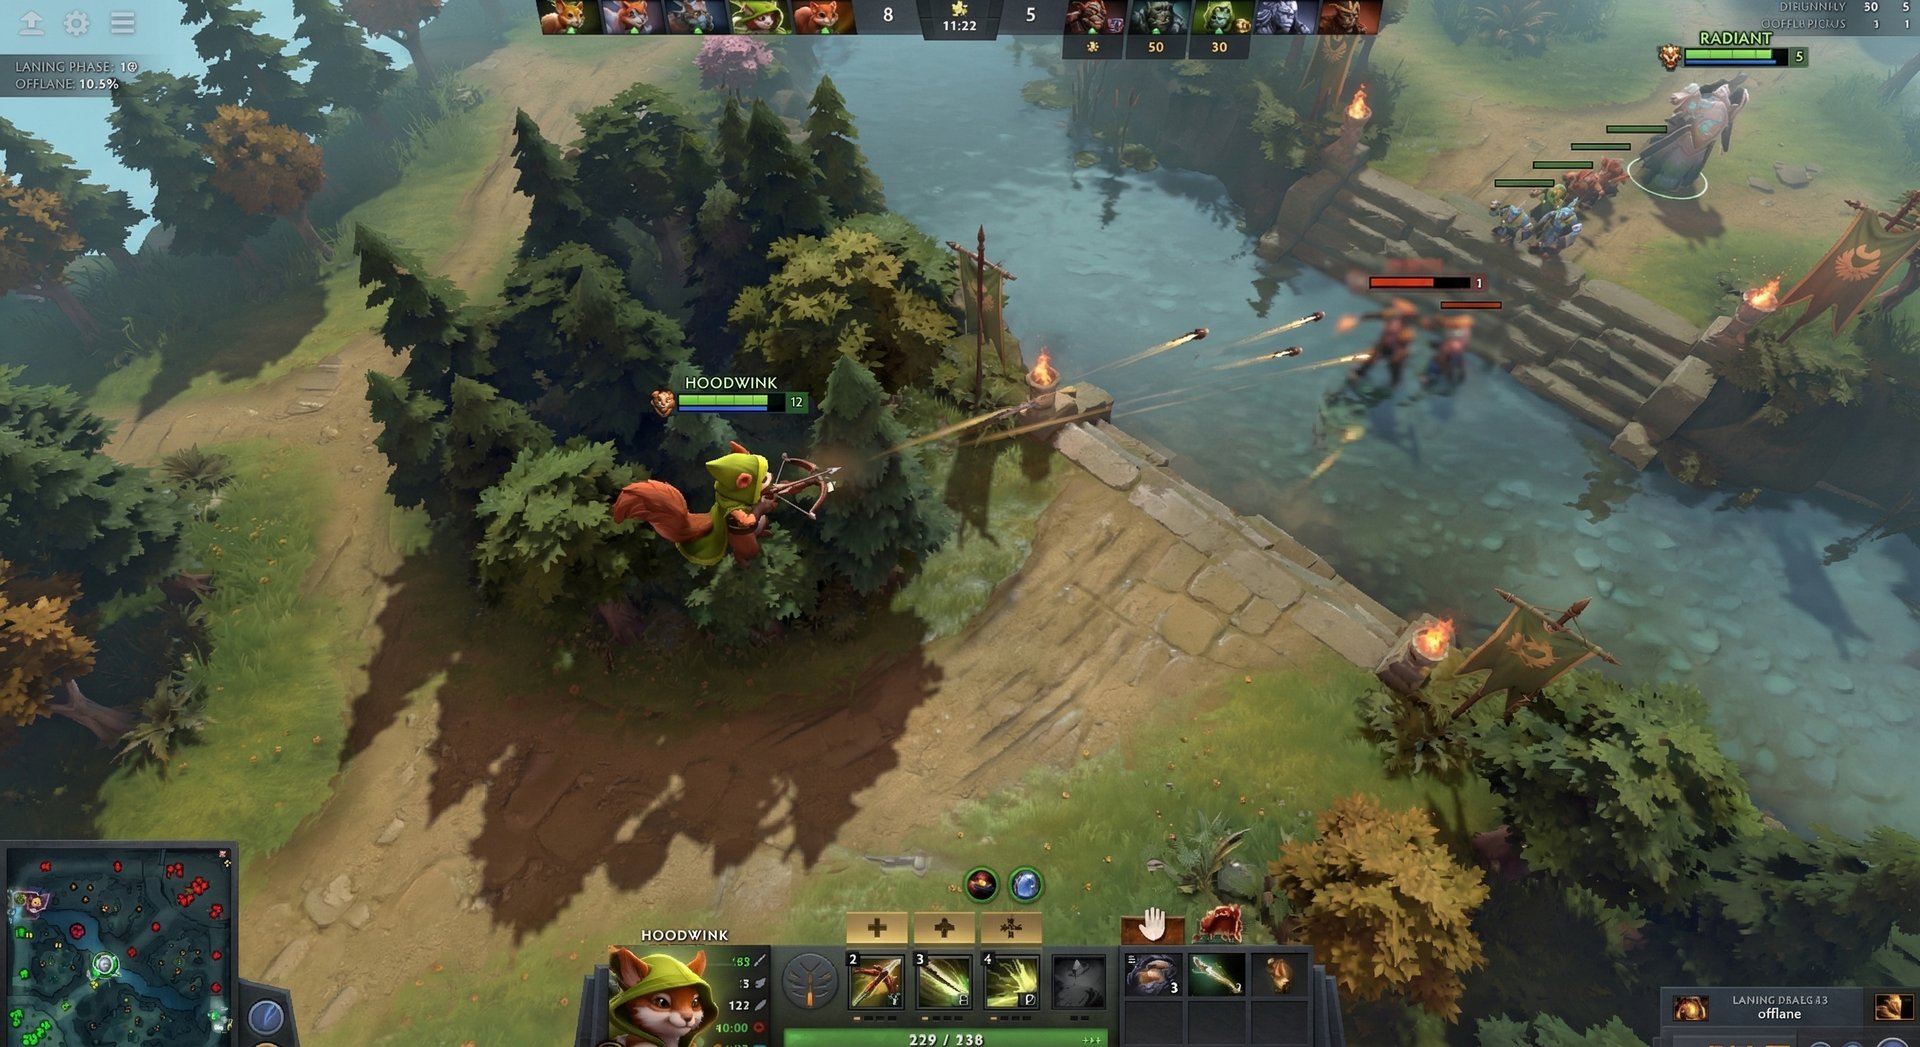
The classic Hoodwink kill combo in lane is: Acorn Shot (ground target near enemy) into immediate Bushwhack. The Acorn Shot creates a tree, and you throw Bushwhack onto that tree within the 0.5-second window. If the enemy hero is within stun range of the new tree, they eat the full 1.4-2.6 second stun. Follow up with right-clicks from both you and your offlaner.
This combo works best when the enemy is near existing trees — the Acorn tree plus natural trees gives Bushwhack a much larger “stun zone.” Practice this in demo mode until the timing is muscle memory. At higher ranks, this combo is the primary reason Hoodwink is feared in lane.
Lane Partner Synergies
| Offlaner | Why It Works | Kill Potential |
|---|---|---|
| Mars | Arena of Blood traps enemies near trees, guaranteeing Bushwhack stuns inside the Arena | Very High |
| Axe | Call into Bushwhack is a death sentence. Axe’s natural aggression creates space for Hoodwink to set up | Very High |
| Primal Beast | Onslaught stun into Bushwhack chain. Primal Beast’s Trample deals massive damage during the stun | High |
| Pangolier | Swashbuckle procs on stunned targets. Shield Crash follow-up during Bushwhack stun | High |
| Centaur Warrunner | Double Edge burst during Bushwhack stun. Stampede lets both heroes chase or disengage | Medium-High |
When to Rotate
Hoodwink should start looking for rotations at level 3-4 once you have two points in Acorn Shot and at least one in Bushwhack. Her rotation pattern is strong because she can approach from treelines using Scurry’s free pathing (if skilled), set up a tree with Acorn Shot, and land Bushwhack from 1000 range. If mid lane has trees nearby (most mid matchups do), a Hoodwink rotation at minute 4-5 is devastating.
Mid and Late Game Transitions
Hoodwink’s power curve is front-loaded. She peaks in the mid game (15-30 minutes) when Bushwhack stuns are most impactful and Sharpshooter can one-shot supports. Understanding when your hero is strongest — and when to start playing more conservatively — is the key to winning games with Hoodwink.
Mid Game (15-30 minutes)
This is Hoodwink’s golden window. At this timing, you should have Ether Lens or Gleipnir, your Sharpshooter deals 600-950 pure damage, and enemy cores do not yet have BKB. Your job is to:
- Control vision: Use Acorn Shot to scout and deward. The bounce mechanic reveals fog areas and can finish off observer wards placed near trees.
- Set up picks: Roam between lanes looking for isolated heroes. Acorn Shot + Bushwhack from fog kills most supports outright with a follow-up Sharpshooter.
- Force BKBs: Every Sharpshooter you land forces the enemy carry to consider BKB timing. The earlier they buy BKB, the less damage they have. This is indirect value even when Sharpshooter does not kill.
- Fight around trees: ALWAYS take fights near treelines. Hoodwink is 50% weaker in open ground where there are no trees for Bushwhack and no evasion from Scurry. If your team wants to fight in the river, place Acorn Shot trees preemptively.
Late Game (30+ minutes)
Hoodwink’s effectiveness drops once enemy cores have BKB, MKB, and high HP pools. A fully charged Sharpshooter that deals 950 pure damage matters less when the enemy Medusa has 3,500 HP. Your role transitions from burst assassin to utility controller.
- Bushwhack becomes your main contribution: A 2.6-second AoE stun that goes through positioning items (Force Staff, Glimmer) is always relevant. Focus on landing multi-hero Bushwhacks rather than solo pickoffs.
- Sharpshooter for Break: In the late game, use Sharpshooter primarily for the Break debuff rather than damage. Breaking a Phantom Assassin’s Blur, a Spectre’s Dispersion, or a Bristleback’s Bristleback passive is game-changing regardless of the damage number.
- Gleipnir for control: The active root from Gleipnir gives you a reliable AoE disable that does not depend on trees. In open-ground teamfights, Gleipnir into Bushwhack is your only reliable stun combo.
- Stay alive: A dead Hoodwink contributes nothing. Position behind your team, use Scurry to reposition, and only commit Sharpshooter from safe angles. If you die before casting Sharpshooter, your team loses an enormous amount of damage and Break uptime.
BKB Timing Considerations
If you are playing core Hoodwink, BKB timing is critical. You need at least 5-6 seconds of uninterrupted channeling to use Sharpshooter effectively in fights. Enemy teams WILL save stuns to interrupt your ultimate. BKB guarantees at least one fully charged Sharpshooter per fight in the mid game. As a Position 4, you generally do not build BKB unless you are having a very rich game.
Counters: Heroes That Destroy Hoodwink
1. Timbersaw
Timbersaw is Hoodwink’s hardest counter in the game. Timber Chain and Whirling Death destroy trees, which directly removes Bushwhack stuns (break the tree, break the stun), eliminates Scurry evasion terrain, and makes Hoodwink’s entire kit significantly weaker. A Timbersaw who actively destroys trees near his team essentially turns Hoodwink into a hero with two functional abilities.
How to play around it: Create trees with Acorn Shot in locations Timbersaw cannot easily reach. Fight on the opposite side of the map from Timbersaw when possible. In teamfights, wait for Timbersaw to commit his abilities before using Bushwhack — he cannot destroy trees while stunned or chained away.
2. Monkey King
Monkey King’s Tree Dance lets him perch on trees, giving him vision over Hoodwink’s favorite hiding spots. More importantly, if Monkey King is in a tree that Bushwhack targets, the interaction can be awkward. MK also excels in extended melee fights where Hoodwink’s ranged poke advantage disappears. Boundless Strike can close the gap instantly.
How to play around it: Use Acorn Shot to check trees for perching Monkey Kings. If you suspect MK is in a nearby tree, avoid standing under trees yourself. Sharpshooter is effective against MK because Break disables Jingu Mastery stacks.
3. Batrider
Batrider’s Firefly destroys trees in a massive path, and Flaming Lasso is a BKB-piercing stun that interrupts Sharpshooter. Sticky Napalm makes it difficult for Hoodwink to stand and fight, and Batrider’s flying vision removes the fog advantage that Hoodwink relies on for Sharpshooter setups.
How to play around it: Stay far back in fights. Blink + Lasso range is limited — position beyond Batrider’s initiation range. Use Scurry to escape if Lasso is used on an ally near you. Sharpshooter from extreme range when Batrider has used his mobility cooldowns.
4. Nature’s Prophet
Nature’s Prophet’s Sprout creates a ring of trees that can actually help Hoodwink (Bushwhack targets), but his global presence and ability to cut down trees with Quelling Blade on short cooldown disrupts Hoodwink’s tree-based gameplay. Teleportation lets him appear anywhere, making Hoodwink’s fog-based Sharpshooter channels unsafe. Treants provide bodies that can intercept Sharpshooter.
How to play around it: Sprout can actually work in your favor — Bushwhack an enemy trapped in Sprout for a guaranteed stun. The real danger is NP’s global map pressure making it unsafe to channel Sharpshooter. Ward aggressively to see teleport animations coming.
5. Storm Spirit
Storm Spirit can Ball Lightning directly onto Hoodwink during Sharpshooter channels, interrupting the ultimate. His high mobility makes Bushwhack nearly impossible to land — he can zip out of stun range before the net reaches the tree. Electric Vortex pulls Hoodwink out of tree cover, removing her Scurry evasion.
How to play around it: Never channel Sharpshooter when Storm has Ball Lightning available. Save Bushwhack for after Storm commits his zip — he is vulnerable during the landing animation. Gleipnir root catches Storm out of Ball Lightning if timed correctly.
Heroes Hoodwink Destroys
1. Bristleback
Sharpshooter’s Break debuff disables Bristleback’s namesake passive, turning one of the tankiest heroes in the game into a squishy frontliner. Without his damage reduction, Bristleback melts under focused fire. Hoodwink can also kite Bristleback endlessly with Scurry movement speed and Bushwhack stuns. This is one of the most lopsided matchups in Dota 2.
2. Phantom Assassin
PA relies on Blur evasion to survive — Sharpshooter’s Break removes it entirely. Acorn Shot bounces reveal PA even when she uses Blur’s active invisibility (the bounces give vision). Bushwhack stuns PA through Phantom Strike aggression, and Hoodwink’s tree-based evasion from Scurry partially counters PA’s right-click playstyle. The pure damage from Sharpshooter also ignores PA’s typically low magic resistance itemization.
3. Spectre
Spectre’s Dispersion is one of the strongest passives in the game — Breaking it with Sharpshooter removes a massive chunk of her survivability. Hoodwink also excels at kiting Spectre, who has no gap closer outside Haunt. Bushwhack stuns pin Spectre in place during teamfights, preventing her from chasing your backline. Acorn Shot poke damage forces Spectre to use regen before she wants to fight.
4. Huskar
Huskar’s Berserker’s Blood is what makes him dangerous at low HP — Break removes it completely. A fully charged Sharpshooter on a low-HP Huskar deals pure damage (ignoring his magic resistance) and removes his attack speed and magic resistance bonus. Combined with Spirit Vessel (common Hoodwink pickup), Huskar’s healing-based playstyle falls apart entirely.
5. Broodmother
Broodmother’s Spin Web movement speed and free pathing make her hard to catch — unless you have a ranged AoE stun. Bushwhack catches Broodmother and her spiderlings in one stun (spiders cluster near trees). Acorn Shot bounces clear spiderling waves efficiently, and Sharpshooter’s pure damage ignores Broodmother’s typically low armor. Hoodwink can also escape Broodmother’s aggression with Scurry free pathing.
How Pros Play Hoodwink in the Current Patch
Hoodwink remains a consistently picked hero in professional Dota 2, particularly as a Position 4 support. Her ability to provide vision, setup kills, and threaten backline heroes with Sharpshooter makes her a flexible draft tool that works in most team compositions.
Professional Meta Trends
In recent tournaments, Hoodwink has been picked primarily in the second phase of drafts as a Position 4 flex pick. Teams value her because she does not reveal the draft strategy — a Hoodwink pick could mean aggressive tri-lane, roaming support, or even a surprise offlane core. Top teams like Team Liquid, Tundra Esports, and Team Spirit have all featured Hoodwink in their support rotations throughout 2025-2026.
Key Pro Player Patterns
- Position 4 priority build: Most pros rush Tranquil Boots into Ether Lens for maximum roaming efficiency and cast range. Gleipnir is typically the second major item if the game calls for more catch.
- Sharpshooter positioning: Professional Hoodwink players ALWAYS channel Sharpshooter from high ground or behind trees. They never channel in open areas where they can be interrupted. Watch how they pre-position 5-10 seconds before a fight starts.
- Tree creation economy: Top players track their Acorn Shot tree cooldown carefully. They do not waste Acorn Shots for random poke — every Acorn Shot is a potential Bushwhack setup, and wasting the tree creation means 10+ seconds without reliable stun setup.
- Aghanim’s Scepter timing: Pro players rarely rush Aghanim’s on Position 4 Hoodwink. It comes online around 25-30 minutes in good games. The double Sharpshooter is primarily valued for guaranteed Break application on two separate targets rather than raw damage.
Notable Recent Pro Games
Look for Hoodwink replays from players like Cr1t- (formerly on OG/EG) and Miposhka (Team Spirit) for Position 4 Hoodwink mastery. Their positioning awareness and Bushwhack accuracy demonstrate what peak Hoodwink gameplay looks like. For core Hoodwink, Topson popularized mid Hoodwink with aggressive Gleipnir builds that shifted teamfight timings — though this is more situational in the current meta. Check Liquipedia for match history and detailed tournament data.
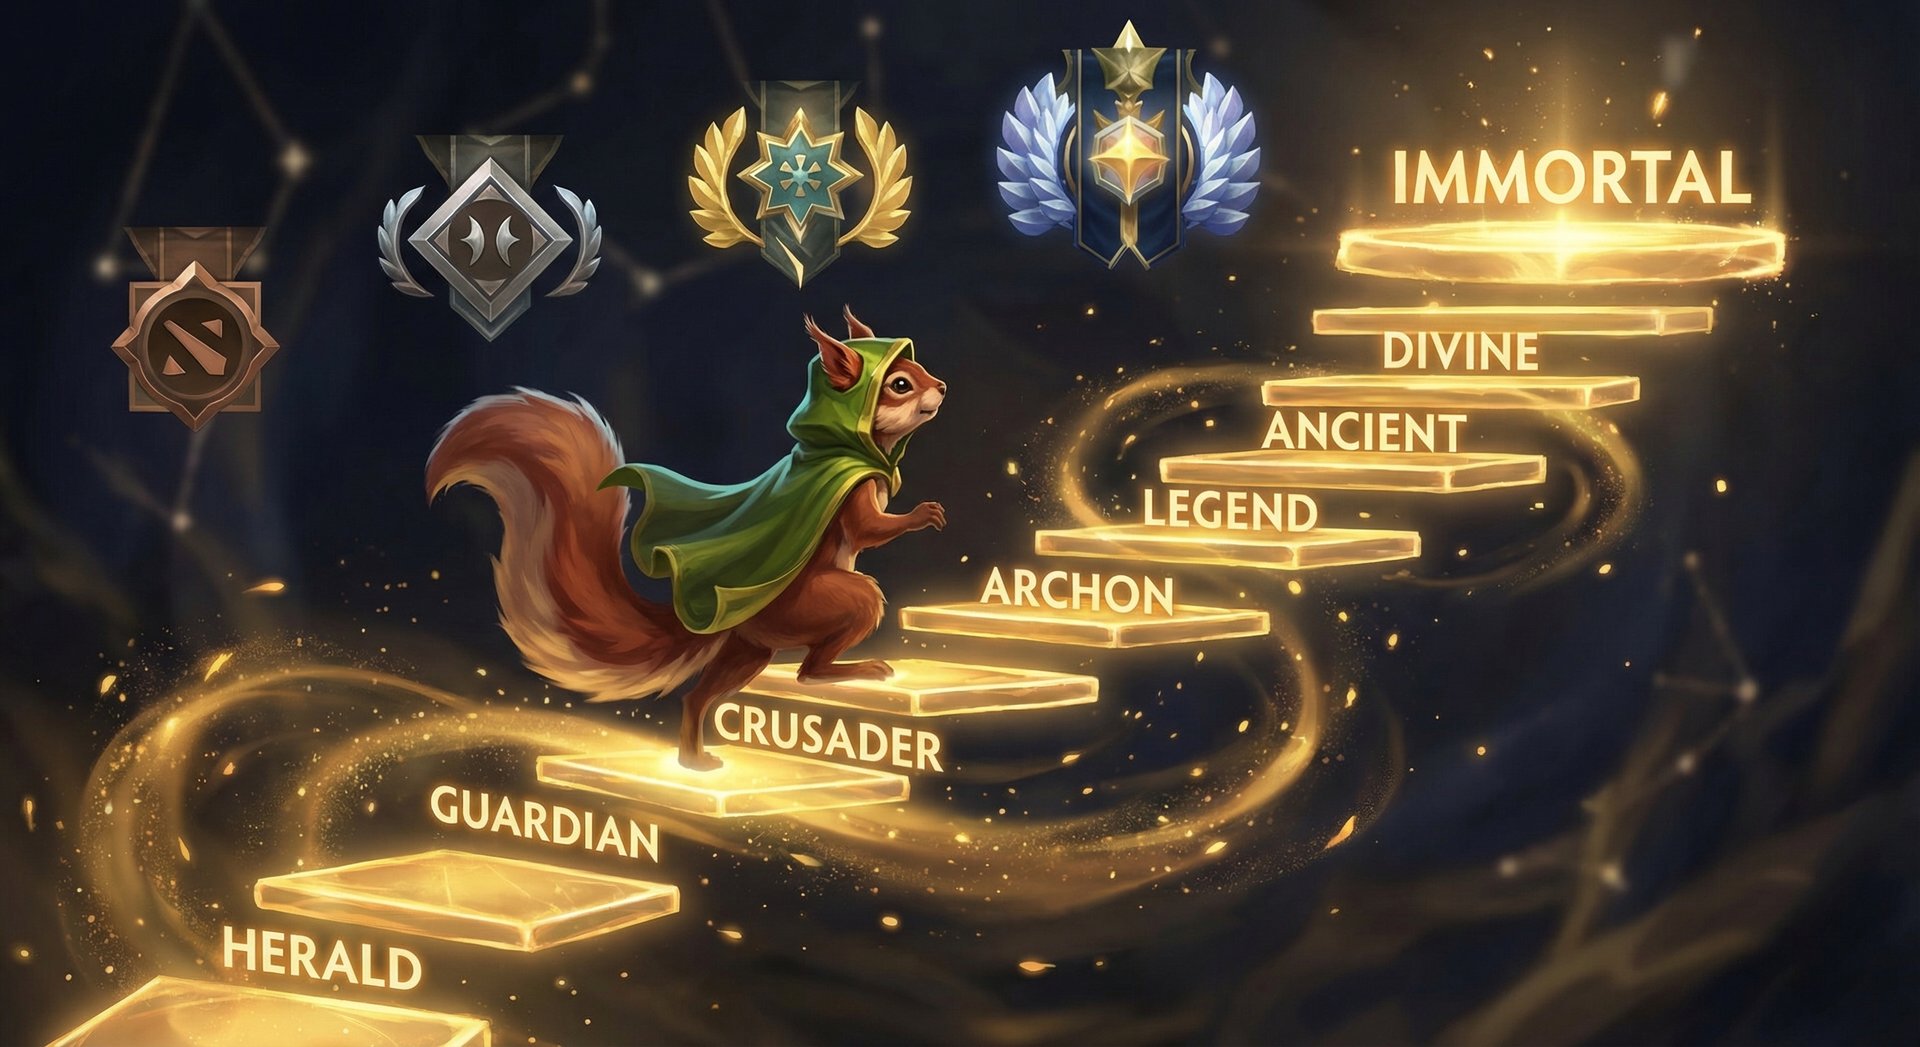
Rank-Specific Climbing Guide
Herald to Guardian — Build the Fundamentals
At this rank, focus on one thing: landing Bushwhack. Do not worry about optimal item builds or Sharpshooter angles yet. Practice the Acorn Shot (ground) into Bushwhack combo until it becomes second nature. In Herald-Guardian games, most players walk predictably near trees, making Bushwhack stuns very easy to land if you understand the mechanic.
- Always skill Acorn Shot and Bushwhack in your first two levels
- Stand near trees to get Scurry evasion — it matters more than you think at this rank where right-clicks are the primary damage source
- Use Sharpshooter during teamfights when enemies are distracted, not from fog (you do not have the positioning awareness yet to channel safely from fog)
- Buy Arcane Boots — mana problems are your biggest enemy at this rank
- Focus on not dying. A Hoodwink who is alive and casting Bushwhack is infinitely more useful than one who dies trying to land a fancy Sharpshooter
Crusader to Archon — Adding Combo Consistency
At this bracket, your Acorn Shot + Bushwhack combo should hit at least 60-70% of the time. Now you need to add Sharpshooter proficiency and rotation timing.
- Start channeling Sharpshooter from fog and trees — learn which high-ground spots give you clear shot lines
- Roam to mid at level 3-4 when the enemy mid is pushed up. A successful gank mid at this timing can win the entire game in this bracket
- Buy Ether Lens as your first major item — the cast range increase makes a massive difference in Bushwhack landing rate
- Start tracking enemy BKB timings. If the enemy carry has BKB, do NOT Sharpshooter them — target the supports instead
- Use MMR boosting services to observe how higher-ranked players position during teamfights — many of our Immortal boosters play Hoodwink and you can learn from their replays
Legend to Ancient — The Positioning Leap
This is where Hoodwink mastery separates from Hoodwink competence. At Legend-Ancient, players are good enough to dodge Bushwhack, juke Sharpshooter, and punish poorly positioned channels. You need to elevate your map awareness and fight preparation.
- Pre-place Acorn Shot trees: Before fights start, fire Acorn Shots at strategic locations to create tree clusters for Bushwhack and Scurry evasion. This 10-second preparation can decide entire teamfights.
- Track cooldowns: Know when enemy BKBs, Manta Styles, and mobility spells are on cooldown. Sharpshooter a Phantom Assassin with Blur on cooldown is a guaranteed kill.
- Vary your angles: Do not always Sharpshooter from the same position. Good players will ward your favorite high-ground spots. Change your channeling position every fight.
- Itemize reactively: At this rank, you should adjust your build every game. Heavy magic damage Glimmer Cape. Lots of melee cores Gleipnir for AoE root. Healing-dependent enemy Spirit Vessel.
Divine to Immortal — What Separates the Top 1%
At Divine and above, Hoodwink is a chess piece, not a brawler. Every ability usage must be intentional, every position must be calculated, and every Sharpshooter must hit.
- Minimize wasted Acorn Shots: Every Acorn Shot that does not create a useful tree or deal meaningful damage is a wasted cooldown. In Immortal games, wasting your Acorn means 10+ seconds where you cannot set up a guaranteed Bushwhack.
- Sharpshooter target priority: In the top 1%, you use Sharpshooter for Break application on the highest-value passive-dependent hero, not for raw damage. Breaking an enemy carry’s passive is worth more than killing a support.
- Draft-aware Scurry timing: Use Scurry active preemptively based on enemy initiation patterns. If the enemy has a Clockwerk or Mars, activate Scurry BEFORE they initiate to guarantee an escape route.
- Tree geometry mastery: Immortal Hoodwink players know exactly which natural trees on the map are within Bushwhack range of common fight locations. They do not need to create trees with Acorn Shot in these areas — they already know the map’s tree layout by heart.
- If you are stuck in Divine, professional coaching from our Immortal players can analyze your Hoodwink replays and identify the specific positioning mistakes holding you back
Tips and Tricks
Animation Cancels and Hidden Mechanics
- Acorn Shot + Bushwhack instant combo: You can queue Bushwhack immediately after casting Acorn Shot at the ground. The timing window is tight — practice it in demo mode. When executed perfectly, the tree appears and Bushwhack lands before the enemy can react.
- Sharpshooter into Scurry escape: After releasing Sharpshooter, immediately activate Scurry and path through trees to safety. Many Hoodwink players forget to move after channeling and get killed in the backswing.
- Iron Branch tree trick: Buy Iron Branches and plant them at key locations to create additional Bushwhack targets. A well-placed Iron Branch tree in the middle of a lane gives you stun potential where there normally is none. This costs only 50 gold for a potential kill setup.
- Acorn Shot fog scouting: Fire Acorn Shot at the ground near Roshan pit, high ground, or jungle camps. The bounces give vision of nearby units, revealing ganks or Roshan attempts without putting yourself in danger.
Common Mistakes to Avoid
- Casting Bushwhack without trees: The number one Hoodwink mistake. Always verify there is a tree in range before casting Bushwhack. If you are unsure, use Acorn Shot to create one first.
- Channeling Sharpshooter in the open: You will be interrupted. Always channel from fog, high ground, or behind trees. If you are visible to the enemy, do not channel.
- Maxing Scurry too early: Scurry is valuable, but the evasion only matters against right-click heavy lineups. In most games, max Acorn Shot and Bushwhack first for damage and control. Scurry can wait until levels 10-14.
- Ignoring Acorn Shot tree duration: The trees last 20 seconds. After 20 seconds, your Bushwhack setup disappears. Be aware of when your created trees expire and refresh them with new Acorn Shots before important fights.
- Tunnel visioning on Sharpshooter: Do not spend 5 seconds looking for the perfect Sharpshooter angle while your team dies in the fight. Sometimes a quick Bushwhack stun contributes more than a fully charged Sharpshooter on a support.
Advanced Mechanics Only High-MMR Players Know
- Acorn Shot bouncing to Roshan: Acorn Shot can bounce to Roshan if he is the nearest valid target. Use this to check if the enemy is doing Roshan without walking into the pit.
- Bushwhack latching to specific trees: The net latches to the CLOSEST tree within the AoE. You can manipulate which tree it latches to by adjusting your AoE placement slightly. This lets you pull enemies in a specific direction.
- Scurry through Sprout: Scurry’s active lets you walk through Nature’s Prophet’s Sprout. If an ally is trapped, you cannot help them, but you yourself are never trapped by Sprout.
- Sharpshooter damage break point: At roughly 1.5 seconds of channeling, Sharpshooter deals approximately 50% of max damage. If you are about to be interrupted, it is better to release early and deal half damage than to lose the ultimate entirely to a stun.
Frequently Asked Questions
Hoodwink is most effective as a Position 4 soft support in the current patch. She has enough base damage and ability scaling to be impactful without farm priority, and her kit provides vision, crowd control, and damage that scales well into the mid game even on a support budget. Core Hoodwink (Position 3 or mid) works in specific matchups where you need Break and can guarantee farm for Gleipnir plus Aghanim’s Scepter, but it is more situational.
Gleipnir is Hoodwink’s most impactful item regardless of role. The active root guarantees Bushwhack setup on rooted targets, provides AoE control in teamfights, and gives attack speed and damage that amplify Acorn Shot bounces. If you only build one damage item on support Hoodwink, Gleipnir is the answer every time.
The key is creating your own trees with Acorn Shot. Never rely solely on natural trees for Bushwhack stuns. Fire Acorn Shot at the ground near your target, then immediately follow with Bushwhack on the newly created tree. Practice this combo in demo mode — the timing window is roughly 0.3-0.5 seconds. Also use Gleipnir root, ally stuns, or movement speed slows to hold enemies in place for easier Bushwhack targeting.
The damage does NOT penetrate spell immunity. However, Sharpshooter’s utility extends beyond damage — the Break and slow debuffs can still be impactful depending on specific patch interactions. Always check the current patch notes. In practice, avoid Sharpshooting BKB-active heroes and target enemies whose BKB is on cooldown or who have not yet purchased one.
Hoodwink’s biggest weakness is tree dependency. In open areas with no trees (river, Roshan pit approaches, deforested areas), her Bushwhack is unreliable, Scurry evasion is inactive, and she loses her primary combo tool. Heroes that destroy trees (Timbersaw, Batrider, Leshrac) or teams that fight away from treelines exploit this weakness hard.
Pick Hoodwink when: (1) the enemy team has heroes that rely on passives (Bristleback, PA, Spectre, Huskar) for the Break value, (2) your team needs a ranged AoE stun from Position 4, (3) you have an aggressive offlaner who benefits from stun setups (Mars, Axe, Primal Beast), and (4) the enemy team lacks tree-clearing heroes. Avoid Hoodwink into Timbersaw, Batrider, or highly mobile heroes like Storm Spirit who are difficult to lock down.
Pre-position before the fight starts. Find a tree cluster or high ground with a clear shot line to the likely fight location. Start channeling AFTER the fight has begun and enemy disables have been used on your frontline. Aim for the highest-value passive-dependent hero or the squishiest support. Release early (1.5-2 seconds) if you are about to be interrupted — 50-70% damage is better than 0% from a cancelled channel.
Ready to Dominate the Treeline
Whether you need help perfecting your Bushwhack combos or want to skip the grind entirely, Team Smurf has Immortal-rank players who specialize in Hoodwink. Our coaches will review your replays and teach you the tree positioning tricks that separate good players from great ones.


