How to Master Dazzle in Dota 2: The Ultimate Guide for Every Rank (2026)

Dazzle is one of the most frustrating heroes to play against in Dota 2 — and one of the most rewarding to master. His signature ability, Shallow Grave, has single-handedly turned lost teamfights into won games at every level of play, from Herald pubs to TI Grand Finals. In the current patch, Dazzle sits at a comfortable 52-53% winrate across all brackets, with his pick rate spiking in Ancient and Divine where players understand how to abuse his kit to the fullest.
But here is the thing most Dazzle guides won’t tell you: Shallow Grave is not what makes Dazzle broken. It is the combination of sustained healing, armor manipulation through Bad Juju, and the ability to shift an entire teamfight’s damage calculation in your team’s favor. A great Dazzle player does not just save allies — they make their entire team nearly unkillable while slowly shredding the enemy’s armor into the negatives.
This guide covers everything you need to dominate with Dazzle in 2026, whether you are a Herald learning your first support or a Divine player looking to hit Immortal. We will break down every ability interaction, show you exactly what items to buy at your rank, and reveal the pro-level tricks that separate a Dazzle spammer from a Dazzle master.
Table of Contents
Why Dazzle Is the Ultimate Save Support
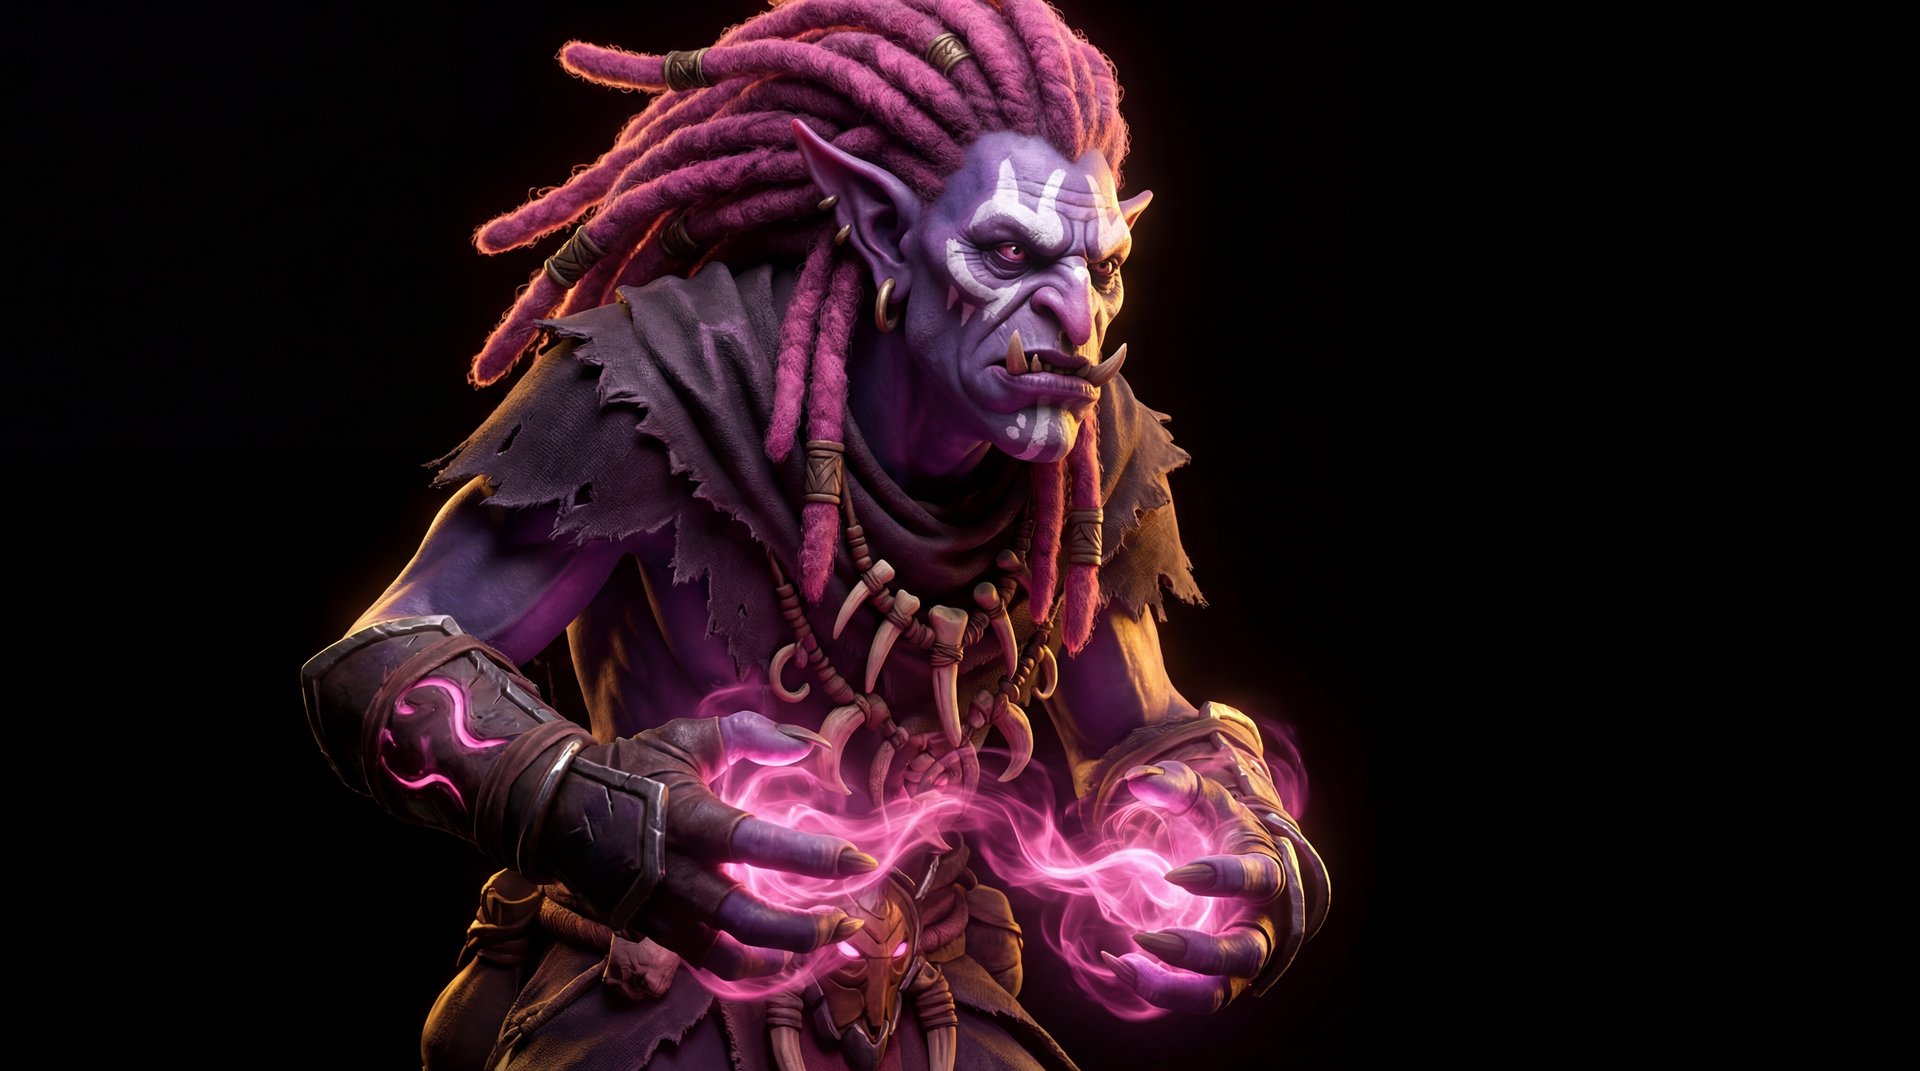
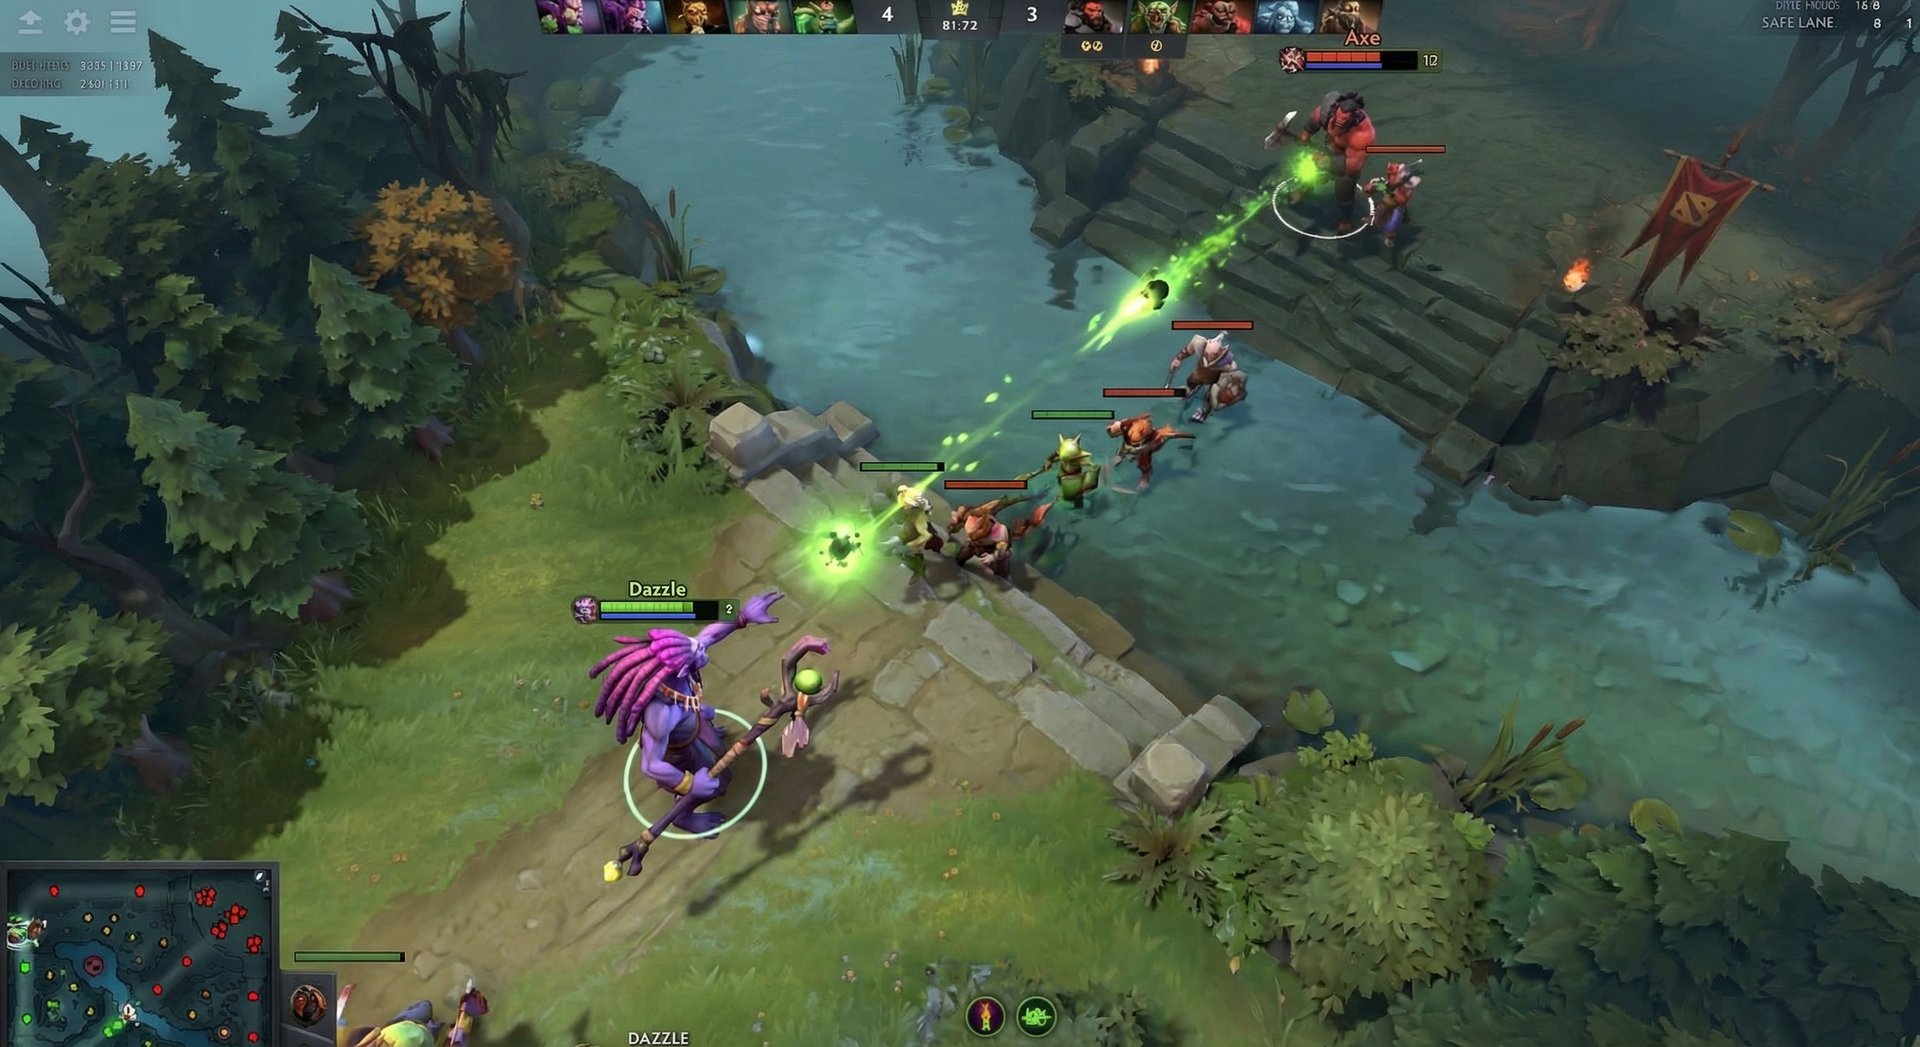
Dazzle, the Shadow Priest, has been a staple support pick in Dota 2 since the earliest days of the game. He is primarily played as a Position 5 hard support, though he has seen successful outings as a Position 4 and even a mid laner in specific metas. What makes Dazzle unique is his toolkit — a rare combination of healing, save, damage, and armor manipulation that no other support in the game can match.
According to Dotabuff, Dazzle currently holds a 52.5% winrate across all ranks with a healthy 8-9% pick rate. His winrate climbs to roughly 54% in Legend and Ancient brackets, where players understand how to position for Shallow Grave saves and how to layer his abilities for maximum impact. In Immortal games, Dazzle is a respected comfort pick — not always first-phase material, but devastating when paired with the right cores.
What Makes Dazzle Special
- Shallow Grave — The single most powerful save ability in the game. No other spell can guarantee a hero survives at 1 HP for 5 seconds regardless of incoming damage.
- Sustained healing — Shadow Wave bounces between allies, providing consistent healing that stacks up over prolonged fights.
- Armor shred at scale — Bad Juju reduces enemy armor with every spell cast, turning Dazzle into a walking negative-armor engine in extended engagements.
- Lane dominance — Poison Touch is one of the best level 1 harass spells in the game, dealing huge damage over time and applying a slow.
- Flexible scaling — Dazzle can build greedy (Mekansm, Solar Crest, Holy Locket) or aggressive (Desolator, Medallion rush) depending on the game state.
Abilities Deep Dive
Poison Touch (Q)
Poison Touch is Dazzle’s primary harassment and trading tool. It launches a projectile that applies a damage-over-time debuff and slow to the target. At max level, Poison Touch deals significant magic damage over its duration and applies a movement speed slow that intensifies over time.
Hidden Mechanics and Interactions
- Hex and slow interaction: Poison Touch’s slow stacks with other slows, making it devastating when paired with heroes like Crystal Maiden or Venomancer.
- Projectile disjoint: The initial projectile CAN be disjointed by abilities like Manta Style or Blink. However, once the debuff is applied, it cannot be purged by basic dispels.
- Attack modifier synergy: When Dazzle attacks a target affected by Poison Touch, each attack refreshes the debuff duration and adds additional damage instances. This makes right-click Dazzle builds viable in lower-ranked games.
- Creep wave interaction: Poison Touch deals its full damage to creeps, making it useful for pushing waves when your carry is away from lane.
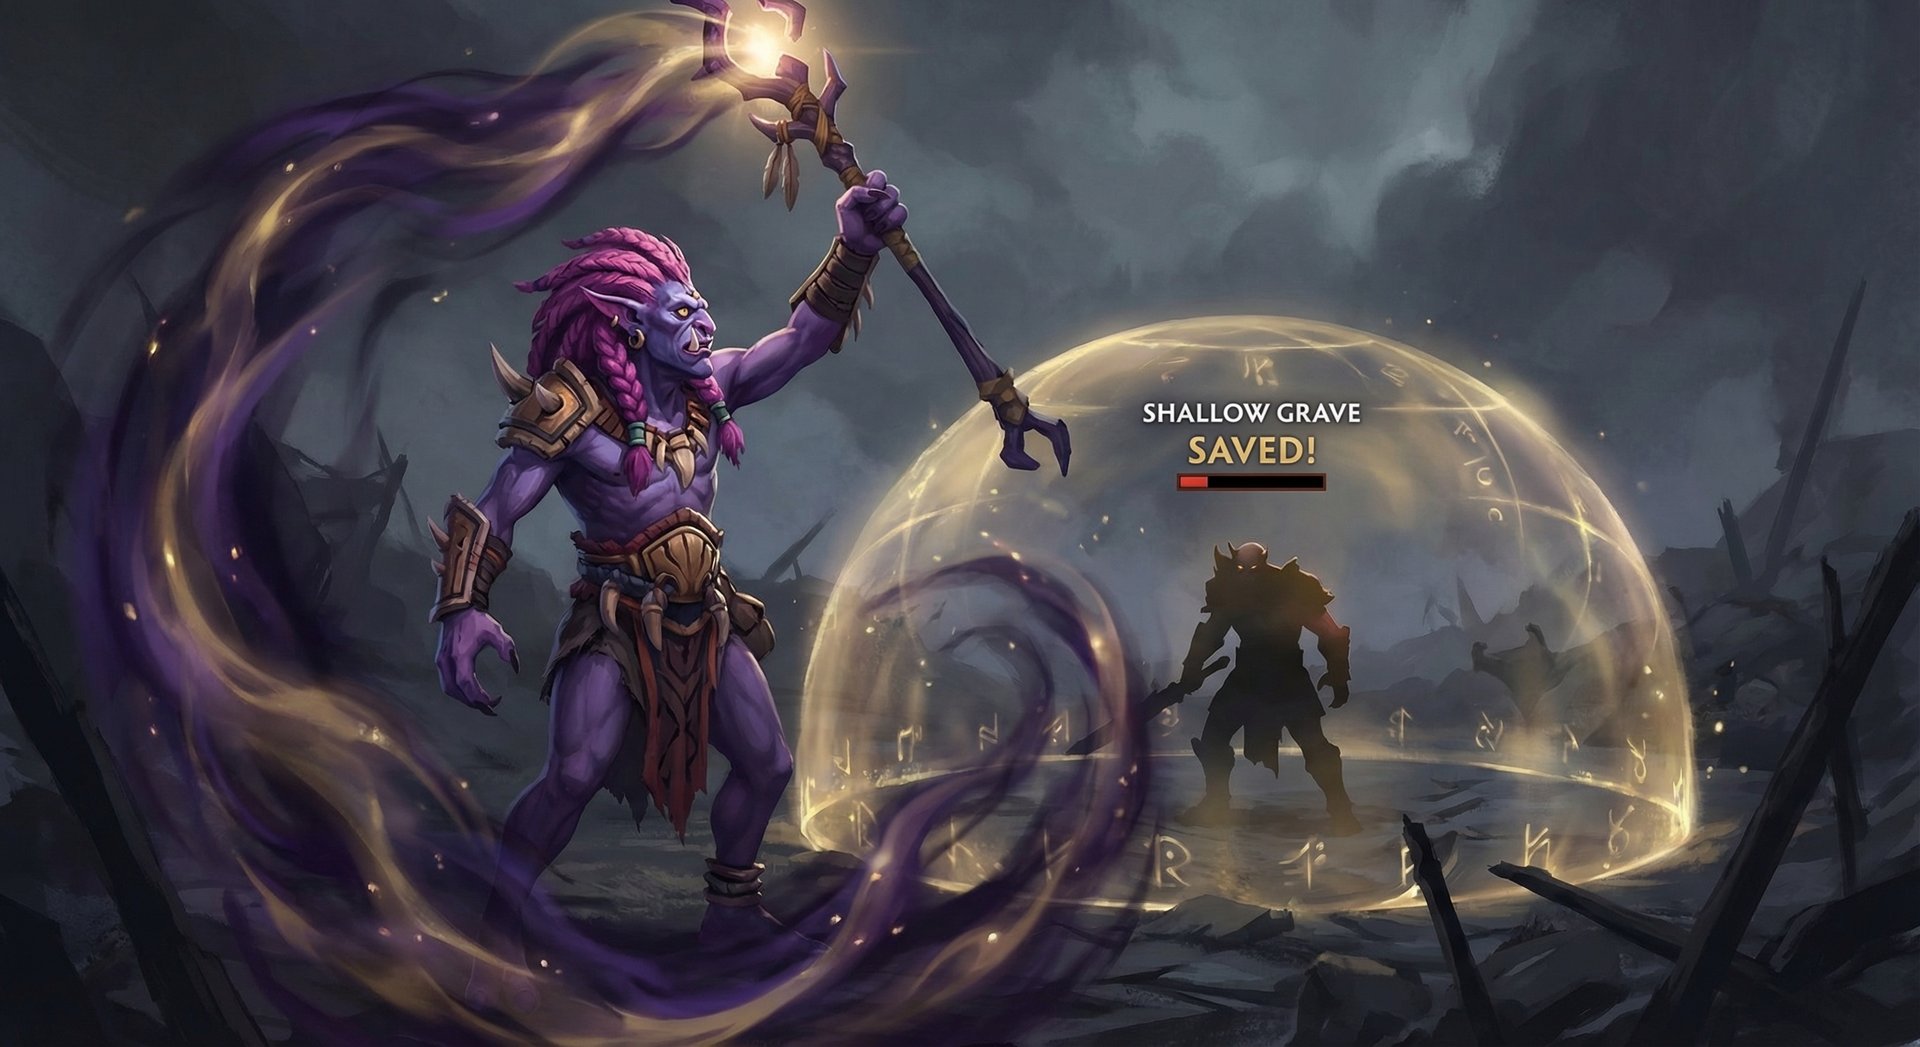
Shallow Grave (W)
The ability that defines Dazzle. Shallow Grave places a buff on a target ally (or yourself) that prevents their HP from dropping below 1 for the duration. At max level, this lasts 5 seconds — an eternity in Dota 2 teamfights.
Critical Mechanics Every Dazzle Player Must Know
- Does NOT prevent damage: The target still takes full damage — their HP just cannot go below 1. This means armor and magic resistance still matter during Grave.
- Blocked by Axe’s Culling Blade: If the target is below the kill threshold, Culling Blade goes through Shallow Grave. This is the single hardest counter to Dazzle in the game.
- Ancient Apparition’s Ice Blast: The shatter effect of Ice Blast will kill through Shallow Grave. If your HP hits the shatter threshold while Graved, you die.
- Self-cast: You can Shallow Grave yourself. Double-tap W or Alt+W to self-cast instantly — this is faster than clicking on your own hero in chaotic fights.
- Cast range matters enormously: The default cast range is 550/700/850/1000. Getting Aether Lens or cast range neutral items makes a massive difference in your ability to save allies from safe positions.
- Cannot be purged: Once applied, Shallow Grave cannot be removed by any dispel in the game. Not even strong dispels.
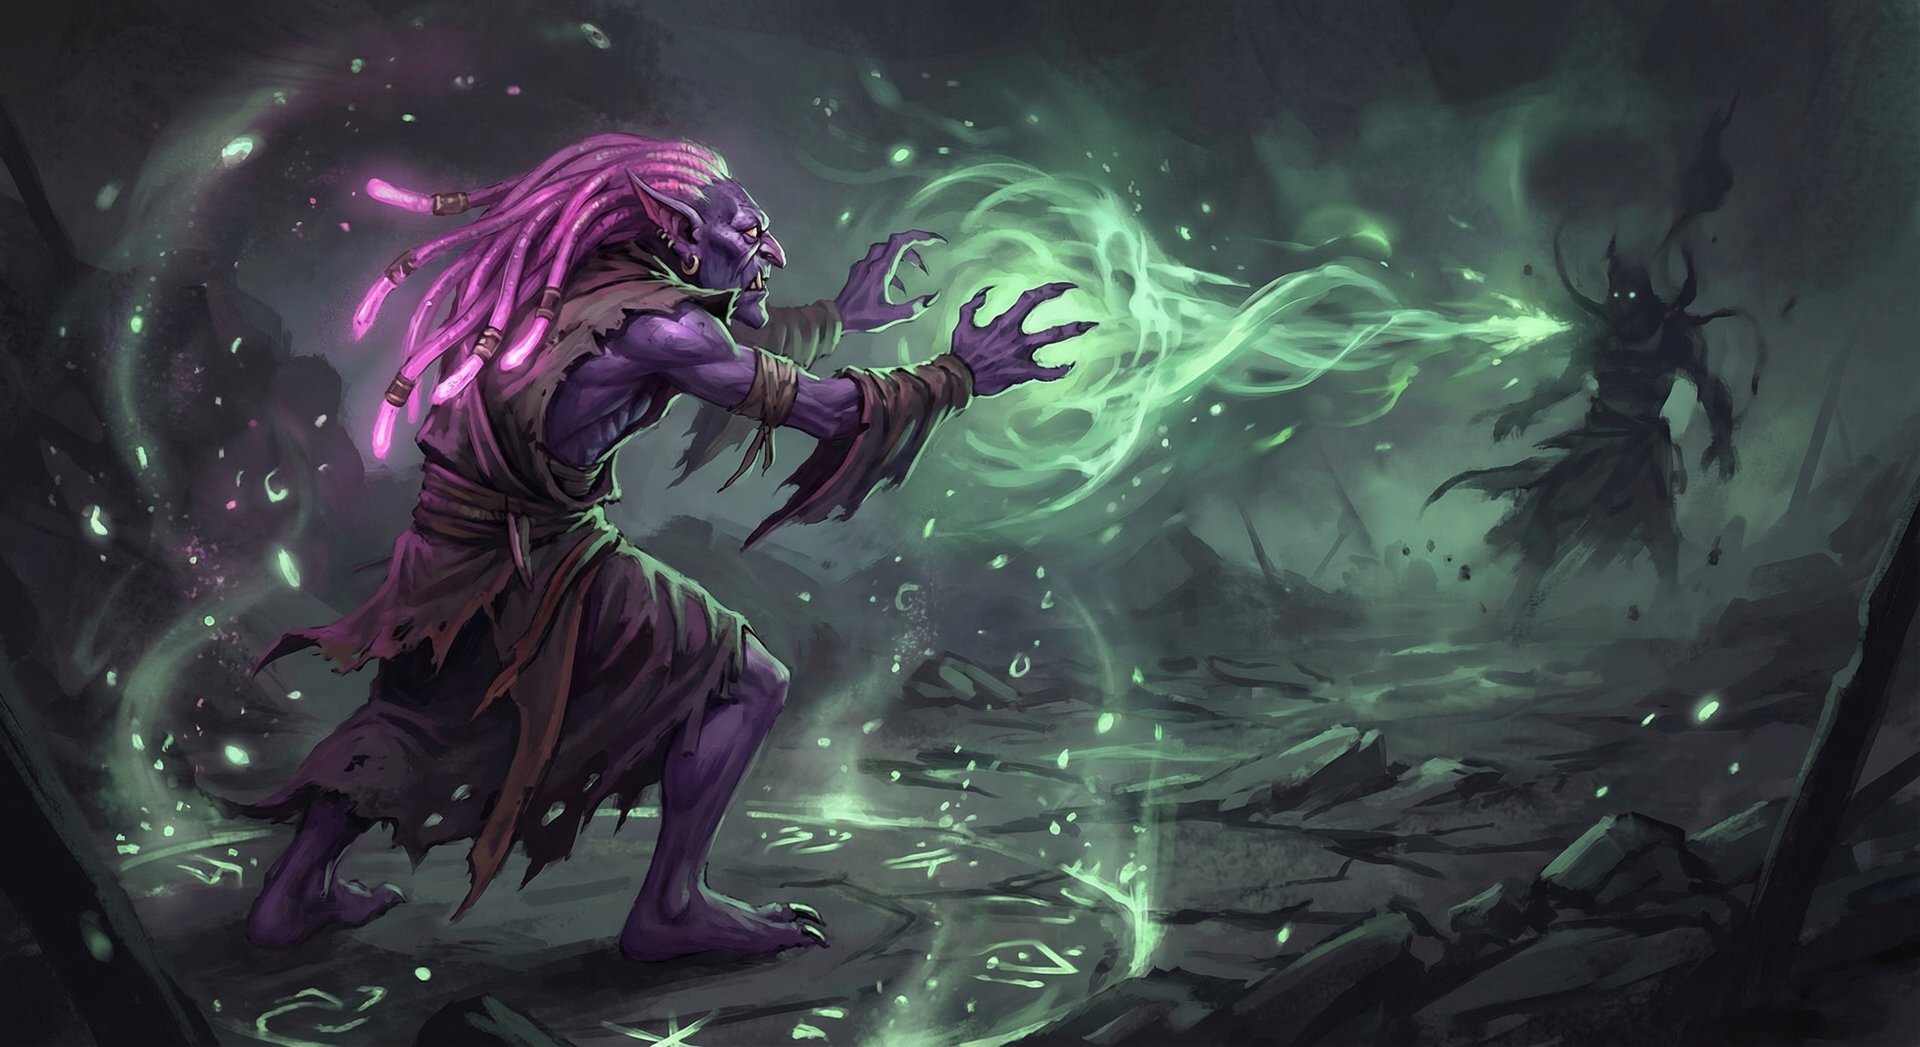
Shadow Wave (E)
Shadow Wave is a chain heal that bounces between nearby allied units, healing each one and dealing physical damage to enemies near each bounce target. This ability is deceptively powerful and often underestimated by newer players.
Key Interactions
- Bounce priority: Shadow Wave prioritizes heroes over creeps, and lowest-HP allies over higher-HP ones. Position near your cores during fights to ensure bounces hit them.
- Physical damage component: The damage dealt around each bounce target is PHYSICAL, meaning it benefits from armor reduction. Combined with Bad Juju stacks, Shadow Wave damage in teamfights is substantial.
- Creep clusters: Using Shadow Wave when surrounded by allied creeps maximizes both healing bounces and damage output. In lane, casting it near a full creep wave can deal 200+ damage to nearby enemy heroes.
- Self-included: Dazzle is always one of the bounce targets if he is in range. You heal yourself automatically.
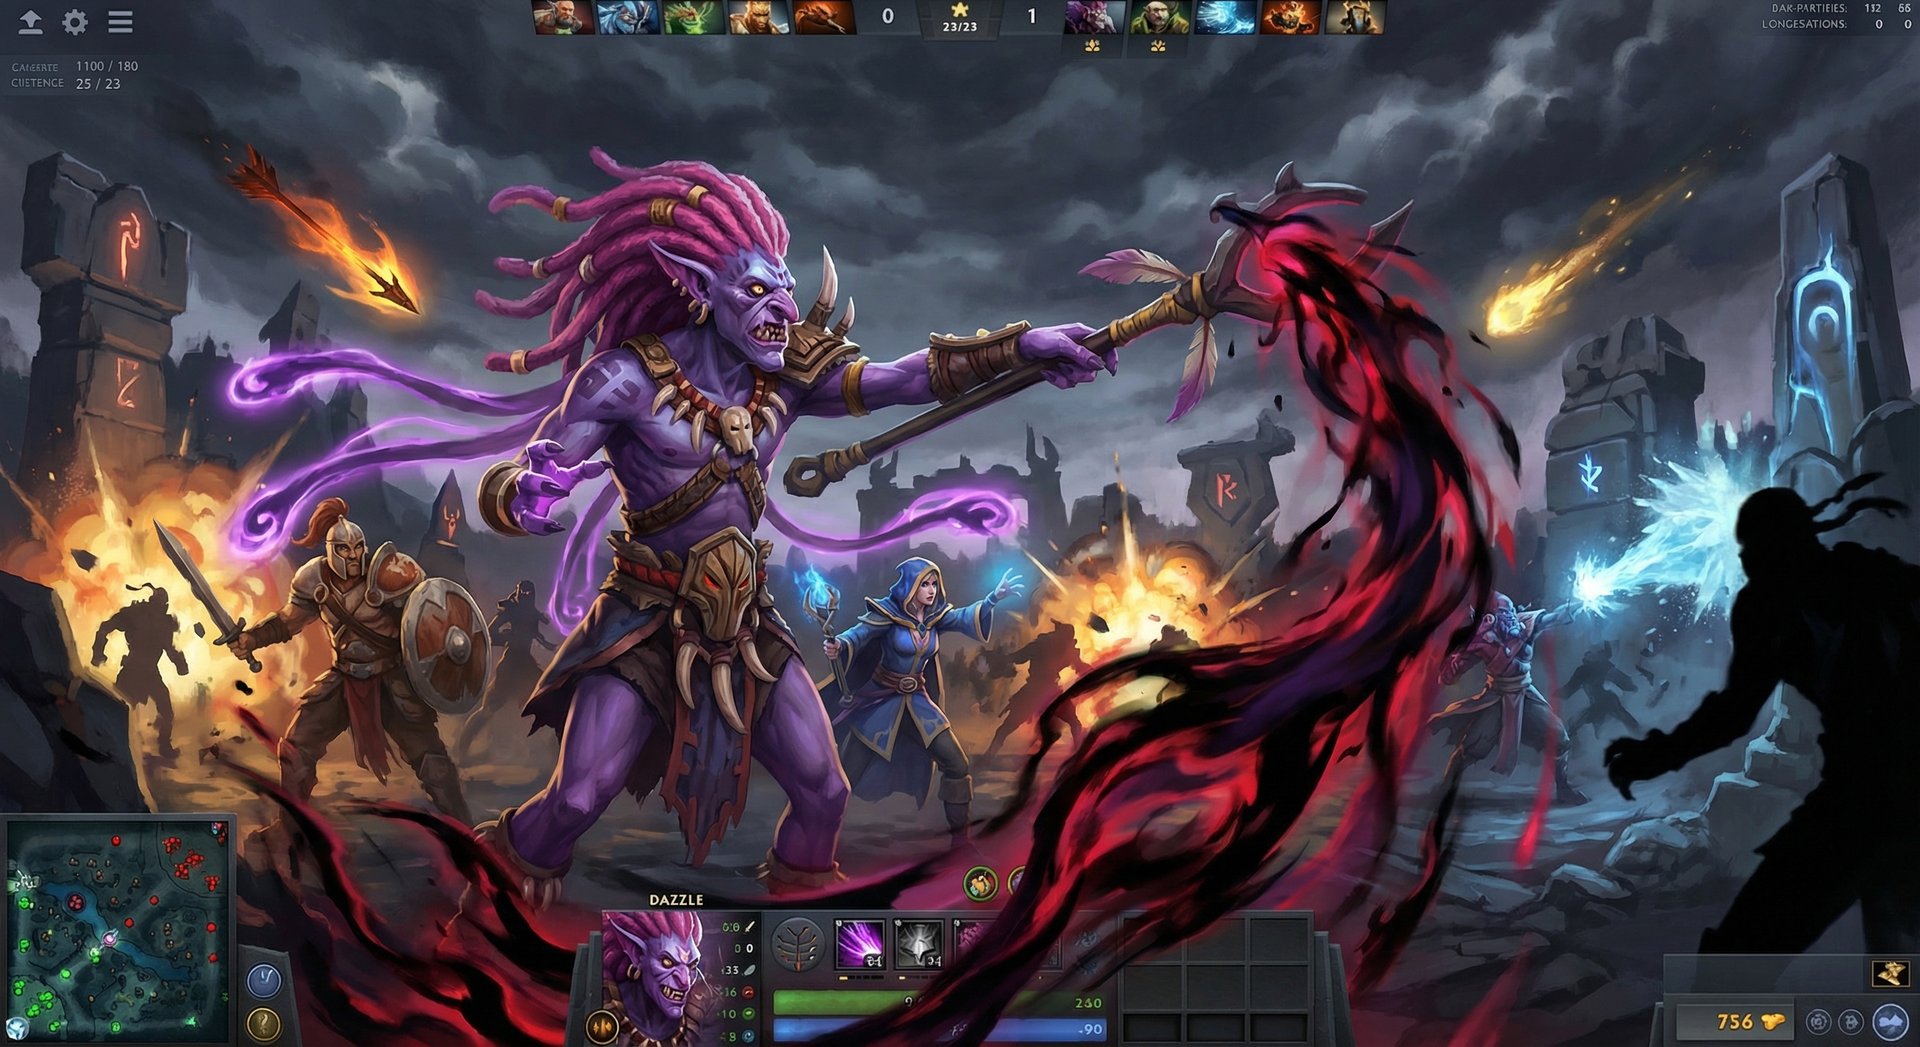
Bad Juju (R) — Ultimate
Bad Juju is a passive ultimate that gives Dazzle two powerful effects: cooldown reduction on all abilities and items, and an armor reduction debuff applied to nearby enemies every time Dazzle casts a spell. This ability turns Dazzle into a teamfight machine.
Why Bad Juju Is Secretly Broken
- Cooldown reduction: At max level, Bad Juju reduces all of Dazzle’s cooldowns by 30/40/50%. This means Shallow Grave on a 7-second cooldown, Poison Touch spammable every few seconds, and items like Mekansm and Guardian Greaves cycling much faster.
- Stacking armor reduction: Each spell cast applies a debuff that reduces enemy armor within a radius. These stacks accumulate — in a prolonged fight where Dazzle is spamming abilities, enemy heroes can easily lose 15-20 armor.
- Item synergy: The cooldown reduction applies to items too. Mekansm, Guardian Greaves, Medallion, Solar Crest — all cycle faster. This makes Dazzle one of the best Guardian Greaves carriers in the game.
- Radius awareness: The armor reduction only hits enemies within a radius around Dazzle. You need to be close enough to the fight to apply stacks, but safe enough not to get burst down. Positioning is everything.
Skill Build Order
| Level | Standard (Pos 5) | Aggressive Lane | Defensive Lane |
|---|---|---|---|
| 1 | Poison Touch | Poison Touch | Shadow Wave |
| 2 | Shadow Wave | Poison Touch | Shallow Grave |
| 3 | Shadow Wave | Shadow Wave | Shadow Wave |
| 4 | Shallow Grave | Shallow Grave | Shadow Wave |
| 5 | Shadow Wave | Poison Touch | Shallow Grave |
| 6 | Bad Juju | Bad Juju | Bad Juju |
| 7 | Shadow Wave | Poison Touch | Shadow Wave |
Standard build: Max Shadow Wave first for maximum healing throughput, take one early point in Shallow Grave for emergencies, and skill Poison Touch for lane harass. This is your go-to in 90% of games.
Aggressive build: Max Poison Touch alongside Shadow Wave when you have a kill lane with heroes like Ursa, Troll Warlord, or Mars. The slow and damage-over-time lets your carry run heroes down.
Defensive build: Two early points in Shallow Grave when you are laning against heavy burst combos like Tiny+Spirit Breaker or Mars+Hoodwink. The extra duration on Grave can save your carry from early dives.
Item Builds by Rank Bracket
| Rank | Starting | Early (0-10 min) | Core (10-25 min) | Late (25+ min) |
|---|---|---|---|---|
| Herald-Crusader | Tangoes, Healing Salve, Clarity x2, Blood Grenade, Observer Ward | Magic Stick, Boots, Ring of Basilius | Arcane Boots, Mekansm, Magic Wand | Guardian Greaves, Glimmer Cape, Force Staff |
| Archon-Legend | Tangoes, Healing Salve, Clarity x2, Sentry Ward, Blood Grenade | Magic Wand, Boots, Medallion of Courage | Arcane Boots, Solar Crest, Holy Locket | Guardian Greaves, Aghanim’s Scepter, Glimmer Cape |
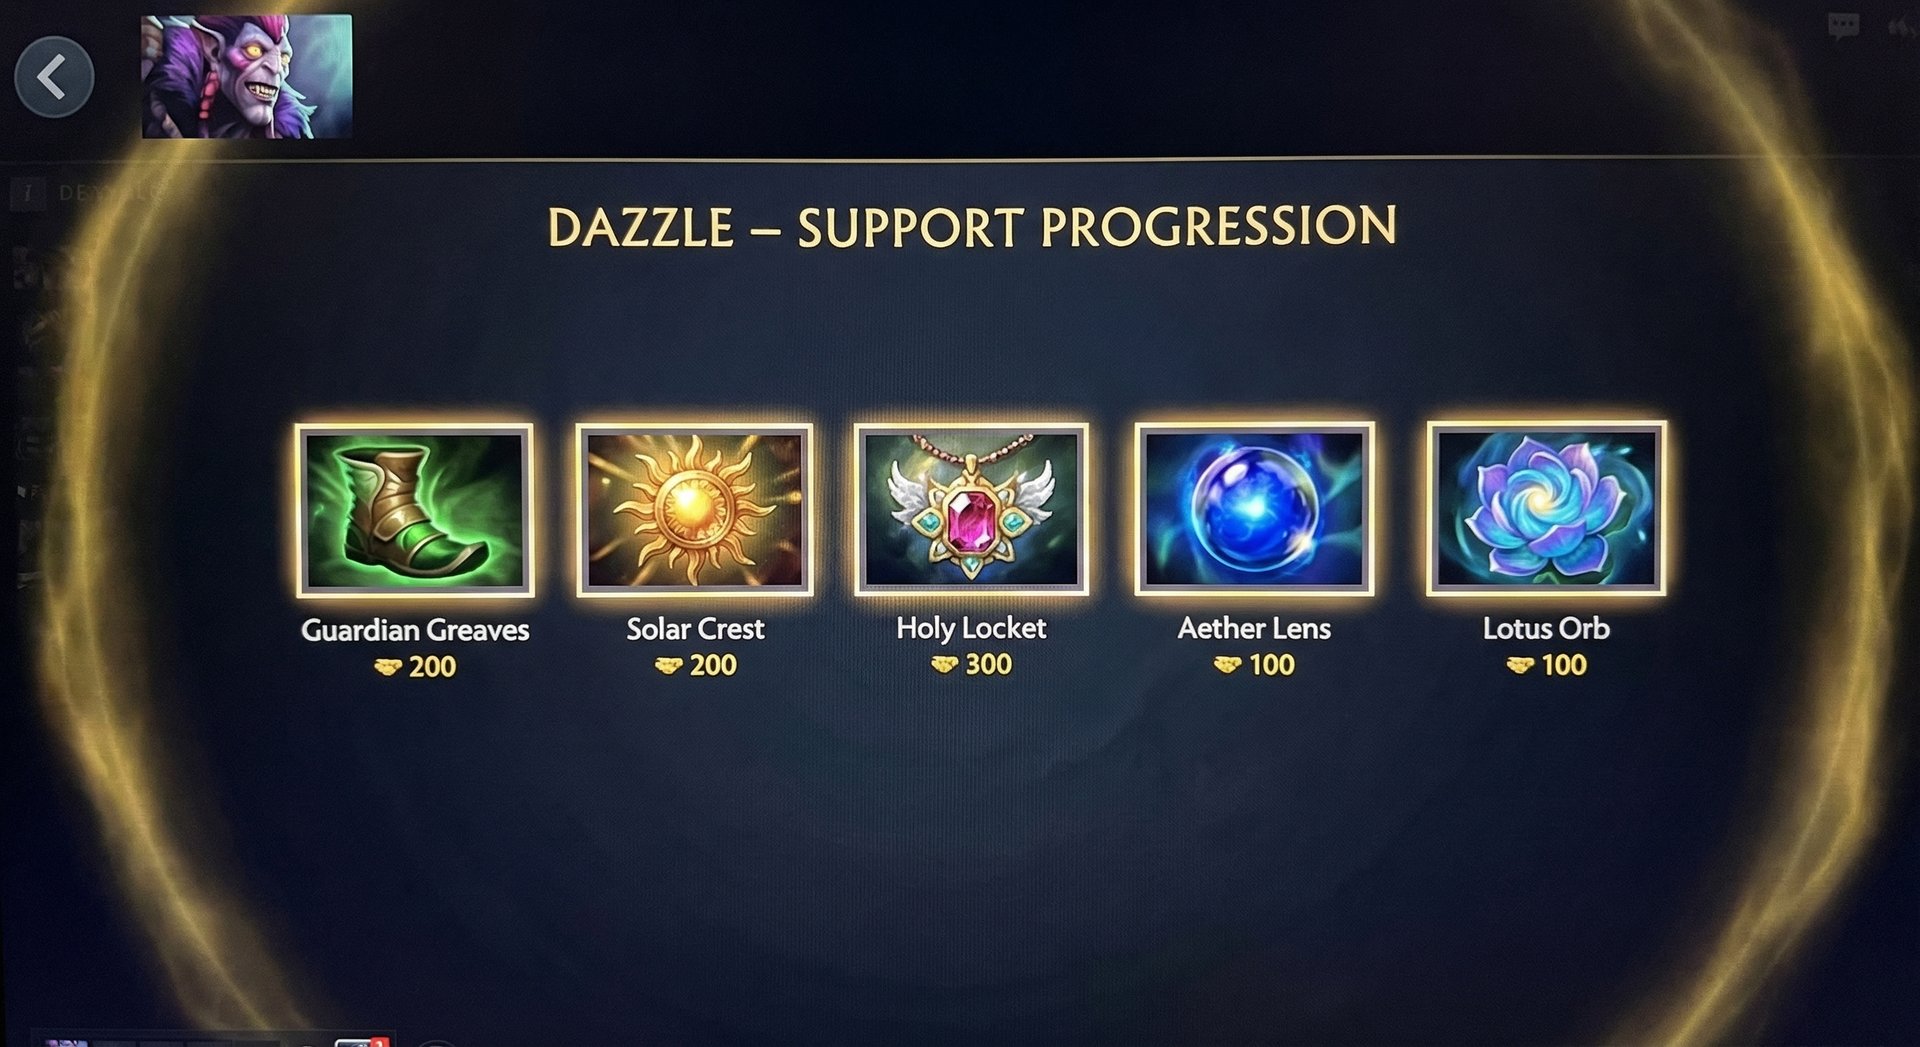
| Ancient-Divine | Tangoes, Healing Salve, Clarity x2, Sentry Ward, Blood Grenade | Magic Wand, Arcane Boots, Medallion | Solar Crest, Holy Locket, Aether Lens | Guardian Greaves, Aghanim’s Scepter, Lotus Orb |
| Immortal | Tangoes, Healing Salve, Clarity x2, Sentry Ward, Blood Grenade | Magic Wand, Arcane Boots, Medallion | Solar Crest, Aether Lens | Guardian Greaves, Lotus Orb, Aghanim’s Shard |
Why Items Differ by Rank
Herald-Crusader: At lower ranks, games go long and fights are chaotic. Mekansm into Guardian Greaves gives you a huge teamfight heal on a short cooldown thanks to Bad Juju, and the Greaves purge removes debuffs from yourself. Build straightforwardly — Arcane Boots, Mek, Greaves. Glimmer Cape gives you or your carry invisibility to escape after a Grave save.
Archon-Legend: Players at this bracket start to understand armor mechanics. Solar Crest is your highest-value item — it gives massive armor and attack speed to your carry or strips armor from a target, stacking with Bad Juju. Holy Locket amplifies all your healing, turning Shadow Wave into a massive sustain tool.
Ancient-Divine: At this level, cast range becomes critical. Aether Lens lets you Shallow Grave from safe positions where you cannot be targeted. Solar Crest remains core, but Lotus Orb becomes increasingly valuable to reflect stuns and silences off your carry.
Immortal: Games are faster and positioning is punished harder. Aether Lens early is often prioritized over Holy Locket because the extra range on Shallow Grave and Shadow Wave is worth more than raw healing numbers. Lotus Orb is almost always purchased to dispel important debuffs. Aghanim’s Shard provides an additional AoE heal source.
Laning Phase Masterclass
Dazzle’s laning phase is surprisingly aggressive for a hero known as a “save support.” Your level 1 Poison Touch is one of the best trading spells in the game, and Shadow Wave lets you sustain your carry through almost any harass.
Level 1 Trading Pattern
At the first creep wave, look to apply Poison Touch to the enemy offlaner as they approach for last hits. The slow prevents them from trading back effectively, and the DOT forces them to use regen early. After casting Poison Touch, follow up with 2-3 right-clicks — each attack on a Poison Touch-debuffed target refreshes the debuff and extends the slow.
If the enemy offlaner respects your level 1, shift your aggression to the enemy Position 4. Most Position 4s at lower ranks do not expect Dazzle to play this aggressively, and Poison Touch trades favorably against almost every support in a 1v1 scenario.
Managing Mana in Lane
Dazzle’s biggest lane weakness is mana management. Poison Touch costs 100/115/130/145 mana, and Shadow Wave costs 90/100/110/120. With a starting mana pool of roughly 300, you can cast 2-3 spells before you need clarities. Always carry 2 clarities minimum in the starting build, and pop them during safe moments behind the trees.
A critical mistake lower-ranked Dazzle players make is spamming Shadow Wave on cooldown to heal minor poke damage. Only use Shadow Wave when your carry has lost 200+ HP or when you can hit an enemy hero with the damage component. Wasting mana on small heals leaves you dry when you need a clutch Shallow Grave.
Lane Partner Synergies
| Carry | Synergy Rating | Why It Works |
|---|---|---|
| Huskar | S-Tier | Shallow Grave + Huskar’s low-HP damage amplification is the most iconic combo in Dota 2. Grave lets Huskar sit at 1 HP dealing maximum Berserker’s Blood damage for 5 seconds. |
| Juggernaut | A-Tier | Healing Ward + Shadow Wave creates insane sustain. Blade Fury + Poison Touch slow guarantees early kills. |
| Ursa | A-Tier | Poison Touch slow lets Ursa stack Fury Swipes. Shallow Grave keeps Ursa alive during aggressive dives under tower. |
| Wraith King | A-Tier | WK already has two lives with Reincarnation. Add Shallow Grave and he functionally has three. |
| Faceless Void | A-Tier | Shallow Grave inside Chronosphere lets Void play ultra-aggressively. Shadow Wave heals in the Chrono. |
| Luna | B-Tier | Luna’s early aggression pairs well with Poison Touch. Armor reduction from Bad Juju amplifies Luna’s physical damage. |
Positioning in Lane
Stand between the creep wave and the trees on your side of the lane. This position lets you cast Poison Touch for harass, Shadow Wave using creeps as bounce targets for damage, and retreat into trees if the enemy commits on you. Never stand behind your carry — you need to be closer to the enemy than your carry to draw aggro and trade.
When pulling, stack the small camp first at X:53, then pull at X:15 or X:45. Dazzle’s Shadow Wave makes it easy to finish off stacked camps quickly while healing yourself.
Mid and Late Game Transitions
Dazzle’s Power Spikes
Dazzle does not have traditional power spikes tied to item timings like a carry does. Instead, his impact scales with ability levels and team composition:
- Level 6 (Bad Juju): Your first major spike. The cooldown reduction lets you cast spells noticeably faster, and the armor reduction starts stacking in fights. This is when you transition from a lane support to a teamfight hero.
- Level 12 (Bad Juju Level 2): 40% cooldown reduction is transformative. Shallow Grave is on a roughly 8-second cooldown, meaning you can Grave two different allies in a single fight.
- Guardian Greaves timing: Whenever you complete Greaves, you hit a massive spike. The active heal + mana restore on a reduced cooldown turns you into a teamfight sustain machine.
- Level 18 (Bad Juju Level 3): 50% cooldown reduction. Shallow Grave every 6 seconds. Shadow Wave every 3 seconds. You are now the most annoying hero on the map.
Teamfight Positioning
In teamfights, Dazzle operates from the second row — behind your initiators and frontline, but within casting range of your cores. Your priorities in a teamfight are, in order:
- Stay alive. A dead Dazzle is a useless Dazzle. You cannot Grave from the grave.
- Shallow Grave the right target. This is almost always your highest-damage core. Do not waste Grave on a tanky offlaner who would survive anyway.
- Spam abilities for Bad Juju stacks. Every spell cast strips armor. Use Poison Touch, Shadow Wave, and items on cooldown to maximize debuff stacks.
- Solar Crest the priority target. If your team is focusing a specific hero, Solar Crest + Bad Juju stacks can reduce their armor to extreme negatives.
When Dazzle Falls Off
Dazzle does not truly “fall off” in the traditional sense, but his effectiveness decreases when:
- Enemy team has Axe: Culling Blade ignores Shallow Grave. A good Axe player will specifically wait for your Grave before pressing R.
- Mass AOE burst: If the enemy can kill your entire team in 2 seconds, Shallow Grave saving one hero does not matter. Against heroes like Enigma, Magnus, or Tidehunter with massive AOE combos, Dazzle struggles.
- Break mechanics: Silver Edge and other break sources disable Bad Juju’s passive, significantly reducing your teamfight impact.
- Heavy dispel teams: While Shallow Grave cannot be purged, many of your other buffs (Solar Crest, Guardian Greaves heal) can be. Teams with Oracle or Shadow Demon can neutralize parts of your kit.
Split Push and Map Movement
Dazzle is not a solo split-pusher. Always move with at least one core. Your value is entirely in keeping allies alive and shredding armor in fights. If you find yourself alone on the map with nothing to do, stack camps, place wards, and move toward your team’s next objective. A Dazzle wandering alone is feeding waiting to happen.
Counters: Heroes That Destroy Dazzle
1. Axe — The Ultimate Dazzle Counter
Counter severity: Extreme. Axe’s Culling Blade kills through Shallow Grave when the target is below the kill threshold. This single interaction makes Axe the hardest Dazzle counter in the game. A skilled Axe player will bait out your Grave, wait 2-3 seconds, then Culling Blade the Graved target for a guaranteed kill. There is almost no counterplay from the Dazzle side beyond hoping your carry does not drop below the threshold.
How to play around Axe: Grave early — before your ally drops below the Culling Blade threshold. Buy Glimmer Cape or Force Staff to reposition the Graved ally away from Axe. Communicate to your team that Axe must be controlled during fights before he can Cull.
2. Ancient Apparition — Ice Blast Shatters Through Grave
Counter severity: High. Ice Blast’s shatter effect kills heroes whose HP drops below the shatter threshold, and this goes through Shallow Grave. Additionally, Ice Blast prevents all healing, which completely shuts down Shadow Wave’s sustain. Dazzle’s entire kit revolves around healing and preventing death — AA counters both.
How to play around AA: Build status resistance items (Sange-based items on your cores) to reduce Ice Blast duration. Wait for Ice Blast debuff to expire before healing. Try to fight when AA’s ultimate is on cooldown — it has a long CD early.
3. Doom — Doom Silences Everything
Counter severity: High. Doom’s ultimate disables all of Dazzle’s abilities and items. A Doomed Dazzle cannot Shallow Grave, cannot heal, cannot do anything. Doom players will specifically target Dazzle in teamfights because removing the save support first guarantees kills on cores.
How to play around Doom: Position far back — make Doom waste his Blink Dagger reaching you instead of your carry. Buy Linken’s Sphere if the game goes late. Stay at maximum cast range at all times.
4. Legion Commander — Duel Prevents Grave
Counter severity: Moderate-High. During Duel, Dazzle can cast Shallow Grave on the Dueled ally, but Legion Commander’s burst damage combined with Blade Mail often kills the target before Dazzle can react. Additionally, if Dazzle is the Duel target, the team loses its save entirely.
How to play around LC: Always keep vision of LC. Pre-position near your carry during the midgame when LC is looking for pickoffs. Save Grave specifically for Duel — do not use it preemptively.
5. Silencer — Global Silence Shuts Down Dazzle
Counter severity: Moderate. Global Silence prevents Dazzle from casting any abilities during its duration. If timed at the start of a fight, Dazzle is completely useless for 4-6 seconds — long enough for the enemy team to kill a core through burst damage. Additionally, Arcane Curse punishes Dazzle’s spell-spamming playstyle.
How to play around Silencer: Buy Eul’s Scepter or BKB to dispel silence. Guardian Greaves’ active purges silences. Communicate with your team to bait Global Silence before committing to fights.
Heroes Dazzle Destroys
1. Phantom Assassin
PA relies on critical strike burst damage to one-shot targets. Shallow Grave completely negates PA’s kill potential — she blows her combo, the target survives at 1 HP, and Shadow Wave heals them back up. Additionally, Solar Crest and armor items reduce PA’s physical damage significantly. PA’s lack of HP-removal mechanics means she has no way to play around Grave.
2. Ursa
Ursa’s entire gameplan is diving in, bursting a target with Fury Swipes + Overpower, and backing out. Shallow Grave turns every Ursa dive into a failed commitment. Ursa has no way to kill through Grave, and the wasted cooldowns on Overpower and Enrage leave him vulnerable during the Grave duration.
3. Templar Assassin
TA’s burst damage relies on Meld Strike and Psi Blades. Shallow Grave negates the one-shot potential, and Bad Juju’s armor reduction strips TA’s Refraction charges faster through increased damage instances. Shadow Wave’s physical damage component also removes Refraction charges efficiently.
4. Slark
Slark wants to isolate targets and steal stats through prolonged fights. Dazzle keeps Slark’s targets alive with Grave and heals them back with Shadow Wave, preventing Slark from snowballing stat steals. Poison Touch’s slow also makes it harder for Slark to chase down targets after using Pounce.
5. Huskar (Enemy)
While Huskar is Dazzle’s best ally, an enemy Huskar actually struggles against Dazzle’s kit. Poison Touch applies magic damage over time that Huskar’s magic resistance does not fully negate, and Shadow Wave’s physical damage ignores magic resistance entirely. Bad Juju strips the armor Huskar relies on when playing at low HP.
How Pros Play Dazzle in the Current Patch
Dazzle has seen consistent pro play throughout 2025-2026, primarily as a Position 5 support in both Eastern and Western European metas. While not a first-phase ban material hero, Dazzle is respected as a comfort pick that pairs well with physical damage cores.
Notable Pro Dazzle Games
In recent DPC seasons, teams like Team Liquid and Gaimin Gladiators have fielded Dazzle in key matches. The hero is particularly favored in drafts that feature Huskar or Wraith King as the carry, where Shallow Grave’s synergy with these heroes’ natural tankiness creates near-unkillable frontlines.
Pro players typically rush Arcane Boots into Solar Crest, skipping Mekansm entirely in favor of the armor manipulation synergy with Bad Juju. The reasoning is that Solar Crest’s armor swing (+7 to allies, -7 to enemies) combined with Bad Juju stacks creates a larger effective HP swing than Mekansm’s burst heal in coordinated fights.
Pro Positioning Habits
Watch how pro Dazzle players never stand in the frontline. They position at maximum cast range, often behind terrain features like trees and high ground, using the extended range from Aether Lens to cast Shallow Grave from positions where the enemy cannot reach them. This is the single biggest difference between pub and pro Dazzle play.
In pro drafts, Dazzle is often paired with a second save support like Oracle or Treant Protector, creating a dual-save backline that makes the enemy team’s kill targets nearly impossible to burst down. Teams counter this by drafting AOE wombo-combo lineups or by picking Axe to ignore the Grave mechanic entirely.
Pro Skill Build Differences
Interestingly, many pro Dazzle players skip early Poison Touch entirely in certain matchups, going for a 1-1-3-1 build by level 6 that maximizes Shadow Wave healing output. The rationale is that in coordinated lanes, the carry and Dazzle can secure kills through positioning and Shadow Wave damage without needing the Poison Touch slow. This build prioritizes sustain over aggression.
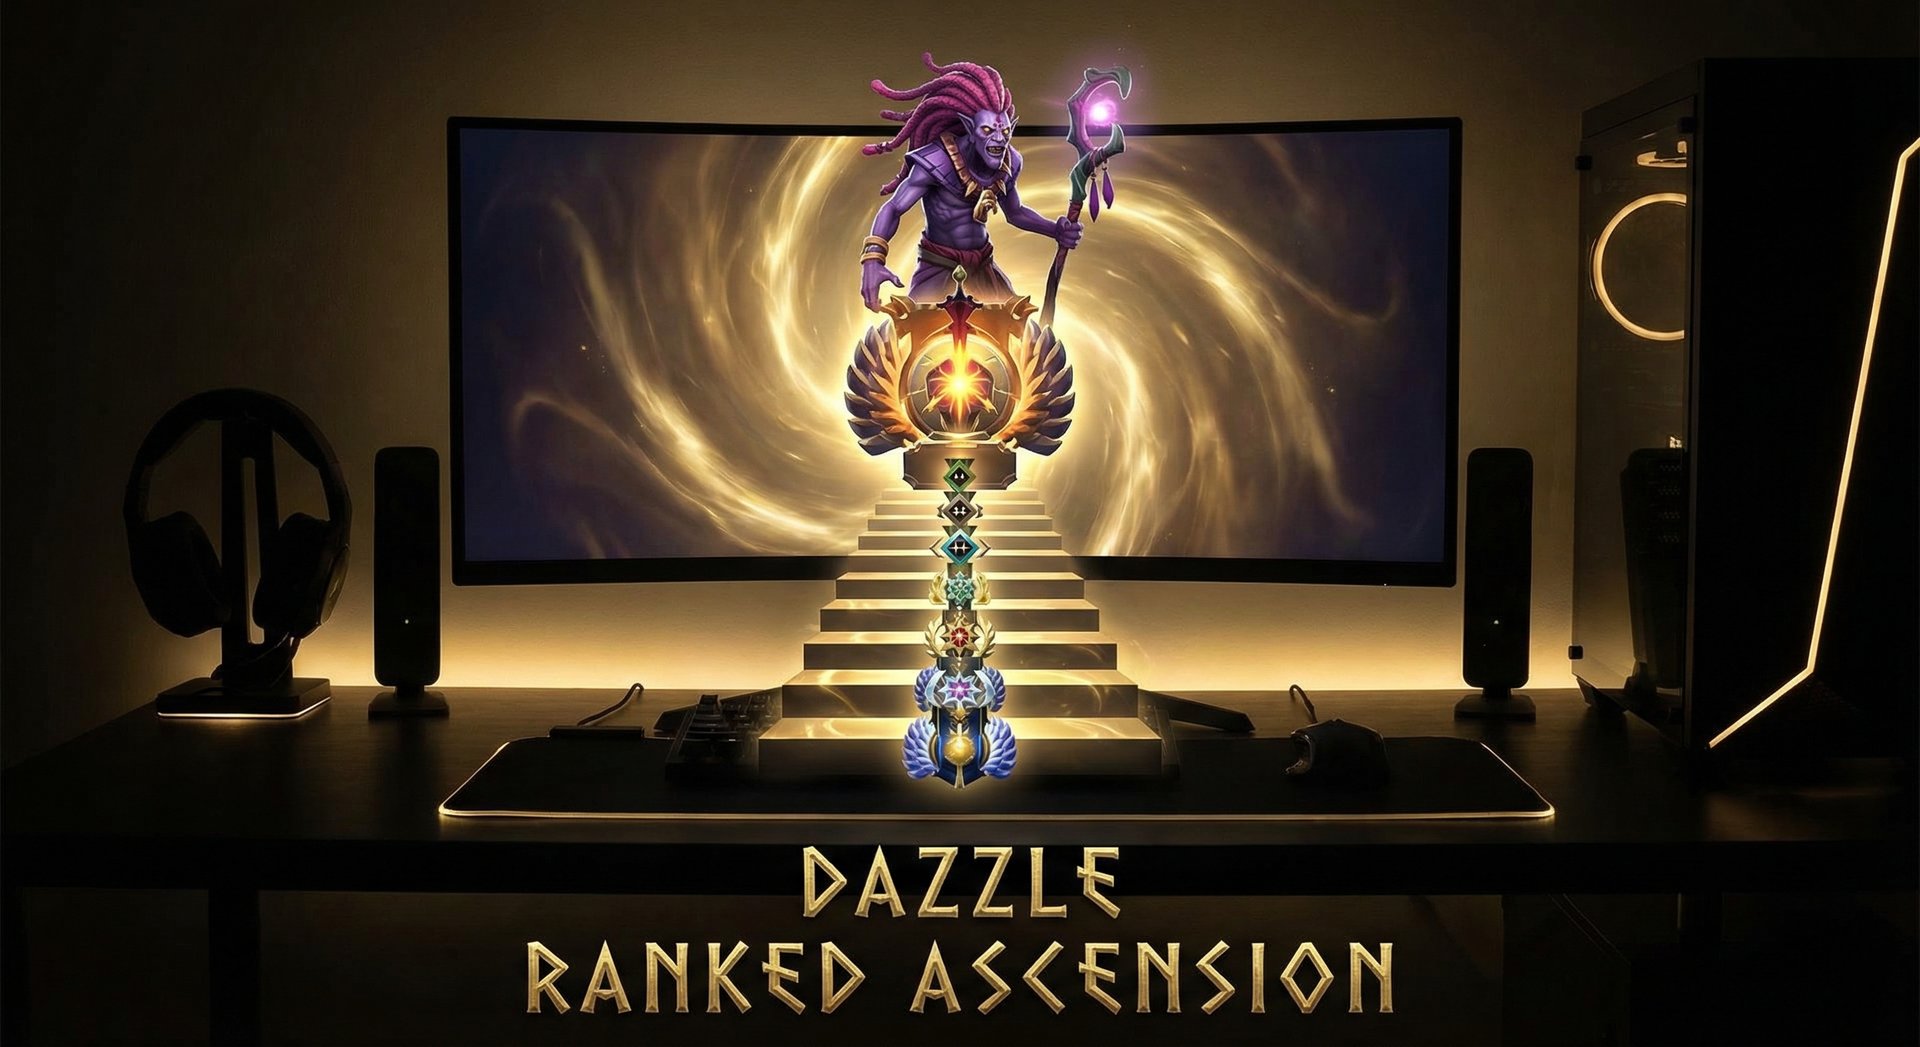
Rank-Specific Climbing Guide
Herald to Guardian: Build Your Foundation
At Herald and Guardian ranks, the most important Dazzle skill is simply staying alive and pressing W on time. Do not worry about optimal ability usage or complex item builds. Focus on these fundamentals:
- Buy wards. At this rank, nobody buys wards. You buying Observer and Sentry wards alone gives your team a massive advantage.
- Stay behind your carry. Your job is to heal and save, not to fight. If you are dying more than 5 times per game, you are standing too far forward.
- Use Shallow Grave before your ally dies, not during. The biggest Herald Dazzle mistake is panicking and pressing W after the ally is already dead. Watch their HP bar and Grave when they hit 30-40% HP.
- Build Mekansm. The active heal is easy to use and impactful. Press it in every teamfight.
Crusader to Archon: Adding Lane Presence
At Crusader and Archon, you need to start winning your lane as Dazzle, not just surviving it. This means:
- Harass with Poison Touch. Hit the enemy offlaner with Poison Touch every time it is off cooldown. Follow up with right-clicks to refresh the debuff. Force them to use regen or leave lane.
- Pull camps efficiently. Stack the small camp at X:53, pull at X:15. Use Shadow Wave to clear stacked camps.
- Rotate mid at level 3-4 if your lane is going well. A Poison Touch + Shadow Wave combo from fog can easily get a kill on the enemy mid.
- Start building Solar Crest. This item is the single biggest upgrade from the Herald-tier Mekansm rush. Learn to use it actively — cast it on your carry during fights for the armor buff, or on enemy heroes for the armor debuff.
Legend to Ancient: The Macro Leap
Legend and Ancient is where Dazzle players must learn fight selection and target priority:
- Save Shallow Grave for the right hero. Do not Grave your offlaner who initiated and is supposed to die. Save it for your mid or carry who deal the actual damage.
- Smoke gank with your team. Dazzle is an excellent smoke gank participant because Poison Touch provides a reliable slow for catching targets, and Shallow Grave ensures your diving allies survive tower aggro.
- Control Roshan fights. Dazzle is one of the best Roshan supports thanks to Shadow Wave healing the entire team and Bad Juju reducing Roshan’s armor over the duration of the fight. Always attend Rosh attempts.
- Track enemy cooldowns. At this rank, know when Axe’s Culling Blade, AA’s Ice Blast, and Doom’s ultimate are available. Adjust your play accordingly.
Divine to Immortal: What Separates the Top 1%
At Divine and Immortal, Dazzle mastery is about millisecond-level decision making and draft awareness:
- Preemptive Grave on dive heroes. Grave your Huskar or Ursa BEFORE they jump in, not after they take damage. The guaranteed 5 seconds of unkillability lets them play maximum aggression.
- Aether Lens positioning abuse. With Aether Lens, your Shallow Grave range is absurd. Stand on high ground or behind trees at maximum range. The enemy team should never be able to target you.
- Bad Juju stack counting. In Immortal games, mentally track how many armor reduction stacks you have applied. Call out when high-priority targets are at -15 or -20 armor so your carry switches focus to them.
- Lotus Orb timing. At this rank, buy Lotus Orb specifically to reflect key abilities — Doom, Hex, Fiend’s Grip. Use it proactively on your carry before fights, not reactively after they are already stunned.
- Draft synergy awareness. Know when Dazzle is good (physical damage carry lineups, dive compositions) and when to skip him (against Axe + AA + Doom).
Tips and Tricks
Advanced Mechanics
- Shadow Wave positioning trick: Shadow Wave bounces deal physical damage in an AOE around each target. If you cast Shadow Wave while standing right next to an enemy hero, and your allied creeps are also nearby, the enemy takes damage from multiple bounce sources simultaneously. In a full creep wave, this can deal 300+ damage at max level.
- Grave into TP: Shallow Grave into immediate Town Portal Scroll is the classic Dazzle escape. Grave yourself, TP out. Even if the enemy hits you, your HP cannot drop below 1 for the Grave duration, giving you enough time to complete the TP channel.
- Bad Juju and Mekansm interaction: Because Bad Juju reduces item cooldowns, Mekansm’s heal has a much shorter cooldown on Dazzle than on any other hero. This is why Guardian Greaves is core — the purge + heal on a reduced cooldown is game-changing.
- Poison Touch refresh mechanic: Every right-click attack on a target debuffed by Poison Touch refreshes the slow and damage duration. In the laning phase, cast Poison Touch, then chase with right-clicks to keep the debuff going indefinitely. This is how you solo-kill enemy offlaners at early levels.
Common Mistakes to Avoid
- Graving too late. The most common Dazzle mistake at every rank. If your ally dies before your Grave animation completes, the spell is wasted. Cast Grave early — at 30-40% HP — not when they are already at 100 HP.
- Graving the wrong target. In chaotic teamfights, panicking and Graving a full-HP ally or a low-priority target wastes your most important ability. Stay calm, identify the carry, and save Grave for them.
- Standing in the frontline. Dazzle is squishy with no escape. If you die first in a fight, your team loses their save, their heal, and their armor reduction. Always stand behind your frontline.
- Ignoring Bad Juju armor stacks. Many Dazzle players forget that every spell cast reduces enemy armor. Spam abilities in teamfights — even if Shadow Wave heals full-HP allies, the armor reduction from casting it is worth the mana.
- Not buying detection. As a Position 5, carrying Dust and Sentries is your job. Invisible heroes like Riki, Bounty Hunter, and Clinkz can kill you before you react if you have no detection.
Animation Cancels and Micro Tips
- Shallow Grave has a cast point of 0.3 seconds. This is not instant. Account for this delay when saving allies in emergencies. Pre-position to minimize the time between your decision and the Grave landing.
- Shadow Wave has no cast point. It is instant cast, meaning you can use it while moving without stopping. Abuse this in fights — keep moving and casting Shadow Wave simultaneously.
- Alt+W for self-Grave. Always use the self-cast shortcut. Clicking on yourself in a panic wastes precious milliseconds.
- Shift-queue abilities. When being chased, shift-queue Shallow Grave (self) + TP scroll for a seamless escape. The TP begins channeling the instant Grave lands.
Frequently Asked Questions
No. Culling Blade kills through Shallow Grave if the target is below the kill threshold. Axe is the hardest Dazzle counter in the game specifically because of this interaction. Your best counterplay is to Grave early (before the HP threshold) and reposition the ally away from Axe with Force Staff or Glimmer Cape.
Position 5 is Dazzle’s optimal role in most games. As Pos 5, you have the freedom to focus entirely on saving, healing, and supporting without needing to farm items. Position 4 Dazzle can work in aggressive tri-lanes or when paired with a strong Position 5 who handles warding, but it is less consistent.
Axe is the single best counter. Ancient Apparition is second because Ice Blast shatter kills through Grave and prevents all healing. Doom is third because Doom’s ultimate completely disables Dazzle for 16 seconds, removing the save from teamfights entirely.
Max Shadow Wave first in 90% of games. The healing and damage per level scale much better than Poison Touch. Only max Poison Touch first in extremely aggressive kill lanes where your carry wants to run at the enemy nonstop (Ursa, Huskar, Troll Warlord).
No. Shallow Grave cannot be purged by any dispel in the game, including strong dispels. Once it is applied, the target is guaranteed to survive at 1 HP for the full duration. The only exceptions are Culling Blade’s kill threshold and Ice Blast’s shatter mechanic.
Guardian Greaves is core in most games, especially at lower ranks where its simplicity and impact are unmatched. In Immortal games, some players skip Greaves entirely in favor of Aether Lens + Solar Crest + Lotus Orb, prioritizing positioning and utility over raw sustain. The correct choice depends on the game state.
Bad Juju reduces cooldowns on ALL abilities and items by 30/40/50%. This means Mekansm, Guardian Greaves, Solar Crest, Glimmer Cape — everything cycles faster. This is what makes Dazzle the best Guardian Greaves carrier in the game and why itemization is so flexible.
Mastering Dazzle Takes More Than Reading a Guide
Want to learn Dazzle from an Immortal-rank support main Our coaches will review your replays, fix your positioning, and teach you the Grave timings that win games. Or skip the grind entirely — our boosters play Dazzle at the highest level.


