

How to Master Treant Protector in Dota 2: The Ultimate Guide for Every Rank (2026)

Treant Protector is one of Dota 2’s most underrated heroes, and the players who understand him properly are quietly farming MMR while their opponents have no idea what hit them. With the highest base damage of any hero in the game at level 1 (81-89 damage), a global heal and damage block, and one of the most devastating teamfight ultimates in patch 7.40c, Treant sits at a comfortable 53.2% winrate across all brackets — and that number climbs above 55% in Ancient and Divine games where players actually leverage his kit properly.
This guide breaks down everything you need to know about Treant Protector: from hidden ability interactions and rank-specific item builds to advanced ward-planting techniques and pro-level positioning. Whether you are a Herald player looking for an easy support to climb with or a Divine grinder trying to squeeze every advantage out of this walking fortress, you will find specific, actionable advice that goes far beyond “cast your spells and hope for the best.” Let’s get into it.
Table of Contents
Why Treant Protector Is the Most Overlooked Support in Dota 2
Treant Protector occupies a unique space in Dota 2. He is a position 4 or 5 support who functions as a lane bully, global healer, and teamfight controller all rolled into one massive, bark-covered package. In the current patch 7.40c, Treant’s kit synergizes perfectly with the meta’s emphasis on extended laning phases and early tower protection.
Here is what makes Treant special compared to other supports:
- Highest base damage in the game: 81-89 at level 1. No other hero comes close. This means you win virtually every right-click trade in lane.
- Global presence with Living Armor: You can heal and protect any ally or tower on the map without leaving your lane. This is effectively a global Shallow Grave-lite on a short cooldown.
- Nature’s Grasp creates impassable terrain: Vines that slow enemies by up to 40% and deal damage as they latch from tree to tree, controlling chokepoints better than most ultimates.
- Overgrowth is a BKB-piercing root: One of the few abilities in Dota 2 that goes through magic immunity, making Treant relevant no matter how late the game goes.
According to Dotabuff, Treant currently holds a 53.2% winrate with an 8.1% pick rate — solid numbers that reflect his reliability across all skill levels. His winrate spikes to over 55% in the Ancient-Divine bracket, where players understand how to abuse his laning dominance and global map pressure.
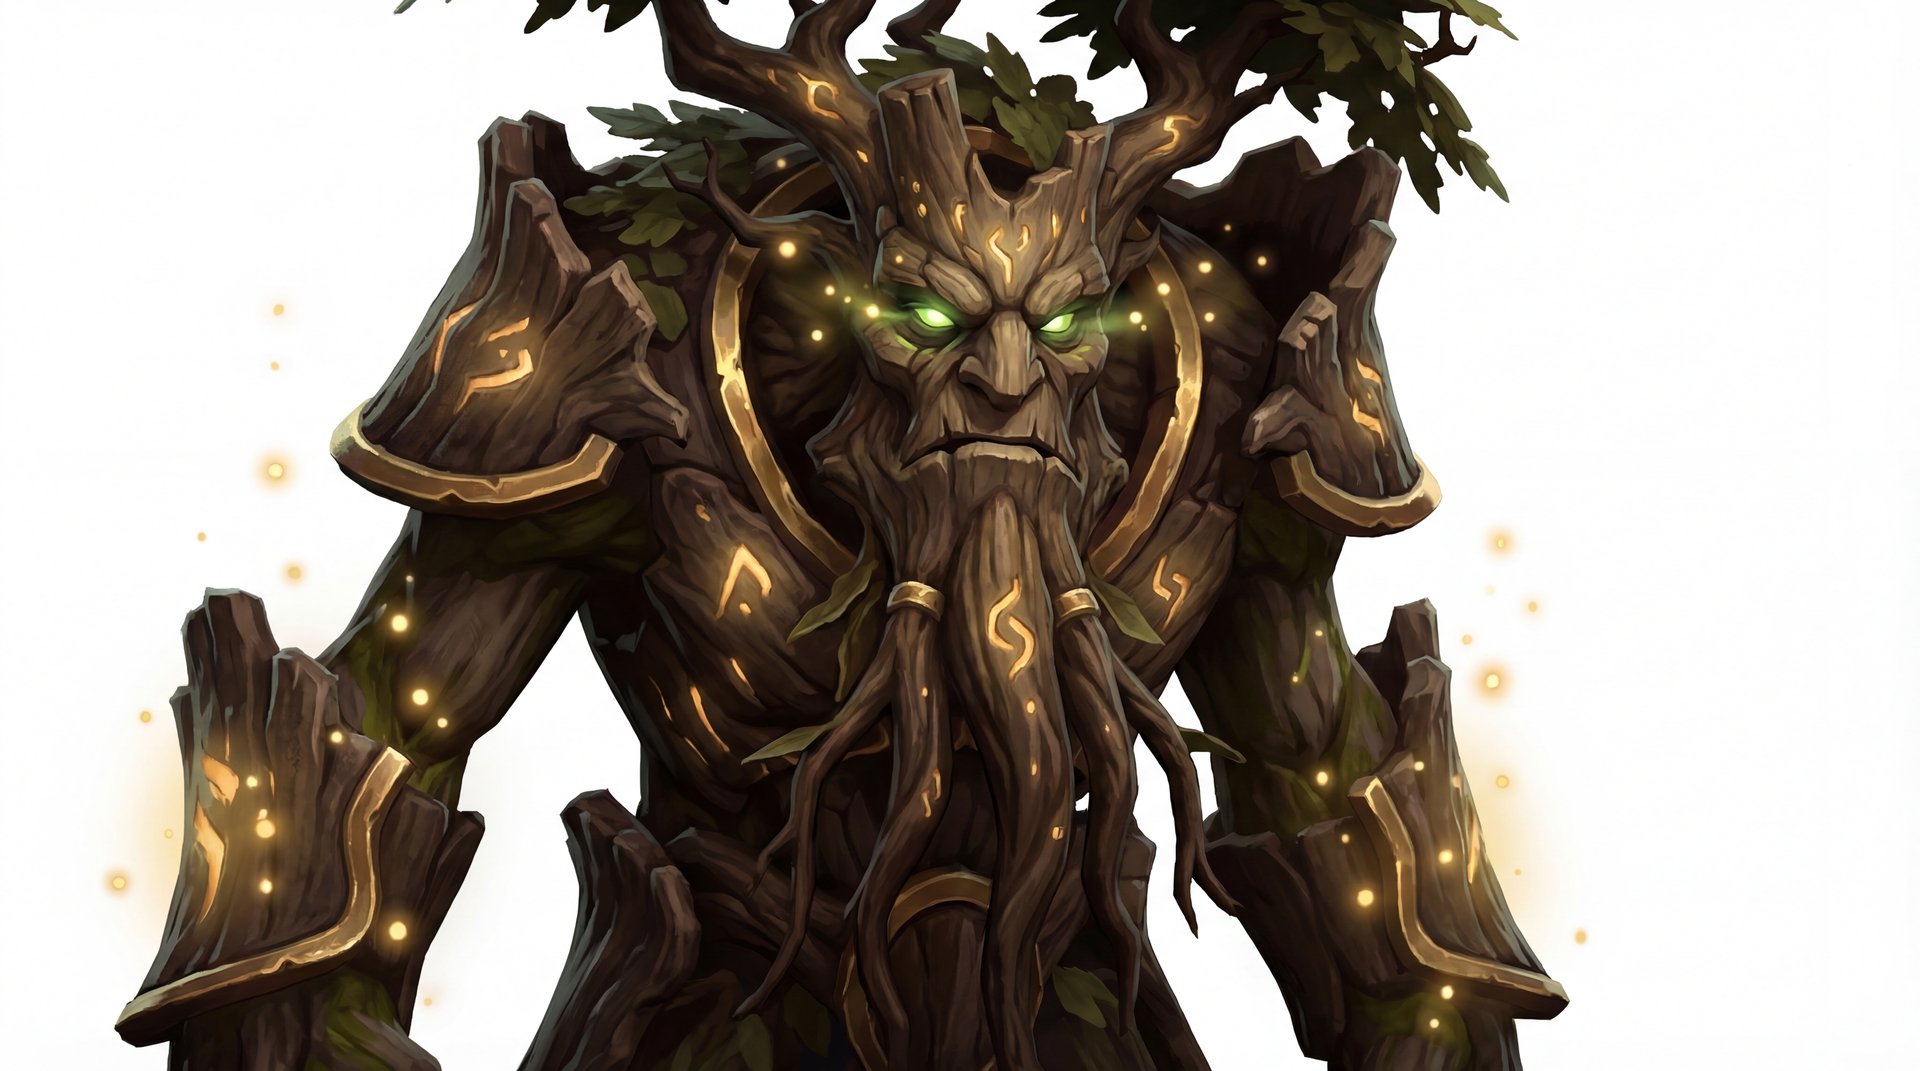
Abilities Deep Dive
Nature’s Grasp (Q)
Nature’s Grasp sends a wave of vines forward that latch onto nearby trees, creating a line of damaging, slowing overgrowth between them. This ability is Treant’s primary crowd control tool during the laning phase and remains devastating in teamfights throughout the game.
- Damage per second: 30/40/50/60
- Movement slow: 20%/25%/30%/40%
- Duration: 12 seconds at all levels
- Cast range: 1300
Hidden mechanics most players miss: The vines only latch between trees within 525 range of each other. This means the spell is dramatically more effective in wooded areas near tree lines than in open ground. In lane, always cast Nature’s Grasp from the tree line rather than from the open lane — the vines will create a much wider zone of control. The vines also provide vision in the area they cover, which is crucial for dewarding and scouting.
Another interaction that even Ancient players overlook: Nature’s Grasp vines persist even if the trees they latched to are destroyed after the cast. Once the vines are up, cutting trees does nothing to remove them.
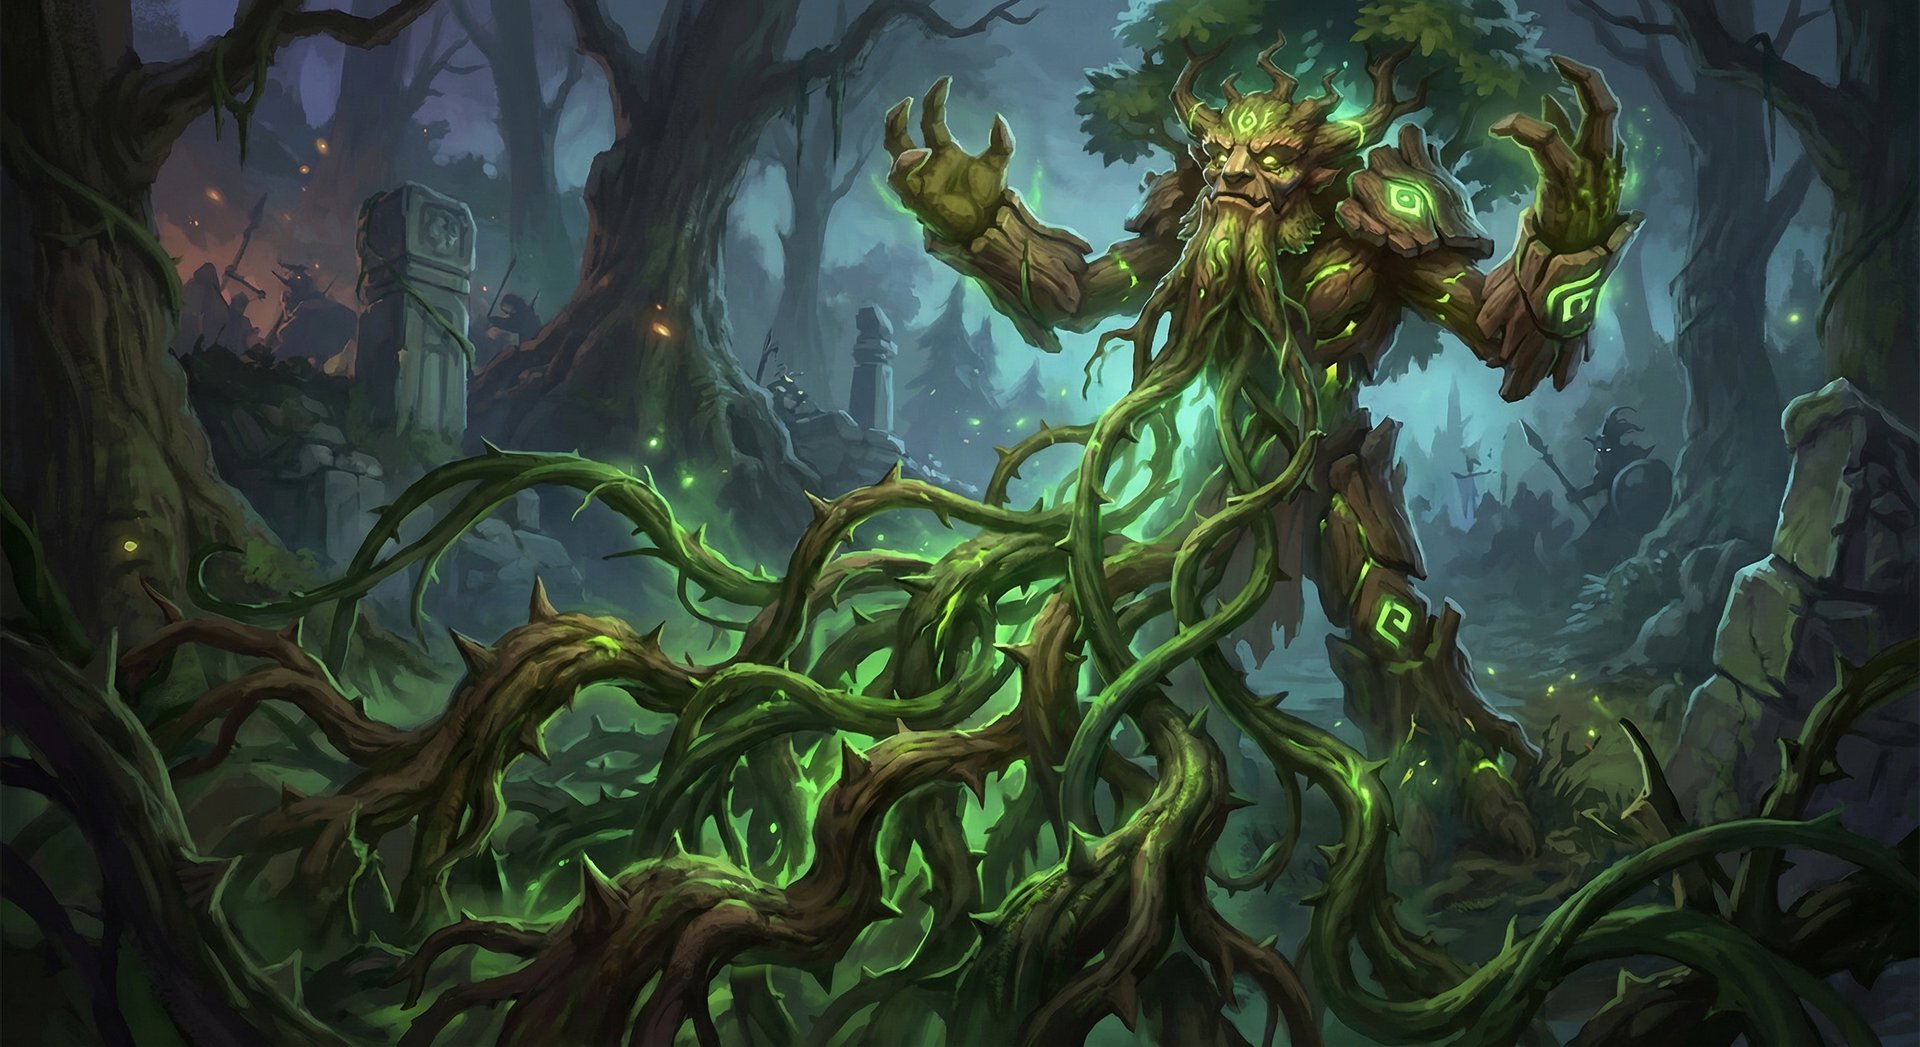
Leech Seed (W)
Leech Seed is Treant’s laning sustain tool and a surprisingly potent slow. It plants a seed on the target enemy that pulses damage, slowing them and healing nearby allies with each pulse.
- Damage per pulse: 30/45/60/75
- Heal per pulse: 30/45/60/75
- Movement slow: 16%/20%/24%/28%
- Pulses: 6 over 4.5 seconds
Critical interaction: The heal from Leech Seed is an area effect centered on the target enemy, healing all allies within 500 range. This means in a dual lane, both you and your carry get healed if you stay near the target. In teamfights, positioning your Leech Seed target so your team clusters around them creates an insane amount of sustain — up to 450 total healing at max level split across your team.
Laning trick: Cast Leech Seed and immediately follow up with right-click attacks. Your 81+ base damage combined with the slow from Leech Seed means the enemy support or carry literally cannot trade with you. You will out-damage them and heal back whatever they dealt to you.
Living Armor (E)
Living Armor is Treant’s signature global ability. It provides a damage block and health regeneration to any allied hero or structure on the map. This ability is what separates good Treant players from great ones.
- HP regen per second: 3/5/7/9
- Damage block: 20/40/60/80
- Damage block instances: 4/5/6/7
- Duration: 15 seconds
- Cooldown: 18 seconds at all levels
- Range: Global
Tower saving math: At level 4, Living Armor blocks 560 damage (7 instances x 80 damage block) and heals 135 HP over the duration. On a tower, this is equivalent to roughly 700 effective HP — often the difference between a tower surviving a dive or falling. Always prioritize towers that are being hit by 2+ heroes over individual allies in most cases during the first 10 minutes.
Hidden mechanic: Living Armor’s damage block is consumed by any damage source, including damage-over-time effects like Radiance burn or Urn of Shadows. This means heroes with fast-ticking DoT abilities (Jakiro, Venomancer, Huskar) completely shred through Living Armor in seconds. Keep this in mind when choosing your targets.
Overgrowth (R) — Ultimate
Overgrowth is one of the most powerful teamfight ultimates in Dota 2. Treant slams the ground, causing roots to erupt and entangle all enemy heroes in a large area around him. The root pierces magic immunity, making it relevant at every stage of the game.
- Damage per second: 75/100/125
- Root duration: 3/3.75/4.5 seconds
- Radius: 800
- Cooldown: 100/85/70 seconds
BKB interaction: Overgrowth roots through BKB, but the damage is blocked by magic immunity. This means BKB carriers are still locked in place — they just don’t take the DoT damage. This is a massive deal in late-game fights where the enemy carry pops BKB expecting to be untouchable.
Combo potential: The 800 radius is deceptively large. Combined with a Blink Dagger, Treant can initiate fights by blinking into 3-5 heroes and locking them all down for up to 4.5 seconds. That is longer than a Black Hole and it pierces BKB. Let that sink in.
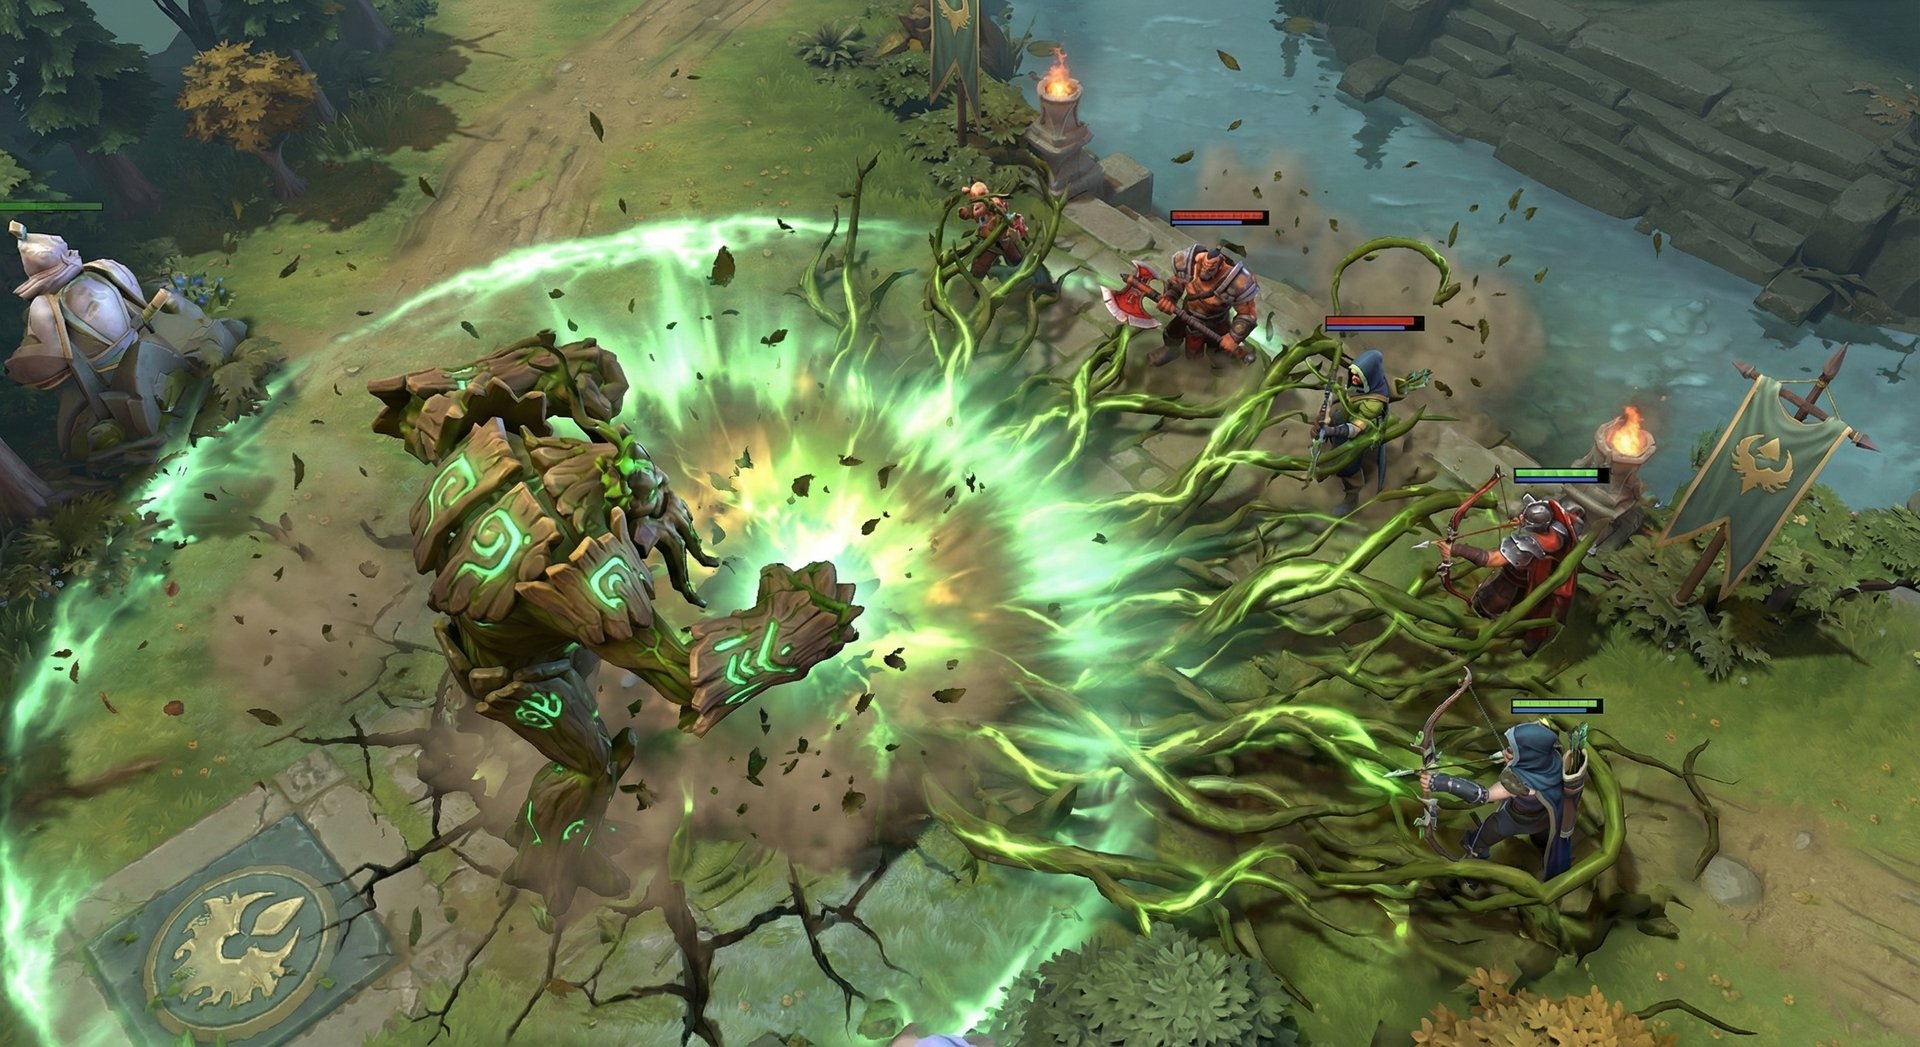
Skill Build Priority
| Situation | Level 1-4 | Level 5-8 | Max Order |
|---|---|---|---|
| Standard Support (pos 5) | W-E-W-Q | W-R-E-E | W > E > Q > R |
| Aggressive Lane (pos 4) | W-Q-W-Q | W-R-Q-Q | W > Q > E > R |
| Tower Defense / Global Focus | E-W-E-W | E-R-E-W | E > W > Q > R |
| Kill Lane (with stunner) | W-Q-W-E | W-R-Q-W | W > Q > E > R |
In most games, maxing Leech Seed first is correct. The damage and healing scale significantly per level, and the slow makes it nearly impossible for enemies to escape your right-click attacks. Living Armor at level 1 is sufficient for most tower saves early — the 20 damage block with 4 instances is often enough to keep a tower alive through an early push.
Item Builds by Rank Bracket
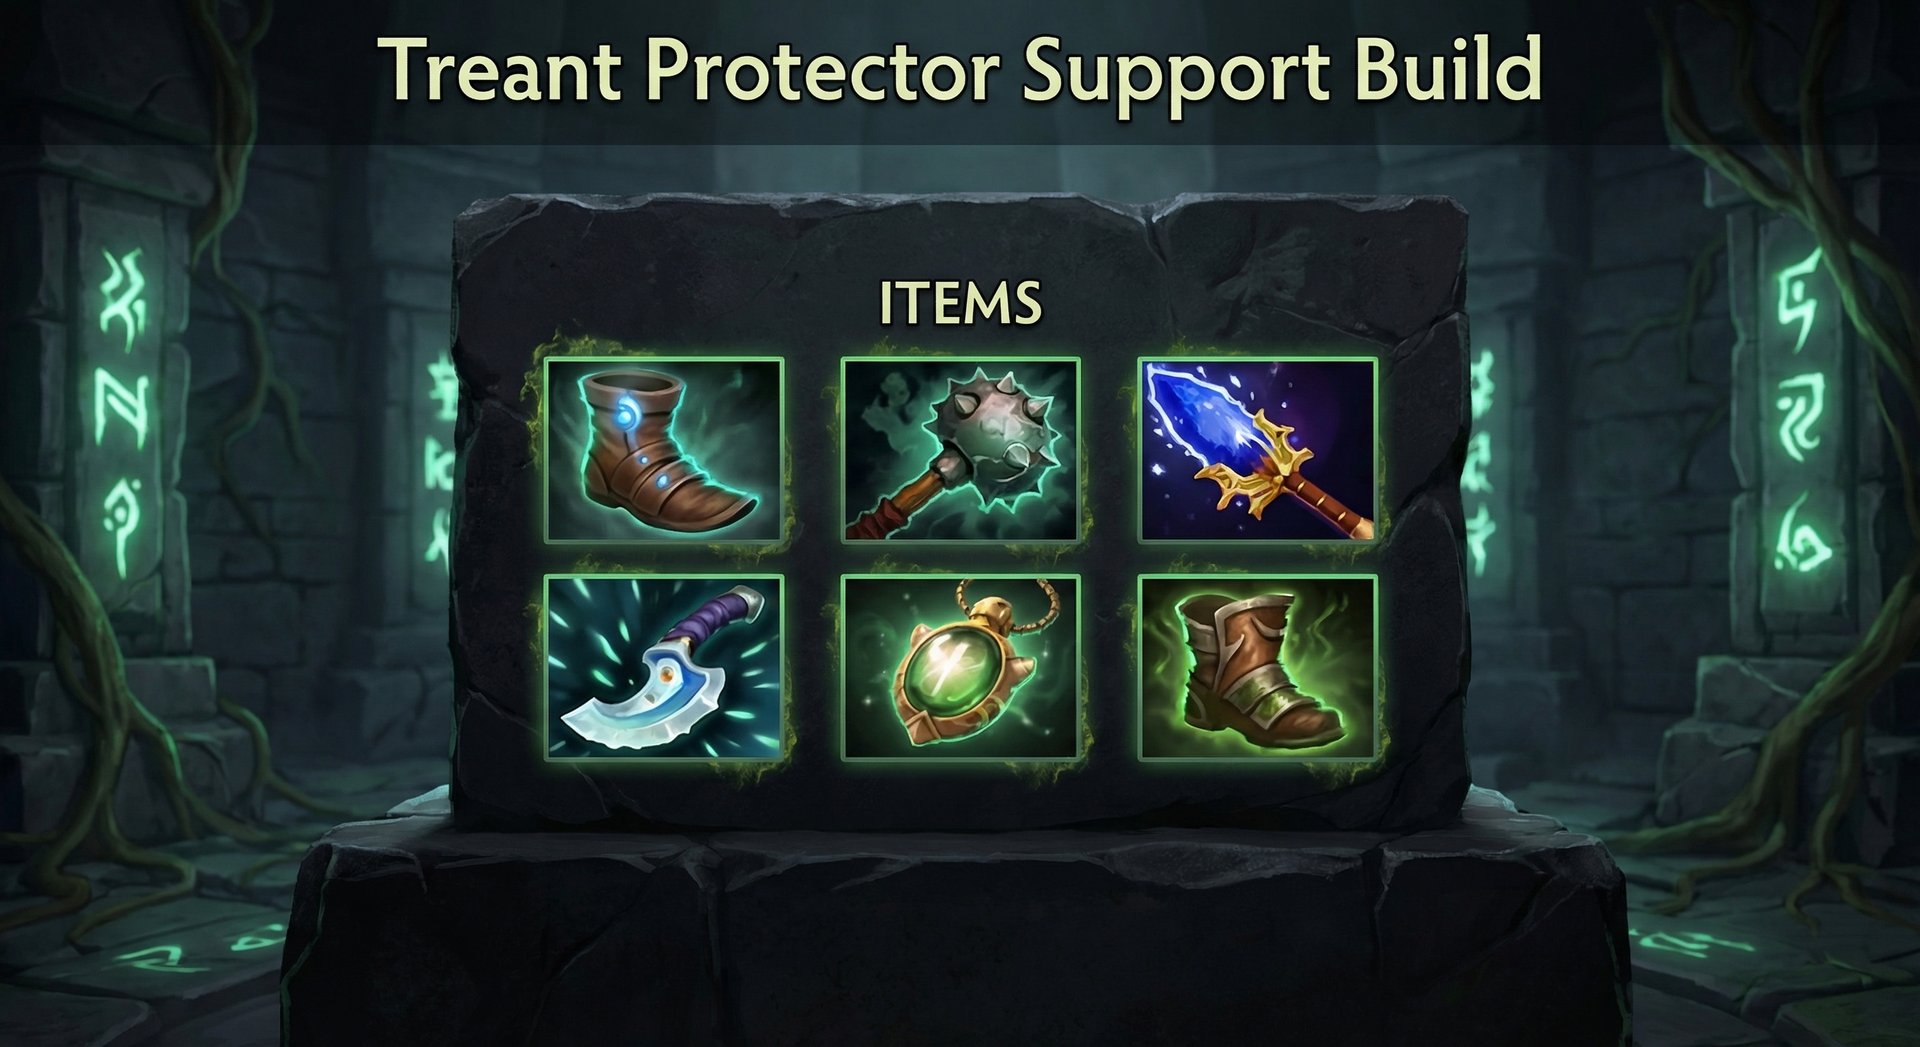
| Rank | Starting Items | Early Game (0-15 min) | Core Items | Late Game Luxury |
|---|---|---|---|---|
| Herald-Crusader | Tango, Clarity x2, Blood Grenade, Observer Ward | Boots, Magic Stick, Wind Lace | Arcane Boots, Meteor Hammer | Aghanim’s Scepter, Refresher Orb |
| Archon-Legend | Tango, Clarity x2, Enchanted Mango, Observer Ward, Sentry Ward | Boots, Magic Wand, Orb of Corrosion | Arcane Boots, Blink Dagger, Holy Locket | Aghanim’s Scepter, Refresher Orb |
| Ancient-Divine | Tango, Clarity, Enchanted Mango, Blood Grenade, Observer Ward, Sentry Ward | Boots, Magic Wand, Wind Lace | Tranquil Boots, Blink Dagger, Aghanim’s Shard | Aghanim’s Scepter, Scythe of Vyse |
| Immortal | Tango, Clarity, Enchanted Mango, Observer Ward, Sentry Ward, Smoke | Boots, Magic Wand, Orb of Corrosion | Phase Boots, Blink Dagger, Aghanim’s Shard | Aghanim’s Scepter, Lotus Orb, Refresher Orb |
Why Item Builds Differ by Rank
Herald-Crusader: At lower ranks, games run longer and fights are less coordinated. Meteor Hammer gives you a reliable way to farm, push waves, and follow up on your own Overgrowth root with guaranteed Meteor Hammer channel. The combo is simple and incredibly effective when enemies do not know to buy Force Staff or BKB early.
Archon-Legend: Players start grouping for fights more consistently. Blink Dagger becomes essential because you need to initiate Overgrowth on multiple heroes. Holy Locket amplifies your Living Armor healing and Leech Seed sustain, making your team much harder to kill in extended engagements.
Ancient-Divine: Games are faster, and supports need to be efficient with gold. Tranquil Boots keep you healthy while roaming, and Aghanim’s Shard (which enhances Leech Seed to become an AoE slow on death) provides massive value for its 1,400 gold price. Blink is non-negotiable — without it, enemies simply position around your Overgrowth range.
Immortal: The highest-level Treant players often opt for Phase Boots to maximize their already-insane right-click damage during the laning phase. The bonus armor and movespeed let you chase enemies through creep waves. Lotus Orb provides dispel utility that your team desperately needs, and it combos with your tanky stat profile to make you a walking utility station.
Aghanim’s Scepter — Eyes in the Forest
Treant’s Aghanim’s Scepter grants Eyes in the Forest, which lets you enchant trees to provide unobstructable vision in a 700 radius and cause your Overgrowth to be cast from every enchanted tree simultaneously. This is one of the most game-changing Aghanim’s upgrades in Dota 2.
With 10-15 enchanted trees spread across the map, a single Overgrowth cast can root enemies across multiple locations simultaneously. Combined with the vision, your team essentially has permanent ward coverage that cannot be dewarded by conventional means — enemies must cut down the specific enchanted trees.
Laning Phase Masterclass
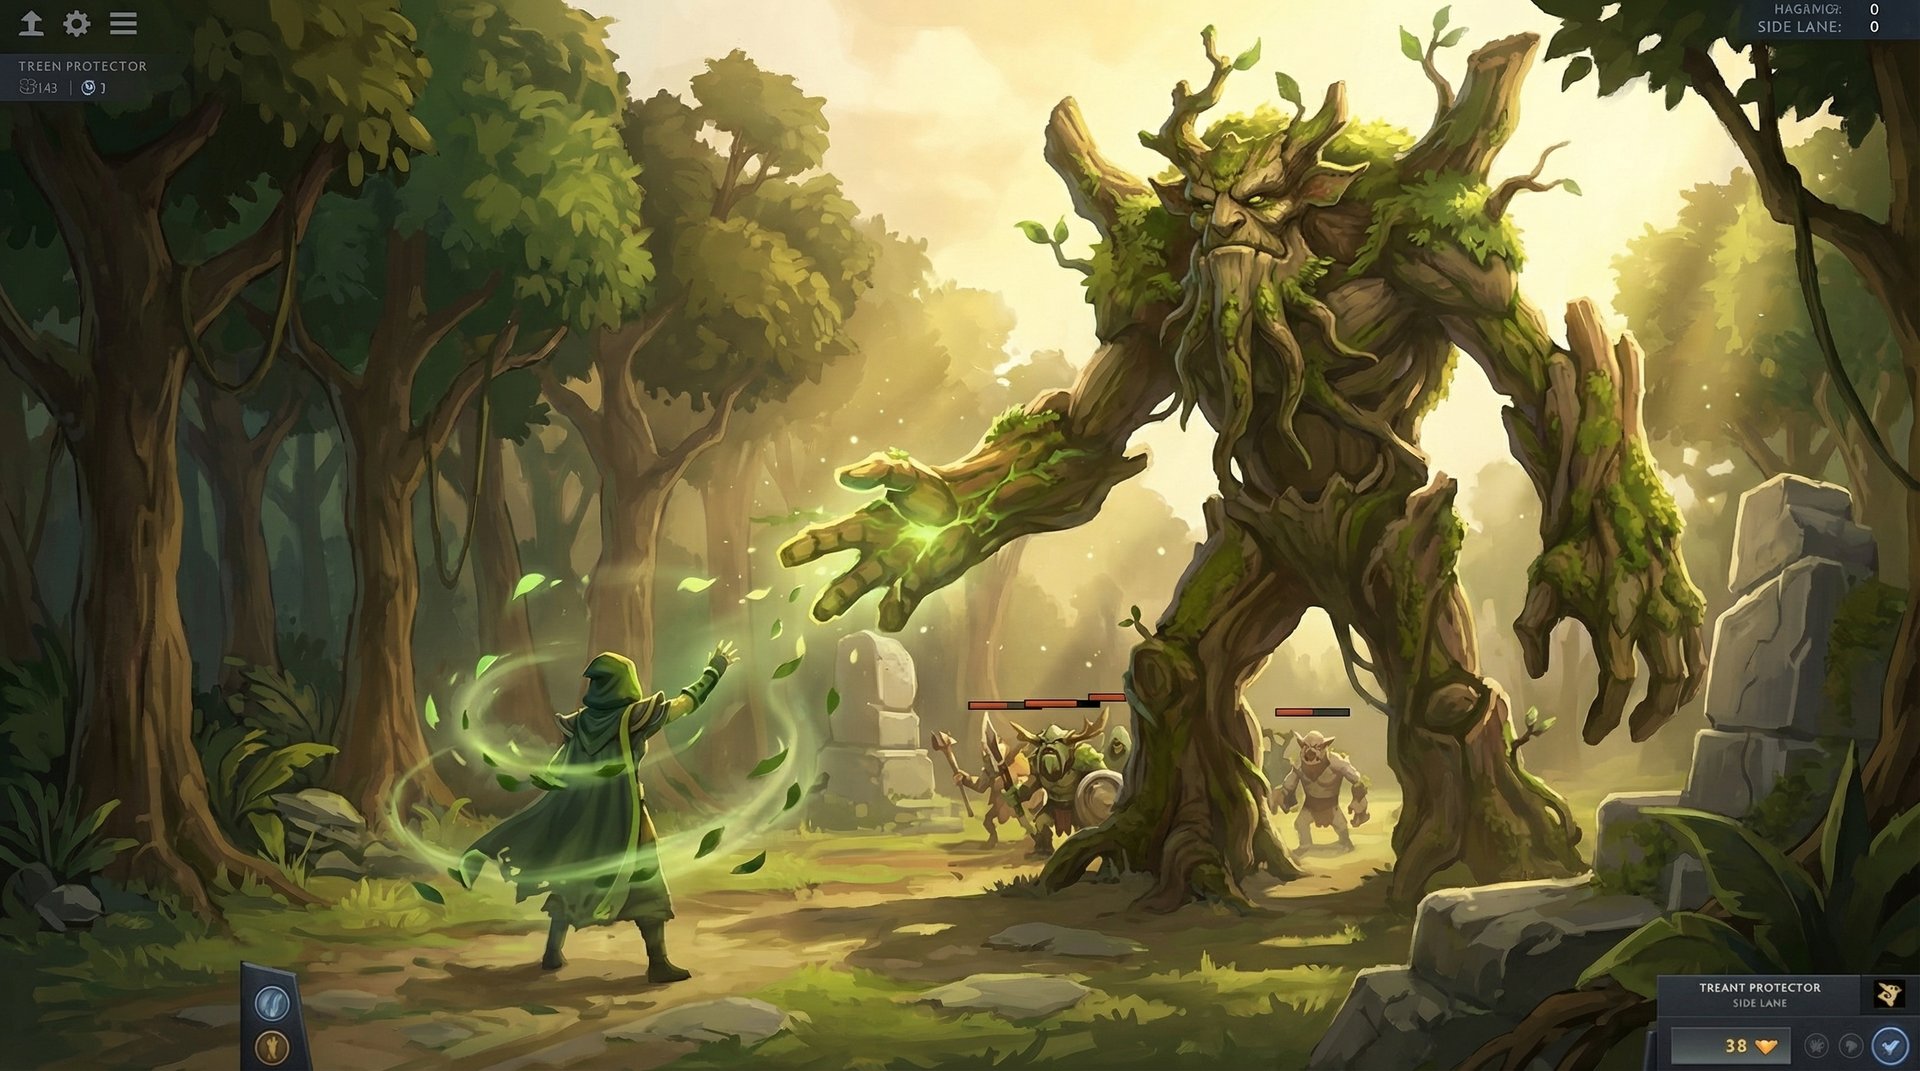
Treant Protector is one of the strongest laners in the entire game, and your laning approach should be extremely aggressive. Here is how to dominate every lane matchup.
Positioning and Trading
Stand between the enemy and their creeps. With 81-89 base damage at level 1, you hit harder than most carries at level 5. Every time the enemy carry goes for a last hit, punish them with a right-click. If they retaliate, cast Leech Seed and keep hitting — you will always come out ahead in the trade.
Stay near trees whenever possible. Not only does this give you better Nature’s Grasp angles, but Treant has a built-in bonus when near trees thanks to his Nature’s Guise innate ability, which provides bonus movement speed and eventually invisibility when near trees. This lets you set up ganks, escape bad situations, and reposition during fights without the enemy seeing it coming.
Nature’s Guise (Innate Ability)
Treant’s innate ability grants him bonus movement speed when near trees, and after a brief delay, turns him invisible as long as he remains within 265 range of a tree. This is what makes Treant terrifying in lane:
- Go invisible near the tree line adjacent to the enemy’s pull camp
- Walk up behind the enemy carry or support who thinks they are safe
- Break invisibility with a right-click (81+ damage), immediately cast Leech Seed
- Chase with your superior movement speed while they are slowed, landing 2-3 more hits
This combo deals roughly 350-400 damage at level 2 with minimal mana cost. Do this every time your invisibility is available and the enemy will be forced out of lane entirely.
Lane Partner Synergies
| Lane Partner | Synergy Rating | Why It Works |
|---|---|---|
| Juggernaut | S-Tier | Leech Seed slow + Blade Fury = guaranteed kill at level 2. Treant’s right-clicks add massive damage during Jugg’s spin. |
| Ursa | S-Tier | Leech Seed slow keeps enemies in Ursa’s Fury Swipes range. Living Armor lets Ursa dive towers early for kills. |
| Monkey King | A-Tier | MK benefits from extended trades that Leech Seed forces. Treant’s tree affinity synergizes with MK’s Tree Dance for creative plays. |
| Mars | A-Tier | Nature’s Grasp into Arena of Blood is a death sentence. Overgrowth + Arena combo later in the game is devastating. |
| Phantom Assassin | A-Tier | PA’s poor early laning is offset by Treant’s aggression. Living Armor keeps PA alive through trades she would normally lose. |
| Spectre | B-Tier | Spectre needs babysitting — Treant provides it globally. Living Armor + Leech Seed gives Spectre enough sustain to farm safely. |
When to Rotate
Treant should consider rotating to mid or the other side lane when:
- Your carry is level 5-6 and can lane solo — Treant’s laning power drops off relative to mid-game potential
- The enemy mid is vulnerable to ganks — Nature’s Guise invisibility + Leech Seed slow makes Treant an excellent roaming ganker
- You have Overgrowth available — A surprise rotation with Overgrowth almost guarantees a kill on the enemy mid
- Your mid needs Living Armor repeatedly — If you are casting Living Armor on mid every cooldown, you might as well be there to add right-click pressure
Mid and Late Game Transitions
Timing Windows
Treant Protector has two major power spikes that you must exploit:
Power Spike 1: Blink Dagger (usually 15-22 minutes). Once you have Blink, you transform from a lane bully into a teamfight initiator. Blink into 2-3 heroes, pop Overgrowth, and your team cleans up. This is the window where Treant games are won or lost. If you get Blink before the 20-minute mark, you should be actively looking for fights around objectives — Roshan, towers, or enemy jungle invades.
Power Spike 2: Aghanim’s Scepter (usually 30-40 minutes). With Eyes in the Forest, the game fundamentally changes. You start planting enchanted trees near every objective, in the enemy jungle, and along common rotation paths. Once you have 10+ enchanted trees, your Overgrowth becomes a map-wide root that catches enemies in places they thought were safe. This is Treant’s win condition in late games.
Teamfight Positioning
Before Blink Dagger: Stay at the edge of fights. Use Nature’s Grasp to zone, Leech Seed on the closest enemy, and save Overgrowth for when enemies clump. Your right-click damage is still relevant — do not underestimate a 90+ damage auto-attack from a support.
After Blink Dagger: You become the initiator. Wait for your team to be ready, identify the clump of enemies, Blink in, and immediately Overgrowth. The ideal Overgrowth catches 3+ heroes. After the root, immediately start right-clicking the highest priority target while your team follows up.
After Aghanim’s Scepter: Your positioning becomes less important because Overgrowth casts from every enchanted tree. You can stay back, wait for the enemy to commit, and press R from a safe distance to root everyone standing near your enchanted trees. Then walk in and clean up.
When Treant Falls Off
Treant’s weakness is that he provides almost no scaling damage and his Living Armor becomes less impactful as enemy damage increases. If the game goes past 45 minutes without Aghanim’s Scepter, you will feel increasingly useless. Always have a game plan to close out before 40 minutes — Treant is a tempo hero disguised as a defensive support.
If the game does go ultra-late, pivot to utility items like Scythe of Vyse, Lotus Orb, or Refresher Orb. Double Overgrowth (9 seconds of root that pierces BKB) can single-handedly win a base defense or high-ground push.
Counters: Heroes That Destroy Treant Protector
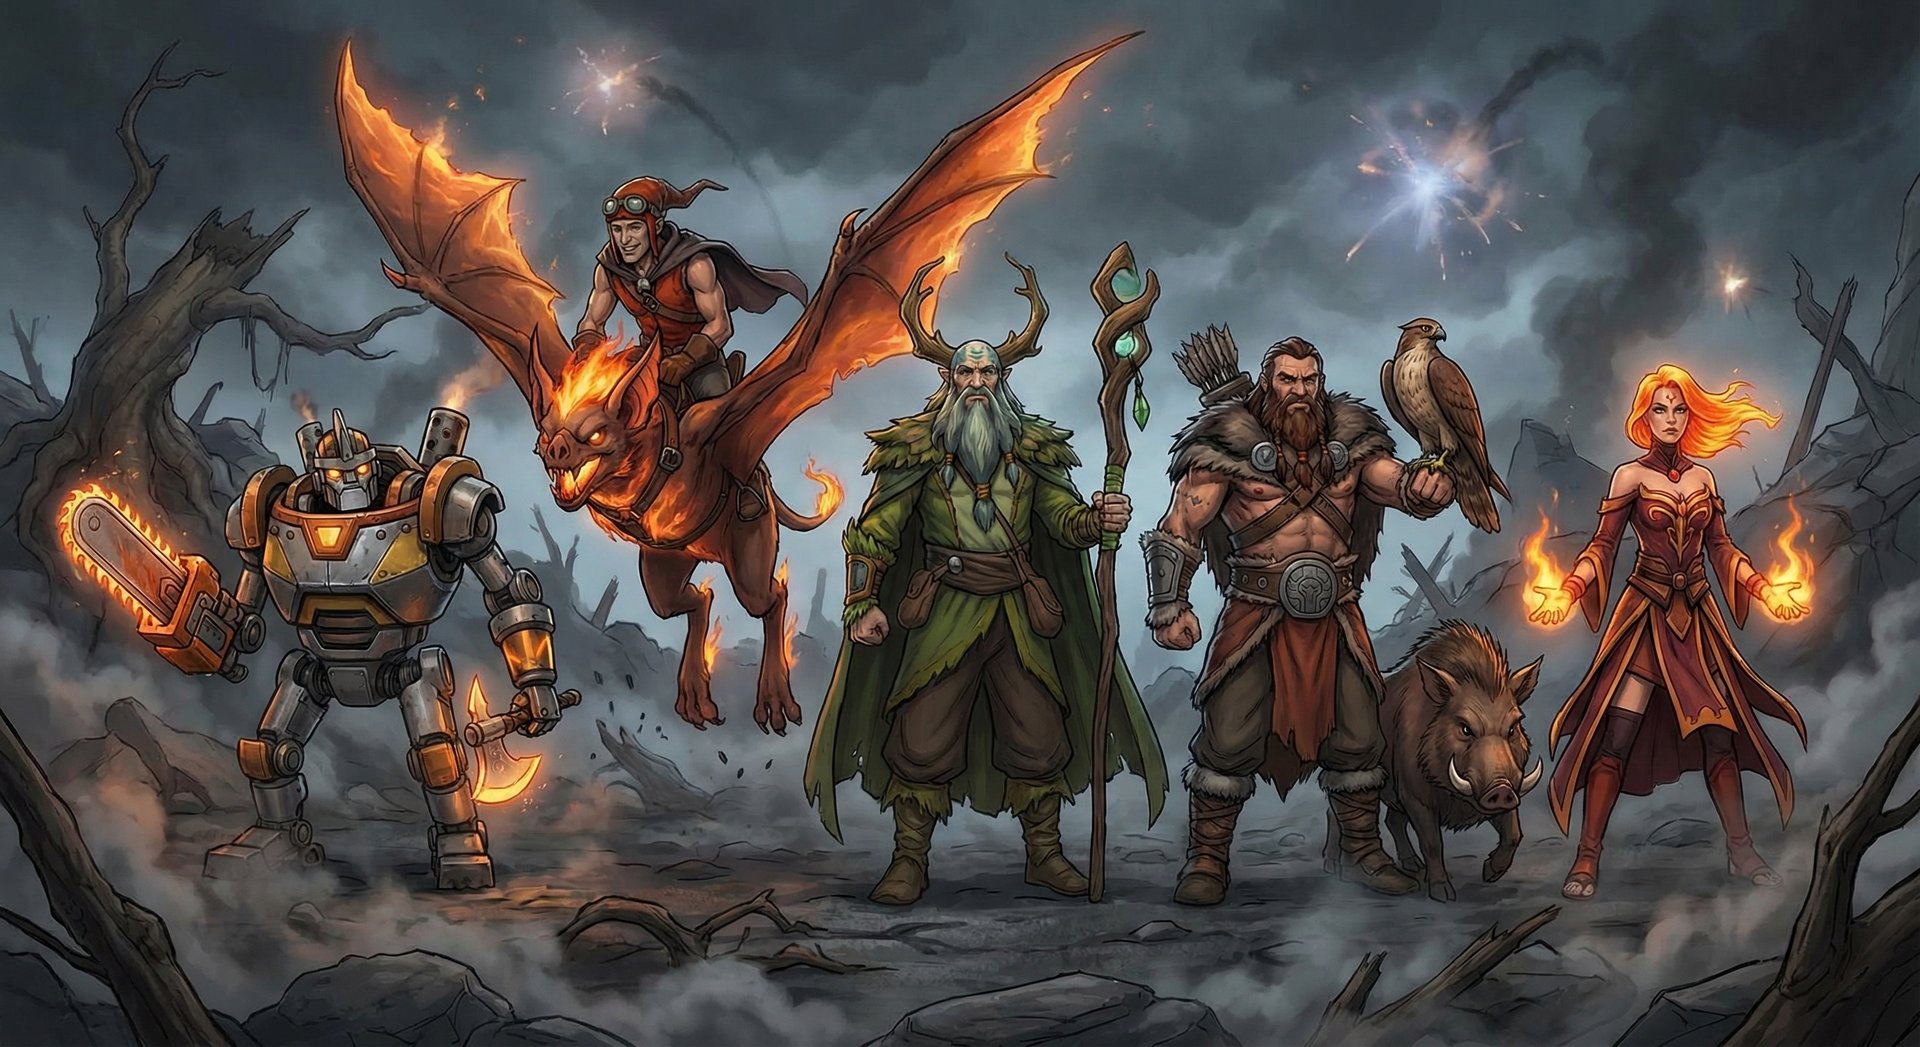
1. Timbersaw — The Tree Killer
Timbersaw is Treant’s hardest counter, and it is not even close. Reactive Armor shrugs off your right-click harass, Whirling Death destroys trees (eliminating your Nature’s Guise invisibility and Nature’s Grasp attachment points), and Timber Chain lets him escape any root. Avoid laning against Timbersaw at all costs. If the enemy picks Timber into your Treant, your best bet is to rotate aggressively to other lanes and ignore him entirely.
2. Batrider
Firefly destroys trees along Batrider’s path, gutting your Nature’s Guise and Nature’s Grasp effectiveness. Sticky Napalm stacks make it impossible to trade right-clicks. Flaming Lasso pulls you out of position even during Overgrowth, and the tree destruction removes most of your kit’s synergy in the fight area.
3. Windranger
Windrun makes your massive right-click damage irrelevant. Powershot clears trees from range. Shackleshot becomes easier to land with Treant’s large model near tree lines. Windranger can kite Treant endlessly while taking zero damage from auto-attacks.
4. Quelling Blade Carries
Any carry that rushes Quelling Blade (which is most of them) can cut the trees you rely on for Nature’s Guise. But specific carries like Monkey King (who also uses trees) and Beast Master (whose Wild Axes destroy trees in a wide area) are particularly annoying because they actively and repeatedly clear your tree cover.
5. Lina
Lina’s fast attack speed from Fiery Soul burns through Living Armor charges almost instantly, making your global heal nearly worthless against her. Dragon Slave and Light Strike Array provide enough burst to kill Treant through his high HP pool, and Laguna Blade ignores all your defenses.
How to Play Around Counters
- Against tree cutters: Focus on Leech Seed and Overgrowth rather than Nature’s Guise plays. Your ultimate does not care about trees.
- Against fast attackers: Do not waste Living Armor on allies fighting these heroes. Save it for towers or allies in different lanes.
- Against mobile heroes: Wait for them to commit their mobility spell before using Overgrowth. A Windranger who already used Windrun is an easy root target.
Heroes Treant Protector Destroys
1. Huskar
Huskar wants to dive towers and trade at low HP. Living Armor completely shuts down tower dives by absorbing multiple hits of damage, and Leech Seed heals your carry through Huskar’s Burning Spears DoT. Overgrowth catches Huskar after he Life Breaks in, leaving him rooted at low HP with no escape. Treant is one of Huskar’s worst nightmares.
2. Broodmother
Brood relies on webs and spiderlings for pressure. Nature’s Grasp clears spiderlings efficiently, and Living Armor protects towers from Brood’s push. The key: Broodmother cannot escape Overgrowth — it pierces her free pathing from webs. If she dives your team, one Overgrowth and she is dead.
3. Spectre
Spectre’s Dispersion deals damage in small ticks, which do not efficiently burn through Living Armor charges. In lane, Spectre cannot trade with Treant’s base damage. Globally, Living Armor keeps your allies alive through Spectre’s Haunt. And Overgrowth catches Spectre after she Reality dives in, locking her down for your team.
4. Anti-Mage
Anti-Mage hates being locked down, and Overgrowth is a root that pierces BKB — his worst nightmare. In lane, AM’s low base damage means he cannot trade with Treant at all. Living Armor protects your towers while AM tries to split push, buying your team time to group and fight.
5. Phantom Lancer
PL creates illusions to confuse, but Overgrowth roots ALL of them simultaneously, making it obvious which is the real hero. Nature’s Grasp also slows all illusions walking through it. Living Armor’s damage block works per instance, making it effective against PL’s many small hits from illusions.
How Pros Play Treant Protector in the Current Patch
In the current competitive scene, Treant Protector has seen a resurgence in high-level play. Here is what the top players are doing differently from pub games:
Early Orb of Corrosion rush: Several Immortal-ranked pros have been prioritizing Orb of Corrosion as their first item after boots. The logic is simple — Treant already has the highest base damage in the game. Adding the -3 armor debuff and slow from Orb makes his right-clicks deal roughly 15-20% more effective damage in the first 10 minutes. Combined with Leech Seed’s slow, the enemy carry literally cannot stay in lane.
Aggressive ward placement using Nature’s Guise: Pro Treant players abuse the invisibility from Nature’s Guise to place deep wards in the enemy jungle at minutes 4-6. Because Treant can walk invisible near tree lines, he can place wards in spots that would be suicidal for any other support — deep enemy triangle wards, wards behind tier 2 towers, and wards near Roshan that provide early contest information.
Meteor Hammer in lower-tier pro play: In Division II DPC matches, several teams have shown the Meteor Hammer build for Treant. The combo is: Blink in, Overgrowth (4.5 second root at max level), immediately channel Meteor Hammer (2.5 second channel). This guarantees the Meteor lands, dealing 150 damage + 75/second burn. It also destroys trees in the impact area, which seems counterintuitive — but the fight is already won by the time trees matter.
Position 4 Treant with Phase Boots: A growing trend in high-MMR pubs and some pro games is running Treant as a position 4 with Phase Boots. The additional 18 damage (on top of his 81-89 base) and the armor from Phase Boots turns Treant into a right-clicking machine during the first 15 minutes. This build prioritizes early aggression and kill potential over the traditional defensive support approach.
Notable recent pick: In a recent ESL Pro League qualifier, team Gaimin Gladiators ran Treant Protector as a position 4 paired with Mars offlane. The Nature’s Grasp + Arena of Blood combo zoned enemies so effectively that the Mars Treant duo secured 7 kills in the first 10 minutes, snowballing into a 24-minute victory.
Rank-Specific Climbing Guide
Herald to Guardian — Foundation Basics
At Herald and Guardian ranks, Treant Protector is one of the easiest heroes to climb with because your base damage alone wins lanes. Focus on these fundamentals:
- Right-click the enemy in lane constantly. Every time they go for a last hit, hit them. Your 81+ damage is more than their carry deals at level 1.
- Use Living Armor on towers being attacked. Even one Living Armor cast on a tower at this rank can save it, because Herald players rarely check for the buff and commit to dives they cannot finish.
- Build Meteor Hammer every game. At this rank, nobody interrupts channels. You can Overgrowth into Meteor Hammer for guaranteed kills in every fight.
- Buy wards. Seriously — at Herald, the team that has vision wins. Use Nature’s Guise to place wards safely.
At this bracket, simply showing up to fights with Overgrowth and pressing R when 2+ enemies are nearby will win you games. Treant’s kit is forgiving — even a poorly timed Overgrowth still provides value because Herald players do not have the reaction time to dodge it.
Crusader to Archon — Adding Game Sense
Crusader and Archon is where Treant players need to start thinking about map awareness and global Living Armor usage:
- Watch the minimap every 5 seconds. When you see an ally’s HP dropping, immediately cast Living Armor on them. This one habit alone will drastically improve your winrate.
- Start buying Blink Dagger. Meteor Hammer still works, but Blink lets you initiate fights properly. Practice the Blink into Overgrowth combo in demo mode until it is instant.
- Communicate your Overgrowth timing. Ping “Overgrowth — Ready” before fights so your team knows to engage. At Archon, coordinated initiation wins teamfights.
- Learn to pull and stack. When you are not harassing, stack the hard camp and pull the small camp. Treant’s high base damage makes him excellent at pulling and contesting pulls simultaneously.
Legend to Ancient — The Macro Leap
Legend and Ancient players need to master Treant’s macro game — the big-picture decision-making that separates average supports from game-winning ones:
- Track enemy BKB timings. If the enemy carry has BKB, you need to wait for them to use it before Overgrowth — even though it pierces BKB for the root, the psychological impact of catching someone during BKB is massive.
- Prioritize Aghanim’s Shard timing. Getting Shard before major teamfights (usually around 20-25 minutes) provides enormous value. The enhanced Leech Seed AoE slow on target death creates chain kills.
- Deep ward with Nature’s Guise aggressively. At this bracket, enemy supports actually deward — but they cannot deward your invisible tree walks. Place wards in unconventional spots that only Treant can reach safely.
- Use Nature’s Grasp to cut off retreats. Rather than casting it at the enemy, cast it behind them to block their escape route. The vine wall forces them to walk through 12 seconds of slow and damage.
Divine to Immortal — What Separates the Top 1%
At the highest levels, Treant Protector games are won through timing, tree management, and flawless ultimate usage:
- Track enemy dispel abilities. Eul’s, Lotus Orb, Oracle’s Fortune’s End, and Abaddon’s Aphotic Shield all remove Overgrowth. Wait for these to be used before committing your ultimate.
- Manage tree cover for your team. In fights near tree lines, position so that allies can duck into trees for your Nature’s Guise aura. The invisibility can save allies mid-fight.
- Eyes in the Forest placement. With Aghanim’s, plant eyes near Roshan (priority 1), enemy shrine areas (priority 2), common ward spots (priority 3), and jungle intersections (priority 4). Each enchanted tree provides 700 unobstructable vision — 15 well-placed eyes covers more than 50% of the playable map.
- Smoke into Overgrowth combos. At Immortal, enemies spread out to avoid getting caught. Use smoke to close the gap before blinking for Overgrowth. The smoke breaks on attack/cast, so Blink then Overgrowth works seamlessly.
- Overgrowth timing in Roshan fights. Wait until the enemy carry commits to the Rosh pit before blinking in. The pit’s enclosed space guarantees you catch 3-5 heroes, and they have nowhere to escape.
If climbing still feels slow, TeamSmurf’s coaching service pairs you with Immortal-ranked players who can review your replays and pinpoint exactly where your Treant gameplay is losing efficiency. Sometimes a single coaching session reveals habits that cost you hundreds of MMR.
Tips and Tricks
Animation Cancels and Hidden Interactions
- Right-click animation cancel: Treant has a very slow attack animation (0.6 attack point). You can cancel the backswing by issuing a move command immediately after the damage lands, letting you reposition between attacks for better chasing.
- Nature’s Grasp through Sprout: If your teammate has Nature’s Prophet, the Sprout trees count as real trees for Nature’s Grasp. Sprout an enemy, then cast Nature’s Grasp through the Sprout for maximum vine density in a small area.
- Overgrowth during TP: You can cast Overgrowth during your TP channel. TP to a fight, and the instant you arrive, Overgrowth fires. Enemies expecting you to take a moment to orient yourself get immediately rooted.
- Living Armor on Tombstone: Undying’s Tombstone counts as a structure. Living Armor it to make it nearly indestructible for 15 seconds. The same applies to Pugna’s Nether Ward and Phoenix’s Supernova egg.
Common Mistakes to Avoid
- Wasting Living Armor on full-HP allies: Living Armor’s cooldown is 18 seconds. Using it preemptively on someone at full HP wastes the healing component entirely. Wait until they take damage, then cast it.
- Using Overgrowth on a single target: Unless that target is a crucial carry you need to kill, Overgrowth on one hero is a waste of a 70-100 second cooldown. Be patient and wait for 2+ hero catches.
- Standing in the open: Treant’s power comes from trees. If you are standing in the river or in the middle of a lane with no trees nearby, you lose your Nature’s Guise benefits and your Nature’s Grasp becomes half as effective.
- Ignoring tower Living Armor in the mid game: Towers are still valuable past the laning phase. A well-timed Living Armor on a tier 2 tower being pushed can stall the enemy’s map control for another 2-3 minutes.
- Rushing Aghanim’s without Blink: Aghanim’s is amazing, but without Blink Dagger you cannot use your non-Aghanim’s Overgrowth effectively. Always get Blink first unless you are massively ahead and the game is going ultra-late.
Advanced Mechanics for High-MMR Players
- Tree juking with Nature’s Guise: When being chased, run toward any tree cluster. After 1 second near trees, you go invisible. The pursuer has to guess which direction you went. Use this to waste enemy time and create space.
- Eyes in the Forest Roshan timer: Plant an Eye near the Roshan pit entrance. This gives permanent vision of when enemies enter or exit, making Roshan contest timing trivial.
- Leech Seed bouncing in Roshan: If your team is taking Roshan and an enemy comes to contest, Leech Seed the enemy. The healing pulses will heal your entire team standing in the pit, effectively making Roshan take less total damage from your team’s HP perspective.
Frequently Asked Questions
Treant works in both roles, but position 5 is generally more consistent. As a pos 5, you focus on lane dominance, global Living Armor, and Overgrowth initiation. As a pos 4, you lean into aggressive roaming with Nature’s Guise and right-click kills. In higher MMR games (Ancient+), pos 4 Treant with Phase Boots and Orb of Corrosion is increasingly popular because it maximizes his insane base damage window.
Yes, the root portion of Overgrowth pierces magic immunity (BKB). However, the damage-over-time component is blocked by BKB. This makes Treant one of the best heroes against BKB-reliant carries — they activate BKB thinking they are immune, but they are still locked in place for up to 4.5 seconds.
Buy Meteor Hammer if: you are below Legend rank, the enemy team lacks stuns/interrupts, or you need wave clear and tower push. Buy Blink Dagger if: you are Legend+ rank, the enemy has mobile heroes that spread out in fights, or your team needs an initiator. In most games Ancient and above, Blink is the correct choice.
You don’t — at least not directly. Timbersaw destroys everything Treant relies on (trees, armor, positioning). If the enemy picks Timbersaw, avoid his lane entirely. Focus on other lanes, global Living Armor, and Overgrowth teamfights where Timbersaw’s tree-cutting matters less because the root does not depend on trees.
Aghanim’s Scepter is Treant’s best late-game item, but only if the game goes past 30-35 minutes. Eyes in the Forest provides unmatched map vision and turns Overgrowth into a global teamfight ability. However, if the game is ending before 30 minutes, spend that 4,200 gold on Blink + utility items instead. The Scepter needs time to accumulate enchanted trees before it becomes valuable.
As of patch 7.40c, Treant Protector sits at approximately 53.2% winrate across all ranks according to Dotabuff. His winrate climbs above 55% in Ancient-Divine brackets where players leverage his global map presence and Overgrowth initiation more effectively. He is consistently one of the highest winrate supports in the game.
While Treant core (usually offlane) has been tried in niche situations, it is not recommended for ranked climbing. His kit is fundamentally designed for support — Living Armor and Overgrowth do not scale with farm. The gold is better spent on utility items (Blink, Aghanim’s) that a support can afford with decent farming patterns. Stick to position 4 or 5.
Ready to Climb with Treant Protector
Our Immortal-ranked coaches can review your Treant replays and show you exactly how to dominate lanes, time your Overgrowth, and carry games from the support position. Or skip the grind entirely with our boosting service.



