How to Master Pudge in Dota 2: The Ultimate Guide for Every Rank (2026)

Over one billion picks. Not million — billion. Pudge is not just the most picked hero in Dota 2 history, he is the most picked hero in the history of competitive online gaming. And yet, the vast majority of Pudge players are doing it wrong. They miss hooks, feed kills, become dead weight after 25 minutes, and then wonder why their team is flaming them in all chat.
This guide is going to change that. Whether you are a Herald player who just loves throwing hooks or a Divine grinder trying to crack Immortal, we are going to break down exactly how the best Pudge players in the world approach this hero in patch 7.40c. You will learn the item builds that actually win games at your rank, the hook angles that even Ancient players do not know about, and the mid-game transitions that turn Pudge from a walking meme into a game-winning machine. If you have ever wanted to be the Pudge player your team actually wants on their side, keep reading.
Table of Contents
Why Pudge Is Still the King
In patch 7.40c, Pudge sits at a 26.6% pick rate — the highest of any hero in the game — with a respectable 51.6% win rate and a 17.4% ban rate. Those numbers tell a story: Pudge is not just popular, he is genuinely strong right now. He has been the most picked hero in Dota 2 for years running, and in 2024 he officially crossed one billion total picks in public matchmaking, a milestone no other hero has even come close to achieving.
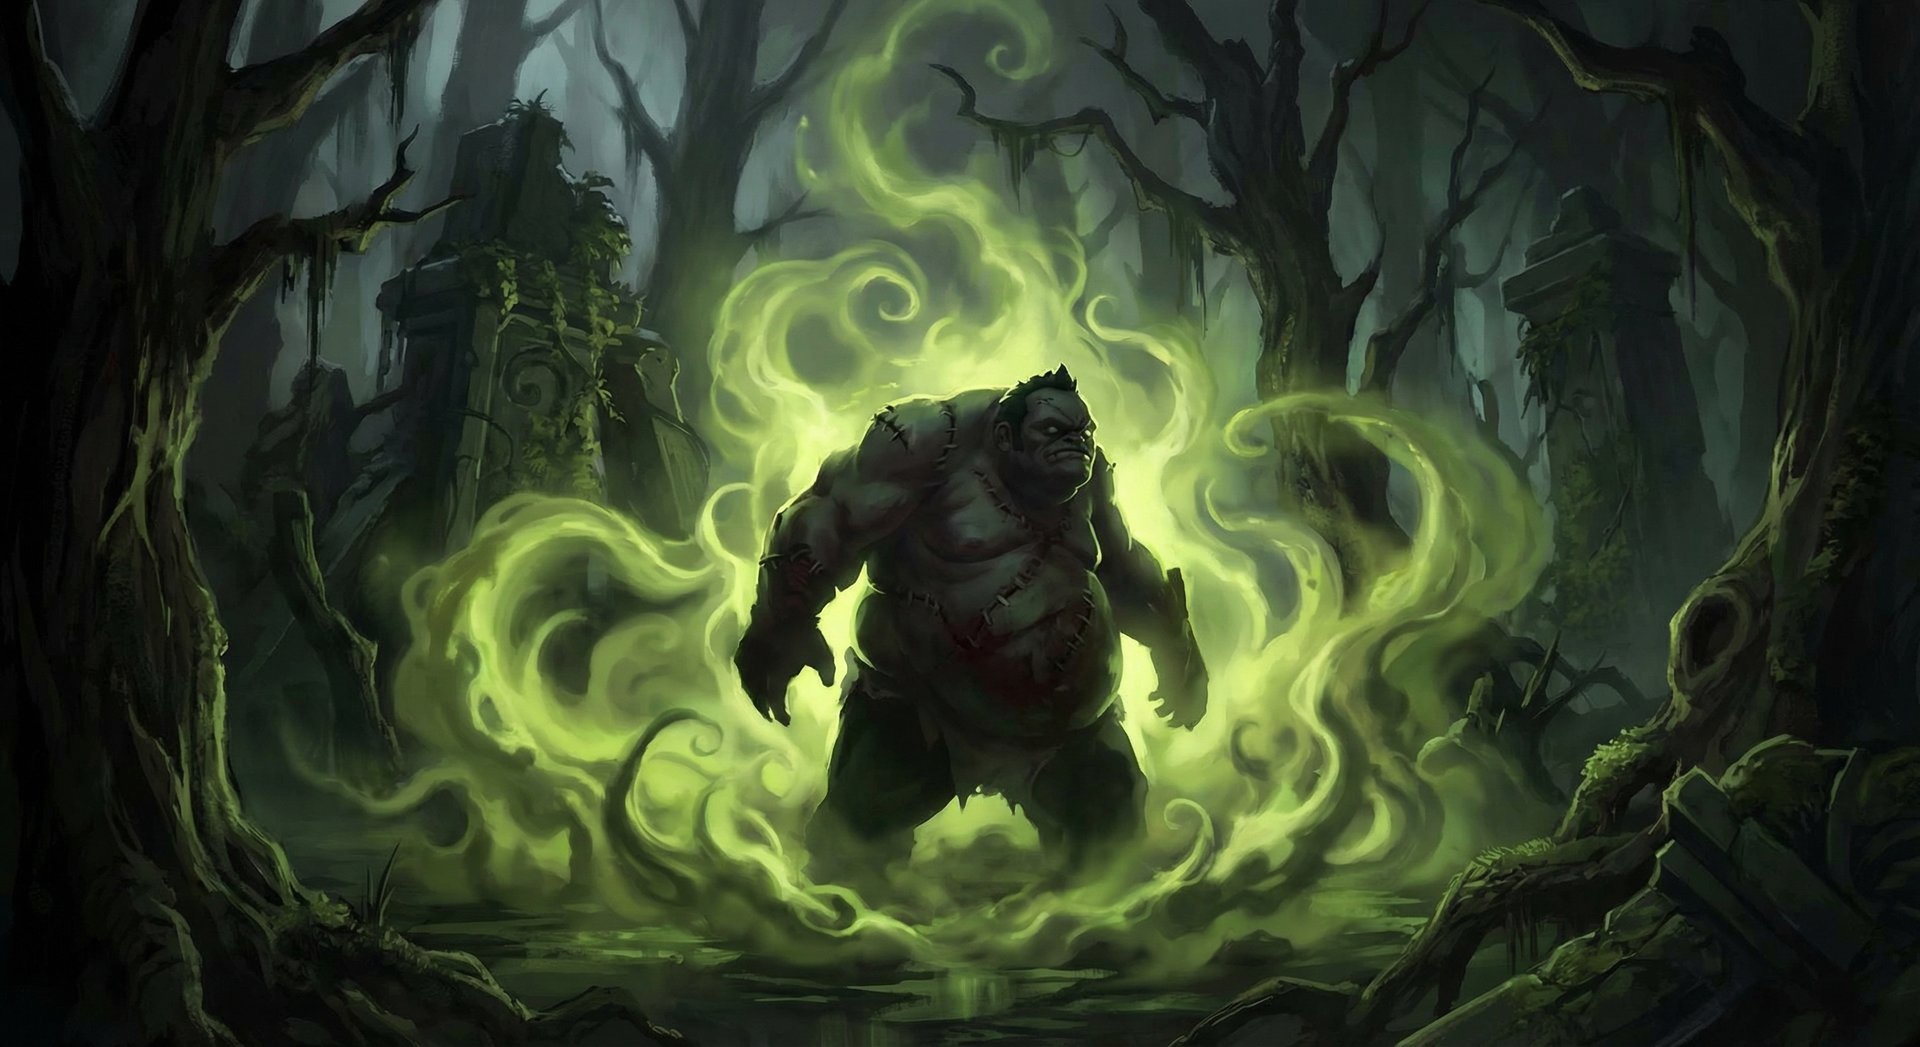
But here is the thing that separates good Pudge players from the millions who feed on him every day: understanding what Pudge actually does in the current meta. He is not a mid hero anymore. He is not a roaming position 4 who sits in trees for three minutes waiting for a hook. In 7.40c, Pudge is a position 4 support who transitions into one of the tankiest heroes in the game through Flesh Heap stacks, while providing massive pick-off potential and teamfight disruption throughout every stage of the game.
The difference between a Pudge who wins games and one who loses them comes down to three things: knowing when to rotate, knowing which items to build for your specific game, and understanding that Meat Hook is not the only ability in your kit. Rot slow, Flesh Heap tankiness, and Dismember lockdown are what make Pudge a threat — the hook is just the delivery mechanism. If you are the kind of player who afks in trees fishing for hooks while your carry gets dove under tower, this guide is going to completely restructure how you think about the hero.
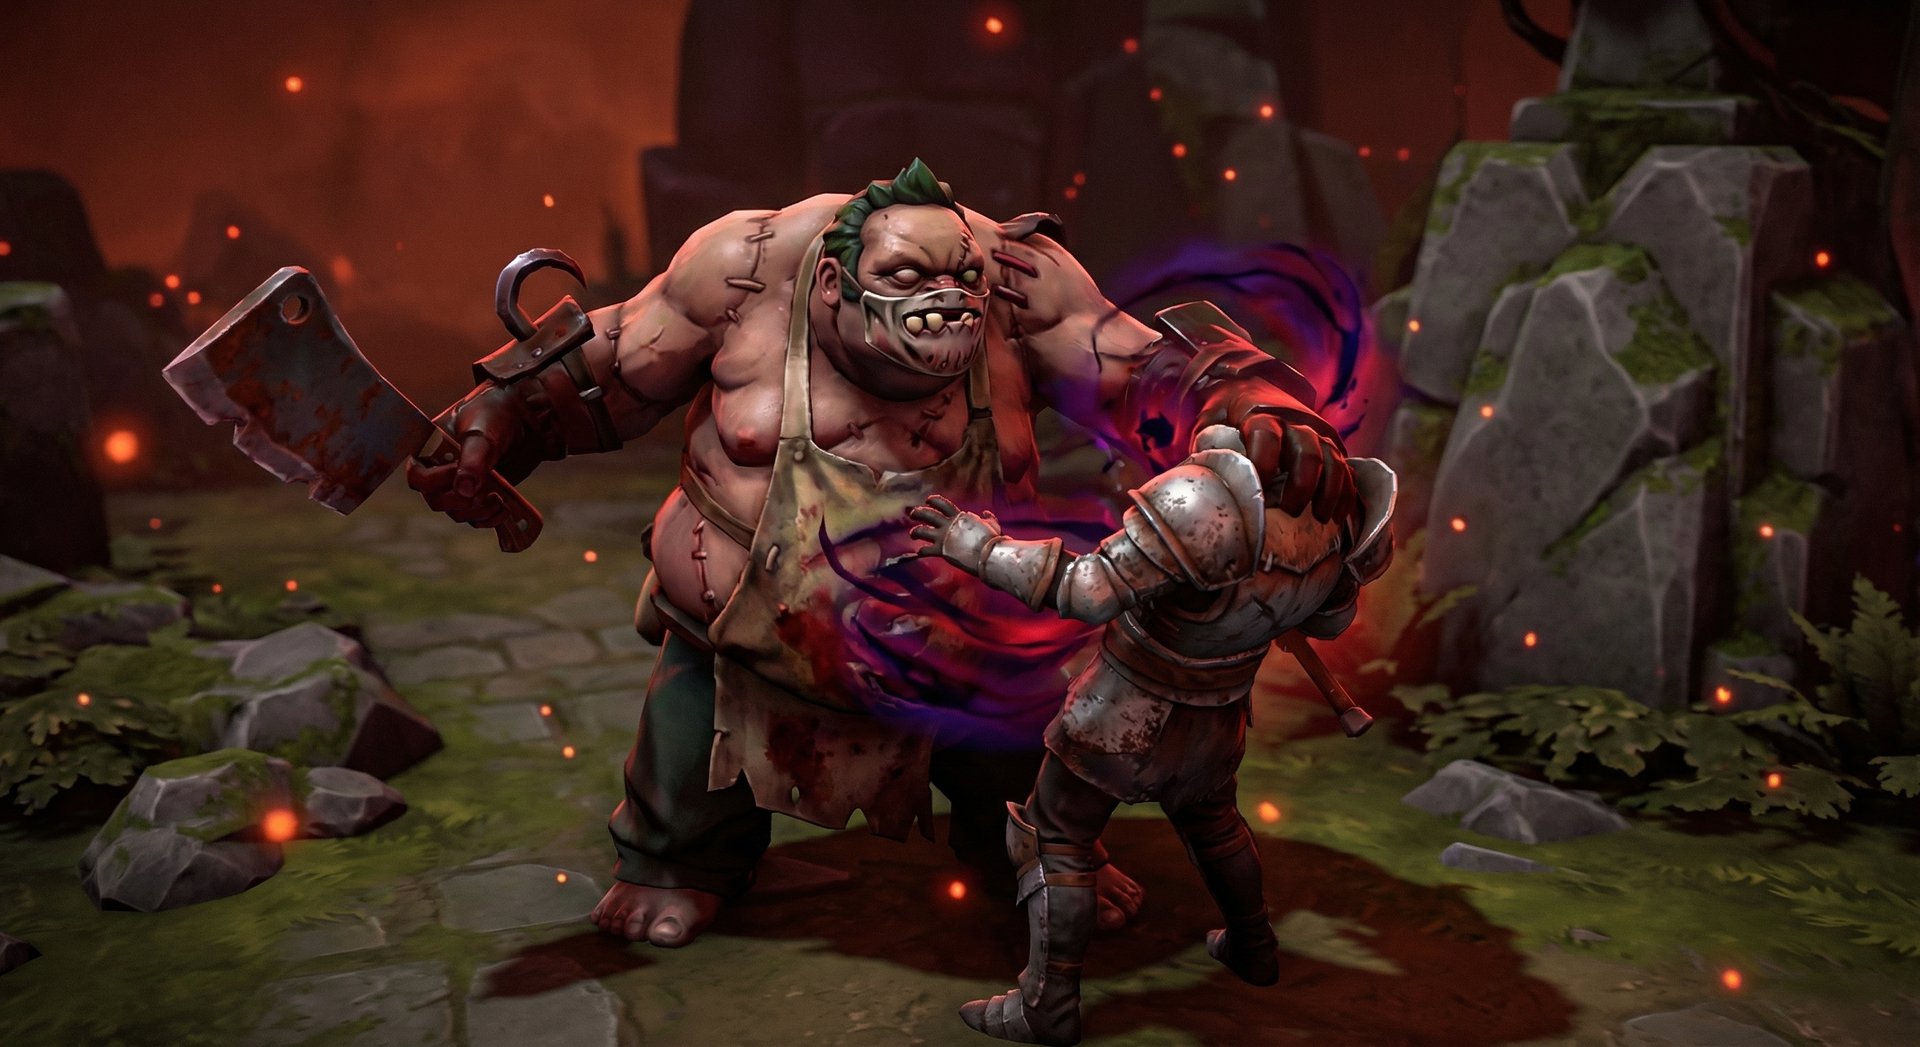
Abilities Deep Dive: Meat Hook, Rot, Flesh Heap, Dismember
Meat Hook
Meat Hook is a 1300-range skillshot that drags the first unit it hits — allied or enemy — back to Pudge. It deals 150/220/290/360 pure damage and has a 12-second cooldown at max level. The hook travels at 1600 speed, which means it takes roughly 0.8 seconds to reach max range. That timing is everything when you are predicting enemy movement.
Hidden mechanics most players do not know: Hook goes through trees but not terrain elevation changes. It has a 100-unit latch radius, which is wider than most people think — you do not need pixel-perfect accuracy. The hook can grab heroes out of many abilities including TP scrolls, channeled spells, and even some movement abilities if timed correctly. You can also hook allied heroes to save them, which is a skill that separates decent Pudge players from great ones.
One critical detail: Meat Hook’s mana cost is 110/120/130/140. At level 1, Pudge has roughly 291 mana, meaning you get about two hooks before you are completely dry. This is why experienced Pudge players do not just spam hooks in lane — every miss is 55 seconds of mana regeneration wasted.
Rot
Rot is a toggle ability that deals 40/70/100/130 magical damage per second in a 250 radius while also damaging Pudge for the same amount. It applies a 14%/20%/26%/32% movement speed slow. The self-damage is reduced by Flesh Heap’s magic resistance. What many players miss is that Rot can be toggled during Dismember, meaning you should always have Rot on while ulting. The combined damage of Dismember plus Rot plus a couple right clicks is enough to kill most supports from full HP.
Rot also provides kills that many players forget about. The self-damage from Rot can deny yourself, which is relevant when you are about to die to the enemy — denying yourself gives significantly less gold and experience to the enemy team. At Immortal level, self-denying with Rot is a fundamental skill, not a meme play.
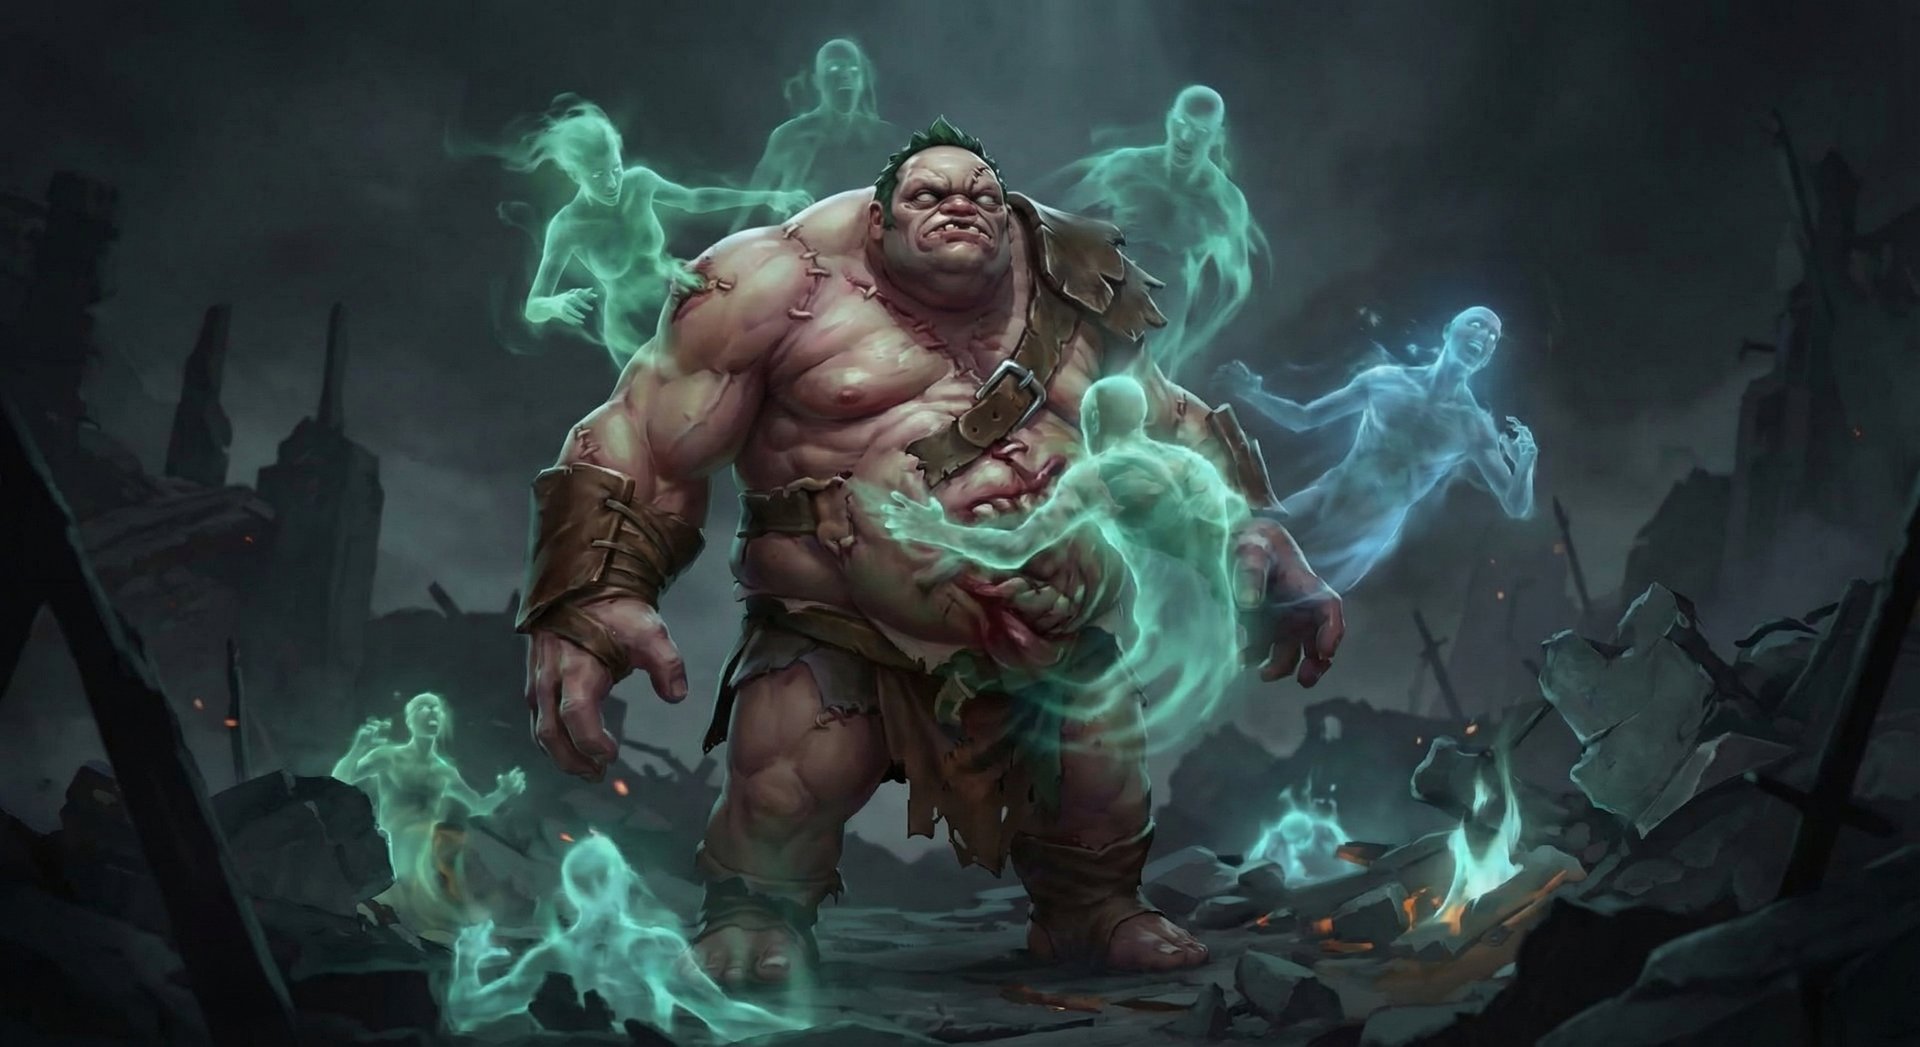
Flesh Heap
Flesh Heap passively grants 8%/12%/16%/20% magic resistance and permanently gains 1.5 strength for every hero kill within a 450 radius of Pudge. This includes assists. In a typical 40-minute game, a Pudge with 15-20 Flesh Heap stacks has gained an additional 22-30 strength, translating to roughly 440-600 bonus HP and significant right-click damage. This is what makes Pudge scale — he is one of the few supports who genuinely gets tankier as the game goes on without spending a single gold piece.
The hidden interaction here is that Flesh Heap stacks are gained retroactively. If you skill Flesh Heap at level 4 and already had 3 kills by that point, you still get those 3 stacks. This is why some players skip Flesh Heap early — the stacks are not lost, just delayed. However, the magic resistance component IS lost, which matters in lanes with magical harass.
Dismember
Dismember is a 3-second channeled disable that deals damage based on Pudge’s strength — specifically 30/50/70 plus 30%/45%/60% of his total strength per second as magical damage. It also heals Pudge for the same amount. With Aghanim’s Scepter, the damage and heal are increased and Pudge swallows the target, making them invulnerable to outside damage while inside. At level 3 with 150 total strength (very achievable with Flesh Heap stacks), Dismember deals roughly 160 damage per second before reductions while healing Pudge for the same. Over 3 seconds, that is 480 damage and 480 HP restored. Combined with Rot, you are dealing over 800 damage in 3 seconds of lockdown.
The skill build in 7.40c for position 4 Pudge at high MMR is: Hook level 1, Rot level 2, Hook level 3, Flesh Heap level 4, then max Hook by 7, take ult at 6, then max Rot by 11. The highest win rate build at 7K+ MMR takes an extra value point in Flesh Heap at level 3 instead of a second Hook point, trading kill potential for lane survivability. This is especially strong against dual lanes with magical harass.
Talent Choices
At level 10, take +5 Armor (69.6% pick rate at Immortal for good reason — Pudge’s armor is terrible and this fixes his biggest weakness). At level 15, take +150 Meat Hook Damage (82.9% pick rate — this is a massive power spike for pick-offs). At level 20, the choice is situational: +0.75s Dismember Duration is picked 51.1% of the time and is better for lockdown-heavy games, while -4s Meat Hook Cooldown is better if you are ahead and fishing for picks. At level 25, 1.5x Dismember Damage/Heal is picked 56.2% of the time and is the default choice.
Item Builds by Rank Bracket
Item builds on Pudge vary dramatically by rank bracket. What works at Herald will get you flamed at Immortal, and what Immortal players build would confuse most Archon Pudge players. Here is the breakdown based on current 7.40c data from Dota 2 Pro Tracker:
| Rank | Starting | Early (0-10 min) | Core (10-25 min) | Late (25+ min) |
|---|---|---|---|---|
| Herald-Crusader | Tango, Healing Salve, Wind Lace, Observer Ward | Boots, Magic Stick, Urn of Shadows | Arcane Boots, Aether Lens, Blade Mail | Aghanim’s Scepter, BKB, Heart of Tarrasque |
| Archon-Legend | Tango, Healing Salve, Wind Lace, Smoke, Observer Ward | Tranquil Boots, Magic Wand, Bracer | Blink Dagger, Aether Lens, Blade Mail | BKB, Aghanim’s Scepter, Lotus Orb |
| Ancient-Divine | Tango, Healing Salve, Wind Lace, Smoke, Observer Ward | Tranquil Boots, Magic Wand | Blink Dagger, Aether Lens or Glimmer Cape | Force Staff, BKB, Aghanim’s Shard |
| Immortal | Tango, Healing Salve, Wind Lace, Smoke, Observer Ward, Sentry Ward | Tranquil Boots, Magic Wand | Blink Dagger, Aether Lens | Glimmer Cape, Force Staff, Lotus Orb, BKB |
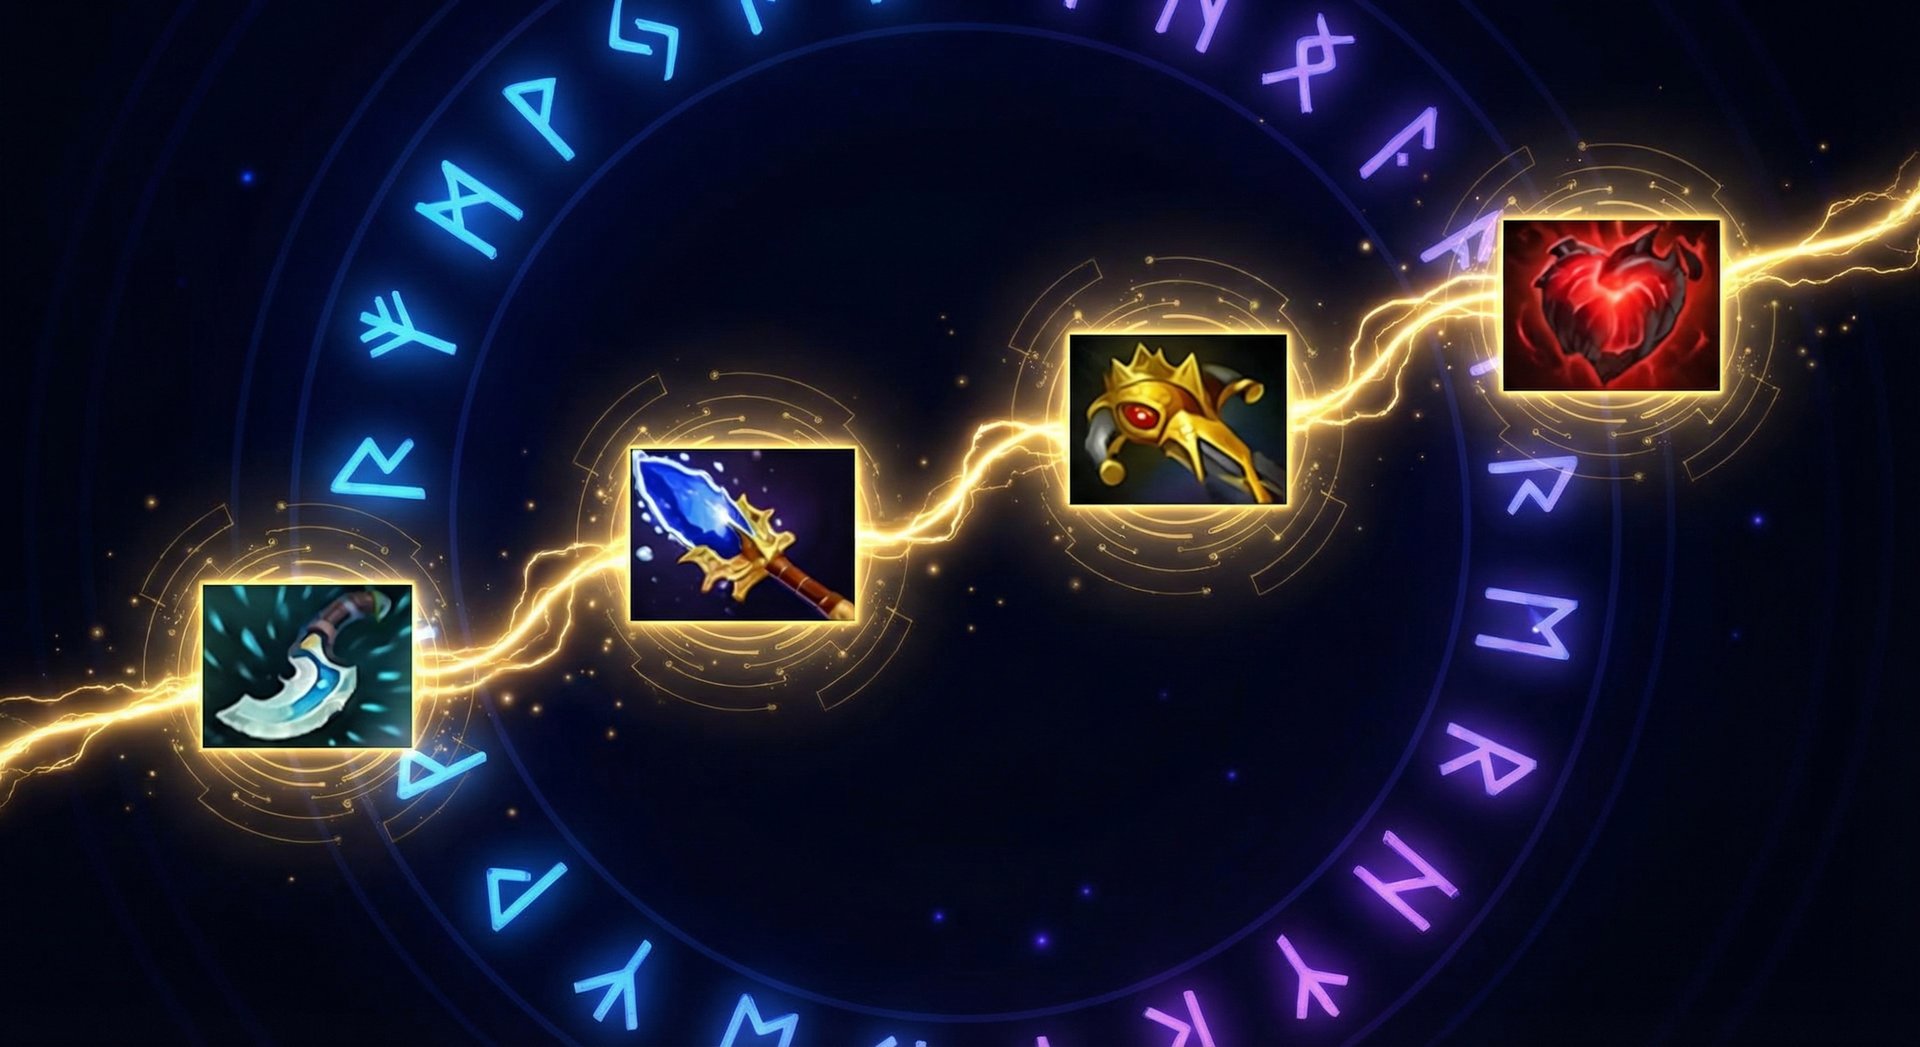
The biggest mistake lower-ranked players make is rushing Aghanim’s Scepter. At Immortal level, Aghs is only purchased in 12.5% of games, and the average timing is minute 34. Blink Dagger is the single most important item on Pudge — it is core in over 50% of high-MMR games with an average timing of minute 21. Without Blink, your hook becomes your only initiation tool, and good players will simply position themselves to never get hooked. Blink into Dismember with Rot on is far more reliable than fishing for hooks from fog.
Aether Lens is the second most common extension at 40.9% purchase rate, and it makes sense — the extra 225 cast range on Hook and Dismember is enormous. It turns a 1300-range hook into a 1525-range hook, and the extra mana and mana regen solve Pudge’s chronic mana issues. If you are working with a coach to improve your Pudge, one of the first things they will drill into you is getting your Blink timing down to minute 18-20 consistently.

Laning Phase Masterclass
Pudge has one of the worst laning phases of any position 4 in the game. His lane advantage is negative 3.7% at high MMR, meaning on average, Pudge’s lane loses more often than it wins. His networth at minute 10 is roughly 2,233 gold, which is among the lowest of any position 4. Understanding this weakness is crucial — you are not picking Pudge to win the lane. You are picking him to create chaos and enable kills.
The First Two Minutes
Do not throw hooks from level 1 unless you have a guaranteed setup. At level 1, Hook costs 110 mana and deals 150 damage. If you miss, you have mana for one more hook and then you are useless. Instead, focus on contesting pulls, placing wards in pull camp spots, and trading hits using Rot. Rot at level 1 does 40 damage per second in a 250 radius — if you are body-blocking an enemy support, Rot plus right clicks will force them out or force a salve.
Hook Angles and Fog Spots
The three best hook angles from the offlane are:
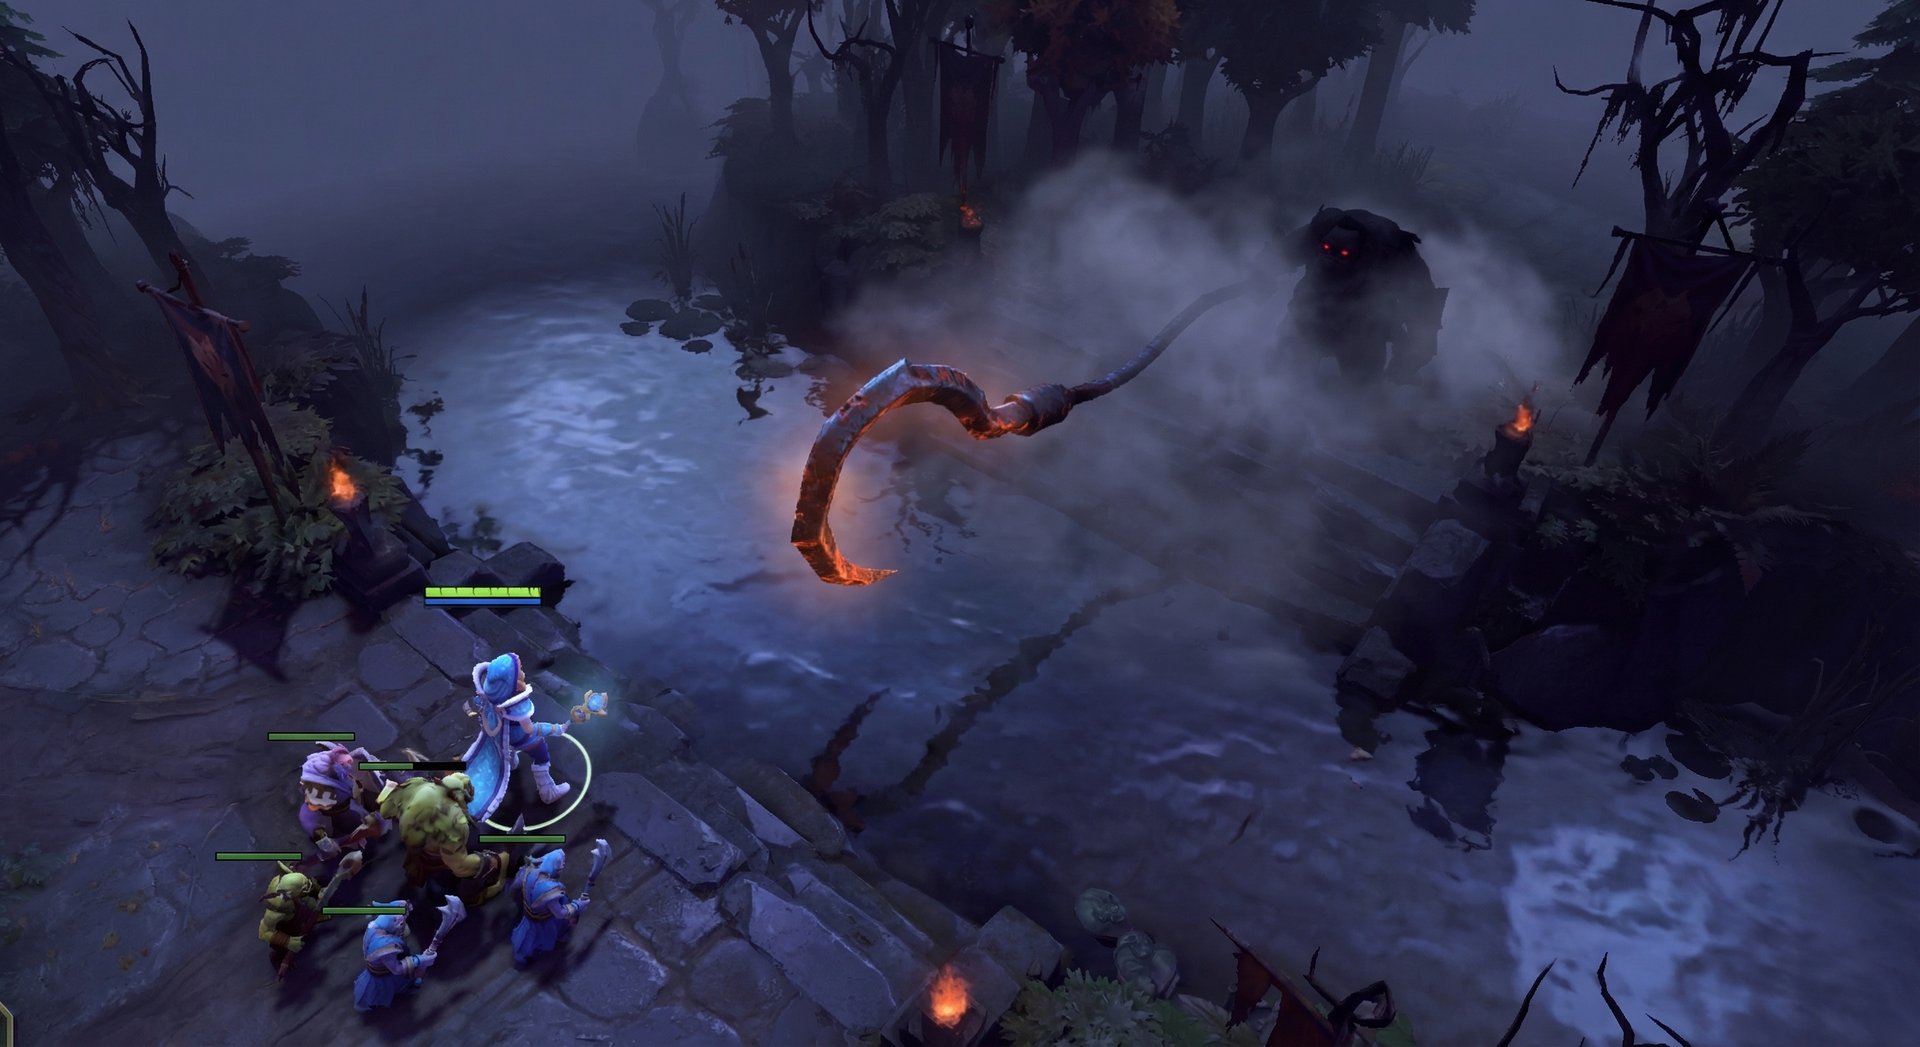
1. River Fog Hook (Radiant offlane): Stand in the river just below the Radiant safelane ward spot. The trees here break line of sight, and most enemy supports stand near the pull camp, giving you a clean angle. This works especially well between minutes 2-4 when the enemy support is pulling the small camp.
2. Behind-Tower Hook (Dire offlane): Position yourself in the trees behind the Dire offlane T1 tower. When the enemy carry pushes the wave toward your tower, you can hook them from behind. The trees provide fog, and the carry is usually focused on last-hitting, not watching for a Pudge sitting 1200 units behind them.
3. Shrine Area Hook (Both sides): The area near the outposts provides excellent fog coverage. After minute 5, rotate between mid and your offlane using these fog spots. Never stand in plain sight — the moment enemies see you on the map, they play cautiously and your kill potential drops to zero.
When to Rotate
Leave your lane at level 3-4 if any of these conditions are true: your lane is unwinnable (enemy has a strong dual lane like Juggernaut + Lich), the mid matchup is favorable for a gank (enemy mid is pushed up with no escape), or you have a smoke and your mid hero has a stun or slow. Do NOT rotate mid at level 2 with only Hook and Rot — you need at least two points in Hook or one in each basic ability to have kill potential.
Lane Partner Synergies
The best offlane partners for Pudge are heroes with slows or stuns that set up guaranteed hooks: Mars (Arena into Hook is disgusting), Slardar (Bash plus Corrosive Haze makes your Dismember target melt), Axe (Call forces enemies to stand still for an easy hook), and Centaur Warrunner (Double Edge slow into Hook). Avoid pairing with passive farming offlaners like Medusa or Naga — Pudge needs a lane partner who wants to fight.
Mid and Late Game Transitions
Pudge’s power curve is unique. He is weak in lane (minutes 0-8), spikes hard in the mid game (minutes 15-35), and then either stays relevant through Flesh Heap stacks and utility items or falls off if he did not accumulate enough stacks. The data confirms this: Pudge’s win rate is 50.1% in games under 35 minutes, drops to 48.2% in 35-50 minute games, and bounces back to 51.6% in ultra-late games (50+ minutes) where Flesh Heap stacks make him nearly unkillable.
The Blink Dagger Timing
Your first major power spike is Blink Dagger. The average timing at Immortal is minute 21, but you should aim for minute 18-20. Once you have Blink, your gameplay changes completely. Instead of sitting in trees hoping for a hook, you can Blink into melee range, Dismember, toggle Rot, and then Hook if they try to run. Blink-Dismember is far more reliable than Hook-Dismember because it removes the skillshot element entirely.
Smoke Rotations
Between minutes 10-20, you should be using every smoke your team buys. Pudge is one of the best smoke gankers in the game because his kill threat from fog is enormous. A smoke rotation with Pudge plus one damage dealer (your mid or carry) can delete any hero on the map. Call out the target before you smoke, walk into their jungle or behind their tower, and look for Blink-Dismember or Hook from fog. A successful smoke gank with a kill gives you gold, Flesh Heap stacks, and map control. Three successful smoke ganks in a row can completely break a game open.
Team Fight Positioning
In team fights, Pudge’s job is not to be in the front line tanking damage at minute 20. Your job is to position on the flank, wait for the fight to start, and then Blink onto the enemy backline and Dismember their most important hero. The ideal Dismember target is the enemy mid or carry — anyone who channels spells (Witch Doctor, Crystal Maiden, Shadow Fiend) is a premium target because Dismember cancels their ult.
After minute 30, your role shifts. With 15+ Flesh Heap stacks and a BKB, you ARE the frontline. Pop BKB, walk into the enemy team with Rot on, Hook the hero you want to kill, and Dismember them. Your team follows up behind you. At this point you have 3000+ HP and significant magic resistance from Flesh Heap, so you can absorb an enormous amount of punishment.
BKB Timing
BKB is purchased in only 11.4% of Immortal Pudge games, with an average timing of minute 38. This tells you it is a situational luxury item, not a core purchase. Buy BKB when the enemy has heavy lockdown that prevents your Dismember channel (Rubick Telekinesis, Lion Hex, Shadow Shaman Shackles). If the enemy team is mostly physical damage or single-target spells, skip BKB entirely and invest in Lotus Orb or Force Staff for your team.
Counters: Heroes That Destroy Pudge
Understanding Pudge’s counters is just as important as knowing how to play him. If the enemy picks these heroes, you need to adjust your game plan or consider that this might not be a Pudge game. If you keep running into counter-picks and cannot seem to climb, an MMR boost might help you get to a bracket where you can ban more effectively.
1. Lifestealer (Disadvantage: ~4-5%)
Lifestealer is Pudge’s worst nightmare. Feast deals percentage-based damage, which means the more HP Pudge has from Flesh Heap stacks, the faster Lifestealer shreds him. Rage gives magic immunity, making Hook deal zero damage and preventing Dismember. And Lifestealer out-sustains Pudge in every fight. If the enemy picks Lifestealer, do not try to Dismember him — instead, focus your Hooks and Dismember on his supports. You are not going to kill a Lifestealer 1v1 at any point in the game.
2. Necrophos (Disadvantage: ~3-4%)
Reaper’s Scythe is percentage-based damage. Pudge might have 4000 HP, but if he is below 40% health, Scythe will kill him regardless. Ghost Shroud also prevents Pudge from right-clicking Necrophos, and Heartstopper Aura chips away at Pudge’s massive HP pool throughout the fight. The counter-play is to avoid long fights where Heartstopper Aura stacks up, and always save your Blink to escape before you drop below the Scythe kill threshold.
3. Anti-Mage (Disadvantage: ~3%)
Anti-Mage blinks away from hooks, burns Pudge’s limited mana pool with Mana Break, and Mana Void deals damage based on missing mana — Pudge has a small mana pool, so a few hits from AM leaves him empty and vulnerable to a massive Mana Void. The counter-play is to wait for Anti-Mage to use Blink offensively before throwing your hook, and always keep enough mana for one hook plus Dismember.
4. Legion Commander (Disadvantage: ~2-3%)
Duel goes through BKB and forces a 1v1 that Pudge will lose every time if Legion has any Duel damage stacked. Press the Attack also dispels Rot slow and Dismember. If you are playing against Legion Commander, never wander alone after minute 15 — she will find you, Blink-Duel you, and add your +10 to her collection. Always stay near teammates who can interrupt her Duel.
5. Doom (Disadvantage: ~2-3%)
Doom’s ultimate silences all of Pudge’s abilities for its entire duration, turning him into a slow-moving creep with no escape. Infernal Blade also deals percentage-based damage that punishes Pudge’s large HP pool. A Doomed Pudge cannot toggle Rot, cannot Hook, cannot Dismember — he is completely neutralized for 16 seconds. The counter-play is to stay out of Blink-Doom range and let your team initiate first, then follow up after Doom has been used on someone else.
Heroes Pudge Destroys
1. Crystal Maiden
Crystal Maiden is slow, fragile, and has no escape. A single Hook from fog kills her or forces her entirely out of the fight. Her Freezing Field ultimate is a perfect Dismember target — Blink onto CM during her channeling ult, Dismember her, and she dies while her biggest ability is cancelled. CM also tends to position herself in the backline, which is exactly where Pudge wants to aim his hooks.
2. Sniper
Sniper players rely on range to stay safe, but Hook has 1300 range — more than enough to grab Sniper from what he thinks is a safe position. Sniper has no escape except Shrapnel slow, which does not help when he is being dragged 1300 units into Pudge’s team. Once you have Blink, Sniper games become trivially easy: Blink on top of him, Dismember with Rot on, and he dies in under 2 seconds. Sniper’s 17.5% pick rate and 47.5% win rate in 7.40c means you will see him a lot, and Pudge farms Sniper players.
3. Shadow Fiend
Shadow Fiend’s biggest weakness is that Requiem of Souls requires him to stand still for 1.67 seconds. Hook interrupts Requiem. Dismember interrupts Requiem. And SF’s low HP pool means a Hook plus Dismember plus Rot combo kills him from nearly full HP in the mid game. SF also loses all his Necromastery souls on death, which means a single successful gank on SF sets him back enormously. Rotate mid at level 3-4 with a smoke and aim to kill SF at least once before minute 10.
4. Witch Doctor
Death Ward is a channeled ultimate, and Pudge has two ways to cancel it: Hook and Dismember. Witch Doctor has to stand still for his biggest ability to work, and a Pudge sitting on the flank with Blink can delete him every single team fight. Witch Doctor also has no mobility and low HP, making him a free kill for any hook landed from fog.
5. Drow Ranger
Drow Ranger loses her Marksmanship bonus when an enemy is within 400 units of her. Hook drags heroes directly on top of Pudge, which means every successful hook on Drow strips her of her strongest passive and leaves her hitting like a ranged creep. Combined with Dismember lockdown, Drow has no way to fight back once she is hooked. Gust can push Pudge away, but if you Blink-Dismember her, Gust is not fast enough to save her.
How Pros Play Pudge in 7.40c
Pudge has seen increased competitive play in 7.40c, primarily as a position 4 support. The hero was picked 14,506 times in high-MMR ranked matches in the last 8 days alone, with a 50% win rate at the 7000-8500 MMR bracket according to D2PT.
Interesting pro trends include a significant Radiant advantage: Pudge wins 53.8% of games on Radiant versus only 44.8% on Dire at Immortal level. This is largely due to Radiant’s superior hook angles in the mid lane and around Roshan. Pro players overwhelmingly pick Pudge in the first phase (5,144 matches at 49.1% winrate), treating him as a comfort pick rather than a last-pick cheese hero. However, when Pudge IS last-picked (22 matches), his winrate jumps to 54.5%, suggesting he is most effective when you can see the enemy draft and confirm there are no hard counters.
The pro build is remarkably consistent: Tranquil Boots into Magic Wand into Blink Dagger, with Aether Lens as the go-to first extension. Pros rarely build Aghanim’s Scepter before minute 34, preferring utility items like Glimmer Cape, Force Staff, and Lotus Orb that help the entire team. This is the biggest difference between how pros play Pudge and how pub players play him — pros treat Pudge as a utility support who happens to have pick-off potential, not as a one-man army who needs to carry the game.
One notable trend: pros are picking the +5 Armor talent at level 10 in nearly 70% of games, which tells you how important it is to shore up Pudge’s physical damage weakness. The -10% Rot Slow talent sounds appealing but does not solve the fundamental problem that Pudge dies too fast to physical damage dealers in the mid game.
Rank-Specific Climbing Guide
Herald to Guardian: The Foundation
At this rank, the single most important thing is not dying. Herald Pudge players die an average of 10+ times per game, which means they are giving the enemy team thousands of gold in kill bounties while getting zero Flesh Heap stacks. Focus on these three things and nothing else:
1. Practice hooks in demo mode. Spend 15 minutes before you queue just throwing hooks at moving bots. You need to build muscle memory for the hook speed and latch radius. Aim slightly ahead of where the enemy is walking, not directly at them.
2. Do not hook from visible positions. If the enemy can see you, they can dodge your hook. Always throw hooks from fog of war — behind trees, from high ground, or from smoke. If you do not have fog, do not throw the hook.
3. Buy Tranquil Boots, not Arcane Boots. Tranquil Boots cost less, give you movement speed to get into position, and the HP regen lets you stay on the map without going back to base. Arcane Boots are a trap at this rank — you need mobility more than mana.
If you are stuck at Herald and want to break out, consider our MMR calibration service to get a fresh start at a higher skill level.
Crusader to Archon: Adding Game Sense
At Crusader-Archon, you need to start thinking about the game beyond just hooking people. The big upgrades at this rank are:
1. Smoke rotations. Buy smokes. Use them. A smoke gank at minute 8 on the enemy mid can win you the game. Communicate with your team in voice chat or pings — ping the enemy hero you want to kill, then smoke up and walk there. Even if the gank fails, the pressure forces the enemy to play cautiously.
2. Map awareness. Before you throw a hook, glance at the minimap. If three enemies are missing, you might be walking into a trap. If four enemies are visible on the other side of the map, the one missing hero is probably farming jungle near you — go find them and kill them.
3. Stop building Heart of Tarrasque. Seriously. At this rank, Heart is a 5000-gold luxury item that does not help your team. Blink Dagger plus Aether Lens gives you way more impact for less than half the cost. Save Heart for 60-minute games where you have nothing else to build.
Legend to Ancient: The Macro Leap
Legend to Ancient is where Pudge games become about macro play rather than individual hook skill. Everyone at this rank can land hooks — the difference is knowing WHEN and WHERE to be on the map.
1. Vision game. Buy Observer Wards and place them aggressively in the enemy jungle. Pudge is one of the best heroes at dewarding because he can survive getting caught out thanks to Flesh Heap stacks and Rot deny potential. Place wards that give you hook angles into common farming spots.
2. Dismember target priority. In team fights, you need to identify the enemy’s most important hero and focus all your abilities on them. Do not Dismember the enemy position 5 Ogre Magi — save your Blink-Dismember for their Sniper, Shadow Fiend, or whatever carry is dealing the most damage.
3. Aghanim’s decision making. At this rank, you can start considering Aghanim’s Scepter as a late-game option. Aghs Dismember swallows the target, making them invulnerable to outside damage — this can be used offensively (swallow the enemy carry for 3 seconds while your team kills everyone else) or defensively (swallow an allied hero to save them from lethal damage). But only build this after Blink and one utility item. Aghs rush is still a trap.
Divine to Immortal: What Separates the Top 1%
At Divine and Immortal, Pudge games are won and lost in the draft and the first 10 minutes. The mechanical skills are assumed — everyone can land hooks and use Blink-Dismember. What separates the top 1% is:
1. Hook prediction, not reaction. At Immortal, you are not hooking enemies who walk in a straight line. You are throwing hooks where the enemy WILL be in 0.8 seconds based on their movement patterns, the location of their allies, and the geometry of the terrain. This requires reading the game state, not just aiming at a moving target.
2. Draft awareness. Do not pick Pudge into Lifestealer, Anti-Mage, or Necrophos. Do not pick Pudge when your team already has three melee heroes. Pick Pudge when the enemy has squishy backline heroes, when you have a strong lane partner, and when the enemy draft lacks strong dispels or BKB-piercing abilities.
3. Saving hooks for key targets. Do not throw hooks randomly in team fights. Identify the one hero whose death wins the fight, and save your hook exclusively for them. A Pudge who throws three hooks in a team fight and misses all three is worse than a Pudge who throws one hook at the right target and hits it. At Immortal, you get maybe two hook attempts per fight — make them count.
4. Item flexibility. Sometimes you need Glimmer Cape to save your carry from burst damage. Sometimes you need Force Staff to push allies out of Clockwerk Cogs or Slark Pounce leash. Sometimes you need Lotus Orb to dispel silences on your Storm Spirit. The best Pudge players build what their team needs, not what they want. If you are struggling with this level of decision-making, professional coaching from an Immortal player can accelerate your improvement dramatically.
Tips and Tricks Most Players Do Not Know
Hook Through Trees Spots
There are several spots on the map where you can hook through a thin line of trees to catch enemies who think they are safe. The most important ones are: the trees between the mid lane and the Dire ancients (hook from the ancients into the mid lane), the trees above the Radiant offlane pull camp (hook from behind the trees into the lane), and the tree line near the Roshan pit entrance on the river side. Learning these angles gives you hook opportunities that most players do not even know exist.
Dismember Plus Item Combos
You can use certain items during Dismember without canceling the channel. The most important ones are Urn of Shadows / Spirit Vessel (apply it to the Dismember target for extra damage and healing reduction) and Shiva’s Guard (activate the blast during Dismember for extra AoE damage). You can also pop BKB before Dismember to guarantee the full channel without being interrupted.
Rot Denial Mechanics
You can deny yourself with Rot when below the deny HP threshold (roughly 25% HP when affected by a player-controlled damage source). The window is small, and you need to toggle Rot ON before you reach the threshold, not after. Practice this in demo mode: walk into a tower, get low, and toggle Rot to deny yourself. In real games, self-denying with Rot when you are about to die gives the enemy team significantly less gold and zero experience in a radius. Over a 40-minute game, two or three self-denies can make a real economic difference.
Flesh Heap Stacking Optimization
Flesh Heap’s 450 radius for gaining stacks is larger than most players think. You do not need to get the last hit on a hero kill — you just need to be within 450 units when they die. This means you should always be near team fights, even if you have already used all your abilities. Walk toward dying enemies with Rot on to ensure you are within the 450-unit radius when the kill happens. Every stack is 1.5 strength forever — over a game, maximizing your stacks can mean the difference between 2800 HP and 3500 HP.
Hook Geometry
Meat Hook has a 100-unit latch radius. This means you can “miss” by up to 100 units and still grab the target. The practical implication is that hooking enemies who are standing next to creeps is harder than it looks — the hook will latch onto the creep if it is closer. Always wait for a clear angle with no creeps between you and the target, or hook from an angle where creeps are not in the path.
Frequently Asked Questions
Position 4 support is the optimal role for Pudge in 7.40c. At high MMR (7000-8500), Pudge is played almost exclusively as a position 4, with a 10.7% pick rate in the support role. His laning is too weak for position 3 — he loses most 1v1 matchups against safelane carries, and his farming speed is terrible compared to real offlaners like Axe, Mars, or Beastmaster. As position 4, you can roam, set up kills, and transition into a tanky utility hero through Flesh Heap stacks without needing farm priority.
The most popular build at Immortal (50.5% win rate) is: Hook, Rot, Hook, Flesh Heap, Hook, Dismember, Hook — maxing Hook first, then Rot. The highest win rate build (53.6% win rate) takes an early Flesh Heap point at level 2 or 3 for the magic resistance, which helps in lanes with heavy magical harass. Always take Dismember at 6, 12, and 18.
Aghanim’s Scepter is a late-game luxury item, not a core purchase. Only 12.5% of Immortal Pudge games include Aghs, with an average timing of minute 34. Buy Aghs when: you already have Blink and one utility item, the game is going late, and the enemy has a key hero you want to remove from fights for 3 seconds. Never rush Aghs before Blink Dagger.
Against Lifestealer, do not try to fight him 1v1. His Feast deals percentage-based damage that shreds your HP pool, and Rage makes him magic immune. Instead, focus your hooks and Dismember on his supports and teammates. In team fights, save your Dismember for after Lifestealer uses Rage — the BKB duration gets shorter each use, so wait it out and then lock him down when his immunity ends.
Yes. Blink Dagger is core on Pudge in over 50% of Immortal games. Without Blink, your only initiation is Hook, which is a skillshot that good players will dodge. Blink-Dismember is a guaranteed 3-second disable from 1200+ range that does not require aiming. It also lets you escape, reposition for better hook angles, and chase down fleeing enemies. Get Blink by minute 18-21 every game.
At high MMR, Pudge wins 53.8% on Radiant versus 44.8% on Dire — a massive 9% difference. This is because Radiant offers superior hook angles in the mid lane (you can hook from the Radiant jungle high ground into the mid lane), better Roshan control (hook enemies trying to enter the Rosh pit), and more favorable ward spots for setting up fog hooks in the offlane.
Absolutely. Hook accuracy matters, but Blink-Dismember does not require aiming. Many successful Pudge games involve only 3-4 hooked kills but 8-10 Blink-Dismember kills. Focus on positioning, map awareness, and target selection. If you are hitting 30% of your hooks, that is actually fine at most ranks — just make sure the 30% you hit are on high-value targets. If you want to improve your mechanical skills faster, consider one-on-one coaching from an Immortal Pudge specialist.
Struggling to Climb with Pudge Let Us Help
Even the best Pudge players hit walls. Maybe you are landing hooks but your team cannot follow up. Maybe you keep getting counter-picked. Maybe you are stuck in a rank where games feel unwinnable no matter how well you play. That is where we come in. Our Immortal-rank coaches have thousands of Pudge games and can pinpoint exactly what is holding you back — whether it is positioning, itemization, or game sense. Or if you just want to skip the grind entirely, our boosters can get you to your target MMR while you focus on improving your play at a higher skill level.


