

Best Split-Push Heroes in the Current Patch

Split-pushing is one of the highest-leverage strategies in Dota 2 — and it is also one of the most misunderstood. When executed correctly, a solo hero applying lane pressure on the opposite side of the map forces your enemies into an impossible choice: send one or two players to stop you (freeing your team to take objectives) or let you destroy barracks while they fight a numbers disadvantage elsewhere.
The key word is “correctly.” Forty percent of solo deaths on high-ground attempts happen because players choose the wrong hero for the strategy, pick wrong items, or misread the timing window. This guide ranks the eight best split-push heroes in the current patch, breaks down exactly when to start the pressure, which items to buy in which order, and how to survive a one-versus-two follow.
Whether you are stuck in Archon learning the fundamentals or an Ancient player who wants to add a reliable third gameplan to your pool, the heroes and tactics below have been validated by TeamSmurf’s coaching roster across thousands of pub games in the 2026 season. Looking to climb faster while you practice? Our best Dota 2 boosting services page covers every option.
What You Will Learn
Why Split-Push Still Wins Games in the Current Meta
The current patch rewards teams that can apply simultaneous pressure across multiple lanes. With the shrine system gone and twin gates offering fast rotation options for the opposing team, you might think split-pushing has become riskier. In practice the opposite is true for one specific reason: the responding team burns cooldowns and position just to cancel your pressure, while your five-player team sits at Roshan or takes a tier-two tower for free.
A well-coordinated split-push strategy creates a permanent resource tax on the opposing team. Every hero they send to stop you is a hero not contesting the Aegis, not securing bounty runes, and not applying lane pressure of their own. At 25 to 35 minutes — the window where split-push heroes reach their item timings — a single barracks trade is often worth more than a team wipe.
The meta reason split-push thrives in 2026 pubs specifically is the coordination gap. Five-player smoke ganks require communication and timing. A solo lane push just requires one player with game sense. That is an enormous advantage in solo queue from Crusader through Divine.
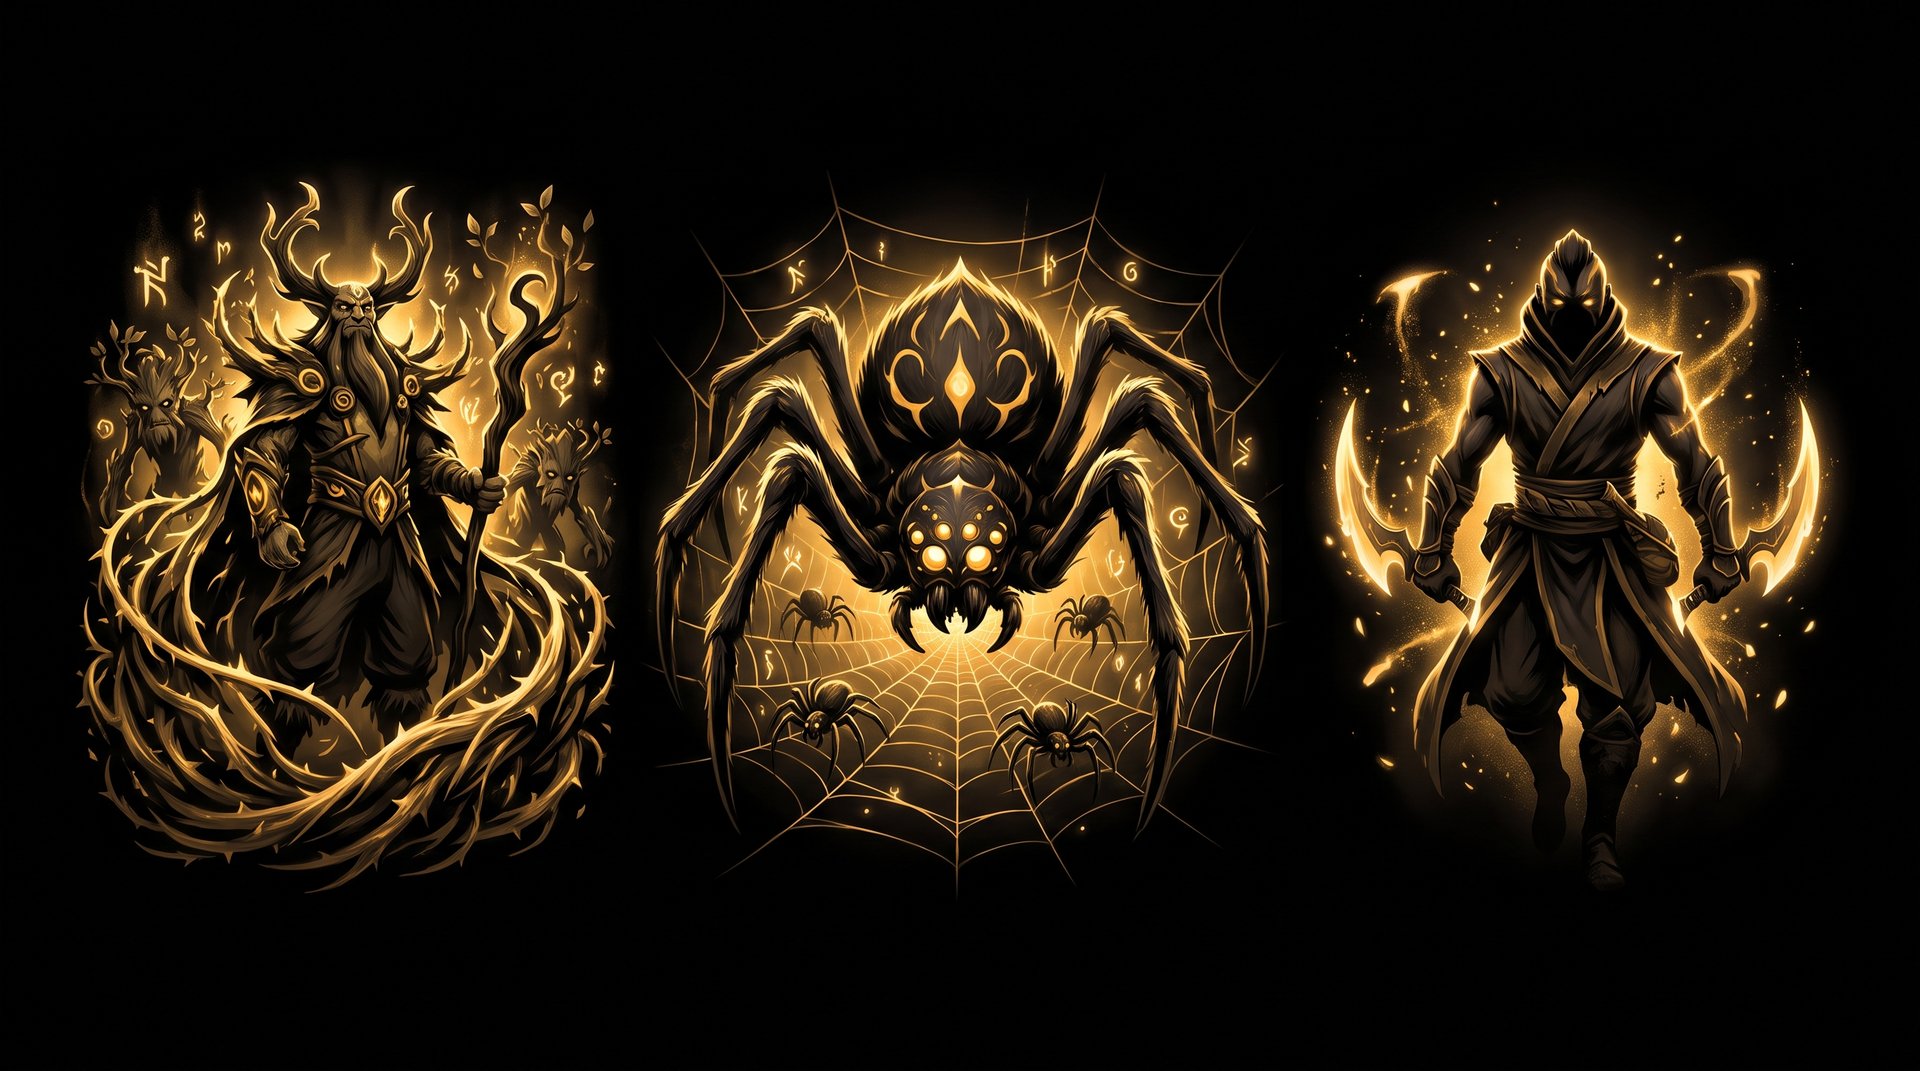
The 8 Best Split-Push Heroes Ranked for the Current Patch
The table below gives you a quick reference score for each hero across the four dimensions that matter most for split-pushing. Detailed breakdowns follow.
| Hero | Push Speed | Escape | 1v1 Power | Skill Floor |
|---|---|---|---|---|
| Nature’s Prophet | S | S | B | Medium |
| Anti-Mage | A | S | A | Medium |
| Broodmother | S | B | A | High |
| Naga Siren | A | B | B | High |
| Lycan | A | A | S | Low |
| Terrorblade | A | B | A | Medium |
| Tinker | B | A | C | Very High |
| Lone Druid | B | B | A | High |
1. Nature’s Prophet — The Definitive Pub Split-Pusher
Nature’s Prophet has occupied the top spot on this list for over a decade, and the current patch does nothing to change that verdict. His Teleportation ability — a global instant-cast blink to any allied building — is simply the most powerful split-push tool in Dota 2. No other hero can be applying pressure in the bottom lane while your team fights at Roshan, then instantly appear to help kill the Roshan the moment a favorable trade appears.
His Sprout roots enemies who try to chase, his treants provide a wave of free damage dealers, and his ultimate Wrath of Nature turns a solo push into a global nuking presence that can threaten multiple heroes across the map simultaneously. The rework in recent patches strengthened his treant damage enough that a single Treant push at a tier-two tower with a Helm of the Overlord provides serious structural damage.
Timing window: Start pressuring a tier-two tower the moment you complete Aghanim’s Scepter (around minute 25). The Scepter reduces Teleportation cooldown dramatically, making you a constant threat.
Core items: Boots of Travel — Aghanim’s Scepter — Refresher Orb — Scythe of Vyse
Matchup tip: If two heroes follow you, immediately Sprout the closest one and TP out. Never fight two without your ult available. A proper MMR boosting guide for Nature’s Prophet always stresses: do not greed. Your value is in map presence, not individual kills.
Why he is the top pick: NP can create a split-push situation from any distance with zero commitment. His global escape and treant durability mean he almost never dies to a follow even with average execution. He also transitions into a strong late-game fighting carry with Skadi or Assault Cuirass.
2. Anti-Mage — The Mobile Farm Machine
Anti-Mage is the split-pusher who punishes slow reactions. His 400 movement speed combined with Blink lets him close to a lane, push it down with illusions, and disappear before the opposing team can rotate. Post-Manta Style, he spawns two illusions that push alongside him and deal real damage to tower armor values.
The key difference between Anti-Mage and Nature’s Prophet is commitment. AM needs to be physically present in a lane for a longer window because his escape is a short-range blink rather than a global TP. This means reading rotations correctly is essential — you push until you see the minimap ping, then you blink out and farm the jungle instead.
Timing window: Manta Style is your go signal (around minute 22-26 in a strong game). Before Manta, your lane push speed is not fast enough to create a meaningful timing window.
Core items: Power Treads — Battle Fury — Manta Style — Skull Basher
Matchup tip: Diffusal Blade works on heroes chasing you (mana burn, slow), not on buildings. Buy it only if the enemy has a troublesome Omniknight or a running hero you need to stick to. Your Blink is your primary survival tool — never use it offensively until your escape route is clear.
3. Broodmother — The Lane Eraser
Broodmother is the fastest single-lane pusher in Dota 2 when played on a lane where her webs are active. Her spiderlings each deal meaningful damage to towers, she moves through trees instantly with her web pathing, and she passively regenerates health and mana on creep kills. A fully webbed lane becomes effectively her personal zone of control that the opposing team must respect with two heroes to safely handle.
The skill floor on Broodmother is the highest on this list for one reason: she requires you to proactively set up webs before the split-push begins, and she falls hard if the enemy drafts a hero with strong AoE clear like Enigma or Earthshaker. You must know the draft matchup before committing to her.
Timing window: Broodmother starts pressuring tier-two towers as early as minute 18 with Helm of the Overlord and a Radiance or Orchid Malevolence. She is the earliest splitting hero on this list.
Core items: Helm of the Overlord — Orchid Malevolence — Assault Cuirass
Matchup tip: Never web outside your established web network. Moving through un-webbed terrain at normal speed while isolated is how Broodmother gets caught and killed. Think of your webs as a highway system and only push lanes adjacent to it.
4. Naga Siren — The Simultaneous Multi-Lane Threat
Naga Siren takes split-pushing to its logical extreme: she does not push one lane, she pushes three lanes simultaneously with illusions. While the real Naga is farming the jungle or applying pressure to the safe lane, three illusions are dancing on towers in the other two lanes. No team can stop all three at once.
Her ultimate Song of the Siren gives her a global emergency button that puts all five enemies to sleep — letting your team reposition, take objectives, or simply buy 6 seconds to escape a bad situation. The combination of illusion pressure plus global safety net is uniquely powerful.
Timing window: Diffusal Blade plus Manta Style (roughly minute 28-32) is when Naga’s illusions become fast enough to meaningfully damage towers. Before that window she is farming, not splitting.
Core items: Diffusal Blade — Manta Style — Heart of Tarrasque — Skadi
Matchup tip: Illusion armies are countered by any hero with strong AoE. Check if the enemy has a Zeus, Leshrac, or Gyrocopter before committing to Naga. If they do, play standard and delay your illusion pressure until you have Heart of Tarrasque on your illusions for durability.
5. Lycan — The Best “Simple” Option
Lycan earns the lowest skill floor on this list because his split-push does not require illusions, webs, or global positioning to work. His wolf pack deals raw physical damage to towers, his Shapeshift provides 650 movement speed for an easy escape or chase, and his Howl applies an armor reduction aura that stacks with Assault Cuirass to shred tower armor at a pace few heroes match.
For players learning the split-push gameplan, Lycan is the best teacher because his decision tree is simple: push with wolves until a hero shows on the minimap, then Shapeshift away. You are not managing illusions or web networks. You are just applying pressure and reacting to rotations.
Timing window: Helm of the Overlord is your power spike (minute 15-18). Pick a lane, drop wolves on the tower, and start the clock. Lycan with a Helm wolfpack destroys tier-two towers faster than almost any other hero at this timing.
Core items: Helm of the Overlord — Assault Cuirass — Heaven’s Halberd
Matchup tip: Gyrocopter, Earthshaker, and Enigma all kill wolf packs quickly. Against these heroes, tighten your wolf management: do not bunch them, and retreat before you lose the whole pack. Solo wolf pressure without a pack is significantly slower.
6. Terrorblade — The Illusion Farmer
Terrorblade is arguably the highest ceiling split-pusher on this list when played at high skill levels. His Metamorphosis form combined with illusions from Manta Style and Reflection creates a pushing army that tears through towers at extraordinary speed. His farming efficiency means he reaches core items faster than most carries, allowing his split-push threat to materialize earlier.
The trap players fall into with Terrorblade is overextending in Metamorphosis form. Metamorphosis slows your movement speed while active, turning a normally mobile hero into a stationary target if enemies close the distance. Always maintain an escape path before entering Metamorphosis to push.
Timing window: Manta Style is your “go” signal (minute 22-26). Metamorphosis plus illusions pushes a lane tower in under 30 seconds at this timing, which is a genuine reaction-window threat.
Core items: Manta Style — Dragon Lance — Skadi — Satanic
Matchup tip: Terrorblade loses to heroes with strong single-target burst who can kill him before Satanic procs. Against Lina mid, Death Prophet, or Queen of Pain, consider picking a different hero from this list or building BKB as a fifth item.
7. Tinker — The High-Risk High-Reward Option
Tinker’s split-push potential comes from Boots of Travel plus March of the Machines, which he can cast repeatedly with Refresher Orb to deliver massive tower damage from outside engagement range. A Tinker with Boots of Travel can appear on any tower on the map every 3 seconds, making him a constant threat that is extremely difficult to respond to.
The reason Tinker ranks lower on this list despite his raw potential is skill floor. Tinker requires precise mana management, BoT usage discipline, and vision setup to work. A mistake in any of these areas results in a hero with a 15-minute timing disadvantage if he dies. He is not a hero to learn split-pushing on — but a core Tinker skill-spiker who masters him is one of the hardest heroes in the game to stop from taking barracks.
Timing window: Boots of Travel level 2 plus Refresher Orb (minute 28-35) is when Tinker becomes a genuine structural threat. Before that window he is farming or providing space, not splitting.
Core items: Boots of Travel — Blink Dagger — Refresher Orb — Scythe of Vyse
Matchup tip: Always have a vision ward on the enemy jungle path before you show on a tier-three tower. If you are ever caught in March of the Machines range without an escape Blink path, you die. Ward, push, teleport, repeat. Never skip the ward step.
8. Lone Druid — The Controlled Split-Push
Lone Druid’s unique split-push approach uses the Spirit Bear as an independent unit that can push a lane while the Lone Druid hero stands somewhere safer. The Spirit Bear deals significant physical damage to towers and can equip items independently, often carrying Assault Cuirass and Mjollnir to maximize push damage. Meanwhile the hero body sits in the treeline or near a retreat path.
The strategic advantage Lone Druid offers is deniability. Your bear pushes a lane; if the enemy sends two heroes, you pull the bear back and farm the jungle. Unlike most split-pushers, you are not committing yourself physically to a dangerous position.
Timing window: Assault Cuirass on the bear (minute 22-28) is when Lone Druid becomes a credible structural threat. The armor reduction combined with Mjollnir’s chain lightning makes the bear extraordinarily effective against towers.
Core items: Radiance (bear) — Assault Cuirass (bear) — Mjollnir (bear) — Aghanim’s Scepter (hero)
Matchup tip: The Spirit Bear is killed by strong right-click carries who can focus it down. Against Phantom Assassin, Chaos Knight, or Ursa, protect your bear with more micro. Move it back the moment you see critical health and immediately resummon once the enemy retreats.
Split-Push Timing Windows: When to Commit
The most common pub mistake is initiating a split-push too early — before your item timing — or committing to a lane when a bad teamfight already gave the enemy a buyback advantage. The table below gives you the ideal “go” timing for each hero based on their primary power spike.
| Hero | First Power Spike | Ideal Go-Time (Minutes) | Required Vision Setup |
|---|---|---|---|
| Nature’s Prophet | Aghanim’s Scepter | 22-26 | 1 obs ward at enemy treeline entry |
| Anti-Mage | Manta Style | 22-26 | 1 sentry at potential TP spot |
| Broodmother | Helm of the Overlord | 16-20 | Web network established in push lane |
| Naga Siren | Diffusal + Manta | 28-32 | 2 obs wards at jungle rotation paths |
| Lycan | Helm of the Overlord | 15-18 | 1 obs ward at enemy safe-lane jungle |
| Terrorblade | Manta Style | 22-26 | 1 obs ward at high ground ramp |
| Tinker | BoT + Refresher | 28-35 | Full vision setup required, 2+ wards |
| Lone Druid | AC on Bear | 22-28 | 1 obs ward, hero body in treeline |
A consistent rule across all split-push heroes: commit to a tower push only when your team has at least three alive, has Roshan as an alternative threat, or has already secured a team fight win. Splitting during a losing teamfight only gives the enemy free momentum in both locations.
The safest signal to start splitting is when the enemy team uses their abilities in a failed smoke gank on your team. During the 40-60 seconds that your opponents wait on cooldowns, you can often tower-dive a tier-two and be safely retreating before they can rotate.
Core Items Every Split-Pusher Needs
Regardless of which hero you play, five items appear on the most successful split-push builds across all brackets. Understanding why each one matters helps you adapt your build when the enemy drafts a specific counter.
Boots of Travel is the most important item on this list by a wide margin. The ability to teleport to any lane building and return to base in under 5 seconds transforms a static lane push into a dynamic global threat. Every split-push hero except Broodmother benefits from BoT as a core purchase. Nature’s Prophet makes BoT obsolete with his own Teleportation, but even he buys it occasionally for the boot stats and TP availability during his ult-on-cooldown windows.
Blink Dagger provides the escape mechanism that converts a dangerous push into a calculated one. A Blink gives you 1,200 units of instant displacement — enough to jump a cliff or escape through a tree line that a chasing hero cannot follow without their own initiation tool. Do not delay Blink for a damage item on carries like Anti-Mage or Terrorblade.
Manta Style serves dual purposes on illusion-capable heroes: it creates two pushing illusions that deal real tower damage, and it purges silences and roots that would prevent your escape Blink or Teleportation. On Anti-Mage, Naga Siren, and Terrorblade this is a mandatory core item. On Lycan and Lone Druid it is situational.
Assault Cuirass reduces tower armor by 5 and your own attack speed by +35, stacking with your hero’s base attack to dramatically shorten tower kill times. It is particularly powerful on Lycan (wolf pack benefits from the aura), Lone Druid (bear benefits), and Broodmother (spiderlings benefit). A tower under Assault Cuirass aura takes approximately 35 percent more physical damage.
Aghanim’s Scepter is hero-specific but appears on the three highest-tier split-pushers: Nature’s Prophet (reduces Teleportation cooldown + empowers treants), Lone Druid (bear gets additional abilities), and Tinker (adds Laser charges via Refresher). Check your hero’s Aghs upgrade before purchasing — not every Aghs upgrade is worth the slot.
1v2 Matchup Survival: How to Win When Two Heroes Follow
The moment you see two heroes rotating on the minimap to stop your split-push, you have three options. The wrong answer is to panic-Blink into the jungle without a plan. The right answer depends on your hero and the heroes following you.
Option 1 — TP out immediately: If you have Boots of Travel and the tower is not yet within 100 health, retreat. The tower will be there in 60 seconds. Your life is worth more than the tower unless you have a buyback. If you are wondering whether safe boosting services are worth it, consider this — learning to not greed for one tower is the single highest-MMR skill in the split-push kit.
Option 2 — Fight one, escape the other: If you have high 1v1 kill potential (Lycan in Shapeshift, Terrorblade with Satanic active, Anti-Mage with Manta) and one of the two following heroes is a support with no damage, you can kill the support, slow the carry, and TP out. This turns a defensive rotate into a kill for your team and continues your structural pressure.
Option 3 — Bait the Blink: Some heroes following you (Earthshaker, Puck, Spirit Breaker) rely on a single-use initiation to catch you. If you see them following without using their initiation yet, walk toward the high-ground cliff edge. The moment they use their initiation ability, Blink in the opposite direction. They are now on cooldown with no way to chase, and you walk away safely.
The Dota 2 MMR boost service at TeamSmurf includes coaching overlay sessions specifically targeting split-push map reading. If these three options feel difficult to execute under pressure, live coaching is the fastest way to develop the reflex.
How TeamSmurf Helps You Execute Split-Push Strategies
Learning the mechanics of split-push is one thing. Executing it in a pub game at your actual bracket — where teammates do not know when to group up and enemies do not chase predictably — is a different challenge entirely.
TeamSmurf’s Dota 2 coaching roster includes Immortal-rank players who specialize in split-push lineups across all the heroes listed in this guide. A one-hour coaching session focused on timing windows and minimap reading can compress months of self-discovery into a single session. Our coaching team reviews your replays, identifies the specific timing mistakes costing you MMR, and runs live shadow sessions where they guide your decision-making in real time.
For players who prefer a faster track to a target bracket before practicing their own execution, our MMR boosting service uses only Immortal-rank solo queue players — never account sharing with strangers — and includes VPN protection as standard. Check the full MMR boosting guide for transparent pricing and safety details.
Ready to Climb? TeamSmurf Has Your Back
Our Immortal-rank boosters and coaches have helped thousands of Dota 2 players reach their target medal. Transparent pricing, VPN protection, and a no-detection track record since 2018.



