

How to Counter Axe: Denying the Blink Call

Axe is one of Dota 2’s most punishing initiators. A single Berserker’s Call on your entire team means Counter Helix procs on everyone grouped nearby, and a well-timed Culling Blade on an out-of-position carry ends the game on the spot. The moment Axe finishes Blink Dagger, his threat radius jumps from “annoyance in lane” to “instant teamfight ender.”
This guide is about preventing that moment from ever arriving — or making it worthless when it does. Denying the Blink Call means strangling Axe’s gold income in lane, building items that reduce his lockdown window, drafting heroes that exploit his weaknesses, and positioning your team so his initiation never catches more than one of you at once. Master these principles and Axe stops being a problem before he becomes one.
What You Will Learn
Why Axe Is Dangerous: Understanding His Toolkit
Before you can counter Axe, you need to understand exactly what you are countering. Axe has four abilities that each create a different problem for opposing teams. Once you break down each threat individually, the counter-strategy becomes clear.
Berserker’s Call
This is Axe’s signature lockdown. Every enemy hero within a radius of 300 units is forced to attack Axe for 2.6 seconds at max level, while he gains bonus armor for the duration. The damage those heroes deal triggers Counter Helix. In a standard teamfight, if Axe lands a Call on three or four heroes clumped together, the resulting helix procs can deal hundreds of damage to everyone in the area. The armor buff makes Axe nearly unkillable during the Call window.
The key vulnerability: Call has a 14-second cooldown at all levels. If you force Axe to waste it — or deal enough damage during the window to kill him before it ends — the fight swings hard in your favor.
Counter Helix
This passive proc fires every time Axe takes an attack, dealing pure damage to all nearby enemies. The proc rate is 20 percent, and the damage scales from 100 at level one to 160 at level four. Pure damage means armor, spell shield, and most forms of damage reduction do not apply.
The solution is simple in principle and hard in execution: stop auto-attacking Axe while he is in Call. Ranged heroes should kite back. Summons and illusions should never be stacked on top of Axe. High attack-speed carries like Medusa or Luna are especially punished if they walk into a Call with no escape.
Battle Hunger
Axe’s lane harassment tool applies a damage-over-time debuff that can only be removed by killing a unit. In the laning phase it is used to secure last hits and deny farm. In teamfights it slows heroes who have the debuff active. Many newer players underestimate Battle Hunger, but it is what makes Axe difficult to lane against even before he has Blink. Proper creep manipulation — always having a creep available to cleanse the debuff — significantly reduces its impact.
Culling Blade
Axe’s ultimate executes any hero below a certain HP threshold — 250 at level one, 350 at level two, and 450 at level three. If the kill lands, Axe and nearby allies get a movement and attack speed buff. The ability refreshes its cooldown on a kill, meaning Axe can chain-execute multiple weakened heroes in the same teamfight.
This makes “almost killing” Axe targets a serious mistake. If your carry drops a target to 400 HP and stops fighting to back off, Axe culls them and the fight turns around in seconds. Commit to kills or do not engage.
Blink Dagger: The Real Threat Multiplier
Axe without Blink Dagger is a slow melee hero who struggles to reach ranged heroes and can be kited around trees. Axe with Blink Dagger becomes a gap-closing nightmare that can initiate from 1200 units away with zero warning.
The item costs 2250 gold and has no active cooldown when purchased — it only goes on a six-second cooldown after Axe takes player damage. This single item transforms Axe from a “stay away from him” problem into an “anyone in any part of the map is at risk” problem. Most Axe players aim to have Blink by minutes 12 to 16. The exact timing depends on how well they farmed the offlane, whether they got kills, and whether they used the Axe Creep ability to accelerate farm in the early jungle.
What Blink Enables
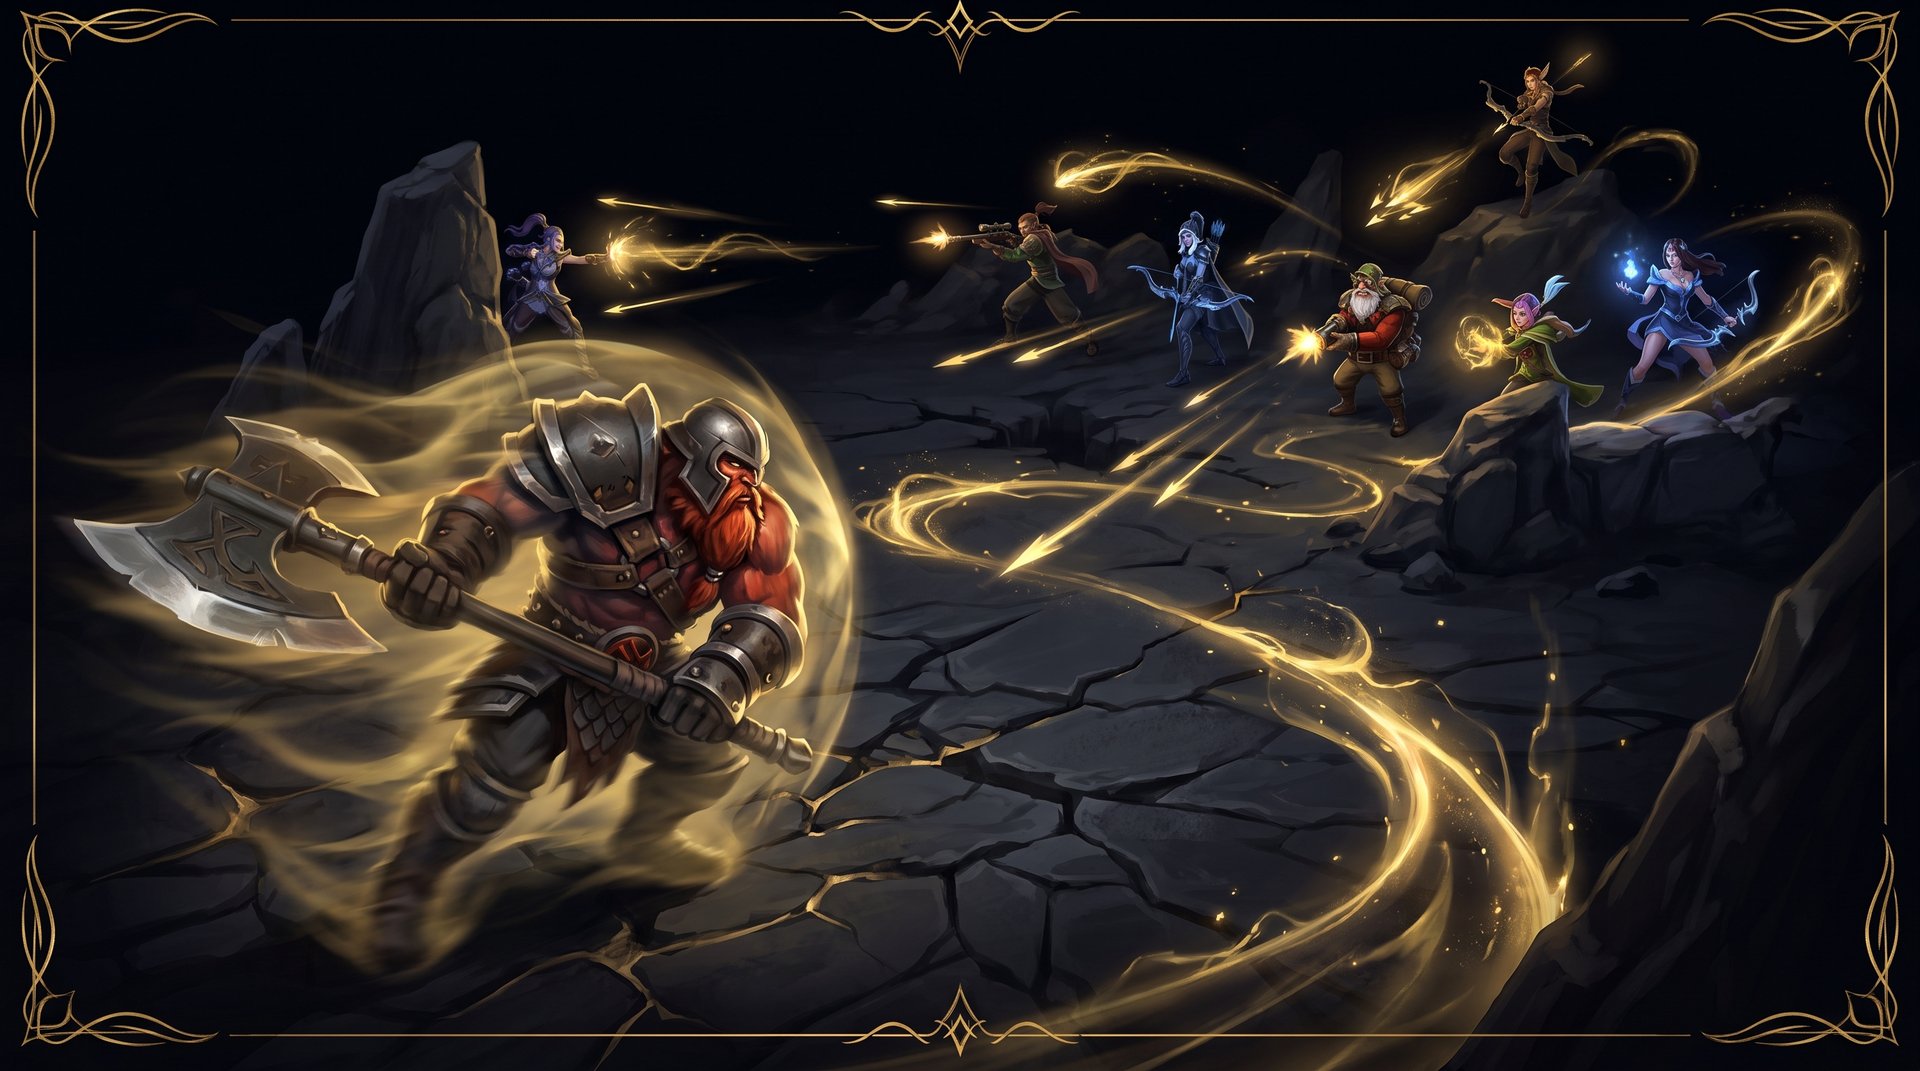
With Blink, Axe can enter the fog of war, teleport next to a hero caught out of position, and Call before anyone can react. His initiation timing is faster than most heroes can cast a defensive spell. A carry stepping forward to last hit, a support rotating without vision — these become death sentences if Axe has Blink and you do not have vision on him.
Denying the Blink Call starts in the laning phase. Every 100 gold you take from Axe in the lane pushes back his Blink timing. A delayed Blink means your team has more time to build defensive items, secure objectives, and establish vision that makes Axe’s initiations more predictable.
Lane Phase: How to Deny Axe His Gold
Axe is most commonly played as an offlaner. His job in lane is to survive, accumulate levels, and build toward Blink as fast as possible. Your job as the safe lane carry and support is to make that as miserable as possible.
The Battle Hunger Response
When Axe casts Battle Hunger on your carry, your carry must immediately deny a creep or right-click an enemy creep to kill it and remove the debuff. If no creep is available, run to the edge of the camp and wait rather than taking unnecessary damage. The debuff also slows your movement speed by 8 percent at max level, making it harder to kite. Learning the timing of when to cleanse it versus when to tank it is the first mechanic to internalize.
Punishing Axe in Lane
Axe has no natural escape ability in the early game. He relies on his armor from Call and his HP pool to survive harassment. Heroes with long-range poke — Drow Ranger, Terrorblade, Dragon Knight — can chip away at his HP without walking into Counter Helix range.
The rule: stay at 300 units or more away from Axe whenever possible. Counter Helix has a proc radius of 300 units. If you harass from outside that range, his passive never fires against you. This is the most important spacing rule in the matchup and it applies throughout the entire game, not just in lane.
Zone Axe away from creep kills. If he cannot secure last hits, his gold income slows. Supports should pressure him toward the back of the lane. Kills on Axe before he hits level 6 are especially valuable — they delay both Culling Blade and the farm he needs for Blink.
Jungle Awareness After Level 3
Many Axe players abandon the lane early and move to the jungle when the lane becomes too difficult. This is actually fine for you — an Axe farming the jungle at a slow rate is less dangerous than an Axe getting kills in lane. However, you must maintain vision on the jungle camps he uses. A ward at the medium camp or the triangle gives you early warning when he starts coming toward the map.
Do not let Axe spin in the jungle uncontested while your team does nothing. Push towers, take Roshan if you have the window, and build the advantages that make his Blink less relevant when it arrives.
Item Counters: What to Build Against Axe
Your item choices dramatically change how dangerous Axe’s Blink Call is. Several items either reduce the lockdown, prevent the initiation, or allow you to escape or punish the Call window. If your team is serious about climbing — and if you need a shortcut to high-MMR itemization knowledge — our coaches at TeamSmurf’s top Dota 2 boosting services regularly cover this kind of situational item adaptation in coaching sessions.
| Item | Effect vs Axe | Best For |
|---|---|---|
| Linken’s Sphere | Blocks Berserker’s Call on the carrier | Carry or mid hero |
| Aeon Disk | Triggers when HP drops low, saves from Culling Blade | Squishy supports |
| Heaven’s Halberd | Disarms Axe so Counter Helix cannot proc | Offlane or support flex |
| Eul’s Scepter | Self-cyclone to break out of Call by dispelling the taunt | Intelligence heroes |
| Black King Bar | Immune to Call while BKB is active | Core carries |
| Blade Mail | Reflects Counter Helix back on Axe — use on tanky heroes only | Tanky cores |
| Force Staff | Pushes you out of Call radius mid-lockdown | Supports and agility cores |
| Ghost Scepter | Goes ethereal — Counter Helix procs but attack damage drops to zero | Supports |
Linken’s Sphere in Detail
Linken’s Sphere blocks the next targeted spell cast on the wearer every 17 seconds. Berserker’s Call is a targeted ability — it initiates on one hero and then affects all nearby heroes. If the primary target has Linken’s active, the entire Call is blocked. This is the strongest single item against Axe if your carry is the intended Call target. The cost is high at 5050 gold, but against a game where Axe is the main threat, this is often worth building before a damage item.
Black King Bar and Its Limitations
BKB makes you immune to Call while active, which means no forced attacking and no Counter Helix procs from your attacks. The limitation: BKB duration decreases with each use, and your carry should not be spending BKB on cooldown just to avoid Axe. Save BKB for teamfights where the outcome matters. Also note that BKB does NOT prevent Culling Blade — Culling Blade pierces spell immunity. This means BKB does not save you if you drop below the execution threshold while BKB is active.
Eul’s Scepter: The Underrated Answer
Support players often overlook Eul’s against Axe. Casting Eul’s on yourself while you are locked in Berserker’s Call removes the taunt debuff, saving you from the full duration and the Counter Helix damage. The catch: there is a brief animation before Eul’s activates, and high-ping players may struggle with the tight timing. But in the hands of an experienced player on a stable connection, Eul’s on a support is a legitimate way to escape a Call that would otherwise be lethal.
Blade Mail Awareness
This item needs special attention because players often misuse it against Axe. If you have Blade Mail active while Axe is Calling you, the Counter Helix damage gets reflected back on Axe. This sounds powerful until you realize it also means more procs fire — because the reflected damage can trigger additional helix procs. In some scenarios Blade Mail accelerates Axe’s death during Call. In others the math makes it a wash. Build Blade Mail on tanky frontliners who can survive the lockdown, not on squishy heroes who will die in the first two seconds of a Call.
Hero Counters: Draft Answers to Axe
Some heroes naturally outclass Axe in the matchup because of their mobility, range, or abilities that directly reduce his effectiveness. Knowing these picks gives you a drafting edge before the game even begins.
Ranged Carries That Kite
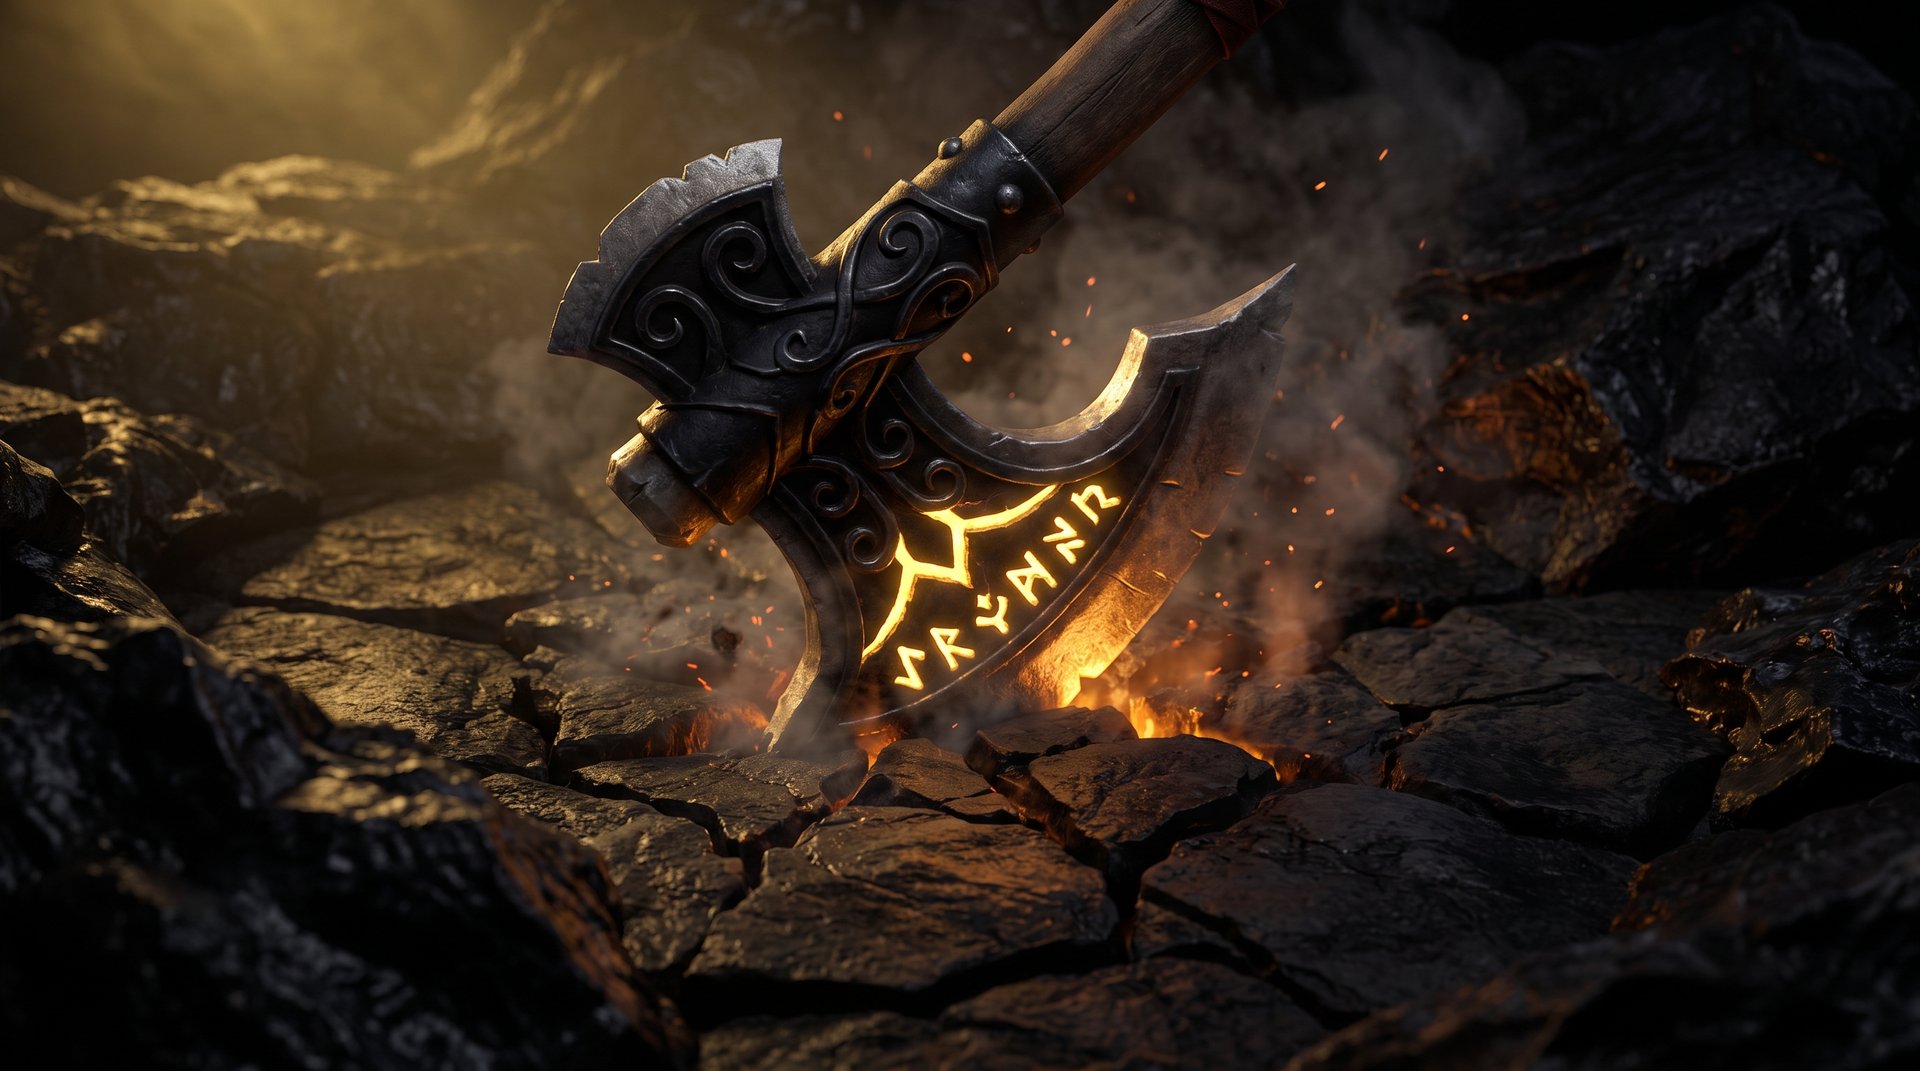
Drow Ranger: Her aura reduces movement speed across the team and she personally can sit at 600+ attack range. She can kite Axe permanently as long as she is not caught in a fog blink. Her weakness is that she has no escape ability, so she relies on team awareness around Axe’s position.
Medusa: Stone Gaze during a Berserker’s Call is devastating for Axe. If all the heroes forced to attack Medusa are petrified by Stone Gaze, their attack speed drops to zero and Counter Helix cannot proc. Late-game Medusa with Mana Shield is also nearly impossible to cull.
Terrorblade: Very high base movement speed, good attack range, and Reflection — which creates an illusion of Axe attacking him, giving Axe’s own procs a new target. Not a hard counter but a matchup that Axe players consistently find uncomfortable.
Sniper: 550 base attack range that increases with Shard and Aghanim’s upgrades. Shrapnel slows Axe out of the jungle. The danger: Sniper has zero escape and a Blink Call is immediately lethal. He counters Axe only with good team positioning and deep wards covering likely approach paths.
Initiators Who Beat Axe to the Punch
Puck: Phase Shift and Ethereal Jaunt make Puck nearly impossible to Call. A Puck player who anticipates the Blink can Phase Shift during the Call animation and take zero lockdown. Puck also out-initiates Axe in many scenarios with Mystic Coil into Jaunt.
Batrider: Flaming Lasso is Axe’s nightmare. If Batrider Lassos Axe and drags him into the team, Axe is isolated from his call radius, his team cannot reach him, and he gets collapsed on without being able to spin up Counter Helix procs on multiple targets. Batrider wins the initiation arms race against Axe at a similar Blink timing window.
Faceless Void: Chronosphere traps Axe and his entire team. Counter Helix cannot proc if Axe cannot move and cannot attack. Faceless Void timed correctly ends every teamfight before Axe can do anything meaningful.
Heroes with Built-In Call Counters
Naga Siren: Song of the Siren wakes up all nearby allied heroes by removing crowd control including Call. If Axe lands a Call and Naga presses Song, the Call is broken immediately. Net also provides early lockdown before Axe’s Blink timing arrives.
Anti-Mage: Counterspell passively reflects targeted spells with a chance. More importantly, AM’s Blink is faster to acquire than Axe’s and allows him to escape any Call that lands. His Mana Void in the late game punishes Axe’s relatively low mana pool in a single cast.
Oracle: False Promise combined with Purifying Flames and Fortune’s End can prevent Culling Blade from landing on a teammate. Fortune’s End applies a silence and physical vulnerability — timed on Axe himself during Call it prevents him from casting Culling Blade mid-fight. Oracle is one of the strongest support counters to Axe in the game for high-level play.
| Hero | Counter Rating | Why It Works |
|---|---|---|
| Puck | Strong Counter | Phase Shift breaks Call entirely |
| Batrider | Strong Counter | Lasso isolates Axe from procs |
| Faceless Void | Strong Counter | Chrono freezes Axe mid-fight |
| Naga Siren | Strong Counter | Song removes Call crowd control |
| Oracle | Strong Counter | False Promise denies Culling Blade kills |
| Medusa | Good Counter | Stone Gaze shuts down helix procs |
| Drow Ranger | Good Counter | Long range, kites indefinitely |
| Anti-Mage | Decent Counter | Fast Blink escape, late-game Mana Void |
Teamfight Positioning: The Single Biggest Leverage Point
Even with no items and a bad draft, good positioning beats Axe in more fights than anything else. Berserker’s Call hits every enemy within 300 units. That means if your five heroes are standing within a 300-unit radius of each other, a single Blink Call locks all five of you simultaneously.
The counter is spacing. Your team should never cluster in a tight formation during the mid and late game. Keep at least 400 to 500 units between each hero. Yes, this reduces AoE synergy from your own abilities. Yes, it makes chain-stuns harder to set up. But against Axe, it is non-negotiable. A Call that locks two heroes instead of five is a winnable fight. A Call that locks all five ends the game.
Approach Direction
When your team engages, approach from multiple angles rather than flooding in from one direction. Axe’s Call radius means a single jump into a clumped offensive push is the easiest possible scenario for him. Heroes approaching from spread angles limit how many he can catch with one initiation — force him to choose between catching your carry or your supports, not all of them at once.
Support Positioning
Your supports should stand behind the front line and off to the side, not directly behind the carry in the same line. If Axe Blinks at your carry and your support is directly behind the carry, the Call catches both of them. Your support should be positioned diagonally — far enough to avoid Call range, close enough to follow up with heals and stuns.
Understanding how to position correctly under pressure is one of the skills that separates lower brackets from higher ones. If you want to accelerate that learning curve, working with a high-ranked coach through our MMR boosting guide gives you a structured framework for this kind of macro improvement.
High Ground Advantage
Axe excels in flat, open areas where he can freely Blink into position. Force fights on high ground where possible. On high ground, Axe’s Blink angles are more restricted, your team has vision advantage, and the defensive tower deals free damage. Axe blinks upward through the high ground cliff — a predictable angle that good teams anticipate and prepare for.
Reading the Blink Dagger Timing
Your first major defensive adjustment happens the moment you see that Axe has Blink Dagger. This information is often available before he uses it — if you have vision on him in the jungle or he shows himself on the map with the item visible in his inventory.
Gold Tracking
Keep a loose track of the net worth difference between Axe and the typical Blink Dagger timing. Most Axe players need around 8000 to 9000 net worth to have Blink plus basic support items like Vanguard or Phase Boots. If the scoreboard shows Axe approaching that range and the game clock is around 12 to 16 minutes, assume Blink could appear at any moment.
The moment Axe hits level 6 — usually around 7 to 9 minutes in a decent jungle start — he becomes a kill threat even without Blink. Culling Blade at low-HP targets within range of a natural charge makes him dangerous even without the gap closer. Do not let supports walk through the jungle alone after Axe hits level 6.
The Buy-and-Hide Pattern
Experienced Axe players buy Blink from the side shop or the fountain and immediately move into position in the fog of war before the enemy team can adjust. The 30 seconds after Axe goes off the map with high gold is the highest-risk window in the game. If you lose vision of Axe and the clock is in the Blink timing range, pull your team back immediately, ward aggressively, and do not engage on the enemy team without knowing exactly where Axe is.
Vision Priorities at This Timing
Drop a sentry or observer at the most common Axe staging areas: the radiant side shop bush, the dire triangle entrance, the river rune spots, and the jungle entrances adjacent to the mid lane. An Axe who cannot stage from fog is forced to commit from a visible position, giving your team at least one full second of reaction time — enough to use defensive items or reposition before the Call lands.
Managing Counter Helix: Stop Hitting Him
This section is specifically for carries and junglers who spend time auto-attacking in Axe’s proximity. Counter Helix procs on every attack, including those from creeps, summons, and illusions. Every unit in range at the moment of a proc takes the pure damage.
What Triggers Helix
Counter Helix activates on any attack that lands on Axe. A jungled creep camp walking through Axe after a bad stack triggers helix. Warlock’s Golems, Helm of the Overlord dominated units, and Necronomicon warriors all trigger procs. If you have a Lone Druid bear permanently hitting Axe inside a Call, you are getting hit by dozens of helix procs in two seconds. Be especially careful with summon-heavy heroes — the very units that make you strong in fights can become the reason everyone on your team dies inside a single Call.
The Correct Response During Call
The moment you are locked in Call, stop attacking if your hero allows it. Some heroes auto-attack even during crowd control due to attack-release mechanics, but awareness of the mechanic lets you position out of range before the Call lands rather than scrambling after. Move toward the edge of Call radius the instant you are tagged. Counter Helix has a proc radius of 280 units, which is slightly smaller than Call’s lockdown radius of 300. Moving to the far edge of Call range puts you outside the helix proc area while still being taunted.
Items That Reduce Helix Threat
Heaven’s Halberd on a support or offlaner disarms Axe, which prevents him from attacking and therefore prevents Counter Helix from firing. A disarmed Axe inside his own Call is just a slow melee hero taking hits without any passive threat. This is why Heaven’s Halberd is one of the most underrated anti-Axe items in the game — it shuts down the core threat of his toolkit while also providing useful stats for a frontliner or support.
Culling Blade: The Execution Threshold
Culling Blade executes at a threshold of 250/350/450 HP depending on level. At level 20 with Aghanim’s Scepter, this threshold increases significantly and the cooldown resets on any kill — including creep kills. This means a late-game Axe with Aghanim can chain executions across an entire teamfight if heroes are being left at low HP.
HP Discipline in Fights
Know the current execution threshold for the Axe you are facing and check his level whenever you are in a fight. If you are below the threshold, back off before engaging further. Commit to kills fully or do not engage — leaving a target at 400 HP within Axe’s range is asking him to cull them for free and reset into your next carry.
One of the reasons high-MMR players rarely die to Culling Blade is pure HP discipline. They monitor their own health during fights and identify the moment when backing off takes priority over continuing the engagement. If your ranked games feel like a constant cycle of Culling Blade deaths, the answer often lies in how your team coordinates under pressure — exactly the kind of pattern our coaches at TeamSmurf (where you can also read about boost safety) help players break.
Healing Items as Insurance
An Urn of Shadows charge, Mekansm activation, or Crimson Guard shield applied right as someone drops toward the execution threshold can save a hero from the blade. Supports should track whether their heals and shields are off cooldown during teamfights rather than saving them for after the fight ends. The window between “getting low” and “getting culled” is often only one or two seconds.
False Promise Timing
If you have an Oracle on your team, learn to cast False Promise on the carry the moment they drop below the Culling Blade threshold. False Promise prevents death until it expires, which means Culling Blade cannot execute the target while False Promise is active. This is the hardest Oracle interaction to land in real games but it is a legitimate high-level counter that turns Culling Blade from a guaranteed kill into a wasted ultimate.
Late Game vs Axe: What Changes
In the late game, Axe becomes more predictable but also more powerful in certain respects. With Aghanim’s Scepter, his Culling Blade refreshes on kills and his blade whirl radius grows. With Shiva’s Guard or Crimson Guard, he becomes extremely tanky and can survive collapses that would kill other initiators.
What Works Late
True damage sources that bypass his armor still work effectively. Invoker’s Sun Strike, Lina’s Laguna Blade at high spell amplification, and Monkey King’s Wukong’s Command stack piercing damage. Hex or Scythe of Vyse prevents Axe from casting Call entirely. If you can hex Axe before he lands his Blink Call, the entire threat is neutralized for 3.5 seconds.
Hex is the strongest single late-game item counter to Axe. The item has a very long cast range of 900 units on most carriers, and since it disables Axe before he can activate Call, it breaks his entire initiation chain. A support carrying Scythe of Vyse and landing it on Axe before he Blinks negates his threat for that entire fight window. Pair it with a hero that has reliable targeting — Lion, Shadow Shaman, or Bane — and you have a consistent answer to even a well-farmed Axe.
Vision and Sentry Coverage
Blink Dagger goes on a 6-second cooldown when Axe takes player damage. If you have an Oracle, Death Prophet, or Witch Doctor who can throw a targeted spell at Axe before he Blinks, you can set his Blink on cooldown and force a positional mistake. He has to walk toward the team rather than appearing in their backline.
Deep wards around the enemy jungle entrances and mid-lane highgrounds give you the vision to spot Axe’s position before he enters the fog. Against an Axe who knows how to use the terrain, buying gem or casting Sentry Wards in his common staging areas dramatically reduces the number of surprise Blinks he can land.
Objective Control as a Counter
Axe excels in teamfights but is weaker at solo pushing towers and does not have a great Roshan speed. If your team has established vision advantages and your carry is ahead on items, forcing 5-man highground pushes works well. Axe blinks into your team on high ground — he lands in a tight space with less room to position, your tower provides free damage, and your team has the defensive advantage of seeing him approach.
Split pushing strategies also neuter Axe. He cannot respond to a Terrorblade or Nature’s Prophet pushing a far lane while the rest of the team controls vision elsewhere. Force Axe’s team to split up and suddenly his 5-man Call threat is irrelevant. Even a threat of split push draws Axe out of position — which is sometimes enough to win a fight on the opposite side of the map.
Putting It Together: The Complete Counter-Axe Gameplan
Countering Axe requires combining draft decisions, laning execution, item timing, and teamfight discipline. No single element is enough on its own. A perfect draft with bad positioning still dies to a Blink Call. Perfect positioning with no items still eventually gets overwhelmed by his tankiness and damage output.
The gameplan looks like this: draft ranged carries or mobile heroes who can escape Call, pressure Axe in the offlane to delay his Blink timing, build at least one Call-blocking or escape item on your carry (Linken’s or BKB), maintain spacing of 400+ units throughout the mid game, ward aggressively at his Blink timing window, and commit to kills fully to remove Culling Blade targets from the fight before he can chain-execute.
When this all clicks, an Axe who hits his Blink timing becomes manageable rather than game-ending. He still has 300-unit range on Call. He still has Counter Helix. But your team is never clumped, your carry can escape or ignore the Call, and your supports have the tools to break his initiation. That is what denying the Blink Call actually means — not preventing him from buying the item, but ensuring that when he uses it, your team is always ready for it.
The difference between a team that gets wiped by every Axe Blink and a team that handles it cleanly is about 200 hours of conscious practice on these fundamentals. Spacing, vision, HP discipline, item timing — none of these are individually complicated. Doing all of them simultaneously in a real ranked game under pressure is the hard part. That is where experience matters, and that is what separates calibrated ranks from deserved ranks.
Frequently Asked Questions
Skip the Learning Curve on Hard Matchups
Dota 2 hero matchups have hundreds of micro-decisions that take hundreds of games to internalize. If you want to climb faster while you build that game knowledge, our professional team at TeamSmurf can help.
We offer Dota 2 MMR boosting and coaching from Immortal-rank players who specialize in these exact matchups. Every session is played on a VPN, manually by a real player, with full account security. Rated 4.9/5 by verified customers.
View Boosting Services Book a Coaching Session



