

Creep Equilibrium: The Lane Control Skill That Wins Games

Creep equilibrium is the single most underrated skill in Dota 2. It is not a hero mechanic. It does not require a specific role or item build. Yet every Immortal-level player manipulates wave state instinctively, while most Herald, Crusader, and Archon players never think about it once.
This guide explains every major wave state — equilibrium, freezing, fast pushing, and slow pushing — and tells you exactly when to use each one. Master these concepts and you will win lanes you should lose, deny farm you currently hand over for free, and create map pressure that did not exist before you understood how waves work.
Whether you play carry, mid, offlaner, or support, creep wave management is part of your job. Start reading.
What Is Creep Equilibrium?
Creep equilibrium is the point at which the Radiant and Dire creep waves fight each other to a standoff near the middle of the lane. When neither side has more creeps than the other, the wave does not drift toward either tower. It stays put — in the “equilibrium” position roughly equidistant from both tier-1 towers.
Equilibrium by itself is not always the goal. The goal is controlling WHICH wave state the lane is in at any given moment, based on what your hero needs and what the map situation demands. The four states are: neutral equilibrium, frozen (held near your tower), fast push (shoved hard under the enemy tower), and slow push (a large wave building up to siege).
Understanding the difference between those four states and having the mechanical discipline to create them on demand is what separates players who “play in lane” from players who “control the lane.”
Why Wave State Wins Games
Wave state affects nearly every outcome in the lane phase and beyond. Here is why it matters at every bracket from Crusader to Divine:
| Wave Position | What It Controls | Who Benefits |
|---|---|---|
| Frozen near your tower | Enemy carry is overextended, gankable; you deny safely | You (safe deny + kill threat) |
| True equilibrium | Both carries trade efficiently; neither has safe deny | The stronger laner |
| Pushed under enemy tower | Enemy earns free gold under tower; you lose positioning | Enemy (tower gold, safety) |
| Slow push (large wave) | Forces enemy to respond; creates roam/objective windows | Entire team (map pressure) |
At the highest level, pro teams plan their draft around which heroes can control lane state. An Axe offlaner combined with a Witch Doctor support can freeze the wave through their superior HP, then call in a mid roam for a kill. A Spectre carry wants the wave frozen near her tower so she can lane passively, farm safely, and let her team play the map. A Drow Ranger wants the wave shoved under the enemy tower before she rotates to stack her own jungle.
These are not random decisions. They are wave-state management at the Immortal level — and the same logic applies even at 2k MMR, where the bar to exploit a bad wave position is much lower. If you want to boost your MMR ranking in the coming season, lane control is the mechanical lever that delivers the most leverage per game.
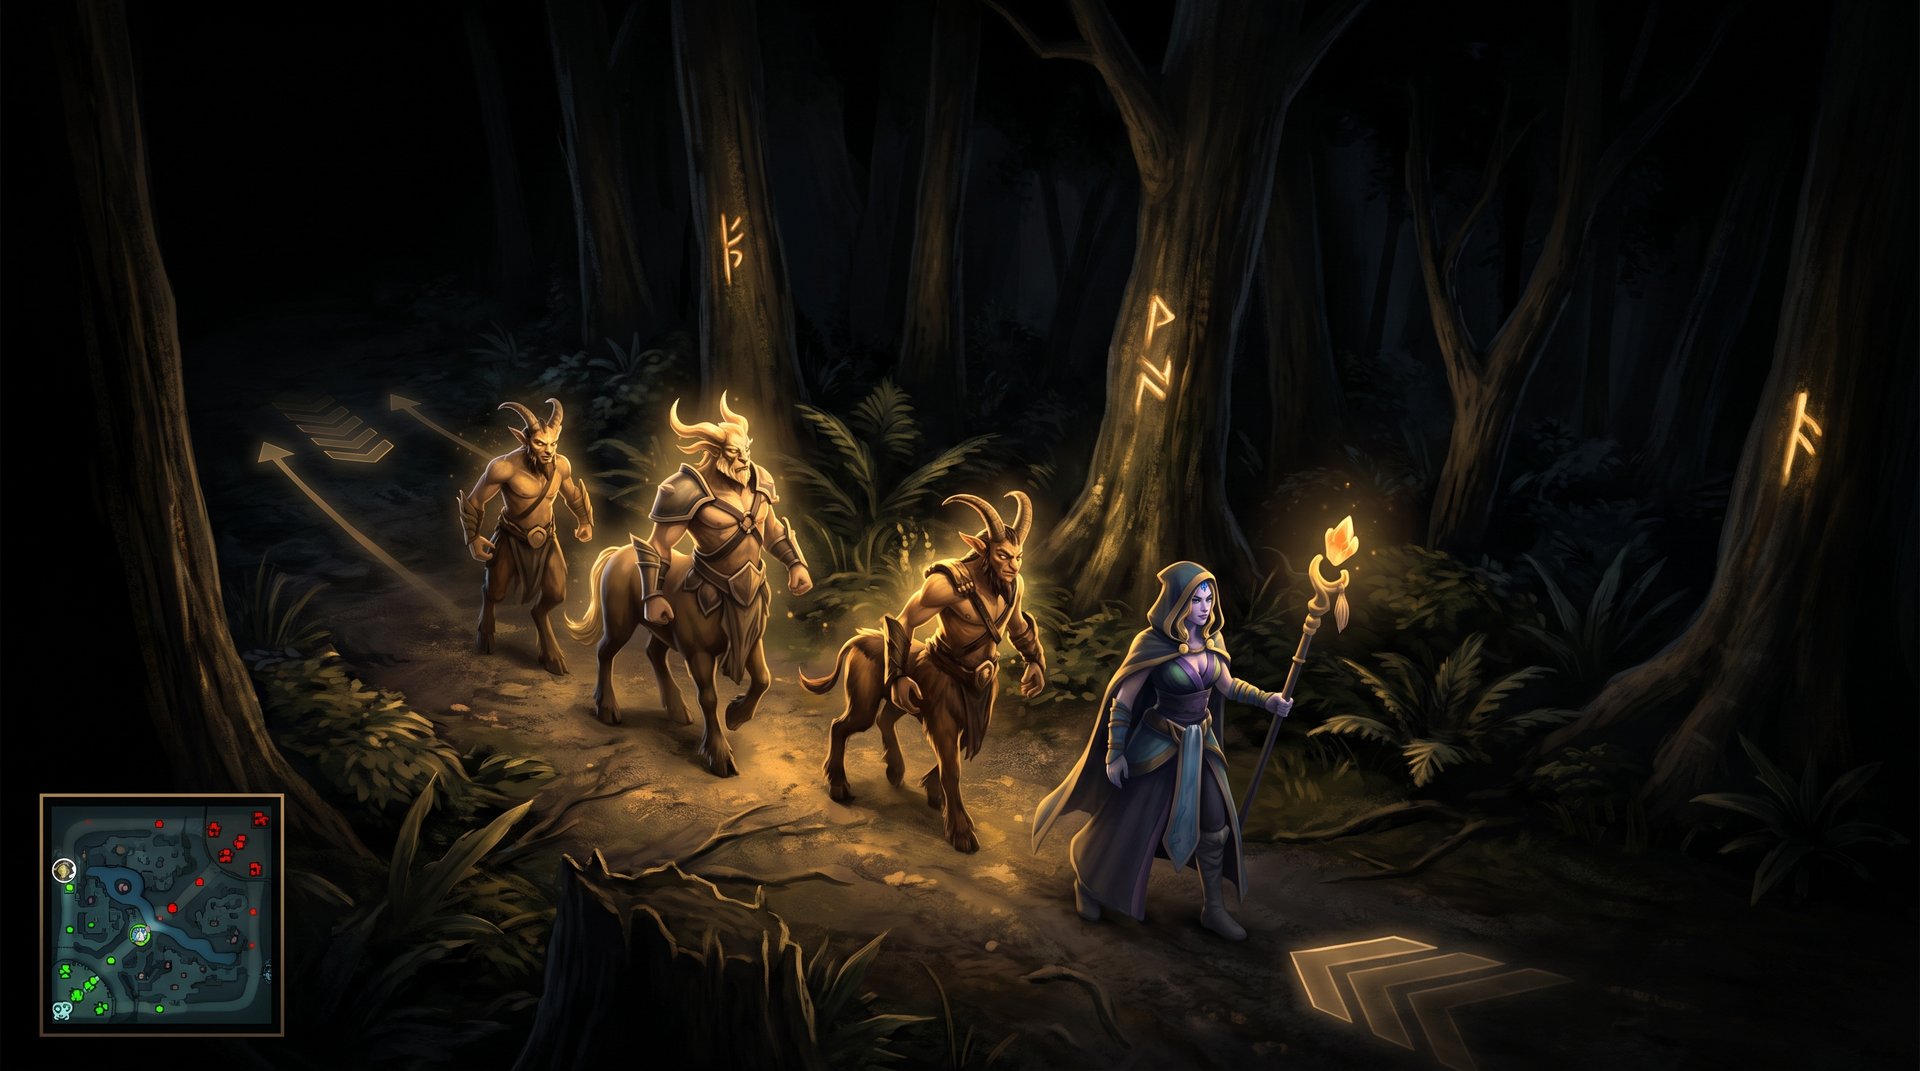
The Four Core Wave States
Every lane is in one of these states at any given second. Your job is to recognize which state you are in and decide whether to stay in it or change it.
1. Neutral Equilibrium
The wave meets roughly in the center of the lane. This is the default starting state and the natural result when both sides last-hit at the same tempo. Equilibrium favors the hero with superior base stats, better attack animation, or more harass range. If you are winning trades in equilibrium, stay here and let the creep count naturally drift in your favor as your wave outnumbers theirs after exchanges.
2. Frozen Wave (Defensive Equilibrium)
The wave is held near your own tower, with enemy creeps dying to your tower before they fully commit. You manually manipulate the count so your creeps slightly outnumber the enemy wave in your favor — just enough to keep the wave from moving, but not so many that you shove it out. This is the most technically demanding state and the most rewarding when executed correctly.
3. Fast Push (Aggressive Shove)
You intentionally shove the wave into the enemy tower as fast as possible, then use the free time to rotate, stack, ward, or take jungle camps. Fast pushing converts lane advantage into map presence. It is the correct play after winning a kill, after your opponent recalls, or when your mid hero wants to gank but needs your lane off the map first.
4. Slow Push (Siege Buildup)
You call the large wave by killing the enemy wave but letting your siege creep survive — or by stacking multiple bounty waves behind your push. A slow push builds a wave so large that the enemy team must commit multiple heroes to clear it, freeing your team to take Roshan, contest objectives, or take an undefended tier-1 tower elsewhere. This is a team-wide strategy, not just a lane decision, but it starts with a single player choosing not to clear the wave too fast.
Freezing: The Defensive Tool
Freezing the wave is the most powerful technique available to carries who are behind, offlaners who are being zoned, and supports who want to deny their opponent’s carry a safe farm window.
To freeze successfully, you need to hold slightly fewer total creeps alive in your wave than the enemy has in theirs. This means the enemy wave will slowly kill yours — but you position so that your own tower finishes off the last enemy creep before the wave completely clears. The result: a new wave spawns from your base, your existing tower-range creeps “hold” position, and the cycle repeats.
How to Set Up a Freeze
- Take the first wave at the midpoint — do not shove it. Last-hit only, let the wave run out naturally.
- Deny your own creeps when they drop below 50% HP — this removes your creeps from the count and slows the wave from pushing into the enemy tower.
- Position under or just inside tower range so your tower can assist the last few creep kills.
- Adjust the count each wave — if the wave starts drifting outward, deny one more creep. If it freezes too far back, let one extra enemy creep past.
Heroes with strong denies, naturally high HP, or passive sustain are best at holding freezes: Bristleback, Tidehunter, Dragon Knight, Underlord, Wraith King. Heroes with long-range spells that can harass the enemy carry while holding position near the tower — Viper, Venomancer, Razor — are also excellent freezers.
When Freezing Is the Right Call
Freeze when: you won a kill and the enemy carry has just recalled — freezing forces them to walk back to a bad wave position. Freeze when: you are behind in levels and need your tower to help you trade safely. Freeze when: your team’s jungler or mid hero is rotating for a gank and you want the enemy overextended. Freeze when: your enemy’s carry has already hit their power spike and you want to deny them a free farm lane while waiting for yours.
Pulling: The Support’s Best Weapon
Pulling is the act of dragging a neutral camp into the lane so that your lane’s creeps engage the neutral creeps and die, resetting the wave position back toward your tower. It is the single most impactful non-combat action a position-4 or position-5 support can take in the first 10 minutes of a game.
A successful pull does four things simultaneously:
- Resets a pushed-out wave back toward your tier-1 tower
- Denies the enemy carry 6-8 creeps worth of gold and experience
- Gives your carry a safe farm window while the enemy wave is bounced back
- Clears the neutral camp, preventing the enemy from stacking it later
Pull Timing
Neutral camps spawn at the 0:00 mark and then on every even minute (:00 and :30 for some camps). The standard pull timing is to aggro the neutral camp at :53 seconds so the creeps path into the lane just as the lane creep wave arrives. If you pull at :53 of a minute when the camp respawns, your lane wave and the neutral camp meet perfectly, both sets of creeps fight, and all of them die — leaving your lane wave reset to a near-tower position.
Safe Lane vs Off-Lane Pull Spots
| Lane | Pull Camp | Pull Timing | Result |
|---|---|---|---|
| Radiant Safe Lane | Small camp (tri camp area) | :53 past any even minute | Wave reset toward T1 |
| Dire Safe Lane | Small camp near river | :53 past any even minute | Wave reset toward T1 |
| Radiant Offlane | Pull via aggro from large camp | :53 — harder geometry | Partial reset |
| Dire Offlane | Pull via aggro from jungle | :53 — varies by patch | Partial reset or deny |
Note: pull geometry changes with map patches. Always test pull timings in demo mode after each major patch to confirm the path still works. Neutral camp boundaries have shifted multiple times in patches 7.38-7.41.
Double Pull
A double pull involves aggroing two neutral camps at once so that both sets of neutrals fight your lane wave simultaneously. The result is a far larger denial — often 12-16 creeps worth of XP removed from the enemy carry — and a lane wave that comes back nearly at your tower. This is an advanced technique that requires precise timing and knowledge of the exact camp boundaries.
Fast Pushing: When to Shove
Fast pushing means clearing your lane wave as quickly as possible — using AoE spells, summons, or high-damage heroes to kill the enemy creeps faster than normal — so that your wave arrives at the enemy tower and they must either defend it or lose tower HP.
A fast push in isolation is not always good. Under certain conditions it is actively bad: you give the enemy carry free gold under tower, you lose safe deny range, and you spend time at the enemy tower where their support can harass you.
Fast pushing is correct when:
- You have just killed the enemy laner and want to deny them a good wave return
- Your mid hero or jungler has called for a lane clear so they can gank elsewhere safely
- You have a hero that BENEFITS from being under the enemy tower (Timbersaw, Storm Spirit, Arc Warden with clone)
- You are about to take a break from lane to stack your jungle and want the wave as far forward as possible
- Tower damage is genuinely available — the enemy offlaner is dead, no support is in position, and you can actually threaten the tower
Fast Push Heroes
Heroes with high AoE damage clear waves faster than single-target carries. Dragon Knight (Breathe Fire), Leshrac (Split Earth + Diabolic Edict), Pugna (Nether Blast), Razor (Unstable Current + Storm Surge passive), and Nature’s Prophet (Treants) can all shove a wave in seconds. Position-4 and position-5 heroes can assist by using AoE spells on the wave while the carry last-hits normally.
Slow Pushing: Maximum Pressure
Slow pushing is a team strategy disguised as a lane mechanic. The concept: build a massive creep wave by NOT clearing the enemy wave fully. Your siege creep — the most durable unit in the wave — survives each clash, building up alongside a growing accumulation of melee and ranged creeps. By the time this wave reaches the enemy tower, it may have 2-3 siege creeps plus a full wave of regular units. Towers cannot shoot fast enough to clear this wave before your team arrives to siege with it.
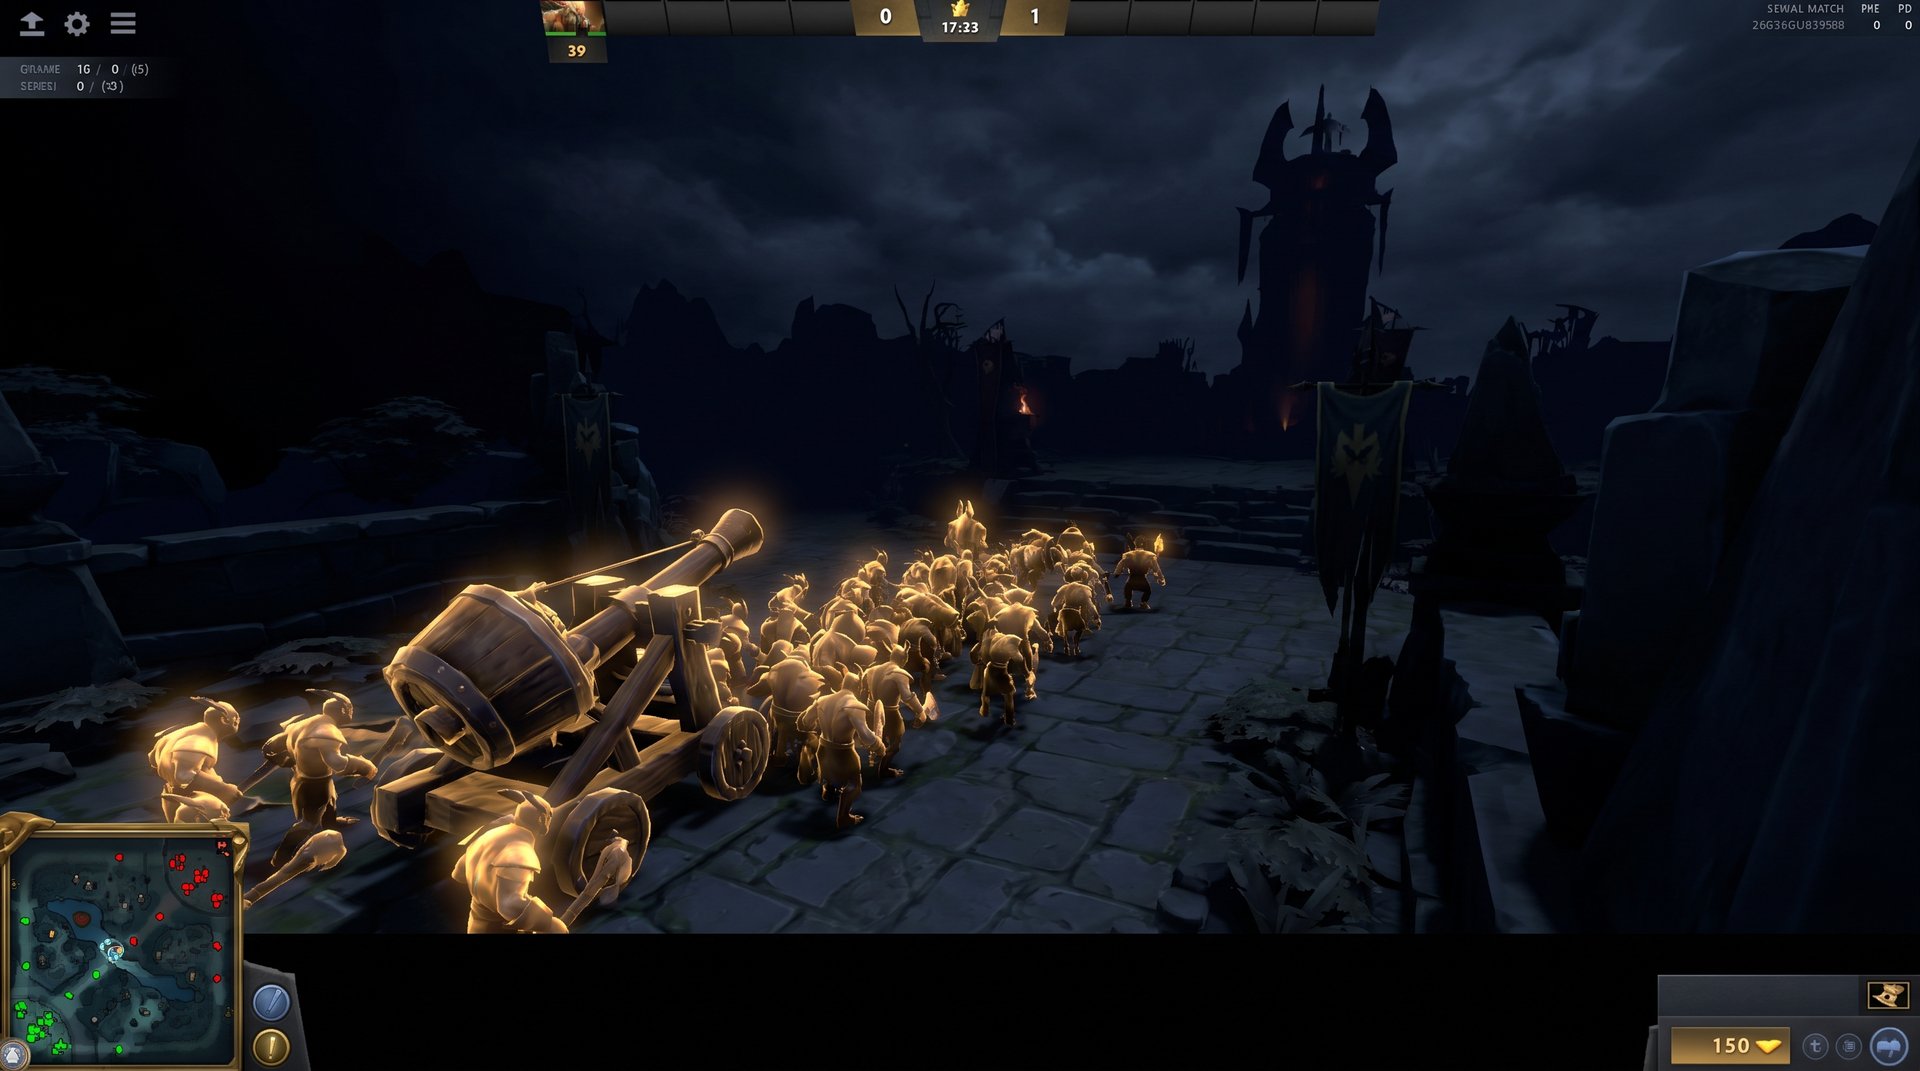
How to Build a Slow Push
- Let one siege creep survive each wave clash. Focus your lane clear on the ranged creep, which hits hardest, and the melee creeps. Leave the siege creep alive.
- Stack the wave behind the surviving siege by allowing the next enemy wave to arrive before the existing siege finishes dying. Your new wave adds to the siege creep’s remaining HP.
- Communicate with your team before the wave reaches the tower — they need to rotate to convert the wave pressure into an objective.
When to Slow Push
Slow push setups work best in the 12-18 minute window, before the game transitions to full team-fight mode. Call a slow push when: your team has just won a fight but not enough to take Roshan — the slow push creates a second distraction. Call a slow push when you have a late-game carry that needs to be taken out of the lane to farm jungle — the wave handles itself. Call a slow push when the enemy team has poor AoE clear (single-target cores, no AoE support) and cannot efficiently stop the wave.
Role-by-Role Breakdown
Position 1 (Safe Lane Carry)
Your default goal is to reach equilibrium and then freeze. A frozen wave near your tower gives you safe last-hits, forces the enemy carry to overextend for their farm, and creates kill opportunities for your support. Avoid shoving the wave unless you are rotating to stack. A carry that shoves their wave and then walks into the jungle without telling their support is one of the most common causes of unnecessary early deaths.
Position 2 (Mid Lane)
Mid lanes move faster than side lanes because it is 1v1 with no support. Your wave state goal depends on your hero. Ganking mids (Storm Spirit, Queen of Pain, Ember Spirit) want the wave pushed and then roam. Farming mids (Invoker, Arc Warden, Shadow Fiend early) want equilibrium maintained while they accumulate CS. Greedy mids that take bottle-crow advantage want the rune on the right side of the river, which means manipulating the wave to give themselves slightly more lane time on one side.
Position 3 (Offlaner)
The offlaner’s lane is almost always unfavorable (they are usually 1v2). Your goal is survival, not dominance. Offlaners use pulling from the enemy’s side, fast-push-and-rotate cycles, and aggressive creep tanking to stay in the lane long enough to hit level 6. Heroes like Axe, Dark Seer, and Tidehunter can set up freezes by tanking creeps or using AoE spells to deny the enemy safe lane from ever getting a clean equilibrium.
Position 4 and 5 (Supports)
Your primary lane tool is pulling. Master the pull timings for every server (there are slight geometry differences between SEA, EU, and NA maps — test in demo mode). After the pull, harass the enemy carry. After the harass, check the wave. If the wave is frozen, maintain it by denying. If the wave has pushed out, pull again on the next cycle. A support who pulls twice before minute 8 has denied the enemy carry potentially 15-20 last hits worth of gold — equivalent to 300-400 gold in denied income, which is an enormous advantage at any bracket.
Looking to skip the lane grind entirely and reach the bracket where these mechanics actually matter? A professional MMR boost puts you in games where wave control is genuinely used. Or pick up a coaching session with an Immortal player who can review your specific lane replays and show you exactly where your wave control is leaking MMR.
Which Heroes Control Waves Best
| Hero | Best Wave State | Key Mechanic | Role |
|---|---|---|---|
| Leshrac | Fast push | Split Earth + Diabolic Edict clears waves in seconds | Mid / Support |
| Nature’s Prophet | Slow push | Treants + Sprout build massive waves | Mid / Offlane |
| Axe | Freeze / deny | Berserker’s Call forces enemy melee creeps to attack him, blocking lane | Offlane |
| Dark Seer | Slow push | Ion Shell on creeps creates self-clearing push waves | Offlane |
| Tidehunter | Freeze | High HP tanks creeps near tower; Anchor Smash denies multiple | Offlane |
| Viper | Freeze / equilibrium | Nethertoxin zoning keeps enemy carry from farming safely | Mid / Carry |
| Underlord | Slow push | Atrophy Aura weakens enemy creeps; Firestorm stacks damage | Offlane |
| Pugna | Fast push | Nether Blast kills entire creep waves in 1-2 casts | Mid |
| Dragon Knight | Freeze / push | Breathe Fire clears ranged creep line; high HP tanks | Mid / Offlane |
| Razor | Equilibrium / push | Static Link gives permanent damage steal while Unstable Current pushes | Mid / Carry |
Common Mistakes and How to Fix Them
Mistake 1: Auto-Attacking Between Last Hits
Auto-attacks push the wave. Every auto-attack that does not last-hit or deny moves the wave slightly toward the enemy tower. In the early levels (1-3), when attack damage is high relative to creep HP, even a single extra auto-attack can push the wave out of your tower range. Fix: attack-move only to last-hit. Use the A-click mechanic so your hero stops after landing the hit and does not auto-chase the creep.
Mistake 2: Using AoE Spells Without a Plan
Casting Breathe Fire or Firestorm on the creep wave feels satisfying, but it pushes the wave forward whether you want it to or not. Fix: decide BEFORE you cast whether you want to push this wave. If the answer is no, use your spells on enemy heroes only, not on creeps.
Mistake 3: Forgetting to Pull After Pushing
Supports often shove a wave and then stand in lane waiting for the next one. This gives the enemy carry the easiest possible farm window under their tower. Fix: whenever the wave is at the enemy tower, immediately walk to the nearest pull camp. The wave will reset itself while you use that time productively.
Mistake 4: Pulling Without Checking the Wave
Pulling is good, but pulling when your carry already has a perfectly frozen wave will undo the freeze. Fix: look at the wave before you commit to pulling. If the wave is already frozen near your tower, do NOT pull — the pull will dump enemy creeps into your frozen wave and push it back out.
Mistake 5: Not Denying When the Wave Is Frozen
A frozen wave is a denial opportunity. If you freeze the wave near your tower and then stand there without denying, the enemy carry can still slowly last-hit at a safe distance. Fix: when the wave is frozen, prioritize your deny count. Every denied creep is gold and XP the enemy carry loses permanently — it is one of the safest and highest-value actions in the game.
Mistake 6: Slow Pushing Without Communicating
A slow push wave that arrives at the enemy tier-1 tower while your team is farming their jungle is a wasted opportunity. The wave dies to the tower and the enemy support without your team converting it into anything. Fix: call the slow push in team chat 60-90 seconds before the wave hits. Your team needs to know to rotate or take an objective on the other side of the map.
Is poor lane control one of the reasons you are stuck at your current rank? Our boosting service with VPN and offline mode is a safe, fast way to break through MMR plateaus while you continue developing your mechanics. Thousands of players have used TeamSmurf’s MMR boost to reach the bracket that reflects their real skill level.
Creep Equilibrium: Frequently Asked Questions
Unlock the Bracket Where Wave Control Actually Matters
Creep equilibrium is a high-MMR skill — but you have to GET to that MMR to play against people who actually test it. If lane mechanics are your thing but ranked games still feel like a coin flip, TeamSmurf’s Immortal boosters can fast-track your climb while you keep developing your skills on the side.



