

How to Master Dark Willow in Dota 2: The Ultimate Guide for Every Rank (2026)

Dark Willow might be the most underrated playmaker in all of Dota 2. While flashier supports like Earthshaker and Lion grab headlines, this mischievous fairy has been quietly terrorizing pubs and pro games alike with one of the most overloaded spell kits in the game. Two disables, an AoE fear, massive burst damage through Bedlam, and a built-in save mechanic in Shadow Realm — Dark Willow packs more into four abilities than most heroes manage with their entire talent tree.
In the current patch, Dark Willow sits at a 51.8% winrate across all ranks on Dotabuff, with her winrate climbing above 54% in Divine and Immortal brackets where players can actually chain her combos correctly. She is picked in roughly 8% of all games, making her common enough to be relevant but rare enough that most players do not know how to play against her.
This guide breaks down everything you need to dominate with Dark Willow — from the exact ability interactions that separate a 2K Willow from a 7K one, to the item timings that let you solo kill enemy carries at 15 minutes, to the positioning secrets that keep you alive in late-game teamfights. Whether you are a Herald learning your first support hero or an Ancient player looking to add a lethal pos 4 to your pool, this is the only Dark Willow guide you will ever need.
Table of Contents
Why Dark Willow Is the Ultimate Playmaking Support
Dark Willow — also known as Mireska Sunbreeze — is an intelligence hero who typically plays position 4 (soft support) but can also flex into position 5 or even mid in certain drafts. Her identity revolves around one core concept: she has the tools to single-handedly win teamfights if she lands her spells correctly.
Here is what makes Dark Willow unique compared to other supports:
- Two separate disables: Bramble Maze provides root while Cursed Crown delivers a delayed AoE stun. Most supports have one disable — Willow has two on separate cooldowns.
- Built-in survivability: Shadow Realm makes her untargetable for up to 5 seconds, functioning as both an escape and a nuke. No other support gets a free save on a basic ability.
- Massive burst damage: Bedlam (her Aghanim’s Shard/Scepter-enhanced ability) combined with her base kit lets her delete squishy heroes in under 3 seconds.
- AoE teamfight control: Terrorize forces all enemies in its area to flee toward their fountain for 1.2 to 1.8 seconds, breaking channeling abilities and completely disrupting enemy formations.
- Low cooldowns: With talents and items, Willow can rotate through her entire kit twice in a single extended fight.
Dark Willow’s winrate tells an interesting story across brackets. In Herald through Archon (below 3K MMR), she hovers around 48-49% — players cannot execute her combos and often misposition with Shadow Realm. But from Legend upward, she steadily climbs. In Immortal games, she regularly hits 54-55% winrate because her ceiling is absurdly high for a support hero. She rewards mechanical precision and game sense more than almost any other position 4 in the game.
Abilities Deep Dive
Understanding Dark Willow’s abilities is not just about reading tooltips — it is about understanding the hidden interactions, timing windows, and combo sequences that separate good Willow players from great ones. Let us break down each ability and the mechanics that most guides skip over.
Bramble Maze (Q)
Dark Willow places a maze of brambles in a targeted area. Enemies who touch a bramble are rooted and take magical damage over the root duration. At max level, the root lasts 2.6 seconds and deals 280 damage.
What most players miss about Bramble Maze:
- Bramble placement is semi-random within the AoE, meaning you cannot guarantee a root on a specific hero. However, the center of the cast always has the densest bramble cluster.
- Each bramble is independent. A hero can only be rooted by one bramble per cast, but multiple heroes can be rooted by different brambles in the same maze.
- The brambles have a 0.1 second delay before becoming active after appearing. This means instant-cast at melee range will sometimes miss if the enemy walks through before activation.
- Brambles provide vision in a small radius around each one. Use this to scout Roshan pit or ward spots.
- BKB does not destroy existing brambles — it only prevents the root. So if BKB expires while standing on a bramble, the root applies.
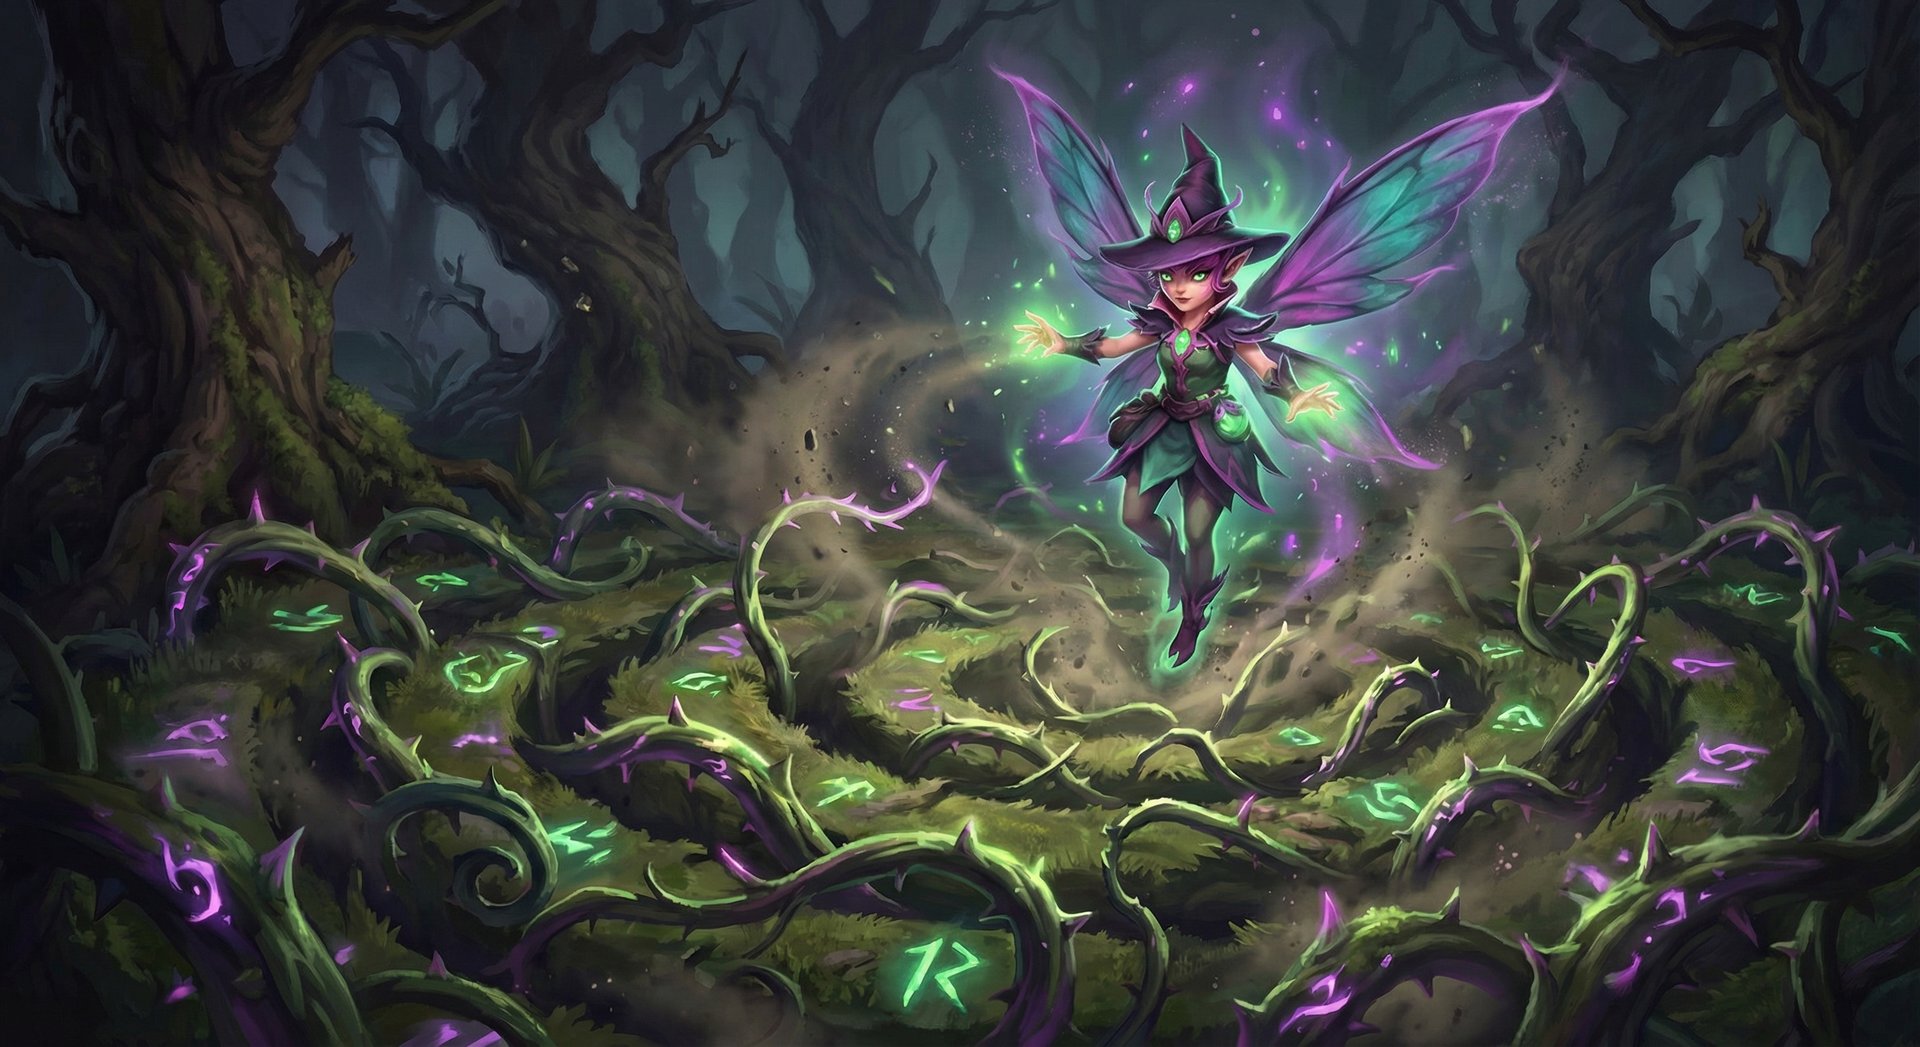
Shadow Realm (W)
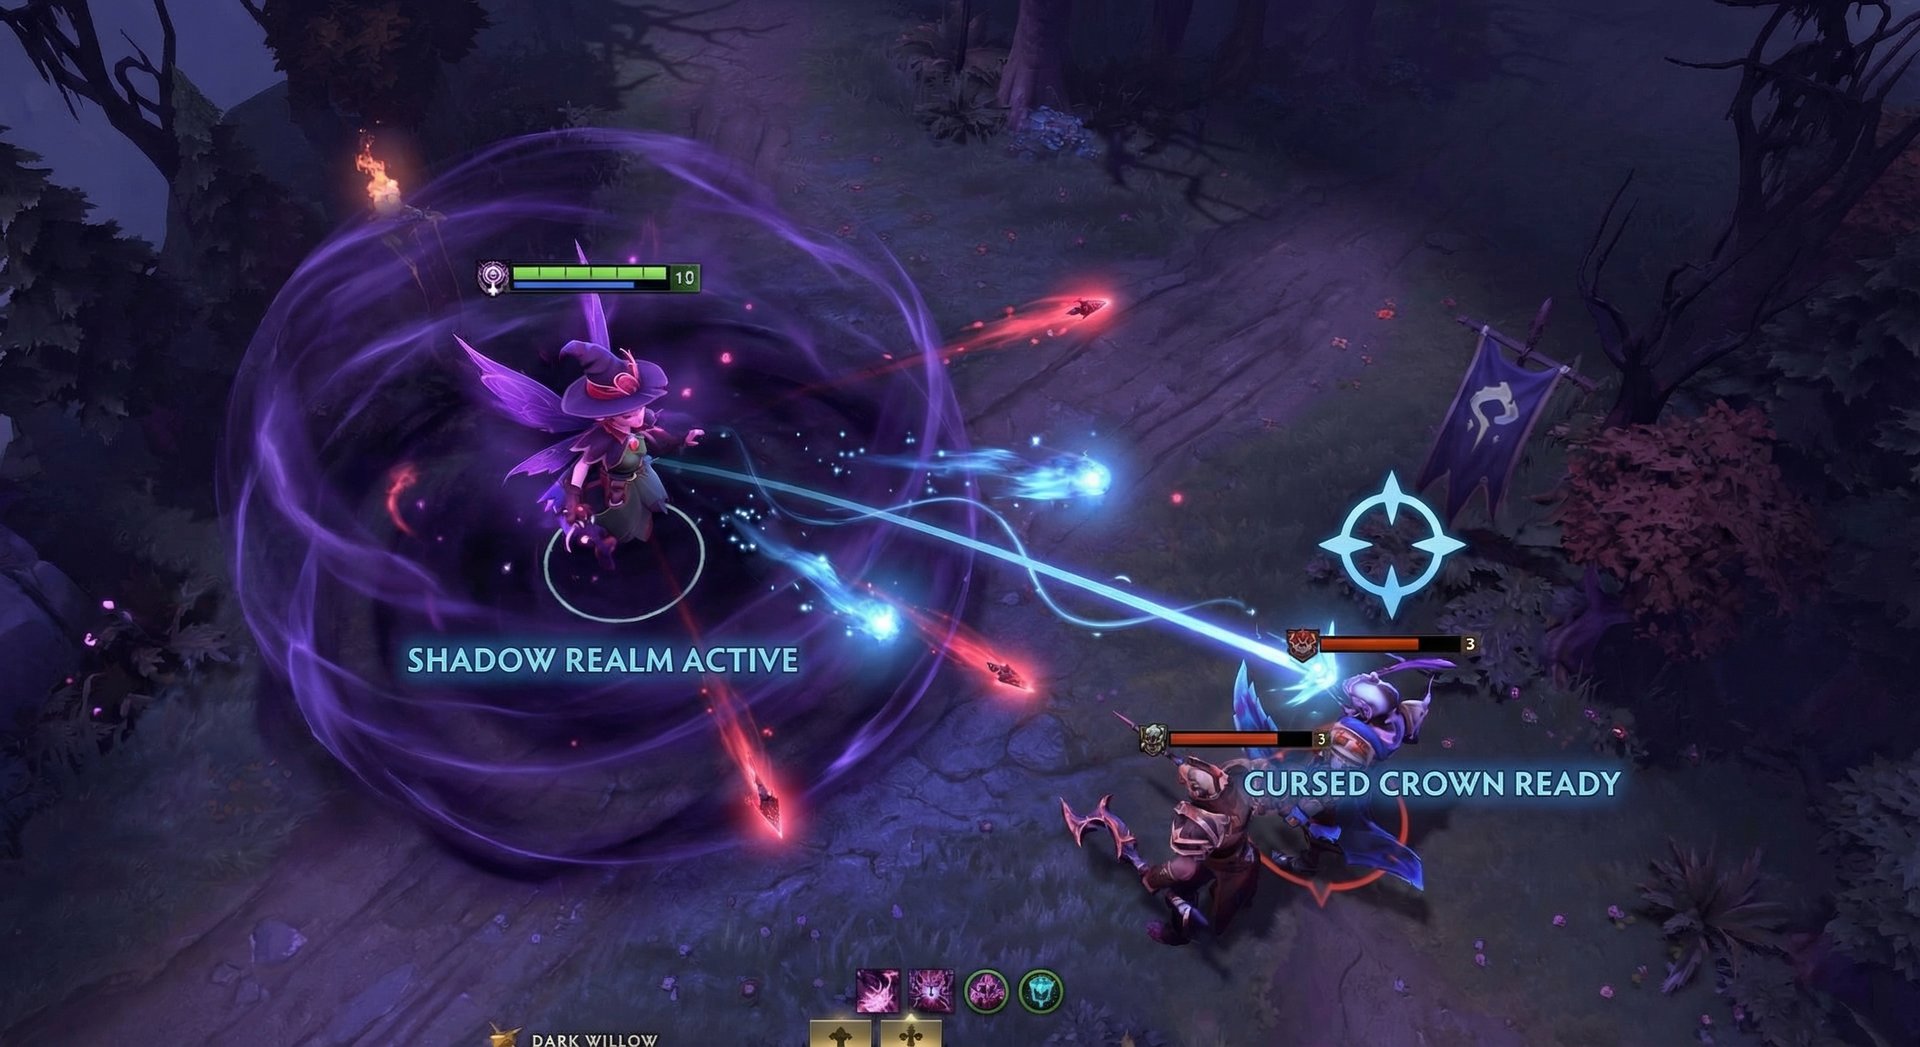
Dark Willow recedes into the shadows, becoming untargetable (not invulnerable — an important distinction) for up to 5 seconds. While in Shadow Realm, her next attack gains bonus magical damage that scales based on how long she remained hidden, up to a maximum of 360 bonus damage at max level with full charge time.
Critical Shadow Realm mechanics:
- Untargetable is not invisible. Enemies can still see Willow. AoE spells, damage-over-time effects applied before Shadow Realm, and effects already in flight will still hit her.
- The attack has increased range (600 bonus attack range), effectively giving Willow near-sniper range on the empowered hit.
- Shadow Realm can be used during channeling abilities like TP scroll — meaning you can TP out while being completely untargetable.
- The bonus damage is magical, not physical. This means it benefits from magic amplification (Kaya, Veil of Discord) but is reduced by magic resistance and blocked by BKB.
- You can toggle off Shadow Realm early by attacking, but the damage scales with time spent hidden. Waiting at least 2-3 seconds gives you approximately 70-80% of max damage.
Cursed Crown (E)
Willow curses an enemy hero with a delayed stun. After a 4-second delay, the target and all enemies in a 325 radius around them are stunned for 1.5 to 2.5 seconds (based on level). The target also takes 120 to 240 magical damage.
Hidden Cursed Crown interactions:
- The AoE stun hits allies of the cursed target, not Willow’s allies. This makes it devastating in teamfights when enemies group up.
- The cursed target can spread the stun by running into their own teammates. In low-rank games, cursed targets often panic-run to their allies, stunning their entire team.
- Linken’s Sphere blocks the initial cast but nothing else. If it lands, even BKB used after the curse is applied will not prevent the stun — BKB must be activated before Cursed Crown is cast.
- Eul’s Scepter synergy: Cast Cursed Crown, then Eul the target. The Eul’s duration (2.5s) aligns nearly perfectly with the curse delay, meaning the target lands from cyclone directly into stun with no chance to react.
Bedlam / Terrorize (R — Innate Abilities)
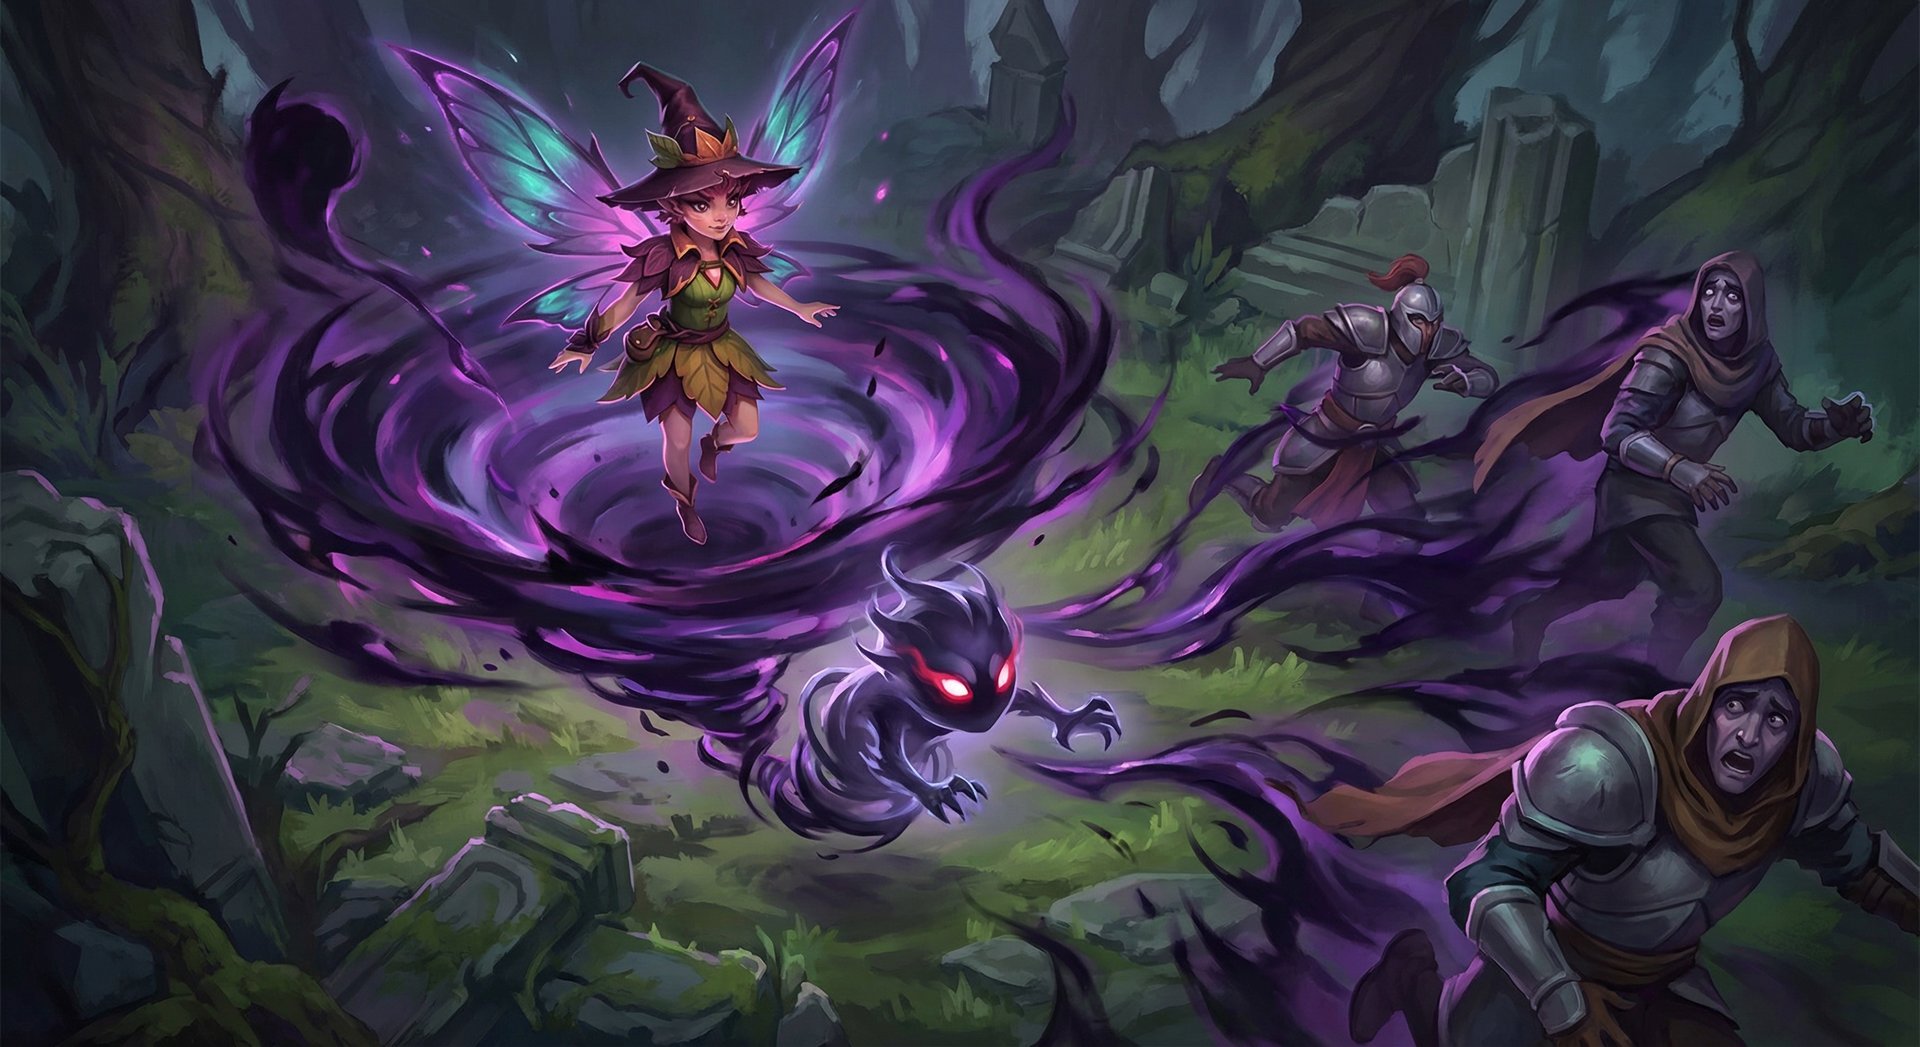
Dark Willow’s ultimate is unique because she has two ultimate-level abilities tied to Jex, her wisp companion. Bedlam causes Jex to orbit around Willow rapidly, dealing heavy magical damage to the nearest enemy unit. Terrorize sends Jex forward in a line, causing all enemies in the target area to flee toward their fountain.
Bedlam details:
- Jex deals damage in rapid ticks, totaling up to 1,260/1,800/2,520 damage (before reduction) at max duration.
- Bedlam only hits the closest enemy unit to Dark Willow, meaning positioning is everything. If a creep is closer than a hero, Jex hits the creep.
- The damage is dealt in a very small radius around Willow — you need to be nearly on top of your target for full damage.
- Shadow Realm and Bedlam can be active simultaneously. This is the core of Dark Willow’s assassination combo: pop Shadow Realm, walk up, activate Bedlam, and the target takes both Bedlam ticks and the empowered attack.
Terrorize details:
- The fear duration is 1.2/1.5/1.8 seconds and forces enemies to run toward their fountain at reduced movement speed.
- Terrorize has a 0.8 second travel time after reaching the target location, giving a brief window for enemies to react.
- It cancels channeling abilities like Black Hole, Freezing Field, and Fiend’s Grip — making Willow a hard counter to these ultimates.
- Terrorize goes through BKB as of the current patch interactions (the fear is not dispellable by basic dispels).
Recommended Skill Build
| Level | Standard Pos 4 | Aggressive Roamer | Defensive Pos 5 |
|---|---|---|---|
| 1 | Bramble Maze | Shadow Realm | Bramble Maze |
| 2 | Shadow Realm | Bramble Maze | Cursed Crown |
| 3 | Bramble Maze | Shadow Realm | Bramble Maze |
| 4 | Cursed Crown | Cursed Crown | Shadow Realm |
| 5 | Bramble Maze | Shadow Realm | Bramble Maze |
| 6 | Terrorize | Terrorize | Terrorize |
| 7 | Bramble Maze | Shadow Realm | Bramble Maze |
| 8-10 | Shadow Realm | Bramble Maze | Shadow Realm |
| 11 | Bedlam | Bedlam | Bedlam |
Max Bramble Maze first in most games — the increased root duration is your primary disable and the damage scaling is strong. Shadow Realm second for the damage and survivability. Take one early point in Cursed Crown at level 4 for the combo potential, but max it last since the stun duration increase per level is modest compared to Bramble and Shadow Realm scaling.
Item Builds by Rank Bracket
Dark Willow’s item build varies significantly by rank because her effectiveness depends on how well you can execute combos and how coordinated your team is. Here is the breakdown by rank bracket:

| Rank | Starting | Early (0-15 min) | Core (15-30 min) | Late (30+ min) |
|---|---|---|---|---|
| Herald-Crusader | Tango, Healing Salve, Clarity x2, Blood Grenade, Sentry Ward | Magic Stick, Boots, Wind Lace | Arcane Boots, Glimmer Cape, Magic Wand | Aether Lens, Force Staff, Aghanim’s Shard |
| Archon-Legend | Tango, Healing Salve, Clarity x2, Blood Grenade, Observer Ward | Magic Wand, Tranquil Boots, Urn of Shadows | Eul’s Scepter, Aghanim’s Shard | Blink Dagger, Aghanim’s Scepter, BKB |
| Ancient-Divine | Tango, Healing Salve, Clarity x2, Blood Grenade, Sentry Ward | Magic Wand, Tranquil Boots, Urn of Shadows | Eul’s Scepter, Blink Dagger | Aghanim’s Scepter, Scythe of Vyse, Gleipnir |
| Immortal | Tango, Healing Salve, Clarity, Blood Grenade, Sentry Ward, Smoke of Deceit | Magic Wand, Tranquil Boots, Wind Lace | Witch Blade, Blink Dagger | Aghanim’s Scepter, BKB, Refresher Orb |
Why Items Differ by Rank
Herald-Crusader: At this bracket, fights are chaotic and your team will not follow up on your setups. Glimmer Cape keeps you alive through sloppy positioning, and Arcane Boots help sustain your team’s mana in long, drawn-out fights. Avoid Blink Dagger here — you will die immediately after blinking in because nobody will follow up.
Archon-Legend: This is where Eul’s Scepter becomes your best friend. The Eul’s into Cursed Crown combo is nearly impossible to mess up and gives your team a guaranteed 2+ second setup. Urn is fantastic value for ganking rotations.
Ancient-Divine: Blink Dagger opens up assassination potential and fight initiation. Players at this rank can chain Blink into Bramble Maze into Cursed Crown into Bedlam for solo kills. Gleipnir in late game adds another disable and synergizes with Bramble Maze for overlapping roots.
Immortal: Witch Blade rush is the high-skill build — it gives attack speed, armor, and a slow proc that synergizes with Shadow Realm’s bonus attack damage. Immortal Willow players use Witch Blade to dominate the laning phase with constant harass before transitioning into Blink for mid-game kills. Refresher Orb in ultra-late game lets you double-Terrorize or double-Bedlam in extended fights.
Core Item Explanations
Eul’s Scepter of Divinity: The single most important item on Dark Willow in most games. Eul’s a target, then Cursed Crown them while they are cycloned. They land directly into an unavoidable stun. This combo alone wins games. Eul’s also provides mana regen, movement speed, and a self-dispel for silences.
Blink Dagger: Transforms Dark Willow from a reactive support into a proactive killer. Blink into the backline, drop your full combo on the enemy carry, and escape with Shadow Realm. Essential for high-level play.
Aghanim’s Scepter: Enhances Bedlam to deal significantly more damage and increases Terrorize’s area and fear duration. A luxury item but game-changing when you have the gold.
Aghanim’s Shard: Modifies Shadow Realm to deal damage in an area around the initial target on the empowered attack. Excellent for teamfight damage and pairs well with Bedlam for maximum AoE output.
Laning Phase Masterclass
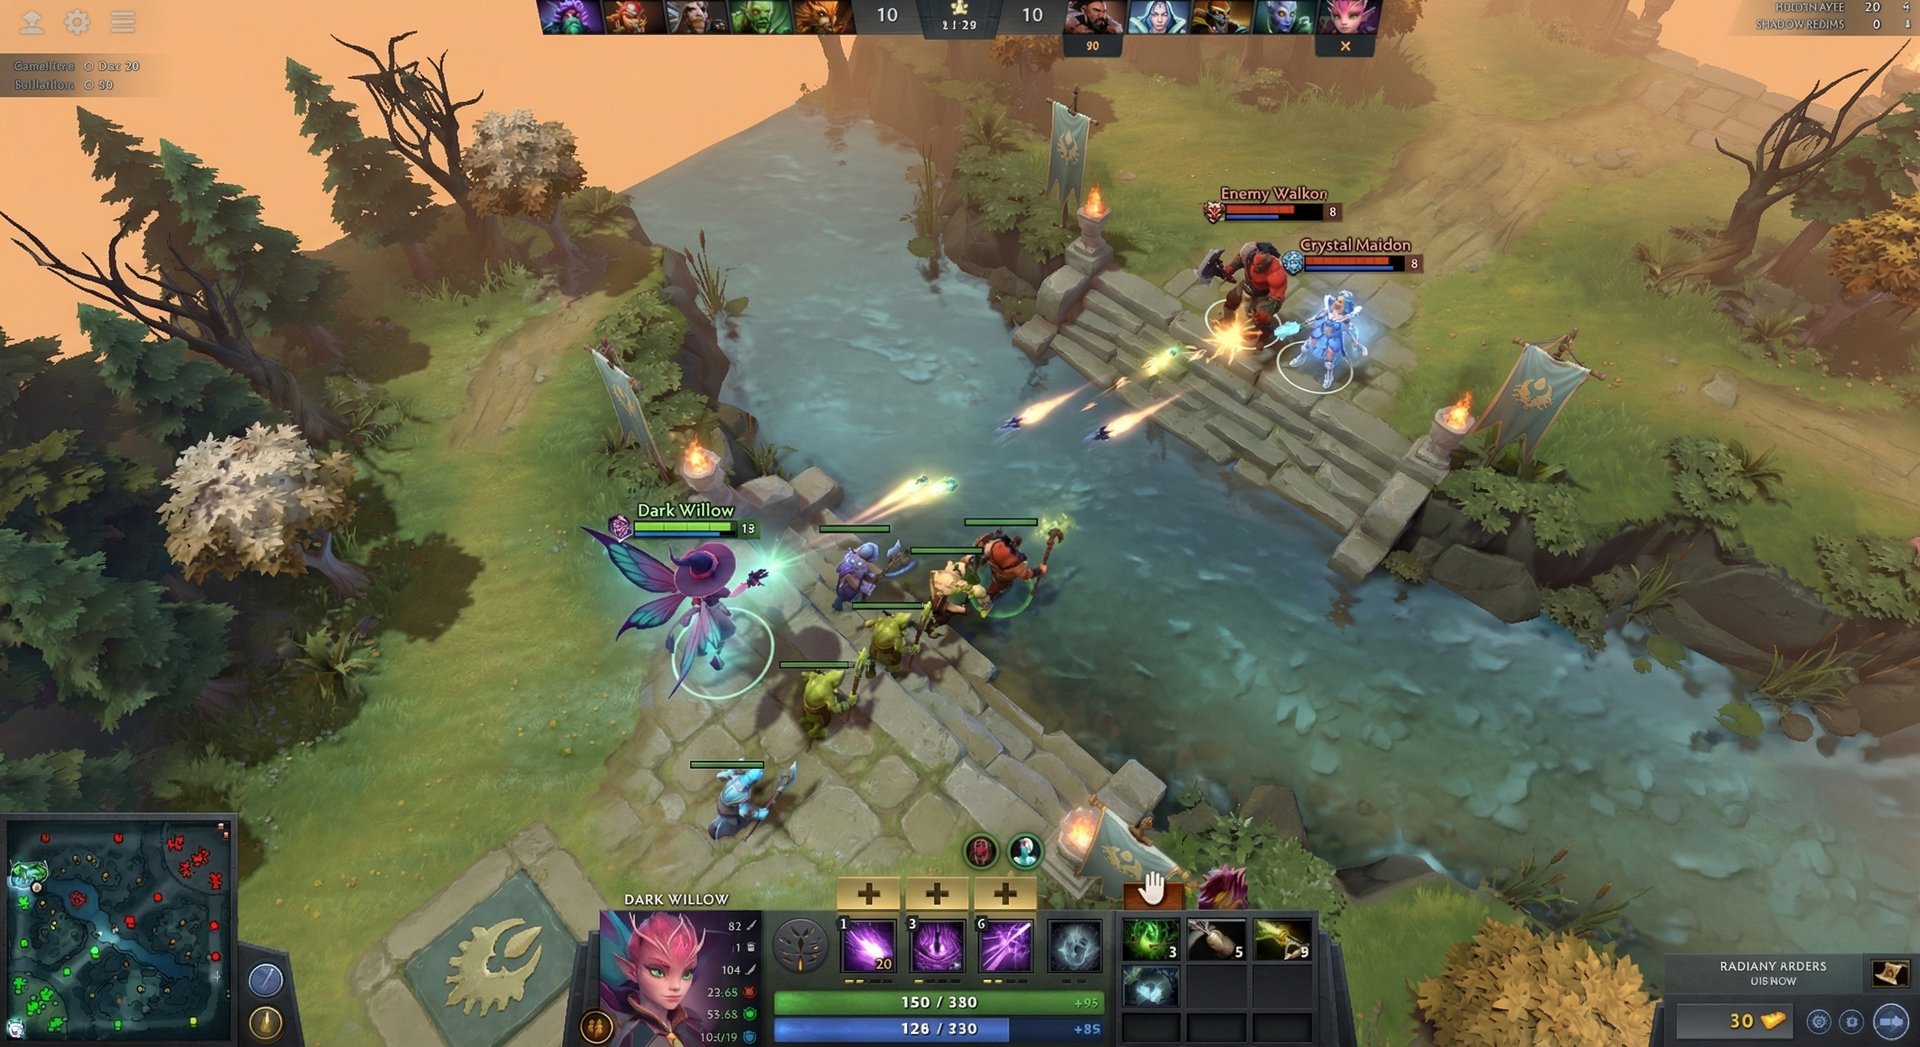
Dark Willow’s laning phase is one of her greatest strengths. She has excellent base damage (50), solid attack range (475), and two abilities that let her control the lane from level 1. Here is how to dominate as a pos 4 Dark Willow.
Level 1-3: Establishing Dominance
Start with Bramble Maze in most lanes. At the bounty rune fight, a well-placed maze can root 2-3 enemies and secure first blood. In lane, use Bramble Maze defensively — place it between the enemy offlaner and their tower to cut off their retreat path.
Shadow Realm harass pattern: At level 2, you unlock one of the most oppressive lane harass tools in the game. Activate Shadow Realm, walk up to the enemy, and unleash the empowered attack. With the bonus range (600 extra), you can hit from nearly 1075 range — far outside their retaliation range. At level 2, this single attack deals roughly 140-180 damage after magic resistance. Do this every time Shadow Realm is off cooldown.
Lane Partner Synergies
Dark Willow pairs exceptionally well with carries who have their own follow-up disable or burst damage:
- Juggernaut: Bramble Maze root into Blade Fury is almost always a kill at level 2. The root holds them in Blade Fury’s AoE for the full duration.
- Ursa: Root plus Overpower shreds any hero. Ursa’s lack of lockdown is perfectly compensated by Willow’s two disables.
- Phantom Assassin: Stifling Dagger slow into Bramble Maze is a guaranteed root. Once PA has Phantom Strike, the burst with Cursed Crown stun is lethal.
- Gyrocopter: Rocket Barrage does insane damage to rooted targets. Gyro-Willow is one of the highest kill-threat lanes in the game.
Positioning and Pull Timing
As a pos 4, you should be pulling the hard camp at X:15 and X:45 when the lane equilibrium is too close to the enemy tower. Dark Willow is excellent at stacking and pulling because Shadow Realm lets you take no damage from neutrals while clearing small camps.
In lane, position yourself between the enemy’s creep wave and their heroes, using trees for cover. Willow’s small model size and Shadow Realm make her excellent at tree juking. If the enemy tries to trade with you, pop Shadow Realm to become untargetable, reposition, and hit them with the empowered attack as they back off.
When to Rotate
Dark Willow should look to rotate mid at level 3-4 if your carry is doing well in lane. Her gank potential with Bramble Maze + Shadow Realm is extremely high against most mid heroes. Smoke into the mid lane from the side, place Bramble Maze to cut off the retreat path toward the enemy tower, and follow up with Shadow Realm damage.
Ideally, coordinate with your mid laner for a kill attempt during the 4:00-6:00 minute window when most mid heroes are level 5-6 and may not yet have escape items. A successful mid gank often translates into a tower push or Roshan attempt.
Mid and Late Game Transitions
Dark Willow’s mid-game power spike is one of the strongest among supports. With Eul’s Scepter (or Blink Dagger) completed around 15-18 minutes, she transitions from a laning support into a roaming assassin who can solo kill most squishy heroes.

The 15-25 Minute Window
This is Dark Willow’s strongest timing. At this point, enemy carries typically do not have BKB yet, and your combo can delete them in seconds. Your priority targets should be:
- Enemy mid hero — Often the highest net worth, often without BKB, often alone farming.
- Enemy position 1 — If you catch them in the jungle without support, they are dead.
- Enemy supports — Any support without Glimmer or Force Staff dies to Bramble Maze + Bedlam in seconds.
The standard assassination combo at this timing is: Blink in (or walk up with Shadow Realm active) — Bramble Maze (centered on target) — Cursed Crown (on target) — Bedlam — Shadow Realm empowered attack when fully charged. This deals approximately 2,500-3,000 magical damage before reductions, which kills any hero without Hood or BKB.
Teamfight Positioning
In teamfights, Dark Willow operates as a secondary initiator or counter-initiator. You should never be the first one to jump in — that is your offlaner’s job. Instead, wait for the fight to start, then:
- Open with Terrorize on the enemy backline to scatter their supports and carries.
- Follow immediately with Bramble Maze on fleeing enemies to root them in unfavorable positions.
- Apply Cursed Crown on the highest-priority target who is rooted.
- Activate Bedlam and walk into melee range of your target (you are safe because of Shadow Realm if needed).
- Use Shadow Realm to survive any retaliation, then land the empowered attack to finish.
Late Game (35+ Minutes)
Dark Willow does fall off somewhat in the ultra-late game as enemies pick up BKB, status resistance items, and Linken’s Spheres. However, she never becomes irrelevant because:
- Terrorize pierces BKB in terms of forcing positioning changes — even if the fear does not apply, enemies have to respect the threat.
- Bramble Maze remains useful for area denial around Roshan pit, high ground pushes, and objective fights.
- Refresher Orb lets you cast your full combo twice in a fight, which is devastating even against BKB carriers (pop their BKB with the first combo, then hit them with the second).
In the late game, your role shifts from assassin to utility and area control. Focus on saving your cores with Shadow Realm plays (blocking key abilities from hitting them by body-blocking while untargetable) and using Terrorize defensively to disengage losing fights.
Counters: Heroes That Destroy Dark Willow
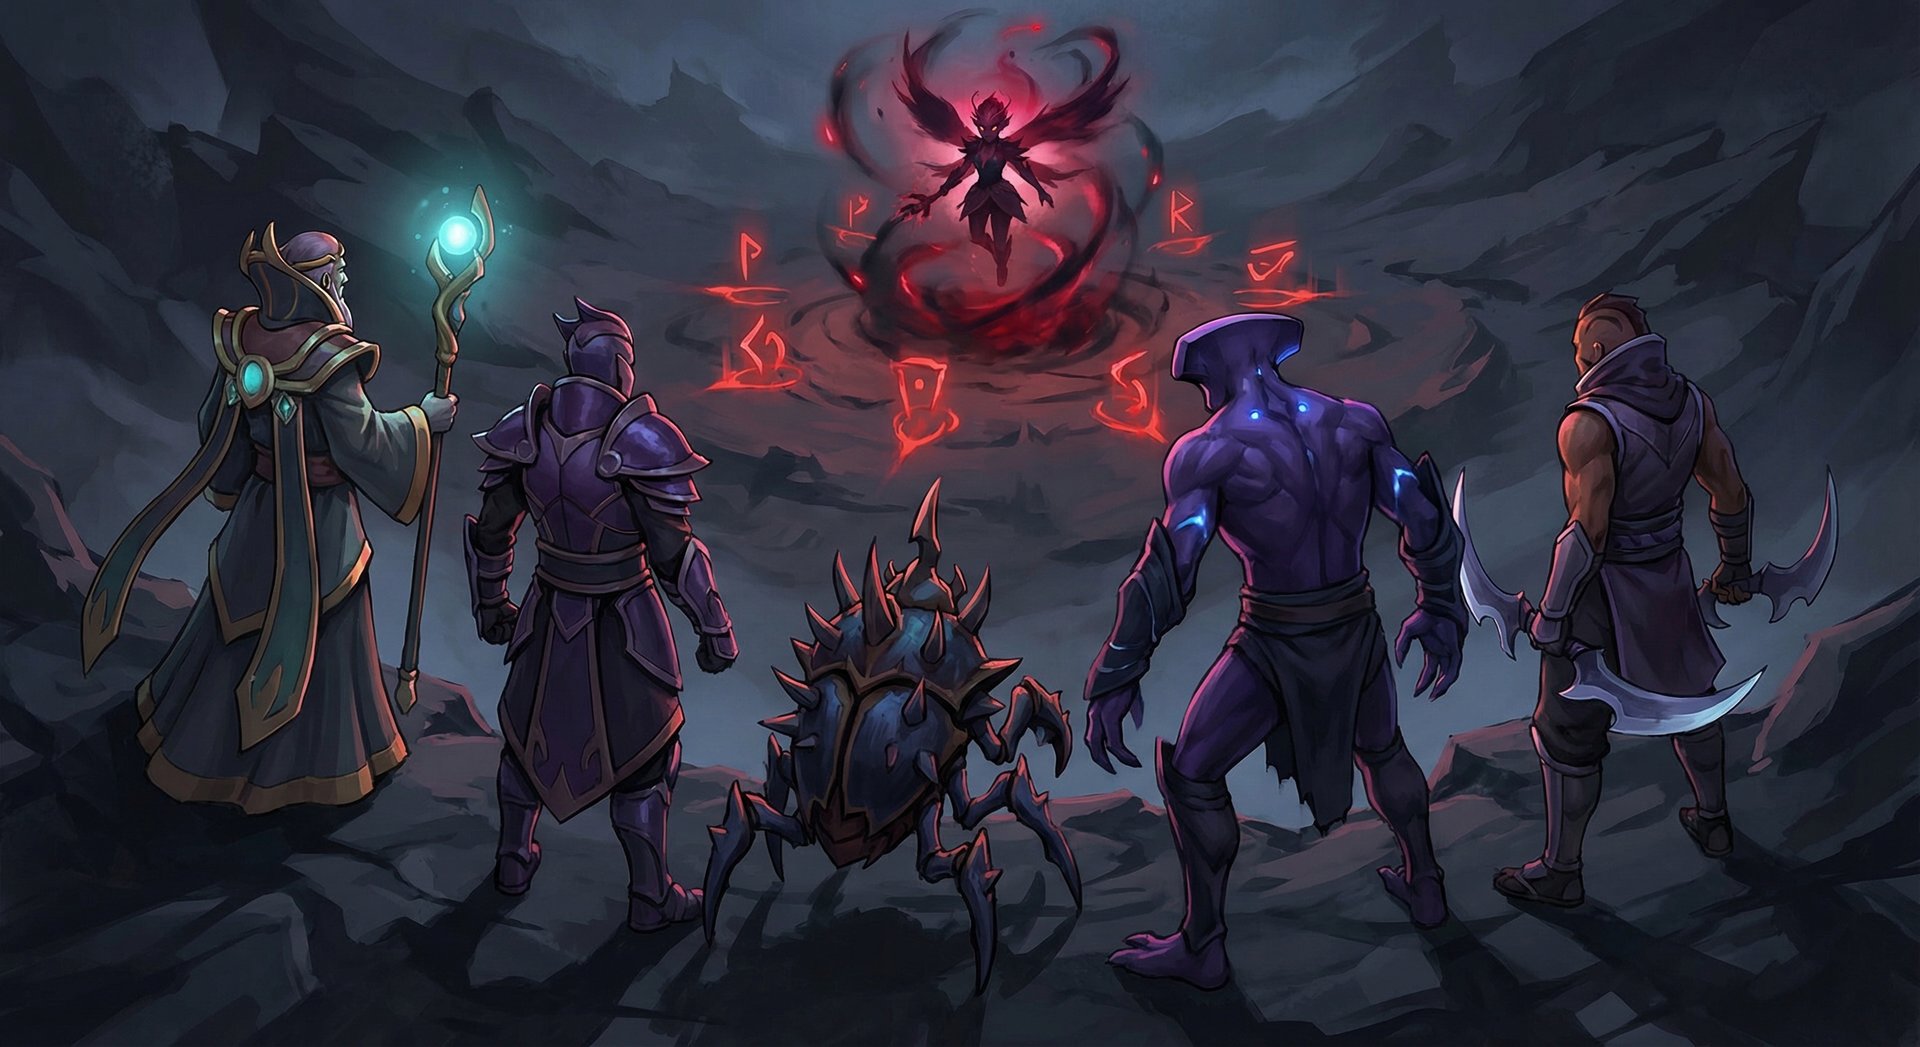
Even the best Dark Willow player struggles against these five heroes. Understanding why they counter you helps you play around their strengths.
1. Oracle
Oracle is Dark Willow’s hardest counter. Fortune’s End dispels Cursed Crown before the stun triggers, and False Promise makes your entire burst combo worthless. Fate’s Edict grants 100% magic resistance, negating Shadow Realm and Bedlam damage entirely. Against Oracle, you need to bait out his abilities before committing or focus him first in teamfights.
2. Silencer
Global Silence shuts down Dark Willow’s entire kit. She is one of the most spell-dependent heroes in the game, and 6 seconds of silence means she cannot Shadow Realm, cannot Terrorize, and cannot combo. Last Word also punishes her for casting abilities. Build Eul’s as a self-dispel, and always keep track of Silencer’s ult cooldown.
3. Nyx Assassin
Nyx’s Spiked Carapace reflects Dark Willow’s abilities back at her, and since her spells have predictable timing (Cursed Crown’s 4-second delay, Bedlam’s rapid ticks), a good Nyx player can time Carapace to reflect a huge stun or burst back onto Willow. Vendetta also lets Nyx find and burst the squishy Willow before she can react.
4. Faceless Void
Chronosphere catches Dark Willow even in Shadow Realm — untargetable does not mean invulnerable to Chrono. Time Walk also lets Void revert any burst damage Willow dealt, and Time Dilation can extend Willow’s long cooldowns even further. If Void gets on top of you, you are dead regardless of Shadow Realm.
5. Anti-Mage
Anti-Mage’s magic resistance passive reduces Dark Willow’s magical burst by a massive amount. Mana Break also drains her small mana pool, and Blink lets AM close the gap instantly. In the late game, Mana Void can one-shot Willow after she spends her mana on a combo. Play around AM by targeting his supports first and avoiding 1v1 situations.
How to Play Around Counters
General counter strategies for Dark Willow:
- Against dispel heroes (Oracle, Abaddon): Do not rely on Cursed Crown as your primary setup. Use Bramble Maze first and save Cursed Crown for when dispels are on cooldown.
- Against silence heroes: Rush Eul’s Scepter for self-dispel. Consider Lotus Orb in extreme cases.
- Against gap-closers (AM, Void, Storm): Play farther back in fights. Use Shadow Realm preemptively rather than reactively. Ward aggressively to see them coming.
- Against BKB carriers: Shift focus to Terrorize (which partially ignores BKB) and save your disable combos for after BKB expires.
Heroes Dark Willow Destroys
Dark Willow excels against heroes who are immobile, have channeling abilities, or rely on being in melee range to deal damage. Here are her top five favorable matchups.
1. Crystal Maiden
CM’s Freezing Field is completely canceled by Terrorize. Willow’s burst combo kills CM in about 1.5 seconds because of her abysmal HP pool and zero mobility. Bramble Maze also prevents CM from positioning for Freezing Field in the first place.
2. Enigma
Black Hole is one of the most powerful abilities in Dota 2, and Dark Willow’s Terrorize is one of the best ways to cancel it. Even if you are caught in Black Hole, a teammate can prompt you to use Terrorize on the Black Hole location since the cast range is long. In lane, Willow dominates Enigma’s Eidolons with Bramble Maze area denial.
3. Sniper
Sniper has zero mobility, zero HP, and zero way to escape Bramble Maze + Cursed Crown. Shadow Realm lets Willow close the gap while being untargetable to Sniper’s attacks, and Bedlam melts him in seconds. Sniper cannot play his range game against a hero who can become untargetable and close the gap.
4. Medusa
Terrorize directly counters Stone Gaze — when Medusa pops her ultimate, Terrorize forces your team to turn away (which is what you want against Stone Gaze). Bramble Maze also roots the immobile Medusa in place for your team to focus down her mana shield. Willow’s magical burst bypasses Mana Shield’s physical damage reduction.
5. Witch Doctor
Death Ward is another channeling ultimate that Terrorize deletes. Witch Doctor is also extremely squishy and immobile, making him easy prey for the Bramble Maze + Cursed Crown + Bedlam combo. In lane, Willow’s Shadow Realm lets her dodge Paralyzing Cask bounces.
How Pros Play Dark Willow in the Current Patch
Dark Willow has maintained a consistent presence in professional Dota 2, particularly in tournaments from late 2025 through early 2026. Here is how the best players in the world utilize this hero.
Draft Context
Pro teams typically pick Dark Willow as a second or third phase support when they need a pos 4 that provides both initiation and counter-initiation. She is almost never first-picked because her counters (Oracle, Silencer) are too easy to draft in response. Common pro draft pairings include:
- Dark Willow + Mars: Arena of Blood traps enemies inside Bramble Maze. Terrorize forces them into the arena walls. This combo has been popularized by multiple top teams.
- Dark Willow + Faceless Void: Cursed Crown on a target right before Chronosphere ensures a multi-hero stun inside Chrono.
- Dark Willow + Puck: Dream Coil prevents enemies from running out of Bramble Maze. Double disable chains are extremely hard to escape.
Notable Pro Players
Several professional players have made Dark Willow a signature pick:
- fy (former Vici Gaming): Known for aggressive Willow play with early Blink Dagger, creating solo kill opportunities that most support players would never attempt. His Eul’s timing on Cursed Crown combos became the standard for high-level play.
- Cr1t- (OG): Plays a more defensive Willow focused on counter-initiation, using Terrorize to peel for his carry rather than hunting kills. His Willow is a masterclass in positioning and patience.
- GH (Nigma Galaxy): Pioneered the Witch Blade rush build on Willow, turning her into a right-click harass machine in lane before transitioning to combo-based play.
Recent Tournament Picks
In recent Tier 1 tournaments, Dark Willow has maintained a pick rate of approximately 12-15% with a winrate hovering around 52-53%. She sees the most play in the European and CIS regions where aggressive support play is valued. Teams typically ban her when facing opponents known for strong Willow play rather than banning the hero generically.
Rank-Specific Climbing Guide
Dark Willow rewards skill investment differently at each rank bracket. Here is exactly what to focus on to climb with this hero at your level.

Herald to Guardian (0-1,500 MMR)
At this bracket, your primary focus should be on not dying and landing basic abilities. Forget combos — just focus on:
- Bramble Maze placement: Cast it where enemies are going, not where they are. Predict their movement by a half-second.
- Shadow Realm timing: Use it when enemies try to trade with you. Become untargetable, reposition, hit them with the empowered attack.
- Stay alive: Buy Glimmer Cape and Force Staff. Dying less is worth more than making plays at this rank.
- Ward placement: Just having wards on the map gives you a massive advantage at Herald. Buy them, place them, and check the minimap.
Common mistakes at this rank: casting Shadow Realm and then never attacking (wasting the bonus damage), walking into melee range without Bedlam active, and using Terrorize on a single target instead of waiting for a group.
Crusader to Archon (1,500-3,000 MMR)
This is where you start learning the Eul’s Cursed Crown combo and basic rotations:
- Rush Eul’s Scepter. This one item transforms your game. Practice the combo in demo mode: Cursed Crown target — Eul’s target — Bramble Maze on landing spot — attack with Shadow Realm.
- Rotate mid at level 3-4. One successful gank can snowball the entire game. Use smokes.
- Start stacking camps. As a pos 4, stacking ancients for your carry generates gold without taking farm.
- Track enemy BKBs. Once you know who has BKB, avoid wasting your combo on them.
Legend to Ancient (3,000-5,000 MMR)
At this bracket, you need to master combo sequencing and teamfight positioning:
- Blink Dagger timing: Aim for Blink by 18-20 minutes. Use it to initiate on out-of-position cores.
- Terrorize usage: Stop using Terrorize offensively every time. Save it to cancel enemy channeling ultimates (Black Hole, Freezing Field, Death Ward). One good Terrorize cancel is worth more than a mediocre initiation Terrorize.
- Shadow Realm for scouting: Use Shadow Realm to walk into dangerous areas and deward. You cannot be targeted while scouting.
- Item adaptation: Start building based on the enemy draft instead of following the same build every game. Against heavy magic damage, consider Pipe. Against illusion heroes, Gleipnir.
Divine to Immortal (5,000+ MMR)
At the highest levels, Dark Willow play is about reading the game and creating asymmetric advantages:
- Witch Blade lane domination: The Witch Blade rush gives you solo kill potential at level 7-8. Use Shadow Realm empowered attack + Witch Blade proc to chunk supports for 60% of their HP in a single hit.
- Fog of war abuse: Cast Bramble Maze and Terrorize from fog of war so enemies have zero reaction time. High-level Willow play is all about positioning in trees and using elevation to land spells unseen.
- Refresher timings: In ultra-late game, Refresher Orb lets you double-Terrorize for 3.6 seconds of total fear, or double-Bedlam for effectively guaranteed kills on any hero without status resistance.
- Draft awareness: Know when not to pick Willow. If the enemy has Oracle + Silencer + AM, pick a different hero. Knowing your hero’s limits is the mark of a true Immortal player.
Tips and Tricks
These are the advanced mechanics and hidden interactions that separate a good Dark Willow from a great one. Most of these are not written in any tooltip.
Animation Cancels and Hidden Mechanics
- Bramble Maze has no cast point animation. It is instant. You can cast it while moving without stopping. Abuse this by dropping mazes while running away — pursuers walk right into them.
- Shadow Realm does not break Town Portal Scroll channeling. Activate Shadow Realm while TPing out and you become untargetable for the entire channel duration. The only things that can stop you are AoE stuns that were already in flight.
- Cursed Crown cannot be dispelled by basic dispels once applied. Only strong dispels (Abaddon ult, Oracle W, Press the Attack) remove it. Manta Style does not dispel it.
- Bedlam prioritizes heroes over creeps only if they are equidistant. If a creep is even 1 unit closer, Jex hits the creep. Always clear nearby creeps before activating Bedlam for hero damage.
- Terrorize’s travel time can be reduced by casting it at closer range. Point-blank Terrorize applies almost instantly, giving enemies zero time to react with BKB or mobility spells.
Common Mistakes to Avoid
- Using Shadow Realm only defensively. Shadow Realm is a 360 damage nuke at max level. Not using the empowered attack is like playing with 3 abilities instead of 4.
- Casting all abilities at once. Stagger your disables. If you root someone with Bramble Maze and immediately Cursed Crown them, the root might expire before Cursed Crown stuns. Instead, Bramble Maze first, wait 1 second, then Cursed Crown so the disables overlap.
- Using Terrorize on one enemy. Terrorize is an AoE ability. Unless you absolutely must interrupt a channeling ability, save it for when 2-3 enemies are grouped.
- Forgetting to shift-queue. When using Blink + Bramble Maze, shift-queue the Bramble Maze cast so it happens instantly after the blink. This is critical because Bramble Maze has zero cast animation — any delay is your human reaction time, not the hero’s.
- Buying Aghanim’s Scepter too early. Scepter is a luxury. If your team needs defensive items (Force Staff, Glimmer Cape), buy those first. A dead Dark Willow with Scepter does nothing.
Advanced Techniques Only High-MMR Players Know
- The “Shadow Realm Scout”: Use Shadow Realm to walk into Roshan pit, enemy jungle, or warded areas with zero risk. You cannot be targeted while Shadow Realm is active, so enemy wards do not matter for your safety. Use this to deward aggressively.
- Terrorize to break Linken’s Sphere: Terrorize hits all enemies in an area. If the primary target has Linken’s, Terrorize pops it while still fearing everyone else. Follow up with Cursed Crown on the now-Linken’s-less target.
- Bedlam during Shadow Realm: Activate Bedlam FIRST, then Shadow Realm. Both are active simultaneously, meaning you deal Bedlam damage while being completely untargetable. Walk onto a target, and they take Bedlam ticks with no way to retaliate.
- Bramble Maze to block camps: Place Bramble Maze on neutral camp spawn boxes to prevent enemies from stacking or farming. The brambles last long enough to block one spawn cycle.
- Cursed Crown on illusion-based heroes: The AoE stun triggers around the cursed target. Against heroes like Phantom Lancer or Naga Siren, cursing one illusion can stun the real hero if they are nearby, revealing which one is real.
Frequently Asked Questions
Position 4 in almost all cases. Dark Willow needs items like Eul’s Scepter and Blink Dagger to function at her peak, and pos 5 budget rarely allows for these. As pos 4, you get enough farm from pulls, assists, and occasional waves to hit your item timings. Playing her as pos 5 is viable in lower ranks where budgets are more flexible, but you will always feel starved for gold.
The optimal combo depends on your items. With Eul’s: Cursed Crown (on target) — Eul’s (immediately) — Bramble Maze (on cyclone location) — Bedlam — Shadow Realm empowered attack. Without Eul’s: Bramble Maze (to root) — Cursed Crown (on rooted target) — Bedlam — Shadow Realm attack. Always activate Bedlam before Shadow Realm so both damage sources overlap.
Shadow Realm makes you untargetable, not invulnerable. AoE abilities (Ravage, Echo Slam, Black Hole), damage-over-time effects applied before Shadow Realm, and effects already in flight (like an Assassinate projectile) will still hit you. Chronosphere also catches you regardless of Shadow Realm. Use Shadow Realm preemptively before fights, not reactively when you are already being burst down.
Use Terrorize when multiple enemies are grouped (2+) or when you need to cancel a channeling ability. Use Bedlam when you can safely walk onto a single target for the kill. In most pub games, Bedlam gets more value because it helps you secure kills during ganks. Save Terrorize for teamfights where the AoE fear disrupts the entire enemy team’s positioning.
Yes. Dark Willow is strong in the current patch due to the emphasis on early teamfighting and skirmishing. Her ability to provide multiple disables, burst damage, and an AoE fear on relatively low cooldowns makes her an excellent pick in drafts that want to fight early and often. She pairs particularly well with popular meta heroes like Mars, Faceless Void, and Puck.
Technically yes, but it is niche. Mid Willow works against specific matchups where you can dominate the lane with Shadow Realm harass (such as against Sniper, Shadow Fiend, or Invoker). You rush Witch Blade into Blink Dagger and play as a roaming assassin after securing your lane. It is more viable at 5K+ MMR where you can exploit the hero’s mechanics fully, but in most pub games, she generates more value as a pos 4.
Talent choices depend on the game, but general guidance: take the damage/range talents if you are snowballing and the defensive/utility talents if you are behind. The Bramble Maze cooldown reduction talent is almost always the correct choice at level 15 because more frequent roots means more kill opportunities. At level 20, the Cursed Crown AoE increase talent is dominant in teamfight-heavy games.
Master Dark Willow with Pro Coaching
Want to perfect your Willow combos and climb faster Our Immortal-rank coaches have thousands of games on Dark Willow and can teach you the exact patterns, timings, and decision-making that separate average players from top-tier support mains.



