How to Master Broodmother in Dota 2: The Ultimate Guide for Every Rank (2026)

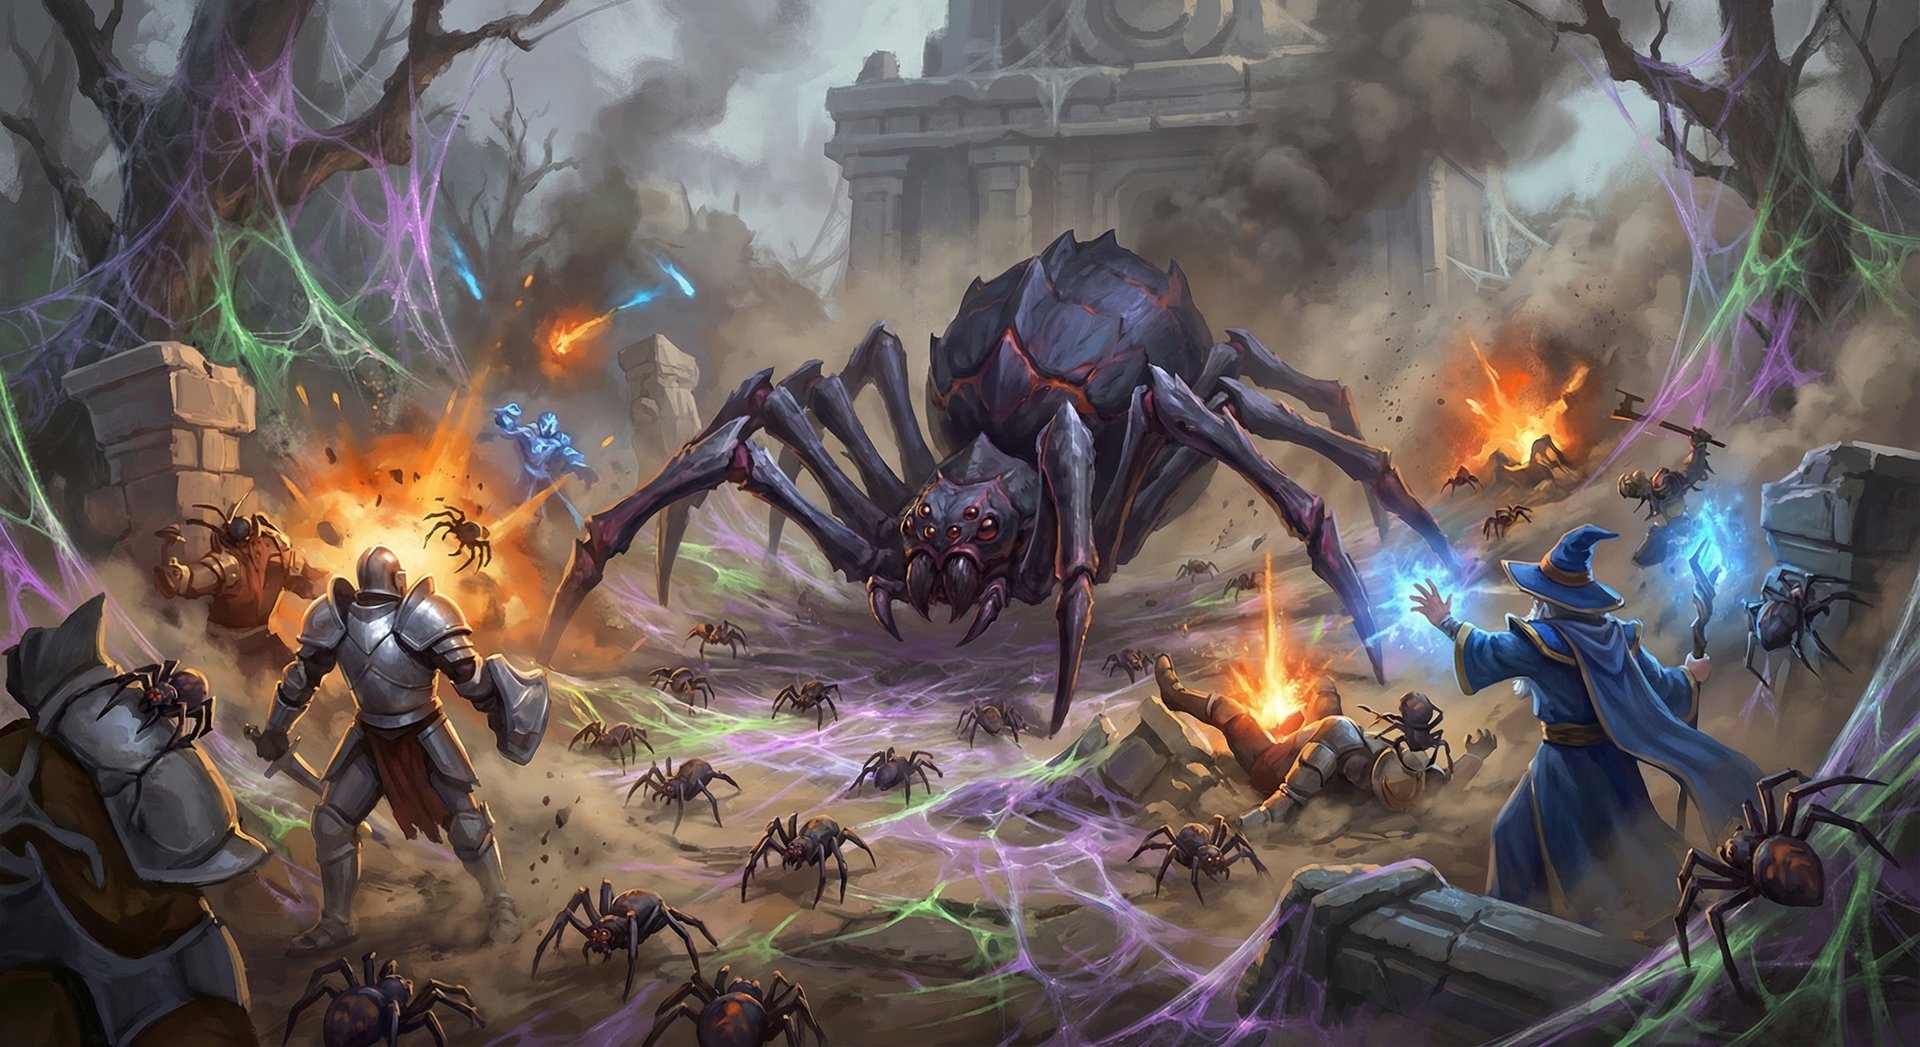
Broodmother is one of the most feared last-pick heroes in all of Dota 2 — and for good reason. When played correctly, she turns the entire map into her territory, suffocating the enemy team with relentless lane pressure, unkillable spiderling waves, and a split-push tempo that forces impossible decisions. When picked incorrectly or played poorly, she feeds spiderlings like a walking gold mine.
This guide is written from the perspective of Immortal-rank Broodmother specialists who have climbed with this hero through every bracket. You will learn exactly how to dominate lanes, micro your spiderlings efficiently, place webs for maximum map control, itemize for every situation, and — most importantly — understand when Broodmother is the right pick and when she is a liability. Whether you are a Herald player curious about this niche hero or a Divine player looking to add her to your last-pick arsenal, this guide covers everything you need to climb MMR with the Mother of Spiders.
Table of Contents
Why Broodmother Is Dota’s Scariest Last Pick
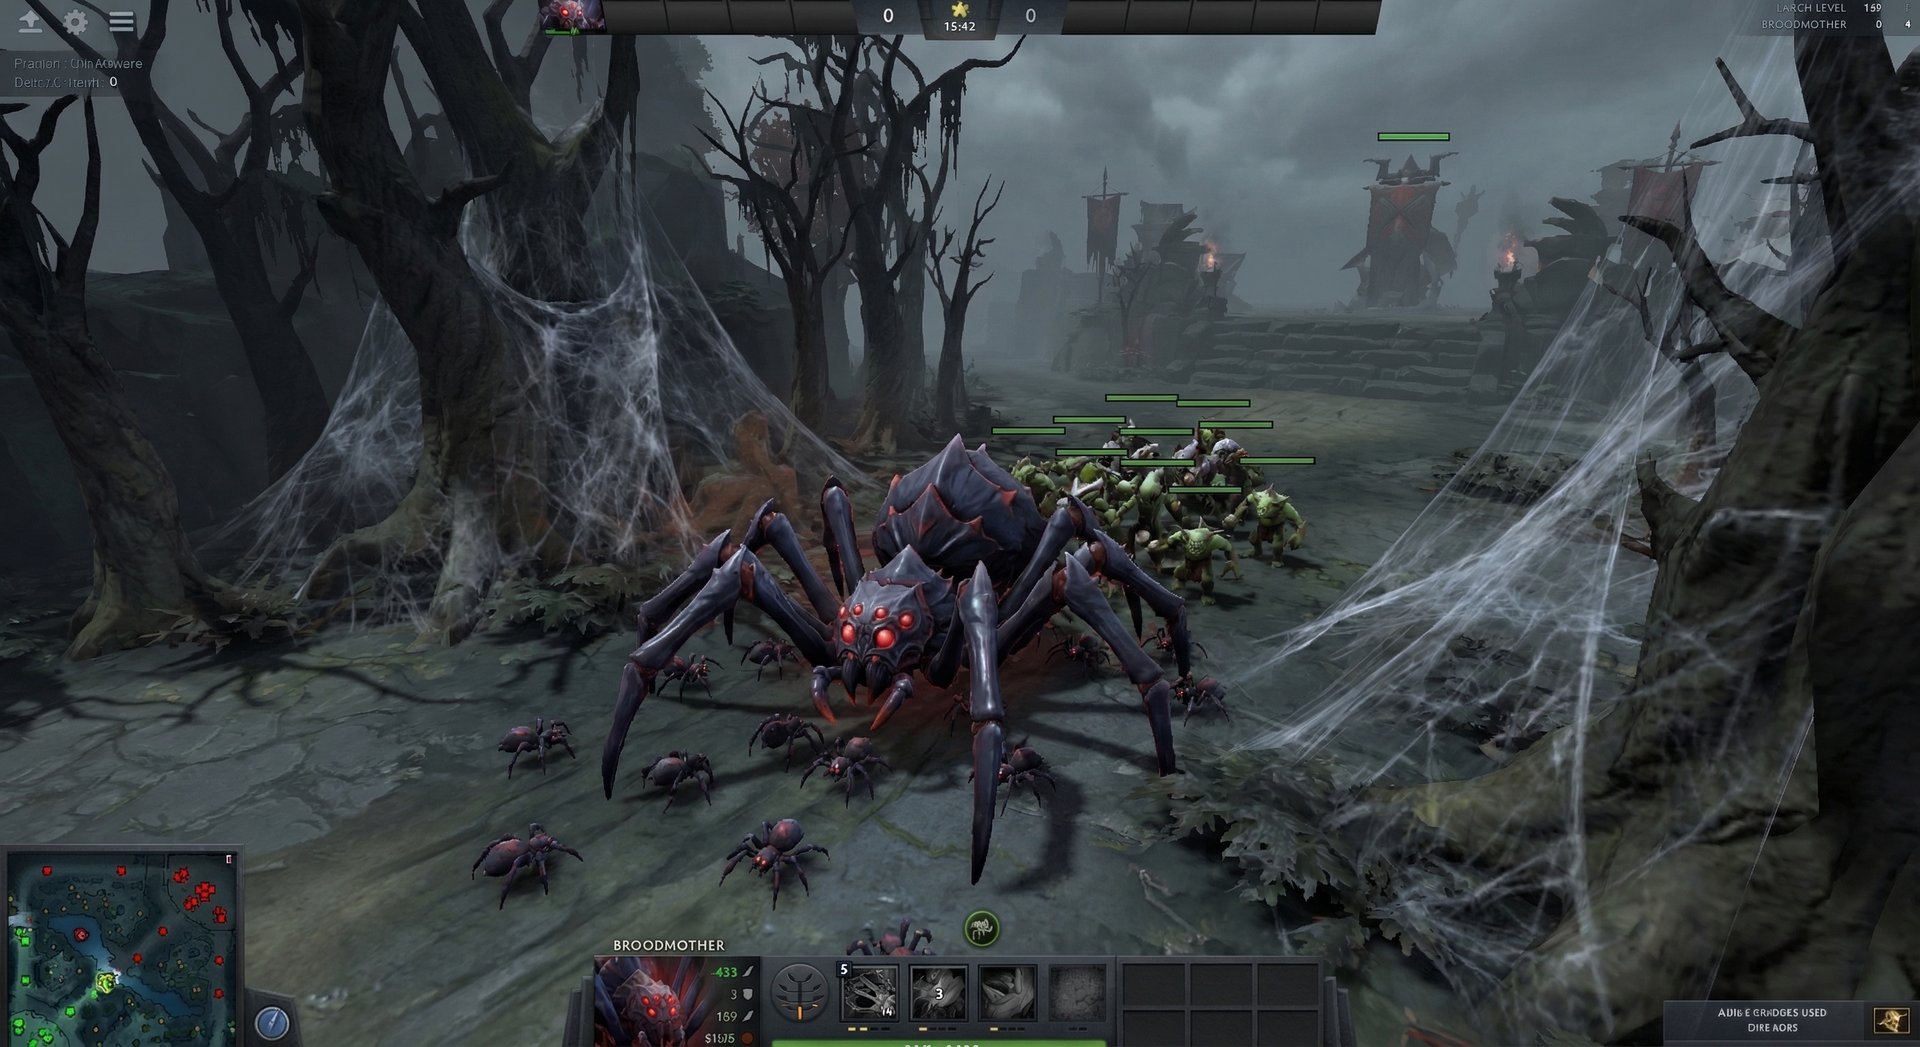
Broodmother, the Mother of Spiders, is a melee agility hero who plays primarily as a position 2 (mid) or position 3 (offlane) lane dominator and split-pusher. She is fundamentally different from every other hero in Dota 2 because her entire gameplan revolves around territorial control through webs and spiderling pressure.
What makes Broodmother unique is her ability to completely take over a section of the map. Her Spin Web ability grants free pathing (she walks over cliffs and through trees), bonus movement speed, and HP regeneration while inside webs. Combined with an army of spiderlings that farm, push, and scout, Broodmother creates a zone of the map where the enemy team simply cannot exist without committing multiple heroes.
In the current 2026 meta, Broodmother thrives as a last-pick specialist against lineups that lack AoE clear. Her winrate spikes dramatically in games where she is picked into favorable matchups — often exceeding 58-60% winrate in Divine and Immortal brackets when last-picked correctly. Conversely, she drops below 44% when counter-picked, making her one of the most polarizing heroes in the game.
Key stats:
- Base armor: 3.0 (decent for an agility hero)
- Movement speed: 285 (slow base, but 550+ inside webs)
- Agility gain: 2.8 per level (strong scaling)
- Attack range: 150 (melee)
Broodmother is not a teamfight hero. She is not a 5v5 brawler. She is a tempo controller who forces the enemy team to react to her pressure or lose their base. Every second they spend dealing with Broodmother is a second your other four teammates get to farm, take objectives, or fight with a numbers advantage. If you want a hero that wins games by creating suffocating pressure that opponents cannot answer, Broodmother is your pick. But she demands respect — both in terms of game knowledge and mechanical execution.
Abilities Deep Dive
Insatiable Hunger (Innate / Passive)
In the current patch, Insatiable Hunger has been reworked as Broodmother’s innate ability. It grants bonus damage and lifesteal on attacks, scaling with levels. This passive is what makes Broodmother deceptively tanky in 1v1 fights — she heals a significant portion of the damage she deals, meaning she can trade far more aggressively than her HP bar suggests.
Hidden mechanics:
- The lifesteal works on buildings. Broodmother heals while hitting towers, making her incredibly difficult to dislodge from a push.
- Lifesteal stacks multiplicatively with other lifesteal sources. Mask of Madness or Satanic combined with Insatiable Hunger makes Broodmother nearly impossible to kill through right-click trades.
- The bonus damage is added as base damage, which means it multiplies with critical strikes and other percentage-based modifiers.
Spawn Spiderlings (Q)
Spawn Spiderlings is the ability that defines Broodmother’s playstyle. It launches a projectile that deals damage to the target. If the target dies within 2 seconds of being hit, it spawns spiderlings — small spider units that Broodmother controls. These spiderlings have their own ability: Spawn Spiderites, which creates even smaller spiders from their attacks on heroes.
Critical interactions most players miss:
- Spiderlings give gold and experience when killed. Each spiderling is worth 20-25 gold. A full army of 8-10 spiderlings is worth 200+ gold to whoever clears them. This is why feeding spiderlings to AoE heroes is catastrophic.
- Spiderlings have 450 HP at max level and deal 18-20 damage each. An army of 8 spiderlings deals 160+ DPS collectively, which is comparable to a core hero’s damage in the early-mid game.
- Last-hitting jungle creeps with Spawn Spiderlings is the primary farming tool. Use Q to last-hit large jungle creeps to generate spiderlings, then send them to push lanes or farm additional camps.
- Spiderlings benefit from web bonuses. They gain the HP regeneration and movement speed from Spin Web, making them significantly harder to kill inside web territory.
- You can deny your own spiderlings to prevent enemies from getting the gold. This is a critical micro technique in high-level play.
Spin Web (W)
Spin Web is the territorial ability that makes Broodmother fundamentally different from every other hero. She places a web on the map that grants her and her spiderlings free pathing (walk through trees and over cliffs), bonus movement speed (up to 80%), and HP regeneration while inside the web area. Webs are invisible to enemies and last indefinitely.
What separates good and great Broodmother players is web placement:
- Webs have unlimited duration but a maximum charge count. You accumulate web charges over time, and each web placed uses one charge. Managing your web economy is essential.
- Free pathing is the most important aspect. Walking through trees means you can path through jungles instantly, escape ganks by walking over cliffs, and position aggressively in ways no other hero can.
- The HP regen is percentage-based, meaning it scales with your total HP pool. Late-game Broodmother with a Heart of Tarrasque regenerates enormous amounts of HP inside webs.
- Enemies can see the web edge indicators if they walk close enough, but the webs themselves are invisible on the minimap. Smart players watch for these indicators to know where Broodmother has web coverage.
- Place webs overlapping between lane and jungle so you can farm both simultaneously. The ideal web formation covers the lane, the adjacent jungle camps, and an escape route through trees toward your side of the map.
Silken Bola (E)
Silken Bola is Broodmother’s crowd control ability — a targeted slow and damage-over-time that roots the enemy after a short delay. This ability is what allows Broodmother to lock down targets for her spiderlings to swarm.
Key mechanics:
- The root goes through BKB at max level with the talent, making it one of Broodmother’s most valuable late-game tools.
- The slow applies immediately, but the root has a delay. Time your engagement so the root lands after the enemy has already committed to fighting or fleeing.
- Silken Bola reveals the target, preventing them from going invisible to escape. This is critical against heroes like Riki, Clinkz, and Weaver.
- The damage over time is magical, which provides Broodmother with a mixed-damage profile that is harder to itemize against.
Insatiable Hunger (R) — Ultimate
Insatiable Hunger as the active ultimate grants Broodmother a massive burst of bonus damage and lifesteal for a duration. When activated, her right-click damage spikes enormously, and she heals for a percentage of all damage dealt. This is her 1v1 kill button and tower-taking steroid.
The ultimate is what makes Broodmother terrifying in direct fights:
- With ultimate active, Broodmother can manfight almost any carry 1v1 in the mid game. The combination of bonus damage and lifesteal means she effectively has 2-3x her normal effective HP in a sustained fight.
- Use it before diving towers. The lifesteal lets you tank tower hits while still gaining HP from attacking the tower itself.
- It dispels on activation, removing slows, silences, and most debuffs. This makes it both an offensive steroid and a defensive escape tool.
- Timing is everything. Pop ultimate too early and it expires before the fight ends. Pop it too late and you die before the lifesteal can save you. The sweet spot is activating when you commit to a kill or a tower dive.
Skill Build Order
| Role | Level 1 | Level 2 | Level 3 | Level 4 | Level 5 | Max First |
|---|---|---|---|---|---|---|
| Mid (Standard) | W | Q | W | Q | Q | Spawn Spiderlings |
| Offlane (Aggressive) | W | Q | Q | W | Q | Spawn Spiderlings |
| Mid (vs. Harass) | W | E | Q | Q | Q | Spawn Spiderlings |
| Offlane (Passive) | W | W | Q | Q | Q | Spawn Spiderlings |
The general rule: always start with one point in Spin Web for the regen and free pathing, then max Spawn Spiderlings as fast as possible for farming and lane pressure. Silken Bola gets one early point if you need the slow for kill setups or to survive ganks. Take ultimate at 6, 12, and 18 always.
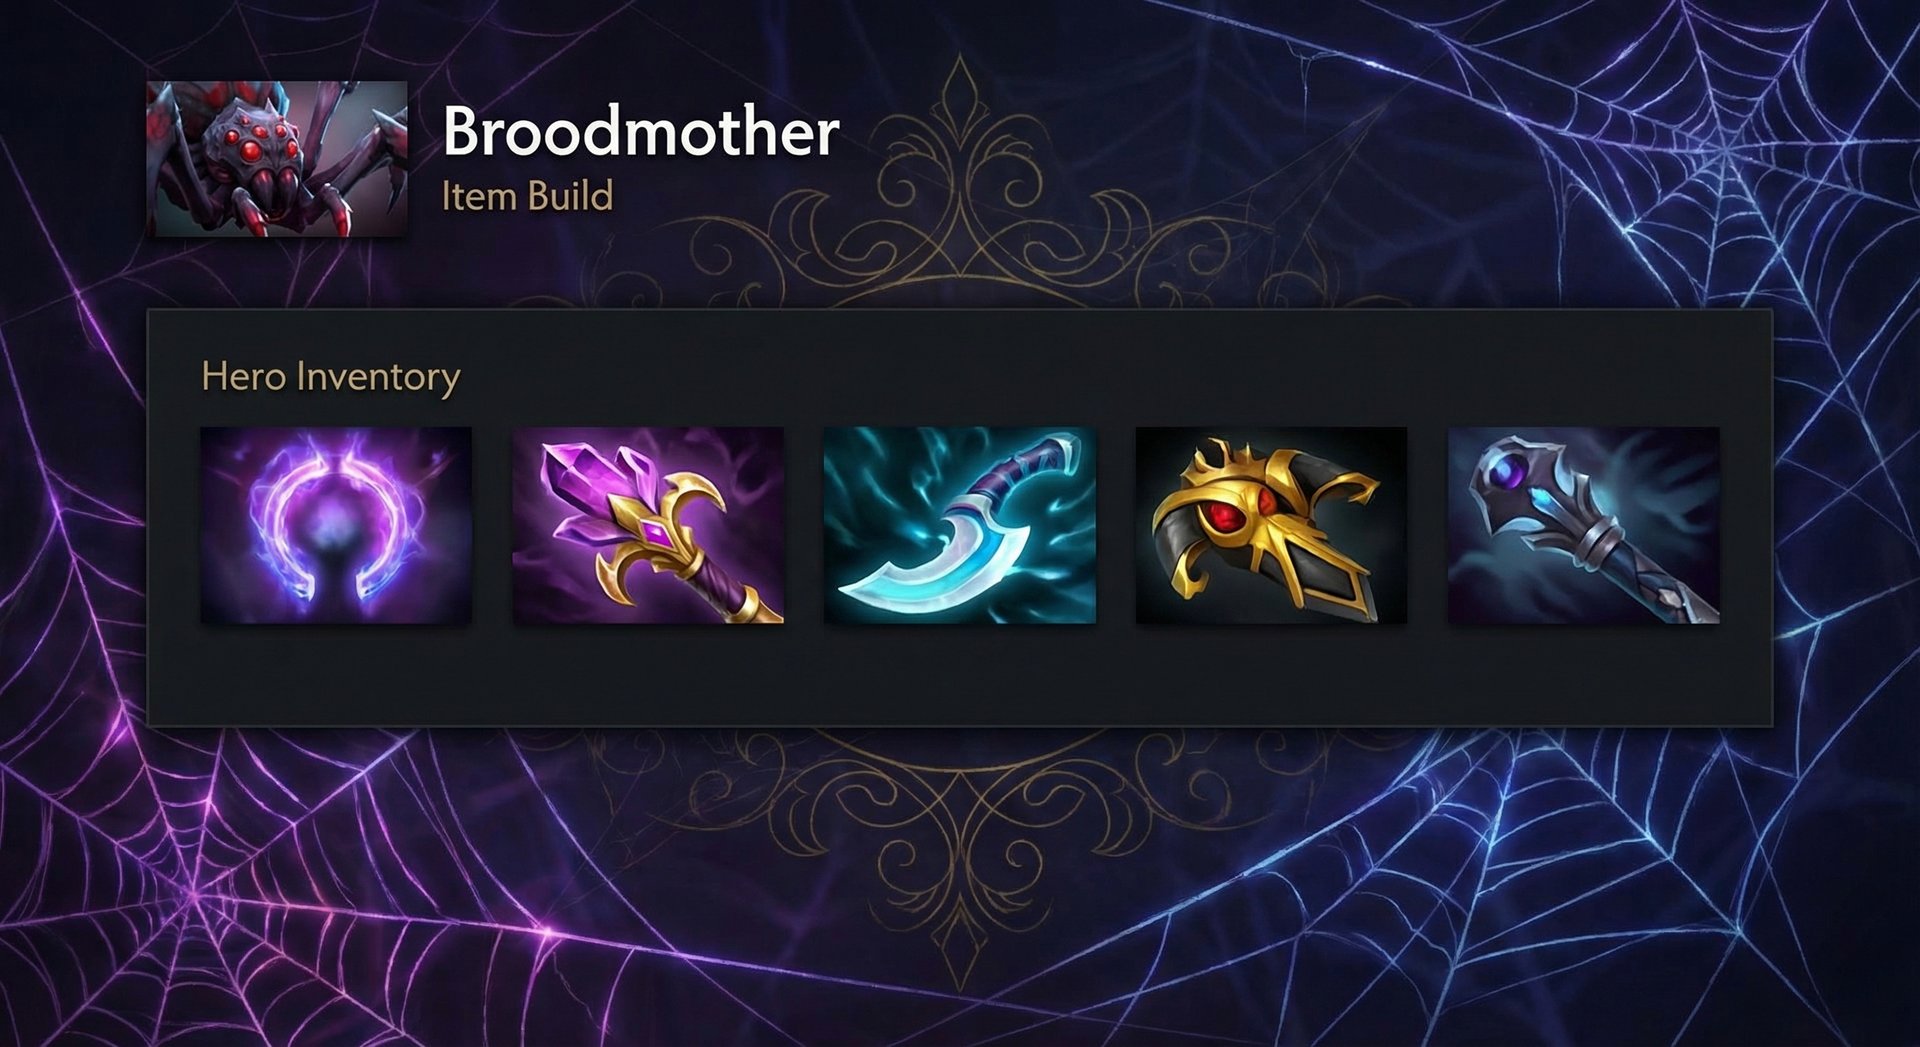
Item Builds by Rank Bracket
Broodmother’s itemization is one of the most flexible in Dota 2. Your build should change drastically based on your rank bracket, the enemy lineup, and your game tempo. Here is what works at each level of play and why.
| Rank | Starting | Early Game | Core Items | Late Game |
|---|---|---|---|---|
| Herald-Crusader | Tango, Quelling, Branches x2 | Soul Ring, Boots, Magic Wand | Power Treads, Orchid Malevolence, BKB | Bloodthorn, Assault Cuirass, Nullifier |
| Archon-Legend | Tango, Quelling, Ring of Regen | Soul Ring, Power Treads, Medallion | Orchid Malevolence, Diffusal Blade, BKB | Bloodthorn, Nullifier, Butterfly |
| Ancient-Divine | Tango, Quelling, Sage Mask, Branch | Soul Ring, Boots, Medallion of Courage | Orchid, Solar Crest, Aghs Shard | Bloodthorn, Nullifier, BKB |
| Immortal | Tango, Quelling, Sage Mask, Circlet | Soul Ring, Phase/Treads, Medallion | Orchid, Aghs Shard, Diffusal/Solar | Bloodthorn, Nullifier, Scythe of Vyse |
Why Builds Differ by Rank
Herald-Crusader: At lower ranks, enemies rarely coordinate to gank Broodmother. You can play greedily, farming Orchid Malevolence for solo kills on any hero on the map. BKB is essential because low-rank fights are chaotic and you will eat random stuns. Assault Cuirass late game makes you and your spiderlings tankier while shredding towers.
Archon-Legend: Players start using detection and ganking Broodmother intentionally. Diffusal Blade becomes incredibly valuable for the mana burn (many heroes cannot cast spells after 3-4 hits with Diffusal) and the slow for chasing. Medallion of Courage accelerates Roshan kills — Broodmother can solo Roshan with medallion, ultimate, and a spiderling army surprisingly early.
Ancient-Divine: Solar Crest replaces raw Medallion because the active is more versatile. Aghanim’s Shard enhances Broodmother’s spiderling army significantly. At this bracket, players understand they need to group up against you, so your itemization shifts toward pick-off potential with Orchid into Bloodthorn.
Immortal: Scythe of Vyse becomes a viable late-game luxury because at high MMR, a 3.5-second hex on the enemy carry wins fights by itself. Phase Boots versus Power Treads becomes a matchup-dependent choice — Phase for chasing, Treads for attack speed with spiderling armies. Every item decision is calculated around the enemy’s specific lineup.
Laning Phase Masterclass
Broodmother’s laning phase is where games are won or lost. A Broodmother who dominates her lane snowballs into an unkillable split-push monster. A Broodmother who loses lane becomes a liability that feeds spiderling gold to the enemy team for 30 minutes.
Mid Lane Broodmother
Mid is Broodmother’s strongest lane because she gets solo experience and can establish web control over both the lane and the adjacent jungle camps. The strategy is straightforward:
- Level 1: Place your first web covering the lane and one jungle camp. Use the HP regen to sustain through any harass. Focus on last hits with your base damage.
- Level 2: With one point in Q, start looking for last-hits on ranged creeps with Spawn Spiderlings. If the ranged creep dies to Q, you get your first spiderling. This is the snowball moment.
- Level 3-5: By now you should have 3-6 spiderlings. Send them to stack and farm the adjacent jungle camp while you last hit in lane. With Soul Ring, spam Q on large jungle creeps to generate more spiderlings. Your army grows exponentially.
- Level 6: Ultimate comes online. With a full spiderling army, Orchid components in your inventory, and web control over mid, you can solo kill almost any mid laner. Pop ultimate, bola the target, swarm with spiderlings.
Critical mistake to avoid: Do NOT send spiderlings to push the lane mindlessly. In mid lane, pushing the wave into the enemy tower means your spiderlings walk into tower range and feed gold. Keep spiderlings in the jungle farming until you are ready to commit to a tower push with ultimate.
Offlane Broodmother
Offlane Broodmother is riskier because you face two heroes, but the concept is the same — establish web territory and suffocate the enemy carry’s farm.
- Place webs behind the enemy tower covering their jungle. This lets you farm their jungle camps with spiderlings while the enemy carry tries to last-hit in lane.
- Pull enemy creeps into your web. By standing behind the enemy creep wave inside your web, you drag the creeps into unfavorable positions. The enemy support has to come deal with you or lose the equilibrium.
- Trade aggressively with web regen. Inside webs, your HP regen is enormous. You can take harass from the support, retreat into trees (free pathing), regen to full, and re-engage. Most supports cannot sustain this level of attrition.
Lane Partner Synergies (Offlane)
| Lane Partner | Why It Works | Synergy Rating |
|---|---|---|
| Dazzle | Weave armor reduction amplifies spiderling army damage, Shallow Grave prevents feeding | Excellent |
| Dark Seer | Ion Shell on spiderlings deals insane AoE, Surge helps Brood chase | Excellent |
| Warlock | Shadow Word sustain, Fatal Bonds multiplies spiderling damage across enemies | Great |
| Venomancer | Double summon pressure overwhelms the lane, Poison Sting stacks with bola | Good |
| Grimstroke | Ink Swell on Broodmother as she runs at enemies, Soulbind for double orchid silence | Good |
Mid and Late Game Transitions
Broodmother’s mid-game is where she either wins the game or starts falling off. Understanding your timing windows is absolutely critical.
Timing Windows
10-20 minutes (Power Spike): This is Broodmother’s strongest window. You should have Soul Ring, boots, and be working toward Orchid. Your spiderling army is at peak relative strength compared to enemy heroes. Use this window to:
- Take the enemy mid tower (or offlane tower)
- Establish web control over the enemy jungle
- Solo kill any hero who rotates to stop you
- Force 2-3 heroes to constantly deal with your push, giving your team space
20-30 minutes (Transition): Orchid is complete, and you should be looking for pick-offs on isolated heroes. Broodmother’s mid-game goal is NOT to teamfight. It is to create pressure on one side of the map while your team takes objectives on the other side. Push a lane with spiderlings, Orchid silence anyone who shows up alone, and force rotations.
30-40 minutes (Late Game Decisions): This is where Broodmother starts falling off relative to hard carries. Your spiderlings die to AoE instantly, and enemy cores have enough damage and armor to fight you directly. At this point, you need to transition from split-push to pick-off. Bloodthorn and Nullifier let you delete any hero in 3-4 seconds. Your role changes from “take towers” to “remove their carry before fights.”
40+ minutes (Ultra Late): Broodmother is weak in ultra-late game 5v5 teamfights. If the game reaches this point, focus on backdooring with your spiderling army while the enemy is distracted. Webs give you the mobility to sneak behind enemy lines and hit barracks while a teamfight happens elsewhere.
Roshan Timing
Broodmother can solo Roshan as early as 18-20 minutes with Orchid, Medallion, and her ultimate active. The spiderling army tanks Roshan’s attacks while Broodmother life-steals through the damage. Always check Roshan after taking the mid tower. An early Aegis on Broodmother makes her nearly impossible to stop because she can dive towers with no consequences.
When to Join Fights vs. Split Push
This is the single most important decision Broodmother players make every game:
- Split push when: Your team can hold 4v5 without you, the enemy has strong AoE that kills your spiderlings (Earthshaker, Sand King), or objectives are available on the opposite side of the map.
- Join fights when: You have BKB, the fight is happening inside your web network, or you can flank and Orchid silence a key target before the fight starts.
- The golden rule: If you show on the map, you better be taking a tower or killing a hero. Never be visible doing nothing.
Counters and How to Beat Them
Broodmother has some of the hardest counters in Dota 2. Knowing these matchups is not optional — it is the difference between a free win and an unplayable game.
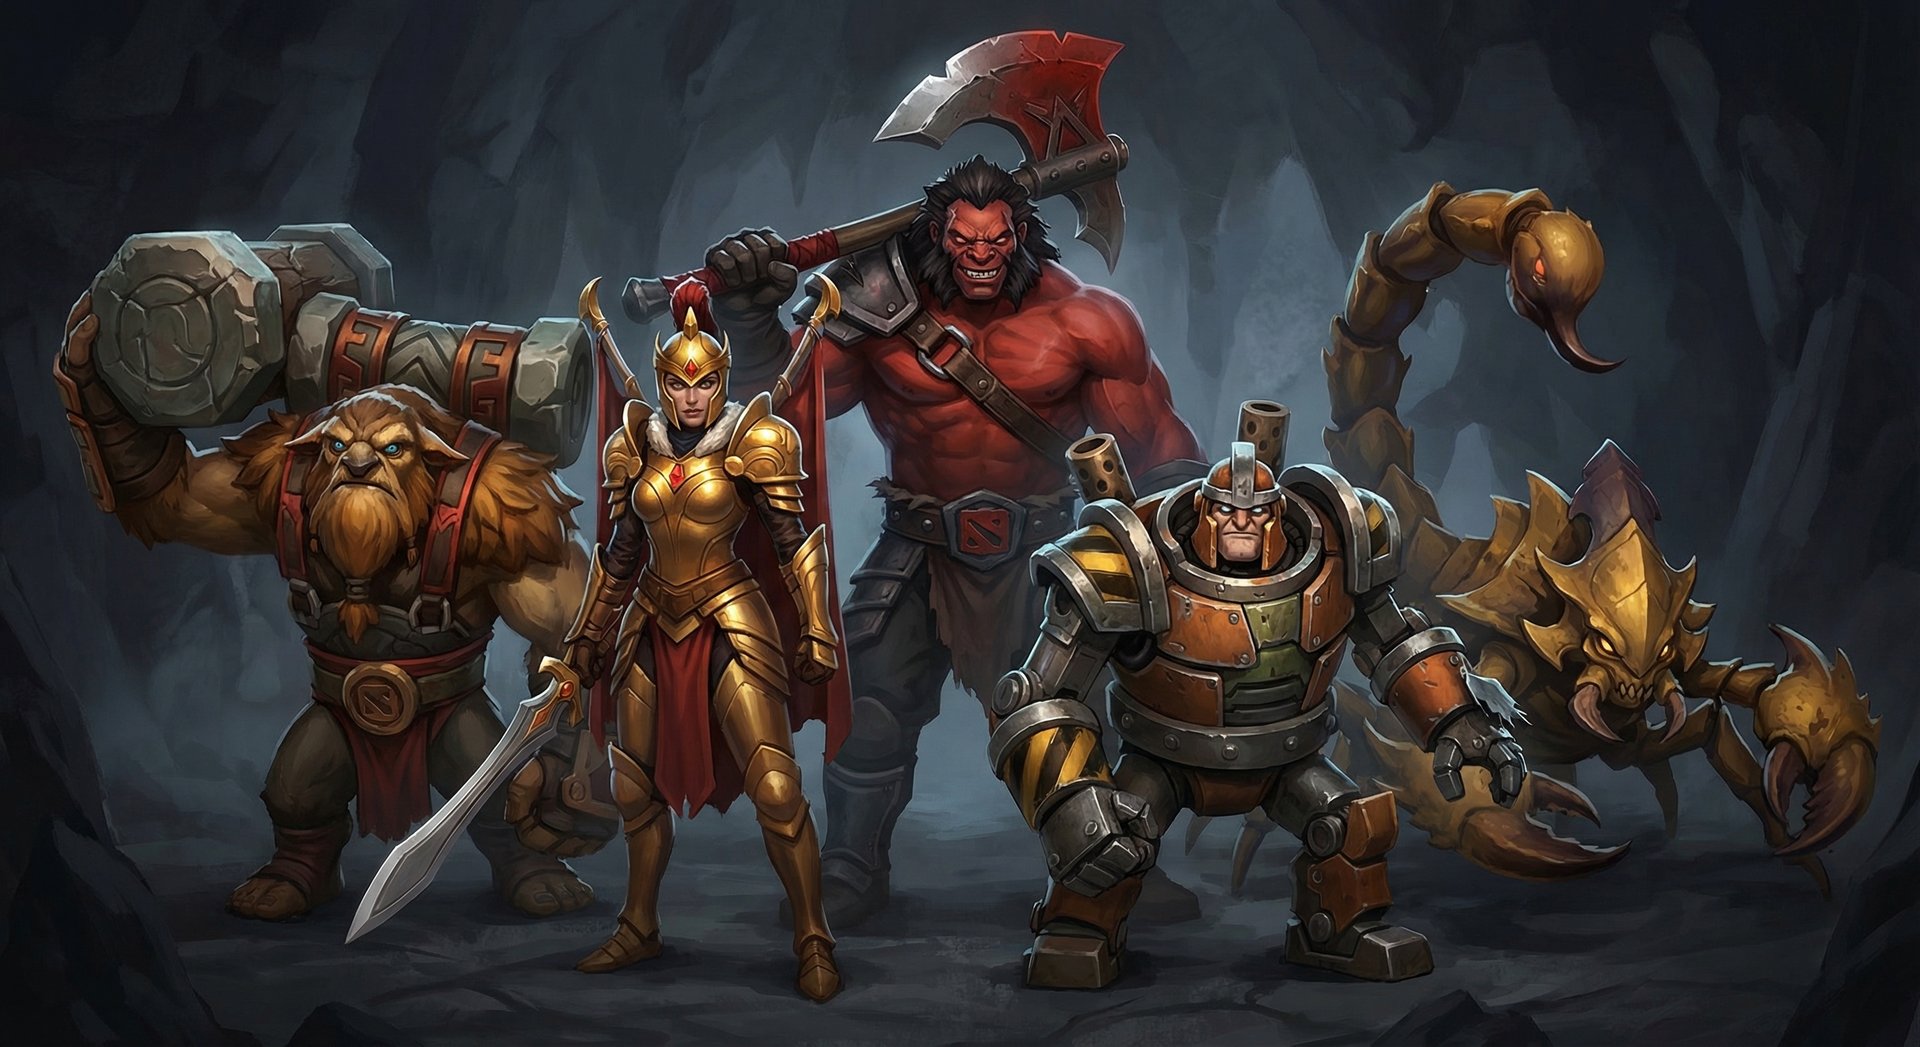
Top 5 Counters
1. Earthshaker — The hardest counter in the game. Echo Slam deals damage per unit in the AoE. With 8-10 spiderlings nearby, Echo Slam hits for 2000+ damage on Broodmother. A single Earthshaker blink-echo can teamwipe Broodmother and her entire army. How to play around it: Never group your spiderlings near yourself when Earthshaker is missing from the map. Send spiderlings to push one lane while you push another. If Earthshaker does not have Blink Dagger, he is far less threatening — track his item timings.
2. Axe — Counter Helix procs on every spiderling attack, meaning Broodmother’s army kills itself by attacking Axe. Berserker’s Call forces Broodmother and all nearby spiderlings to attack Axe, triggering Counter Helix repeatedly. How to play around it: Never send spiderlings to hit Axe. Use them for farming and pushing only. In fights against Axe, micro your spiderlings away and fight him solo with ultimate and items.
3. Legion Commander — Overwhelming Odds deals bonus damage per unit, meaning a spiderling army turns it into a one-shot nuke. Duel prevents Broodmother from using her ultimate to lifesteal. How to play around it: Same principle — do not stack your spiderlings when LC is nearby. Buy Linken’s Sphere to block Duel in crucial fights.
4. Timbersaw — Reactive Armor makes Timbersaw unkillable by spiderlings (each hit stacks armor/regen), and Whirling Death plus Timber Chain clear spiderling waves instantly. How to play around it: Avoid his lane entirely. Focus on the other side of the map. Timbersaw is immobile without trees — cut the trees in his path with spiderlings before engaging.
5. Sand King — Sandstorm and Caustic Finale clear spiderlings efficiently, and Epicenter in a group of spiderlings devastates Broodmother. How to play around it: Sand King’s AoE is centered around himself. Keep distance and use bola to root him before he can channel abilities. Never let spiderlings group up near Sand King.
General Counter-Play Strategy
When facing AoE counters, the universal rule is: your spiderlings are NOT your teamfight tool — they are your economic engine. Send them to farm jungle, push lanes, and scout. In fights, rely on your items (Orchid, BKB, Nullifier) and your ultimate’s lifesteal to win 1v1 engagements. A Broodmother who understands when to separate from her army is far more dangerous than one who always groups with them.
Heroes Broodmother Destroys
Broodmother is a last-pick hero for a reason. When she faces lineups without AoE, she is nearly unstoppable.
1. Sniper — Sniper has zero AoE to clear spiderlings, zero escape from Broodmother’s bola + web mobility, and zero ability to fight her 1v1 with ultimate active. Broodmother walks through trees, bolas Sniper, and kills him in 3 seconds. This matchup is unplayable for Sniper at every stage of the game.
2. Drow Ranger — Drow’s Marksmanship is disabled at melee range, and Broodmother is always in melee range. Drow has no AoE clear for spiderlings (Multishot is not enough), and her slow is irrelevant against Broodmother’s 550+ movement speed in webs. A free lane and a free game.
3. Anti-Mage — Anti-Mage wants to farm for 25 minutes. Broodmother does not let anyone farm. She invades Anti-Mage’s jungle, takes his towers, and forces him to fight before he has items. Anti-Mage’s Blink cannot save him from bola root, and Counterspell does nothing against spiderling physical damage.
4. Invoker (Quas-Wex) — Quas-Wex Invoker lacks the AoE burst to clear spiderlings efficiently. Meteor and EMP do not hit fast enough, and Cold Snap is single-target. Broodmother can bola Invoker and overwhelm him with spiderlings before he finishes his combo. Note: Quas-Exort Invoker with Forge Spirits and Sun Strike is a harder matchup.
5. Shadow Fiend — Shadow Fiend’s razes can clear some spiderlings, but Broodmother can dodge razes with web movement speed. More importantly, SF has no way to deal with Broodmother’s physical damage and lifesteal. With Orchid, Broodmother can silence SF and kill him before he razes once.
How Pros Play Broodmother in Current Patch
Broodmother remains a niche but powerful pick in professional Dota 2. She appears primarily as a last-pick mid or offlane option when the enemy draft lacks AoE control. Here are recent notable examples:
Team Liquid’s Nisha has been one of the most prominent Broodmother players in 2025-2026, picking her in multiple DPC matches when opposing teams draft single-target heavy lineups. His build typically follows Soul Ring into Orchid into Aghanim’s Shard, focusing on pick-off potential and map control.
Key pro patterns:
- Web placement extends aggressively. Pro Broodmother players place webs deep into the enemy jungle by 8-10 minutes, essentially taking over 40% of the map before the enemy can respond.
- Spiderlings are always split from the hero. Pros micro their spiderlings into separate groups — one group farming a jungle camp, one group pushing a lane, and Broodmother herself hunting heroes with Orchid.
- BKB timing is calculated precisely. In pro games, BKB is purchased specifically when the enemy team’s stun chain can burst through Broodmother’s ultimate lifesteal. Against low-disable lineups, BKB is skipped entirely for more offensive items.
- Roshan is taken at the first opportunity. Pro Broodmother players check Roshan immediately after winning a fight or taking a tower. The Aegis extends her snowball timing by another 5-7 minutes.
In recent tournaments, Broodmother’s pick rate hovers around 3-5% but her ban rate is significantly higher (12-15%), showing that teams respect her last-pick potential even if they do not pick her often. When she does get through, her winrate in competitive exceeds 55% — confirming she is a strong hero when drafted correctly. For detailed stats, check Broodmother’s Dotabuff page.
Rank-Specific Climbing Guide
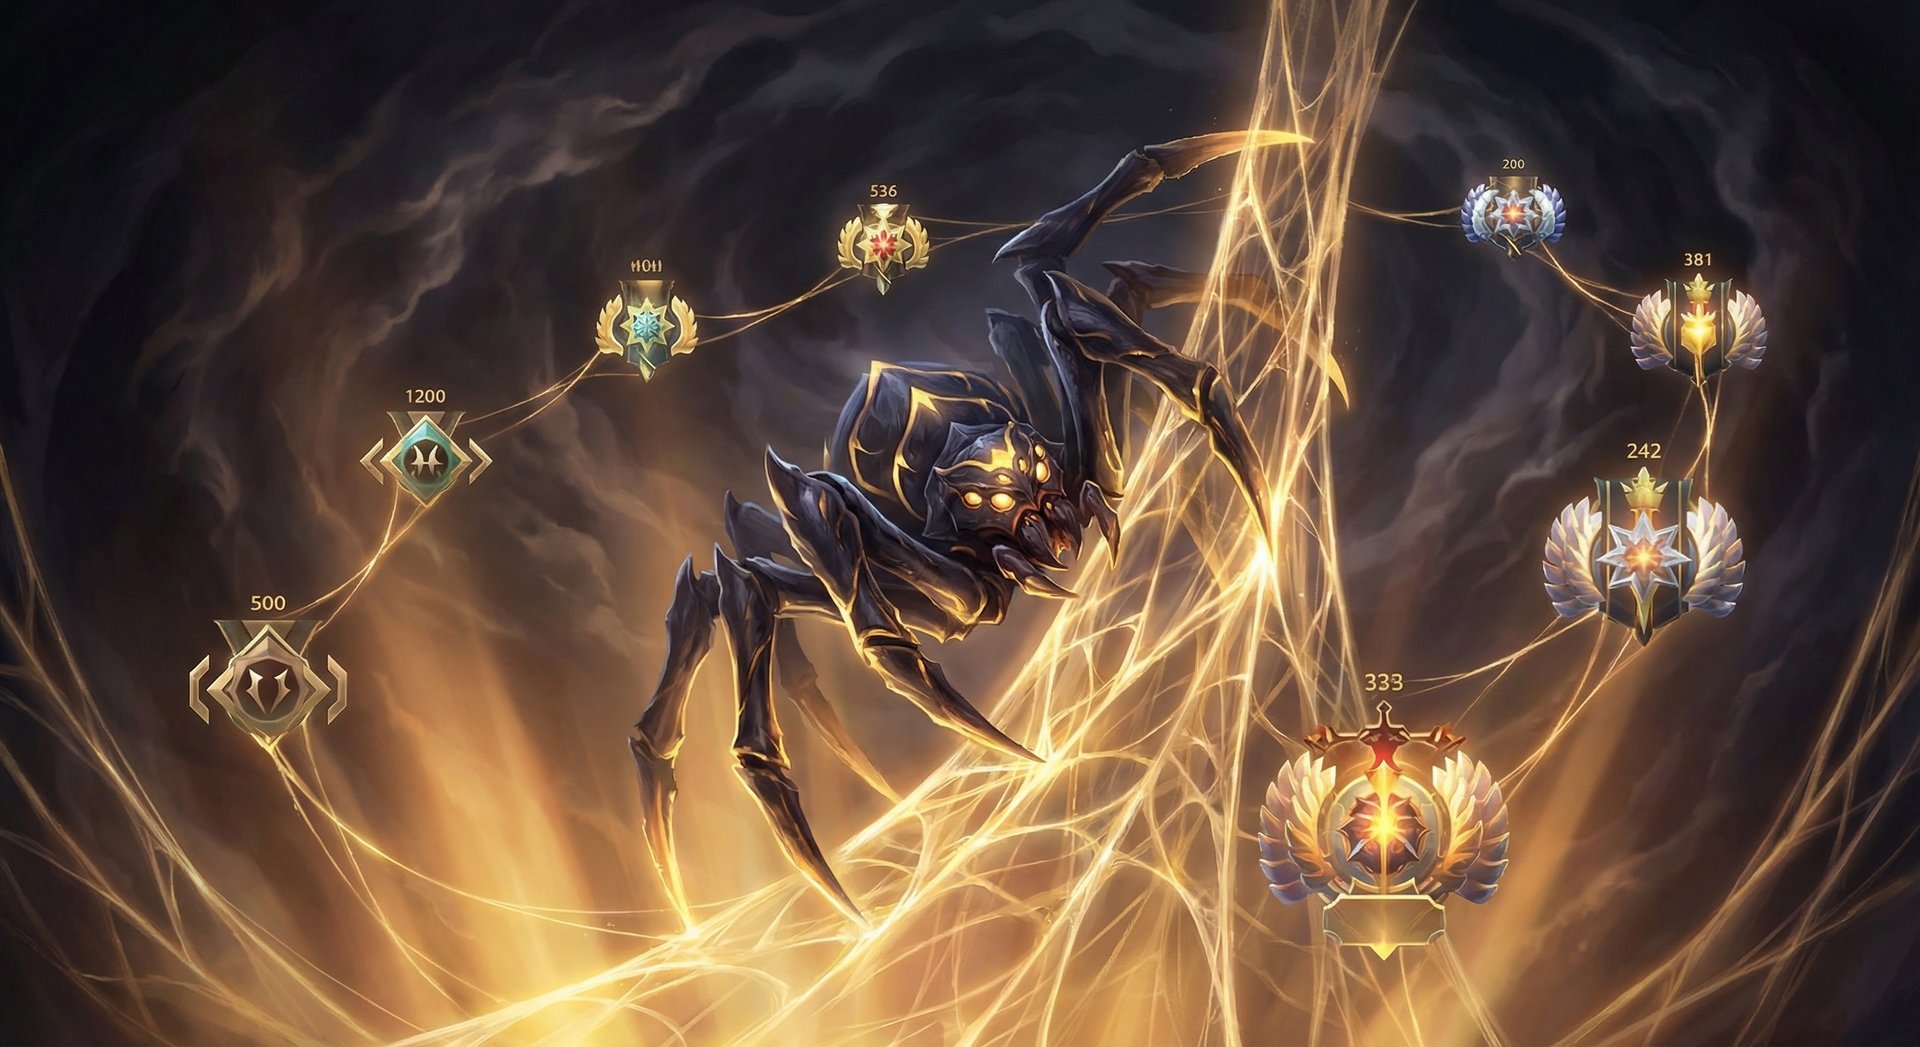
Herald to Guardian
At this bracket, Broodmother is almost unfairly strong because nobody knows how to deal with split push. Players in Herald and Guardian do not buy detection, do not coordinate ganks, and do not understand that spiderlings give gold when killed.
What to focus on:
- Learn basic spiderling micro. At minimum, have one control group for Broodmother and one for all spiderlings. Send spiderlings to push a lane while you farm jungle.
- Never stop pushing. In this bracket, if you push a lane, the enemy team will send one hero at a time to stop you. Kill them one by one. They rarely group as five.
- Build Orchid every game. The silence means nobody can use escape abilities. Blink dagger heroes, invisible heroes, all of them die to Orchid + spiderling swarm.
- You do not need fancy micro. A-clicking your spiderlings at the enemy is good enough here. Focus on always being active on the map.
Crusader to Archon
Players start buying Crimson Guard and Battle Fury to counter your spiderlings. Supports might carry Sentry Wards. You need to adapt.
What to focus on:
- Learn to deny your own spiderlings. When enemies are about to AoE your army, select the spiderlings and deny (attack) the low-HP ones. This prevents gold feeding.
- Itemize reactively. If they have Crimson Guard, your spiderlings are useless in fights — focus on items that make YOU strong (Orchid, BKB, Nullifier) rather than relying on spider damage.
- Map awareness becomes critical. Check enemy inventories for AoE items. If you see a Battle Fury on their carry, do not send spiderlings anywhere near them.
Legend to Ancient
This is where Broodmother transitions from “pubstomp hero” to “strategic pick.” Players at this bracket understand her weaknesses and will counter-pick if given the chance.
What to focus on:
- Only last-pick Broodmother. Never pick her first or second phase. Wait until you see the enemy’s cores and confirm they lack AoE.
- Web management becomes an art. Place webs proactively before you need them. If a fight is going to happen near Roshan in 2 minutes, have webs there now.
- Communicate with your team. Tell them you are creating space. Ping the opposite side of the map when you push so they take objectives elsewhere.
- Roshan timing. Learn to solo Roshan with Medallion + ultimate. Aegis extends your domination by a critical 5 minutes.
Divine to Immortal
At the highest level, Broodmother is a chess piece, not a brute force hero. Every web placement, every spiderling micro decision, and every item timing matters.
What separates top 1% Broodmother players:
- Spiderling denial is automatic. When a fight goes wrong, you deny all spiderlings instantly to minimize gold feed. This is muscle memory, not a conscious decision.
- Web placement predicts enemy movements. You place webs where you think the enemy team will be in 3-4 minutes, not where they are now. This means having web coverage over Roshan before it is alive, over enemy tier 2 towers before you push them.
- Item builds are completely matchup-dependent. Against heavy magic lineups, you skip Orchid and rush Pipe of Insight or BKB. Against physical carries, you go Solar Crest. There is no “default” build at this level.
- You play around your Orchid timing like a carry plays around BKB timing. The moment Orchid completes, you look for a kill. If you cannot find a kill within 2 minutes of Orchid, you are losing tempo.
- Backdoor with precision. Immortal Broodmother players can take a barracks set in 15 seconds with ultimate + spiderling army + Assault Cuirass while the enemy team fights on the opposite side of the map.
Tips and Tricks
Advanced Mechanics
- Tree juking with free pathing: Inside webs, you can walk through trees. This means you can dodge skill shots by walking “through” a tree cluster. Enemies cannot follow you without cutting trees or having flying vision. Practice walking through specific tree paths on each side of the map.
- Spiderling stacking: You can use individual spiderlings to stack multiple jungle camps simultaneously. At 0:53, send one spiderling to each nearby camp. This gives you triple or quadruple stacks that you clear with Q for massive gold and XP spikes.
- Cliff walking for ward placement: Broodmother can walk over any cliff inside her web. Use this to place observer wards in unconventional spots that enemies never check. You can also deward by walking to cliff ward spots without needing a Quelling Blade.
- Orchid before showing: Always activate Orchid BEFORE the enemy sees you, not after. Walk through trees toward your target, Orchid them from fog, then swarm with spiderlings. If they see you coming, they will use escape abilities before you can silence them.
- Split your army into 3 groups: Use control groups — Tab group 1: Broodmother. Tab group 2: Half your spiderlings (farming group). Tab group 3: Other half (pushing group). This maximizes your map pressure and minimizes the risk of losing your entire army to one AoE ability.
Common Mistakes to Avoid
- Picking Broodmother into AoE. This is the number one mistake. If you see Earthshaker, Axe, Legion Commander, Sand King, or Timbersaw on the enemy team, do NOT pick Broodmother. She will be a liability.
- Grouping all spiderlings together. A single Echo Slam or Overwhelming Odds will delete your entire army and give the enemy 300+ gold. Always spread your spiderlings across the map.
- Forgetting to use Soul Ring before Q. Soul Ring gives you 170 mana. Spawn Spiderlings costs 120-140 mana. If you forget to Soul Ring first, you run out of mana and your farming speed drops by 50%.
- Fighting without webs. Broodmother outside of webs loses her free pathing, HP regen, and bonus movement speed. She goes from 550 MS to 285 MS. Never fight outside your web network unless you have no choice.
- Not taking towers when you should. If you win a lane fight and the enemy mid or carry is dead, hit the tower. Broodmother with ultimate and spiderlings takes towers in seconds. Tower gold accelerates your snowball enormously.
Frequently Asked Questions
No. Broodmother requires strong micro skills, game knowledge about matchups, and strategic decision-making that most new players do not have. She is best learned after you have a solid understanding of Dota 2 fundamentals — last-hitting, map awareness, and item builds. If you are below Archon, we recommend practicing her in unranked first before bringing her into ranked matches.
Mid is generally stronger because you get solo experience and can establish web control over both sides of the river. Offlane works when the enemy safelane carry has no AoE and the enemy supports are weak laners. In most ranked games above Ancient, mid Broodmother is the standard pick.
The honest answer is: you should not pick Broodmother if Earthshaker is already picked. If he is picked after you, separate your spiderlings from your hero at all times. Send spiderlings to push lanes and farm jungle while you fight solo. Track Earthshaker’s Blink Dagger timing — before Blink, he is far less dangerous. Consider buying Linken’s Sphere to block Fissure.
Always last pick (4th or 5th pick on your team). Broodmother is the most counter-dependent hero in Dota 2. If you first-pick her, the enemy will pick Earthshaker, Axe, and Sand King, and you will have an unwinnable game. Wait until you see the enemy cores and confirm they lack AoE before picking.
Talent choices depend on your game state. Generally, take spiderling HP talents if your army is your primary damage source, and take personal damage/survivability talents if you are playing the Orchid assassin style. At level 25, the web-related talent is almost always the correct choice because it extends your territorial control in ultra-late game.
Yes. With Soul Ring, Medallion of Courage, and her ultimate active, Broodmother can solo Roshan as early as 18-20 minutes. The spiderling army tanks Roshan’s attacks while Broodmother life-steals through the damage. Always check Roshan after winning a fight or taking a tower. An early Aegis extends your snowball timing significantly.
Absolutely. Broodmother thrives in the current meta because games are faster and split-push pressure is highly valued. Her winrate in Divine and Immortal brackets hovers around 52-53% overall, but spikes to 58-60% when last-picked into favorable matchups. She is not a hero you spam every game — she is a precision tool you deploy when the draft allows it. Check Liquipedia’s Broodmother page for current competitive data.
Struggling to Climb with Broodmother
Broodmother demands precise micro, draft knowledge, and split-push instincts that take hundreds of games to develop. Our Immortal-rank coaches can fast-track your Broodmother mastery with personalized sessions covering web placement, spiderling micro, and matchup-specific strategies.
Get Broodmother Coaching
Boost My MMR Instead


