How to Master Weaver in Dota 2: The Ultimate Guide for Every Rank (2026)

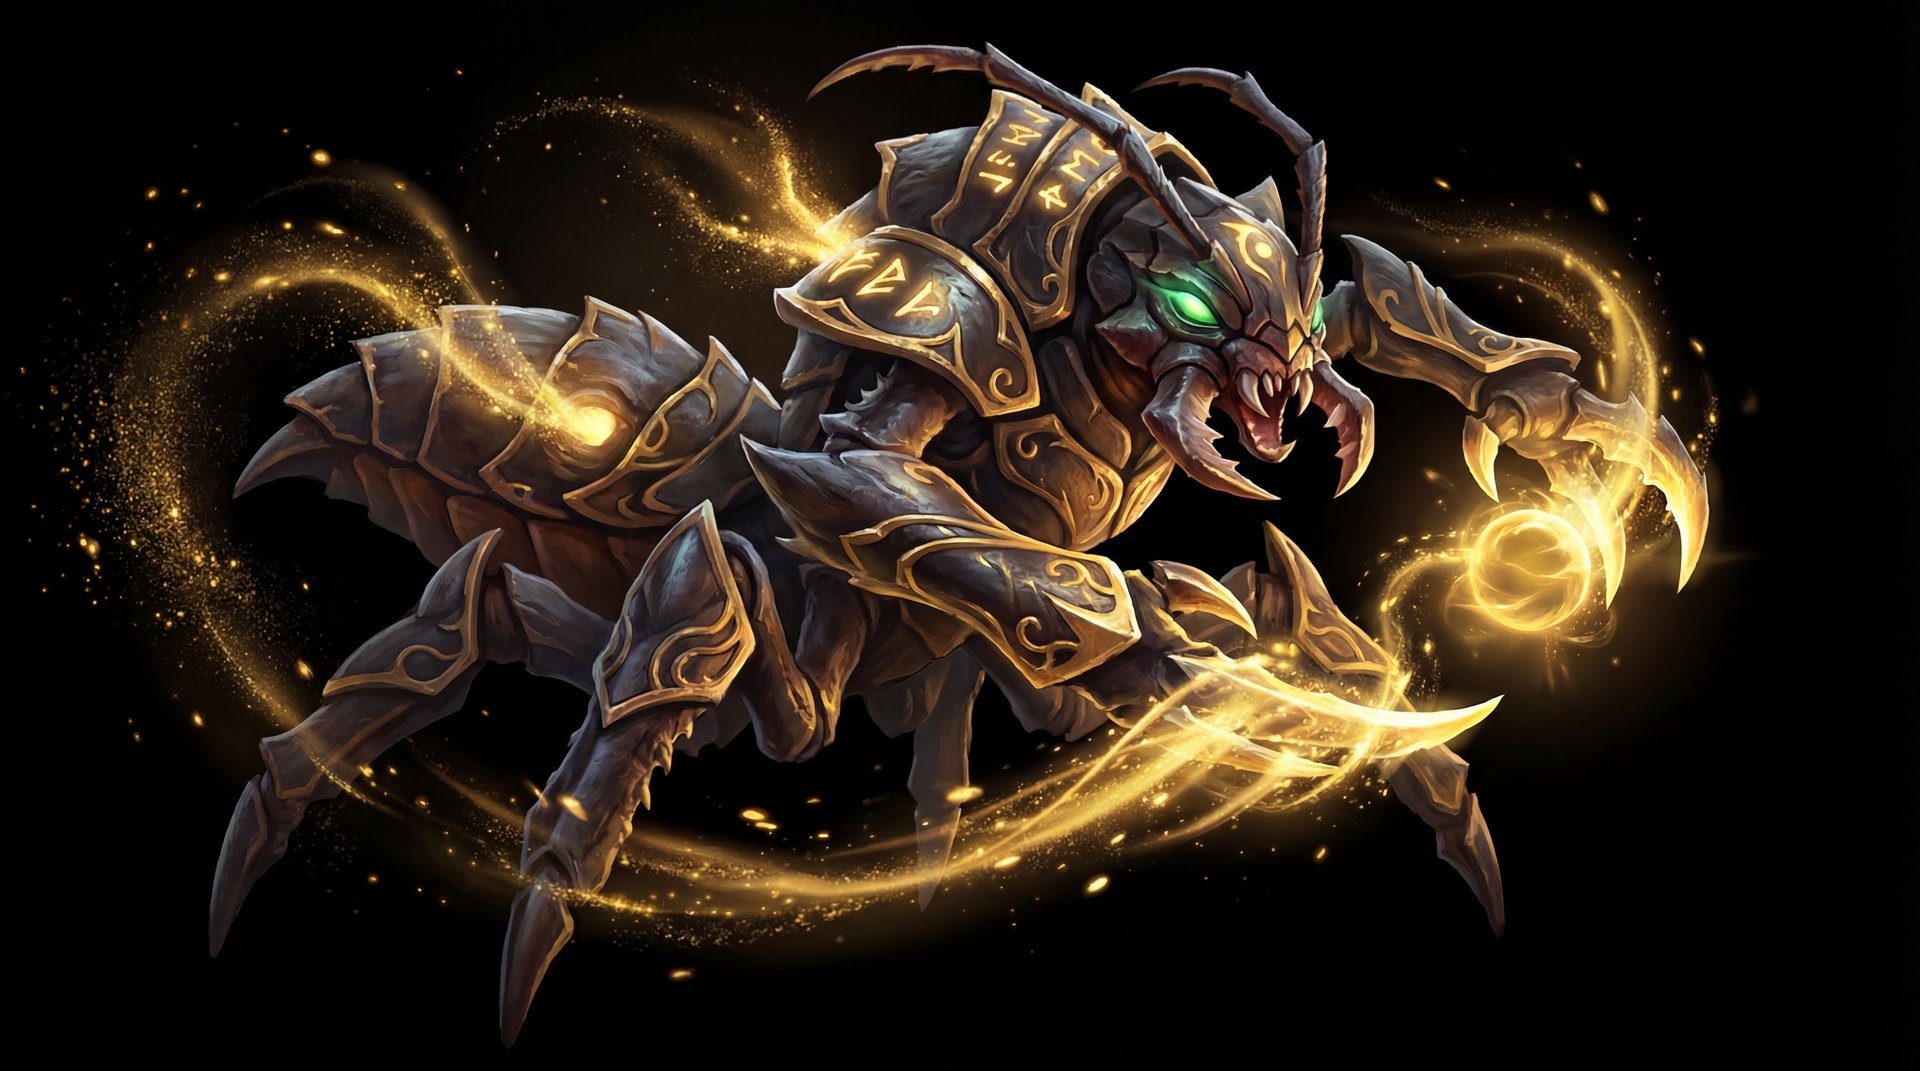
Few heroes in Dota 2 embody the concept of “untouchable carry” quite like Weaver. This insectoid nightmare has been terrorizing pubs and pro matches since the earliest days of Dota, and in the current 2026 meta, Weaver remains one of the most frustrating heroes to deal with when played correctly. With a kit built around evasion, burst damage, and the ability to literally rewind time, Weaver punishes opponents who lack coordination and rewards players who understand tempo, positioning, and calculated aggression.
Whether you are a Herald player picking up Weaver for the first time or a Divine grinder looking to refine your Weaver play for the Immortal push, this guide covers everything you need. We break down every ability interaction, walk through rank-specific item builds, reveal laning tricks only high-MMR players use, and share the exact timings that separate a feeding Weaver from a game-winning one. By the end, you will understand why Weaver consistently maintains a strong winrate across nearly every bracket — and how to make that winrate yours.
Table of Contents
Why Weaver Is the Ultimate Elusive Carry
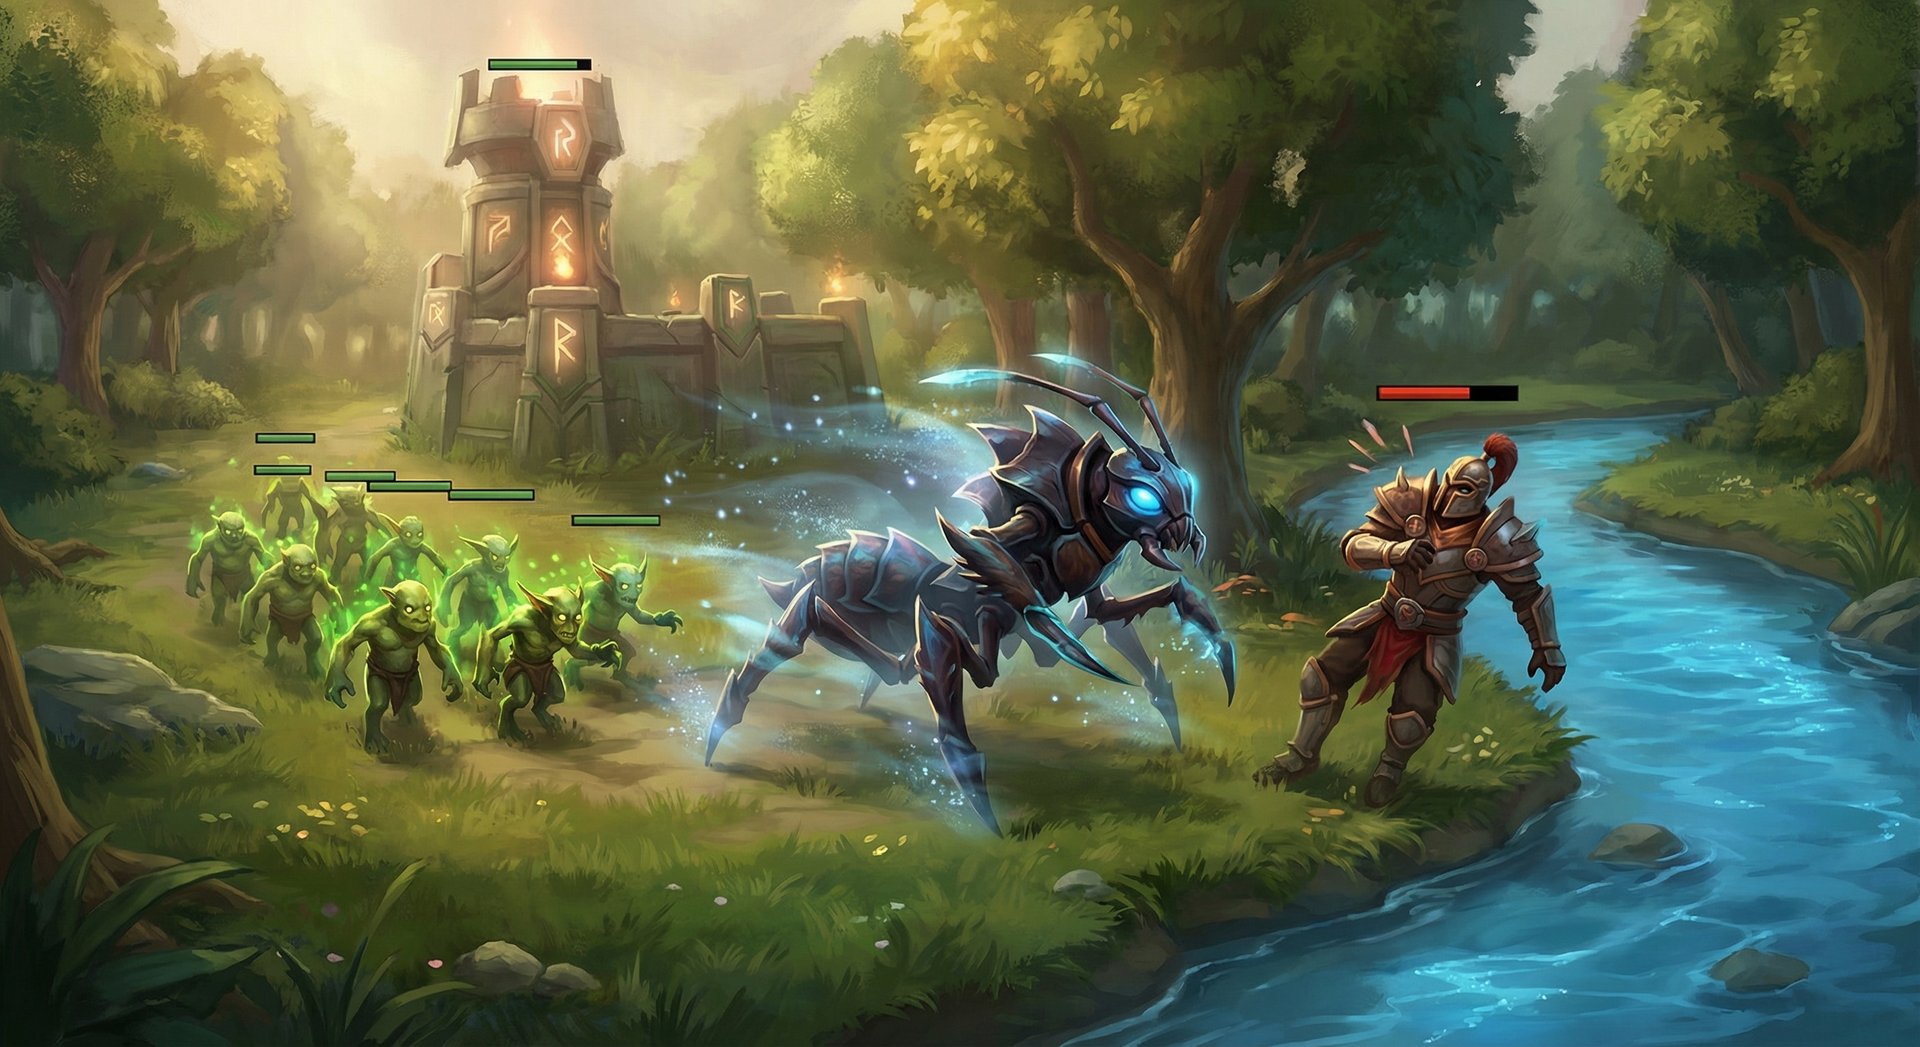
Weaver is a ranged agility carry who thrives on mobility, sustained damage through Geminate Attack, and the unmatched survivability of Time Lapse. Classified primarily as a safe lane carry (Position 1), Weaver can also flex into an offlane or even a roaming position 4 role in certain drafts. His current winrate sits around 51-52% across all brackets, climbing higher in Ancient and above where players better exploit his hit-and-run playstyle.
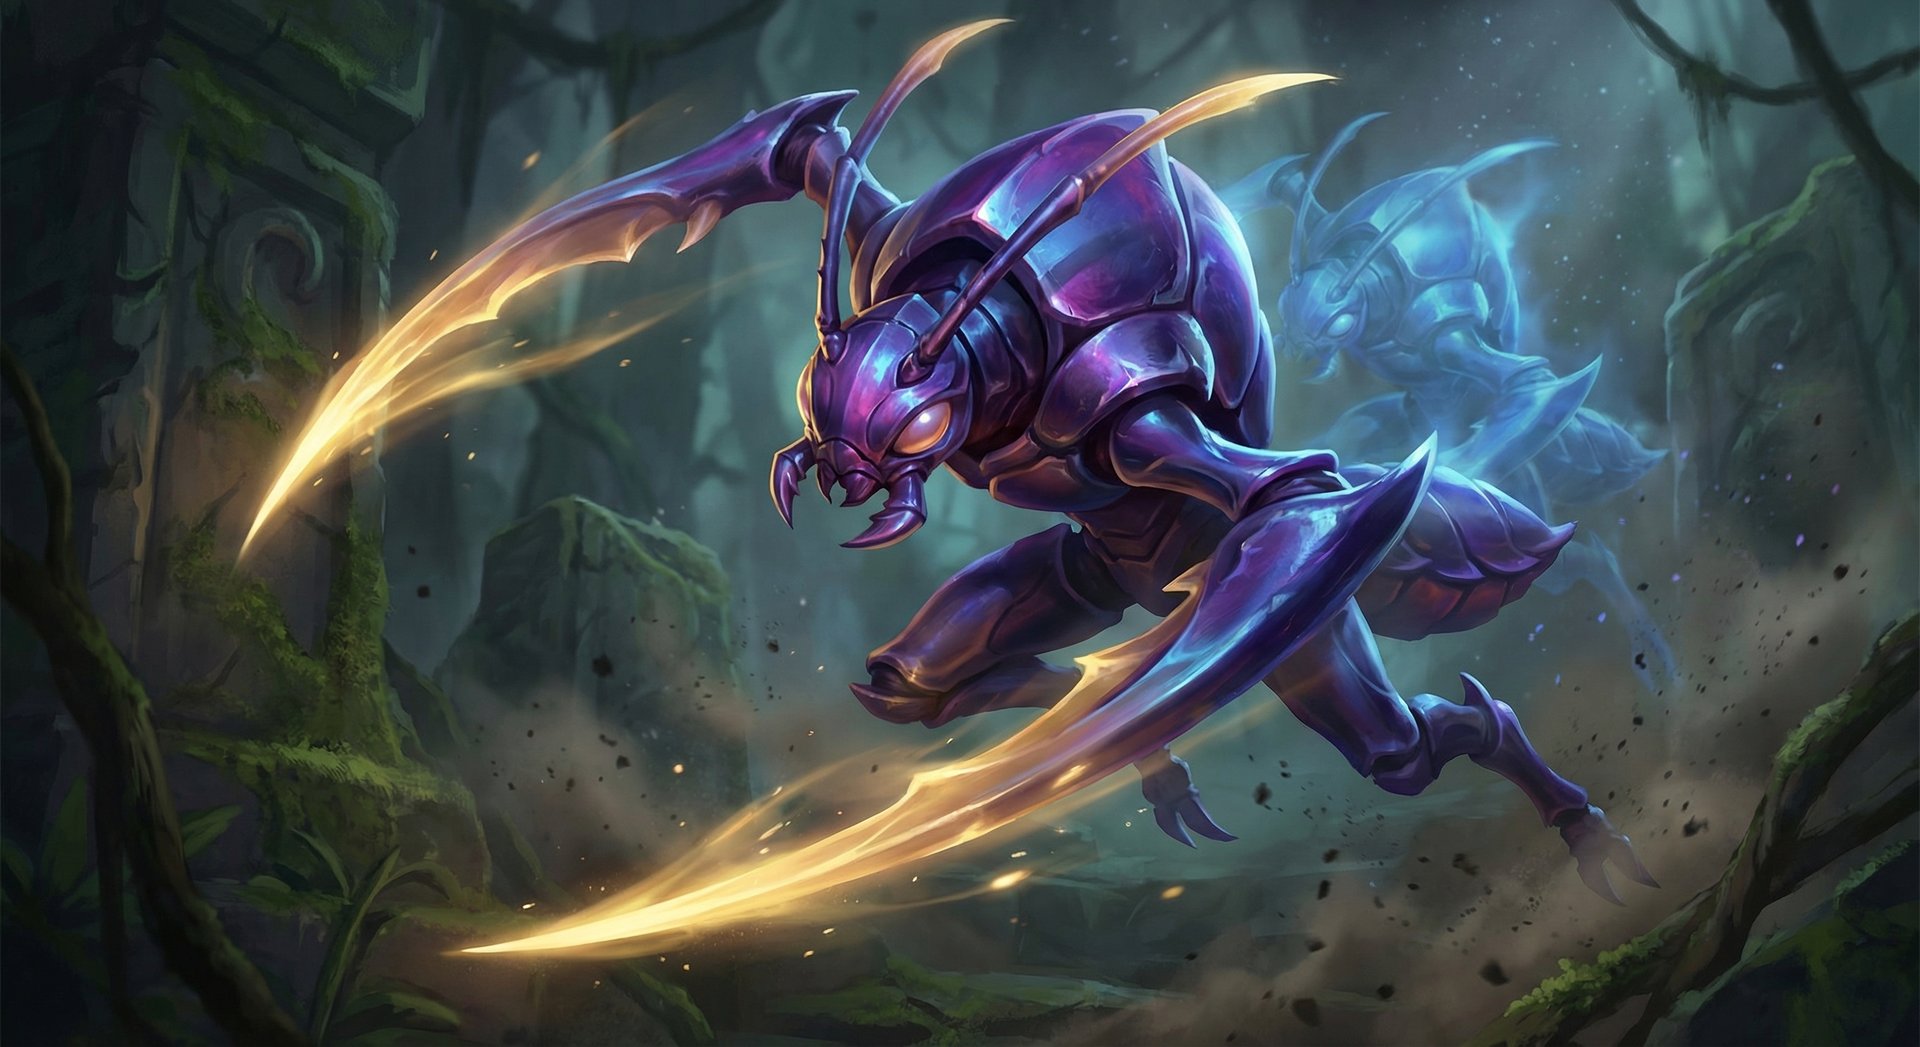
What makes Weaver unique is his ability to take fights on his own terms. Shukuchi grants invisibility and max movement speed on a short cooldown, making him nearly impossible to pin down without detection. The Swarm provides armor reduction and vision that punishes grouped-up enemies. And Time Lapse — arguably the most powerful self-preservation ultimate in the game — lets Weaver undo 5 seconds of enemy efforts, resetting his health and position to where he was moments ago.
In the current meta, Weaver excels because games reward heroes who can apply pressure early and scale into the late game. He is not a traditional AFK farming carry. Weaver wants to fight early with his power spikes, snowball off kills, and close games before opponents can stack enough detection and lockdown to shut him down. If you like aggressive, high-tempo carry play with a built-in safety net, Weaver is your hero.
Abilities Deep Dive
The Swarm (Q)
Weaver launches a swarm of 12 beetle-like insects in a line. Each beetle latches onto an enemy hero it contacts, attacking them every 1.25 seconds and reducing their armor by 1 per attack. Beetles are invisible while latent and require a specific number of attacks to kill (varying by level). The Swarm lasts up to 16 seconds and provides flying vision around attached beetles.
Hidden mechanics worth knowing:
- Beetles latch through spell immunity (BKB). They will not deal damage during BKB but will re-attach and resume after BKB expires — a crucial interaction many players miss.
- Each beetle provides a small radius of vision, making The Swarm excellent for scouting Roshan, high ground, and fog areas.
- The armor reduction stacks with other armor-reducing effects like Desolator, Solar Crest, and heroes like Slardar. In extended fights, a single Swarm can reduce armor by 10+ points.
- Beetles can be denied by allies — if an ally right-clicks the beetle attached to them, it counts as a deny. This is a common counter-play at high MMR.
- The Swarm travels 3000 range in a line. Casting it at max range through trees can latch onto enemies you cannot even see.
Shukuchi (W)
Weaver becomes invisible and gains maximum movement speed (550) for up to 4 seconds. Any enemy units Weaver passes through take magic damage. The cooldown at max level is incredibly short at 6 seconds, meaning Weaver has near-permanent access to invisibility if managed correctly.
Hidden mechanics worth knowing:
- Shukuchi damage is dealt in a small AoE around Weaver as he passes through enemies — it does NOT require direct contact with the center of the hero model. Passing near grouped enemies can hit multiple targets.
- You can cast items and abilities during Shukuchi without breaking invisibility. This includes Medallion, Solar Crest, and even channeling TP scrolls (though TP will reveal you).
- Shukuchi provides a brief fade time of 0.25 seconds. During this window, enemies can still target you with abilities. Experienced opponents will throw stuns during the fade time.
- The damage is applied only once per enemy per Shukuchi cast, even if you pass through them multiple times during the same activation.
- Using Shukuchi to dodge projectile stuns is a core skill. The invisibility causes many targeted projectiles to disjoint if timed during the fade window.
Geminate Attack (E)
Weaver’s signature passive. Every few seconds (cooldown scales from 9 to 3 seconds based on level), Weaver’s next attack will launch a second projectile that deals bonus physical damage. This second attack applies all on-hit effects including Desolator corruption, Monkey King Bar procs, Maelstrom chain lightning, and lifesteal.
Hidden mechanics worth knowing:
- Geminate Attack has its own internal cooldown independent of attack speed. Even with low attack speed, the second hit always fires after the first connects.
- The bonus projectile can critically strike if you have a source of crit (Daedalus, Crystalys). This is why Daedalus Weaver deals absurd burst damage.
- Geminate fires even when attacking buildings, making Weaver one of the strongest split pushers in the game. Two hits on a tower every few seconds adds up fast.
- The second projectile uses the same attack damage as your primary attack at the time of firing. Any buffs (Empower, Bloodlust) apply to both hits.
- At max level with Aghanim’s Shard, the cooldown becomes incredibly short, essentially giving Weaver double DPS in prolonged fights.
Time Lapse (R) — Ultimate
Weaver’s defining ability. When activated, Weaver returns to the position he occupied 5 seconds ago and restores his HP and mana to whatever values they were at that time. At max level with Aghanim’s Scepter, Time Lapse can be cast on allied heroes as well, making it one of the most powerful save mechanics in all of Dota 2.
Hidden mechanics worth knowing:
- Time Lapse removes most debuffs. Stuns, silences, slows, Dust of Appearance — all purged on cast. It functions as a strong dispel on Weaver himself.
- Time Lapse does NOT restore items to their previous cooldown state. If you used BKB 3 seconds ago, Time Lapsing does not give you BKB back.
- You can Time Lapse during certain disables if you have Linken’s Sphere on cooldown — the key is timing Linken’s to block the initial disable and then Time Lapsing anything that gets through.
- With Aghanim’s Scepter, casting Time Lapse on an ally has a 1200 cast range. This turns Weaver into a pseudo-support who can save initiators diving deep.
- The 5-second window is fixed. Experienced players learn to track where they were 5 seconds ago to predict their Time Lapse landing spot. Getting caught out of position after Time Lapse is a common cause of death.
- Time Lapse is usable while stunned if you have Aghanim’s Shard in certain interactions. At the very least, it goes through most common disables if pressed fast enough during network delay windows at high ping.
Skill Build Order
| Level | Standard Carry | Offlane / Aggressive | Notes |
|---|---|---|---|
| 1 | Shukuchi (W) | The Swarm (Q) | W for escape/trading, Q for early harass in offlane |
| 2 | Geminate Attack (E) | Shukuchi (W) | E lets you win right-click trades from level 2 |
| 3 | Shukuchi (W) | Shukuchi (W) | More damage on W helps secure ranged creeps |
| 4 | Geminate Attack (E) | Geminate Attack (E) | Lower Geminate cooldown = more lane pressure |
| 5 | Shukuchi (W) | Shukuchi (W) | Max W first for mobility and nuke damage |
| 6 | Time Lapse (R) | Time Lapse (R) | Always take ult at 6 — it is your survival |
| 7 | Shukuchi (W) | Shukuchi (W) | W maxed at 7 for minimum cooldown |
| 8-9 | Geminate Attack (E) | The Swarm (Q) | Max E for carry, Q for offlane armor shred |
| 10-11 | The Swarm (Q) | Geminate Attack (E) | Pick up remaining skills |
| 12+ | Ult > Swarm > Talents | Ult > E > Talents | Talent choices depend on game state |
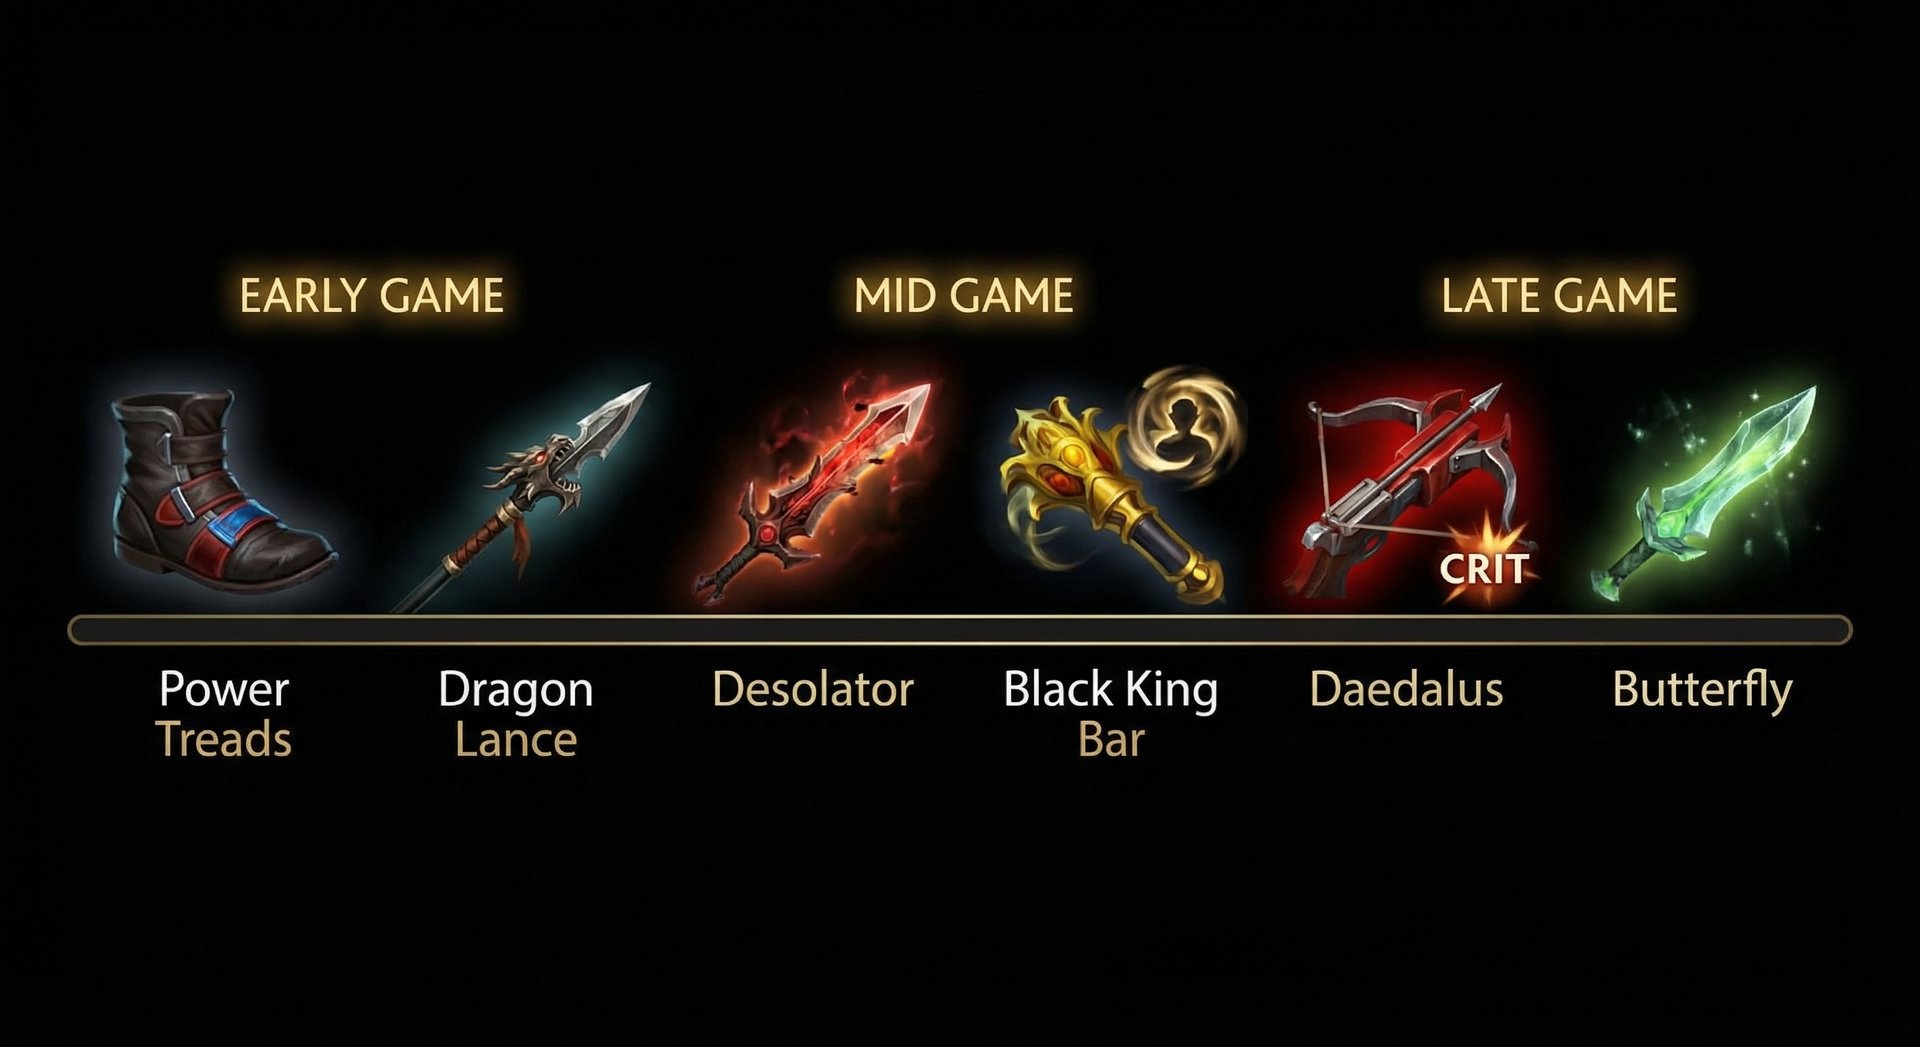
Item Builds by Rank Bracket
Weaver’s item build varies significantly by rank because lower-bracket games tend to go longer and demand more survivability, while higher-bracket games reward aggressive tempo items that close games before 35 minutes. Here is the breakdown:
| Rank | Starting | Early (5-15 min) | Core (15-30 min) | Late (30+ min) |
|---|---|---|---|---|
| Herald – Crusader | Slippers, Circlet, Tango, Branch x2 | Wraith Band x2, Power Treads, Magic Wand | Maelstrom, Desolator, BKB | Daedalus, Butterfly, Satanic |
| Archon – Legend | Slippers, Circlet, Tango, Faerie Fire | Wraith Band, Power Treads, Falcon Blade | Desolator, Dragon Lance, BKB | Daedalus, Monkey King Bar, Butterfly |
| Ancient – Divine | Tango, Slippers, Circlet, Faerie Fire | Wraith Band, Power Treads, Magic Wand | Dragon Lance, Desolator, Linken’s Sphere | Daedalus, Nullifier, Butterfly |
| Immortal | Tango, Slippers, Circlet, Quelling Blade | Wraith Band, Power Treads, Falcon Blade | Dragon Lance, Desolator, BKB or Linken’s | Nullifier, Bloodthorn, Butterfly, Skadi |
Why Items Differ by Rank
Herald to Crusader: Games in this bracket tend to run long (40-50 minutes), so building for late-game scaling with Maelstrom into Daedalus is often the best play. BKB is included because fights are chaotic and Weaver needs spell immunity to survive. Butterfly provides the evasion and attack speed that becomes critical in drawn-out right-click wars.
Archon to Legend: Players at this level start recognizing power spikes. Desolator rush is king here because opponents often lack the coordination to punish your aggression. Dragon Lance provides the extra range that makes your Geminate Attack poke significantly safer. BKB timing matters more at this bracket since supports start buying detection consistently.
Ancient to Divine: This is where Linken’s Sphere starts appearing as a core item. At this rank, opponents will draft targeted disables (Doom, Fiend’s Grip, Hex) specifically to deal with Weaver. Linken’s blocks the first disable, giving you time to Shukuchi out or Time Lapse. Nullifier enters the build to deal with Ghost Scepter and Force Staff users who kite your damage.
Immortal: The highest level Weaver players optimize around tempo and pickoff potential. Bloodthorn provides the silence + guaranteed crit that deletes targets instantly. Skadi replaces traditional lifesteal because the slow prevents enemies from kiting you, and the stats keep you tanky enough to survive burst. Every item choice is about ending fights in 3-5 seconds, not grinding them out.
Situational Items Worth Considering
- Aghanim’s Scepter: Turns Weaver into a pseudo-support by allowing Time Lapse on allies. Best when your team has an aggressive initiator (Tidehunter, Mars) who dives deep and needs an escape.
- Monkey King Bar: Essential against evasion heroes (Phantom Assassin, Windranger with Windrun). Skip if opponents have no evasion.
- Manta Style: Underrated on Weaver. Dispels silences (Orchid is common against Weaver), provides stats, and illusions benefit from Geminate Attack procs.
- Black King Bar: Non-negotiable in most games. If the enemy has 2+ stuns or silences, BKB is core regardless of rank. The question is whether you buy it second or third item.
- Divine Rapier: Weaver is actually one of the safest Rapier carriers in the game thanks to Time Lapse. If the game is desperate and going ultra-late, Rapier Weaver with Geminate Attack does obscene damage while Time Lapse acts as insurance.
Laning Phase Masterclass
Weaver’s laning phase is where games are won or lost. Unlike AFK farming carries, Weaver needs to be aggressive in lane from level 2 onwards. His base damage is mediocre (around 53-57), but Geminate Attack compensates by doubling your effective harass every few seconds.
Safe Lane (Position 1) — Standard
Level 1-2: Focus on last hitting and getting level 2 as fast as possible. Once you have Shukuchi + Geminate Attack, your trading pattern is devastating: walk up, land a Geminate-empowered right click (two hits for the price of one), then Shukuchi away before they can retaliate. This costs you roughly 60 mana but deals significant damage that most offlaners cannot sustain against.
Level 3-5: With two points in Shukuchi, the damage and cooldown improve significantly. Your kill potential spikes if your support has any form of disable. The classic combo: support stuns, you walk up with Shukuchi for the damage pass, land Geminate attack, and chase with another Shukuchi pass. Most offlaners die to this combo if they are at 60-70% HP.
Level 6 power spike: Time Lapse changes everything. You can now dive towers with near impunity. Walk under tower, hit the enemy hero twice with Geminate, take tower hits, then Time Lapse back to full HP outside tower range. This aggressive tower diving is what separates good Weaver players from great ones.
Offlane (Position 3) — Aggressive
Offlane Weaver maxes The Swarm first for armor shred and builds items like Solar Crest and Aghanim’s Scepter instead of damage items. The goal is to create chaos, not carry. You win your lane by making the enemy carry unable to farm — Swarm beetles drain their HP and armor, Shukuchi lets you harass and escape, and Time Lapse keeps you alive through their supports’ attempts to kill you.
Lane Partner Synergies
| Support | Synergy Rating | Why It Works |
|---|---|---|
| Grimstroke | Excellent | Ink Swell + Shukuchi pass makes for guaranteed stuns. Phantom Embrace holds them still for Geminate poke. |
| Vengeful Spirit | Excellent | Wave of Terror armor reduction stacks with Swarm. Missile stun sets up easy kills. |
| Crystal Maiden | Great | Frostbite holds targets for multiple Geminate attacks. Arcane Aura solves Weaver’s mana problems in lane. |
| Ogre Magi | Great | Bloodlust is insane on Weaver — attack speed for more Geminate procs, move speed for chasing. |
| Warlock | Good | Shadow Word sustain keeps Weaver healthy between Time Lapse cooldowns. Fatal Bonds amplifies Swarm + Geminate damage in team fights. |
Positioning and Creep Aggro Tips
Weaver’s attack range is 425 — shorter than most ranged heroes but long enough to abuse creep aggro tricks. Right-click the enemy hero from outside the creep aggro range (550 units from enemy creeps), then immediately issue a move command. The creeps will not aggro to you, but your Geminate Attack will still fire the second projectile. This lets you harass for free without drawing creep damage.
When positioning in lane, always keep your Shukuchi escape route planned. Hug the tree line so that when you Shukuchi, you path through trees and become impossible to follow even with detection. Vision is your enemy — wards that reveal the tree lines near your safe lane make Shukuchi significantly less effective.
Mid and Late Game Transitions
Weaver’s mid-game timing window is critical. Unlike hard carries who peak at 40+ minutes, Weaver hits his strongest relative power spike between 20-30 minutes when he completes Desolator + one defensive item. At this point, opponents typically have limited detection, and your Geminate + Desolator hits delete supports in 2-3 attacks.
Timing Windows
- 12-15 minutes (Power Treads + Falcon Blade/Dragon Lance): You can start skirmishing. Look for solo kills on enemy supports rotating between lanes. Shukuchi into Geminate attack, chase with another Shukuchi. If they have TP support, Time Lapse out.
- 20-25 minutes (Desolator complete): This is your biggest spike. Force fights at Roshan, take towers, and be aggressive. The Swarm + Desolator armor reduction means your team melts Roshan in under 20 seconds.
- 30-35 minutes (BKB/Linken’s + damage item): You are at peak. If the game is even, you should be looking to end. Weaver falls off relative to traditional hard carries like Medusa, Spectre, or Terrorblade after 40 minutes.
- 40+ minutes: Weaver can still fight, but he requires Butterfly, Satanic, or Skadi to remain relevant. His natural survivability through Time Lapse becomes less reliable as enemies stack Hex, Abyssal, and other BKB-piercing disables.
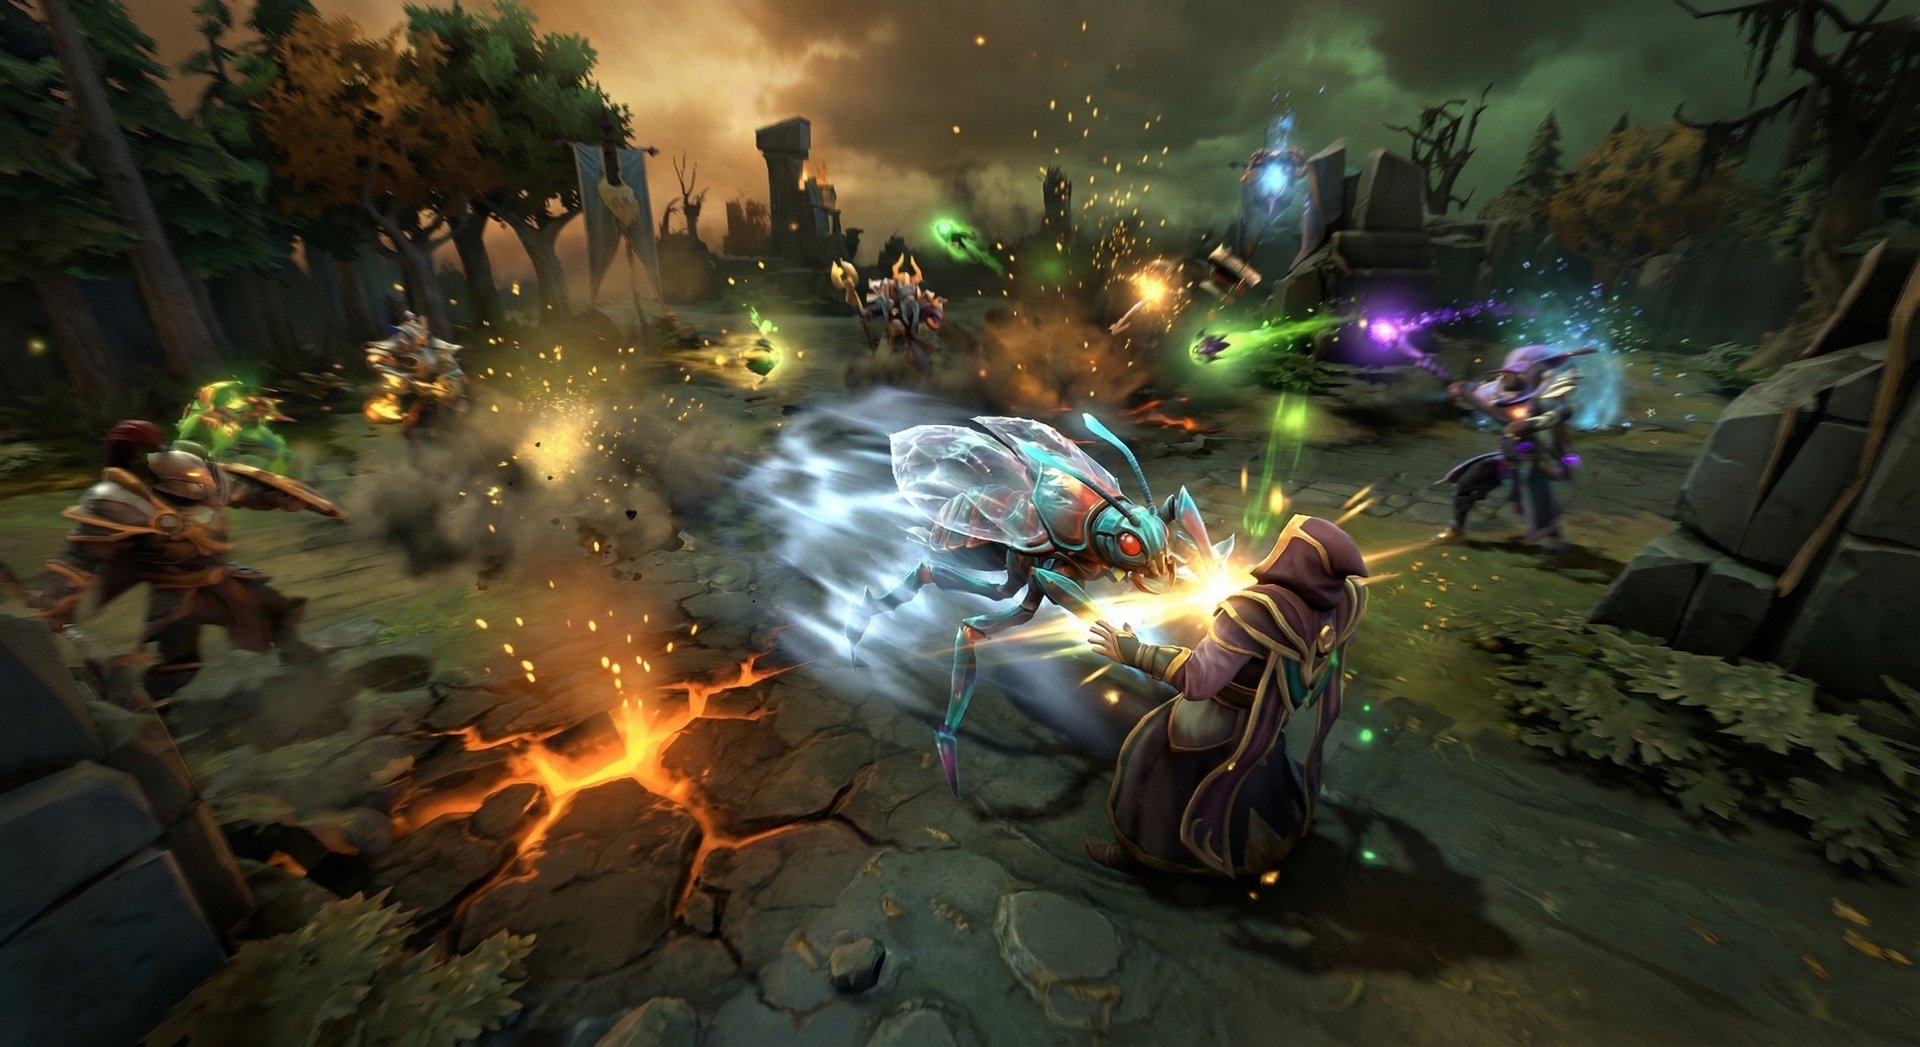
Team Fight Positioning
Weaver is NOT a front-line carry. Your job in team fights is to enter late, hit the backline, and clean up. Let your initiators go first (Mars arena, Tidehunter Ravage, Earthshaker Echo Slam), then Shukuchi into the enemy backline and delete their supports with Geminate + Desolator. If things go wrong, Time Lapse. If things go right, chase down survivors with Shukuchi.
The biggest mistake low-MMR Weaver players make is entering fights first. You are squishy. You have no innate sustain during BKB. If you walk in first and eat all the disables, Time Lapse only delays your death by 5 seconds. Instead, wait 3-5 seconds, let the big cooldowns get used, then enter and deal damage freely.
Split Pushing
Weaver is one of the best split pushers in Dota 2. Geminate Attack works on buildings, Shukuchi lets you escape ganks, and Time Lapse provides a second escape if Shukuchi is not enough. The ideal pattern: push the wave into the enemy tower, hit the tower with 3-4 Geminate attacks, then Shukuchi away when enemies TP to defend. Repeat on another lane. This forces rotations and creates space for your team.
BKB Timing Decisions
One of the hardest decisions for Weaver players is when to pop BKB in fights. The general rule: use BKB proactively when you need to hit a specific target (enemy carry or key support), not reactively after you have already been caught. BKB into Shukuchi into the backline is the standard play at Ancient and above. At lower ranks, holding BKB until you get stunned is acceptable since enemies waste their stuns on you regardless.
Counters: Heroes That Destroy Weaver
Weaver has clear weaknesses despite his mobility. Understanding his top counters is essential both for Weaver players (to know when not to pick him) and for opponents looking to shut him down.
1. Slardar
Slardar is arguably Weaver’s hardest counter. Corrosive Haze provides true sight on Weaver for 18 seconds, completely negating Shukuchi’s invisibility. The armor reduction stacks with Slardar’s natural damage to make Weaver melt. Sprint allows Slardar to chase Weaver even during Shukuchi, and Bash of the Deep goes through BKB. Weaver cannot Time Lapse off Corrosive Haze because the debuff persists through the time rewind.
How to play around it: Build Linken’s Sphere to block Corrosive Haze. If Linken’s is popped, immediately Time Lapse to remove the debuff and Shukuchi out. Force Slardar to commit his Blink + stun before engaging.
2. Bloodseeker
Bloodseeker’s Thirst provides vision of Weaver whenever his HP drops below 25%, and Rupture is devastating against a hero whose entire kit revolves around movement. Shukuchi at max speed while Ruptured deals massive damage, and Time Lapse repositions you — potentially dealing Rupture damage again. Rupture also pierces BKB.
How to play around it: When Ruptured, do NOT Shukuchi. Stand still, fight, and Time Lapse only to heal — the position reset from Time Lapse is a secondary concern. Build Linken’s to block Rupture entirely.
3. Spirit Breaker
Spirit Breaker’s Charge of Darkness provides vision of Weaver across the map and goes through invisibility. Greater Bash goes through BKB, and Nether Strike is a BKB-piercing stun with a gap close. Spirit Breaker can find Weaver anywhere on the map, making split pushing dangerous.
How to play around it: Buy Linken’s Sphere (blocks Charge and Nether Strike). Play with your team rather than solo. Keep an eye on the minimap — if Spirit Breaker disappears, assume he is charging you.
4. Faceless Void
Chronosphere catches Weaver and prevents Time Lapse from being cast. Inside Chrono, Weaver is just a squishy agility hero with no defensive abilities. Time Walk also allows Void to undo Weaver’s harass damage, making lane trades less effective.
How to play around it: Position far from teammates so Void cannot catch both you and allies in one Chrono. Build BKB for fights where Chrono has been used. Be ready to Time Lapse immediately if you survive the edge of Chronosphere.
5. Doom
Doom (ultimate) disables all of Weaver’s abilities for the duration, including Time Lapse. Without Time Lapse, Weaver is extremely fragile and dies quickly to focused damage. The long silence duration means Weaver cannot Shukuchi away either.
How to play around it: Linken’s Sphere is absolutely mandatory against Doom. If Linken’s is popped and Doom is cast, you need BKB active before the Doom lands (if cast during BKB, the damage is blocked). Position away from Doom in fights and hit other targets first.
Heroes Weaver Destroys
Weaver excels against heroes who lack reliable lockdown, detection, or burst damage. Here are the matchups where picking Weaver gives you a massive advantage:
1. Sniper
Sniper has zero mobility, no escape, and relies on range advantage. Weaver closes the gap with Shukuchi, bursts Sniper with Geminate + Desolator, and Time Lapses any Assassinate damage. Sniper cannot deal with Weaver at any point in the game.
2. Drow Ranger
Similar to Sniper but even worse. Weaver ignores Drow’s Frost Arrows slow through Shukuchi, and getting within melee range disables Marksmanship. Drow has no stun to interrupt Time Lapse, making this matchup nearly unwinnable for her.
3. Medusa
Medusa relies on standing her ground and tanking damage with Mana Shield. Weaver does not care — The Swarm shreds her armor over extended fights, Geminate Attack consistently chips her down, and Weaver can disengage with Shukuchi whenever Stone Gaze activates. The hit-and-run style directly counters Medusa’s “stand and fight” approach.
4. Zeus
Zeus’s damage is high but entirely magical, and Weaver naturally builds BKB in most games. Thundergod’s Wrath reveals Weaver briefly, but Time Lapse restores any HP lost. Zeus has no way to lock Weaver down or prevent him from reaching the backline. Once Weaver gets on top of Zeus, the kill takes 2 seconds.
5. Nature’s Prophet
Sprout does nothing to Weaver — Shukuchi passes through trees. Nature’s Prophet is squishy, has no stun, and his Teleportation is interrupted by Geminate Attack if Weaver is nearby. Weaver destroys Nature’s Prophet in every stage of the game.
How Pros Play Weaver in the Current Patch
Weaver has seen consistent pro play throughout 2025-2026, particularly in the carry role but occasionally as a position 3. At The International 2025 and subsequent DPC seasons, several patterns have emerged among top-tier Weaver players.
Arteezy (EG) popularized the Dragon Lance first build on Weaver, prioritizing the extra attack range (now 575 total) over rushing Desolator. The logic: extra range lets you poke without committing Shukuchi for escape, preserving mana and keeping your defensive tools available. Arteezy’s Weaver averaged 8.2 kills per game in DPC 2025-2026 with a 62% winrate.
Yatoro (Team Spirit) plays a more aggressive Weaver, typically going Desolator rush into immediate Roshan attempts. Yatoro’s signature move is using The Swarm on Roshan at the 18-20 minute mark, then soloing Rosh with Desolator + Swarm armor reduction while his team pressures another lane. The armor shred combo allows Weaver to kill Roshan faster than most carries at this timing.
MATUMBAMAN, before his retirement, was known for offlane Weaver in Team Liquid’s drafts. His build focused on Solar Crest + Aghanim’s Scepter, turning Weaver into a utility hero who saved allies with Time Lapse while shredding enemy armor for his team’s actual carry. This playstyle has been adopted by multiple offlane players in the current meta.
Common pro patterns to copy:
- Pros use The Swarm defensively far more than pub players. Casting Swarm behind you while being chased provides vision and slows pursuers who stop to destroy beetles.
- Linken’s Sphere is almost always chosen over BKB in pro games because pros anticipate and dodge most AoE disables with Shukuchi. BKB is a pub item; Linken’s is a pro item on Weaver.
- Pros rarely fight without Time Lapse available. If ult is on cooldown, they farm. If ult is ready, they look for kills. This discipline is the single biggest difference between pro and pub Weaver play.
Rank-Specific Climbing Guide
Herald to Guardian: Foundation Basics
At Herald-Guardian, the game is simple: hit creeps, do not die, press Time Lapse when low. Your opponents will rarely buy detection, which means Shukuchi is basically a permanent invisibility spell. Focus on these fundamentals:
- Last hitting: Aim for 50+ CS by 10 minutes. Use Geminate Attack to secure contested creeps — the double hit makes it nearly impossible to miss.
- Time Lapse timing: The most common Herald mistake is panicking and pressing Time Lapse too early (at 70% HP) or too late (already dead). Practice pressing R when you hit 25-30% HP — that is the sweet spot where you heal the most without risking death.
- Do not buy Shadow Blade: Many low-rank Weaver players buy Shadow Blade because they think more invisibility is better. It is not. You already have Shukuchi. Spend that gold on Desolator or BKB instead.
- Push towers after kills: When you get a kill, hit the tower. Geminate Attack shreds towers. Do not go back to jungle to farm after winning a fight.
Crusader to Archon: Adding Game Sense
This is where map awareness and fight selection separate climbers from stagnant players. At Crusader-Archon, enemies start buying Dust and Sentries, so you need to play around detection:
- Check enemy inventories: Before engaging, look at whether the enemy has Dust. If they do, your kill pattern changes — you need to burst them before they can Dust and turn on you.
- Farm patterns: Do not just farm your safe lane jungle. Push the dangerous lane (enemy safe lane) with Shukuchi escape available, then rotate to farm the triangle. This aggressive farming pattern gives you 20-30% more gold than sitting in your own jungle.
- Roshan timings: At Archon, teams start contesting Roshan. Weaver with Desolator + Swarm shreds Rosh armor by 15+. Start Roshan attempts around 20-22 minutes and ping your team to help.
- Fight selection: Do not TP to every fight. If a fight breaks out and it is already lost by the time you arrive, keep farming. Only join fights you can actually win. Weaver’s TP is valuable — wasting it costs you farm tempo.
Legend to Ancient: The Macro Leap
Legend to Ancient is where game understanding matters more than mechanical skill. Your Shukuchi dodges are already decent. Now you need to optimize:
- Linken’s vs BKB decision: Against single-target lockdown (Doom, Fiend’s Grip, Hex), build Linken’s. Against AoE disable-heavy lineups (Tidehunter, Enigma, Magnus), build BKB. This decision alone determines 30% of your Weaver game outcomes at this rank.
- Tempo control: At Ancient, you need to understand that Weaver falls off. If you have a 15K gold lead at 25 minutes, end the game. Push high ground with Aegis, do not keep farming for another 10 minutes while the enemy Anti-Mage catches up.
- Buyback management: Always keep buyback gold after 30 minutes. Weaver dying once without buyback often loses the game. Time Lapse is your first life, buyback into Shukuchi TP is your second.
- Smoke ganks: Participate in smoke ganks. Weaver with Smoke + Shukuchi can scout ahead of his team to find targets. Your Swarm provides vision that reveals enemy positions through fog.
Divine to Immortal: What Separates the Top 1%
At Divine and above, every player knows Weaver’s kit. The difference is execution speed, decision-making under pressure, and draft awareness:
- Draft-stage thinking: Only pick Weaver if the enemy lacks 2+ of his hard counters (Slardar, Doom, Faceless Void, Bloodseeker, Spirit Breaker). At Immortal, counter-picking is punished harder than any other bracket.
- Geminate Attack animation canceling: After landing a Geminate Attack, immediately issue a move command, then attack again. This cancels the backswing animation and lets you get an extra attack between Geminate cooldowns. Over a 10-second fight, this animation cancel can add 2-3 extra attacks.
- Time Lapse mind games: Top players track exactly where they were 5 seconds ago and intentionally position their past self in favorable spots. Before diving, they make sure their 5-second-ago position is behind their team, near a tower, or in fog. This turns Time Lapse from a panic button into a calculated reposition.
- Nullifier timing: At Immortal, enemies buy Aeon Disk, Ghost Scepter, and Eul’s to survive Weaver’s burst. Nullifier removes all of these. The timing: Nullifier immediately after your first Geminate Attack connects, then follow up while the dispel is active.
- Backline access optimization: Instead of Shukuchi-ing directly at the enemy backline, path around the fight through trees and approach from behind. This prevents enemies from predicting your approach angle and pre-casting AoE where you will appear.
Tips and Tricks
Animation Cancels and Hidden Interactions
- Shukuchi into Geminate: Activate Shukuchi, pass through an enemy to deal the magic damage, then immediately right-click them. Geminate Attack fires as you exit Shukuchi invisibility, landing three sources of damage (Shukuchi nuke + primary attack + Geminate bonus) in under 0.5 seconds.
- Swarm Vision Trick: Cast The Swarm into Roshan pit from outside. The beetles latch onto Roshan and provide vision inside the pit, letting you check if the enemy is doing Rosh without walking in and risking your life.
- Time Lapse Bait: Intentionally walk into a dangerous area at full HP, wait 4 seconds, then walk deeper. If you get initiated on, Time Lapse brings you back to the safe position with full HP. This bait works at every rank because enemies instinctively commit to killing a Weaver they see out of position.
- Desolator + Swarm Stacking: Land The Swarm first, let beetles remove 3-4 armor over a few seconds, then engage with Desolator hits. The combined armor reduction (Swarm -4 + Desolator -6 = -10 armor) makes even tanky heroes take 40%+ more physical damage.
- Shukuchi TP Scroll: You can start a TP scroll during Shukuchi. The TP animation will begin invisible, and if enemies have no detection, they cannot cancel it. This is a safe way to TP home from dangerous positions.
Common Mistakes to Avoid
- Using Shukuchi offensively when enemies have Dust: If you Shukuchi into an enemy who has Dust, you lose your escape AND get revealed. Always check inventories before committing Shukuchi aggressively.
- Time Lapsing with less than 5 seconds of game time context: If you just TPed to a fight and immediately get bursted, Time Lapse will bring you back to where you TPed from — which might be an even worse position. Wait at least 5 seconds after arriving before committing to a fight.
- Ignoring The Swarm in fights: Many Weaver players forget to cast Swarm during team fights. It costs almost no mana, provides armor reduction that helps your ENTIRE team, and the beetles give vision of invisible enemies. Cast it at the start of every fight.
- Building too much damage without survivability: Desolator + Daedalus + MKB on a dead Weaver does zero DPS. You need at least one defensive item (BKB, Linken’s, or Butterfly) to stay alive long enough to deal your damage.
- Not using Geminate on towers: After a won fight, hit towers. Every Geminate proc on a tower is essentially two hits of damage. A 30-minute Weaver with Desolator takes towers faster than most melee carries.
Frequently Asked Questions
Carry (Position 1) is Weaver’s strongest role in the current meta. His scaling with Desolator and Geminate Attack makes him a legitimate late-game threat, while his mobility lets him dominate the laning phase. Offlane Weaver works in specific drafts (when your team needs armor reduction and you have another damage dealer), but it requires more team coordination. For pub climbing, carry Weaver has a 2-3% higher winrate than offlane Weaver across all brackets.
Pick Weaver when the enemy lacks reliable lockdown and detection. He thrives against lineups with slow heroes, few stuns, and no BKB-piercing disables. Avoid Weaver when the enemy has 2+ of his hard counters: Slardar, Bloodseeker, Spirit Breaker, Doom, or Faceless Void. Also avoid him if the enemy has strong AoE detection (Zeus with Thundergod’s Wrath, Bounty Hunter with Track).
Dragon Lance first is safer and preferred at Ancient+ because the extra range keeps you alive while poking. Desolator first is more aggressive and works well in Archon-Legend where enemies do not punish Weaver’s positioning as effectively. If you are snowballing with kills, go Desolator. If the lane was tough, go Dragon Lance for survivability.
Time Lapse dispels Dust. If you get Dusted, the play is: tank a few hits (to make Time Lapse heal more), then press R to Time Lapse back to safety with full HP and the Dust debuff removed. Manta Style also dispels Dust. At higher ranks, you should assume enemies always have Dust and plan your Shukuchi usage around Time Lapse being available as a backup escape.
Situationally yes, but it is not a default buy. Aghanim’s Scepter on carry Weaver delays your damage spike significantly. Only buy it if your team has a key initiator (Tidehunter, Mars, Enigma) who would benefit from being Time Lapsed after their big ultimate. In most pub games, your gold is better spent on Desolator, BKB, and Daedalus.
Weaver is strongest between 20-35 minutes. His power peaks when he has 2-3 major items and enemies have not yet stacked multiple sources of lockdown and detection. Games that go past 45 minutes become harder for Weaver because hard carries like Medusa, Spectre, and Terrorblade outscale him in raw DPS and teamfight impact. Aim to end games before 35 minutes by taking objectives after every won fight.
Yes, Weaver can solo Roshan starting around 20-22 minutes with Desolator + max Swarm. The combo: cast Swarm on Rosh for armor reduction, then attack with Desolator. The combined -16 armor makes Roshan fall quickly. Use Time Lapse if your HP drops dangerously. Always carry a Smoke of Deceit when attempting solo Rosh, and ward the entrances. Failed Rosh attempts cost you your life and give the enemy free gold.
Struggling to Climb with Weaver
Weaver’s hit-and-run playstyle demands map awareness and split-second decisions that take hundreds of games to master. Our Immortal-rank coaches have played thousands of Weaver games and can fast-track your improvement in just a few sessions. Or skip the grind entirely — our MMR boosting service gets you to your target rank fast.
Get Weaver Coaching
Boost My MMR Instead


