

How to Master Lina in Dota 2: The Ultimate Guide for Every Rank (2026)

Lina is one of the most versatile and explosive heroes in Dota 2. Whether you are incinerating mid laners with a perfectly chained Dragon Slave into Light Strike Array, or deleting a carry with a pure damage Laguna Blade, Lina rewards mechanical precision and game sense like few other heroes in the pool. She has been a staple pick across every major patch since the early days of Dota, and in the current 7.40 meta she remains one of the strongest mid heroes in both pubs and professional play.
This guide is built for every rank bracket — from Herald players still learning how to land Light Strike Array, to Immortal grinders optimizing their Fiery Soul stacks for maximum tower pressure. We will cover her abilities in detail, break down item builds that actually work at your MMR, explain laning matchups, team fight positioning, counters, favorable matchups, and the exact tricks that separate a 3K Lina from a 7K Lina. By the end of this guide, you will have everything you need to turn Lina into your most reliable MMR climbing hero.
Table of Contents
Why Lina Is the Queen of Burst Damage
Lina sits in a unique space in the Dota 2 hero pool. She is an intelligence hero who can be played as a mid laner, a position 4 support, or even a position 2 carry depending on the draft. Her attack range of 670 is one of the longest in the game, and with Fiery Soul stacks she becomes one of the fastest attacking heroes in Dota — an intelligence hero that hits like an agility carry.
In the current patch, Lina boasts a 51.8% winrate across all ranks on Dotabuff, with her winrate climbing to over 53% in Divine and Immortal brackets where players can reliably land her combo. She is picked in roughly 12% of all pub matches, making her one of the top 15 most popular heroes in ranked matchmaking.
What makes Lina special is her dual-threat identity. In the early game, she is a nuker who can kill most heroes from 70% HP with a full spell rotation plus Laguna Blade. In the late game, with Fiery Soul stacks and the right items, she transitions into a right-click monster who can manfight carries while still having the option to delete supports with her ultimate. Very few heroes in Dota offer this kind of scaling flexibility.

Abilities Deep Dive
Dragon Slave (Q)
Dragon Slave is Lina’s bread-and-butter nuke. It fires a wave of flame in a line, dealing 85/160/235/310 magical damage to all enemies it passes through. The cast range is 800 and the projectile travels roughly 1275 units total, making it one of the longest-range nukes among mid heroes.
Hidden mechanics most players miss: Dragon Slave has a 0.45 second cast point, but the damage area is wider than the visual effect suggests — roughly 275 units wide at its tip. You can hit heroes who appear to be just outside the cone. The spell also starts dealing damage immediately at Lina’s position, so enemies standing on top of you will get hit before the animation even finishes traveling.
At level 1, Dragon Slave is your primary tool for securing ranged creep last hits while simultaneously harassing the enemy mid laner. The mana cost of 115 at max level is manageable with a couple of clarities, and the 8-second cooldown means you can use it almost every creep wave.

Light Strike Array (W)
Light Strike Array is the spell that separates good Lina players from great ones. It calls down a column of fire at a target area after a 0.5 second delay, dealing 80/130/180/230 magical damage and stunning enemies for 1.6/1.9/2.2/2.5 seconds. That stun duration at max level is enormous — 2.5 seconds is longer than most ultimates in the game.
The critical detail: The 0.5 second delay is what makes this spell so skill-intensive. You cannot simply click on a hero and stun them. You need to predict their movement, chain it off another disable, or use Eul’s Scepter to guarantee the landing. The AoE radius is 250, which is decent but not forgiving.
Pro-level interaction: Light Strike Array gives vision of the target area during the delay and for a brief moment after landing. You can use it to scout Roshan pit, check uphill, or deward. This is something most players below Ancient rank never think to do.
Fiery Soul (E)
Fiery Soul is the passive that makes Lina a late-game threat. Every time Lina casts a spell, she gains a stack of Fiery Soul, granting 12%/16%/20%/24% attack speed and 1.5%/2%/2.5%/3% movement speed per stack. Stacks last 18 seconds and she can have up to 7 stacks maximum.
At 7 stacks with max level Fiery Soul, Lina gains 168% bonus attack speed and 21% bonus movement speed. This is an absurd amount of attack speed — more than a Moon Shard provides. Combined with her 670 attack range, fully stacked Fiery Soul turns Lina into a ranged carry who can siege towers, chase fleeing heroes, and trade right-clicks with most carries in the game.
Key mechanic: Item active abilities like Eul’s, BKB, and Shadow Blade also trigger Fiery Soul stacks. Smart Lina players will pop BKB or use Shadow Blade before a fight specifically to get an extra stack rolling before the engagement starts.
Laguna Blade (R)
Laguna Blade is the iconic delete button. It channels briefly and then fires a bolt of lightning at a single target, dealing 500/700/900 magical damage (or pure damage with Aghanim’s Scepter). The cooldown is 50/40/30 seconds at levels 1/2/3.
With Aghanim’s Scepter, Laguna Blade pierces spell immunity and deals pure damage. This single upgrade transforms Lina from a mid-game nuker into a late-game assassin. A 900 pure damage nuke that goes through BKB is one of the most terrifying abilities in Dota 2. Even a 3000 HP carry with BKB active loses 30% of their health pool to a single button press.
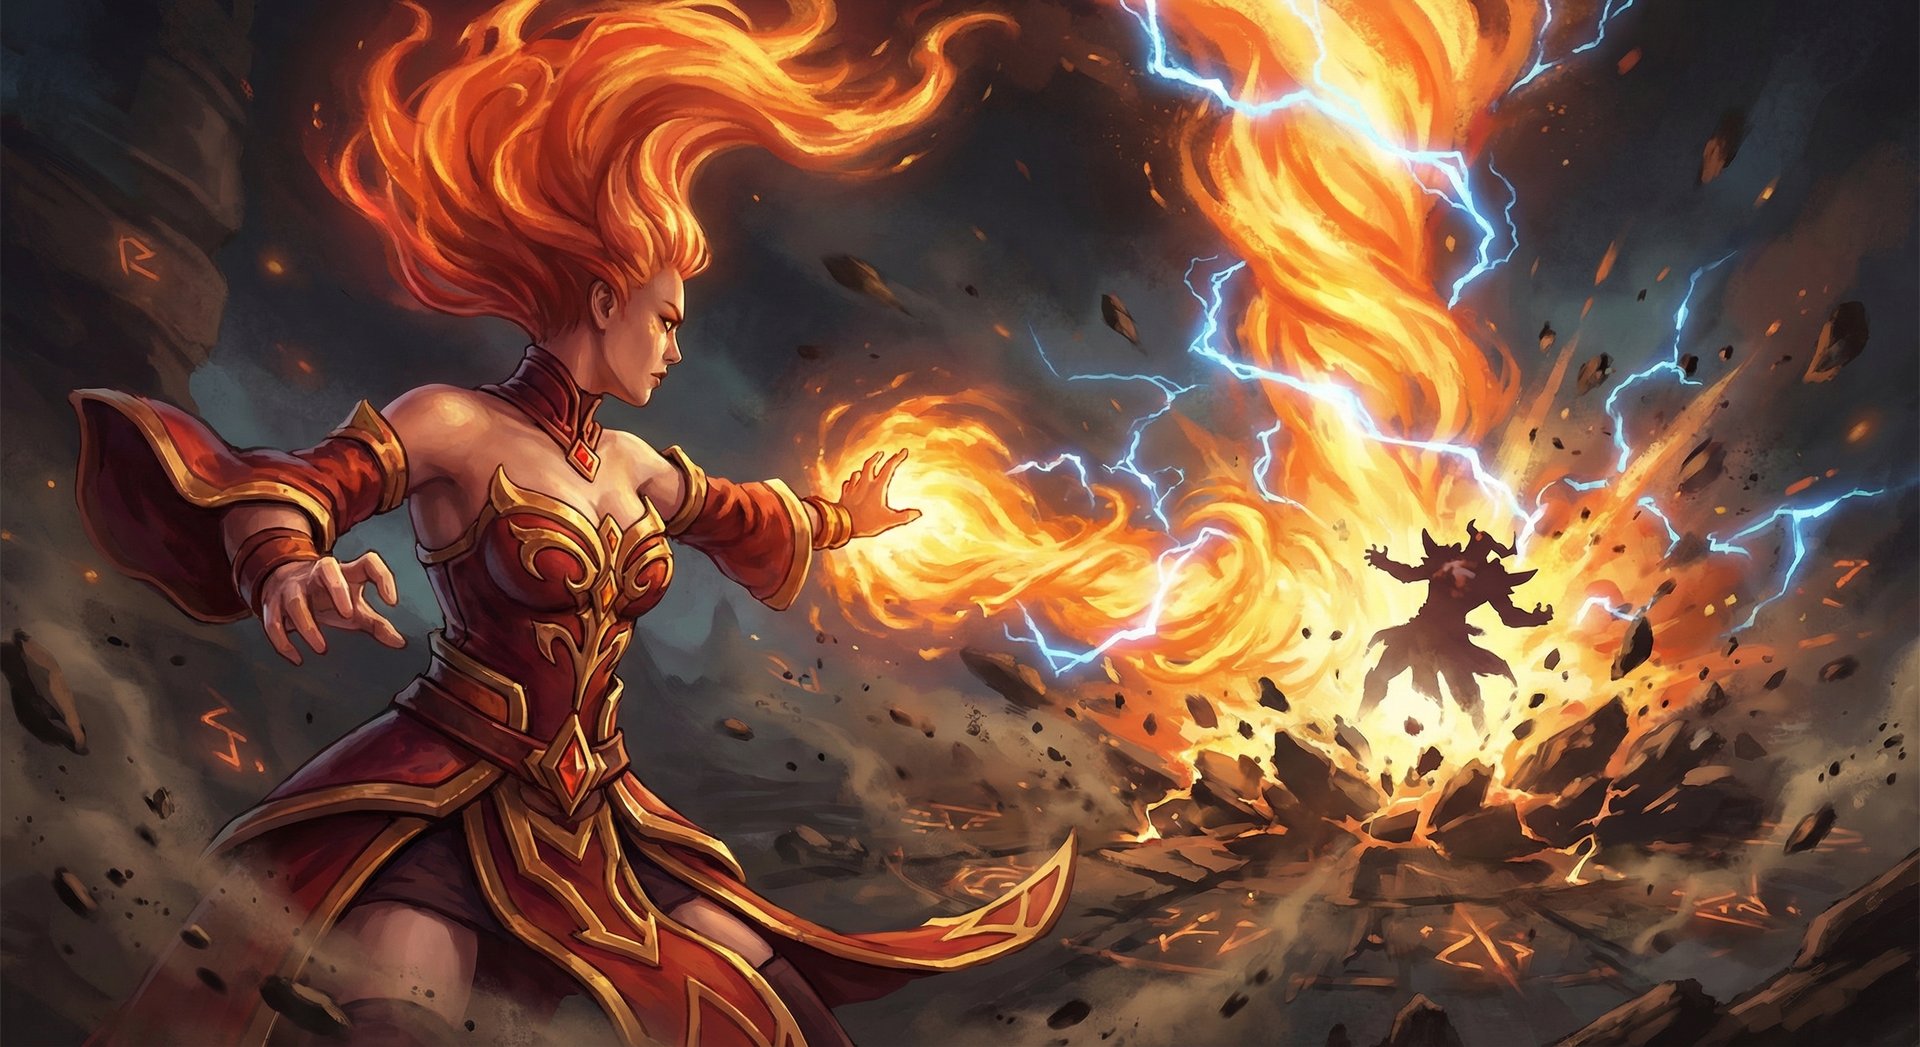
Skill Build Order
The standard mid Lina skill build for most games:
| Level | Spell | Reasoning |
|---|---|---|
| 1 | Dragon Slave (Q) | Wave clear and harass from level 1 |
| 2 | Fiery Soul (E) | Attack speed for last hits and trading |
| 3 | Dragon Slave (Q) | More wave clear damage |
| 4 | Light Strike Array (W) | Stun available for kill attempts or ganks |
| 5 | Dragon Slave (Q) | Max nuke damage |
| 6 | Laguna Blade (R) | Kill threshold |
| 7 | Dragon Slave (Q) | Maxed — 310 damage on 8s CD |
| 8-10 | Light Strike Array (W) | Max stun duration to 2.5s |
| 11 | Laguna Blade (R) | 700 damage ult |
| 12-14 | Fiery Soul (E) | Scale attack speed for mid-game fights |
Alternative build for support Lina (pos 4): Max Light Strike Array first (levels 1/3/5/7) for the stun duration in lane, take one point in Dragon Slave at level 2 for wave push, and skip Fiery Soul entirely until later. The stun is far more valuable than attack speed when you are playing from behind on farm.
Item Builds by Rank Bracket
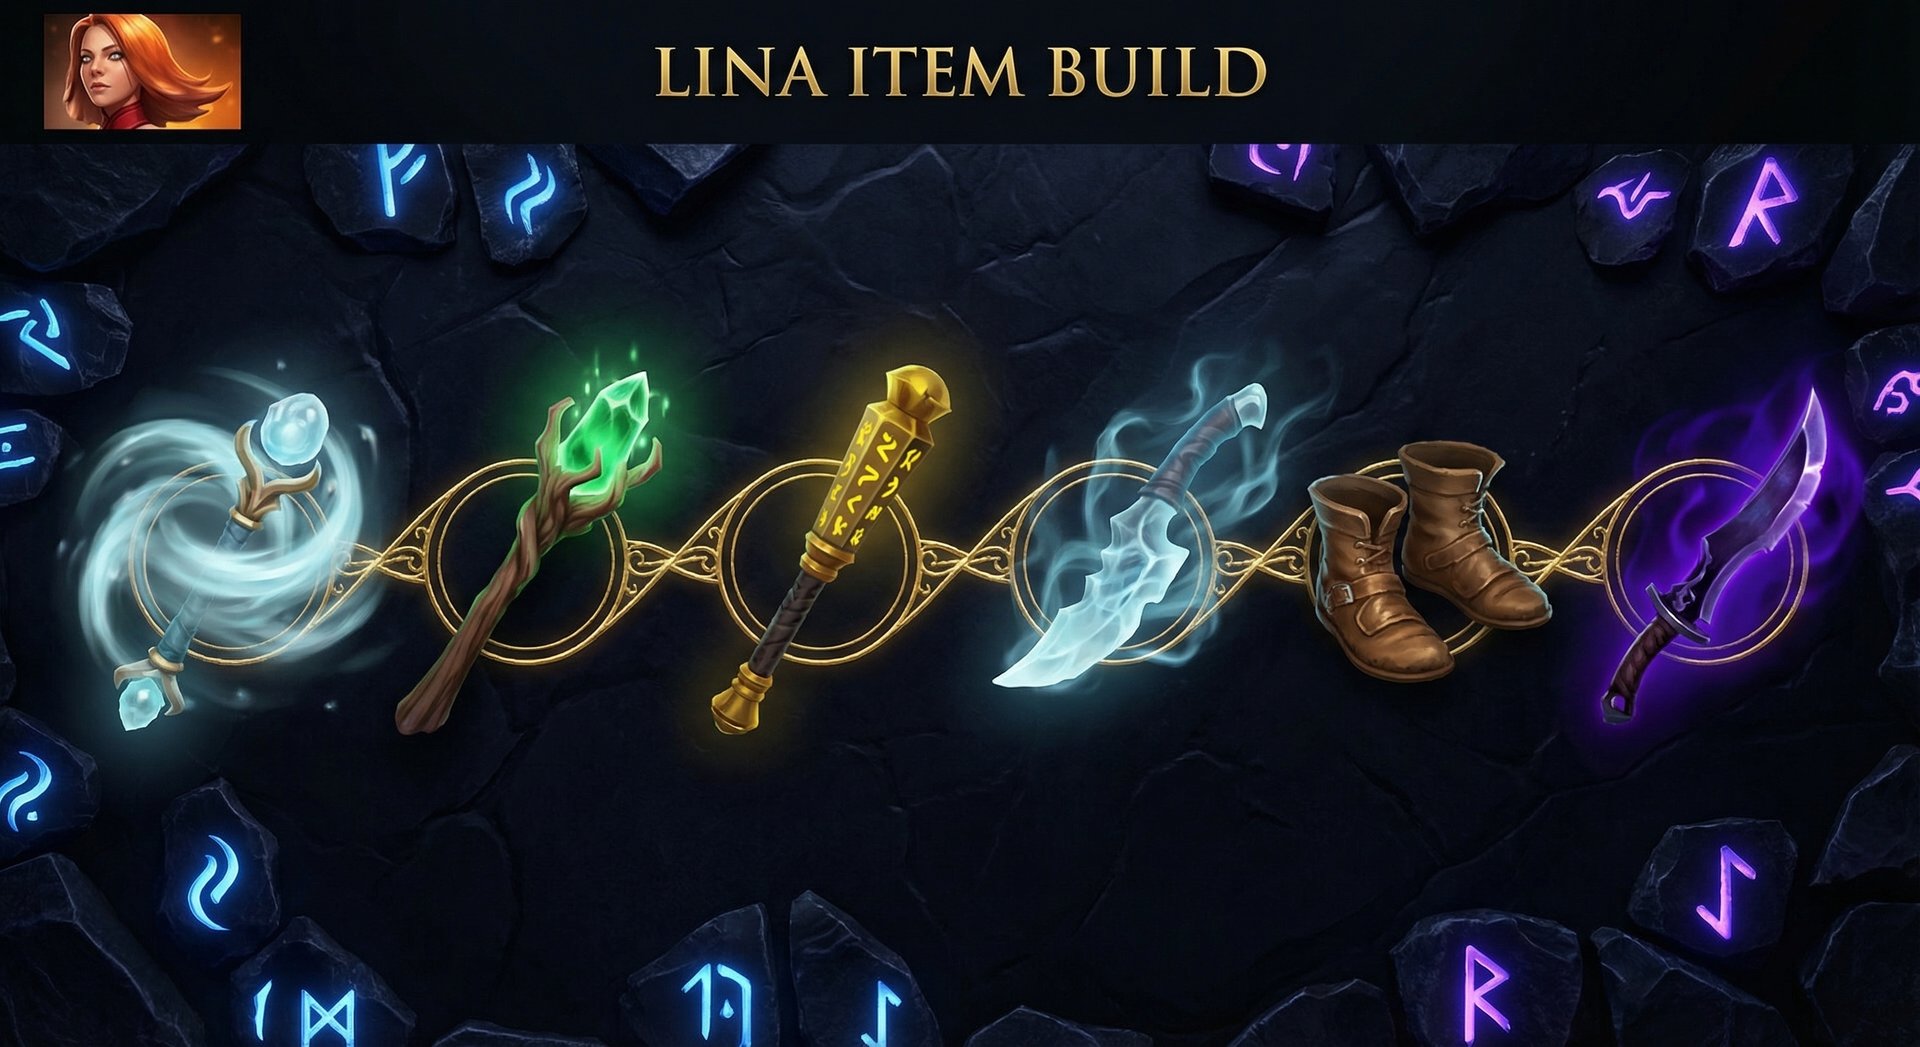
| Rank | Starting | Early (0-15 min) | Core (15-30 min) | Late (30+ min) |
|---|---|---|---|---|
| Herald-Crusader | Tango, Faerie Fire, 3x Branch, Mantle | Bottle, Boots, Null Talisman x2 | Arcane Boots, Eul’s, Shadow Blade | BKB, Aghanim’s Scepter, Crystalys |
| Archon-Legend | Tango, Faerie Fire, 2x Branch, Mantle, Circlet | Bottle, Phase Boots, Null Talisman | Eul’s, Maelstrom, BKB | Aghanim’s, Gleipnir, Daedalus |
| Ancient-Divine | Tango, Faerie Fire, 2x Branch, Mantle | Bottle, Boots of Travel, Null Talisman | Eul’s, BKB, Aghanim’s | Daedalus, Assault Cuirass, Refresher |
| Immortal | Tango, Faerie Fire, 2x Branch, Mantle | Bottle, BoTs or Phase, Null Talisman | Eul’s or Skip, BKB, Aghanim’s | Daedalus, Bloodthorn, Refresher, Linken’s |
Why Items Differ by Rank
Herald-Crusader: Shadow Blade is included because at low ranks, enemies rarely buy detection. A Shadow Blade Lina can get free pickoffs for 15+ minutes before anyone thinks to buy dust. Arcane Boots help with the mana issues that plague newer players who spam spells without bottle management.
Archon-Legend: Maelstrom is introduced here because players at this bracket start to understand Lina’s right-click potential with Fiery Soul. Maelstrom into Gleipnir gives her wave clear, a root for setup, and chain lightning synergy with her attack speed.
Ancient-Divine: Boots of Travel become viable because players at this bracket understand map pressure. Lina with BoTs can push a side lane, teleport to a fight, and maintain tempo. The early BKB timing matters here because enemies are good enough to chain stun you in fights.
Immortal: Some Immortal players skip Eul’s entirely if they are confident in landing raw Light Strike Array, opting for a faster BKB timing. Bloodthorn is preferred over Daedalus because the active ability provides a silence and guaranteed crits, which is more valuable against slippery heroes like Storm Spirit or Puck.
Eul’s Scepter — The Core Item Explained
Eul’s Scepter is Lina’s most important item in 90% of games. It costs 2625 gold and provides movement speed, mana regen, and the active ability to cyclone a target for 2.5 seconds. The reason it is core on Lina: Eul’s guarantees Light Strike Array. You cyclone an enemy, immediately cast LSA under them, and the stun lands perfectly as they come down. This combo is the foundation of Lina’s kill potential from minute 12 onward.
The Eul’s combo with full spell rotation: Eul’s target, cast LSA under them, wait for landing, Dragon Slave, Laguna Blade, right-click. This does roughly 1800+ magical damage at level 12-14, which kills most heroes who are not building magic resistance.
Laning Phase Masterclass
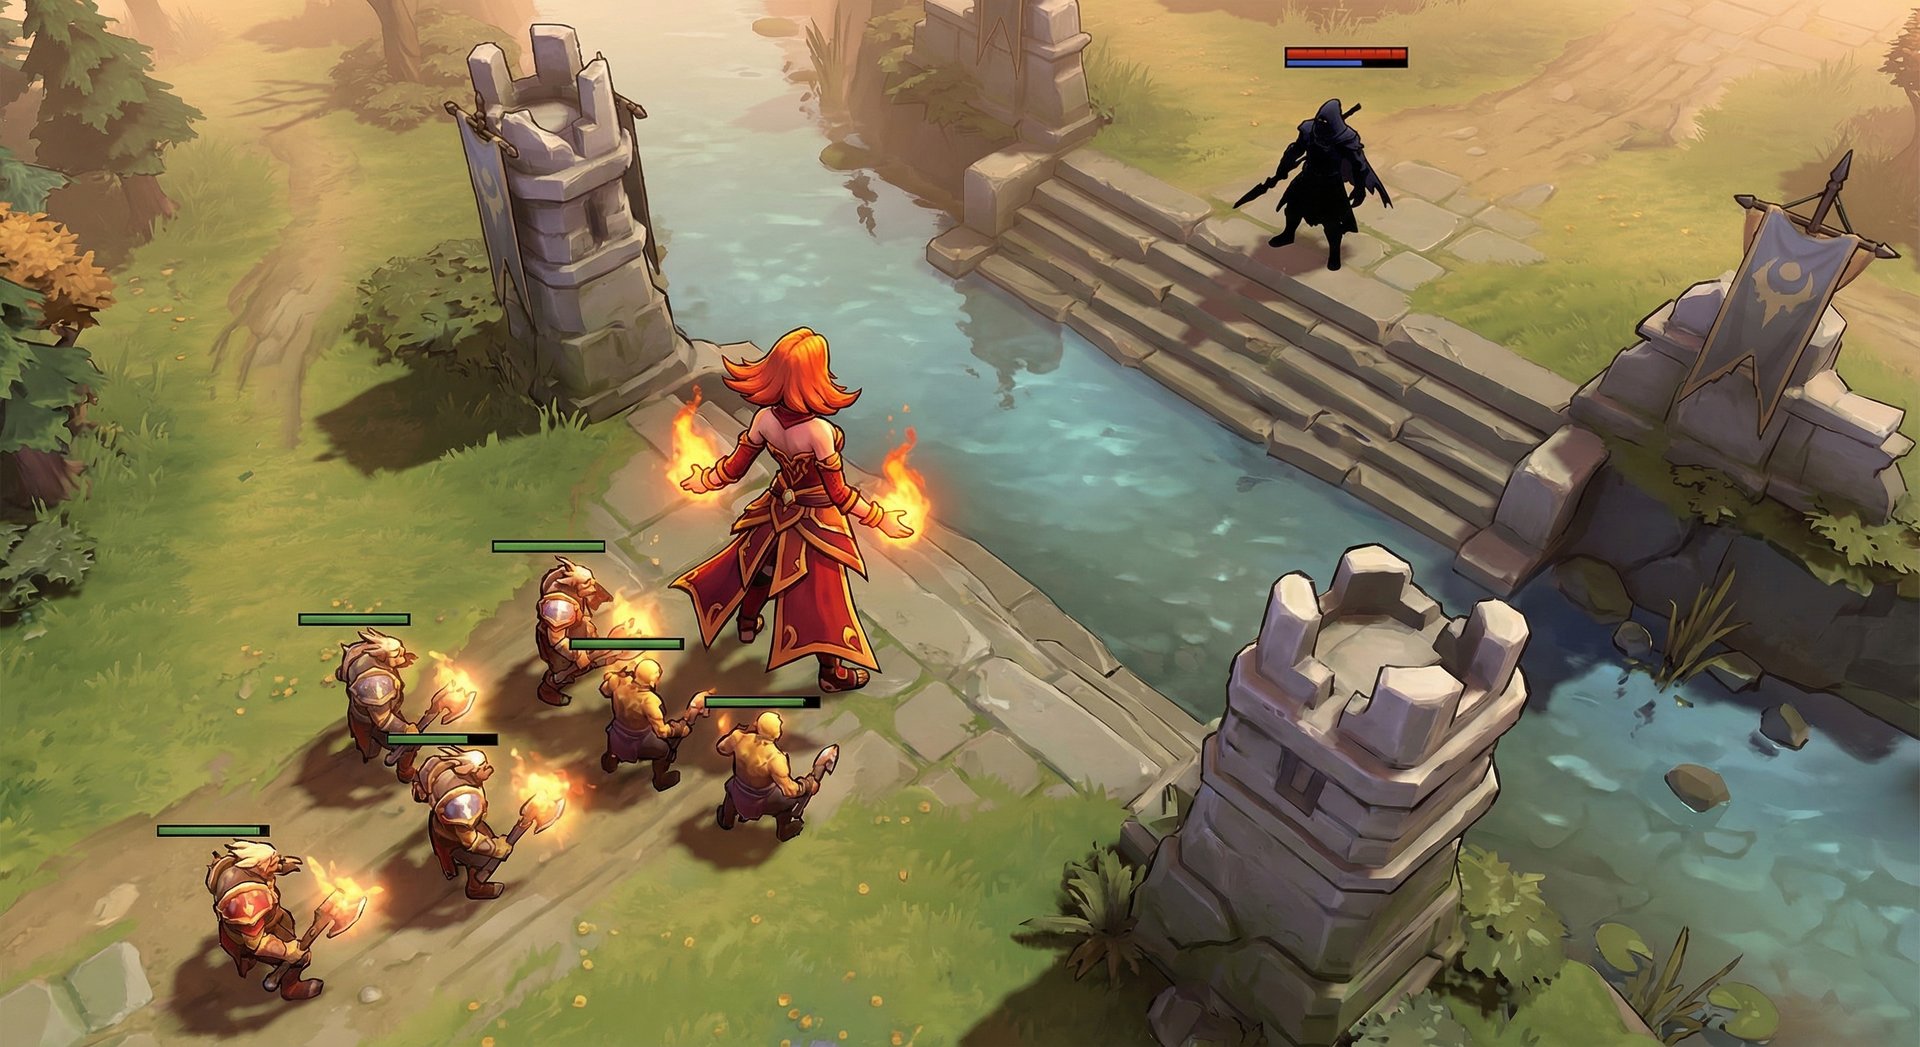
Lina is one of the strongest mid laners in Dota 2 from minute zero. Her 670 attack range means she out-ranges almost every other mid hero — Shadow Fiend (500), Queen of Pain (550), Storm Spirit (480), and Invoker (600) all have shorter range. This means Lina can harass them every time they walk up for a last hit without taking a return hit.
Levels 1-3: Establishing Dominance
Your goal in the first three levels is to secure every ranged creep and pressure the enemy mid off the wave. Start by attacking the enemy hero whenever they move forward for a last hit. With your 670 range, you can often get a free hit from fog or from max range without drawing creep aggro (right-click the enemy hero while standing more than 500 units from their creeps).
Use Dragon Slave to simultaneously hit the ranged creep and the enemy hero. Position yourself so the wave lines up — the flame travels in a straight line, so angle yourself to hit both the creep wave and the enemy. At level 1, Dragon Slave deals 85 damage, which chunks ranged creeps to easy deny or last-hit range.
Levels 4-6: The Kill Window
Once you have two points in Dragon Slave and one in Light Strike Array, your kill potential spikes. If you have a support rotating mid, or if the enemy mid is below 60% HP, you can go for a kill. The combo at this stage: walk forward aggressively to force a reaction, cast LSA where you predict they will retreat to, follow with Dragon Slave, and right-click with Fiery Soul stacks.
At level 6, Laguna Blade adds 500 damage to your combo. Any hero below 50% HP when you hit 6 is essentially dead. Secure your Bottle early (ideally by minute 2), control runes, and look for the level 6 all-in.
Rune Control
Lina is excellent at rune fights because Dragon Slave lets her push the wave quickly before walking to a rune spot. Always push the wave with Q at x:40 (40 seconds into each minute), then immediately walk to the rune. Power runes are game-changing on Lina: Double Damage makes her right-clicks lethal, Haste lets her run down fleeing enemies, and Arcane rune gives her unlimited spell spam.
Matchup-Specific Laning Tips
- vs Shadow Fiend: You out-range him hard. Abuse this at levels 1-3 when he has no Shadowraze stacks for soul damage. Zone him off every ranged creep. His low base damage without souls makes him easy to deny against.
- vs Queen of Pain: She has Blink to dodge your LSA, so do not waste it early. Focus on Dragon Slave harass. Trade carefully — her Shadow Strike hurts more than people expect at level 1.
- vs Storm Spirit: Bully him relentlessly before level 6. He has no escape pre-6 and your range advantage is massive. Once he hits 6 and gets Ball Lightning, back off and play for farm.
- vs Invoker: Watch for Cold Snap trades. You win if you keep distance and use Dragon Slave from max range. Post-6, be wary of his Tornado-Meteor combo — buy a casual Cloak if he goes Exort.
- vs Huskar: This is Lina’s hardest mid matchup. His Berserker’s Blood gives magic resistance that reduces your spell damage significantly. Buy Infused Raindrops, play passively, and focus on farming rather than fighting him.
Mid and Late Game Transitions

Minute 12-20: Peak Burst Window
This is Lina’s strongest timing in most games. You should have Eul’s Scepter completed and be looking for pickoffs on enemy heroes who are farming alone. The Eul’s-LSA-Dragon Slave-Laguna Blade combo kills any hero without a BKB or magic resistance items. Play aggressively during this window — push towers after kills, take Roshan if your team can support it, and snowball your advantage before enemies get BKBs.
Your priority targets: supports, squishy mid heroes, and any carry who has not yet completed BKB. Check the enemy inventory constantly. The moment their carry completes BKB, your combo becomes significantly less effective unless you have Aghanim’s Scepter.
Minute 20-35: Team Fight Positioning
In full 5v5 team fights, Lina should never be in the front line. Your job is to stay at max range (670 attack range, 800 Dragon Slave range, 1000 Laguna Blade range) and contribute damage from the back. Start the fight by using Eul’s on a priority target, landing LSA, then use Dragon Slave on the largest cluster of enemies.
Save Laguna Blade for one of two scenarios: (1) to finish off a low-HP core hero who is trying to disengage, or (2) to burst down a high-priority target at the start of the fight if you have Aghanim’s and they just popped BKB. With Aghanim’s pure damage through BKB, you want to use it early on the most dangerous enemy.
BKB timing in fights: Pop your BKB after the enemy has committed their initiation spells. If they open with a Ravage or Black Hole, BKB immediately after the stun ends to avoid follow-up disables. Do not waste BKB at the very start of a fight — you want it active during the chaotic mid-fight period when enemy supports are looking to disable you.
Minute 35+: Late Game Carry Lina
This is where Lina’s unique identity shines. With Fiery Soul stacks, Daedalus, and attack speed from items, she becomes a legitimate right-click carry. In ultra-late situations, Lina with Refresher Orb can use Laguna Blade twice (1800 pure damage with Aghanim’s), which is enough to instantly kill most heroes in the game.
Focus on maintaining Fiery Soul stacks between fights by casting spells on creep waves. Walking into a fight with 0 stacks versus 7 stacks is the difference between dying instantly and carrying the fight. Before any engagement, cast Dragon Slave on a nearby creep wave or neutral camp to start building stacks.
Tower Siege
Lina is one of the fastest tower pushers among intelligence heroes. With 7 Fiery Soul stacks and right-click items, she melts towers. After winning a team fight, always push a tower — Lina converts kills into objectives better than most mid heroes because of her attack speed.
Counters: Heroes That Destroy Lina

1. Anti-Mage
Anti-Mage is Lina’s worst nightmare. His Counterspell (passive magic resistance) reduces all of Lina’s magical damage, and the active component can reflect Laguna Blade back at her for a one-shot kill. On top of that, Mana Break burns Lina’s already limited mana pool, and Blink means he can close the gap on a hero who desperately needs to keep distance. If the enemy picks Anti-Mage, consider not picking Lina.
How to play around it: Build Aghanim’s early so Laguna Blade deals pure damage (not reflectable as magic damage). Never use Laguna Blade when Counterspell active is off cooldown. Focus on killing his team first and dealing with AM last.
2. Nyx Assassin
Nyx’s Spiked Carapace reflects damage and stuns. A Lina who uses Dragon Slave or Laguna Blade into Carapace will stun herself and take massive reflected damage. Nyx can also Vendetta from invisibility for a burst that chunks Lina’s low HP pool, and Mana Burn (scaling off intelligence) is devastating against a high-INT hero like Lina.
How to play around it: Always check if Carapace is on cooldown before using Laguna Blade. Carry detection and stay grouped — Nyx thrives on picking off solo targets.
3. Pugna
Nether Ward is the anti-Lina tool. It creates a ward that zaps any hero who casts a spell, dealing damage proportional to the spell’s mana cost. Lina’s full combo costs over 500 mana, meaning Nether Ward can deal 800+ damage to her just for casting her spells. Life Drain also keeps Pugna alive through Lina’s burst if she does not have enough damage to one-shot him.
How to play around it: Always kill Nether Ward before committing to a fight. It has limited HP and can be right-clicked down in 3-4 hits.
4. Storm Spirit
Storm Spirit’s Ball Lightning makes him nearly impossible for Lina to burst. He can dodge Light Strike Array and Dragon Slave reactively, and zip on top of Lina to close the distance. Once in melee range, Lina’s advantages disappear.
How to play around it: Build Eul’s to set up guaranteed stuns. Wait for Storm to overcommit on Ball Lightning and catch him with low mana. He is squishy if he cannot zip away.
5. Lifestealer
Rage gives Lifestealer magic immunity, and Feast heals him through Lina’s damage. He naturally builds BKB on top of Rage, making him nearly immune to Lina’s burst. In lane, Open Wounds makes trading impossible.
How to play around it: Ignore Lifestealer in fights. Focus his team. Lifestealer without a team is just a slow melee hero who cannot catch a Lina with Fiery Soul movement speed. Build Aghanim’s so Laguna Blade still works through his spell immunity.
Heroes Lina Destroys
1. Sniper
Sniper has no escape, no magic resistance, and a tiny HP pool. Lina’s Eul’s-LSA combo followed by Laguna Blade kills Sniper from full HP at most stages of the game. Sniper players who position at max range still get caught by Blink Dagger or Shadow Blade initiations.
2. Crystal Maiden
CM is slow, fragile, and immobile — everything Lina loves to prey on. Dragon Slave plus Laguna Blade is usually enough to kill her without even needing to land LSA. Her Freezing Field ultimate is easily interrupted by Light Strike Array.
3. Shadow Fiend
Lina dominates Shadow Fiend in lane with her range advantage, and SF’s lack of built-in escape makes him an easy Eul’s-LSA target throughout the game. He also loses all his Necromastery souls on death, making Lina kills extra punishing.
4. Invoker
Invoker is slow and predictable. His long cast animations make him easy to burst before he can respond. Eul’s into LSA shuts down his combo potential, and Laguna Blade punishes his tendency to stand still while invoking spells.
5. Medusa
Medusa relies on Mana Shield to survive burst, but Lina’s sustained right-click damage with Fiery Soul drains both her mana and HP over time. Aghanim’s Laguna Blade through Mana Shield’s spell immunity activation deals devastating damage. In lane, Medusa cannot trade with Lina’s range and nuke spam.
How Pros Play Lina in the Current Patch
Lina has been a consistent presence in pro Dota throughout 2025 and into 2026. She was picked or banned in over 40% of matches at the last Major, primarily as a mid hero but occasionally as a position 4 support.
Notable Pro Performances
Topson’s Lina at various DPC events has become iconic. His aggressive early game — often skipping Eul’s for a faster BKB timing — catches opponents off guard. Topson relies on raw LSA predictions rather than Eul’s setups, which is something only the very best players can consistently pull off. His item build typically goes Bottle into Phase Boots into straight BKB, using the spell immunity to dive towers and force fights before the enemy is ready.
NothingToSay’s Lina for Team Xtreme demonstrates the opposite approach: a farm-heavy style with Boots of Travel and Maelstrom, using Lina’s wave clear to split push until Aghanim’s Scepter is complete. Once he has BKB plus Aghanim’s, he groups with his team and uses the pure damage Laguna Blade through BKB to remove enemy carries from fights.
Key pro trends in the current patch:
- Gleipnir has become increasingly popular on Lina. The root provides another form of lockdown that does not rely on landing LSA, and chain lightning synergizes with Fiery Soul attack speed for team fights.
- Aghanim’s Shard is prioritized more than before. The Shard upgrade adds a secondary effect to Fiery Soul, making each stack also grant a small amount of spell amplification. This makes Lina’s spells scale harder into the late game.
- Pros frequently skip Eul’s entirely in matchups where they do not need the cyclone setup — particularly when their team already has reliable lockdown from heroes like Beastmaster, Enigma, or Magnus.
Rank-Specific Climbing Guide

Herald to Guardian: Master the Basics
At Herald and Guardian, your number one priority is last hitting. Lina’s long attack range and Dragon Slave make her one of the easiest heroes to last hit with. Focus on getting 50+ last hits by minute 10 — that alone will give you a farm advantage over most enemies at this bracket.
Build Eul’s Scepter every game and practice the Eul’s-LSA combo in demo mode before playing ranked. At this rank, enemies walk in straight lines and do not have BKBs, so the combo will work almost every time. You can climb from Herald to Archon on Eul’s-LSA pickoffs alone.
Common mistakes to fix:
- Not buying Bottle or not using it on cooldown
- Using Laguna Blade on a target who is already going to die to right-clicks
- Standing in melee range during fights
- Forgetting to maintain Fiery Soul stacks between fights
Crusader to Archon: Adding Game Sense
At this bracket, you need to start watching the minimap. Lina is squishy and dies easily to ganks. Before pushing a lane past the river, check if enemy heroes are missing. Buy and place Observer Wards yourself if your supports are not doing it — a 75 gold ward can save you from dying and losing 500+ gold.
Start practicing raw LSA predictions (without Eul’s). Watch where enemies run when they are scared — usually toward their tower in a straight line. Cast LSA slightly ahead of their path. Landing raw LSAs will double your kill potential because you will not need to wait for Eul’s cooldown.
Learn power rune timings and control them. Every even minute (2:00, 4:00, 6:00, etc.) a power rune spawns. Push the wave at x:40 and walk to the rune. A Lina with Haste or DD rune is one of the scariest things in the early game.
Legend to Ancient: The Macro Leap
Legend to Ancient is where you need to understand when to fight and when to farm. Lina’s powerspike with Eul’s is around minute 12-15, and again at BKB plus Aghanim’s around minute 25-30. Between those spikes, you should be farming aggressively with Dragon Slave, stacking camps with LSA, and only fighting when your ultimate is off cooldown.
Tower pressure becomes critical at this bracket. After a kill, always push a tower. Lina’s Fiery Soul attack speed makes her one of the best tower pushers among mid heroes. One pickoff at minute 15 should translate into a tower if you play it correctly.
Start itemizing reactively. If the enemy has heavy magic damage, consider a casual Hood of Defiance before BKB. If they have a Nyx Assassin, get detection early. If they have an Anti-Mage, rush Aghanim’s for the pure damage Laguna Blade that he cannot reflect as effectively.
Divine to Immortal: What Separates the Top 1%
At Divine and Immortal, the difference is efficiency and decision-making. Top Lina players maintain 8-10 CS per minute while also participating in kills. They stack camps while walking between lanes. They use Dragon Slave to secure the ranged creep and simultaneously chip enemy tower HP.
Advanced laning tricks:
- Use attack animation cancels to fake last hits and bait enemy mid into wasting spells
- Creep aggro manipulation at max range to pull enemy creeps toward your side
- Double-wave timing: push two creep waves into the enemy tower simultaneously by holding the wave, then nuking it when the next wave arrives
Fight optimization: At Immortal, fights are over in 5-10 seconds. You need to identify your target before the fight starts, know exactly how much damage your combo does (accounting for their magic resistance and HP), and execute the kill within 2 seconds. Hesitation means death at this bracket.
If you are struggling to break into higher Immortal ranks, consider professional coaching from Immortal-rank players who can review your replays and identify specific areas for improvement.
Tips and Tricks
Animation Cancel Combo
Lina’s fastest possible combo is: Dragon Slave (immediately) into LSA (during Q’s backswing). Because Dragon Slave has a 0.45s cast point and LSA has a 0.45s cast point plus 0.5s delay, if you cast them back-to-back perfectly, both spells land at almost the same time. The enemy gets hit by Dragon Slave and stunned by LSA in rapid succession, giving them no time to react or use BKB.
Eul’s Timing Window
After you Eul’s a target, you have exactly 2.5 seconds before they land. LSA has a 0.5 second delay after the 0.45 second cast point. To land LSA perfectly, cast it approximately 0.6-0.7 seconds before the cyclone ends. In practice, this means casting LSA about 1.3 seconds after using Eul’s. With practice, this becomes muscle memory.
Hidden Interactions
- Fiery Soul and TP scrolls: Casting a TP scroll triggers Fiery Soul. You can TP to a fight and arrive with 1 stack already running.
- Dragon Slave vision: Dragon Slave provides vision along its travel path. Use it to scout uphill positions or check Roshan pit without face-checking.
- LSA as a farming tool: In the mid game, use LSA on stacked camps. The AoE stun holds the creeps in place while Dragon Slave finishes them off. Lina can clear triple-stacked camps in 3 seconds.
- Laguna Blade projectile disjoint: Once the Laguna Blade projectile has launched, it cannot be disjointed by Blink or abilities. If you see the animation start, the damage is guaranteed.
- Ghost Scepter interaction: If a target uses Ghost Scepter, your Laguna Blade (magical) actually deals MORE damage because Ghost Scepter amplifies magic damage taken. This catches many players off guard.
Common Mistakes to Avoid
- Using Laguna Blade too early in fights. Save it for when you can guarantee a kill. A wasted Laguna Blade on a target who survives at 100 HP is devastating because of the long cooldown.
- Not maintaining Fiery Soul stacks. Between fights, cast Dragon Slave on creep waves every 15 seconds to keep your stacks up. The movement speed and attack speed difference is enormous.
- Building too many damage items without BKB. A dead Lina does zero damage. BKB is not optional in 95% of games.
- Standing still while casting. Lina’s cast points are long enough for enemies to react. Learn to cast while moving — issue a move command immediately after casting to minimize the time you spend stationary.
- Ignoring creep waves for fights. Lina needs farm to function. If there is no kill opportunity, farm. A 20-minute Aghanim’s is worth more than a 20-minute shadow Blade with 3 deaths.
Frequently Asked Questions
Mid is Lina’s strongest position in 7.40. She needs levels and gold to hit her power spikes with Eul’s and Aghanim’s. Support Lina works but falls off harder because she cannot reliably farm these items. If you want to climb MMR, play her mid.
In 85-90% of games, yes. Eul’s provides the guaranteed LSA setup that makes Lina’s combo reliable. The only time to skip it is when your team already has heavy lockdown (Beastmaster, Magnus, Enigma) and you can land LSA off their setup. In that case, rush BKB into Aghanim’s for faster kill power.
Pick Lina when the enemy has squishy cores without built-in escape, slow supports, and limited magic resistance. Avoid Lina against Anti-Mage, Nyx Assassin, Pugna, and Huskar. Also avoid picking her into lineups with 3+ BKB-dependent heroes — your burst becomes much less effective.
The standard combo is: Eul’s target, immediately cast LSA under them, wait for them to land, Dragon Slave, Laguna Blade, right-click. For raw combos without Eul’s: Dragon Slave (cancel backswing), immediately LSA, then Laguna Blade. The key is chaining the cast animations without pause.
Aghanim’s is worth rushing ONLY if the enemy carry is heavily reliant on BKB and you need to burst through it. In most games, Eul’s into BKB into Aghanim’s is the safer build order. BKB before Aghanim’s keeps you alive in fights long enough to actually use the pure damage Laguna Blade.
Bottle is essential. Secure it before minute 2 and refill it on every rune spawn. Use clarities between waves when you are safe in lane. Null Talisman provides mana efficiency. Do not spam Dragon Slave on every wave early on — use it when you can hit both the creep wave and the enemy hero to get maximum value per cast.
Yes, Lina is one of the best late-game intelligence carries. With Fiery Soul stacks, Daedalus, and Aghanim’s, she hits like a carry while still having 900 pure damage burst through BKB. Her 670 attack range and movement speed from Fiery Soul make her difficult to kite or catch. She is a legitimate position 1-level threat in ultra-late scenarios.
Want to Climb MMR with Lina
Our Immortal-rank coaches can review your Lina replays and give you personalized feedback on your combos, positioning, and item timings. Or skip the grind entirely and let our boosters handle it.



