

How to Master Pangolier in Dota 2: The Ultimate Guide for Every Rank (2026)

Pangolier is one of Dota 2’s most mechanically demanding and rewarding offlaners. Since his release, this swashbuckling pangolin has carved out a permanent spot in the meta thanks to his incredible initiation, built-in disarm, and one of the most game-changing ultimates in all of Dota. When played correctly, Pangolier can single-handedly win team fights, split the map, and create chaos that even coordinated stacks struggle to handle.
But here is the truth — most Pangolier players are barely scratching the surface. They spam Swashbuckle, press R, and hope for the best. This guide is different. We are breaking down every ability interaction, every item timing, and every rank-specific adjustment you need to go from “I picked Pangolier because he looks cool” to “I am the reason the enemy carry rage-quit.” Whether you are a Herald learning the basics or a Divine player looking to hit Immortal, this is the Pangolier guide that actually teaches you how to win.
Table of Contents
Why Pangolier Is the Ultimate Playmaker
Pangolier (also known as Donté Panlin, the musketeer of the Nivan Gallants) sits in a unique design space in Dota 2. He is primarily played as a position 3 offlaner, though he occasionally shows up as a mid or even a greedy position 4 in high-level pubs. His kit revolves around mobility, physical damage application through Swashbuckle, and massive teamfight disruption through Rolling Thunder.
As of the current patch, Pangolier holds a roughly 50% winrate across all brackets on Dotabuff, but his winrate climbs significantly in Divine and Immortal games where players can execute his combos properly. His pick rate remains consistently high — he is one of the most picked offlaners in ranked matchmaking globally.
What makes Pangolier special is his versatility. He can initiate fights, escape ganks, disarm entire teams, deal significant magic and physical damage, and scale into the late game with the right items. Very few heroes can do all of that from the offlane. His learning curve is steep, but the payoff is enormous — a well-played Pangolier is genuinely one of the hardest heroes to deal with in Dota 2.
Abilities Deep Dive
Swashbuckle (Q)
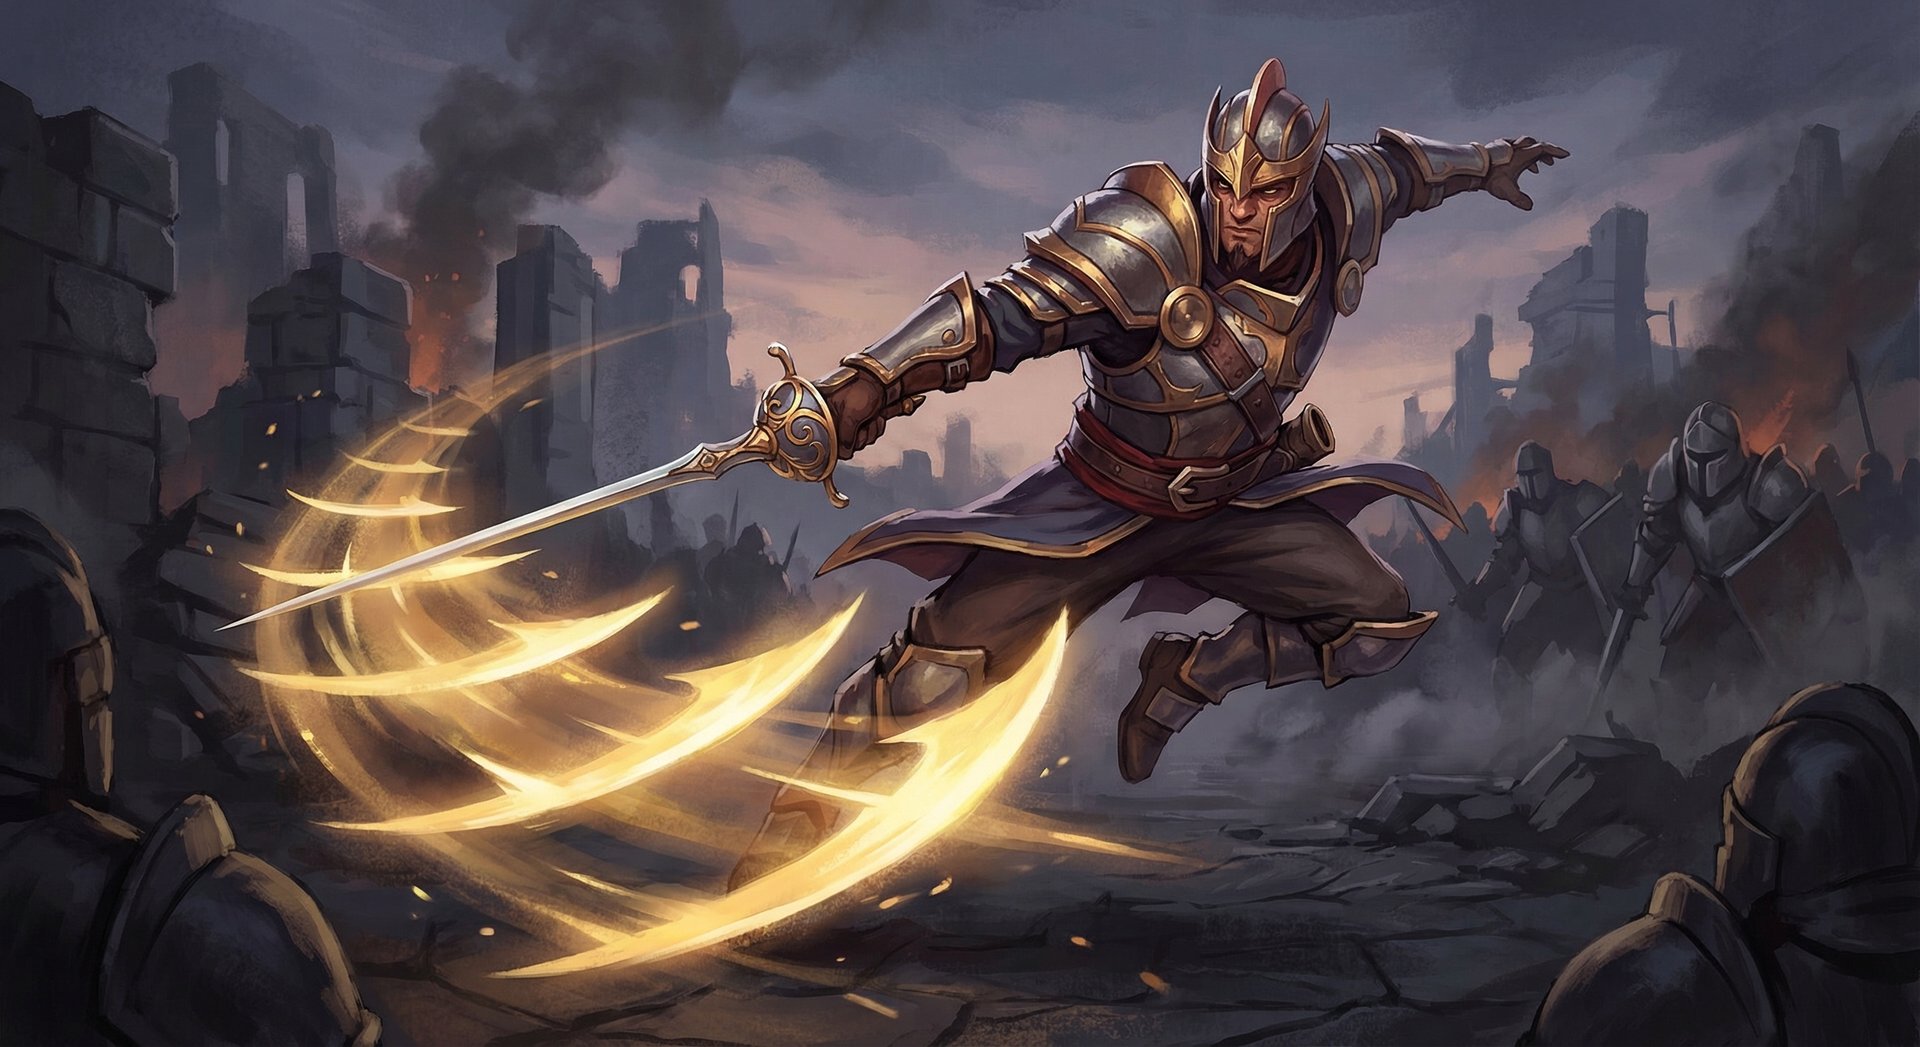
Swashbuckle is Pangolier’s bread-and-butter ability. He dashes forward in a target direction, slashing all enemies in a line with four rapid strikes. Each strike applies on-hit effects, which is the core reason this ability is so powerful.
Key mechanics most players miss:
- On-hit item procs: Each of the four slashes can proc items like Diffusal Blade, Javelin, Maelstrom, and Basher. With four hits per cast, your chance of getting at least one proc is dramatically higher than a single attack.
- Fixed damage: The slash damage is fixed (not based on your attack damage), so raw attack damage items are less valuable than on-hit items.
- Disjoint on cast: Swashbuckle disjoints projectiles at the start of the dash. You can dodge incoming stuns, arrows, and nukes if you time it right.
- Direction matters: You can cast Swashbuckle in any direction regardless of where you are facing. The slashes hit everything in a line perpendicular to your dash path.
- Combo with Shield Crash: You can cast Shield Crash during Swashbuckle for instant AoE damage without losing momentum.
Skill build note: Max Swashbuckle first in almost every game. The cooldown reduction per level is crucial, and the damage increase per slash adds up across four hits. At max level, the 5-second cooldown makes Pangolier a constant threat.
Shield Crash (W)
Pangolier jumps into the air and slams down, dealing magic damage in an area around him and gaining a damage reduction shield based on the number of enemy heroes hit. This ability is what makes Pangolier deceptively tanky in fights.
Hidden interactions:
- Stacks with itself: If you cast Shield Crash multiple times in a fight (which you should), the damage reduction stacks additively. Hitting 3+ heroes twice can give you absurd effective HP.
- Castable during Swashbuckle: This is the fundamental Pangolier combo. Q into enemies, then immediately W for both damage sources at once.
- Castable during Rolling Thunder: You can Shield Crash while rolling, adding AoE damage on top of your ultimate’s stun.
- The shield applies before the landing damage: So you gain the damage reduction even from the initial burst of enemy spells aimed at you.
Lucky Shot (E) — Passive
Pangolier’s attacks and Swashbuckle slashes have a chance to apply a disarm and slow to enemies hit. This is arguably one of the most underrated passives in the game.
Why Lucky Shot is broken:
- Disarm is devastating: Against right-click carries like Phantom Assassin, Troll Warlord, or Ursa, a well-timed disarm completely removes their damage output.
- Swashbuckle multiplier: With four hits per Swashbuckle, the probability of proccing Lucky Shot at least once is very high. At max level with a 20% proc chance per hit, you have roughly a 60% chance of getting at least one proc across four hits.
- Applies through BKB: The slow component pierces spell immunity (though the disarm does not), making it relevant even in BKB-heavy late games.
- Duration matters: The disarm lasts several seconds, which is an eternity in a team fight. One Swashbuckle hitting the enemy carry can completely change the outcome.
Skill build note: Take one value point at level 2 or 3, then max it second after Swashbuckle. Some players skip early points, but the disarm is too valuable to ignore in lane trades.
Rolling Thunder (R) — Ultimate
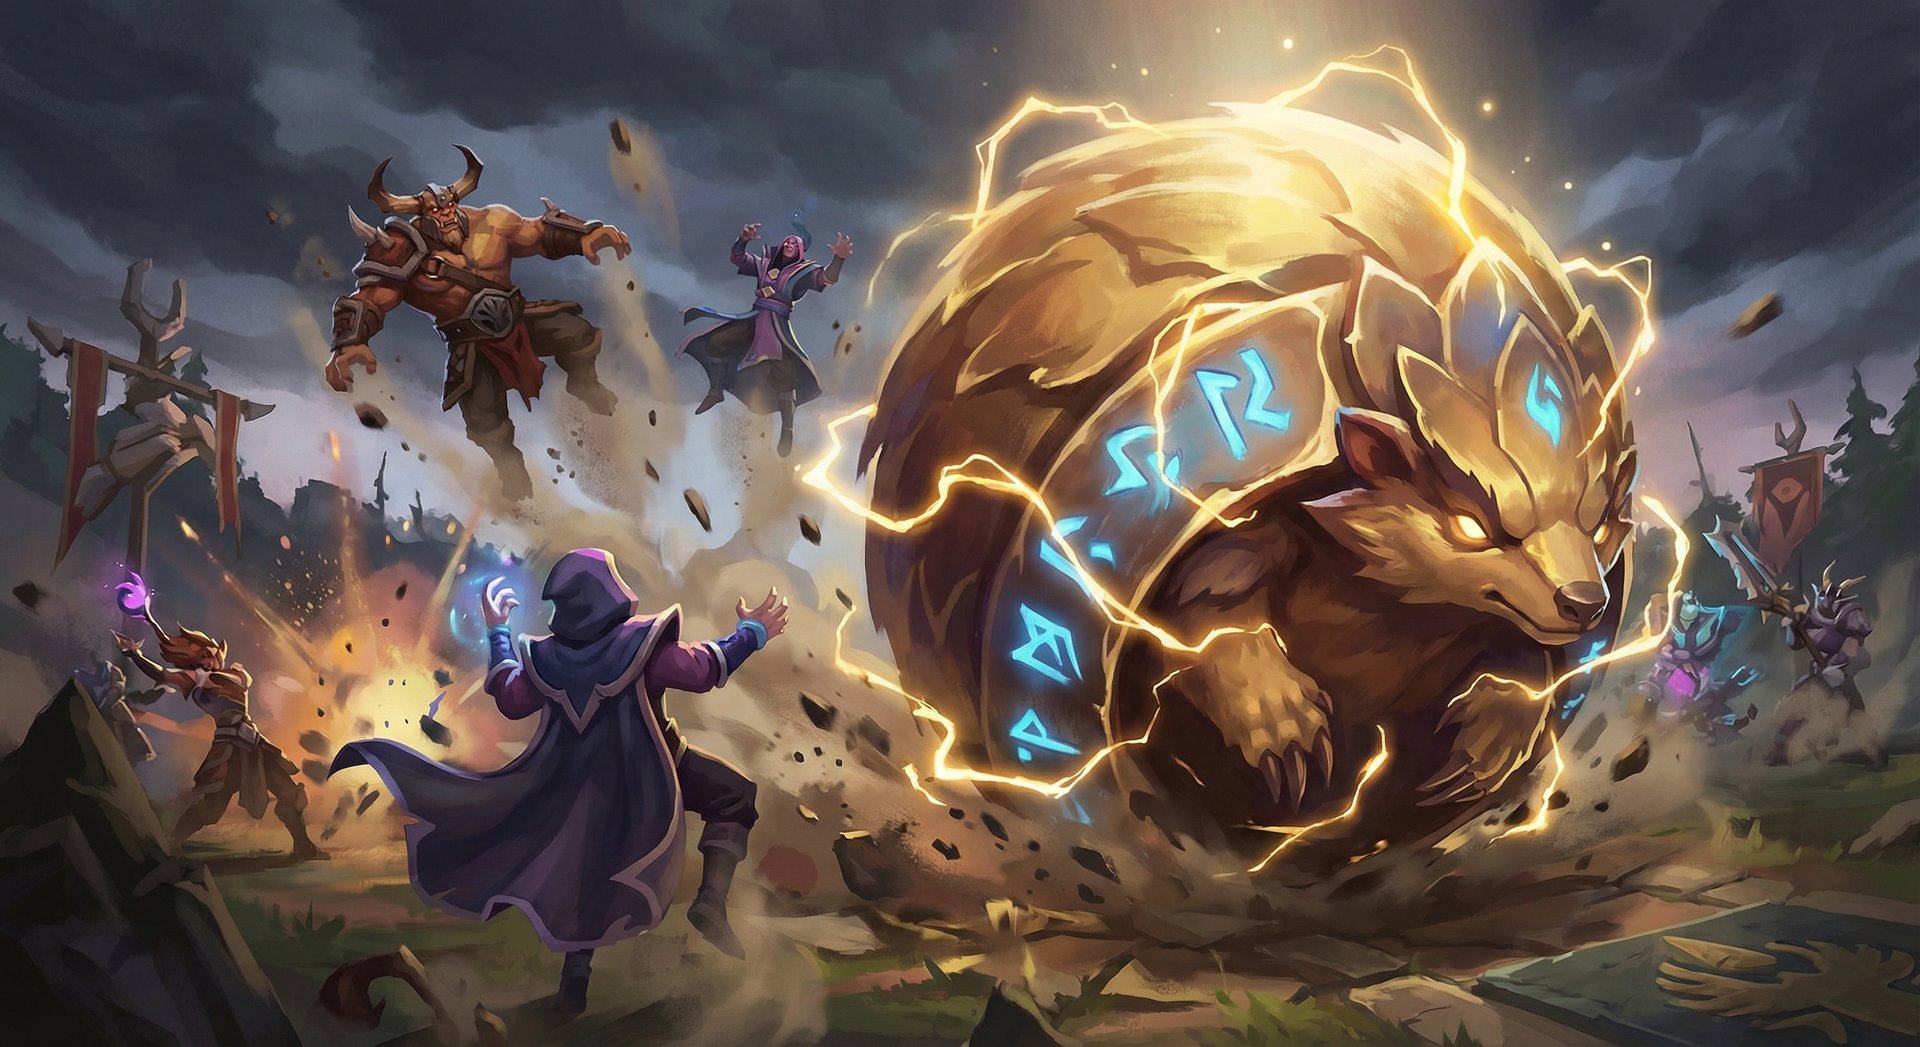
Pangolier curls into a ball and rolls forward at high speed, stunning and knocking back any enemy he contacts. He can turn by pressing movement keys, and the roll lasts several seconds. This is one of the most impactful ultimates in Dota 2 — and one of the hardest to use correctly.
Advanced Rolling Thunder mechanics:
- Turn rate is key: You cannot make sharp turns. Rolling Thunder has a fixed turn rate, so you need to plan your pathing before you press R. Experienced Pangolier players pre-position themselves so the natural roll path goes through the enemy team.
- Wall bouncing: When you hit a wall, tree line, or cliff edge, you bounce off at an angle. You can use this to redirect your roll path and catch enemies who think they are safe.
- Shield Crash during roll: This is mandatory. Casting W during your roll adds massive AoE damage and gives you the damage reduction shield. Always do this when rolling through enemies.
- Channel interruption: Rolling Thunder has a brief channel time before you start rolling. This can be interrupted by stuns, so do not press R when you are standing in the middle of five enemies.
- Stun does not stack: You cannot stun the same hero twice with the same roll. Once you hit an enemy, they have a brief immunity to being hit again by the same Rolling Thunder cast.
- Aghanim’s Shard: Adds the ability to cast Shield Crash during Rolling Thunder with an enhanced effect, and also lets Swashbuckle be cast during Rolling Thunder for even more combo potential.
Item Builds by Rank Bracket
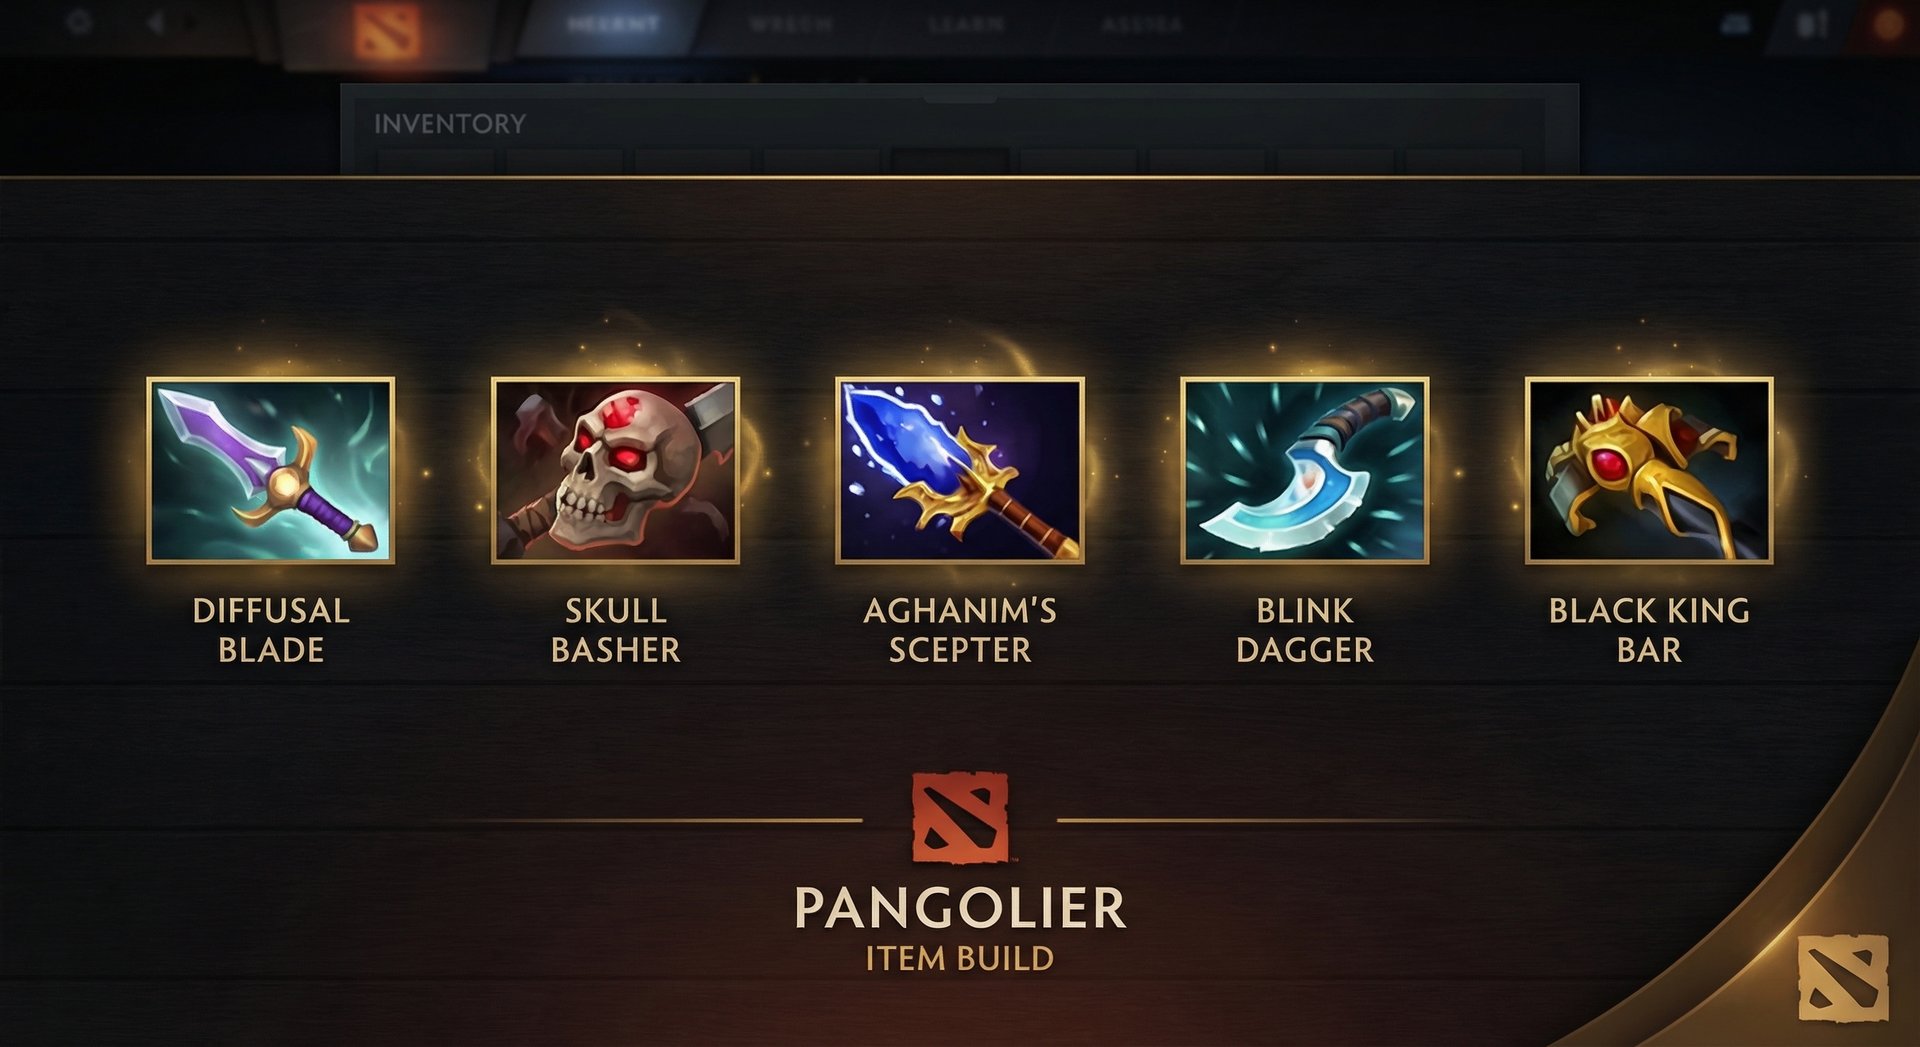
Pangolier’s itemization is unique because of how Swashbuckle interacts with on-hit effects. Raw damage items are mostly wasted — instead, you want items that proc on each of the four slashes. Here is the breakdown by rank bracket:
| Rank | Starting | Early Game | Core | Late Game |
|---|---|---|---|---|
| Herald – Crusader | Tango, Quelling, Stout Shield, branches | Arcane Boots, Magic Wand, Orb of Corrosion | Diffusal Blade, Aghanim’s Shard, Blink Dagger | Basher/Abyssal, BKB, Octarine Core |
| Archon – Legend | Tango, Quelling, Ring of Protection, branches | Arcane Boots, Magic Wand, Orb of Corrosion | Diffusal Blade, Aghanim’s Shard, Blink Dagger | Basher/Abyssal, BKB, Linken’s Sphere |
| Ancient – Divine | Tango, Quelling, Ring of Protection | Arcane Boots (disassemble), Wand, Orb of Corrosion | Diffusal Blade, Aghanim’s Shard, Eul’s or Blink | Abyssal Blade, BKB, Octarine, Overwhelming Blink |
| Immortal | Tango, Quelling, circlet, branches | Arcane Boots (disassemble), Wand, Orb of Corrosion | Diffusal Blade, Shard, Eul’s Scepter | Abyssal, BKB, Linken’s, Overwhelming Blink, Gleipnir |
Why Items Differ by Rank
Lower ranks (Herald-Crusader): Fights are chaotic and uncoordinated. Blink Dagger is core because you need a reliable way to position for Rolling Thunder. Players at this rank do not punish Blink’s cooldown vulnerability as much, so it is safer to build. Basher is excellent because low-rank enemies do not build BKB on time, and locking them down with Swashbuckle bash procs wins fights outright.
Mid ranks (Archon-Legend): Players start buying BKB and playing around vision. Diffusal Blade timing becomes critical — you want it by 15-18 minutes to win the midgame. Linken’s Sphere is a strong late option here because single-target disables are how these ranks deal with Pangolier.
High ranks (Ancient-Divine): Eul’s Scepter becomes the preferred mobility item over Blink in many games because it provides mana regen, movement speed, and a self-Eul’s setup for guaranteed Rolling Thunder initiations. Disassembling Arcane Boots into Aether Lens components is standard here. Octarine Core is game-winning at this level because the cooldown reduction on Swashbuckle and Rolling Thunder is absurd.
Immortal: Build is highly situational. Eul’s is still the default, but Gleipnir has emerged as a powerful option because the chain lightning procs on every Swashbuckle slash and the active root combos with Rolling Thunder. Overwhelming Blink replaces standard Blink as the luxury option for its bonus damage and slow on arrival.
Items to Avoid
- Desolator: The armor reduction does not apply per Swashbuckle hit (only the first hit matters), and the damage bonus is wasted since Swashbuckle deals fixed damage.
- Battlefury: Cleave does not proc off Swashbuckle. This is a common low-rank mistake.
- Manta Style: The illusions do not benefit from Swashbuckle and Pangolier is not a right-click hero. Completely wasted gold.
- Radiance: Pangolier does not need a farming item and the miss chance does not synergize with his kit when he has built-in disarm.
Laning Phase Masterclass
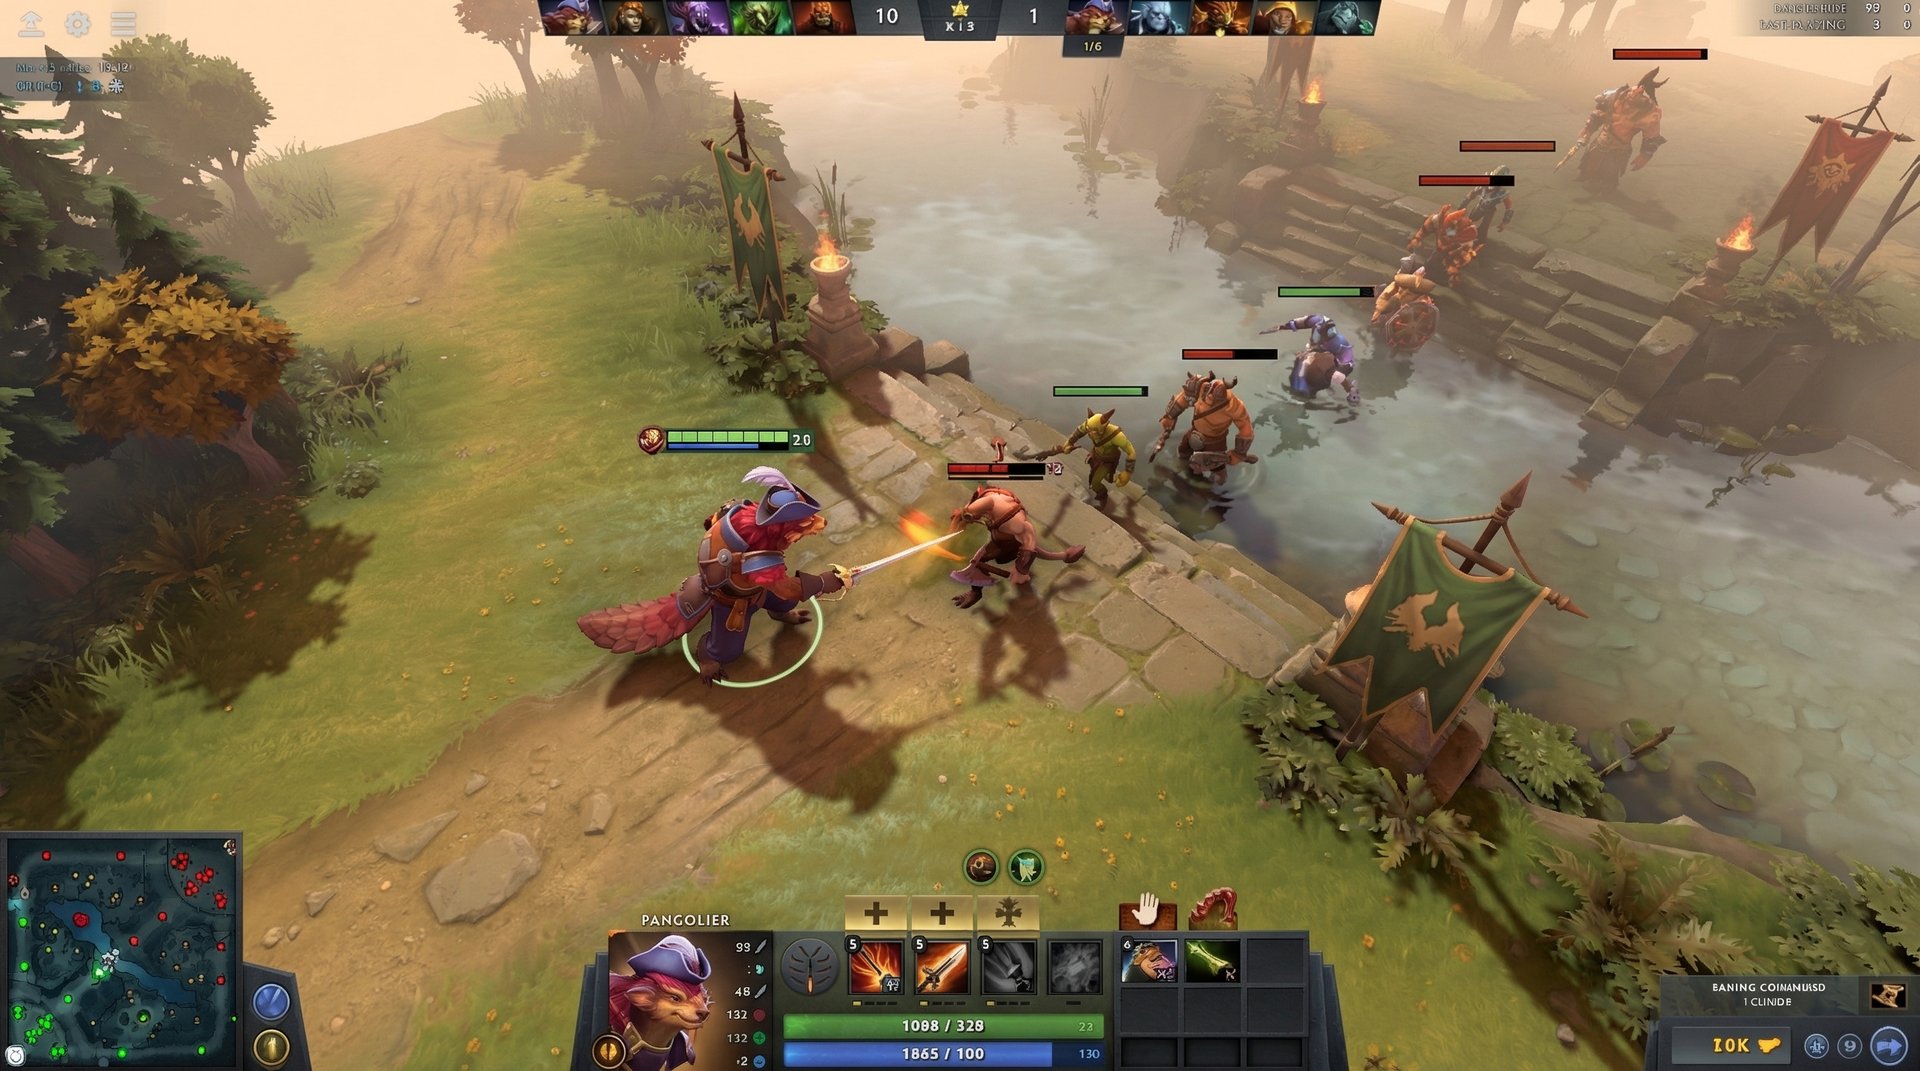
Pangolier’s laning phase is deceptively strong once you understand his power spikes and trading patterns. Most players think of Pangolier as a weak laner who needs to survive until level 6, but that is only true if you play him passively.
Levels 1-3: Establishing Lane Presence
Level 1 Swashbuckle lets you trade favorably with most safelane carries. The key is positioning — Swashbuckle both damages enemies and repositions you, so you can dash through the wave to last hit while simultaneously harassing the carry. At level 1, aim your Swashbuckle so it hits both the ranged creep and the enemy hero.
Take Lucky Shot at level 2. The disarm proc during early trades is devastating. If you Swashbuckle the enemy carry and proc a disarm, they cannot trade back for several seconds. This is your window to secure last hits or zone them.
Shield Crash at level 3 gives you the Q-W combo. Now your trading pattern is: Swashbuckle toward the enemy, immediately Shield Crash for bonus damage, and walk away with the damage reduction shield absorbing their retaliation. This combo deals significant damage and leaves you tanky enough to survive their response.
Lane Partner Synergies
Pangolier works best with supports who can:
- Set up kills: Tusk (Snowball into Rolling Thunder is disgusting), Marci (Dispose into your combo), Earth Spirit (Rolling Boulder slow lets you land easy Swashbuckles)
- Save you: Dazzle (Shallow Grave during aggressive dives), Oracle (False Promise lets you roll in fearlessly)
- Control the wave: Dark Willow (Bramble Maze + your AoE clears waves), Jakiro (dual breath + your Swashbuckle destroys creep equilibrium)
Matchup-Specific Laning Tips
Against melee carries (Phantom Assassin, Anti-Mage, Juggernaut): You dominate these lanes. Swashbuckle harass is free damage because they have to walk into melee range to last hit. The Lucky Shot disarm is especially brutal against PA and AM since they rely entirely on right-clicks.
Against ranged carries (Drow Ranger, Sniper): Harder matchup. They can harass you outside Swashbuckle range. Play more defensively levels 1-4, focus on getting what last hits you can, and wait for level 6. Once you have Rolling Thunder, you can kill these heroes every time it is off cooldown.
Against aggressive dual lanes (Ursa + Warlock, Slark + Witch Doctor): This is where Pangolier struggles. Heavy kill threat lanes force you to play far back. Ask your support to pull or stack, and accept that you might need to use Swashbuckle purely defensively to escape ganks rather than to trade.
Power Spike: Level 6
Pangolier’s level 6 is one of the strongest in the game. Rolling Thunder changes everything. You go from a lane trader to a kill threat. If you have Arcane Boots and level 6, you can kill almost any safelane carry solo — roll from fog, stun them, Swashbuckle + Shield Crash combo, and the slow from Lucky Shot prevents their escape.
Call your mid or support for a gank at level 6. Rolling Thunder from behind trees into the enemy safelane is almost always a kill if your team follows up.
Mid and Late Game Transitions
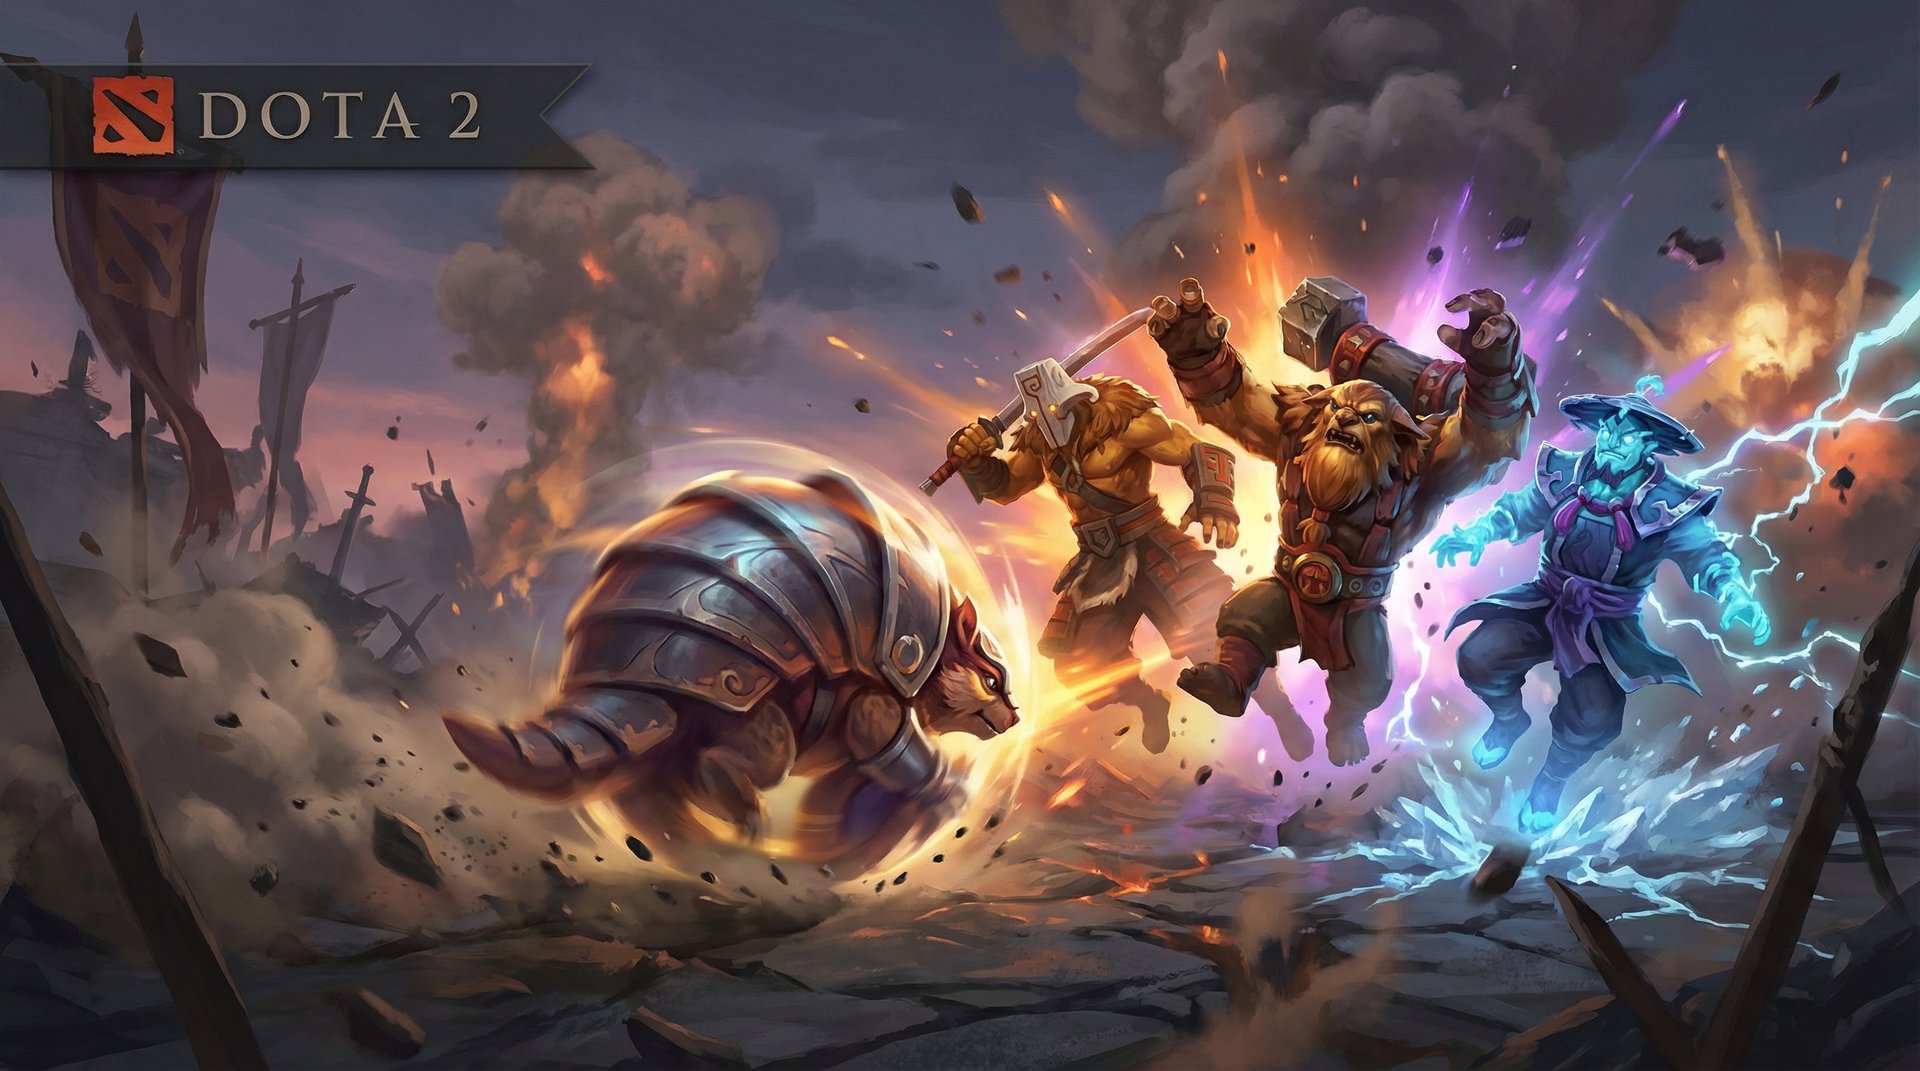
Timing Windows
Pangolier has clear timing windows that you need to capitalize on:
- 12-18 minutes (Diffusal Blade timing): This is your first major power spike after laning. With Diffusal, your Swashbuckle drains mana on every hit (4 hits = massive mana burn). Force fights at this timing. Many carries do not have BKB yet, and the mana burn cripples intelligence heroes.
- 20-25 minutes (Shard + Eul’s/Blink): Your peak. At this point you have full combo potential — Eul’s yourself to set up Rolling Thunder, Shard lets you Swashbuckle during roll, and your teamfight impact is at maximum. If you are not forcing objectives and fights at this timing, you are playing Pangolier wrong.
- 30+ minutes (BKB timing): Pangolier starts to fall off relative to hard carries with BKB. Your stun from Rolling Thunder does not pierce spell immunity, and many of your procs are blocked. You need BKB yourself to avoid getting stunned out of your roll.
- 40+ minutes (Abyssal Blade): With Abyssal, you get a second wind. The bash procs on Swashbuckle give you reliable lockdown that pierces BKB, and the active is a guaranteed disable. This is how Pangolier stays relevant ultra-late.
Team Fight Positioning
Before the fight: Do not stand with your team. Pangolier needs to initiate from an angle. Position yourself in trees, on high ground, or in fog where the enemy does not expect you. Your Rolling Thunder is 10x more effective from an unexpected angle than from the front.
During the fight: Your sequence should be: Roll in from fog, stun priority targets (carry or mid), Shield Crash for damage and tankiness, then Swashbuckle through the enemy team. If your Rolling Thunder stun hits 2-3 heroes, the fight is essentially won. After your roll ends, use Blink or Eul’s to reposition for a second Swashbuckle rotation.
After the fight: Pangolier is an excellent tower pusher with Swashbuckle spam. Always take an objective after a won fight — tower, Roshan, or map control. Do not go back to farming jungle after winning a teamfight. Push your advantage.
When to Split Push
Pangolier is one of the safest split pushers in Dota 2. Swashbuckle clears waves instantly, Rolling Thunder lets you escape almost any gank, and your mobility means you can rejoin your team quickly. Split push when:
- Your team is playing defensively and you need to create pressure elsewhere
- The enemy has strong 5v5 teamfight and you want to avoid it
- You are behind and need to find solo farm without giving up map presence
- You have map awareness skills to know when to back off
Counters: Heroes That Destroy Pangolier
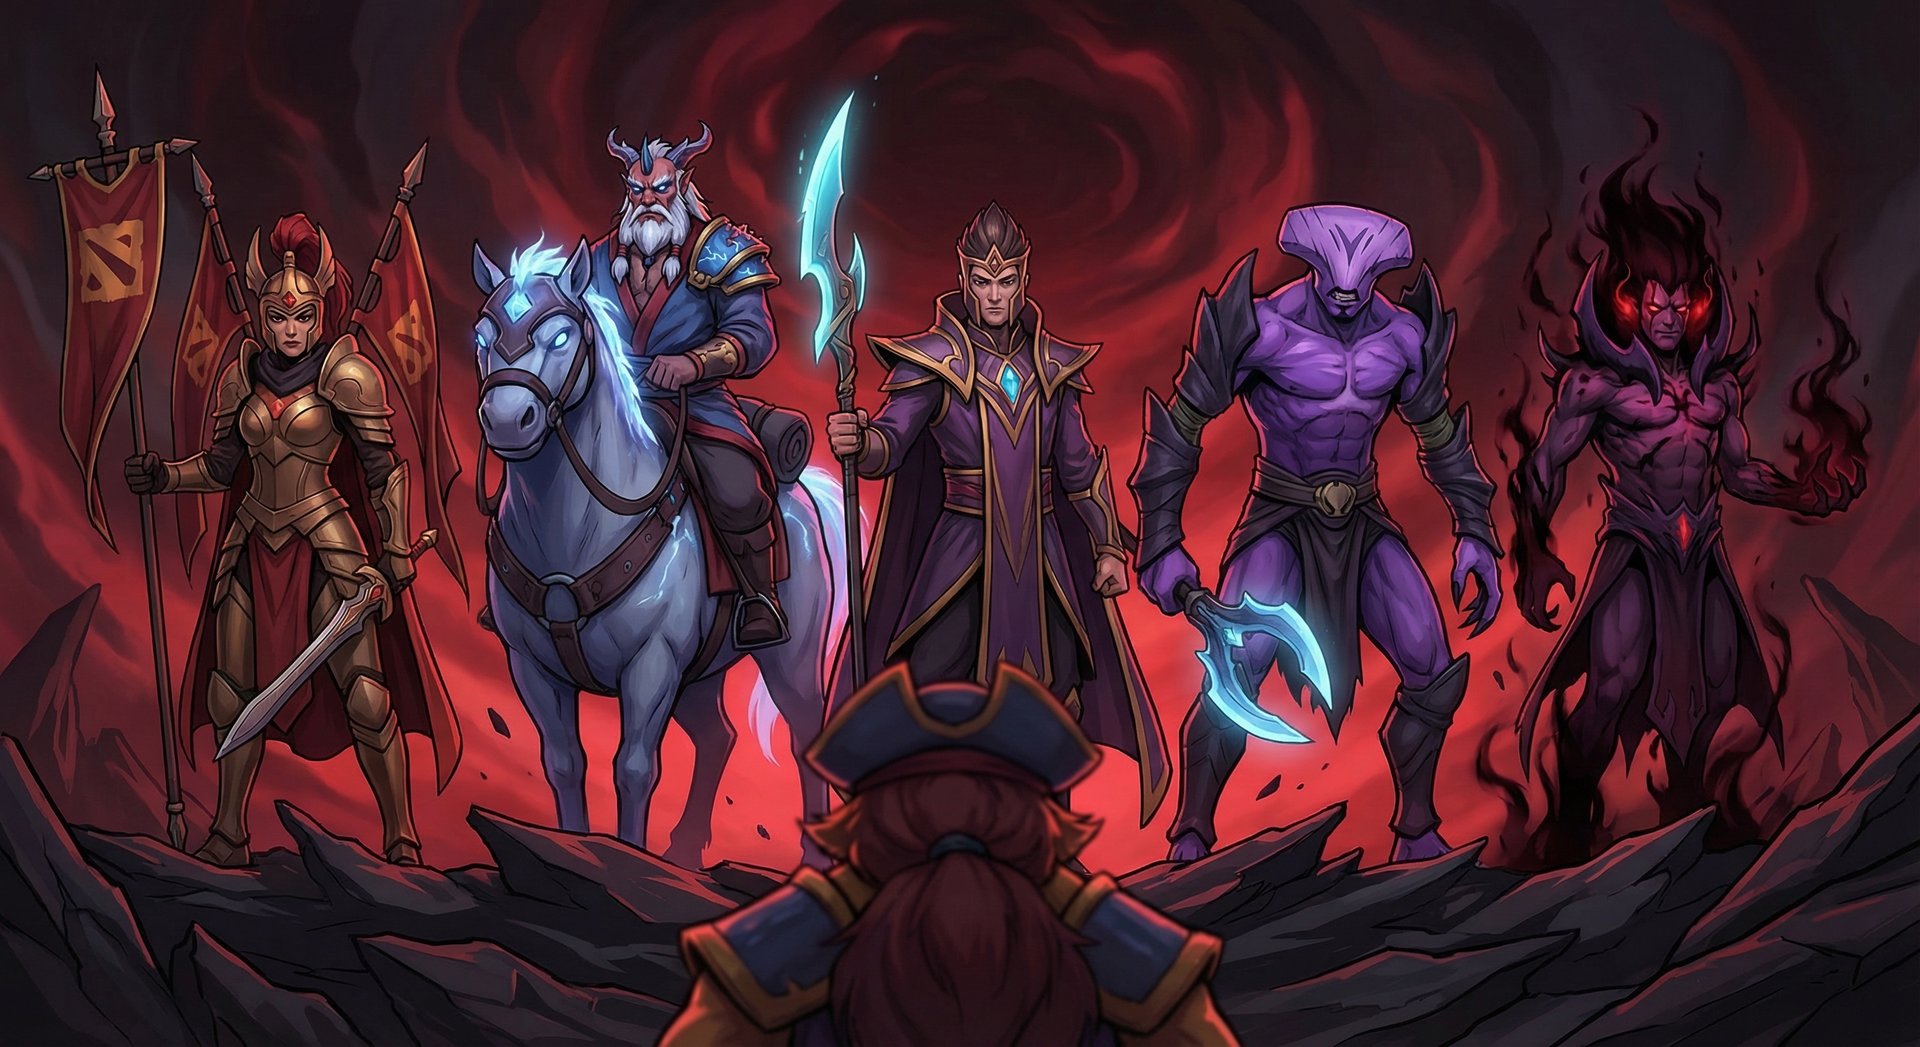
No hero is unbeatable, and Pangolier has some rough matchups. Here are the top 5 counters and how to play around each one:
1. Legion Commander
Why she counters you: Duel pierces spell immunity and locks you in place. It completely stops Rolling Thunder and forces you to stand still and right-click — which Pangolier is terrible at. Additionally, Press the Attack dispels your Lucky Shot disarm.
How to play around her: Never initiate onto a Legion Commander with Rolling Thunder. Let her use Duel on a teammate first, then roll in. Buy Linken’s Sphere to block Duel. If she gets ahead in Duel damage, consider Eul’s to remove yourself from Duel setups.
2. Disruptor
Why he counters you: Kinetic Field completely stops Rolling Thunder. Glimpse sends you back to where you were 4 seconds ago, which is devastating after you Blink or Swashbuckle forward to initiate. Static Storm silences you inside Kinetic Field, making escape impossible.
How to play around him: Wait for Disruptor to use his spells on another target before rolling in. Buy BKB to roll through Kinetic Field. Linken’s blocks Glimpse. Play at the edge of fights rather than diving deep when Disruptor has abilities available.
3. Faceless Void
Why he counters you: Chronosphere catches you mid-roll and freezes you. Time Walk lets him dodge Swashbuckle. Time Dilation extends the cooldown on all your recently-used spells, which is devastating for a cooldown-reliant hero like Pangolier.
How to play around him: Never roll into a Void who has Chronosphere available. Wait for him to Chrono first, then roll into the fight after Chrono ends to clean up. Your job against Void is to play around Chrono timings, not to initiate first.
4. Silencer
Why he counters you: Global Silence stops Rolling Thunder mid-roll and prevents you from casting any abilities. Last Word punishes you for casting spells (which you do constantly), and Arcane Curse punishes spell-spamming even harder. Pangolier is one of the most spell-dependent heroes in the game.
How to play around him: Buy BKB (mandatory against Silencer). Save your Rolling Thunder until after Global Silence is used. In lane, avoid spamming Swashbuckle when Arcane Curse is active. Consider Manta Style or Lotus Orb purely for the dispel.
5. Shadow Demon
Why he counters you: Disruption banishes you for 2.5 seconds, which wastes your Rolling Thunder duration. Demonic Purge slows you to a crawl, dispels your Shield Crash damage reduction, and the shard creates multiple purge instances. Shadow Poison stacks punish you for diving into fights.
How to play around him: Avoid rolling directly at Shadow Demon. Flank from angles where he cannot see you coming. BKB blocks Disruption and Demonic Purge. Try to bait Disruption before committing Rolling Thunder.
Heroes Pangolier Destroys
Pangolier thrives against heroes who rely on right-click damage, have no escape, or group together in fights. Here are the five best matchups for Pangolier:
1. Phantom Assassin
Lucky Shot disarm removes PA’s entire damage output. She has no way to purge it, Blur does not dodge Swashbuckle (it is not a regular attack), and her fragile HP pool means a full Q-W combo takes a massive chunk. Stifling Dagger does not help her escape Rolling Thunder, and she has no way to interrupt your roll.
2. Troll Warlord
Disarm is Troll’s worst nightmare. His entire kit revolves around right-clicking, and Lucky Shot shuts him down completely. Battle Trance makes him stand still — a free Rolling Thunder target. Troll has no mobility to dodge Swashbuckle, and Fervor stacks reset when he is disarmed.
3. Sniper
Sniper has zero mobility, no way to interrupt Rolling Thunder, and dies instantly to your combo. Swashbuckle closes the distance Sniper relies on, Rolling Thunder stuns him from fog, and Shield Crash’s damage reduction makes his Assassinate useless. This is a free lane and a free game.
4. Medusa
Diffusal Blade on Pangolier is devastating against Medusa. Four mana burns per Swashbuckle drains her mana shield faster than almost any other hero in the game. Stone Gaze does not affect you during Rolling Thunder (you are not looking at her), and she has no way to interrupt your roll.
5. Wraith King
Mana burn from Diffusal through Swashbuckle can drain Wraith King’s mana pool, potentially denying his Reincarnation. He has no way to stop Rolling Thunder, his skeleton army gets cleaved by Shield Crash, and his slow right-click playstyle gets punished by Lucky Shot disarm. Pangolier makes Wraith King’s life miserable at every stage.
How Pros Play Pangolier in the Current Patch
Pangolier has been a staple in professional Dota 2 since his release. In recent tournaments and high-level pubs, several trends have emerged:
Eul’s Scepter is the default first major item in competitive play. Pros value the self-Eul’s into guaranteed Rolling Thunder setup over Blink Dagger. The mana regen solves Pangolier’s mana issues, the movement speed helps with rotations, and the active is both offensive and defensive.
Aghanim’s Shard timing is around 20 minutes. Pro players rush Shard after their first core item because the enhanced Shield Crash during Rolling Thunder adds enormous damage and survivability. The ability to Swashbuckle during Rolling Thunder is a game-changer for chase potential.
Gleipnir is the emerging luxury item. Several top Immortal players and pro teams have started building Gleipnir on Pangolier. The chain lightning procs on every Swashbuckle hit, and the active root combos perfectly with Rolling Thunder — root the enemy team, then roll through them for guaranteed stuns on rooted targets.
Notable pro players known for their Pangolier play include Collapse (Team Spirit), who has consistently showcased the hero’s teamfight potential in TI qualifiers and Major events, and 33, whose creative pathing during Rolling Thunder has produced countless highlight clips. Ceb also famously used Pangolier in key matches during his competitive career.
In competitive drafts, Pangolier is typically picked when the team needs an offlaner who can initiate without relying on a follow-up setup. He pairs well with heroes like Snapfire (who can Gobble Up during Rolling Thunder for insane combo potential), and teams often ban Disruptor and Legion Commander when running Pangolier strats. Check Liquipedia for tournament pick and ban data.
Rank-Specific Climbing Guide
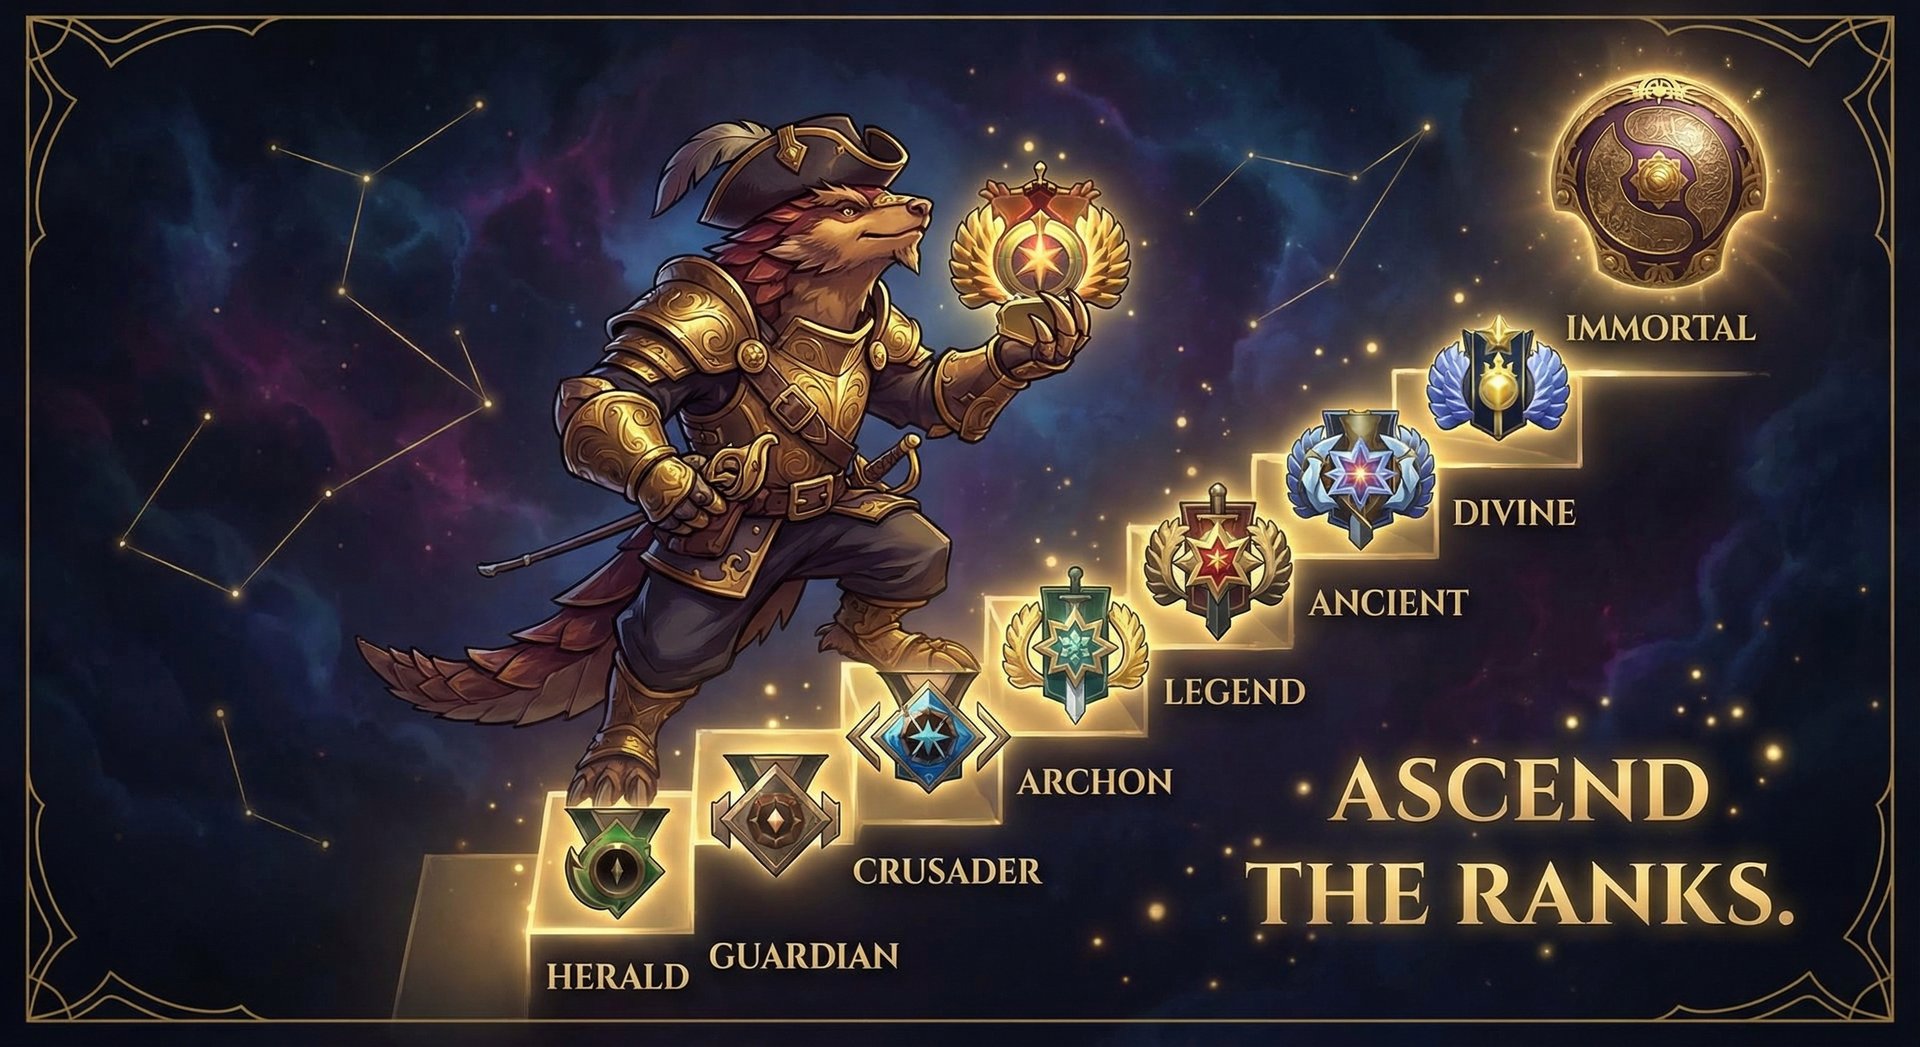
Herald to Guardian: Foundation Basics
At this rank, execution beats strategy. Your enemies will make constant mistakes, and you can exploit them with basic Pangolier play:
- Learn the Q-W combo: Swashbuckle into enemies, immediately Shield Crash. Practice this in demo mode until it is muscle memory. This single combo wins lanes at Herald level.
- Press R and roll forward: Do not overthink Rolling Thunder at this rank. Just roll toward enemy heroes. They will not sidestep, they will not use BKB, and they will probably panic and run in a straight line directly in front of you.
- Buy Diffusal Blade every game: Do not get creative with your item build. Arcane Boots into Diffusal Blade into whatever you feel like. The Diffusal procs on Swashbuckle carry games at this bracket.
- Do not die for kills: At Herald, trading 1-for-1 is never worth it. Pangolier’s strength is that he can get kills AND escape. Use Swashbuckle to retreat after getting a pick.
Crusader to Archon: Adding Game Sense
Players at this rank start having basic game sense but still make predictable mistakes. Pangolier rewards players who capitalize on those mistakes:
- Learn to initiate from fog: Stop rolling at enemies from in front of them. Use trees, high ground, and smoke of deceit to set up Rolling Thunder from unseen angles. Your winrate will jump immediately.
- Diffusal timing matters: Aim for Diffusal Blade by 14-16 minutes. If you get it later, you have missed your power spike. Use your first Diffusal timing to force a tower push or Roshan.
- Start disassembling Arcane Boots: Build them early for mana, then disassemble later for Aether Lens or Octarine Core components. This is free value that many players at this rank ignore.
- Track enemy cooldowns: Before pressing R, ask yourself: “Does the enemy have stuns that can stop my roll” If yes, wait. If no, go.
Legend to Ancient: The Macro Leap
This is where Pangolier play separates the good from the great. Macro decision-making is what gets you out of Legend:
- Play around your ultimate cooldown: When Rolling Thunder is up, be aggressive — push lanes, take fights, threaten Roshan. When it is down, farm safely and avoid unnecessary fights. Your team should fight when your ult is ready and disengage when it is not.
- Eul’s combo mastery: Learn the Eul’s into Rolling Thunder combo. Eul’s yourself, channel Rolling Thunder during the cyclone, and start rolling the instant you land. This is a guaranteed initiation that enemies cannot interrupt. If you are not doing this, you are leaving wins on the table.
- Split push with purpose: Do not just hit creeps. Push a lane, then immediately rotate to where your team is fighting or taking an objective. Pangolier’s mobility means you can be on the other side of the map in seconds.
- Buy BKB when needed: Many Legend players refuse to buy BKB on Pangolier because “it is not a fun item.” If you are getting stunned out of your roll every fight, BKB is the answer. Swallow your ego.
Divine to Immortal: What Separates the Top 1%
At this level, everyone knows how to play Pangolier mechanically. The difference is decision-making at the highest level:
- Draft awareness: Know when to pick Pangolier and when not to. If the enemy has Legion + Disruptor + Faceless Void, do not pick Pangolier. If the enemy has PA + Troll + Medusa, slam that pick button.
- Itemize per game: Stop building the same items every game. Gleipnir when you need catch, Linken’s against single-target lockdown, Lotus Orb against dispellable debuffs, Aghanim’s Scepter when you need the extended roll duration for massive teamfights.
- Threaten without committing: Sometimes the best Rolling Thunder is the one you do not use. Show yourself at a fight, force the enemy to respect your potential roll, then back off and take a tower on the other side of the map while they waste time preparing for your initiation.
- Frame-perfect Shield Crash during roll: At Immortal level, you need to Shield Crash at the exact moment you pass through enemies during Rolling Thunder for maximum damage and shield value. Casting it too early or too late loses you fights.
- If climbing feels too slow, an MMR boost can get you to the bracket where you belong while you continue improving.
Tips and Tricks
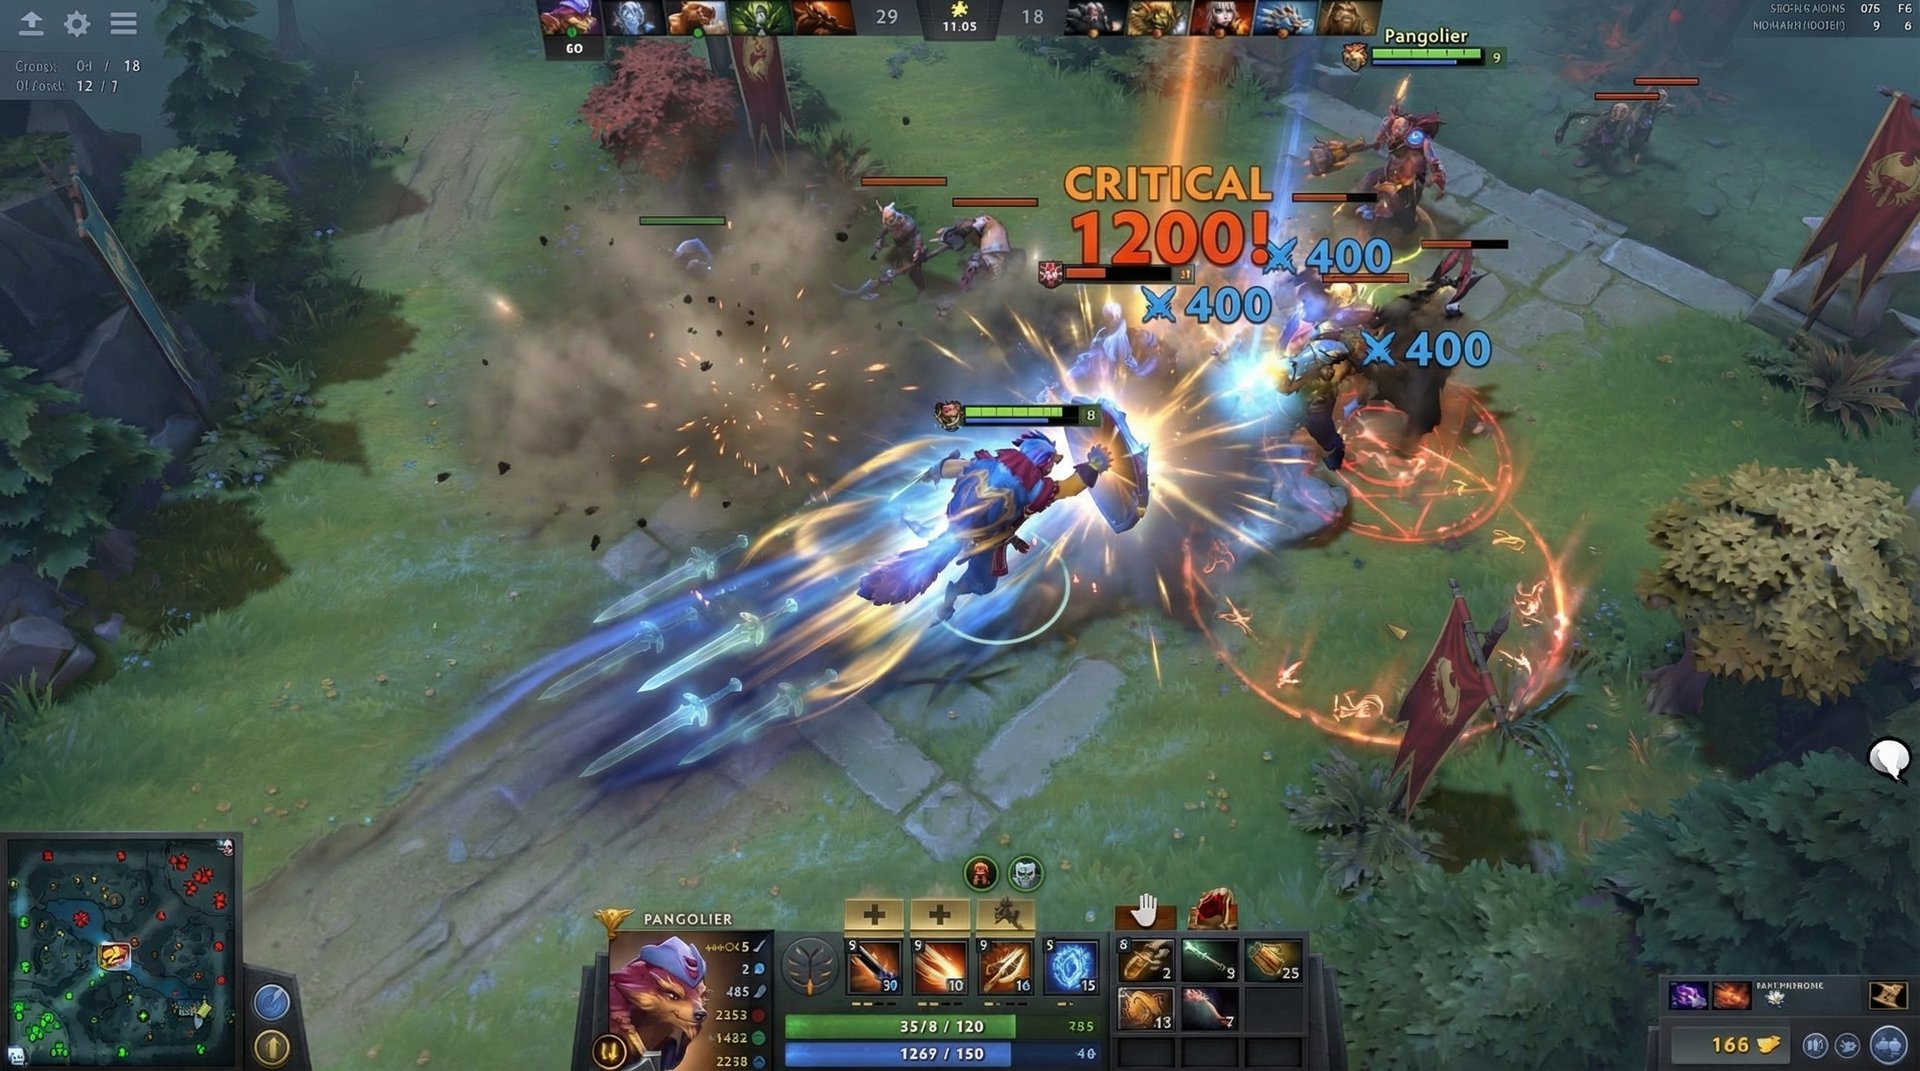
Animation Cancels and Hidden Interactions
- Swashbuckle + TP Scroll: You can start a TP immediately after Swashbuckle ends. If you Swashbuckle away from danger and immediately TP, enemies have almost no time to interrupt you.
- Shield Crash dodge: Shield Crash makes Pangolier briefly airborne. While airborne, some ground-targeted abilities can miss or have reduced effect. It will not dodge everything, but it adds a tiny window of pseudo-invulnerability against certain spells.
- Rolling Thunder + Blink Dagger: If you Blink during Rolling Thunder (requires Aghanim’s Scepter), you maintain your rolling state. This lets you teleport across the fight and immediately stun enemies at your Blink destination.
- Eul’s timing: When using Eul’s on yourself to set up Rolling Thunder, start channeling R immediately as you fly into the air. The channel completes just as you land, so you start rolling instantly with no gap for enemies to interrupt.
Common Mistakes to Avoid
- Rolling Thunder from the front: The number one Pangolier mistake. Never roll at enemies from where they can see you coming. Always use fog, trees, or flanks.
- Not using Shield Crash during roll: Every time you roll through enemies without pressing W, you are leaving damage and survivability on the table. Make it a habit: roll through enemies, press W, repeat.
- Building attack damage items: Swashbuckle deals fixed damage. Buying Desolator, Daedalus, or other raw damage items does nothing for your main ability. Focus on on-hit effect items.
- Fighting without Rolling Thunder: Pangolier without ult is half a hero. Unless you have a massive item advantage, avoid committing to fights when Rolling Thunder is on cooldown.
- Ignoring BKB timing: If the enemy team has 2+ stuns that interrupt your roll, you need BKB. Delaying it to build “fun” items loses games.
Advanced Mechanics Only High-MMR Players Know
- Wall bounce angles: You can predict exactly where you will bounce by noting the angle you hit the wall. Use this in practice mode to master specific bounce paths near Roshan, tier 2 towers, and common teamfight locations.
- Swashbuckle through Roshan: You can Swashbuckle through the Roshan pit entrance to escape. The dash goes through terrain, so you can use it as an emergency escape route that enemies without Blink cannot follow.
- Lucky Shot math: At max rank with 20% proc chance and 4 hits per Swashbuckle, your chance of NOT proccing is 0.8^4 = 0.41, meaning you have a 59% chance of at least one proc. With Javelin added, your lockdown probability per Swashbuckle becomes extremely reliable.
- Aghanim’s Scepter Roll Duration: With Aghanim’s Scepter, Rolling Thunder duration increases significantly. In ultra-late game scenarios, this extended roll time lets you cover the entire enemy base during a high-ground push, stunning defenders multiple times.
Frequently Asked Questions
Pangolier has a steep learning curve, but he is rewarding to learn. If you are brand new to Dota 2, we recommend starting with simpler offlaners like Axe or Tidehunter. However, if you are willing to invest 20-30 games learning his mechanics, Pangolier is one of the best heroes for climbing MMR because he can single-handedly win team fights.
Max Swashbuckle (Q) first, take one value point in Lucky Shot (E) at level 2 or 3, then max Shield Crash (W) second. Take Rolling Thunder at 6, 12, and 18. In some games where you need the disarm more than the damage, you can max Lucky Shot second instead of Shield Crash, but this is situational.
In most games, Eul’s Scepter is the better choice. It gives mana regen, movement speed, and a guaranteed Rolling Thunder setup (Eul’s yourself, channel R during cyclone). Blink Dagger is better when you need instant repositioning and the enemy does not have damage-over-time abilities that cancel Blink. At lower ranks, Blink can feel easier to use because it is more straightforward.
Swashbuckle hits four times per cast, and each hit applies on-hit effects including Diffusal Blade’s mana burn. This means one Swashbuckle burns 4x the normal amount of mana. Against intelligence heroes or heroes that rely on mana (like Wraith King or Medusa), this is devastating. The slow from Diffusal’s active also helps set up Rolling Thunder.
Legion Commander is the hardest counter — Duel stops Rolling Thunder and forces Pangolier to right-click (which he is terrible at). Disruptor’s Kinetic Field blocks the roll path. Faceless Void’s Chronosphere catches him mid-roll. Silencer’s Global Silence cancels Rolling Thunder from anywhere on the map. In general, instant stuns and BKB-piercing lockdown are the best answers to Pangolier.
Yes, but situationally. Mid Pangolier works against melee mids where you can dominate with Swashbuckle harass and rotate with Rolling Thunder at level 6. Support Pangolier (position 4) works in aggressive dual lanes where you can trade with Swashbuckle and set up kills with Rolling Thunder. However, his best role is position 3 offlane where he gets the farm he needs for Diffusal and Shard timing.
Use Eul’s Scepter on yourself, then immediately start channeling Rolling Thunder while you are in the cyclone. The channel finishes as you land, so you begin rolling the instant the cyclone ends. Enemies cannot interrupt the channel because you are cycloned. This guarantees your initiation and is the primary reason Eul’s is considered core on Pangolier at high ranks.
Ready to Roll Through the Ranks
Pangolier rewards practice and game knowledge — but if you want to skip the grind and play at the rank you deserve, Team Smurf has you covered. Our Immortal-rank boosters and coaches know every Rolling Thunder angle on every map.



