
How to Master Juggernaut in Dota 2: The Ultimate Guide for Every Rank

Juggernaut has been a top-tier carry pick since the earliest days of Dota, and in patch 7.40c he remains one of the most reliable safelane heroes in the game. With a 54% win rate and the highest pick count among carries in ranked matchmaking, Yurnero is the definition of a comfort pick that scales from lane domination to late-game monster.
But here is the thing most Juggernaut players get wrong: they play him on autopilot. They spin, they slash, they farm Battle Fury, and they wonder why they are stuck at 3K MMR. This guide is built from 7K+ MMR gameplay analysis, recent pro match data, and thousands of hours of carry experience. Whether you are picking up the hero for the first time or trying to push from Divine to Immortal, every section is designed to give you actionable, rank-specific advice that actually moves the needle.
By the end, you will understand Juggernaut’s hidden mechanics, know exactly which items to build at your bracket, and have the game sense to turn his seemingly simple kit into a win condition that opponents cannot answer.
Table of Contents
Why Juggernaut Is the Ultimate Carry in 7.40c
Juggernaut sits at a 54% win rate in patch 7.40 with the highest carry pick rate at over 15% across all brackets according to Dotabuff and DotaCoach data. That is not a coincidence. Despite receiving nerfs to his base Agility (34 down to 32), Healing Ward duration, and Omnislash attack rate multiplier, he remains the single most efficient carry for grinding MMR.
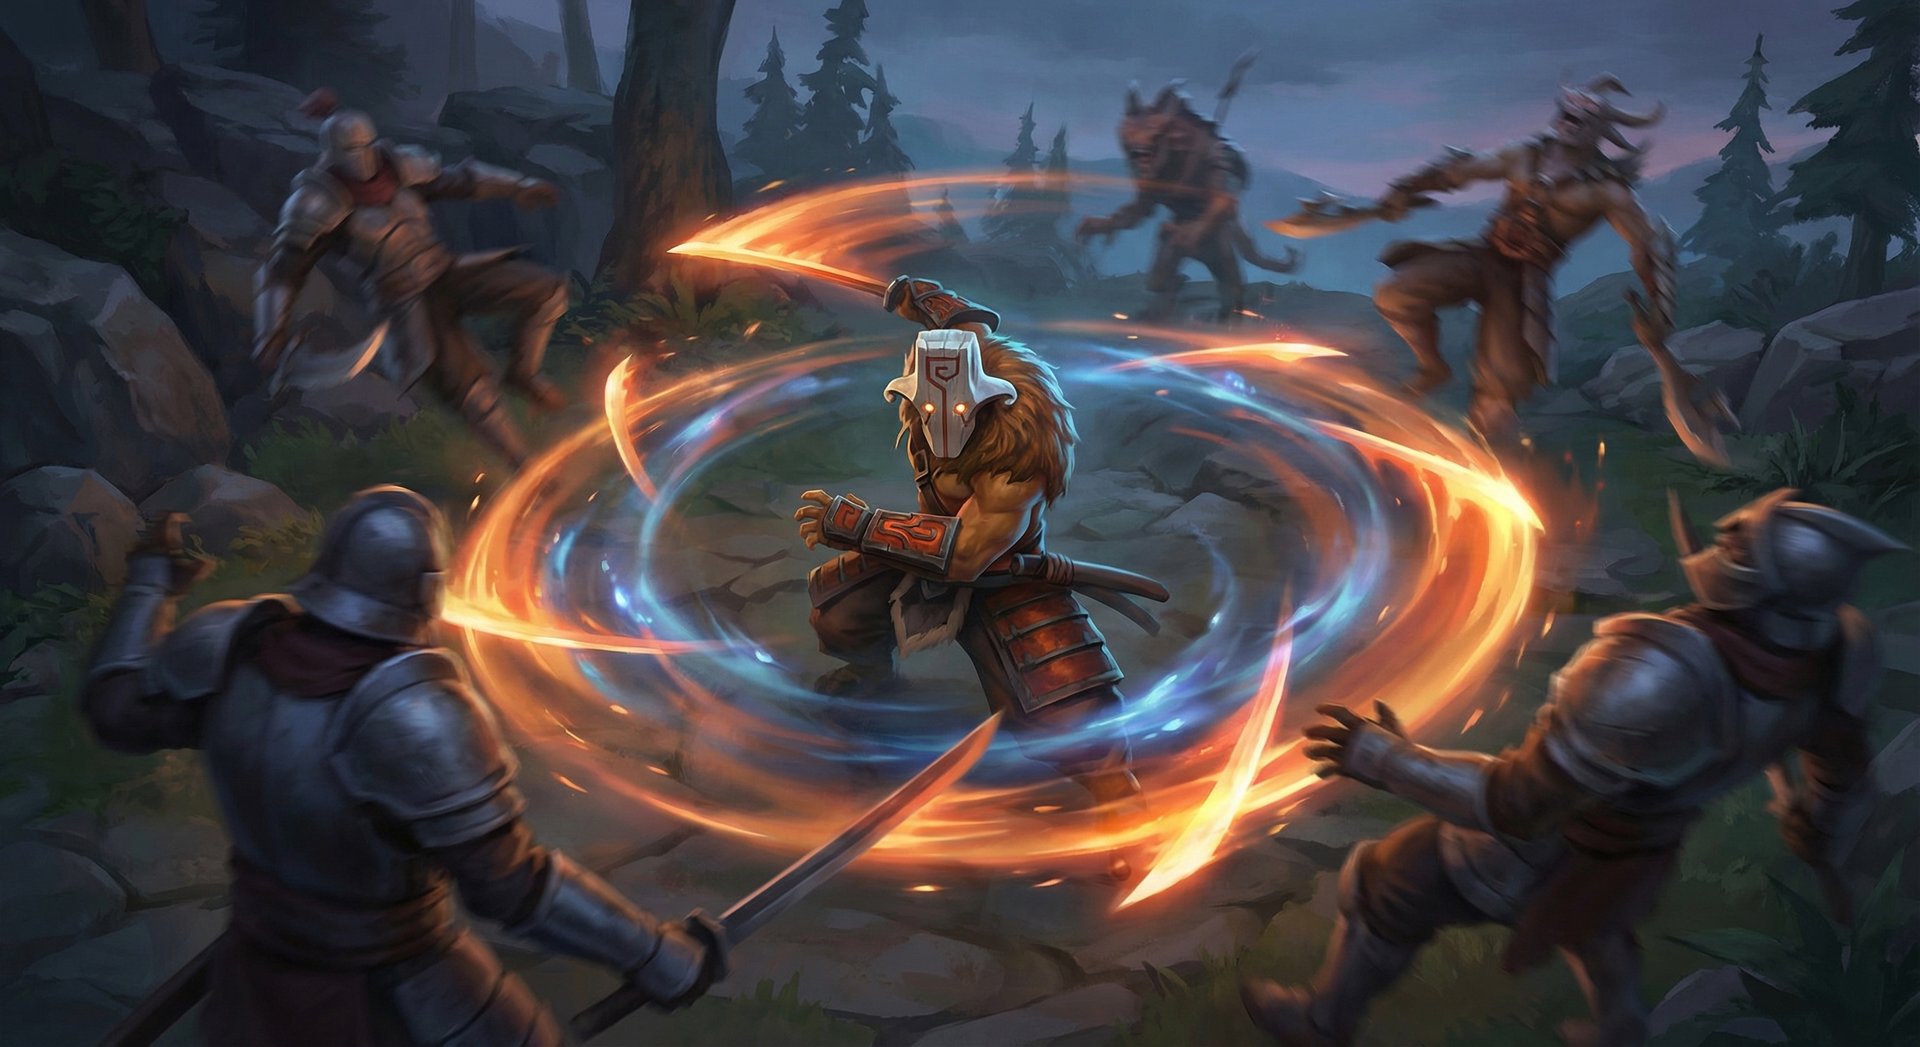
What makes Juggernaut so consistently powerful is his self-sufficiency. Unlike heroes like Spectre or Medusa who need 25+ minutes of protection before they come online, Juggernaut threatens kills from level 3 onwards. Blade Fury is one of the strongest level 1 abilities in the game for a carry hero — 80 DPS in an AoE that also grants debuff immunity. Add his built-in sustain with Healing Ward, a passive crit that scales into late game, and an ultimate that makes him invulnerable while dealing massive damage, and you have a hero that never has a truly weak timing.
His Duelist innate ability is often overlooked by lower-ranked players. Dealing 12% bonus damage to targets facing you sounds minor until you realize it applies to every Omnislash strike. When opponents turn to face you during fights — which they almost always do — you are getting a free damage steroid on top of everything else.
Facets: Bladestorm vs Bladeform
Patch 7.40c introduced the facet system, and Juggernaut’s two options create genuinely different playstyles:
Bladestorm (48% WR, 41.2% pick rate): Your Blade Fury can critically strike based on Blade Dance level. This turns Blade Fury from a pure magic damage ability into a hybrid threat. The critical strikes apply to the magical damage itself, meaning a max-level Blade Dance with 190% crit multiplier occasionally turns your spin into devastating burst. However, the lower win rate tells the story — it is situationally powerful but inconsistent.
Bladeform (52.8% WR, 58.8% pick rate): Juggernaut gains bonus Agility and Movement Speed as long as he is not taking damage. This is the dominant facet for a reason. The bonus Agility directly translates to damage, armor, and attack speed, making your farming faster and your right-click scarier. The movement speed bonus helps you chase and position in fights. Most importantly, it rewards good positioning — if you are playing Juggernaut correctly, you should not be tanking damage outside of Blade Fury and Omnislash anyway.
Abilities Deep Dive
Innate: Duelist
Juggernaut deals 12% more damage to targets that are facing him. This is a passive that cannot be broken and always applies during Omnislash. The level 10 talent increases this to 16%.
The hidden value here: most heroes face you during fights because they are trying to cast spells or right-click you back. The only way to avoid Duelist damage is to literally turn your back and run, which means you are not fighting. It creates a lose-lose scenario for opponents — fight Juggernaut and take bonus damage, or run and lose the fight anyway.
Q — Blade Fury
Damage per second: 80 / 110 / 140 / 170
Radius: 260
Duration: 5 seconds
Cooldown: 36 / 30 / 24 / 18
Mana cost: 120 (flat after 7.40 changes)
Blade Fury is Juggernaut’s bread and butter, and most players still do not fully understand its mechanics. During the spin, Juggernaut gains debuff immunity and 80% magic resistance. This means you cannot be stunned, slowed, silenced, or affected by most debuffs while spinning. It also applies a strong dispel at the end of the spin, removing almost everything.
Critical interaction most players miss: You can still attack during Blade Fury, but your attacks deal zero damage to units that are being damaged by the spin. However, you CAN attack buildings, wards, and units that are magic immune during Blade Fury for full damage. This is why Juggernaut can push towers aggressively — spin for the debuff immunity, right-click the tower.
The 7.40 mana cost increase to a flat 120 at all levels is relevant in the early game. At level 1-2, you could previously spam spin more freely. Now you need to be slightly more conscious of your mana pool, especially if you are also using Healing Ward. A set of clarities or a Magic Wand makes a big difference.
Aghanim’s Shard Upgrade
Increases Blade Fury radius and slows enemies by 35% within the AoE. This is a game-changing upgrade in the mid game. The slow means enemies cannot simply walk away from your spin, turning Blade Fury from a defensive/burst tool into a chase ability. At 1,400 gold, Shard is often your best third or fourth major purchase.
W — Healing Ward
Max HP healed per second: 2% / 3% / 4% / 5%
Radius: 400
Duration: 18 / 20 / 22 / 24 seconds (nerfed in 7.40b from 25)
Hits to destroy: 1
Cooldown: 60 seconds
Healing Ward is one of the most underrated abilities in Dota 2. A max-level ward heals 5% of max HP per second to ALL allied units in its radius. On a 3,000 HP hero, that is 150 HP per second. Across a full team, Healing Ward can heal thousands of HP during a single fight.
The duration nerf in 7.40b is significant — losing 1-7 seconds depending on level means you need to be more intentional about when you drop it. Do not just mindlessly pop it while farming. Save it for pushes, Roshan attempts, and team fights where it provides exponentially more value.
Micro tip: Always move your Healing Ward behind or beside you, never in front. Most enemies will try to one-shot it, and keeping it tucked behind terrain or trees dramatically extends its lifespan. You can also move it during Blade Fury and Omnislash, so there is no excuse for letting it die.
E — Blade Dance
Critical chance: 35%
Critical damage: 130% / 150% / 170% / 190%
A straightforward passive crit, but with a 35% proc chance, it is the highest-chance crit in the game among innate abilities. At max level, 190% critical damage is not the biggest multiplier (Phantom Assassin laughs at it), but the consistency is what matters. With 35% chance, you are critting roughly every third hit, which makes your DPS output remarkably reliable compared to heroes with higher damage but lower chance crits.
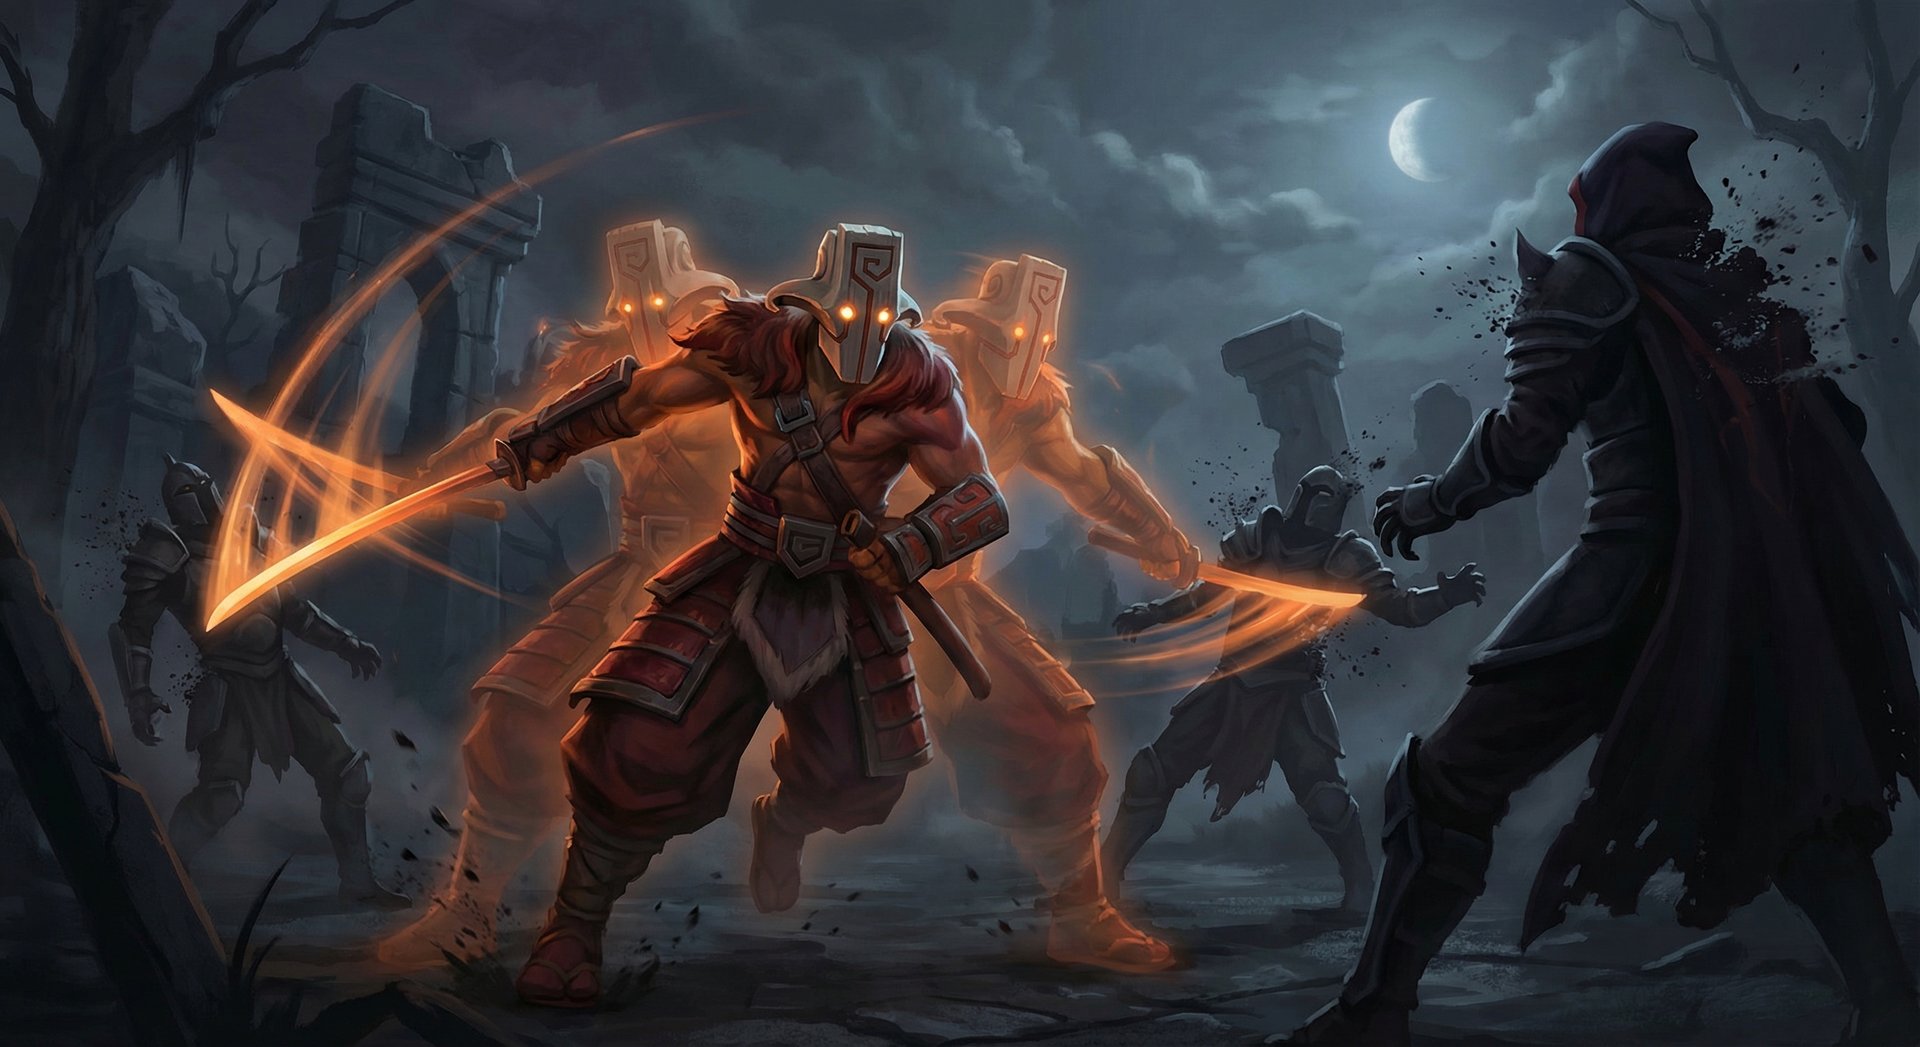
This also applies during Omnislash — each slash can critically strike, which is why Omnislash damage varies so dramatically from cast to cast. A lucky string of crits during Omnislash can one-shot heroes that would otherwise survive.
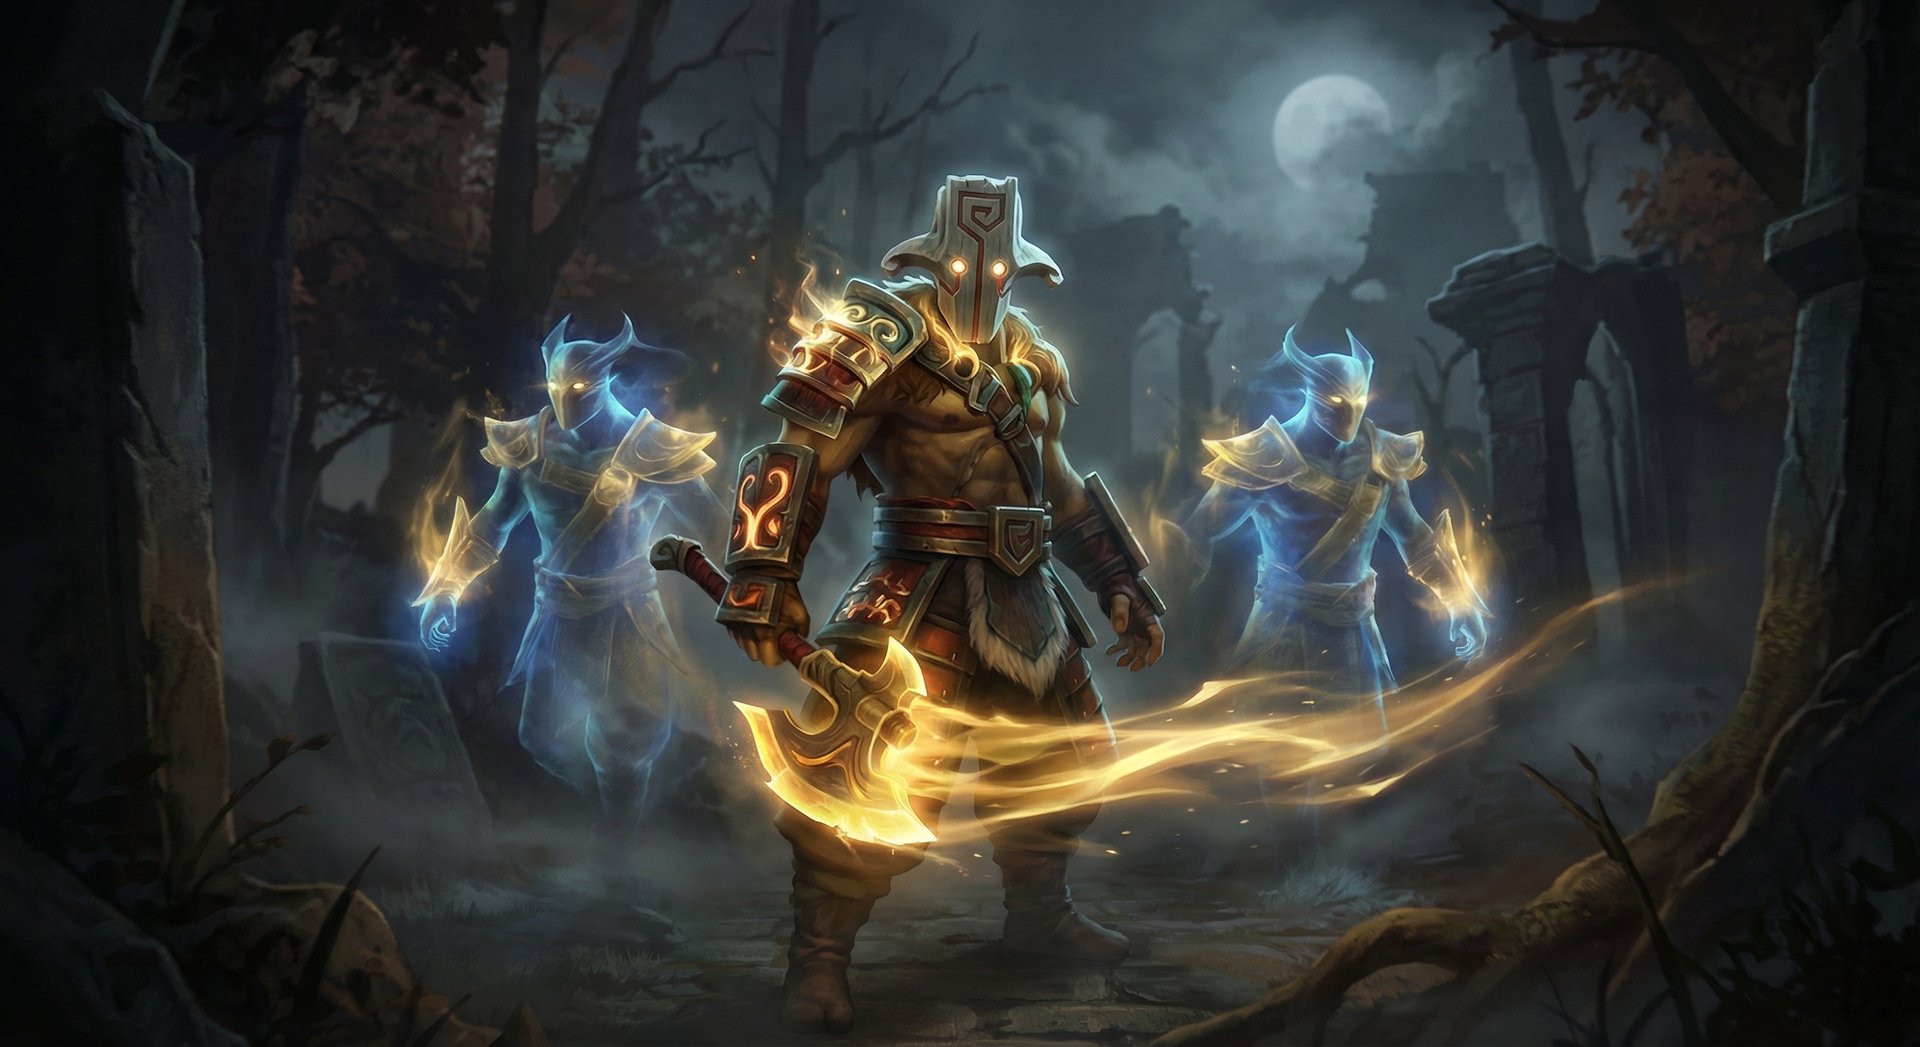
R — Omnislash
Attack rate multiplier: 1.4 (nerfed from 1.5 in 7.40b)
Bonus damage: 25 / 30 / 35
Bonus attack speed: 40
Duration: 3 / 3.25 / 3.5 seconds
Jump radius: 425
Cooldown: 120 seconds
Omnislash makes Juggernaut invulnerable while he slashes at an increased attack rate. The 1.4 attack rate multiplier means your attacks come out 40% faster than normal during the ultimate. Combined with Blade Dance crits and the Duelist bonus (which always applies during Omnislash), this is one of the highest single-target damage ultimates in the game.
The attack rate nerf from 1.5 to 1.4 reduced the number of slashes you get during the duration. At level 3 with decent attack speed, you are getting roughly 8-10 slashes instead of the previous 9-11. This makes each individual crit more important and increases the value of attack speed items.
Aghanim’s Scepter — Swiftslash
Grants a new ability: a 1-second mini-Omnislash on a 25-second cooldown. This is incredibly powerful as a gap closer, finisher, or dodge tool. You can Swiftslash to close distance, then immediately follow up with full Omnislash. Or use it to dodge a key spell — it grants the same invulnerability as Omnislash. At 4,200 gold, Scepter is a strong pickup when you need the mobility and fight frequency more than raw damage.
Skill Build Order
| Level | Standard Build | Kill Lane Build | Hard Lane Build |
|---|---|---|---|
| 1 | Blade Fury | Blade Fury | Blade Fury |
| 2 | Healing Ward | Blade Fury | Healing Ward |
| 3 | Blade Fury | Blade Fury | Blade Fury |
| 4 | Blade Dance | Blade Dance | Healing Ward |
| 5 | Blade Fury | Blade Fury | Blade Fury |
| 6 | Omnislash | Omnislash | Omnislash |
| 7 | Blade Fury | Healing Ward | Blade Fury |
| 8 | Blade Dance | Blade Dance | Blade Dance |
| 9 | Blade Dance | Blade Dance | Blade Dance |
| 10 | Blade Dance | Blade Dance | Blade Dance |
The standard build maxes Blade Fury first with an early Healing Ward point, then transitions into Blade Dance for right-click scaling. The kill lane build skips the early Healing Ward point for maximum spin damage when your support has strong lockdown (like Crystal Maiden or Shadow Shaman). The hard lane build takes extra Healing Ward levels earlier for sustain when you are under pressure.
Talent Choices
| Level | Left | Right | Recommended |
|---|---|---|---|
| 10 | +4% Duelist Damage | -12s Healing Ward Cooldown | Duelist Damage in most games. Healing Ward CD only if you are the frontliner and need constant sustain. |
| 15 | +40 Movement Speed During Blade Fury | +1% Healing Ward Heal | Movement Speed is almost always better — it makes kill setups with Blade Fury far more reliable. |
| 20 | +90 Blade Fury DPS | +1 Healing Ward Hits to Destroy | Blade Fury DPS adds significant magic damage. Ward survivability is too situational. |
| 25 | +40% Blade Dance Lifesteal | +1s Omnislash Duration | Both are strong. Lifesteal gives sustain in extended fights. Omnislash duration for burst-heavy games. |
Item Builds by Rank
| Phase | Herald – Crusader | Archon – Legend | Ancient – Divine | Immortal |
|---|---|---|---|---|
| Starting | Quelling, Tango, Branches x2, Salve | Quelling, Tango, Branches, Circlet, Salve | Quelling, Tango, Branches, Circlet | Quelling, Tango, Faerie Fire, Branches |
| Early | Phase Boots, Magic Wand | Power Treads, Magic Wand | Power Treads, Wraith Band | Power Treads, Wraith Band, Orb of Corrosion |
| Core | Battle Fury, Manta Style | Battle Fury, Sange & Yasha or Manta | Maelstrom or BF, Manta or S&Y, Shard | Maelstrom, S&Y or Manta, Shard, Basher |
| Late | Skull Basher, Butterfly | Skull Basher, Butterfly, Abyssal | Abyssal, Butterfly, Aghs Scepter, Satanic | Abyssal, Butterfly, Aghs, Satanic, Nullifier |
Why Items Differ by Rank
Herald to Crusader: Phase Boots over Treads because these players often forget to tread-switch, making Treads less efficient. Battle Fury is recommended because lower-rank games go longer, meaning the farming acceleration pays off more. Manta Style gives illusions that lower-ranked opponents struggle to deal with.
Archon to Legend: Power Treads become worthwhile because these players are starting to tread-switch. The choice between Sange & Yasha and Manta depends on the enemy team — S&Y against teams with heavy slows and burst, Manta when you need to dispel silences or dodge projectiles.
Ancient to Divine: Maelstrom starts competing with Battle Fury as the farming item because these players farm more efficiently and benefit from the earlier power spike. Aghanim’s Shard becomes a core timing because the Blade Fury slow is devastatingly effective when players actually chase correctly.
Immortal: Maelstrom is heavily favored over Battle Fury because Immortal games are faster and the earlier fight timing matters. Orb of Corrosion in lane provides kill threat that Immortal players capitalize on. Nullifier appears as a luxury pick to counter save items like Glimmer Cape, Force Staff, and Ghost Scepter.
Situational Items Worth Knowing
- Monkey King Bar: Essential against evasion heroes (Phantom Assassin, Windranger) or Butterfly carriers. Build it third or fourth item when needed.
- Diffusal Blade: Underrated on Juggernaut. The mana burn works during Omnislash, and the slow helps you stick to targets outside of spin. Strong against heroes like Medusa or Wraith King.
- Silver Edge: When you need break against heroes like Bristleback, Phantom Assassin, or Spectre. The invisibility also sets up Omnislash initiations.
- Black King Bar: Rarely needed because Blade Fury already provides debuff immunity. Only build it against lineups with multiple long-duration disables that can lock you between spin cooldowns.
Laning Phase Masterclass
Juggernaut’s laning phase is deceptively strong. His 54-56 base damage at level 1 (post-7.40 nerf) is below average for a carry, but his nearly instant attack animation makes last-hitting feel smoother than heroes with higher damage but slower windups. This is one of those things that stat sites do not capture — the practical ease of farming with Juggernaut is top-tier.
Level 1-3 Kill Potential
The classic Juggernaut kill setup happens at level 3 with Boots of Speed. Here is the math that most players do not calculate:
- Level 2 Blade Fury deals 110 DPS for 5 seconds = 550 magic damage before reductions
- After 25% base magic resistance, that is ~412 damage
- Most supports at level 2-3 have 550-700 HP
- Your support adding 100-200 damage during the spin is usually enough for a kill
The key is positioning before you spin. Walk up to the enemy hero, body-block them toward your tower, THEN activate Blade Fury. Most lower-ranked Juggernaut players spin from too far away and the enemy simply walks out of range. The spin radius is only 260 — you need to be almost on top of them.
Support Synergies
Juggernaut’s kill potential in lane scales dramatically based on his support pick:
| Support | Kill Potential | Why |
|---|---|---|
| Crystal Maiden | Very High | Frostbite hold + Arcane Aura solves mana issues. Classic combo since 2013. |
| Shadow Shaman | Very High | Shackles hold for full Blade Fury duration. Near-guaranteed kill at level 3. |
| Grimstroke | High | Ink Swell on spinning Juggernaut is a nightmare for opponents. |
| Jakiro | High | Ice Path setup into Blade Fury. Dual Breath slow keeps them in range. |
| Vengeful Spirit | Medium-High | Magic Missile stun, Wave of Terror armor reduction. Solid and reliable. |
Laning Against Tough Matchups
Against Axe offlane: Do not trade hits. Axe’s Counter Helix procs off your high attack speed, and Berserker’s Call goes through Blade Fury. Focus on farming, pull the lane, and only spin offensively when Axe overextends without Call available.
Against heavy harass duos (e.g., Undying + any ranged support): Max Healing Ward second instead of Blade Dance. Your goal is not to kill — it is to survive and farm. Healing Ward sustain lets you stay in lane where other carries would be forced to retreat.
Against Viper or Venomancer: Their slows and damage-over-time are strong, but Blade Fury dispels everything. Use spin defensively to remove stacks and heal up with Healing Ward between fights. Do not try to trade — farm safely until level 6.
Mid and Late Game Transitions
Juggernaut’s Power Spikes
Understanding when Juggernaut is strongest relative to the game clock is what separates good Juggernaut players from great ones:
- Level 3 + Boots: First kill potential with Blade Fury
- Level 6: Omnislash provides solo kill potential on most heroes
- Battle Fury / Maelstrom timing (12-16 min): Farming accelerates dramatically
- Second major item (18-24 min): Juggernaut’s strongest timing relative to most carries. Fight aggressively here.
- 25 minutes + Aghanim’s Shard: Blade Fury slow makes team fights almost unlosable in the mid game
- 35+ minutes: Juggernaut starts getting outscaled by hyper-carries (Medusa, Terrorblade, Faceless Void). Press your advantage before this point.
Team Fight Positioning
Juggernaut is NOT an initiator despite having Omnislash. The ideal fight pattern is:
- Wait for initiation from your offlaner or support
- Right-click the nearest priority target while staying at fight edge
- Use Blade Fury when enemies try to disable you or when you need to chase
- Drop Healing Ward behind you or in nearby trees where it is safe
- Omnislash an isolated target — ideally when enemy creeps are NOT nearby to absorb bounces
- Clean up remaining heroes with right-clicks and Swiftslash (if you have Scepter)
The biggest mistake is opening with Omnislash. If enemies have Ghost Scepter, Eul’s, or just teammates nearby to absorb slashes, you waste your biggest cooldown. Use Omnislash when enemies have already committed their defensive items, or when you catch someone isolated.
Farming Patterns
Between fights, Juggernaut farms faster than most carries realize. With Battle Fury or Maelstrom, you should be maintaining 600+ GPM in most games. The key patterns:
- Spin-farm dangerous areas: Use Blade Fury to farm creep waves in areas where you might get ganked. The debuff immunity means you can TP out if jumped.
- Ancient stacking: Juggernaut clears Ancient stacks efficiently with Blade Fury + right-clicks. Have your supports stack or stack them yourself when rotating.
- Roshan timing: From 25 minutes onwards, Juggernaut can solo Roshan with Healing Ward. Place the ward, tank Roshan, and use Blade Fury if his slam comes off cooldown. You need at least one major item (BF/Maelstrom + one more) to do this comfortably.
When Juggernaut Falls Off
Juggernaut is not a true hard carry. Past 40 minutes, heroes like Anti-Mage, Faceless Void, Phantom Lancer, and Terrorblade will outscale him in raw fight potential. Your job is to end the game before this happens. Push high ground with Healing Ward sustain and Omnislash to punish defenders. If the game goes ultra-late, prioritize Abyssal Blade and Nullifier to lock down enemy carries, because you will not out-DPS them in a straight right-click contest.
Counters: Heroes That Destroy Juggernaut
1. Axe
Axe is Juggernaut’s nightmare. Berserker’s Call pierces debuff immunity, meaning it goes through Blade Fury. This eliminates Juggernaut’s primary escape mechanism. Counter Helix procs off Juggernaut’s fast attack speed (including during Omnislash), meaning Axe actually punishes Juggernaut for attacking. Blade Mail on Axe reflects Omnislash damage, potentially killing Juggernaut during his own ultimate. How to play around it: Never Omnislash Axe when he has Blade Mail. Wait for Call to be on cooldown before committing to fights. Buy Silver Edge to break Counter Helix.
2. Faceless Void
Chronosphere catches Juggernaut even during Blade Fury (it pierces debuff immunity). Inside Chrono, Juggernaut cannot spin, cannot Omnislash, and cannot do anything. Void also has Time Walk to dodge Omnislash entirely. How to play around it: Stay at maximum fight distance and never group up where Chronosphere catches you. Build Linken’s Sphere in extreme cases.
3. Phantom Lancer
Phantom Lancer’s illusion army absorbs Omnislash bounces completely. With 10+ illusions in a fight, your Omnislash might hit the real PL only once or twice. Doppelganger also provides invulnerability to dodge Omnislash. How to play around it: Buy Battle Fury specifically for the cleave to cut through illusions. Never Omnislash PL when he has illusions around him — wait for Doppelganger cooldown.
4. Winter Wyvern
Cold Embrace makes a target immune to physical damage, completely negating Omnislash. Winter’s Curse can also force you to attack your own allies during Omnislash if timed correctly. How to play around it: Bait Cold Embrace before Omnislash, or focus Winter Wyvern first.
5. Ghost Scepter / Ethereal Blade Carriers
Ghost Scepter is the most efficient Omnislash counter in the game at just 1,500 gold. Any support who buys Ghost Scepter can negate your entire ultimate. How to play around it: Build Nullifier to purge Ghost form. Or simply focus a different target — force the Ghost Scepter carrier to use it, then switch to them after it expires.
Heroes Juggernaut Destroys
1. Sniper
Sniper has no escape, no save, and no way to deal with Omnislash. The moment you reach level 6, Sniper is a free kill every time Omnislash is off cooldown. Even in lane, Blade Fury closes the distance that Sniper relies on. One of the most one-sided matchups in Dota.
2. Crystal Maiden
While CM is great as your support partner, she is terrible to play against Juggernaut. Freezing Field is canceled by Omnislash. She has no mobility to escape Blade Fury. She dies to practically everything Juggernaut does.
3. Drow Ranger
Drow relies on keeping distance for her Marksmanship bonus. Blade Fury and Omnislash both close distance instantly. Once on top of Drow, she melts. Frost Arrows slow is irrelevant during Blade Fury since it grants debuff immunity.
4. Shadow Fiend
Shadow Fiend is squishy with no innate escape. Omnislash catches him before he can Requiem, and Blade Fury negates most of his magic damage. SF players often rely on Eul’s Scepter combo, but Blade Fury dispels everything.
5. Zeus
Zeus relies entirely on magic damage, and Blade Fury’s 80% magic resistance reduces his output to almost nothing during the spin. Omnislash kills Zeus before he can cast more than one rotation of spells. Zeus also has no way to escape a spinning Juggernaut running at him.
How Pros Play Juggernaut in 7.40c
Juggernaut remains a consistent pro pick in 7.40c, favored by carries who value reliability and lane dominance. According to Dota2ProTracker, Juggernaut sees regular play in high-level ranked and competitive matches.
Pro Build Trends
The dominant pro build in 7.40c is a fighting-focused path:
- Power Treads — nearly universal, tread-switching is non-negotiable at pro level
- Wraith Band — sometimes two, for cost-efficient early stats
- Maelstrom over Battle Fury in most games — faster fight timing
- Sange & Yasha or Manta Style — S&Y for status resistance and survivability, Manta for dispel and split push
- Aghanim’s Shard — almost always picked up around 20-25 minutes
- Skull Basher into Abyssal Blade — lockdown for catching slippery targets
- Butterfly — late-game damage and evasion
What stands out is how rarely pros build Battle Fury on Juggernaut in 7.40c. The meta favors faster fights and earlier aggression, and Maelstrom provides the farming acceleration you need without the 4,100 gold investment. You will see BF only in games where pros expect a slow pace with lots of split-push opportunities.
Key Pro Strategies
Early Omnislash aggression: Pro players use level 6 Omnislash far more aggressively than pub players. They coordinate with supports for smoke ganks, using Omnislash as a guaranteed kill on the enemy mid or offlane. In pubs, players tend to save Omnislash too long.
Healing Ward as a team resource: Pros treat Healing Ward as a team ability, not a personal sustain tool. They drop it during pushes and team fights for maximum allied value, often healing 2,000-3,000 HP across the team in a single fight.
Split-push threat: Even while fighting, pros keep one eye on the minimap for split-push opportunities. Juggernaut with Manta Style or illusion rune can pressure lanes while grouping with the team, forcing the enemy to choose between defending and fighting.
Rank-Specific Climbing Guide
Herald to Guardian: Foundation Basics
At this bracket, Juggernaut wins games almost by default if you do three things:
- Last hit properly. Juggernaut’s instant attack animation makes this easier than any other carry. Aim for 50+ last hits by 10 minutes.
- Use Blade Fury to kill, not to farm. At this rank, enemies walk into your spin constantly. Punish every overextension.
- Press Omnislash when you see a lone enemy hero. Do not overthink it. If there are no creeps nearby and the target is alone, press R. At Herald-Guardian, this gets you a kill 80% of the time.
Common Herald mistakes: Building random items (do not buy Daedalus first — follow the item table above), forgetting to use Healing Ward, and spinning away from enemies instead of toward them.
Crusader to Archon: Adding Game Sense
This is where you start thinking about the game beyond your lane:
- Learn to tread-switch. AGI treads for farming, STR treads when you might get ganked, INT treads before casting Blade Fury or Omnislash. This alone gives you 10-15% more effective HP and mana over a game.
- Start looking for Omnislash timings. Track enemy cooldowns. If their saves (Ghost Scepter, Eul’s, etc.) are on cooldown, that is your window.
- Push after kills. After getting a kill with Omnislash, push the tower immediately. Drop Healing Ward, spin on the tower for debuff immunity, and take the objective. Most Crusader players waste kill advantages by going back to farming.
Legend to Ancient: The Macro Leap
Games at this bracket are won through map control and objective timing:
- Roshan control: From 25 minutes, you should be smoking for Roshan with your team every time Omnislash is off cooldown. Juggernaut does Roshan faster than most carries with Healing Ward sustain.
- Item timing awareness: Know when your Maelstrom/BF hits, when your second item completes, and fight during those power spikes. Communicate with your team — “I have Manta + Maelstrom, let’s fight now.”
- Counter-itemize: Start building based on what the enemy has. Ghost Scepters appearing Get Nullifier or Diffusal. Blade Mail carriers Do not Omnislash them. Evasion Get MKB.
Divine to Immortal: What Separates the Top 1%
At this level, everyone knows the hero. The difference is execution and decision-making:
- Omnislash target selection: Never waste Omnislash. Only use it when you are confident the target dies. Watch for creep waves, illusions, and save abilities. If you are not sure, right-click instead and save Omnislash for cleanup.
- Blade Fury + TP discipline: Always have a TP scroll. If you get smoke-ganked, spin immediately and TP out. This sounds basic, but even Divine players panic and try to fight instead of TPing. You survive more ganks than you think.
- Healing Ward micro: At Immortal, your Healing Ward should never die. Control-group it and move it constantly during fights. Place it in fog, behind trees, or on high ground where enemies cannot easily click it.
- Swiftslash + Omnislash combo: With Aghanim’s Scepter, Swiftslash into Omnislash is a guaranteed kill on almost any hero. The Swiftslash closes distance and deals initial damage, then Omnislash finishes. This combo catches heroes that would normally disengage after seeing you approach.
- Tempo reading: Know when to farm and when to fight. Juggernaut peaks at 25-35 minutes. If you are ahead, force objectives. If you are behind, farm aggressively with Blade Fury safety net until your items come online.
Tips and Tricks
Animation Cancels and Hidden Mechanics
- Blade Fury attack trick: During Blade Fury, right-clicking enemies does not deal damage, but it does apply on-hit effects like Basher, Maelstrom, and Diffusal Blade mana burn if the target is magic immune. Against BKB carriers, spin and attack simultaneously for both the spin damage and on-hit procs.
- Omnislash item usage: You can use items during Omnislash. This means you can Abyssal Blade stun a target mid-Omnislash, use Manta Style to spawn illusions that also attack the target, or activate Satanic for lifesteal during slashes.
- Healing Ward during Omnislash: Drop Healing Ward DURING Omnislash, not before. The ward starts healing immediately, and since you are invulnerable during Omnislash, the enemy cannot threaten you for placing it.
- Spin TP cancel protection: If you are Blade Fury TP-ing out and the enemy has a stun that pierces debuff immunity (like Axe Call or Chronosphere), move AWAY from them during the spin before starting the TP. The extra distance gives you a buffer.
- Creep aggro during spin: You can aggro enemy creeps by right-clicking an enemy hero, then immediately pressing S to stop. The creeps move toward you, pulling the wave without breaking your spin or losing position.
Common Mistakes to Avoid
- Spinning from max range: Walk up to the enemy FIRST, body-block, THEN spin. The most common mistake at every rank.
- Omnislashing near creeps: Each bounce is random among nearby targets. If there are 4 creeps and 1 hero, most slashes will hit creeps. Always isolate your target.
- Ignoring Healing Ward: This ability heals 5% max HP per second to your ENTIRE team at max level. That is stronger than most support ultimates. Not using it is throwing away value.
- Building BKB when you have Blade Fury: Unless the enemy has multiple BKB-piercing disables, Blade Fury IS your BKB. Spend that 4,050 gold on damage instead.
- Never buying Aghanim’s Shard: At 1,400 gold, Shard is one of the most cost-efficient purchases in the game. The 35% slow on Blade Fury transforms the ability. Buy it in every game by 25 minutes.
Frequently Asked Questions
Yes. Despite nerfs to base Agility (34 to 32), Healing Ward duration, and Omnislash attack rate, Juggernaut maintains a 54% win rate and the highest carry pick rate. The nerfs brought him from “overpowered” to “strong,” which is exactly where you want your main hero to be — consistently good without being a ban magnet.
Maelstrom in most games, especially above Ancient rank. It costs 2,700 compared to Battle Fury’s 4,100, comes online faster, and provides better teamfight damage with chain lightning. Build Battle Fury only if you expect a slow game with lots of creep waves to farm, or if you are against Phantom Lancer / Naga Siren where cleave helps deal with illusions.
Bladeform in the vast majority of games. It has a 52.8% win rate vs Bladestorm’s 48%, and the bonus Agility and movement speed from not taking damage synergizes perfectly with Juggernaut’s hit-and-run playstyle. Bladestorm is only better in specific melee-heavy matchups where you spend extended time spinning inside the enemy team.
Omnislash when: the target is isolated from creeps, they do not have Ghost Scepter or similar saves, and the kill is guaranteed. Right-click when: there are creeps nearby, the target has defensive items available, or you are already winning the fight and do not need invulnerability. Wasting Omnislash on a target that survives means 120 seconds without your biggest ability.
Three options. First, build Nullifier — it purges Ghost Scepter on cast. Second, build Diffusal Blade — the active purge also removes it. Third, just wait. Ghost Scepter lasts 4 seconds and has a 28-second cooldown. Bait it with Swiftslash (if you have Scepter) or right-clicks, then Omnislash after it expires. In team fights, Omnislash someone else and kill the Ghost Scepter carrier with right-clicks after.
Situationally yes, but it is not optimal. Juggernaut mid works against melee matchups where Blade Fury dominates (like Pudge mid), but he struggles against ranged mids who can harass him out of spin range. He also does not scale as well as dedicated mid heroes and lacks the burst to gank effectively at level 6 without a support to help. Stick to safelane in 95% of games.
Juggernaut is strong at every rank, which is why he is the most popular carry in Dota 2. He is particularly dominant in Archon to Ancient (55%+ win rate) where his straightforward kit outperforms more mechanically demanding carries. At Immortal, his win rate drops slightly to around 50-51% because opponents are better at punishing his weaknesses, but he remains a viable pick even at the highest level.
Struggling to Climb with Juggernaut
Even the best guide cannot replace thousands of hours of experience. Our Immortal-rank coaches have mastered Juggernaut’s every trick — from Healing Ward micro to Omnislash target selection. Get personalized coaching or let our boosters carry your account to the rank you deserve.
Written by Team Smurf’s Immortal-rank analysts — Guide last verified March 2026 (Patch 7.40c)


