


Dota 2 Map Explained 2026: Lanes, Jungles, Outposts, Lotus Pools, Twin Gates and Roshan Pits

The Dota 2 map is not just a background — every pixel of it has a rule attached. The exact spawn time on that lotus pool, the angle from which high ground gives vision advantage, the second at which the outpost flips, the XP you miss if you ignore it. If you do not know the layout cold, you are giving your opponents free resources every minute of every game.
This page is your complete reference for the current Dota 2 map: all three lanes, both jungle quadrants, outpost locations and XP values, lotus pool timings, twin gate locations, and both Roshan pit positions. Bookmark it. The 7.42 pass goes in this URL when the patch drops — you will never need to find a new page.
Contents
Map Overview: The Core Geometry
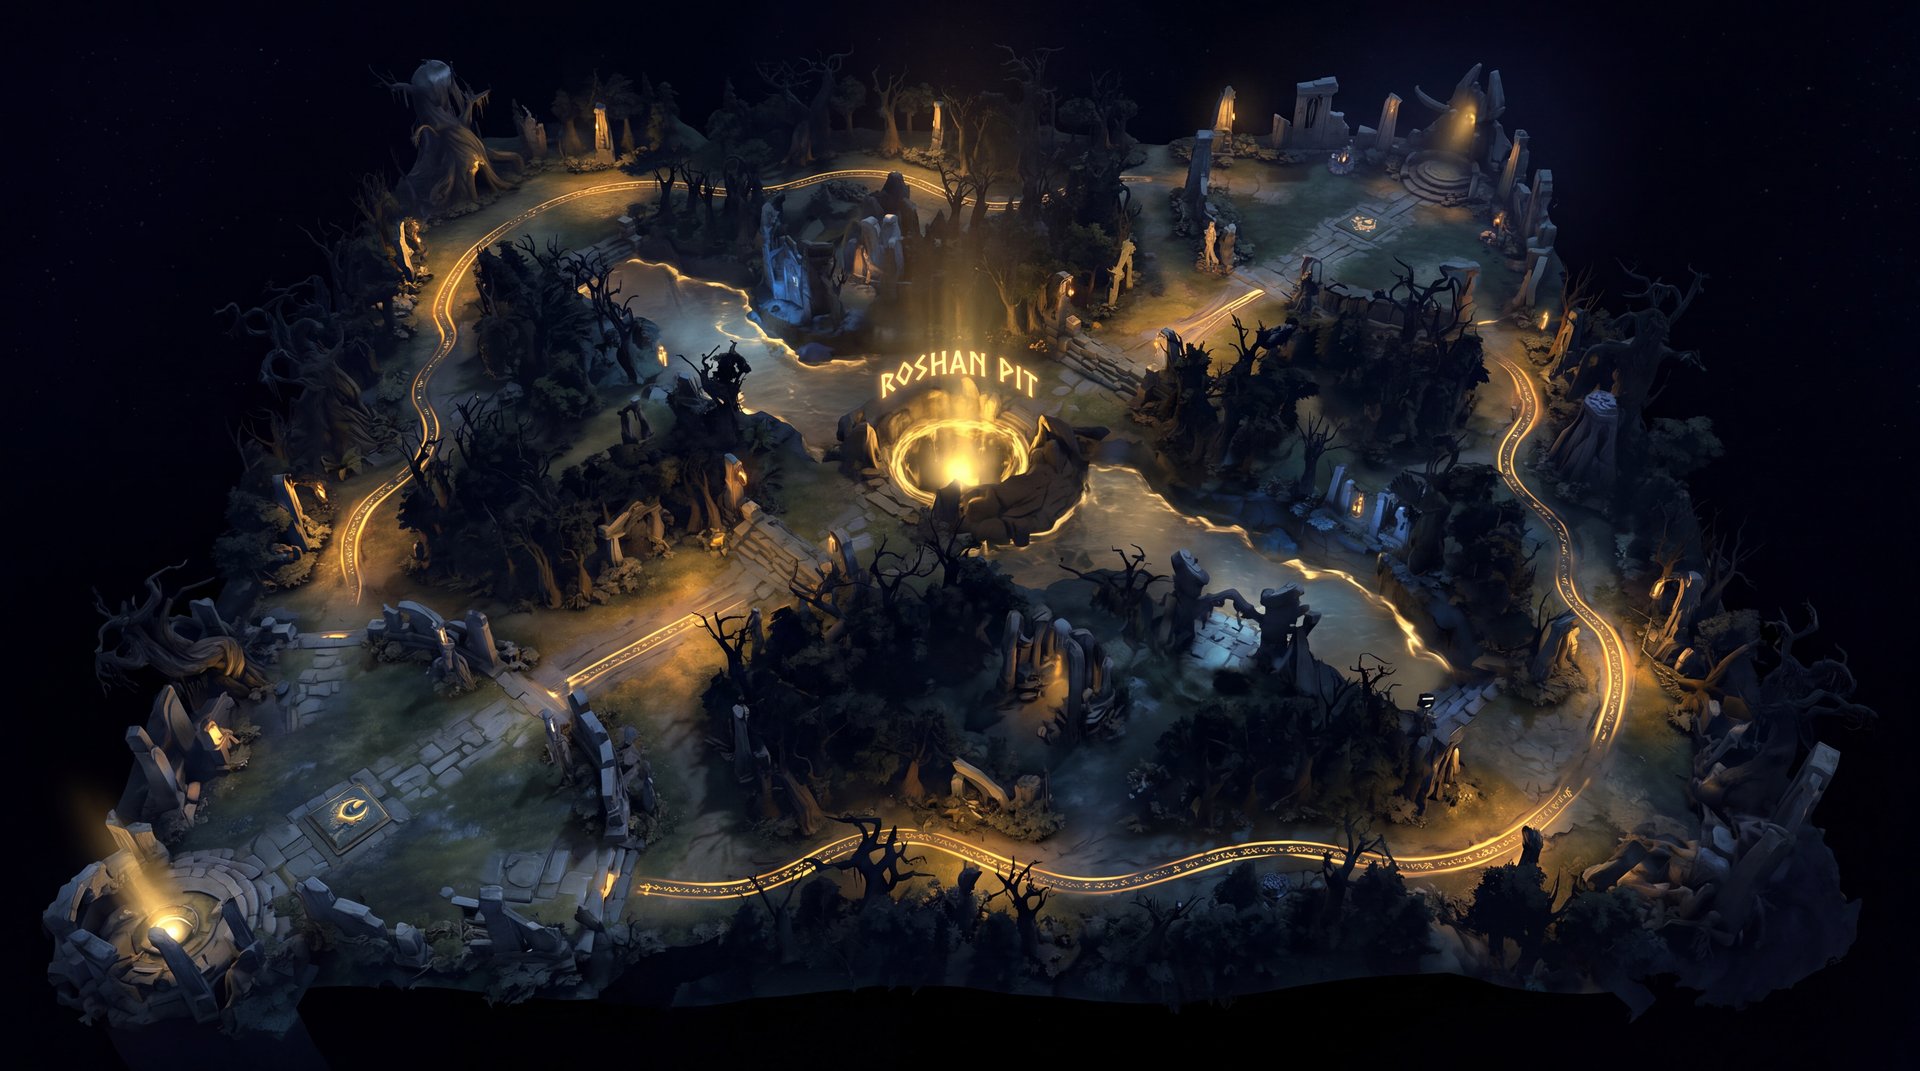
The Dota 2 map is a square arena split diagonally. Radiant starts in the bottom-left corner; Dire starts in the top-right. A river runs from the top-left to the bottom-right, bisecting the map and marking the boundary between the two sides. Every structure — towers, barracks, shrines, outposts — is positioned relative to this diagonal axis.
The map has three lanes, two jungles (one per side), one shared river, two outposts (one per team), two lotus pools (one per team on spawn-timer cycles), two twin gate pairs, and two Roshan pits (introduced in patch 7.33 — Roshan alternates between the river pit and the new pit in the upper-right area of the map).
The Three Lanes Explained
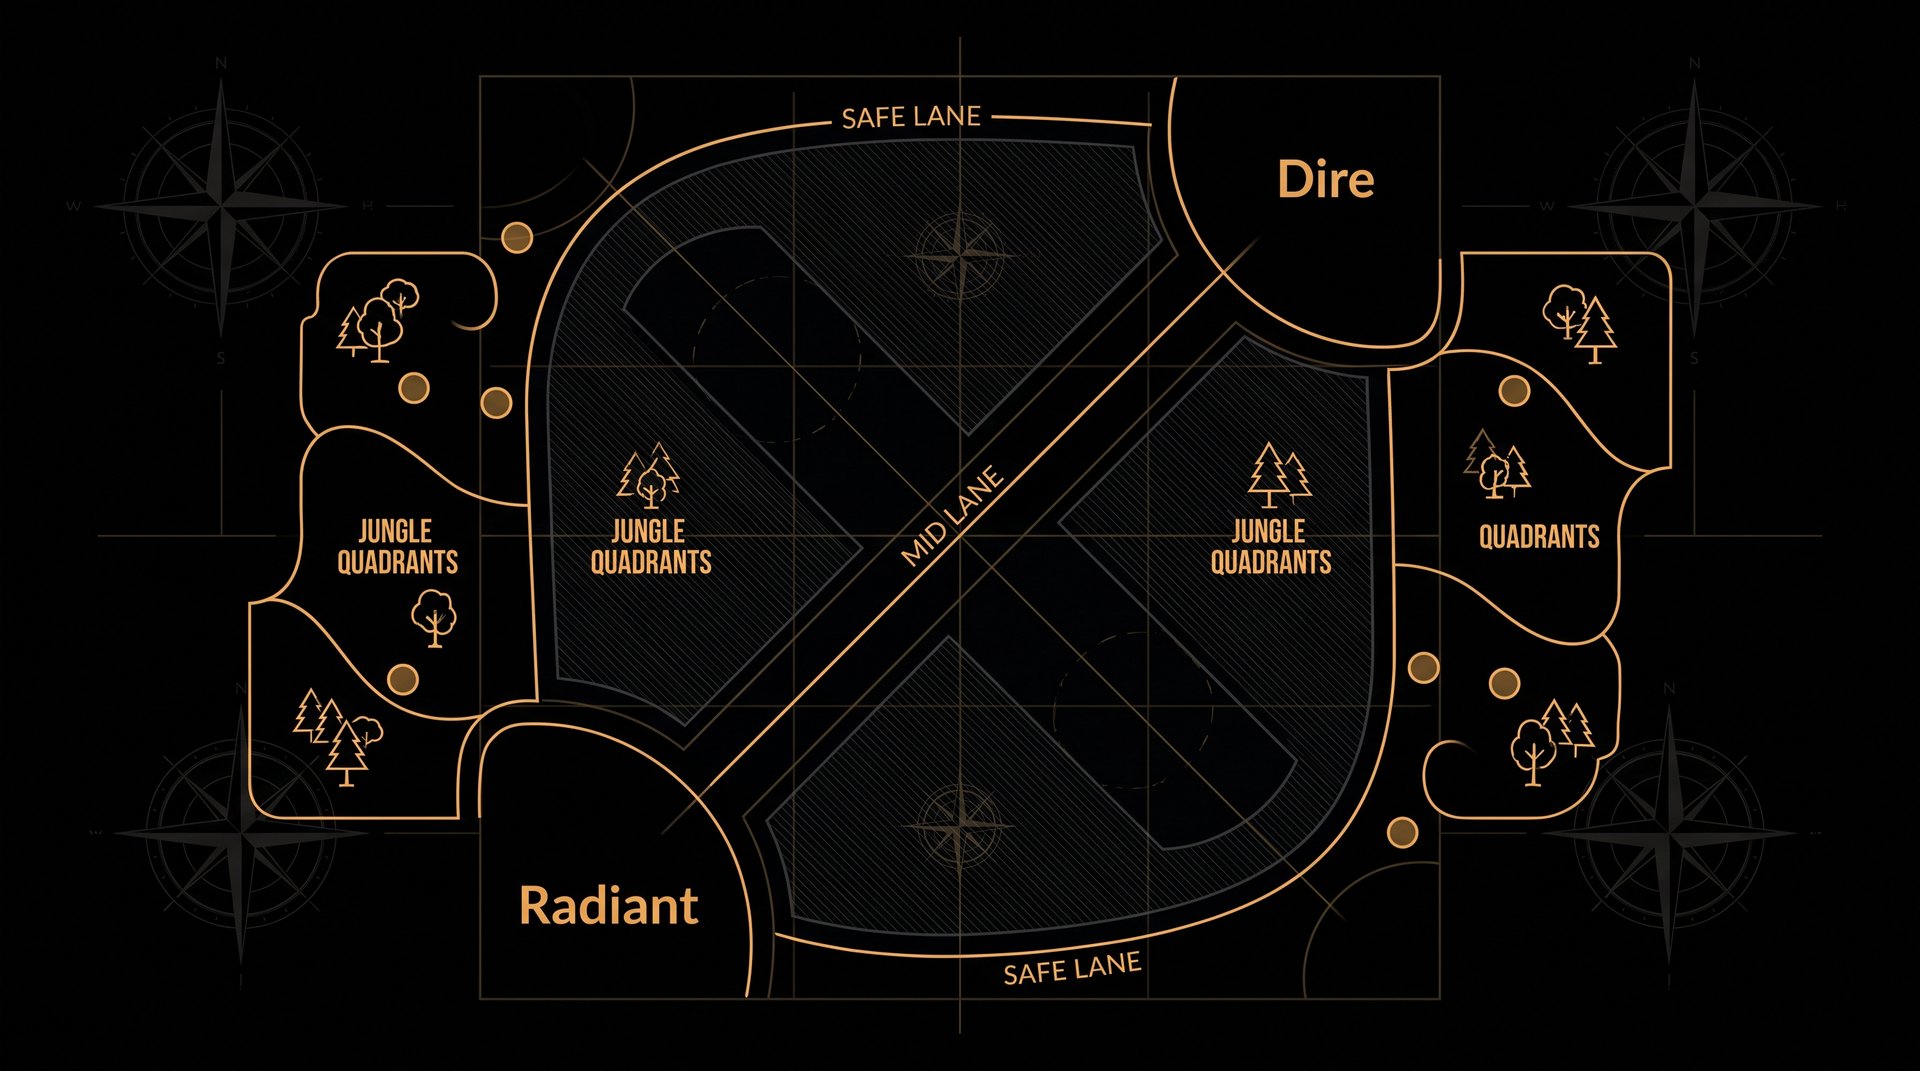
Each lane runs from base to base and is guarded by three towers per side (T1, T2, T3) plus two sets of barracks. The lane names in Dota 2 are positional, not fixed for Radiant or Dire — “safe lane” means your team’s easy lane, which is bottom for Radiant and top for Dire.
Safe Lane (Bot for Radiant / Top for Dire)
The safe lane runs along the edge of the map nearest to each team’s jungle. It is called “safe” because the tower is close to the base, creeps stack at a junction near the T1 tower, and the carry (pos 1) can farm with protection from the pos 5 support. The Radiant safe lane runs along the bottom edge; the Dire safe lane runs along the top edge.
- The Radiant T1 safe-lane tower is at approximately (x: 5120, y: 2944) in map coordinates.
- The lane offers a natural jungle adjacency — the Radiant bottom jungle triangle camps are one pull-camp walk from the lane creep equilibrium.
- The pos 5 support typically pulls the nearest neutral camp (the “pull camp”) to deny experience from the enemy pos 4.
Mid Lane
The mid lane runs diagonally from Radiant base (bottom-left) to Dire base (top-right), crossing the river at the map’s center. It is the shortest lane by walk distance and the most contested. Both mid T1 towers watch the rune spots where bounty runes and power runes spawn.
- Power runes (bottom and top river) spawn at 2:00 and every 2 minutes thereafter — mid heroes contest these for the advantage burst.
- Bounty runes spawn in four spots at 0:00, 3:00, and every 3 minutes — two are in the river near mid, two are near each safe-lane jungle.
- High-ground advantage at the T2 mid towers gives a 25% miss chance on attackers from the low-ground approach.
Off Lane (Top for Radiant / Bot for Dire)
The off lane is the lane furthest from your team’s jungle. It is called “off” because the carry does NOT farm here — the pos 3 offlaner is expected to absorb lane pressure and create space. The Radiant offlane runs along the top edge; the Dire offlane runs along the bottom edge.
- The off-lane T1 tower is poorly positioned for the laner — the creep wave pushes toward the enemy T1 naturally, exposing the pos 3 to ganks.
- The pos 4 support (offlane support) typically wards the river entry and rotates to create vision.
- The twin gate on each side is nearest to the off lane tower, making off-lane heroes the first beneficiaries of gate rotations.
| Lane | Radiant Side | Dire Side | Primary Role | Key Feature |
|---|---|---|---|---|
| Safe Lane | Bottom | Top | Carry (Pos 1) + Hard Support (Pos 5) | Adjacent to own jungle; pullable camp nearby |
| Mid Lane | Diagonal center | Diagonal center | Mid (Pos 2) | Shortest lane; controls river runes |
| Off Lane | Top | Bottom | Offlaner (Pos 3) + Soft Support (Pos 4) | Furthest from own jungle; twin gate nearby |
Jungle Quadrants
Each team has one jungle split into two areas — “near jungle” (adjacent to the safe lane) and “far jungle” (adjacent to the off lane). The jungle contains neutral creep camps that spawn at 0:30 and respawn 1 minute after being cleared.
Radiant Jungle
The Radiant jungle is in the bottom-left quadrant. It contains a dense cluster of camps near the safe lane (near jungle) and a sparser set toward the top, near the outpost.
- Near jungle camps: Easy camp, medium camp, hard camp, and the pull camp (just outside the lane wave path).
- Far jungle camps: Ancient camp (Thunderhide pack / Granite Golem — high gold), medium camp near the outpost area.
- Stack window: Neutral camps stack when you pull the creeps out of the camp radius at the :53-second mark every minute. Stacked camps give bonus gold and XP when cleared.
Dire Jungle
The Dire jungle mirrors the Radiant jungle in the top-right quadrant. Camp types and spawn timers are identical — only the map position is mirrored.
- The Dire near jungle is adjacent to the Dire safe lane (top lane).
- The Dire ancient camp is the highest-priority farm location in the Dire jungle for carries.
- The Tormentor — a mini-boss that respawns every 10 minutes — spawns near the Radiant and Dire shrines at the 20-minute mark for the first time, and guards a Shard or Aghanim’s Scepter upgrade.
Neutral Camp Spawn Timers
| Camp Type | Gold Range | XP | Respawn (after cleared) | Stack Timing |
|---|---|---|---|---|
| Easy Camp | 52-78 | 80 XP | 60 seconds | :53 second mark |
| Medium Camp | 79-136 | 120 XP | 60 seconds | :53 second mark |
| Hard Camp | 84-176 | 200 XP | 60 seconds | :53 second mark |
| Ancient Camp | 240-360 | 200 XP | 60 seconds | :53 second mark |
Note: Gold values are approximate community averages from OpenDota data; exact values vary by camp and hero level.
For deeper jungle strategy, see our complete warding guide — knowing where wards go is the other half of knowing the jungle. If you want to improve your map awareness (reading the minimap and anticipating rotations), that guide covers the skill, not just the layout.
Outposts: Locations, XP and Capture Rules
Two outposts exist on the map — one per team. They are located in the far jungle of each side, roughly at the upper-left (Radiant outpost) and lower-right (Dire outpost) corners of the jungle triangles.
Outpost Locations
- Radiant outpost: Located in the top-left area of the Radiant jungle, accessible through the far jungle path near the top river.
- Dire outpost: Located in the bottom-right area of the Dire jungle, mirroring the Radiant position.
Outpost Rules
- Outposts start neutral (unowned) at game start.
- Capturing an outpost requires one allied hero to stand on it for a brief channel (approximately 6 seconds if uncontested).
- Capturing an enemy outpost awards XP to every player on your team immediately.
- Outposts provide permanent vision of their area once captured.
- Outposts teleport destination — you can teleport to an allied outpost with a Town Portal Scroll, which is a major strategic use for split-push and rotation defense.
| Event | XP Award | Notes |
|---|---|---|
| Capture Radiant Outpost (Dire team) | 200 XP per hero | Awarded to all 5 Dire heroes instantly |
| Capture Dire Outpost (Radiant team) | 200 XP per hero | Awarded to all 5 Radiant heroes instantly |
| Periodic outpost XP (10-min tick) | +17 XP / minute | Ongoing bounty while outpost owned; accrues every 10 min |
The outpost XP tick is small but compounds over the game. A team that holds its outpost from minute 10 to minute 50 gains 680 additional XP per hero over that window — roughly one level difference by the late game. For a deeper breakdown of outpost mechanics, capture rules and watcher vision, see the dedicated Dota 2 outposts and watchers guide.
Lotus Pools: Location and Timings
Lotus pools are healing shrines located in each team’s base area. They spawn a Healing Lotus item (restores 120 HP and 60 mana on use; the full lotus restores 250 HP and 100 mana) on a fixed timer. There is one lotus pool per team.
Lotus Pool Locations
- Radiant lotus pool: Inside the Radiant base, near the fountain, on the left side of the base.
- Dire lotus pool: Inside the Dire base, near the fountain, mirrored on the right side.
Lotus Pool Spawn Timings
| Lotus Type | First Spawn | Respawn Interval | Max Stack | Effect |
|---|---|---|---|---|
| Regular Lotus (small) | 3:00 | 3 minutes | 2 | +120 HP, +60 Mana |
| Greater Lotus (full) | 3:00 (full cycle) | 3 minutes | 2 | +250 HP, +100 Mana |
Lotus pools stack up to 2 lotuses at once. If you do not collect them they will not continue accumulating beyond 2. The lotus is a free healing consumable that scales the early game sustain, particularly for supports who cannot afford salves. Make a habit of grabbing the lotus at 3:00 on your way to lane if you pass through base.
Twin Gates: Locations and How They Work
Twin gates were introduced in patch 7.33 as part of the major map overhaul. Each team has two gates — one near the off lane T1 tower area and one deeper in the base near the fountain.
Twin Gate Locations
- Radiant gates: Gate A — near the top/off-lane side of the Radiant base; Gate B — inside the base near the fountain.
- Dire gates: Gate A — near the bottom/off-lane side of the Dire base; Gate B — inside the Dire base near the fountain.
Twin Gate Rules
- Gates teleport allied heroes instantly between Gate A and Gate B of the same team.
- Gate teleportation has a short activation delay (approximately 1 second) but is NOT cancelled by damage — unlike Town Portal Scrolls.
- Only allied heroes can use their own team’s gates. Enemies cannot use your gates.
- There is a cooldown of 90 seconds per hero per gate use.
- The gates are primarily a rotation tool for offlane supports and split-push heroes — quickly moving from the safe-lane base position to the off-lane front.
| Gate Property | Value |
|---|---|
| Teleport delay | ~1 second |
| Cooldown per hero | 90 seconds |
| Cancellable by damage? | No |
| Usable by enemies? | No |
| Range to activate | Walk into the gate hitbox |
The key strategic point: gates allow you to convert a successful safe-lane fight into immediate off-lane pressure. If your carry wins the bot lane fight, your pos 4 can gate from the base-side gate to the off-lane gate in 1 second and contest the off-lane tower before the enemy recovers. This rotation pattern is what most pubs at Herald-Archon completely ignore.
Roshan Pits: Both Locations and Respawn Timing
Since patch 7.33, Roshan no longer respawns in the same pit every time. After dying, he respawns in one of two locations — his original river pit, or the new upper-right pit. The pit he respawns in is determined randomly at the start of each respawn window.
Pit 1 — The River Pit (Original)
Located in the river, between the mid lane and the Dire off lane, slightly toward the Dire side. This is the traditional Roshan location that has existed since Dota 2 launched. Access from the Radiant side requires walking through a narrow canyon — Dire has a slight positional advantage defending this pit location.
Pit 2 — The Upper-Right Pit (Post 7.33)
Located in the upper-right area of the map, near the Dire jungle, past the Dire outpost. This pit favors Radiant for a contest because the approach from the Dire side is more exposed. It was introduced to prevent Dire from having a permanent geographic advantage on Roshan.
Roshan Respawn and Drop Table
| Death Number | Respawn Window | Drop |
|---|---|---|
| 1st kill | 8-11 minutes after death | Aegis of the Immortal always |
| 2nd kill | 8-11 minutes after death | Aegis + Cheese (50% chance) or Refresher Shard (50% chance) |
| 3rd kill onwards | 8-11 minutes after death | Aegis + Cheese + Aghanim’s Blessing (70%) or Refresher Shard (30%) |
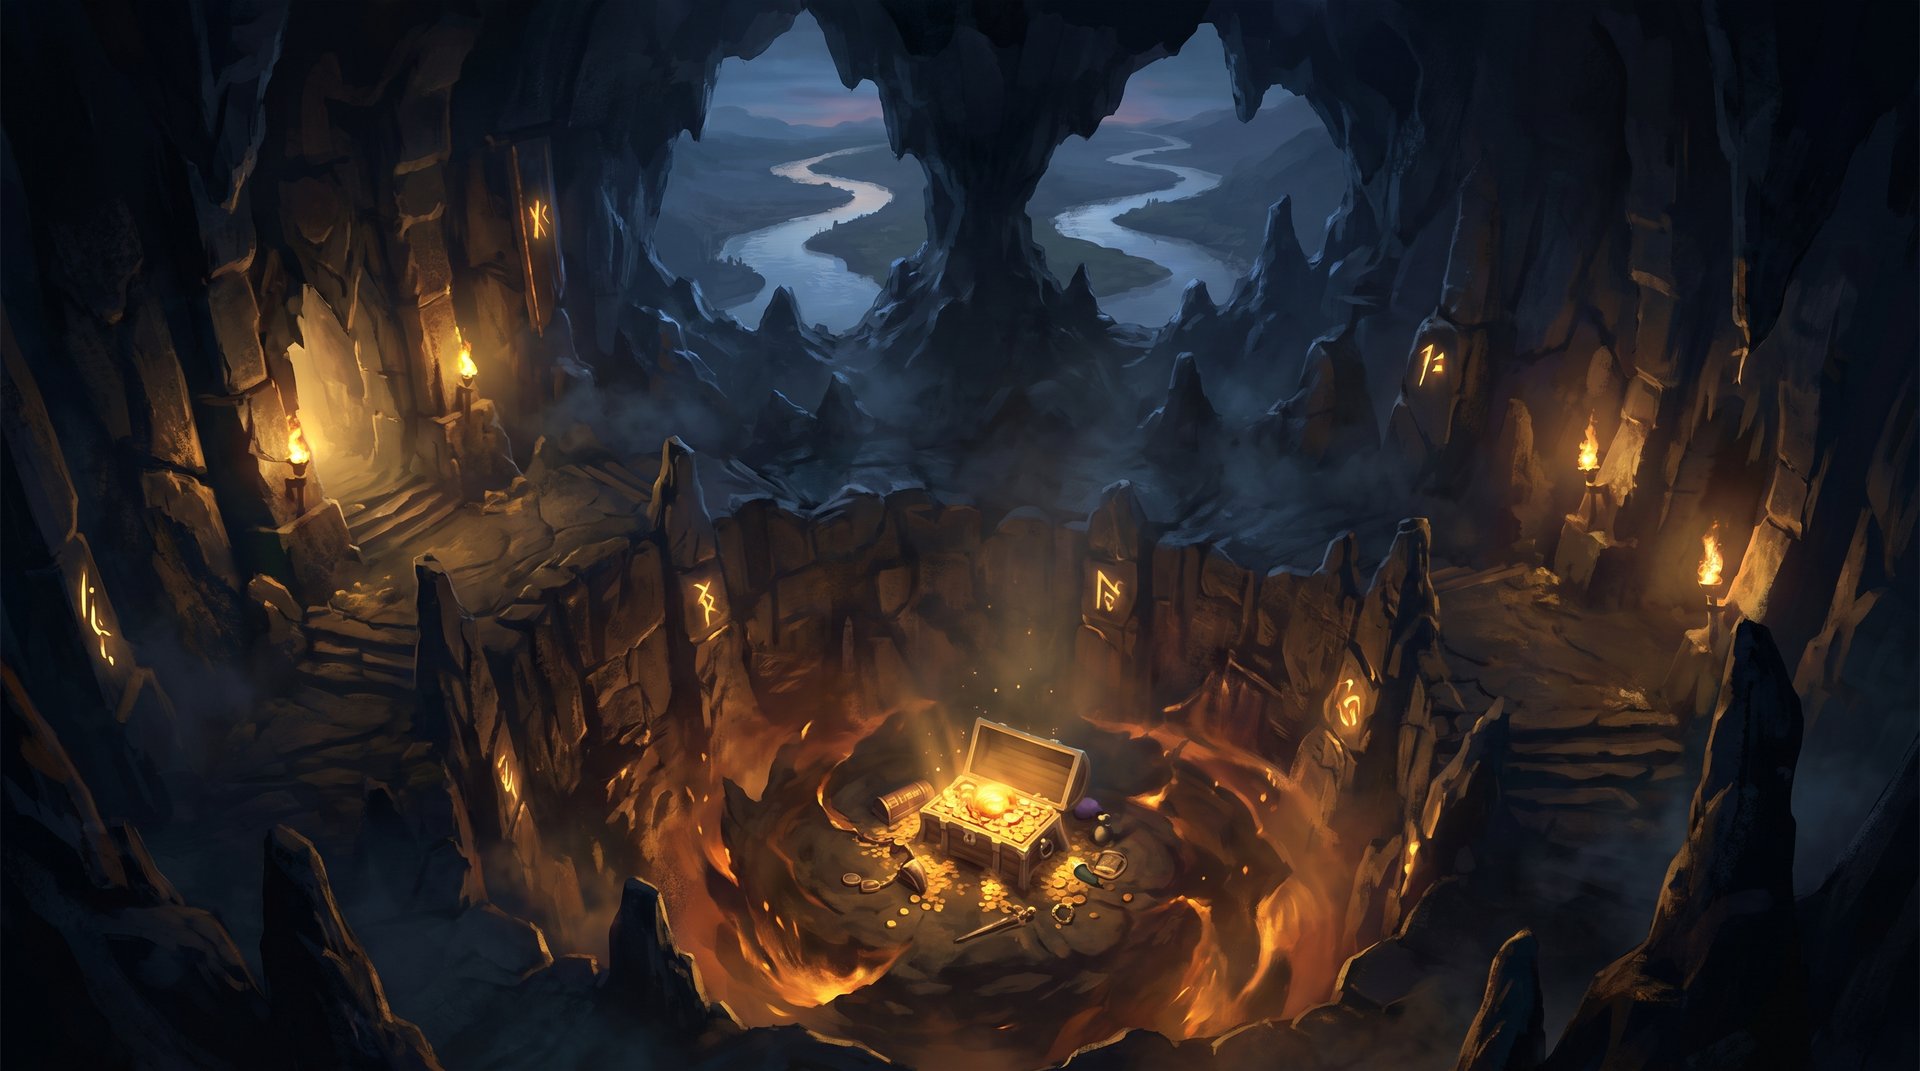
The respawn window is 8 to 11 minutes — meaning the earliest Roshan can respawn is 8 minutes after his death, and by 11 minutes he has definitely respawned. Teams use the Roshan death timer to determine when to contest. If you kill Roshan at 20:00, the next Roshan is alive between 28:00 and 31:00.
High Ground, Vision and the Miss Chance
High ground is any elevated terrain relative to the attacker’s position. The Dota 2 map has extensive high ground areas — the bases, the tier 2 and tier 3 tower areas, and specific jungle ledges.
High Ground Mechanic
- Attacking from low ground toward high ground gives the attacker a 25% miss chance on all physical attacks.
- This miss chance is NOT a debuff — it is a terrain modifier. It cannot be removed by BKB or dispels.
- Spells are NOT affected by high ground miss chance — only right-click attacks.
- Vision is asymmetric — heroes on high ground have vision over the low ground below them; heroes on low ground cannot see high ground without a ward or observer positioned there.
Key High Ground Ledges
- The Roshan river pit has ledges on both sides — the upper ledge provides vision into the pit without entering. Wards on these ledges are the standard Roshan-check setup.
- Jungle ledges allow heroes with blinks or leap abilities to escape from low ground chasers by jumping to high ground.
- T2 and T3 towers sit on high ground — attackers pushing them are always at the 25% miss disadvantage until they breach.
To understand vision in depth — fog of war, true sight ranges, and ward placement strategy — pair this map reference with our warding guide and map awareness skill guide.
If you want to skip the learning curve and climb faster while you study the map, our MMR boosting guide explains how boosting works and what our coaches focus on during sessions. Most players improve 2-3 brackets faster with live coaching than solo play.
All Neutral Objectives at a Glance
| Objective | Location | First Spawn | Respawn | Key Reward |
|---|---|---|---|---|
| Bounty Runes (x4) | River (x2), Safe-lane jungle entrances (x2) | 0:00 | Every 3 min | Gold + XP (scales with time) |
| Power Runes (x2) | River mid (top and bottom spots) | 2:00 | Every 2 min | Haste / Illusion / Regen / Double Damage / Arcane |
| Outpost | Far jungle each side | Spawn at 0:00 | Capturable anytime | 200 XP per hero on capture + TP destination |
| Lotus Pool | Own base near fountain | 3:00 | Every 3 min (max 2) | +120/250 HP + 60/100 Mana healing item |
| Twin Gates | Own base off-lane side + base interior | Always active | 90s cooldown per hero | Instant teleport between own two gates |
| Tormentor (x2) | Near each team’s shrine (Radiant and Dire) | 20:00 | 10 min after death | Aghanim’s Shard or Aghanim’s Scepter |
| Roshan | River pit OR upper-right pit (alternates) | Alive from game start | 8-11 min after death | Aegis + Cheese / Refresher / Aghanim’s Blessing |
| Neutral Creep Camps | Both jungles | 0:30 | 60 sec after cleared | Gold, XP, Neutral Items (drop from T1 minute onward) |
Ward-Map Reference: Updated for 7.41f
The map layout determines where wards are effective. For the complete ward-spot list with exact coordinates, vision ranges and timing recommendations, see the Dota 2 7.41f ward map — which covers every viable ward location updated for the current patch. When 7.42 drops, that page will be updated with any new ward spots created by map changes.
The three most impactful ward positions that connect directly to this map guide:
- Roshan pit ledge ward: Placed on the high-ground ledge above the river Roshan pit, this ward gives vision into the pit without entering it. Essential any time Roshan is alive.
- Outpost ward: A ward near the enemy outpost prevents them from capturing it silently. Without a ward here, outposts flip invisibly.
- Twin gate ward: Warding the approach to the off-lane twin gate catches rotations before they reach your T1 tower.
If you want to stop being the player who gets caught by rotations you never saw coming, coaching is the fastest fix. Our Dota 2 coaching sessions include live map review — coaches watch your positioning and show you in real time where to be and where to ward at your MMR bracket.
Learn the Map Faster With a TeamSmurf Coach
Most players spend 500 games learning the map by dying to it. A coaching session with an Immortal-rank TeamSmurf coach covers outpost timing, jungle pathing, Roshan pit control and rotation awareness in 60 minutes. Skip the slow loop.


