


Best Snowball Heroes in Dota 2: Picks That Turn One Kill Into a Won Game

Some heroes lose a fight and reset to zero. Others turn a single kill into a won game. Snowball heroes are defined not by how fast they farm — that is a tempo mechanic — but by how much a kill amplifies everything that follows. One first blood on a Slark means you just gave him permanent agility. One kill for Ursa at level 6 probably means you will not see the Aegis for the next 10 minutes.
This guide covers the top 10 snowball picks across carry and mid roles: what makes each of them explode from one kill, what their ideal first-blood scenario looks like, and how to shut them down when they fall behind. If you want the timing-window angle — heroes that win before minute 25 regardless of kill count — our guide on early tempo heroes covers that separately. For the inverse when your team is the one trailing, see our best comeback heroes breakdown.
The kill-to-lead conversion angle here is distinct: a snowball hero does not just win early — they take a single fight outcome and convert it into a structural advantage that compounds every minute afterward.
In this guide
What is a Snowball Hero in Dota 2?
A snowball hero is one whose power increases disproportionately with each kill compared to the gold and XP alone. In Dota 2, kills give the standard gold bounty plus XP — every hero benefits from those. What separates a snowball hero is an additional amplifier: a passive that permanently gains strength from kills, a mechanic that opens the map after the first blood, or a damage profile that reaches a threshold where it becomes nearly impossible to duel without specific counters.
There are three broad snowball types in the current patch:
- Stat-gain snowball: Each kill literally makes the hero a better hero. The archetype is Slark with Essence Shift — every hero kill steals 3 permanent agility, which feeds damage, attack speed, and armor simultaneously. These heroes have no natural ceiling until the match ends.
- Objective snowball: The kill opens an objective that compounds the lead. Ursa’s kit is designed around this — the Fury Swipes stacking mechanic plus Enrage lets him solo Roshan at level 6 after a single early kill, converting one first blood into an Aegis that effectively gives the team two free deaths.
- Mobility and vision snowball: The kill triggers a mechanic that gives vision or movement speed on remaining enemies, leading directly to more kills. Bloodseeker’s Thirst passive is the purest example: the moment one hero dies anywhere on the map and others are below 40% health, every lane suddenly becomes a free kill zone for him.
This is fundamentally different from a tempo hero. A tempo hero wins by controlling the clock — pushing towers, securing bounty runes, and winning objectives before the enemy lineup comes online. A snowball hero does not care what minute it is. They care about whether one fight went in their favor, because that one fight is the trigger for every fight afterward. The early tempo heroes guide addresses the timing-window mechanics; this guide addresses the kill-chain mechanics.
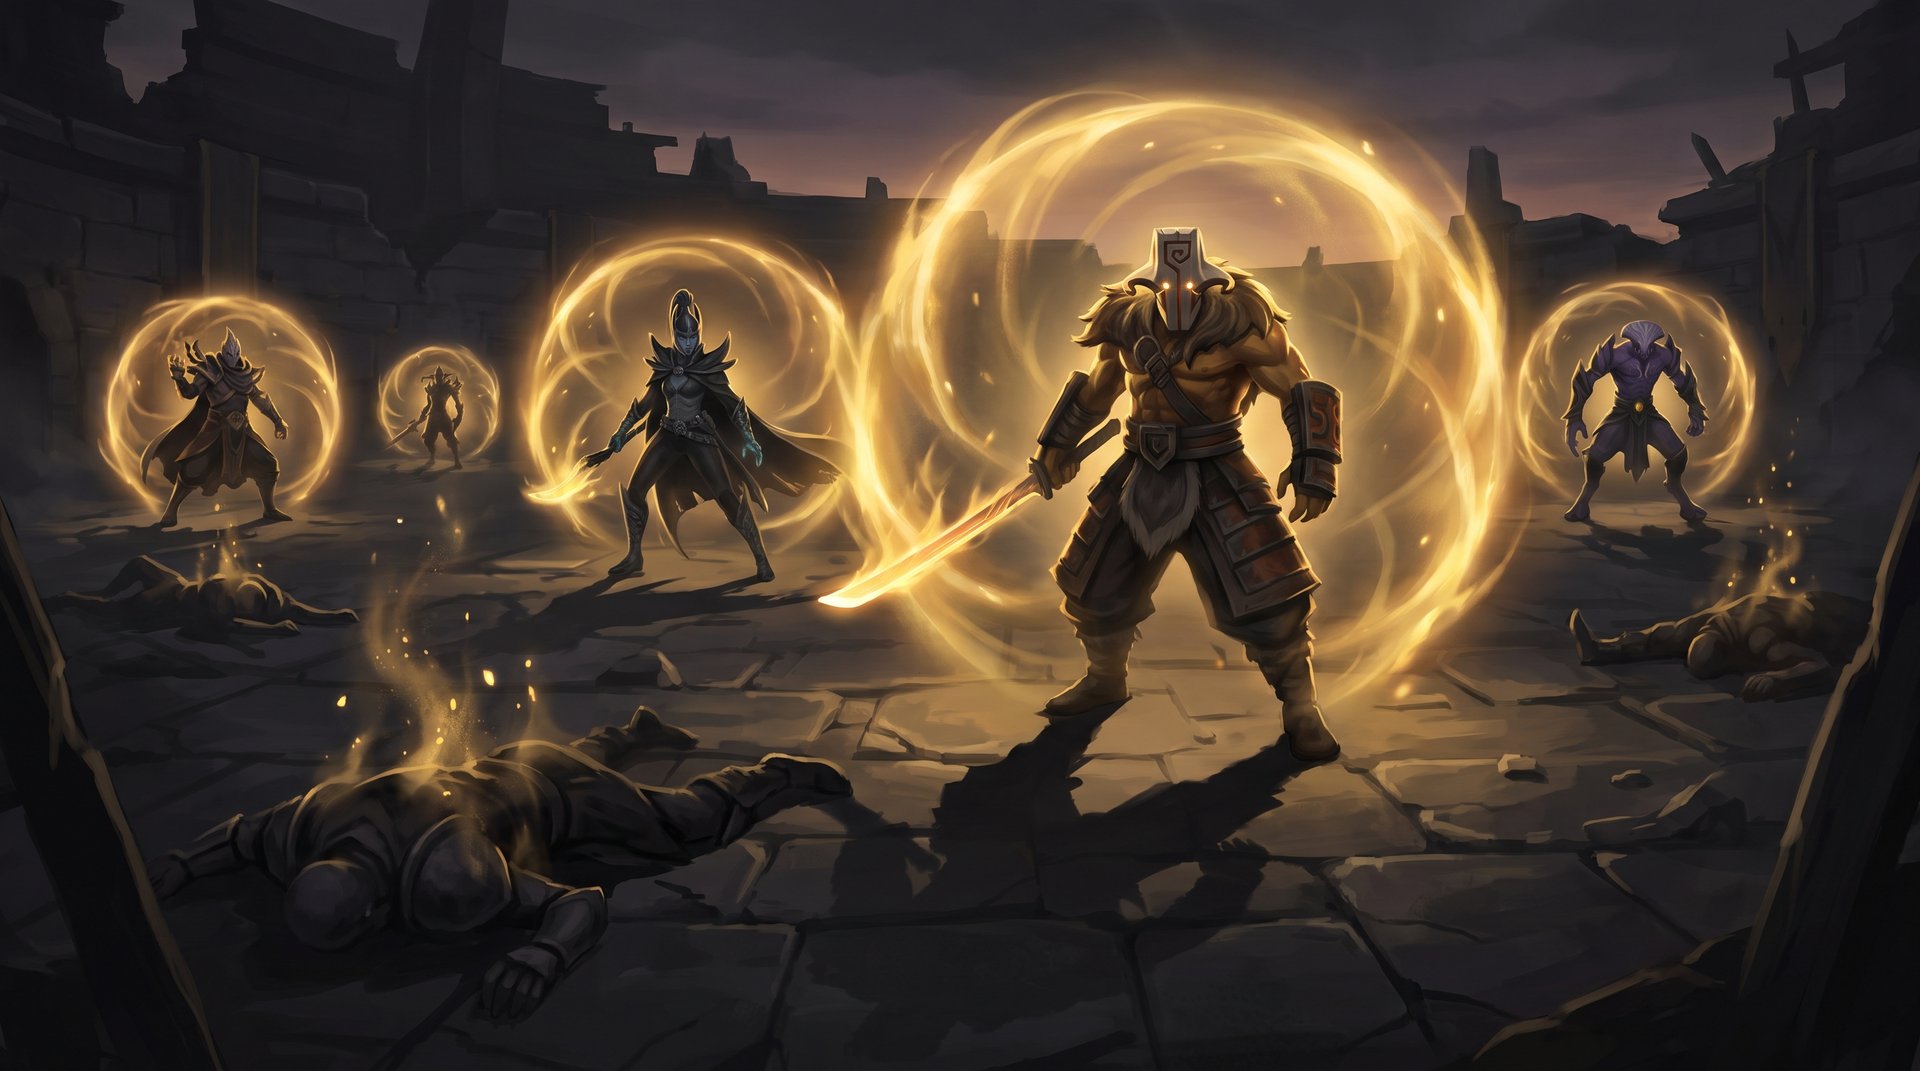
Best Carry Snowball Picks
Carry-position snowball heroes typically scale their items faster than the enemy’s defensive items can keep up. The key is the positive feedback loop: first kill gives gold for core item, core item enables second kill without a fair fight, second kill accelerates the next item, and so on. Counters if they fall behind are listed because every snowball hero has a hard floor — once the loop is broken, the compounding stops entirely.
1. Phantom Assassin — Coup de Grace Crit Ramp
Phantom Assassin is the carry snowball with the lowest trigger requirement. A single proc of Coup de Grace (15% chance for 450% crit) in the early game can delete a hero before they understand what happened, and the visual confusion from Blur (her evasion passive) means physical attackers waste half their right-clicks on a hero they cannot reliably hit. The snowball loop: first kill gives enough gold for Mask of Madness (MoM) faster, MoM attack speed means more crit procs per minute, more procs per minute means every subsequent fight is weighted further in her favor.
One-kill scenario: PA gets first blood on the enemy mid at minute 3 via a support rotation. She uses that ~300 gold bounty to complete Stifling Dagger upgrades and hits level 4. By minute 11, MoM is in her inventory. With MoM active, her attack speed turns a Coup de Grace into roughly a one-in-five attacks firing at scale. In a five-on-five fight the enemy team must focus her first, which is the correct decision, except her Blur evasion makes 25% of their physical attacks miss entirely.
Counters when behind: Monkey King Bar removes Blur completely. Monkey King Bar plus Bloodthorn (silence prevents Stifling Dagger) is the standard anti-PA pattern. If PA falls behind, she is a slow melee carry with no escape and unremarkable base damage — any hero with a stun and MKB can 1v1 her comfortably.
2. Bloodseeker — Thirst: Vision and Speed on Every Injured Enemy
Bloodseeker’s snowball mechanism is the least item-dependent of any carry in Dota 2. Thirst passive gives him movement speed scaling up to 40% based on nearby enemies’ missing health, AND vision of any enemy on the map below 40% HP. This means kills feed into the next kill independent of his item level — after the first death in a fight, any survivor running at half health is visible to him on the minimap and slower than him.
One-kill scenario: Bloodseeker gets the safelane first blood at minute 2. The enemy offlaner, now at 60% HP from the fight, retreats to their treeline. Thirst gives BS full vision of them. He tracks and kills again. Two kills in two minutes with no items, just map awareness and the passive. By the time he has Aghanim’s Scepter (which upgrades Rupture to deal percentage max HP damage on movement), the enemy must stand perfectly still or die to their own feet moving.
Counters when behind: If kills stop, Thirst does not trigger and BS is a melee carry with average damage. Healing items (Mekansm, Pipe of Insight) reduce Blood Rite effectiveness. Ghost Scepter, Ethereal Blade, or Aeon Disk timed correctly prevents Rupture damage. Juke trees after Rupture is applied — diagonal movement reduces actual distance traveled while still triggering the damage, but skilled players can minimize it. Buying out his mana stops Rupture rotations.
3. Ursa — Fury Swipes and the Solo Roshan at Level 6
Ursa is a carry-position hero designed around a single objective loop: get one kill, reach level 6, kill Roshan before the enemy team can contest it. Fury Swipes causes each successive hit on the same target to deal exponentially higher physical damage (up to 80 bonus per hit at max level). The stacks reset on switching targets, so every fight rewards single-target focus. Enrage gives him 80% damage reduction plus maximum Fury Swipes stacks instantly — effectively making him unkillable for 3 seconds regardless of the damage incoming.
One-kill scenario: Ursa secures a solo kill in the offlane at minute 5. He gains the XP lead into level 6. With Vladimir’s Offering rushed (minute 8-9), his damage reduction from Enrage, and the Fury Swipes multiplier, he can solo Roshan with no team assistance. Aegis of the Immortal absorbed means he enters fights with an additional death charge — he can trade lives in ways that cost the enemy team two buybacks to a net zero outcome. The free Roshan is worth approximately 900 gold equivalent.
Counters when behind: Ursa without Enrage on cooldown is extremely kitable. Hurricane Pike, Eul’s Scepter (held by a teammate to pick him up), or any long-range disable applied during his Blink Dagger approach stops him entirely. Force Staff a teammate out of his Earthshock range. The Manta Style + Eul’s combo on his main target removes the Fury Swipes stacks by switching the illusion target. Without kills, his Fury Swipes damage ceiling is never reached in fights and he is an average right-clicker.
4. Slark — Essence Shift: Permanent Stat Theft
Slark’s snowball mechanic is unique in Dota 2: Essence Shift permanently steals 3 agility from every hero he kills (and temporarily steals 1 agility from anyone he attacks with Shadow Dance active). Agility feeds damage, attack speed, and armor simultaneously. Shadow Dance makes him invisible and regenerating health whenever he is outside enemy vision. This means every kill makes him harder to kill AND gives him more damage for the next kill, with no cap except the end of the match.
One-kill scenario: Slark gets a lane kill at minute 4. He has +3 AGI permanently — the equivalent of a small item upgrade at zero gold cost. Five kills by minute 15 means he has the equivalent of 15+ AGI stolen, which is roughly half a Butterfly in damage/attack speed value on top of his actual item build. Shadow Dance recovery between fights means he never has to return to base for healing. The enemy support is now losing 3 AGI per death, which compounds their stats deficit over a long game.
Counters when behind: Slark is brittle without Essence Shift stacks accumulated. Pure damage (Daedalus, Ethereal Blade on casters) bypasses his armor gains. Sentry Wards in the jungle deny Shadow Dance. Orchid Malevolence silences him before Pounce activates. If he cannot escape fights with Shadow Dance, burst damage from a coordinated gank kills him before healing triggers. BKB on the enemy carry lets them right-click through his Pounce engagement.
5. Wraith King — Reincarnation and Skeleton Army
Wraith King’s snowball is the most forgiving of the five: Reincarnation gives him a second life in fights, and the Mortal Strike ability (with the Skeletal Army talent) generates skeleton units that continue fighting after his death. One kill accelerates his core item timing (Armlet of Mordiggian, Radiance if ahead), and every death is essentially free due to Reincarnation, meaning he enters trades with asymmetric risk. The enemy must spend two kills’ worth of resources to remove him from a fight once.
One-kill scenario: WK gets first blood in the safe lane. With the early gold, he completes Armlet of Mordiggian at minute 12. Armlet toggle gives him variable effective HP — he appears low but instantly toggles to restore 475 HP, baiting enemy spells and abilities. When he dies, Reincarnation fires. When his skeleton waves push into the enemy tower, WK can be in a fight while his army takes a tier-one tower simultaneously. The structural pressure from one first blood can lead to two towers by minute 20.
Counters when behind: Nullifier removes the Armlet toggle trick (targeted dispel). Buying out his mana prevents Reincarnation from firing — this is the most efficient counter at low cost. Orchid Malevolence silences him before the Wraith Fire Blast. If WK falls behind on items and Reincarnation is manually denied via mana burn (Anti-Mage, Lion), he is a slow right-clicker with no escape.
Best Midlane Snowball Picks
Mid-position snowball heroes typically convert kills into map control faster than carries, because they start with solo XP access and a shorter path to both sidelanes. One mid kill at minute 4 is roughly equivalent to 1.5 kills worth of advantage because the XP gap on a 1v1 lane means the enemy mid falls half a level behind, which compounds into 200-300 gold in missed creep score over 5 minutes on top of the kill bounty.
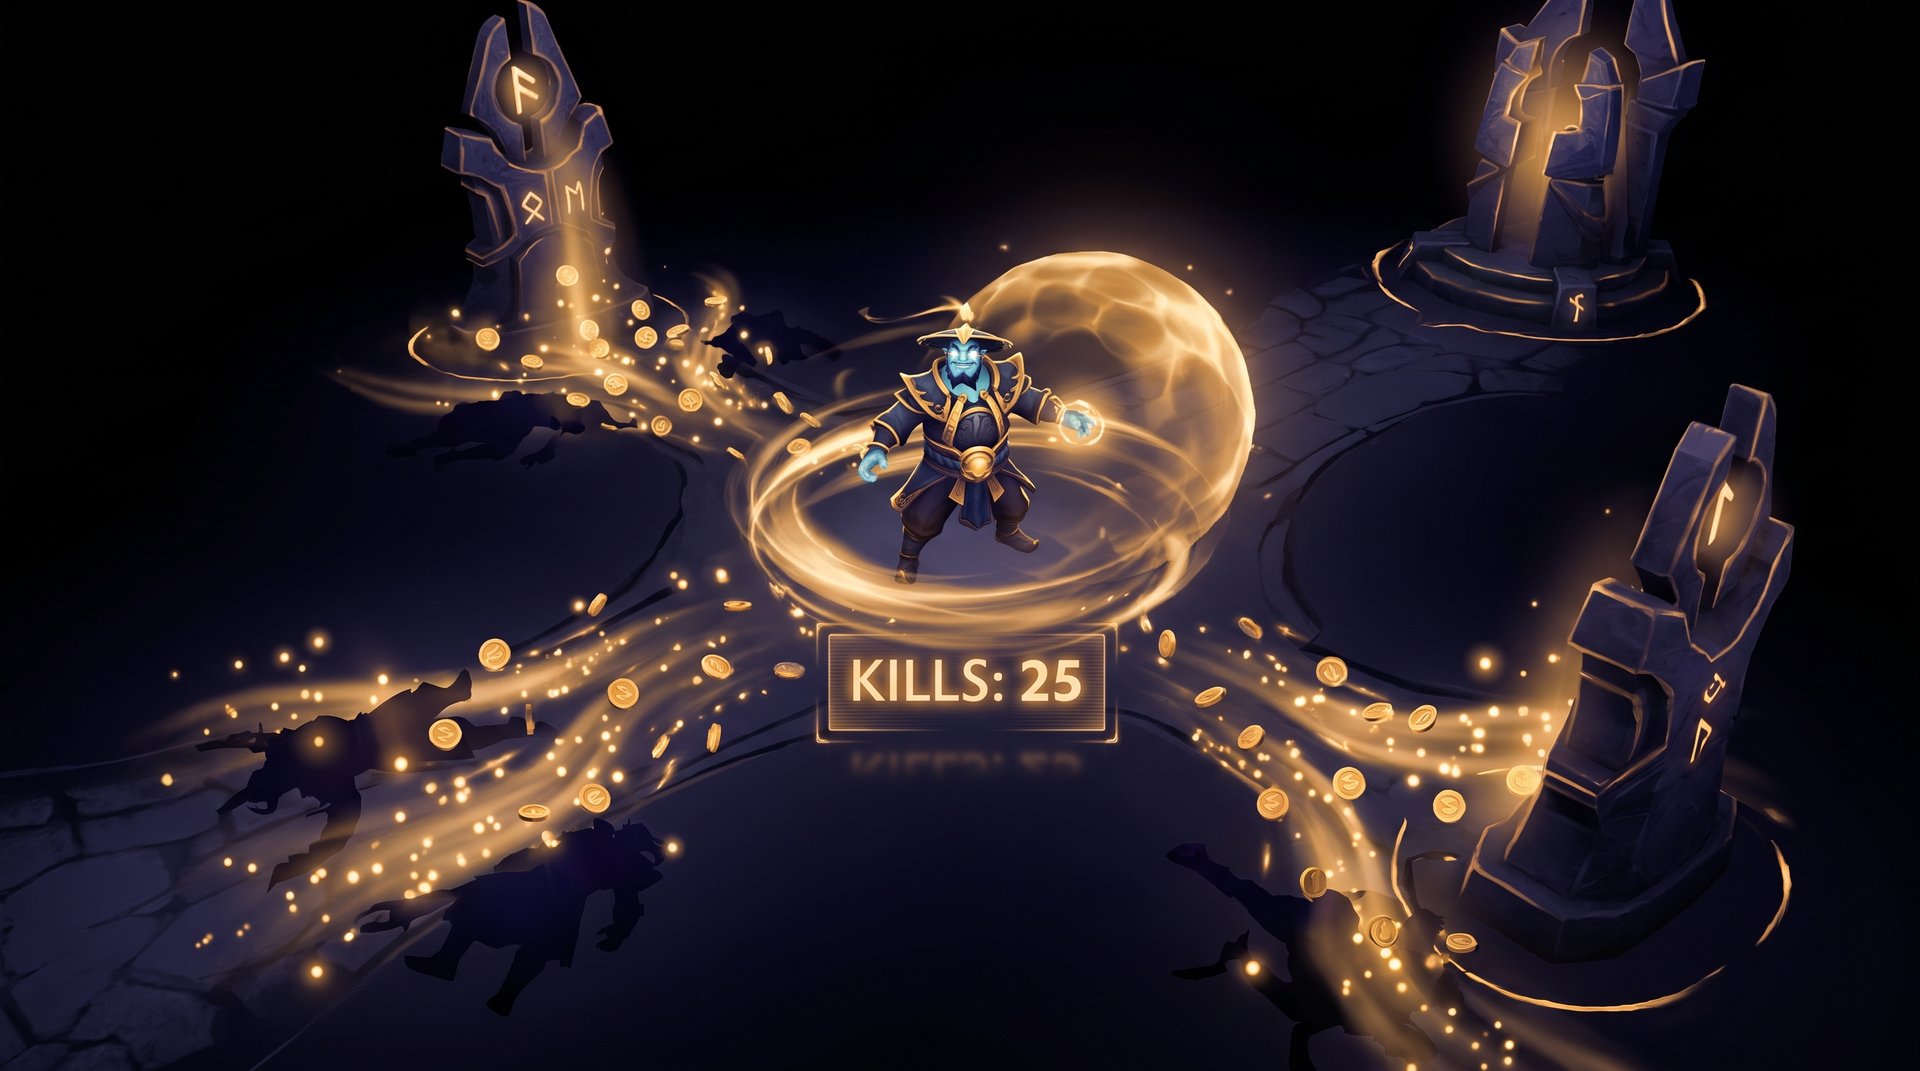
6. Storm Spirit — Ball Lightning and the Bloodstone Loop
Storm Spirit’s snowball is entirely energy-based: Ball Lightning costs mana per 100 units traveled, but kills restore mana from Bloodstone charges. One kill funds the Bloodstone rush, Bloodstone charges build from subsequent kills, and each charge extends how far he can Ball Lightning per death. The feedback loop is self-reinforcing: more charges mean he can roam farther, farther roams mean more kills, more kills mean more charges. He effectively becomes a hero with infinite movement that can appear anywhere on the map once he has 15+ Bloodstone charges.
One-kill scenario: Storm gets a mid first blood at minute 4 via Static Remnant + Overload burst. He has enough gold to complete Kaya (mana amplification) and begin Bloodstone. With Bloodstone finished at minute 12, he has 12 starting charges. Each fight gives 2-3 more. By minute 16, he can Ball Lightning from base to the enemy jungle ward, burst a hero, and return to lane before anyone can respond. The entire map is his farm zone after one early trigger.
Counters when behind: Storm without Bloodstone burns mana within two Ball Lightnings. Linkens Sphere on a target blocks Static Remnant from procing on them. Orchid Malevolence before he builds BKB is a death sentence — he cannot ball away while silenced. Hex prevents the ball initiation. If denied in mid (high-ground camp pulls, smoke ganks at minute 3), his Bloodstone arrival is 5 minutes late and the window for dominance is already closing.
7. Templar Assassin — Meld Burst and the Safe Farming Window
Templar Assassin snowballs through lane dominance conversion: Meld (turn invisible, ambush for massive physical burst) plus Refraction (5 charges of bonus damage AND damage block) means one early kill removes the enemy from the lane entirely. With the enemy mid out of lane, TA farms freely, Refraction charges absorb jungler harassment, and she reaches Desolator by minute 14-15 instead of 18-20. That item timing gap is when she is effectively uncounterable in fights without specific hard-counters.
One-kill scenario: TA ambushes the enemy mid at minute 3 with Meld. Enemy goes back to base or dies. She now has a 2-minute window of free mid farm, plus denies the enemy their bounty rune at minute 5. Early Desolator means every hero she hits is at -7 armor, which multiplies her Coup de Grace-like Refraction bonus damage further. Tower kills become trivial with the armor reduction applied.
Counters when behind: TA caught out of Refraction charges is one of the most fragile midlaners in the game. Smoke-gank her before she can recharge (30-second base cooldown). Orchid silences her before Meld is used, preventing the burst setup. Eul’s Scepter tosses her into the air, resetting any Meld in progress. Without safe farming the Desolator delay pushes her power spike past the point where the game is decided. Hurricane Pike plus a ranged auto-attacker can prevent her from closing the gap.
8. Ember Spirit — Remnant Farming and AoE Chaining
Ember Spirit’s snowball is map efficiency. Activate Fire Remnant teleports him to a placed remnant while dealing AoE burst around the landing zone. Sleight of Fist attacks all enemy units within 650 range at max damage, including creep waves. One kill gives him a free window to place a remnant in the enemy ancients, farm the mid wave, then activate to the remnant and clear the ancient camp simultaneously — he effectively farms two locations at once. Maelstrom unlocks chain-lightning-on-every-Sleight, making every AoE hit electrocute the adjacent creeps too.
One-kill scenario: Ember gets the mid kill at minute 5. He places a Fire Remnant in the enemy small camp while farming the mid wave. 40 seconds later, the remnant activates, bursting both the ancients and giving him gold for two waves instead of one. Over 10 minutes of this dual-farming, his Maelstrom arrives 4-5 minutes earlier than a fair-lane Ember. With Maelstrom, each Sleight of Fist on a creep wave triggers chain lightning on two additional units, accelerating camp clear speed further.
Counters when behind: Ember’s timing window is narrow. If his Maelstrom is 6 minutes late, he enters fights with normal attack-speed output and no exceptional AoE. Linkens Sphere blocks his Searing Chains (the root that sets up kills). BKB removes the chain lightning proc from Maelstrom. If his remnants are consistently placed under Sentry Wards (visible and now dangerous), he cannot safely farm two zones simultaneously.
9. Dragon Knight — Blood Regen and the Blink Dagger Gap
Dragon Knight snowballs through lane time rather than raw kill conversion. Dragon Blood’s passive regeneration (up to 6 HP/sec at max level) means DK can absorb harassment that forces every other mid hero back to base. One early kill plus the regeneration means he stays in lane for 10 straight minutes without a recall, while the enemy mid TP-s twice in that period missing ~180 creep gold per TP delay. His Blink Dagger arrives 4 minutes earlier than equivalent investment mid heroes. Four minutes faster Blink means four minutes of solo-kill rotations to the sidelane where no one has items to fight a level-8 hero with Blink.
One-kill scenario: DK gets first blood at minute 3 in mid. He stays in lane through the enemy jungler’s gank attempt (Dragon Blood regen keeps him above 50% HP throughout). He never TPs base until minute 11 when his Blink Dagger completes. By then, the safelane enemy support is level 5 and cannot 1v1 a level-8 DK with Blink + Dragon Tail combo. The side-lane kill at minute 12 from a Blink rotation gives him Eul’s Scepter gold, which further extends the stun chain.
Counters when behind: DK without items is one of the slowest heroes in the game. His Dragon Tail stun requires him to be in melee range — Eul’s Scepter on the enemy he is trying to stun removes the target from reach while the spell is used. Force Staff into a teamfight prevents his initiating approach. If he is denied his Blink timing through aggressive mid harassment (pulling the mid camp, dual lane pressure), his natural level advantage disappears and he is just a tanky hero with a mediocre attack speed.
10. Queen of Pain — Blink Cooldown and Chain Kill Presence
Queen of Pain’s snowball is the shortest cooldown blink in the game (4 seconds at base). One kill at minute 3 means she rotates to a side lane before the enemy team understands she has left mid. Scream of Pain plus Shadow Strike deals 400+ magic damage at level 5 with no items — that is half the HP of most level-5 support heroes. Her 4-second Blink means ganks fail approximately 90% of the time after she has it, because any stun targeted at her fires and she Blinks away mid-animation.
One-kill scenario: QoP burst kills the enemy mid at minute 3 with Blink + Shadow Strike + Scream combo. She recalls, buys Null Talisman, hits level 5. By minute 7 she has two Null Talismans and Witchblade. The rotations to the offlane at minute 8 convert into kills because the enemy offlane hero is level 5 against a level-7 QoP with 700+ spell power output. Each rotation kill gives gold for Aghanim’s Scepter, which makes her ultimate into a game-winning tool rather than a burst spell.
Counters when behind: Orchid Malevolence silences QoP during Blink, which means she is stuck in the wrong position with no escape. Bloodthorn (silence + crit amplification) chains the Orchid and deletes her. Without levels from successful rotations, her mana pool is insufficient to sustain the full Blink + Scream + Shadow Strike combo. Lion’s Mana Drain combined with a slow-start lane removes her burst threat entirely before she can rotate.
Snowball Hero Quick Reference
| Hero | Role | Snowball Trigger | Hard Counter | Shut-Down Item |
|---|---|---|---|---|
| Phantom Assassin | Carry (Pos 1) | First kill — Coup de Grace + MoM attack speed | Monkey King Bar removes Blur evasion | Bloodthorn (silence + crit) |
| Bloodseeker | Carry (Pos 1) | Any hero dies — Thirst procs on all low-HP enemies | Mekansm + Pipe reduces Blood Rite | Ghost Scepter / Aeon Disk (Rupture counter) |
| Ursa | Carry (Pos 1) | Level 6 kill — solo Roshan with Vladimir’s | Hurricane Pike prevents close range | Eul’s Scepter on teammate target |
| Slark | Carry (Pos 1) | Each hero kill — +3 permanent AGI via Essence Shift | Sentry Wards deny Shadow Dance | Orchid Malevolence (silence before Pounce) |
| Wraith King | Carry (Pos 1) | Reincarnation in first fight — asymmetric kill trade | Nullifier removes Armlet toggle | Mana burn / buy out Reincarnation |
| Storm Spirit | Mid (Pos 2) | First kill — Bloodstone charges fund infinite Ball Lightning | Orchid before BKB | Hex (prevents ball initiation) |
| Templar Assassin | Mid (Pos 2) | First kill — free farm window accelerates Desolator timing | Smoke gank before Desolator | Orchid (silences Meld setup) |
| Ember Spirit | Mid (Pos 2) | First kill — dual-zone Remnant farming accelerates Maelstrom | Sentry Wards on Remnant locations | Linkens Sphere (blocks Searing Chains) |
| Dragon Knight | Mid (Pos 2) | First kill — Dragon Blood sustain prevents recalls, Blink timing is 4 minutes early | Force Staff prevents Blink approach | Eul’s on Dragon Tail target |
| Queen of Pain | Mid (Pos 2) | First kill — Blink rotations to side lanes before items | Orchid / Bloodthorn chains | Lion Mana Drain removes burst mana early |
How to Play Against Snowball Heroes
Every snowball hero on this list has a single vulnerability: the trigger. If the first kill never happens, the loop never starts. Structured counter-play focuses on denying the trigger, not responding to the compounded lead.
Draft Stage: Delay Their Trigger Window
Snowball carries (PA, Bloodseeker, Slark) need a specific fight condition to ignite. PA needs a solo-kill window early; she is not useful in coordinated fights before level 6 and Mask of Madness. Draft at least one early-game support with a reliable disable (Warlock Golem, Earthshaker fissure, Bane Nightmare) that can neutralize a solo kill attempt. Bloodseeker needs enemies at low HP — do not let your team fight at half health. Force buybacks (carry a TP scroll and retreat at 60% HP, not 20%).
Early Game: Deny First Blood at All Costs
Against Slark, Bloodseeker, or Storm Spirit, preventing first blood is worth more than any early objective. Their snowball loop requires a kill to start. Ward aggressively at minute 1 to prevent the “free first blood” from a dive. Buy cheap detection (Observer Ward at the 3-minute mark if you know they have a Bloodseeker). A Bloodseeker with 0 kills is just a melee hero with a mediocre damage spell.
The best boosting services all emphasize one stat above others in their coaching data: rate of first-blood survivorship. A team that avoids giving first blood wins significantly more games in the 3K-5K MMR range where snowball carries are most effective.
Item Counters: Specific Purchases That Cut the Loop
- Ghost Scepter: Makes you ethereal and untargetable by physical damage for 4 seconds. Directly counters Bloodseeker’s Rupture (movement damage is physical), Ursa’s Fury Swipes, WK skeletons, and PA crits.
- Force Staff / Hurricane Pike: Creates distance on demand. Essential against Ursa (his Earthshock and Blink approach require close range) and Dragon Knight.
- Orchid Malevolence: Silence for 5 seconds destroys Storm Spirit (cannot Ball Lightning away), TA (cannot set up Meld), Ember Spirit (Searing Chains needs no silence, but his initiation is heavily Blink-dependent), and QoP (cannot Blink or Scream).
- Aeon Disk: Triggers on taking fatal damage, gives 2.5 seconds of immunity. Buys time for the entire team to respond. Effective against every burst-initiation snowball hero.
- Monkey King Bar: True strike negates Blur evasion (PA counter). Also useful against any high-AGI Slark who has been stacking Essence Shift.
Rotations: Break Their Momentum at the Source
Smoke ganks on a snowball mid at minute 6-8 — before Bloodstone, before Desolator, before BKB — are the highest-value defensive play in the game. A 3-minute delay to a Storm Spirit’s Bloodstone is equivalent to removing 8 charges of Ball Lightning range from every fight he participates in. You do not need to kill the snowball hero ten times. You need to kill them once at the exact moment their item timing would have fired.
If you are struggling to convert leads and feel like your opponents’ snowball heroes have already gotten out of hand, working with a professional coach can identify exactly where in your game the trigger is being allowed. Our Dota 2 MMR boost service includes players who have specifically mastered navigating snowball hero matchups at every MMR bracket.
Finally, refer to our best comeback heroes guide if your team is the one who gave away the early trigger — there are specific heroes that can reset the economy equation even 15 kills down, and understanding which ones to switch to mid-draft is a skill every player in the 4K+ bracket needs. For a broader safety check before committing to boosted MMR with a snowball lineup, our is Dota 2 boosting safe guide and the complete MMR boosting guide answer the key questions.
Want to Abuse These Snowball Picks at a Higher MMR?
If you know how to play these heroes but the bracket is holding you back, our professional players can demonstrate exactly how snowball picks convert one kill into a won game at your target MMR — or boost you there directly so you can see the mechanics at full pace.


