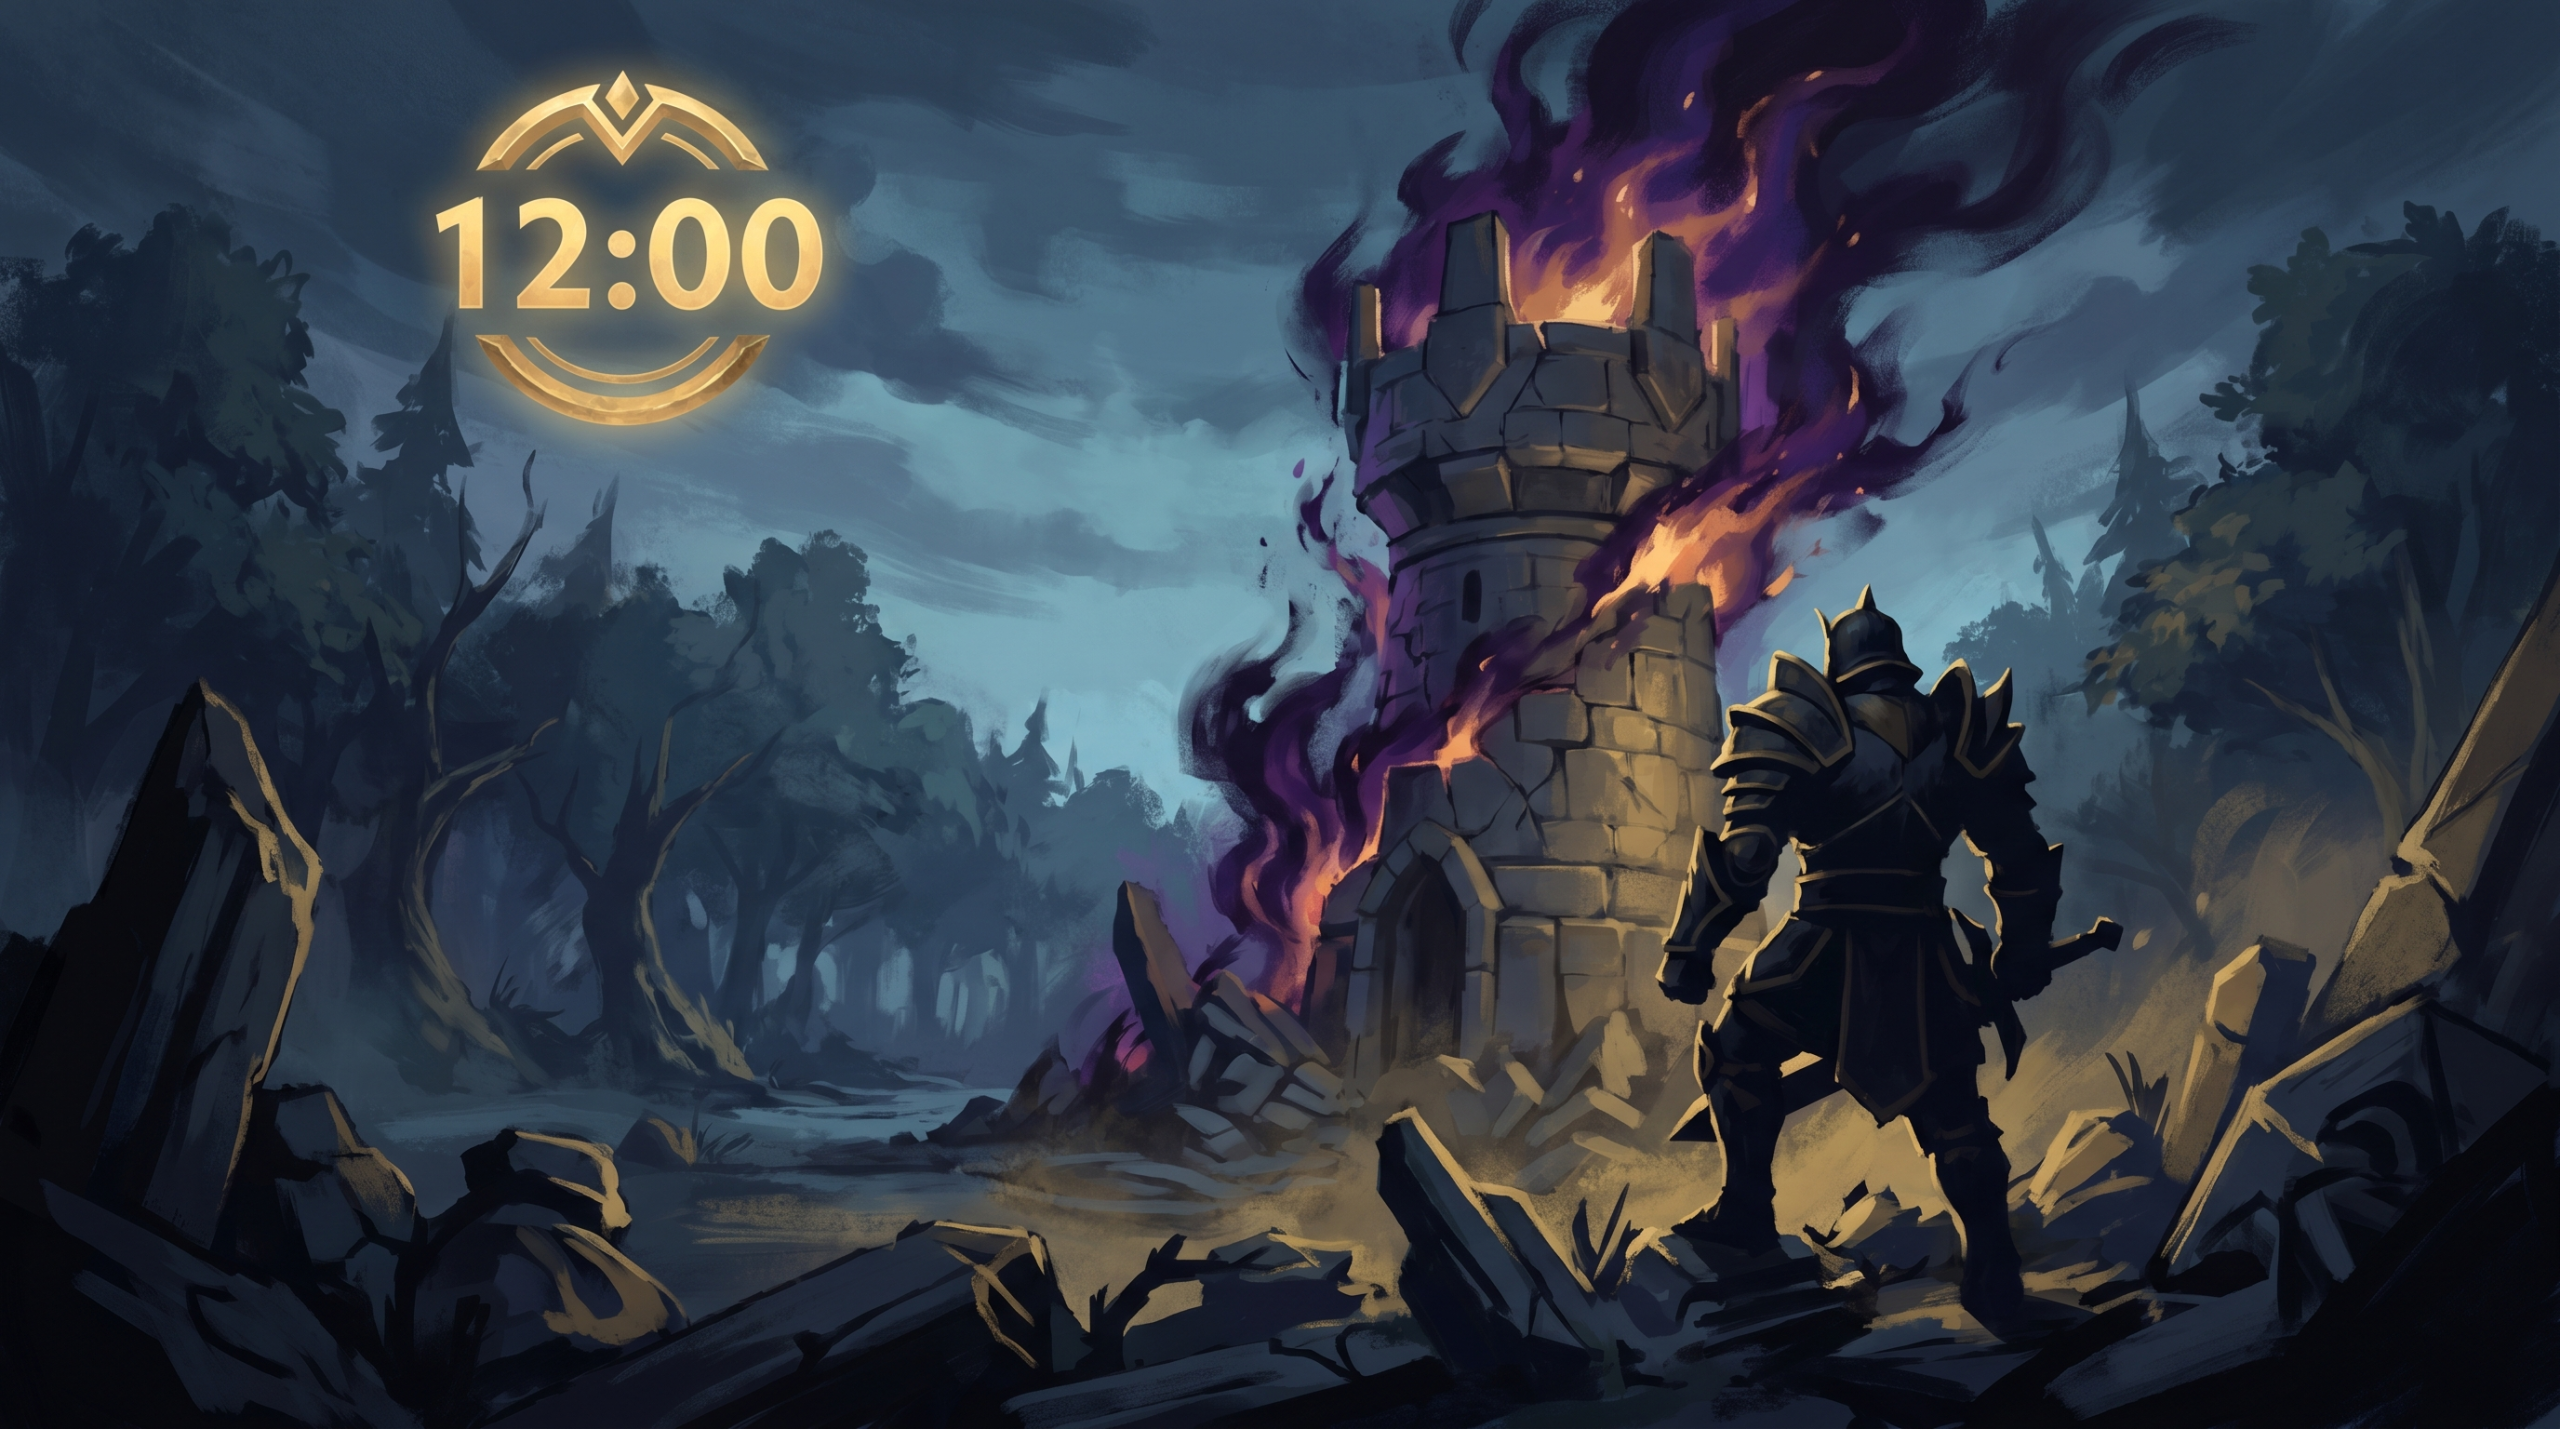
Offlane Pressure Blueprint: Tower by 12 Minutes

The 12-minute tower is not a goal that elite offlane players stumble into — it is a planned outcome that follows a specific blueprint. Offlaners who consistently take towers before minute 12 are executing a sequence of wave management decisions, trading patterns, and position adjustments that create the conditions for a forced tower in every game, regardless of which carry and support lineup the enemy fields. The players who fail at this goal are usually not less skilled — they are less systematic.
This guide documents the complete offlane pressure blueprint: how to set up the lane from the first creep, the wave management fundamentals that create the setup conditions, the trading patterns that make opponents back off, and the hero-specific applications across the most effective offlane picks in 7.41c. If you can take a tier 1 tower before minute 12 in 60% or more of your offlane games, you are operating at a level that consistently wins the early game objective battle — and that is where Dota matches are decided more reliably than any teamfight.
The blueprint requires approximately 20 games to internalise. Read it once, apply it deliberately for ten games, then review your match history to see the objective timing differences.
Table of Contents
Why the 12-Minute Tower Is the Right Objective
The tier 1 tower in the safe lane has specific strategic value that makes it the primary early-game objective for offlane players. Taking it before minute 12 creates three compounding advantages: it removes the opponent carry’s safest farming position, it exposes the tier 2 tower to future pressure, and it creates a psychological demoralisation on the enemy carry that low-MMR players reliably cannot overcome without tilting into further mistakes.
Twelve minutes specifically is the threshold because it correlates with the timing of the first major item completion for most carry heroes. A carry who has their Phase Boots plus a significant item component at minute 12 is meaningfully stronger than one who just completed boots. If you have taken the tier 1 tower before the carry’s first power spike, they cannot leverage that spike to stabilise the lane — the lane objective is already gone and they are playing defense from your terms, not offense from theirs.
What Happens When You Do Not Pressure the Tower
Offlaners who focus purely on farm and survival while allowing the carry to free-farm under their own tower produce a carry who is 1,500-2,000 gold ahead by minute 15. That net worth lead is often larger than the gold value of the tier 1 tower itself (280 gold split among your team). The tower is not just about the gold — it is about denying the safe position that allows the carry to accumulate that lead in the first place. Passive offlane play is not neutral; it is a deliberate decision to concede the lane objective and let the carry scale unchallenged.
Lane Setup and Initial Positioning
The 12-minute tower blueprint begins before the first creep wave arrives. Your initial positioning in the offlane determines whether the laning phase starts on your terms or the opponent’s.
The Initial Rune Contest Decision
Contest the bounty rune at minute 0 if your hero has a first-level mobility or survivability ability that makes the contest safe. On heroes like Beastmaster (who has no escape but high HP), skip the rune and go directly to the offlane position. On heroes like Axe or Brewmaster who can sustain early trades, contest the nearest bounty rune before the lane begins. The 50 gold from a bounty rune is not the primary benefit — it is information about the opposing support’s starting position and an early aggression test that tells you how aggressive their lane setup will be.
Starting Items and First Purchase
Offlane starting items in 7.41c should prioritise: 2-3 sets of Tango, one Iron Branch (builds into Magic Wand charge soaking), one Null Talisman or Circlet component based on your hero’s primary stat, and the remaining gold on a Faerie Fire or Ring of Protection depending on whether your primary early threat is magic or physical damage. The starting item goal is to last 8-10 minutes in the lane without a base trip — every base trip is 60-90 seconds of lost pressure time that delays the tower objective.
Initial Lane Positioning
The ideal starting position for most offlane heroes is at the edge of the tree line on the far side of the lane (far from your own tier 2 tower, close to the enemy tier 1 tower). This position maximises your ability to aggro pull the enemy creep wave toward your side while minimising your exposure to the enemy support’s initial harassment. Arriving at this position requires walking through the jungle rather than down the lane, which takes approximately 15 seconds longer but is the correct approach to avoid exposing yourself to early support harassment before the first wave.
Wave Management Fundamentals
Wave management is the most important offlane skill for achieving consistent tower objectives. The tower falls when the lane equilibrium breaks down in your favour — and that breakdown is manufactured through deliberate wave management, not through opponent mistakes.
The Aggro Pull Technique
The aggro pull is the foundational offlane wave management technique. By attacking an enemy creep within range of the enemy ranged creep, you draw the ranged creep’s fire onto your hero. Walk back toward your own creep line, and the enemy ranged creep follows, pulling it away from the melee cluster. This manipulation speeds up the enemy creep wave’s death rate, pushing the equilibrium forward toward the enemy tower. Repeated over three to four waves, it creates a slow but consistent wave push toward the enemy tier 1 without requiring you to throw your hero into the melee cluster and take unsustainable damage.
Practice aggro pull timing in demo mode until the mechanic is reflexive. The attack-and-retreat cycle is precisely timed — you must attack and begin retreating within 0.3-0.5 seconds to pull the ranged creep without drawing melee aggro as well. This is the most mechanically precise action in the offlane toolkit and the one most worth practising before applying in ranked games.
Deny Rate and Its Effect on Wave Timing
Denying your own creeps in the offlane serves a dual purpose: it prevents the enemy carry from getting gold and experience, and it slows the forward momentum of your own wave, allowing you to set up a better wave state before the push to the tower. High deny rate (above 30% of available creeps) is a signal of good wave management discipline. The typical low-MMR offlaner denies 5-10% of creeps because they are focused on harassing the carry rather than managing the wave. Shifting attention from harassment to denial and wave management produces more reliable tower outcomes.
The Slow Push Setup
A slow push setup in the offlane involves managing the creep wave to arrive at the enemy tier 1 tower with a large wave that requires multiple tower shots to clear. This is achieved by letting your own creep wave stack slowly — adding jungle creeps from the pull camp to the lane wave (done by your support if you have position 4 support cooperation) and timing your hero’s last hit denies to let your wave grow large without dying fast. A 10-creep stack wave arriving at the enemy tier 1 tower by minute 11 is not cleanly clearable without a full hero commitment — forcing the carry to choose between losing tower HP or losing CS to clear the wave safely.

Trading Patterns That Force Backs
Physical pressure on the carry — forcing them to use HP and regeneration faster than they can recover — is the direct mechanism for creating the space needed to push the wave to the tower. Here are the trading patterns that reliably force carry backs in the laning phase.
The Pre-Creep Hit Trade
Time your attack on the enemy carry to land during the moment they commit to a last-hit animation. All carry heroes have a period during last-hit animation where they cannot react to incoming damage — their input is committed to the attack sequence. Attack the carry during this window and retreat before their ranged creep can draw fire on you. This trade is almost always free because the carry is animation-locked. Repeat this 4-6 times across the first three waves and you have dealt 300-400 free damage without taking a counterhit.
The Ability-First Trade
On heroes with long-range harassment abilities (Beastmaster’s Hawk vision setup, Timber Chain into Whirling Death, Dragon Knight auto-attack ranged aggression), lead every trade with the ability rather than the auto-attack. The ability hit creates the damage burst that forces a back decision, and the carry’s auto-attack response is less damaging than the total ability damage would suggest at the trade-end point. Saves your HP for the follow-up wave; the carry has to decide whether to spend regen or back.
The Level 3 All-In
Most offlane heroes have their peak early-game kill threat at level 3. This is when their core ability combination is fully available for the first time — Axe with Berserker’s Call plus Counter Helix plus Battle Hunger, for instance, or Dragon Knight with Breathe Fire plus Dragon’s Blood HP regeneration cycling back. Plan for a level 3 all-in trade rather than continuous harassment throughout the early laning phase. Let the carry reach partial HP through pre-level-3 harassment, then commit the level 3 combo when the lane state is correct (carry below 60% HP, support not in position to intervene).
| Trade Pattern | When to Use | Risk Level | Expected Outcome |
|---|---|---|---|
| Pre-Creep Hit Trade | Any time carry is last-hitting | Low | 50-70 free damage per trade |
| Ability-First Trade | When ability is off cooldown | Medium | 150-250 burst, potential back |
| Level 3 All-In | Level 3 with carry below 60% HP | High (committed) | Kill or forced base |
| Regen Punish | After carry uses salve or regen rune | Low-Medium | Waste regen, net HP pressure |
Creep Equilibrium Control
Equilibrium control is the advanced layer of wave management that separates consistent 12-minute tower achievers from players who get the tower occasionally through favorable matchups but cannot replicate it systematically.
Setting the Freeze Point
A creep freeze in the offlane means the wave sits in a position where your hero can farm relatively safely (near your side’s tree line or at mid-lane) while denying the carry from farming freely. To freeze a wave, last-hit your own creeps just before they die rather than killing them quickly. This slows the wave advancement and keeps it near the point where your ranged creep cycle begins. A frozen wave is only useful tactically — it does not build toward the tower objective — but it denies the carry safe farm and builds your carry’s experience lead through denial.
Converting Freeze to Push
The conversion from a frozen wave to a push is triggered by a specific event: the carry being forced to back, the carry dying, or a reinforcement wave arriving from the jungle (stacked by your support). When any of these events occur, convert immediately by switching from defensive last-hit play to aggressive auto-attacks on the enemy creep wave. Push the wave hard to the tower and deal as much tower HP as possible before the carry returns. Every tower hit in this window is progress toward the 12-minute objective.
Hero-Specific Blueprints
The general blueprint above applies to all offlane heroes. Here is how it adapts to the most effective offlane picks in 7.41c.
Axe
Axe’s blueprint maximises on the Berserker’s Call — Counter Helix kill threat. First three waves focus on setting up Call angles: position yourself inside the carry’s attack range but outside the support’s disable range so a Call lands only on the carry plus creeps. Level 3 Call into Counter Helix spin sequence should deal 300-400 damage if the RNG averages out. Target is to force the carry back by minute 5-6 through repeated Call threats, then stack a pull camp with support and push the exposed lane hard by minute 8-9 for a first tower attempt by minute 10-11.
Dragon Knight
Dragon Knight’s blueprint is more patient than Axe because his kill threat at level 3 is lower. Focus on sustain through Dragon’s Blood and farm prioritisation through clean last-hits rather than harassment. By minute 7-8 with level 4-5, Dragon Knight’s auto-attack damage plus Breathe Fire makes him a strong tower presser without needing the carry to be below half HP. Buy Arcane Boots or Boots of Speed quickly to reach the lane position faster and allow more wave interaction time. DK’s tower push power at level 6 with Dragon Form is among the highest in the game — time the push for the level 6 window if the first attempt window at 10-11 did not work.
Brewmaster
Brewmaster’s blueprint relies on Storm Brew for the kill threat (Cyclone into Fire Brewling Permanent Immolation) and Cinder Brew for the lane harassment. His wave management is similar to Axe but his CC window is shorter. The key Brewmaster adjustment is buying an early Bracer or Ring of Health for sustain — Brewmaster’s base armour is low enough that sustained support harassment can force him back before he establishes lane dominance. Build sustain first, harassment second, and plan the tower push around the Primal Split timing (level 6 at approximately minute 8-9 with good experience gain).
Tidehunter
Tidehunter is the most durable offlane hero for sustained pressure because Kraken Shell passively removes debuffs and his HP pool is very high for his level. His blueprint involves accepting moderate harassment without backing and steadily applying Anchor Smash to reduce the carry’s damage output while last-hitting efficiently. Tidehunter rarely kills the carry in the laning phase, but he forces them to continually back through accumulated HP pressure from Anchor Smash’s cumulative effect. His tower push power is moderate — complement it with support assistance whenever available rather than trying to push solo through high HP creep waves.
Adapting When the Support Rotates to Counter You
The enemy support will often rotate to the offlane when you are visibly winning the lane and threatening the tower. This is the correct counter-play and you should expect it. Here is how to adapt without losing momentum.
Recognising the Rotation Early
The minimap is your primary rotation signal. Check the minimap every 15-20 seconds. If the enemy support disappears from the mid lane or their own safe lane without being in an obvious position, treat it as a potential rotation to your lane and pull back from the most exposed position immediately. An offlaner who is forward-positioned when a rotation arrives cannot retreat safely — you will be caught between the carry and the rotating support with no escape path. The correct response to a possible rotation is to pull back 3-5 steps toward your own tier 2 tower before the rotation arrives.
Using the Rotation Against Them
A rotating support to your lane is temporarily absent from their own lane. Communicate this to your mid player immediately with a ping on the enemy support and a message about their position. A mid player who knows the support is absent has a window to push their lane, contest a rune aggressively, or rotate themselves. The same rotation that temporarily stops your tower pressure creates an opportunity somewhere else on the map — make sure your team exploits it.
The Post-Rotation Reset
After the rotation is resolved (support leaves or kills are traded), reset the wave management process from the beginning. Do not try to resume mid-sequence — the wave state has changed during the defensive period and the equilibrium needs to be re-established. This typically costs 2-3 minutes of tower progress, which is why the 12-minute objective sometimes extends to 14-15 minutes when a rotation occurs. The blueprint is still valid — it just takes slightly longer when interrupted by rotation pressure.
Ready to Skip the Grind?
Team Smurf’s Immortal boosters handle your MMR so you can focus on the fun parts of Dota 2. Our offlane specialists execute the 12-minute tower blueprint consistently in every bracket from Crusader to Divine.


