How to Master Dawnbreaker in Dota 2: The Ultimate Guide for Every Rank (2026)

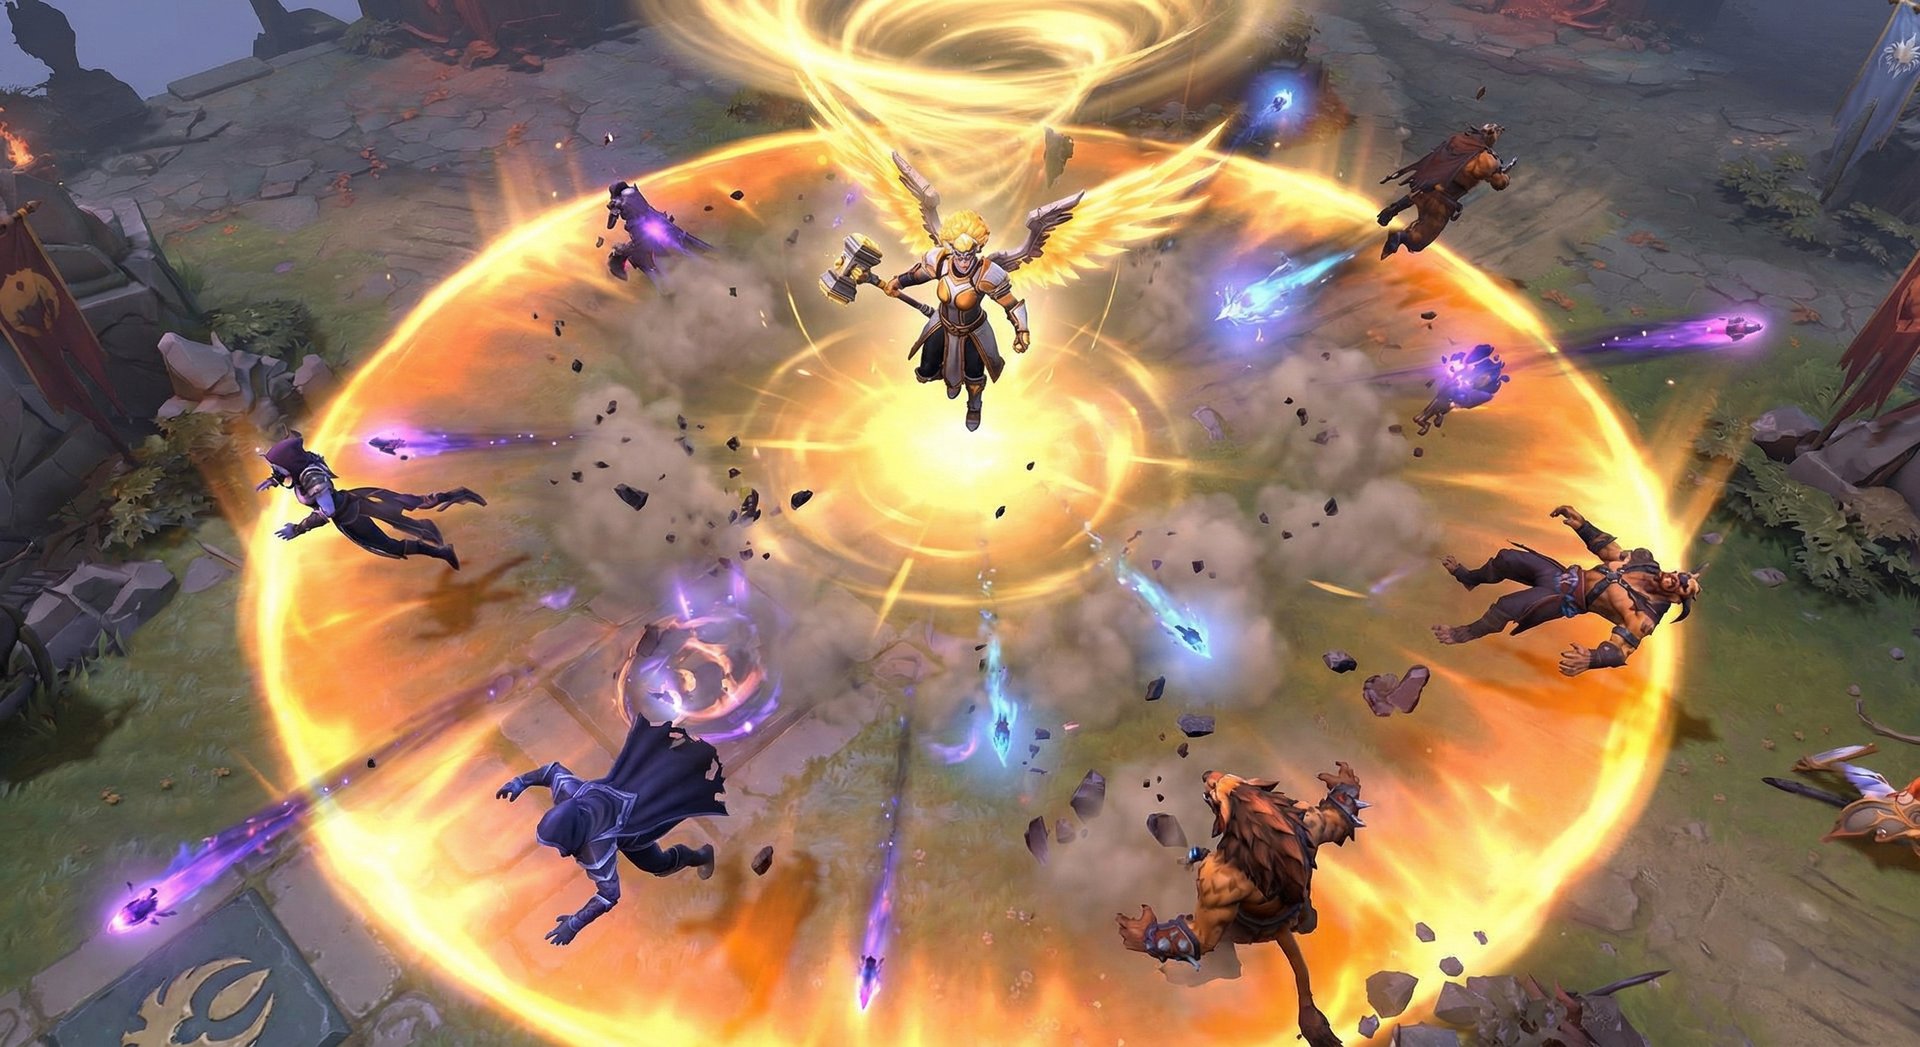
Dawnbreaker is the hero that makes you feel like a god. You are everywhere on the map at once, smashing faces in your lane while simultaneously saving your carry across the map with Solar Guardian. She is one of the most versatile strength heroes in Dota 2, capable of playing offlane, mid, or even safelane carry depending on the draft and the meta. Her global presence through her ultimate fundamentally changes how the entire enemy team has to play, and her laning stage is oppressively strong thanks to Starbreaker and Luminosity procs.
In this guide, we are going to break down everything you need to know about Dawnbreaker — from her hidden ability interactions that even 6K players miss, to the exact item timings that separate a good Dawnbreaker from a game-winning one. Whether you are a Herald learning the basics or a Divine player trying to push into Immortal, this guide has specific, rank-appropriate advice to help you climb. We will cover her current meta position, optimal skill builds, item progressions by rank bracket, laning strategies, counter matchups, and the advanced techniques that pro players use to dominate with this hero.
Table of Contents
Why Dawnbreaker Is the Ultimate Map Presence Hero
Dawnbreaker sits in a unique position in the Dota 2 hero roster. She is a strength melee hero who functions as a fighter, healer, and global presence all rolled into one. Her primary roles are offlane and mid, though she sees occasional play as a position 1 carry in specific drafts. Currently hovering around a 50-51% winrate across all brackets, she is well-balanced but rewards players who understand her kit deeply — her winrate climbs significantly in Ancient and above where players exploit her global ultimate properly.
What makes Dawnbreaker special is her ability to win her lane hard and then translate that advantage globally. She is not a hero who farms passively. She is a hero who takes over the map through constant aggression, heal support for teammates, and terrifying dive potential. Her base stats are excellent for a strength hero — 25 base strength with 3.4 gain per level makes her naturally tanky, and her 14 agility with 1.7 gain gives her decent attack speed scaling.
The hero has a pick rate that stays consistently in the top 40 across all brackets, with her popularity spiking during patches that favor aggressive, teamfight-oriented metas. She is one of those heroes where learning her properly gives you a reliable pick in almost any draft, because her global ultimate means she is never truly out of position.
Abilities Deep Dive
Starbreaker (Q)
Starbreaker is Dawnbreaker’s bread and butter. She swings her hammer three times, dealing bonus damage with each swing, and the third hit slams down in front of her, stunning all enemies in the impact area for 0.8/1.0/1.2/1.4 seconds. The total damage output of this ability is massive — at max level, you are looking at 280 total bonus damage across all three swings plus the stun damage, on top of your regular attack damage applied with each swing.
Here is what most players do not realize about Starbreaker: you can change direction between swings. This means you can start swinging at one target and redirect the third (stun) hit toward a different enemy. This is critical for landing stuns in chaotic teamfights where enemies scatter.
The hidden mechanic that separates good Dawnbreakers from great ones is that Starbreaker procs Luminosity. Each swing counts as an attack, meaning three swings of Starbreaker counts toward your Luminosity passive. This means you can set up Luminosity procs with two regular attacks, then open with Starbreaker to get a Luminosity-empowered hit during the combo. The damage and heal output from this combo is enormous.
Another critical interaction: you can use Blink Dagger during Starbreaker. Specifically, you can blink between the second and third swing. This means you can start Starbreaker in empty space, blink onto an enemy, and land the third hit (the stun) instantly with zero reaction time for the opponent. This is the single most important Dawnbreaker mechanic to learn for climbing above Ancient rank.
Skill Build Note
Always max Starbreaker first in offlane. The stun duration scaling from 0.8 to 1.4 seconds is enormous, and the damage is your primary trading tool. The only exception is if you are playing mid against a ranged matchup where you need Celestial Hammer to secure ranged creeps safely.
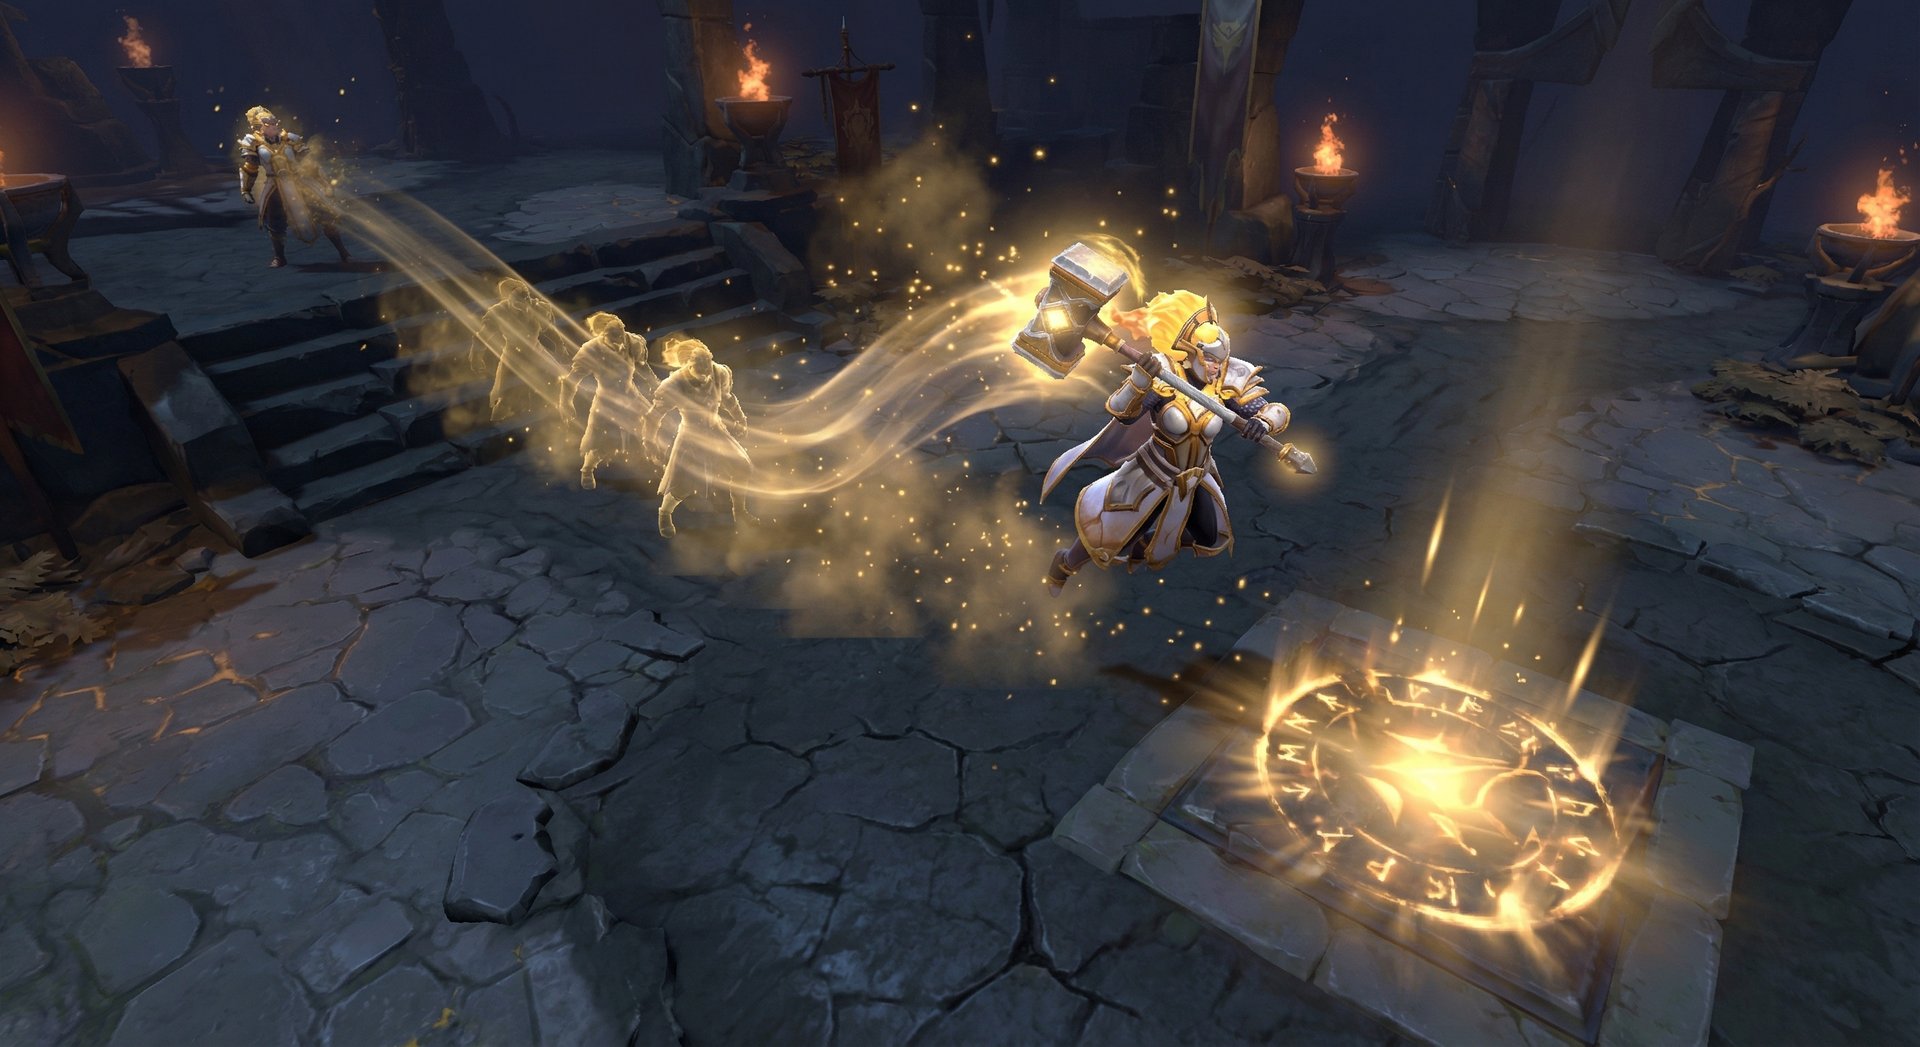
Celestial Hammer (W)
Celestial Hammer is a versatile ability that serves as a nuke, slow, gap closer, and escape tool all in one. You throw your hammer to a target location, dealing 60/110/160/210 damage in an AoE at the landing point. The hammer then pauses for 2 seconds before returning to you. While the hammer is returning, it leaves a fire trail that slows enemies by 20/25/30/35% and deals damage per second.
The key mechanic is that you can reactivate the ability to pull yourself toward the hammer. This dash is what makes Celestial Hammer so powerful — it is both your gap closer and your escape. You dash to the hammer’s current position, meeting it somewhere in the middle.
Advanced interactions worth knowing:
- The throw range is 1100 units, which is substantial. You can throw it over cliffs and trees, and then dash to it for cliff navigation and juke paths that most players never expect.
- You can throw the hammer and then TP or use Solar Guardian. The hammer stays where it landed. When you return to the area later, you can still recall it. This creates interesting bait scenarios where you leave your hammer somewhere and TP away, then dash back.
- The fire trail provides flying vision. Use this to scout Roshan, check uphill wards, or track enemies through trees.
- The pull speed is fixed. You always dash at the same speed regardless of distance. This means using the pull at max range covers more ground but takes the same time proportionally.
Luminosity (E)
Luminosity is a passive that charges after a set number of attacks. After 3 attacks, your next attack becomes empowered — it deals 120%/140%/160%/180% critical damage and heals all allied heroes within 650 units for 50% of the damage dealt. Against creeps and neutral camps, the heal is reduced to 40% of damage.
This ability is what makes Dawnbreaker a sustain monster in lane and in teamfights. Key things to understand:
- The counter is visible to enemies. When your hammer glows bright, they know the empowered hit is coming. Good opponents will back off when they see the glow. Bad opponents will eat 400+ damage crits to the face and wonder what happened.
- The heal is based on actual damage dealt, not the hero’s attack damage. This means items like Desolator, which reduce armor and increase actual damage dealt, also increase your heal output.
- Starbreaker swings count as attacks for Luminosity. This is the single most important interaction in Dawnbreaker’s entire kit. You can set up two regular attacks, then use Starbreaker — the first swing of Starbreaker will be your empowered Luminosity hit, dealing massive damage and healing your team.
- The heal affects all allied heroes in range, including yourself. In a teamfight with three allies nearby, one Luminosity proc can heal your entire team for 150-200 HP each while dealing damage.
Solar Guardian (R) — Ultimate
Solar Guardian is the ability that defines Dawnbreaker. It is a channeled global teleport that targets an area near an allied hero anywhere on the map. During the 1.7-second channel, the target area pulses with light, dealing 50/100/150 damage per pulse to enemies and healing allies for 45/75/105 per pulse in the area. There are 5 pulses total. When Dawnbreaker lands, she deals an additional 130/160/190 damage and stuns enemies for 1.4/1.6/1.8 seconds.
Critical mechanics:
- The channel can be interrupted during the 1.7 seconds before you lift off. Once you are in the air, you are unstoppable — nothing can cancel the landing. This means you need to be safe during the channel, ideally hiding in trees or fog of war.
- The landing location is fixed once you start channeling. You cannot redirect mid-flight. Choose your landing position carefully — you want to land ON enemies, not next to them.
- Aghanim’s Scepter makes Solar Guardian a massive upgrade. With Scepter, you can cast it without needing an allied hero nearby. This means you can TP to any point on the map, even into empty space. Additionally, the landing stun area is increased.
- The pulses heal allies and damage enemies simultaneously during the channel. This means even if you die mid-channel (from DoT or delayed damage), the pulses still fire. Your allies still get healed.
- You gain flying movement during the travel phase. You cannot be targeted or damaged while in the air.
Item Builds by Rank
| Rank Bracket | Starting | Early Game | Core Items | Late Game |
|---|---|---|---|---|
| Herald – Crusader | Tango, Quelling Blade, Gauntlets x2, Iron Branch | Phase Boots, Soul Ring, Bracer | Echo Sabre, Desolator, BKB | Assault Cuirass, Satanic, Overwhelming Blink |
| Archon – Legend | Tango, Quelling Blade, Gauntlets x2, Iron Branch | Phase Boots, Soul Ring, Magic Wand | Desolator, BKB, Blink Dagger | Assault Cuirass, Satanic, Aghanim’s Scepter |
| Ancient – Divine | Tango, Quelling Blade, Gauntlets, Ring of Protection, Iron Branch | Phase Boots, Soul Ring, Buckler | Blink Dagger, Desolator, BKB | Aghanim’s Scepter, Assault Cuirass, Overwhelming Blink |
| Immortal | Tango, Quelling Blade, Gauntlets, Ring of Protection | Phase Boots, Soul Ring | Blink Dagger, BKB, Harpoon | Aghanim’s Scepter, Overwhelming Blink, Satanic |
Why Items Differ by Rank
Herald through Crusader: At lower ranks, teamfight coordination is unreliable. You cannot count on allies to follow up on your Blink-Starbreaker combos. Echo Sabre gives you a forgiving buildup with the slow proc, making it easier to land Luminosity hits even without perfect execution. Desolator rush after Echo Sabre gives you kill potential even without team coordination — you can solo kill most supports and squishy cores.
Archon through Legend: Players at this bracket start understanding fight timings. Desolator before BKB is standard because you need to be the damage threat. Blink Dagger becomes core here because enemies start understanding how to kite you, and without Blink, you will get kited before your Starbreaker even connects. The armor reduction from Desolator also amplifies your Luminosity heal since it is based on actual damage dealt.
Ancient through Divine: Blink Dagger timing becomes critical. You want Blink by 15-17 minutes, because this is when the first Roshan fights happen and mid-game skirmishes intensify. The Blink-Starbreaker combo is your primary initiation tool. BKB timing matters more here because enemies know to save stuns for your Starbreaker channel. Aghanim’s Scepter becomes a serious late-game option because it enables split-map plays that only work when your team coordinates.
Immortal: The build shifts toward Harpoon as a core item because it gives you another gap close on top of Blink, making you nearly impossible to kite. Immortal players also skip Echo Sabre entirely — the Soul Ring provides enough mana sustain, and the gold is better spent hitting Blink timing faster. Aghanim’s Scepter is almost always built because Immortal players exploit the targetless Solar Guardian for split push and map pressure.
Situational Items Worth Considering
- Armlet of Mordiggian: Excellent early-mid game option. The toggling synergizes with Luminosity heals — you can heal back the HP drain. Cheaper than Desolator and gives earlier power spike.
- Heaven’s Halberd: Against right-click carries like Phantom Assassin or Troll Warlord. The evasion and disarm are both valuable, and the Sange component gives status resistance.
- Lotus Orb: Increasingly popular in high-MMR games. The dispel removes debuffs from allies when you Solar Guardian in, and the armor is excellent on a frontline hero.
- Solar Crest: Budget option that amplifies your Luminosity damage through armor reduction. Good when your team needs armor buffs for Roshan or a carry that is being focused.
Laning Phase Masterclass
Offlane Fundamentals
Dawnbreaker is one of the strongest laners in the offlane. Her combination of Starbreaker damage, Luminosity sustain, and Celestial Hammer harass makes her a nightmare for most safelane duos. Your goal in the first 5 minutes is simple: establish lane dominance, deny the enemy carry farm, and hit level 6 as fast as possible so you can start impacting other lanes with Solar Guardian.
Level 1 trading pattern: Take Starbreaker level 1. Walk up to the enemy support or carry when they go for a last hit and hit them with the full Starbreaker combo. At level 1, this deals around 100-120 damage total with your right-click damage included. Most supports cannot trade back effectively against this, and the stun prevents them from retaliating during your third swing.
Level 2-3 power spike: With Starbreaker and Luminosity, you become incredibly hard to trade with. The pattern is: hit creeps twice to charge Luminosity, then use Starbreaker on the enemy hero. The empowered Luminosity proc fires on the first Starbreaker swing, dealing massive damage while healing you. You effectively trade 150+ damage for free because the heal negates any damage they dealt to you.
Level 3-5 kill threat: With two points in Starbreaker and one in Celestial Hammer, you have serious kill potential. The combo is: throw Celestial Hammer behind the enemy (cutting off retreat), walk up and Starbreaker, then pull yourself with Celestial Hammer if they try to run past the fire trail. The slow from the fire trail combined with the Starbreaker stun gives you extended damage windows.
Lane Matchup Tips
Against ranged carries (Drow, Sniper, etc.): Use Celestial Hammer to harass from range and secure ranged creeps. Do not try to Starbreaker them unless they overextend past the creep wave. Your kill potential comes at level 6 when you can Solar Guardian a gank setup from your mid player or support rotation.
Against melee carries (Spectre, Anti-Mage, etc.): These matchups are heavily in your favor. You can freely Starbreaker trade because melee carries cannot dodge it. Focus on denying their farm completely. Zone them from the creep wave with the threat of Starbreaker, then push the wave into their tower and pull the hard camp.
Against dual lanes with strong disable (Lion + carry, Shadow Shaman + carry): These lanes are dangerous. A hex or Impale into carry damage can burst you even through Luminosity healing. Play more cautiously, focus on pulling the lane toward your tower, and use Celestial Hammer to farm from safer positions. Your kill potential increases dramatically once you hit level 6.
When to Leave Lane
Dawnbreaker should look to leave the offlane and start rotating at level 6-8 with Phase Boots and Soul Ring completed. The moment you have your ultimate, every fight on the map is your fight. Tell your support to play behind your carry’s tower and create space, while you pressure mid or dive the enemy safelane with your mid player.
The biggest mistake Dawnbreaker players make is staying in the offlane too long. Once you hit level 6, the clock is ticking. Every minute you spend farming the offlane is a minute you could be using Solar Guardian to win a fight somewhere else. Your gold comes from kills and assists, not from AFK farming.
Mid and Late Game Transitions
Mid Game (15-30 Minutes)
This is Dawnbreaker’s strongest phase. With Blink Dagger and BKB components, you are the most dangerous hero on the map. Your game plan is straightforward: play on the opposite side of the map from where the next fight will happen, push a lane, then Solar Guardian into the fight. This creates a permanent numbers advantage because the enemy team has to either let you push or commit to fighting your team while you TP in.
The Blink-Starbreaker initiation: This is your primary kill combo in the mid game. Blink on top of an enemy, immediately Starbreaker. The stun hits before they can react. During the stun, your team follows up. If you set up Luminosity before initiating (two attacks on a nearby creep), the first Starbreaker hit will proc Luminosity for massive damage and a team heal.
BKB timing: Use BKB when you initiate, not reactively. The most common mistake is saving BKB for when you get stunned — by then it is too late. Pop BKB, Blink in, Starbreaker. The enemy cannot interrupt your combo. This guarantees your stun lands and your damage goes through.
Roshan timing: Dawnbreaker is excellent at taking Roshan with her team because Luminosity procs heal the Roshan tank. With Desolator, the armor reduction also speeds up the kill. Look for Roshan after winning a teamfight or picking off the enemy carry. Your Solar Guardian means you can start Roshan and still TP to help if a fight breaks out elsewhere.
Late Game (30+ Minutes)
Dawnbreaker’s influence wanes slightly in the ultra-late game when carries have full inventories and can man-fight through your damage. However, she never becomes irrelevant because Solar Guardian always provides value.
Your role shifts from initiator to counter-initiator and save hero. Instead of blinking in first, you position yourself on the side of a fight and Solar Guardian onto your carry when the enemy commits. The landing stun disrupts the enemy’s dive, the pulses heal your team, and your Starbreaker follow-up catches anyone who is out of position.
Item transitions for late game:
- Overwhelming Blink replaces regular Blink — the slow and extra damage on blink-in makes your initiation even more devastating
- Satanic becomes core — with the active, you become nearly unkillable during teamfights when combined with Luminosity heals and your natural tankiness
- Assault Cuirass — the aura benefits your entire team, and the armor/attack speed makes you significantly more durable and damaging
- Aghanim’s Scepter — enables targetless Solar Guardian for ratting, split pushing, or emergency escapes
When Dawnbreaker Falls Off
Be aware that Dawnbreaker struggles when:
- The game goes past 45 minutes and enemy carries have Satanic/Butterfly/full items
- The enemy team has multiple BKB-piercing disables that prevent your Starbreaker combo
- You fall behind on BKB timing — a late BKB means your mid-game window is gone
- The enemy has heroes who punish global movement (Nature’s Prophet, Spectre mirror, etc.)
Counters: Heroes That Destroy Dawnbreaker
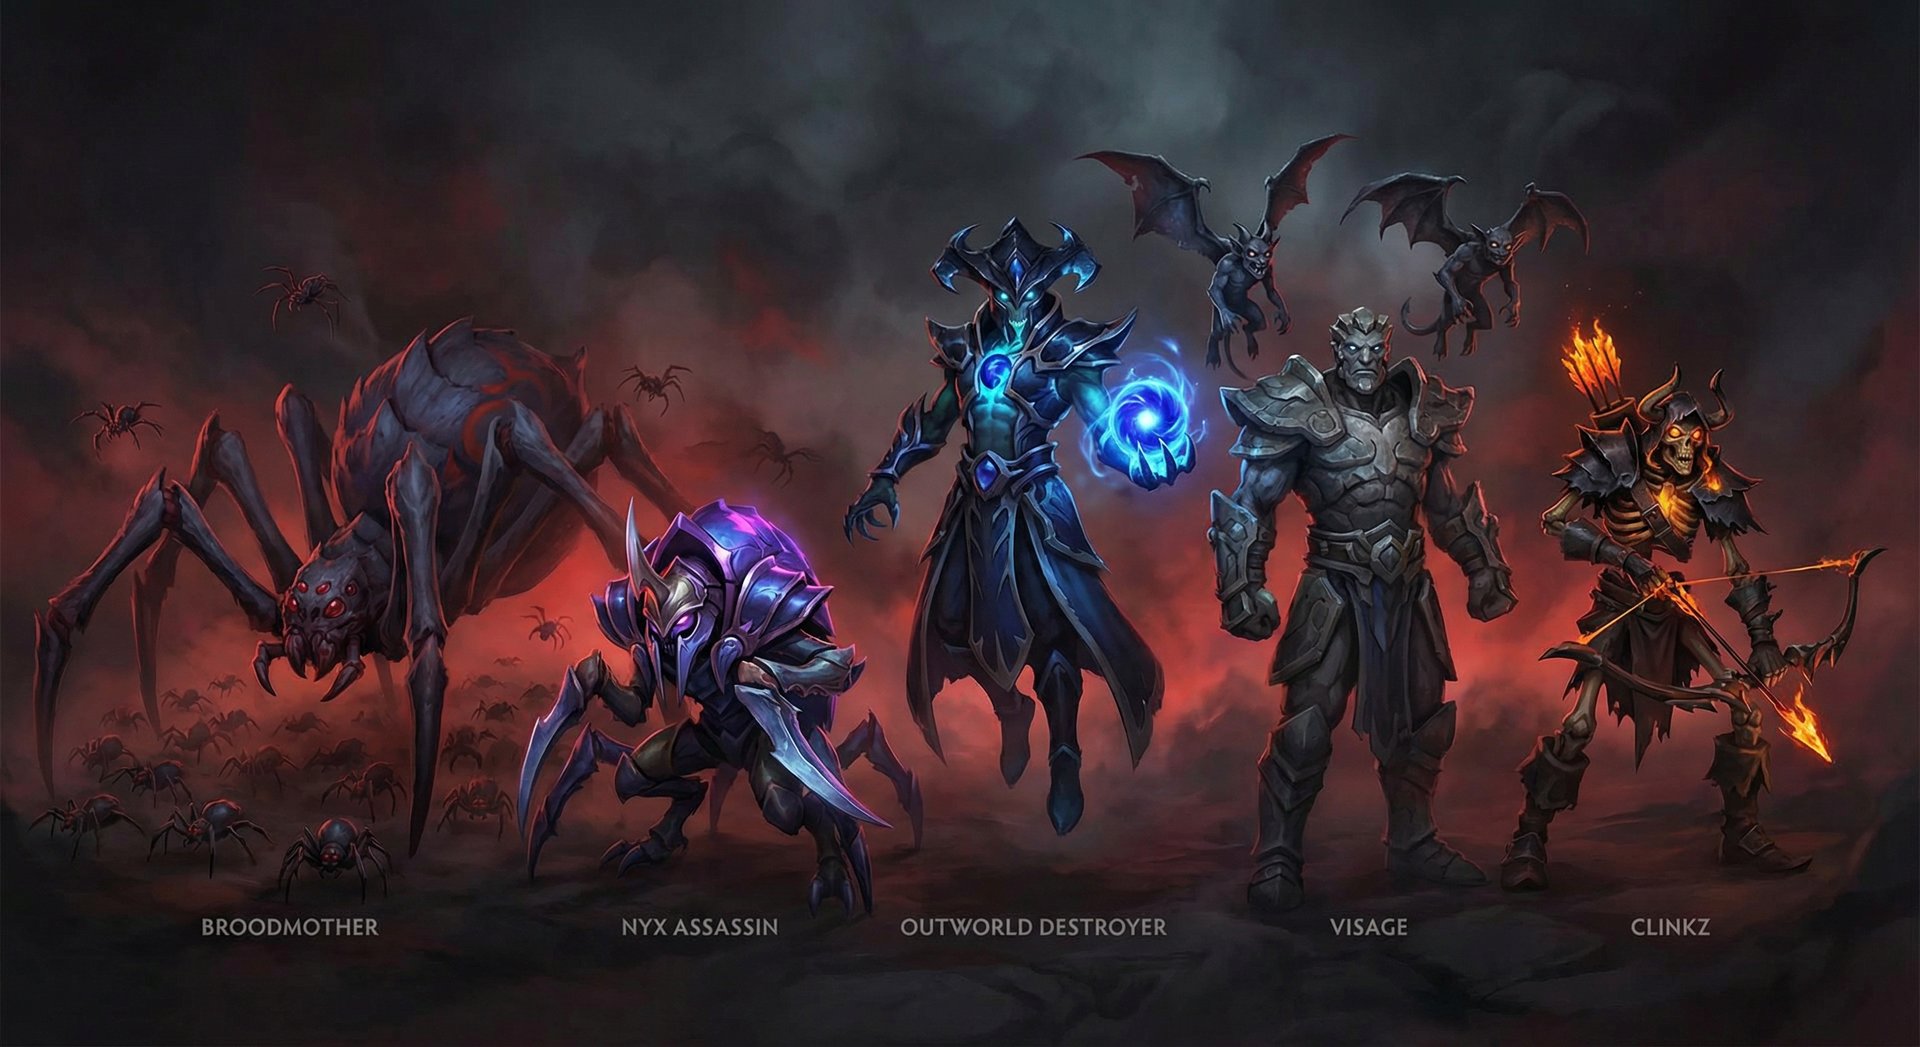
Understanding Dawnbreaker’s counters is just as important as knowing how to play her. These are the heroes that consistently give Dawnbreaker the hardest time in the current meta:
1. Broodmother (53.6% Winrate Against Dawnbreaker)
Broodmother is Dawnbreaker’s worst nightmare. The spider army overwhelms Dawnbreaker’s AoE damage because there are simply too many units to deal with. Starbreaker can only stun in a small area, and Broodmother’s spiderlings will eat you alive while you are locked in the animation. Additionally, Broodmother wins the lane hard against Dawnbreaker because the web movement speed and spider harass is oppressive.
How to play around it: Do not lane against Brood. Swap lanes if possible. If you must face her, max Celestial Hammer first for wave clear and farm the jungle camps between creep waves. In teamfights, ignore the spiders entirely — focus on Blink-Starbreaker onto Brood’s backline supports.
2. Nyx Assassin (52.5% Winrate Against)
Nyx is a problem because Spiked Carapace completely shuts down Starbreaker. If Nyx reflects your Starbreaker, you stun yourself for the full duration. Mana Burn also hurts because Dawnbreaker is mana-hungry, and Vendetta ganks can catch you off guard during your channel animations.
How to play around it: Never initiate on a Nyx who has Spiked Carapace available. Wait for him to use it, then Blink-Starbreaker. In lane, use Celestial Hammer to harass instead of Starbreaker, as it is harder for Nyx to time Carapace against a projectile.
3. Outworld Destroyer (51.5% Winrate Against)
OD’s Astral Imprisonment banishes you during Starbreaker or Solar Guardian channel, wasting your key abilities. His pure damage from Arcane Orb also bypasses your armor, and his intelligence steal can leave you mana-starved. Sanity’s Eclipse in the late game can delete you because Dawnbreaker’s intelligence pool is not large.
How to play around it: BKB is absolutely mandatory and needs to be rushed. Never use Starbreaker without BKB active when OD is nearby. Focus on killing OD’s backline supports — do not try to man-fight him.
4. Visage (53.9% Winrate Against)
Visage’s Familiars deal massive damage and are difficult for Dawnbreaker to deal with. Gravekeeper’s Cloak absorbs your burst damage from Starbreaker, meaning you cannot burst Visage down quickly. The Familiars also provide armor reduction that compounds with Visage’s already strong right-click damage.
How to play around it: Focus the Familiars when possible. Starbreaker’s AoE can hit all three Familiars simultaneously if they are stacked. Build Assault Cuirass to counter the armor reduction.
5. Clinkz (52.7% Winrate Against)
Clinkz punishes Dawnbreaker because Skeleton Walk makes him invisible and nearly impossible to catch. He can scout your positioning and burst you down before you react. Burning Barrage shreds through your health pool even with your tankiness, and he can simply go invisible and walk away from your Starbreaker combo.
How to play around it: Buy dust, coordinate with supports for sentries, and never walk alone in areas without vision. Solar Guardian into fights rather than walking — Clinkz cannot ambush what is already airborne.
Heroes Dawnbreaker Destroys
Dawnbreaker has extremely favorable matchups against heroes who rely on low mobility, channeled abilities, or cannot handle her sustained damage output:
1. Nature’s Prophet (43.2% Winrate Against Dawnbreaker)
Nature’s Prophet is free food. He is squishy, his Treants get destroyed by Starbreaker AoE, and Solar Guardian means he can never split push safely. Whenever NP tries to rat, you just ult to whichever lane he is pushing and kill him. His Sprout does nothing against your Celestial Hammer dash, which clips through trees.
2. Terrorblade (45.0% Winrate Against)
Terrorblade hates Dawnbreaker. Your Starbreaker and Luminosity crits shred through his illusions. Sunder is less effective because you are naturally tanky and can heal back up with Luminosity. His Metamorphosis window gets wasted when you stun him and his team cannot follow up.
3. Monkey King (45.6% Winrate Against)
Monkey King struggles because Starbreaker interrupts his Jingu Mastery stacks. He needs four hits to proc Jingu, and your stun resets his trading window. Your Luminosity sustain also out-heals his Jingu lifesteal in extended trades. Wukong’s Command is less effective when you can just Blink outside the ring and Celestial Hammer him from range.
4. Bristleback (46.1% Winrate Against)
Dawnbreaker absolutely demolishes Bristleback. Starbreaker hits from the front, meaning Bristleback’s damage reduction does nothing. Your burst damage windows mean he cannot slowly stack Quill Spray on you. And Solar Guardian lets you disengage and re-engage from any angle, negating his positional advantage.
5. Mars (46.3% Winrate Against)
Mars struggles against Dawnbreaker because your Celestial Hammer dash ignores Arena of Blood. You can throw your hammer outside the arena and pull yourself through the wall. Starbreaker’s stun interrupts Mars’ Spear combo, and your Luminosity sustain negates his God’s Rebuke harass in lane.
How Pros Play Dawnbreaker in the Current Meta
In the current professional meta, Dawnbreaker is primarily drafted as an offlane (position 3) hero with occasional flex into mid. Pro teams value her for three key reasons: lane dominance, global pressure with Solar Guardian, and her ability to play the “split the map” style that dominates high-level Dota.
Pro Build Trends
The most common pro build path in recent high-level matches is: Phase Boots into Soul Ring into Blink Dagger into BKB. After BKB, the build branches — some players go Harpoon for extra chase and burst, while others opt for Desolator to maximize Luminosity healing output. Aghanim’s Scepter is built in about 40% of pro games as a late-game item for the targetless Solar Guardian.
Overwhelming Blink has become increasingly popular as a Blink upgrade in games that go late. The 150% strength slow on landing synergizes perfectly with Starbreaker — you Blink in, the slow hits, and the Starbreaker stun is essentially guaranteed because the enemy cannot move fast enough to dodge.
Pro Playstyle Patterns
Watch how professional Dawnbreaker players split the map. They push one lane aggressively with Celestial Hammer wave clear, forcing a response from the enemy team. If the enemy sends one hero, they fight. If the enemy sends two or more, they Solar Guardian to the other side of the map where their team is fighting 4v3. This creates an unwinnable situation for the enemy — they are always fighting outnumbered somewhere.
Pro players also use Solar Guardian defensively far more than pub players. Instead of always using it to initiate, they hold it as a save tool for their carry. When the enemy jumps the position 1, the Dawnbreaker ults in, stuns the divers, heals the carry, and turns the fight. This defensive usage often wins more games than aggressive ultimates because it prevents key deaths.
Draft Priority
Dawnbreaker typically sees first or second phase picks in professional drafts because she is extremely hard to counter and provides guaranteed value. Teams pick her early because she does not reveal the draft strategy — she works in aggressive drafts, defensive drafts, and split-push drafts equally well. Her global presence is similar to heroes like Nature’s Prophet and Spectre, but she brings far more teamfight control.
Rank-Specific Climbing Guide
Herald to Guardian: Foundation Basics
At this rank, the single most important thing is learning to land Starbreaker consistently. Do not worry about Blink combos, Luminosity setups, or Solar Guardian timing yet. Just focus on walking up to enemies and landing the full three-hit Starbreaker combo. Practice the timing in demo mode until you can reliably hit the stun.
Key focus areas:
- Max Starbreaker first, always
- Build Phase Boots into Echo Sabre for easy fights
- Use Solar Guardian whenever it is off cooldown — even bad ults are better than not using it at all
- Hit creeps to charge Luminosity before fighting heroes
- Do not die. Dawnbreaker is tanky — if you are dying a lot, you are being too aggressive without items
Crusader to Archon: Adding Game Sense
At this bracket, start incorporating Celestial Hammer harass in lane and Luminosity trading patterns. The two-attack-into-Starbreaker combo should become second nature. Start learning when to use Solar Guardian — look at the minimap constantly and TP to any fight where your team has a number advantage.
Key focus areas:
- Learn the 2-attack-into-Starbreaker Luminosity combo
- Start buying Blink Dagger as a core item
- Use Solar Guardian to counter-gank when your carry gets dove
- Push waves with Celestial Hammer before rotating
- Buy BKB by 20-22 minutes in every game
Legend to Ancient: The Macro Leap
This is where map awareness and split-map play become critical. You should be using Solar Guardian at least 3-4 times per game, and your Blink-Starbreaker initiation should have a 70%+ stun rate. Start optimizing your farm patterns between fights — use Celestial Hammer to clear jungle camps quickly while waiting for your ultimate cooldown.
Key focus areas:
- Master Blink-Starbreaker (blink during second swing for instant stun)
- Learn to split push opposite side of objectives
- Coordinate Solar Guardian with team’s initiation (tell your team to go in, then ult)
- Time BKB purchases around enemy item timings (before their Orchid, Scythe, etc.)
- Practice canceling Solar Guardian if the fight ends before you land
Divine to Immortal: What Separates the Top 1%
At this level, Dawnbreaker play is about information warfare and timing. You need to know exactly when enemy BKBs are on cooldown, when their wards are expiring, and when their key abilities are down. Your Solar Guardian usage should be reactive to game state, not on a timer.
Key focus areas:
- Track enemy cooldowns, especially BKBs and key disables
- Use Aghanim’s Scepter for targetless Solar Guardian plays (escape, initiation, ratting)
- Optimize Luminosity timing — set up procs during downtime so you always have an empowered hit ready for fights
- Communicate Solar Guardian availability to your team — they need to know when your ult is up for fight decisions
- Learn to hold Solar Guardian for defensive saves instead of always using it offensively
- Use Harpoon for the extra burst and gap close that high-MMR games demand
Tips and Tricks
Animation Cancels and Hidden Mechanics
- Blink during Starbreaker: You can use Blink Dagger between any of the three Starbreaker swings. The most powerful usage is blinking between the second and third swing — you blink to a new target and the stun lands instantly with no reaction time.
- Celestial Hammer through trees: The hammer destroys trees when it lands and when it returns. Use this to create new paths through the jungle, escape through treelines, and clear ward spots.
- Pre-charge Luminosity: Before any fight, hit a nearby creep twice to charge your counter to 2/3. This ensures your first Starbreaker swing in the fight procs Luminosity.
- Solar Guardian cancel: You can cancel Solar Guardian during the 1.7-second channel with a stop command. Use this if the fight suddenly turns or your target dies before you launch. Do not waste a 110/90/70 second cooldown on an empty fight.
- Celestial Hammer scouting: The fire trail provides vision. Throw it into Roshan pit, over high ground, or into trees to check for enemies before committing to a fight or objective.
Common Mistakes to Avoid
- Using Solar Guardian on cooldown instead of holding it for critical moments. Your ultimate is most valuable when it turns a losing fight into a winning one. Do not waste it on a gank that was already won.
- Not pre-charging Luminosity. Walking into a fight with 0/3 Luminosity stacks means your first combo deals significantly less damage and provides no heal. Always pre-charge.
- Building Desolator before Blink in high-rank games. Desolator gives damage, but Blink gives kill potential. A Dawnbreaker with Blink and Phase Boots can solo kill almost any hero in the game. A Dawnbreaker with Desolator and no Blink gets kited.
- Staying in offlane past level 8. You are wasting your hero’s potential. Dawnbreaker is not a farming hero — she is a fighting hero. Leave the lane to your support and start making plays.
- Channeling Solar Guardian in visible positions. The 1.7-second channel is interruptable. Always hide in trees or fog when using it. Never channel in the middle of the lane where enemies can stun you.
Advanced Mechanics Only High-MMR Players Exploit
- Double Luminosity in teamfights: If a fight lasts long enough, you can proc Luminosity twice. After your initial empowered hit, continue attacking — three more attacks give you another massive crit and team heal. This is why attack speed items like Assault Cuirass are valuable on Dawnbreaker.
- Celestial Hammer fake engage: Throw the hammer aggressively, as if you are going in. The enemy reacts by using their defensive abilities (BKB, Eul’s, Ghost Scepter). Then do not pull yourself to the hammer. Wait for their abilities to expire, then Blink-Starbreaker for the real engage.
- Solar Guardian for vision: The landing area provides vision during the entire channel. You can start channeling Solar Guardian toward Roshan pit just for the vision, then cancel it if the enemy is not there. This costs you only the cooldown time you spent channeling, not the full cooldown (if you cancel early enough).
- Harpoon after Blink: In the ultra-late game with Harpoon, the combo becomes Blink in, Harpoon a fleeing enemy, Starbreaker. This gives you two gap closers back-to-back, making it nearly impossible for any hero to escape.
Frequently Asked Questions
Offlane is her primary role and where she performs best in most games. She wins most melee matchups and can bully squishy safelane duos. Mid is viable in specific matchups where you want early level 6 for global impact, but she struggles against ranged mid heroes who can harass her and avoid Starbreaker. In ranked games, offlane is the more consistent and reliable position.
Dawnbreaker is a safe pick in almost any draft because Solar Guardian provides value regardless of the game state. She is especially strong when your team has aggressive supports who create fights across the map (Tusk, Earth Spirit, Clockwerk), when the enemy team lacks strong dispels or BKB-piercing stuns, and when you need a frontline hero who can also save your carry. Avoid picking her when the enemy has Broodmother, Nyx Assassin, or multiple heroes that counter her (Outworld Destroyer, Visage).
The most effective combo is: pre-charge Luminosity (2 hits on a creep), activate BKB, Blink onto the target, then immediately press Starbreaker. The first swing procs Luminosity for massive damage, and the third swing stuns. For advanced players: start Starbreaker in fog, Blink between the second and third swing onto the target, and the stun lands with zero reaction time because the target only sees you appear and get stunned simultaneously.
In Ancient and above, always Blink first. The initiation potential is worth more than the raw damage. Below Ancient, Desolator first is acceptable because fights at lower ranks are more chaotic and less reliant on clean initiations. If you are snowballing hard (5+ kills before 15 minutes), Desolator first can extend your lead even in higher brackets.
The three main use cases are: (1) Counter-ganking — when your carry gets dove, ult in to save them with the stun and heals. (2) Fight joining — your team initiates a fight, you ult in after the enemy commits their abilities. (3) Split push response — you push a lane, your team fights, you ult into the fight. Always channel Solar Guardian from fog or trees. Never channel in the open where you can be stunned. And always check if the fight is still happening before you commit — canceling a useless ult saves you the full cooldown.
Aghanim’s Scepter is a strong situational item, especially in games where you need independent map pressure. The targetless Solar Guardian allows you to escape ganks (ult to a random safe spot), rat push (ult to the enemy base without an ally nearby), and make plays without relying on teammate positioning. It is most valuable in Divine and Immortal brackets where players exploit the map control it provides. In lower brackets, the gold is usually better spent on raw fighting items like Assault Cuirass or Satanic.
Level 6 (Solar Guardian changes the game), Phase Boots + Soul Ring (lane domination complete), Blink Dagger timing (15-18 minutes for reliable initiation), and BKB completion (20-24 minutes for guaranteed combos). The hero peaks in strength between 20-35 minutes when she has Blink + BKB + one damage item and the enemy carries are not yet six-slotted.
Ready to Dominate With Dawnbreaker
Our Immortal-rank coaches can teach you the Blink-Starbreaker combos, Solar Guardian timing, and map awareness that separate good Dawnbreakers from game-winning ones. Or skip the grind entirely with our MMR boosting service — our boosters love picking Dawnbreaker for a reason.


